
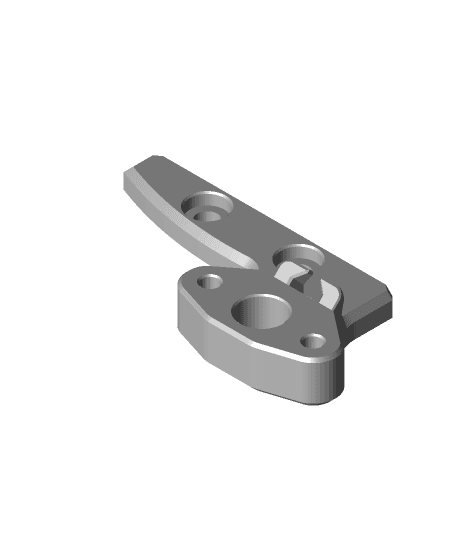
Anycubic Mega Zero X-Axis Linear Rail
Model originally uploaded to Thingiverse at https://www.thingiverse.com/thing:4830265.
Check out my other design for converting the Z-Axis to use dual lead screws and linear rods: https://www.thingiverse.com/thing:4817790
https://youtu.be/EMDsv_4jz4s https://youtu.be/bGszZp_2sEU
This is part of a series of mod designs for the Mega Zero V1, here are others mods I've designed:
- MGN12 Y-Axis
- Dual Lead Screw Linear Rods Z-Axis
- Sherpa Mini Direct Drive Mount (not needed if using replacement gantry plate. See 8/31/2021 update notes below)
- Magnetic Lead Screw Anti-Wobble
EDIT
9/15/2021
- Updated gantry plate screw holes and nut fixtures. Tighter fit for M3 nuts so that they don't easily fall out when adjusting or disassembly. The belt clip gaps have been reduced so that the belt will be centered to the aluminum extrusion when belt is fully seated.
8/31/2021
-
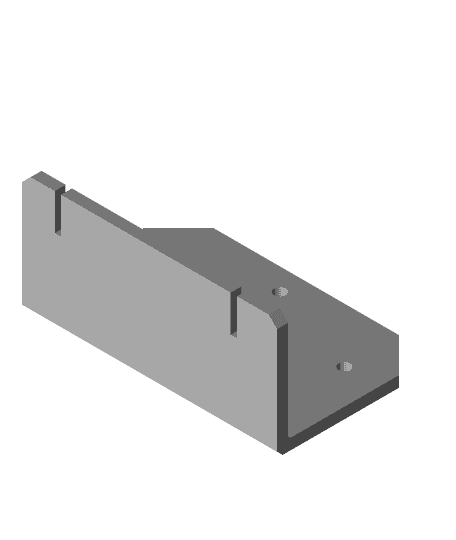
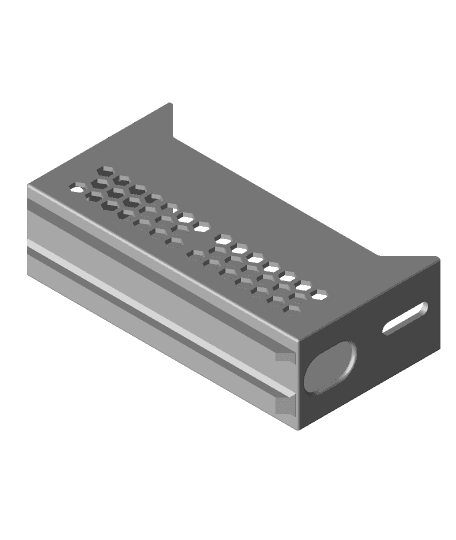
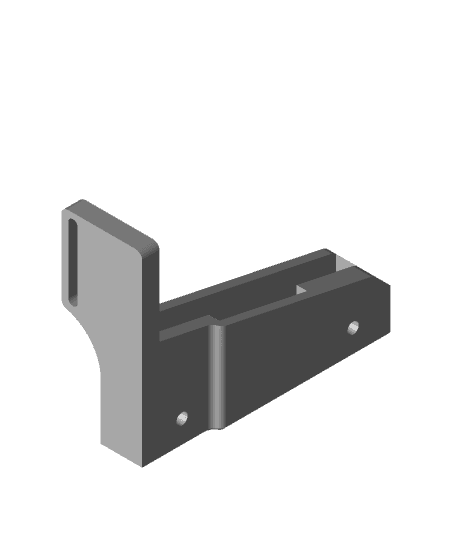
Updated Rail mount (left, right, and center). Print in default orientation with 3 walls, 30% infill. These have tighter tolerance and will sit firmly against the 2020 extrusion. Make sure to calibrate your flow rate prior to printing. Dimensional accuracy is very important. PETG is the preferred material.
-
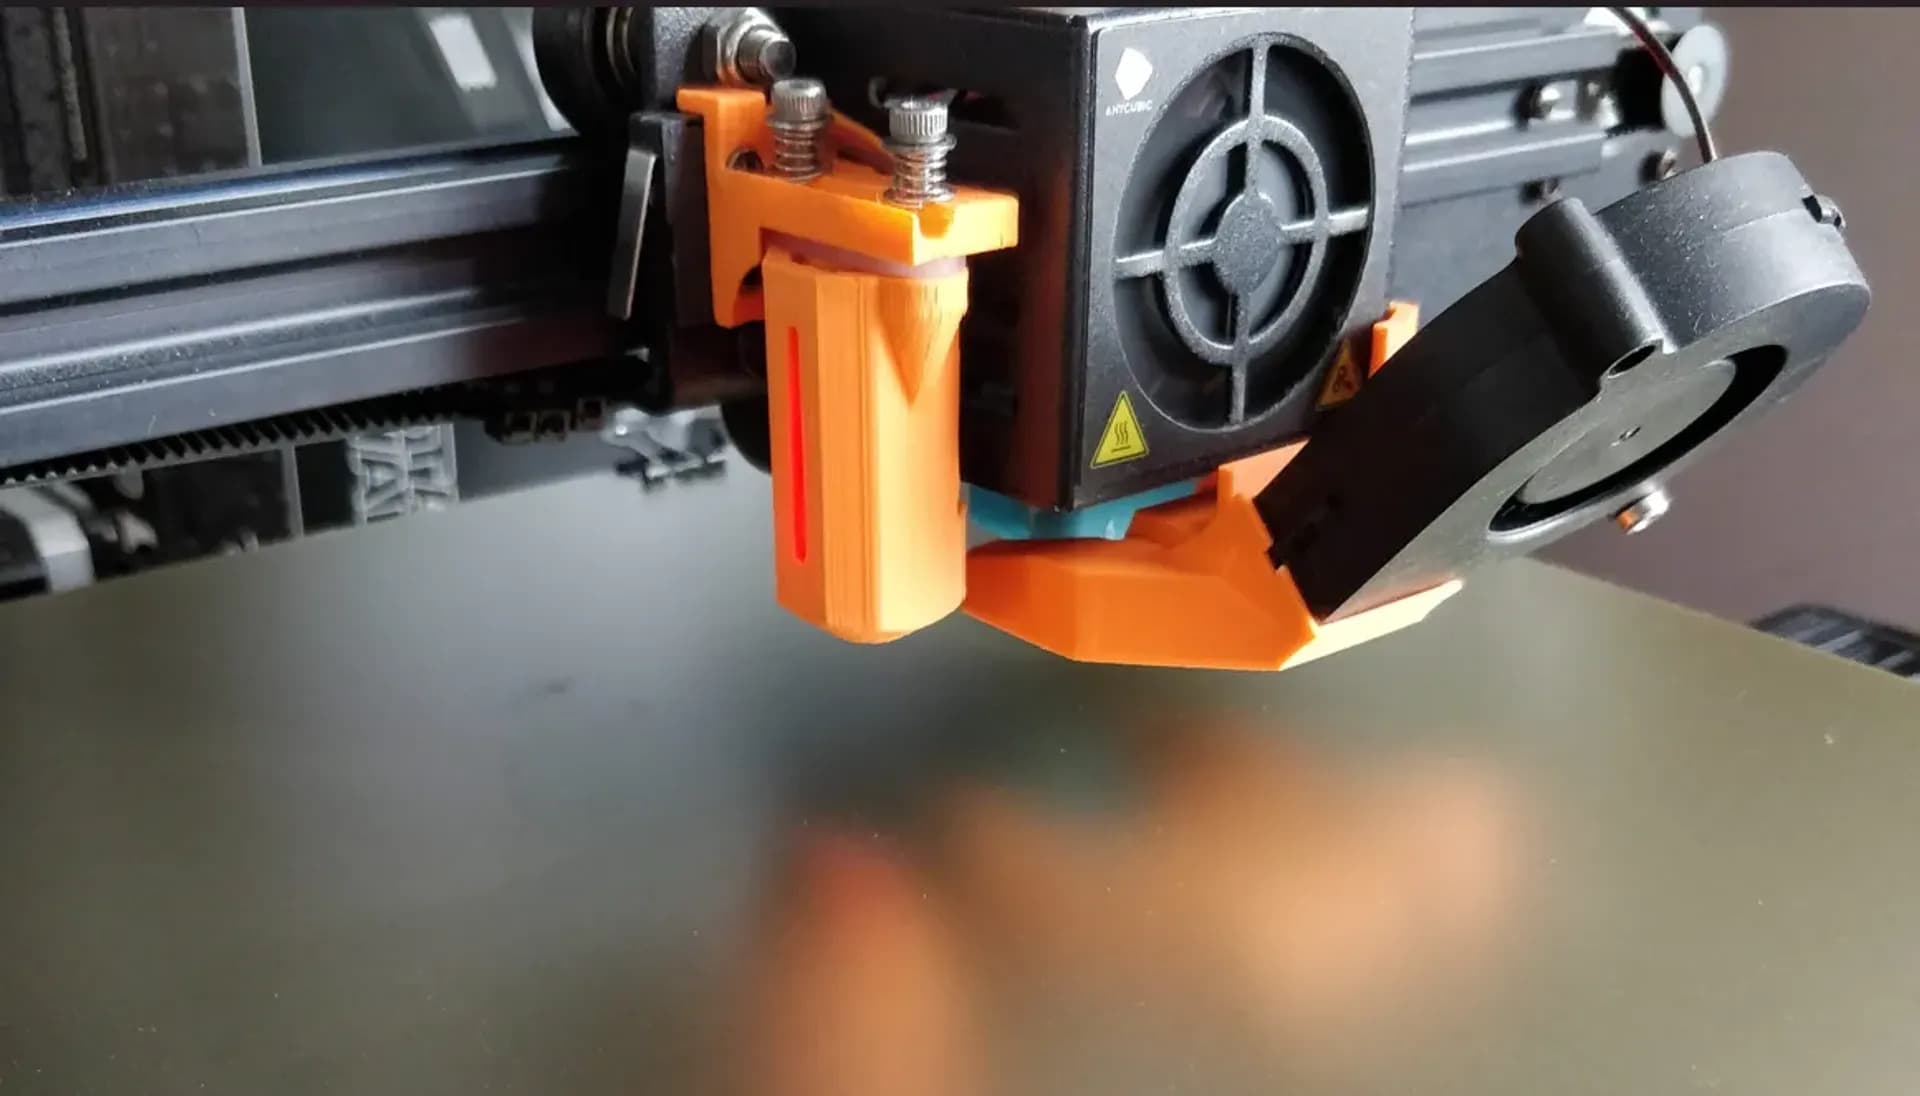
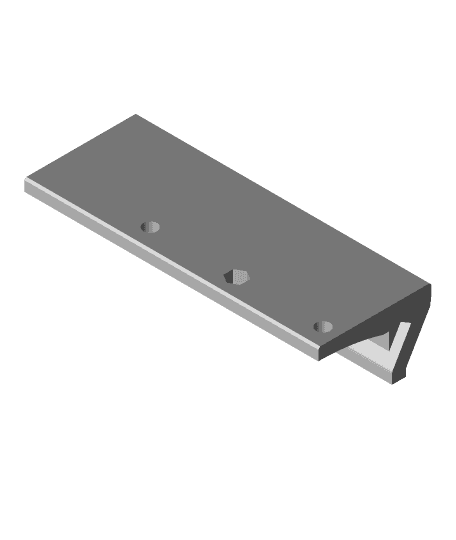
Added replacement stock gantry plates with Ender 3 mounting points and Manta Compact fan shroud gantry plate that's compatible with the first and second versions.
- Print using 4 walls, 30-40% gyroid infill. PETG is a must.
- Hotend adapter will also require 2 M3 nuts and 2 M3x22mm
- Manta Compact Fan Shroud
- Sherpa Mini Mounting brackets for the first version: https://www.thingiverse.com/thing:4937471
- Manta Compact Fan Shroud MK2
- When using the Manta Compact fan shroud, you'll need a new end-stop limit switch with a 50mm arm: AMZ Product ID: B07ZVJD1GC
5/5/2021
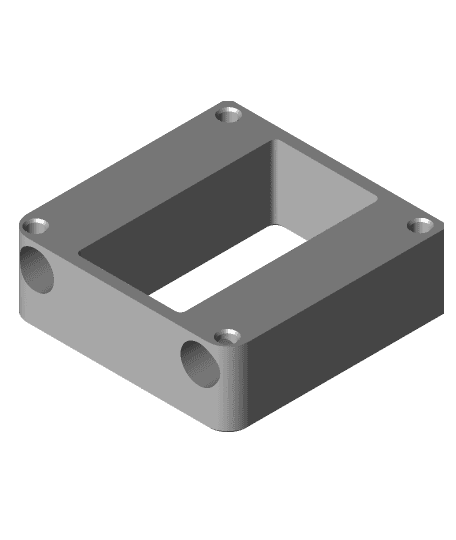
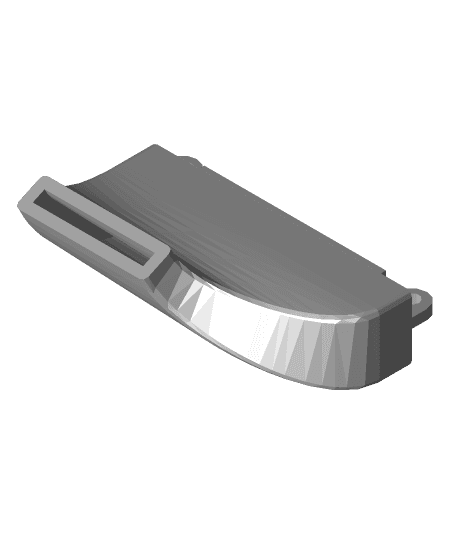
- Added X-Axis Linear Rail - MGN9H Block Mount - V3. It's a 3 point mount to further add rigidity. You will need an additional M5x6 button head screw. I recommend using this over the other two versions.
4/20/2021
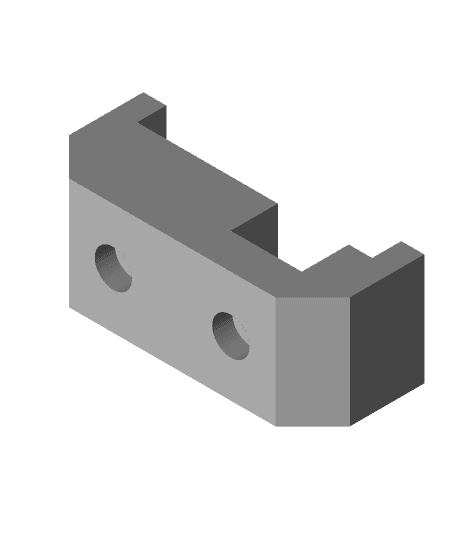
- Added longer center L bracket for even visual appearance. There are three screw holes but using two should suffice.
- Added a thicker V2 MGN9H adapter block. It's 10mm thick and should be plenty rigid. Print this with 100% infill with 4 lines wall with support touching build plate for the notch between the two M5 screw holes.
- Added MGN9H dial gauge mount that has 9.5mm collar. handy for manually leveling the bed
END EDIT
This is part of my attempt to remove the use of v-wheels from the Anycubic Mega Zero. For this mod you will need the following parts:
Needed Parts
- (1) 350mm MGN9H - 300mm should work as well but 350mm is easier to align without risking the pillow block flying off the rail. If you buy cheap MGN clones, make sure to take them apart and clean the dirty grease and lube with lithium grease or other thin synthetic greases. I am currently using Krytox 105 since this is what I have on hand. Seems to work fine, but Krytox isn't exactly cheap.
- (6) M5 T nut with M5x6mm screws for the rail mounts
- (2) M5x6mm hex button head screws for the hot-end plate / MGN9H adapter. (3) M5x6mm if you are using V3.
- (4) M3x8mm hex socket cap screws for the hot-end plate adapter
- (10) M3x6mm hex socket cap screws for the linear rail
Installation
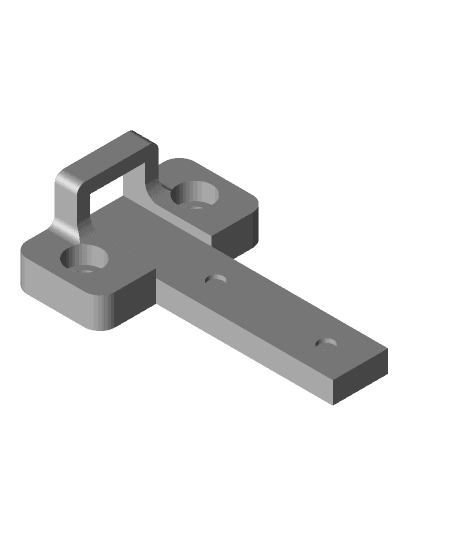
- Disassemble the x-axis assembly and attach the pillow block adapter to the hot-end plate using 2 M5x6mm button head screws. Either pretap the M5 screw holes or increase the bore size using a 4.5mm drill bit. The holes are designed with 4.5mm bore size which should work if printing with PETG but there might be slight shrinkage with PLA.
- Attach the M5 t-nuts and screws to the linear rail mounts. Make sure to place the x-axis belt on the 2020 extrusion before mounting the linear rail mounts.
- Align the linear rails to the mount and use the M3x6mm screws to loosely screw down the rail in place. You want the screw cap to be flushed with the rail in order to slide the pillow block around and check for binding. Don't tighten it yet since you will need to make small alignment adjustments so that the pillow block doesn't rub against the x-axis to z-axis mounting plates on either ends. It's a very tight tollerance with only about .2mm gap.
- Tighten the M5 screws for the linear rail mounting brackets.
- Tighten the M3 screws to secure the rail to the mounting brackets. Continue to move the pillow block around during this process to make sure alignment hasn't changed.
- Attach the hot-end plate to the pillow block using the 4 M3x8mm screws. Finger tight should be fine. Don't over tighten and don't use screws longer than 8mm. 6mm might work as well.
- Rerun Z-offset calibration
Anycubic Mega Zero X-Axis Linear Rail

Anycubic Mega Zero Dual Z Linear rod swap
AnyCubic Mega Zero V1 Y-Axis MGN12 Linear Rails
Anycubic Mega Zero Z-Axis Linear Rail

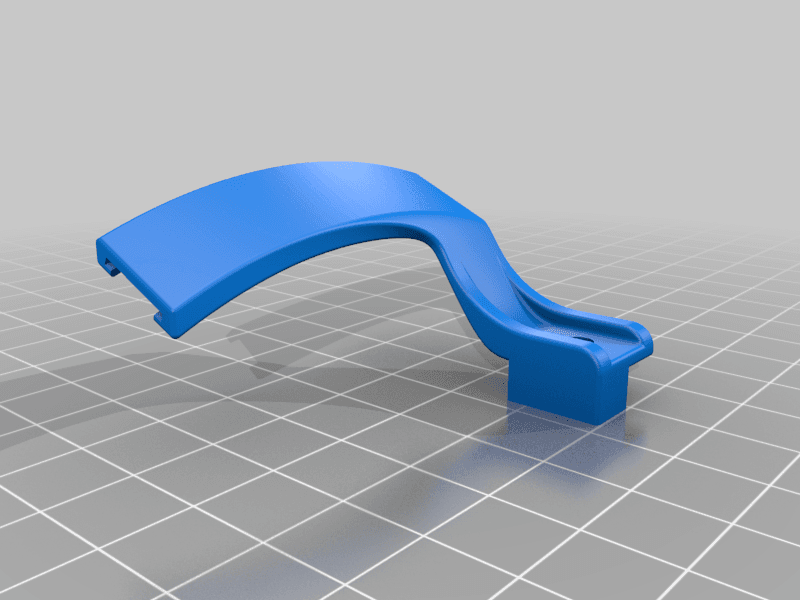
HMG7.2 Anycubic Mega Zero Gantry Adapter.stl
X-Axis Linear Rail For MGN12 Linear Rail
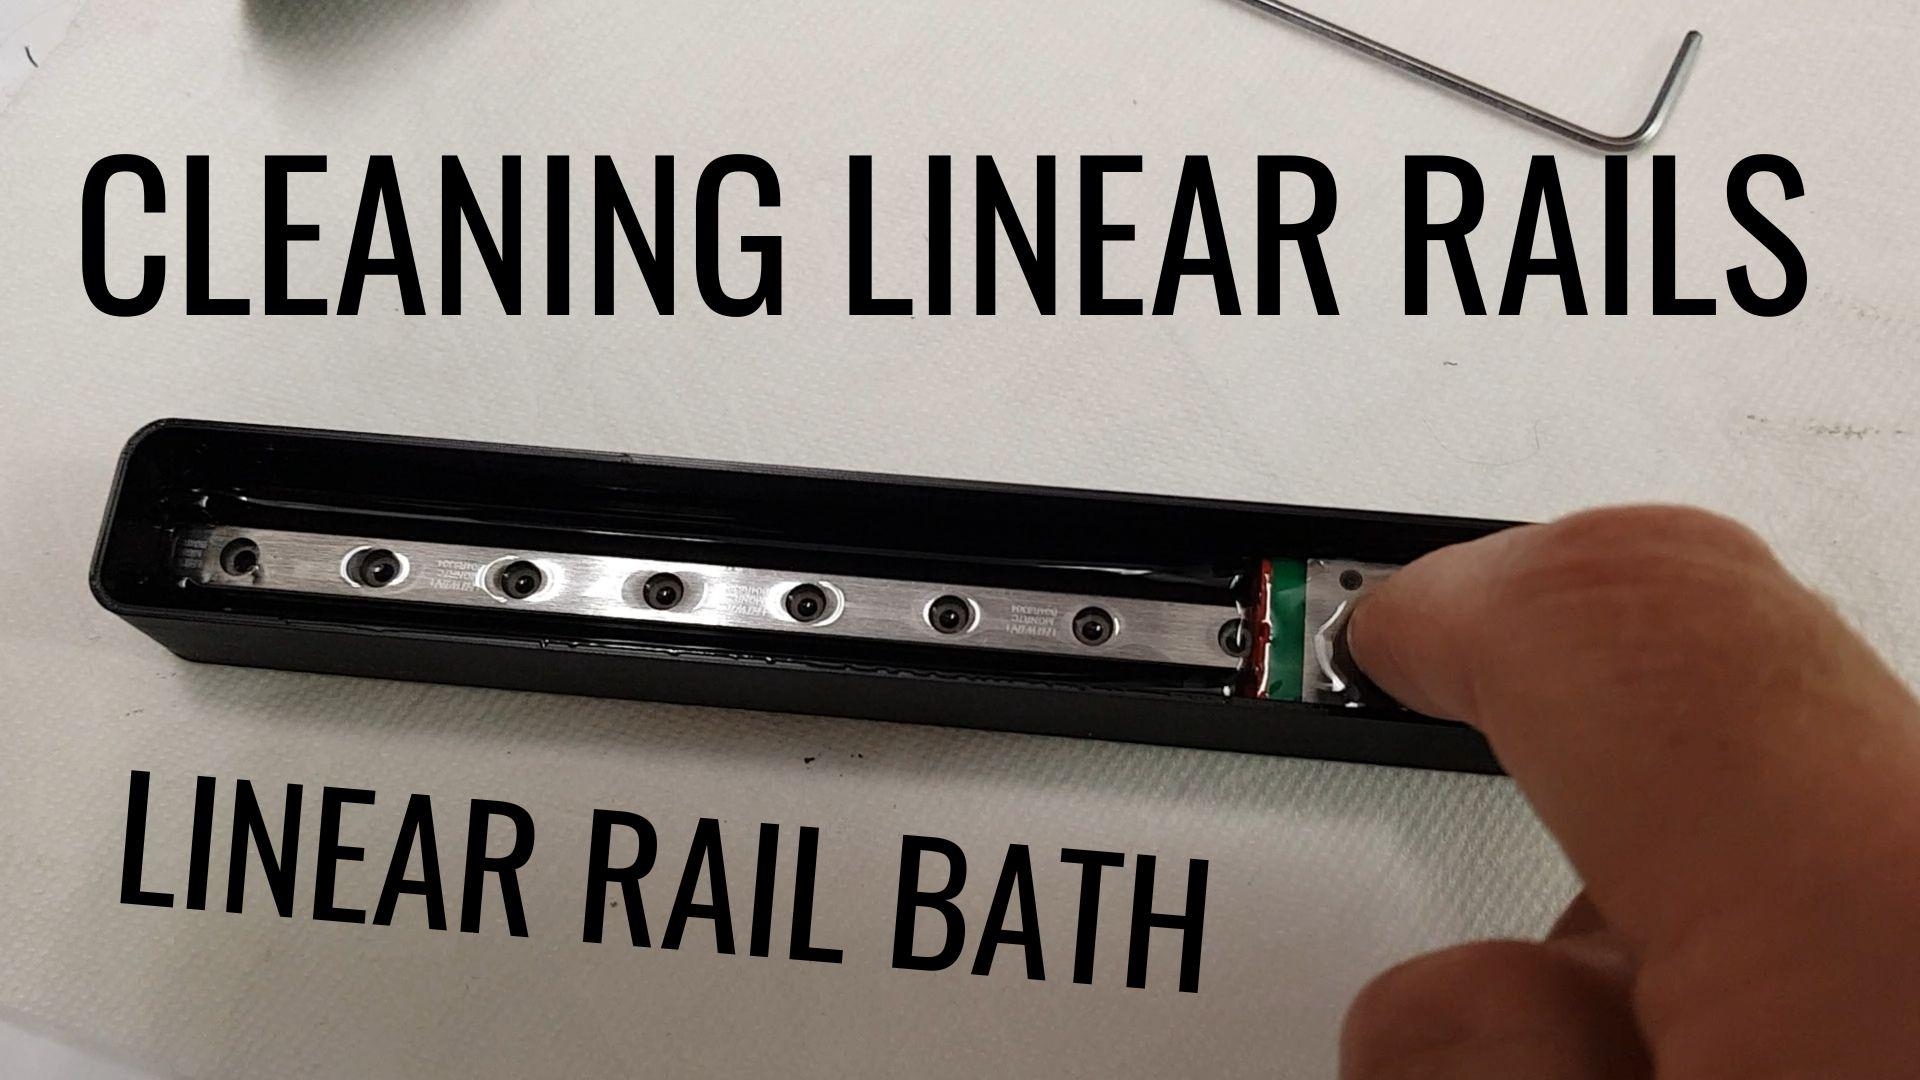
Linear Rail Bath - Clean your linear rails
Anycubic Mega Zero 2.0 5015 cooling fan duct
ORIGINAL Anycubic Mega Zero Layer fan Funnel

Anycubic Mega Zero 2.0 Front V-Slot Cover
Anycubic Mega Zero under bed power supply (LRS-350-24)
Creality/Ender bed screw drilling template for Anycubic Mega Zero
Anycubic Mega Zero Sherpa Mini Mount
Anycubic Mega Zero Depth Gauge

Anycubic Mega Zero Lead Screw Support Bearing Block
LED tape holder i3 Anycubic i3 Mega MK4 / LED-Band halter i3 Anycubic i3 Mega MK4

Hot End Decorative Plate for Anycubic Mega, Mega s, and others
MGN12 2040 Carriage Stop-Linear Rail Alignment Tool.stl
Ender 5 Core XY with Linear Rails MK2
Mega Zero combination filament runout and tangle sensor
.jpg&w=3840&q=75)