AnyCubic Mega Zero V1 Y-Axis MGN12 Linear Rails
Model originally uploaded to Thingiverse at https://www.thingiverse.com/thing:4903945.
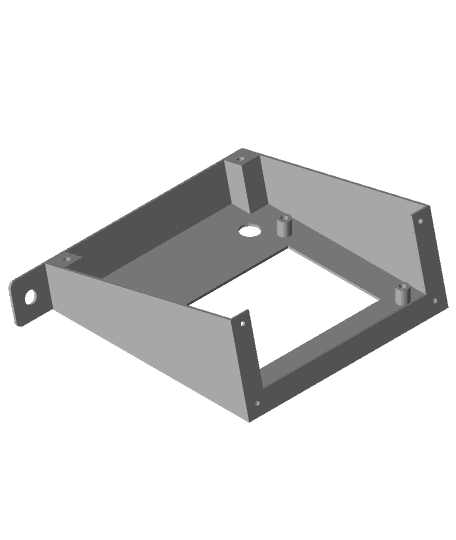
This mod uses 2 MGN12 with 3 MGN12H carriage blocks to replace the existing Y-Axis linear rods on the Anycubic Mega Zero. The mod reuses all existing factory M4 nuts and mount locations to preserve bed height. If anyone wants to use 2 MGN12H blocks instead of 3, let me know and I will make an additional mount. However, I strongly suggest using 3 as it will insure bed stability.
You do not need to support the MGN12 rails. They are plenty stiff. Do not attempt to use MGN9 C/H. You'll be 3mm too short in the Z direction and the MGN9 rails are not as stiff and will require support.
---Edit--- 9/13/2021
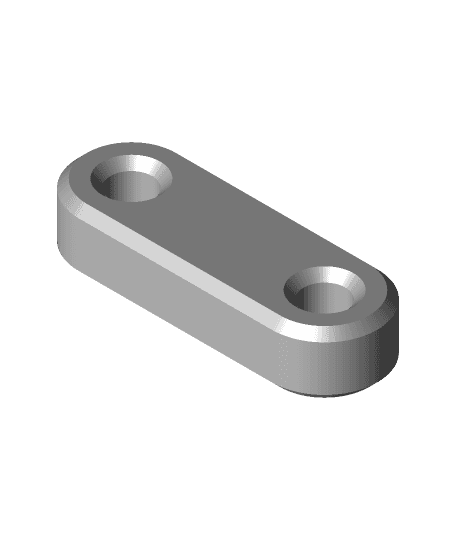
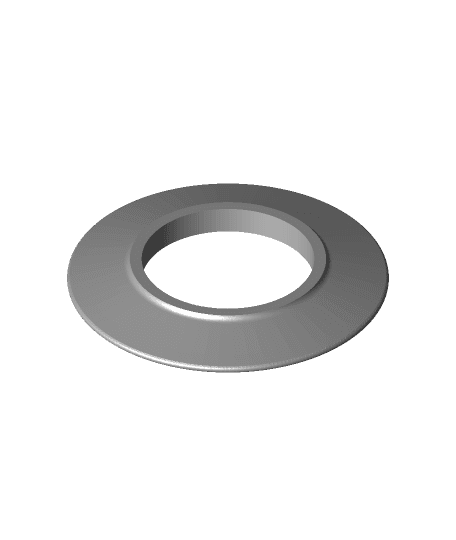
- Added djos_1475's Mounting spacer for the MGN12 rail mount. This is supposed to go under the 4020 extrusion to add additional support. See images https://imgur.com/gallery/9aTykbo
9/11/2021
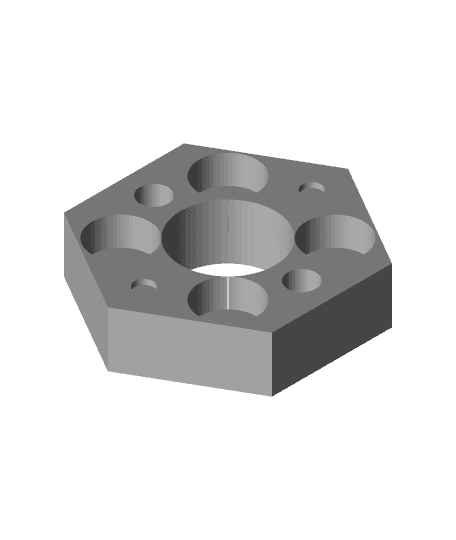
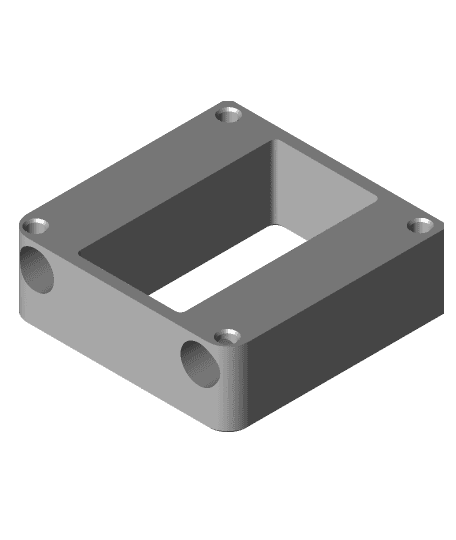
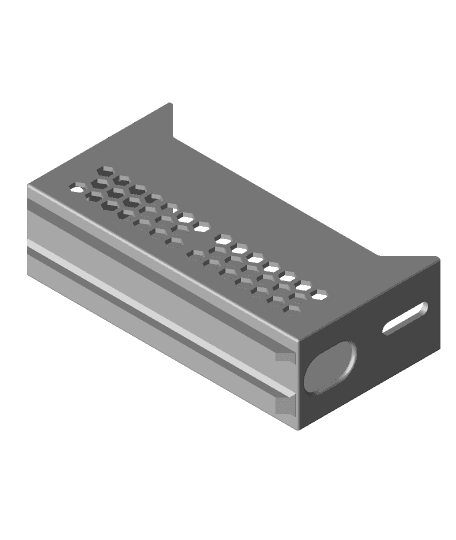
- Added MGN12 Adapter block that supports heated inserts. For the best result use the brass inserts with a flat end like these https://shorturl.at/dfwNX (also see photo).
---End Edit---
This is part of a series of mod designs for the Mega Zero V1, here are others mods I've designed:
- MGN9 X-Axis
- Dual Lead Screw Linear Rods Z-Axis
- Sherpa Mini Direct Drive Mount
- Magnetic Lead Screw Anti-Wobble
BOM: (24) M3x8mm Hex Cap Screws - (8) for MGN12, (16) for attaching y-carriage adapter to MGN12H blocks. (8) M3 Nylock nuts (2) 400mm MGN12 Rails (3) MGN12H Carriage Blocks (12) M3 Brass Heated Inserts for heated insert block version.
Reuse M4 nuts on the y-carriage and linear rod mount.
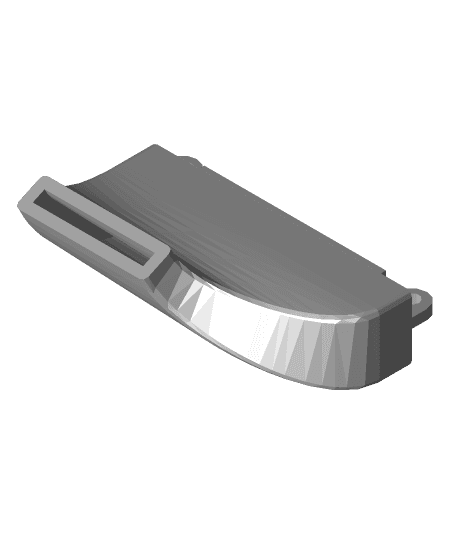
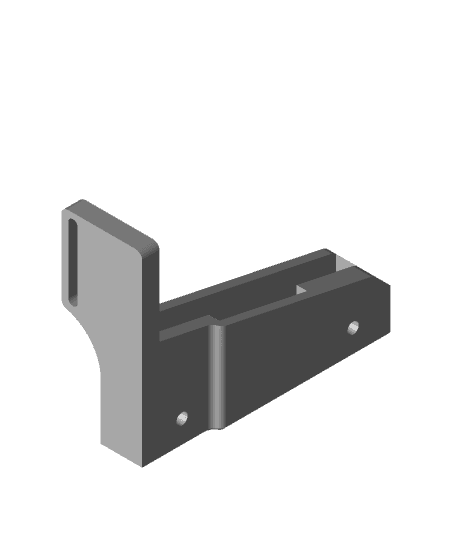
Parts to Print: (2) Linear Rail Front Y-Axis.stl (2) Linear Rail Back Y-Axis.stl (3) Linear Rail Y-Carriage Adapter.stl
Printing: All parts should be printed using PETG @ 0.2mm layer height with 4 walls and 40% gyroid infill.
If you are planning on operating the printer in an enclosure then use a printing service such as Treatstock to print the parts using polycarbonate (ABS-PC / PC-ABS). Otherwise, PETG or ABS will work just fine. The screws will not conduct enough heat to warp the parts.
Installation:
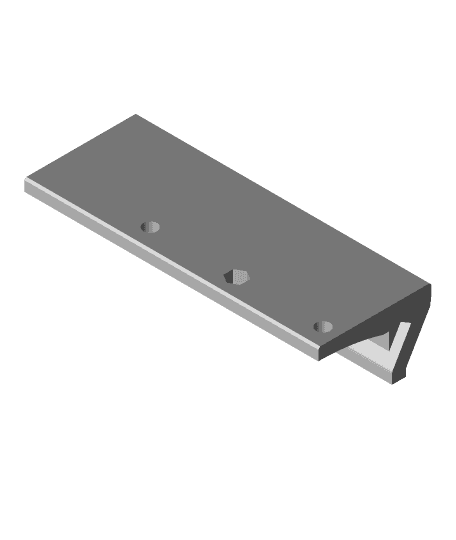
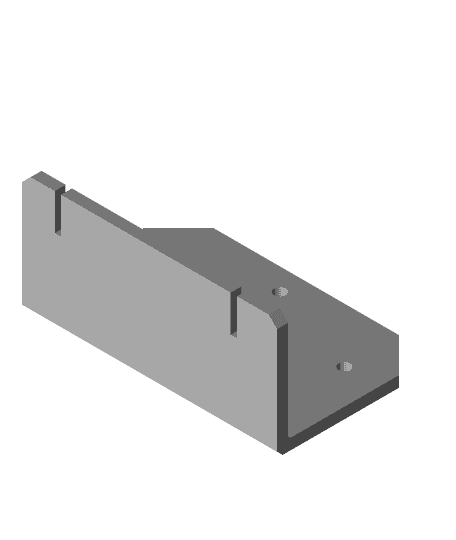
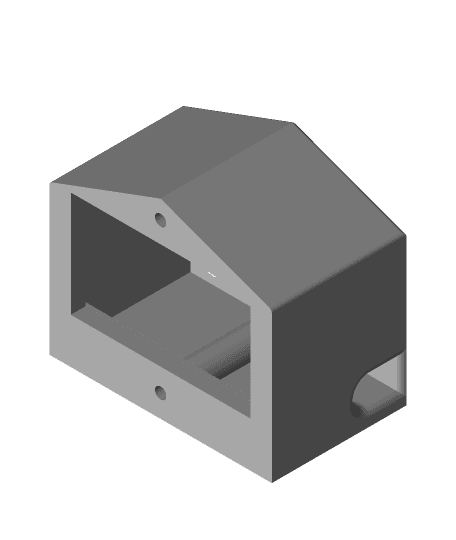
- The MGN12 front and back mounts are designed to swap places with the existing linear rod mounts. Make sure to clean out the sacrificial layer before attaching the mounts to your MGN12 rails.
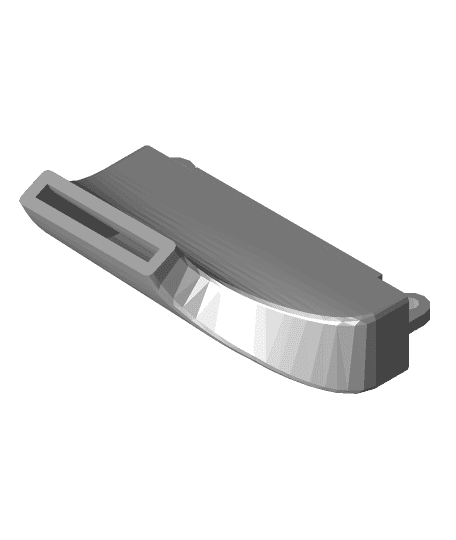
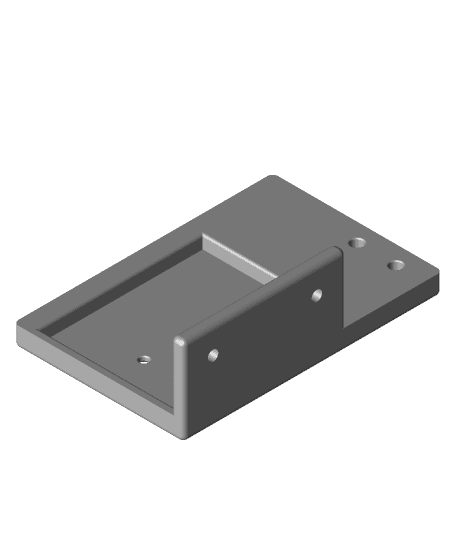
- Use an M4 tapping bit or an M4 screw to cut threads into the y-carriage adapter's M4 slots. These screw holes are on the raised ridges.
- When attaching the front and back mounts, make sure to check fitment. For my 400m MGN12, one side has an 11mm space from the last screw hole to edge, while the other has around 10.5 to 10.8mm space. The 11mm side should be facing the front as it will sit flushed with the mount. This might vary depending on where you are buying your linear rails. I don't know if there's a standard that these are cut. I recommend using nylock nuts to secure the MGN12 rails to the mounts to prevent screws from becoming loose due to vibration.
- Follow photos to correctly orient the y-carriage adapters when attaching to the MGN12H carriage blocks. The flat ends should be facing each other in order to maximize and preserve the bed's movement in the negative y-direction.
- Loosely secure the MGN12 rails to the frame.
- Attach the y-carriage mount and ensure squareness by pulling the bed all the way to the front and tighten a few M4 screws to secure and then the rest after.
- Slide the y-carriage back and forth making sure the MGN12H blocks are not binding. Tighten the M4 screws on either end of the rail mounts while continuing to check for binding. Do not over-torque. Finger tight should be sufficient.
AnyCubic Mega Zero V1 Y-Axis MGN12 Linear Rails

Anycubic Mega Zero Dual Z Linear rod swap
Anycubic Mega Zero X-Axis Linear Rail
Anycubic Mega Zero Sherpa Mini Mount
Compact Z-Axis Magnetic Wobble Dampener
Anycubic Mega Zero Z-Axis Linear Rail
X-Axis Linear Rail For MGN12 Linear Rail
Mega Zero combination filament runout and tangle sensor
Mega Zero Creality MK8 hot end (Ender-3) compatible fan duct

Anycubic Mega Zero 2.0 Front V-Slot Cover
Anycubic Mega Zero 2.0 5015 cooling fan duct
ORIGINAL Anycubic Mega Zero Layer fan Funnel
Anycubic Mega Zero Depth Gauge
Mega Zero 3D Touch Mount.stl
Two piece Mega Zero enclosure for Creality v4 board or SKR Mini-E3
Mega Zero IEC320 rear mount enclosure
Mega Zero under bed standby power bracket (Meanwell RS-15-5)
Anycubic Mega Zero under bed power supply (LRS-350-24)
Creality/Ender bed screw drilling template for Anycubic Mega Zero
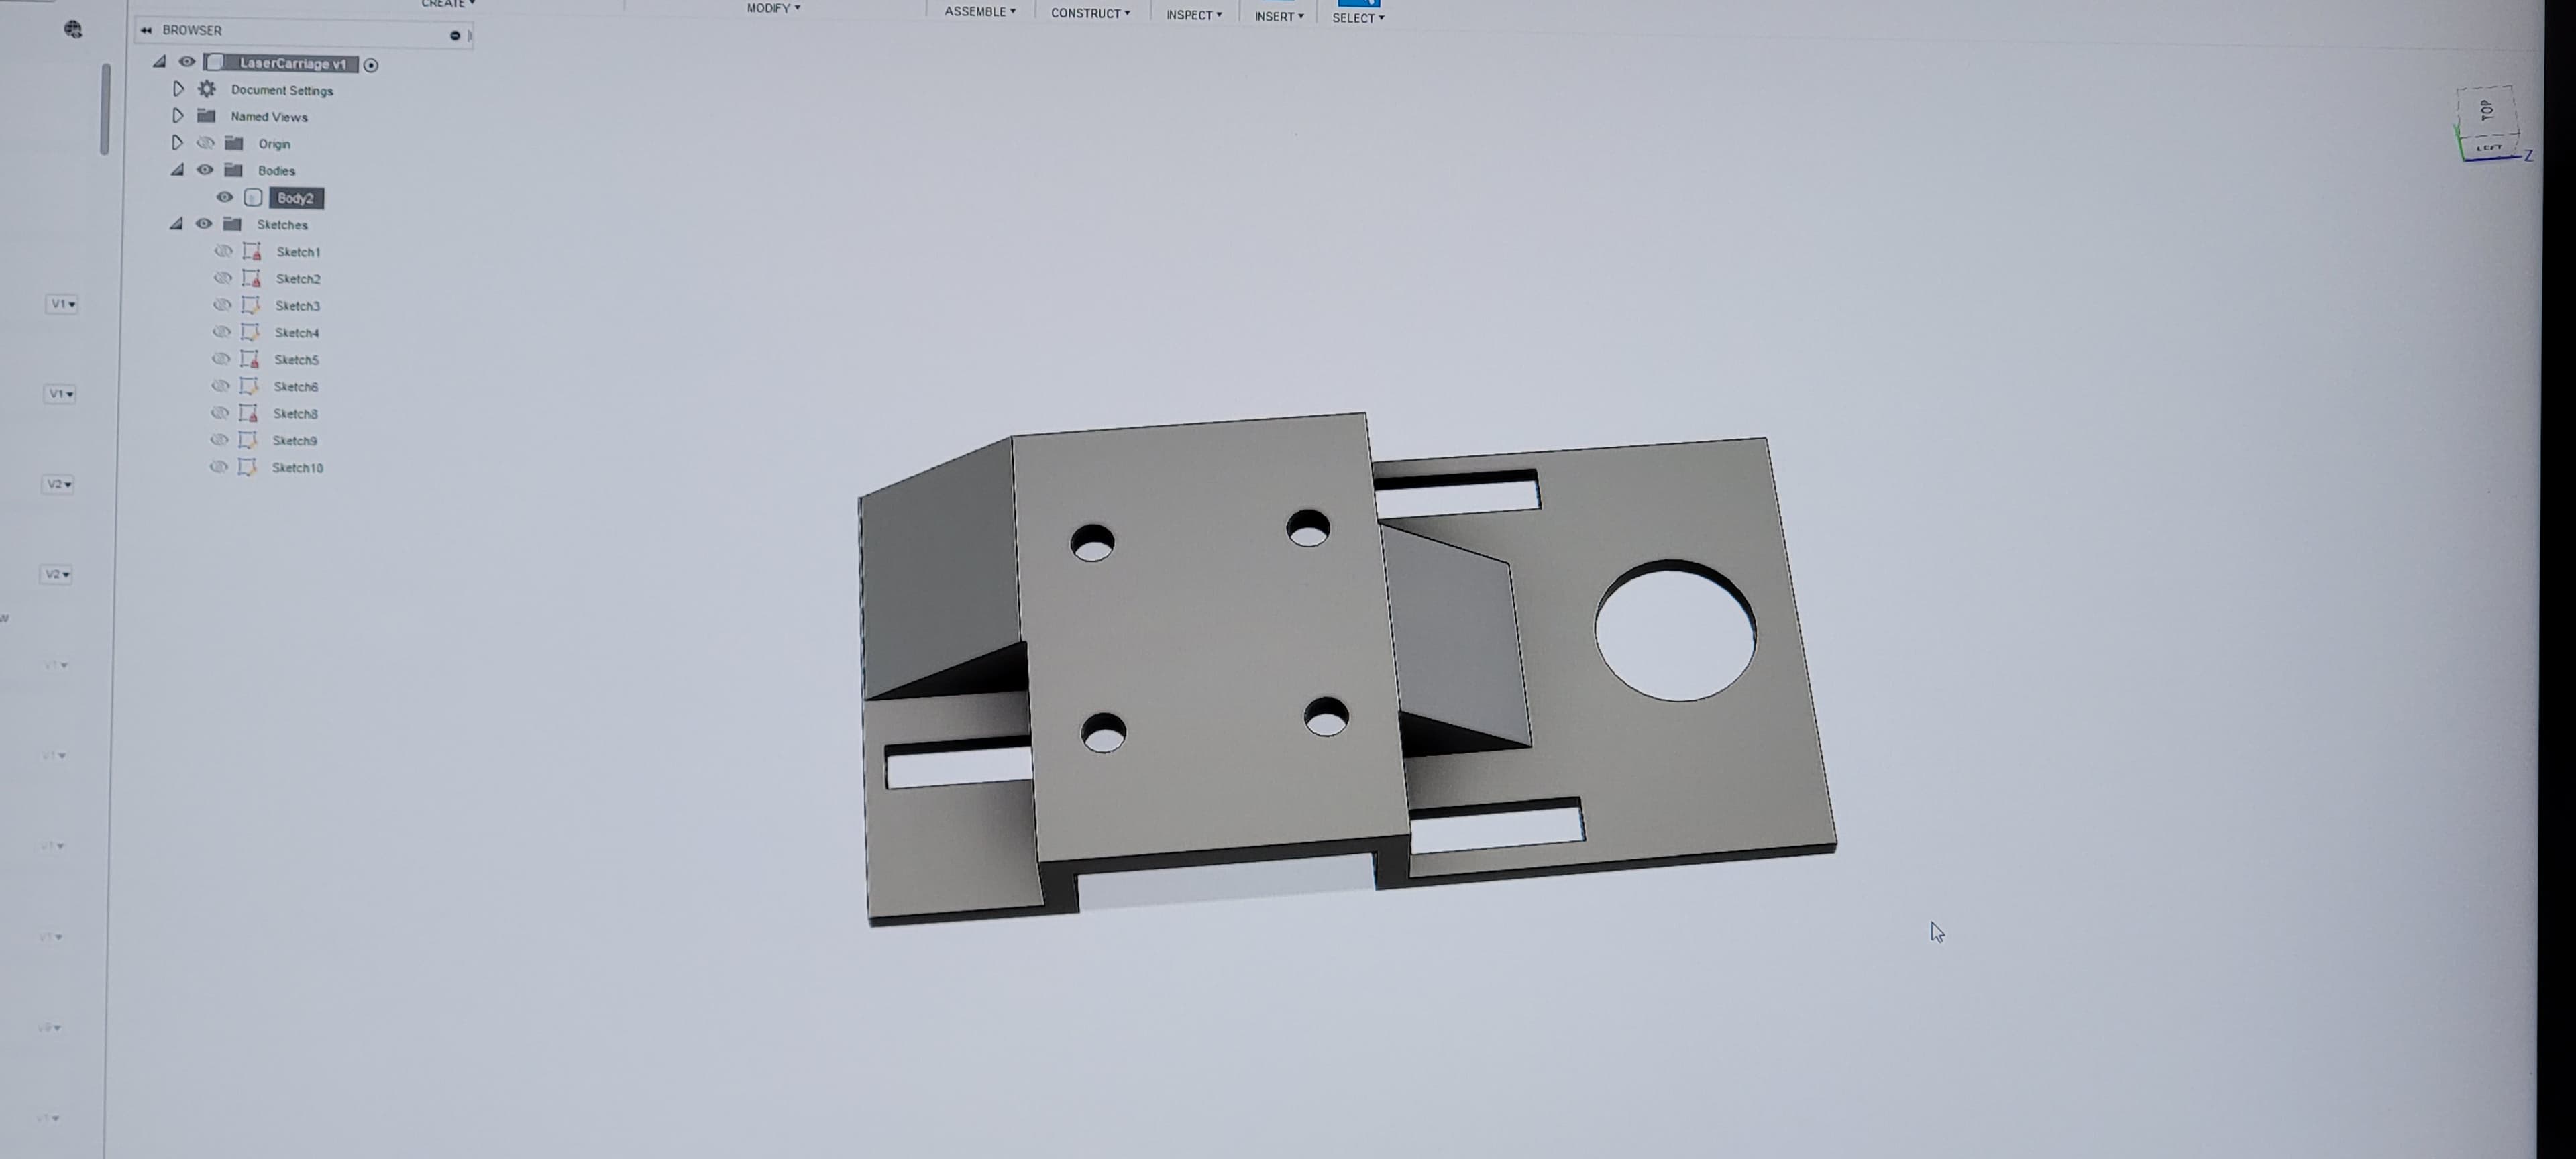
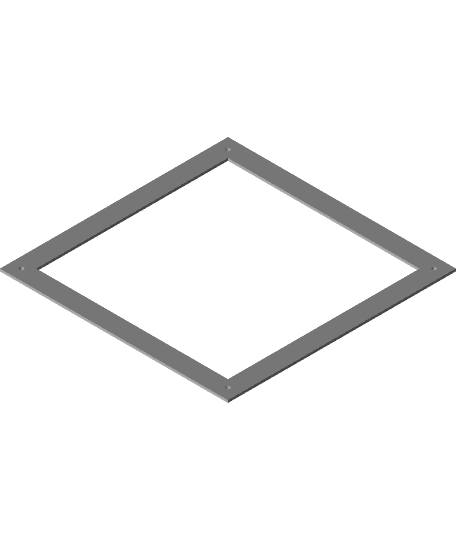
K40 Laser Adapter for MGN12 Linear Rail