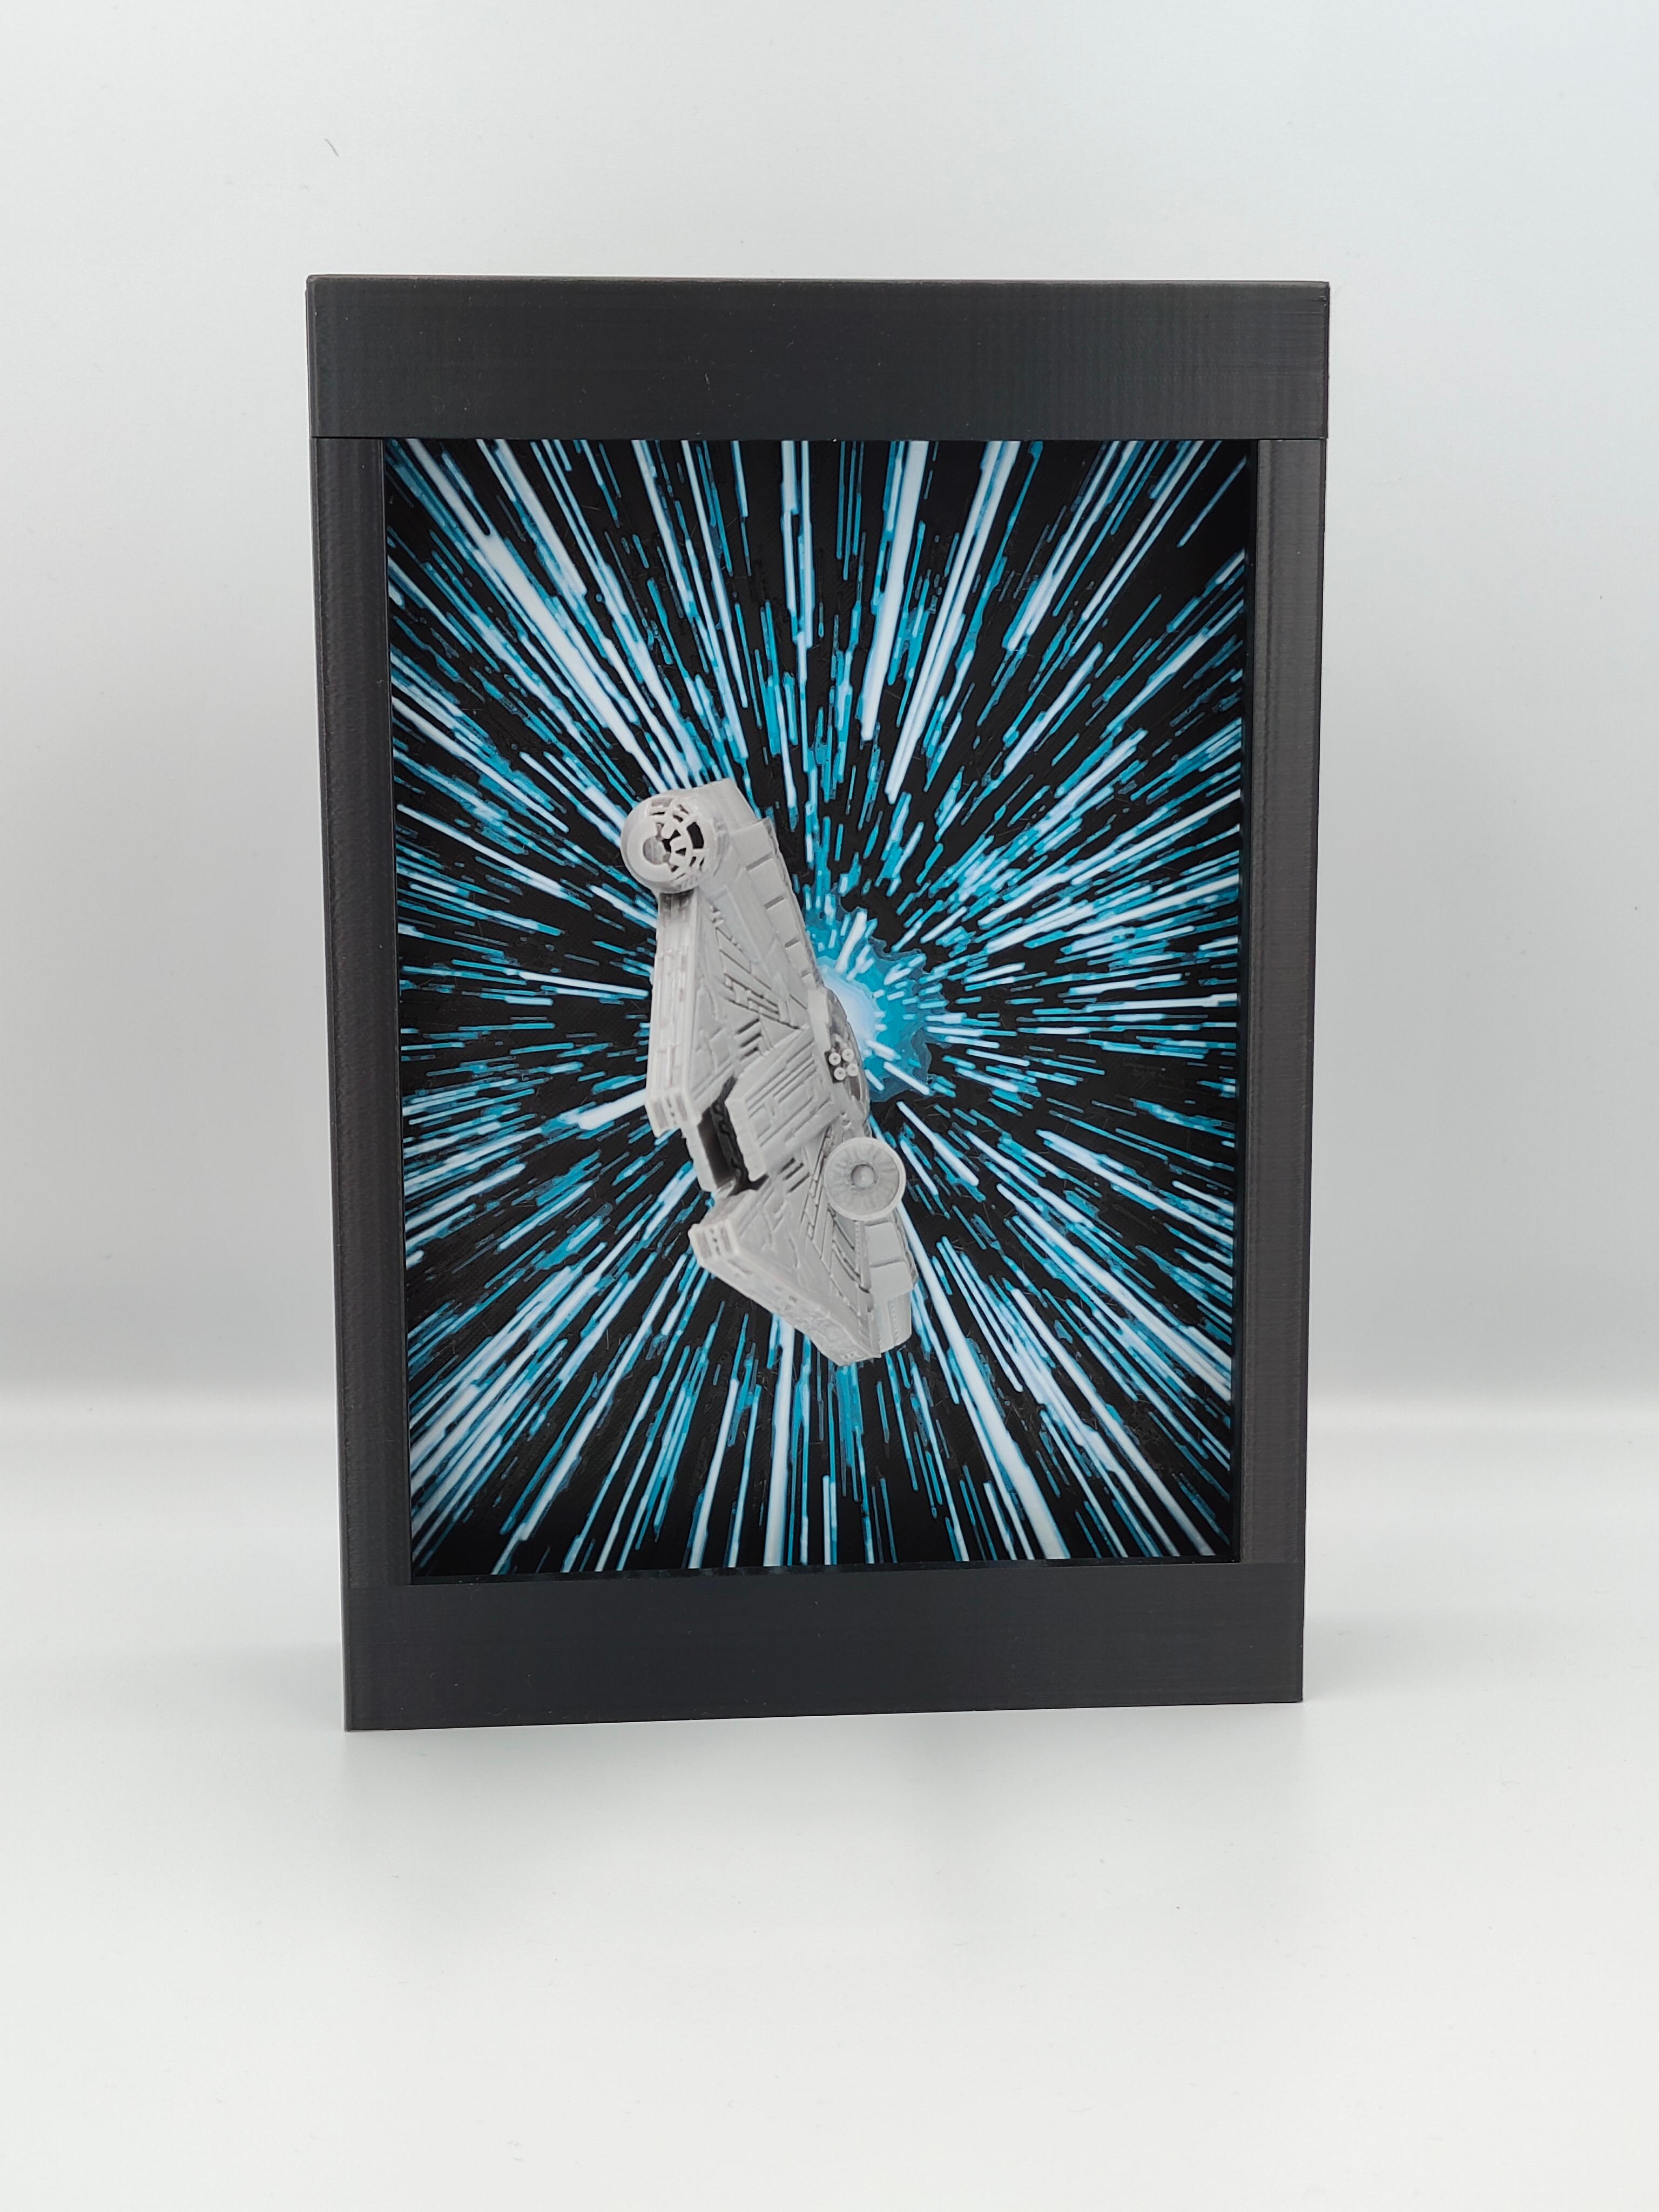
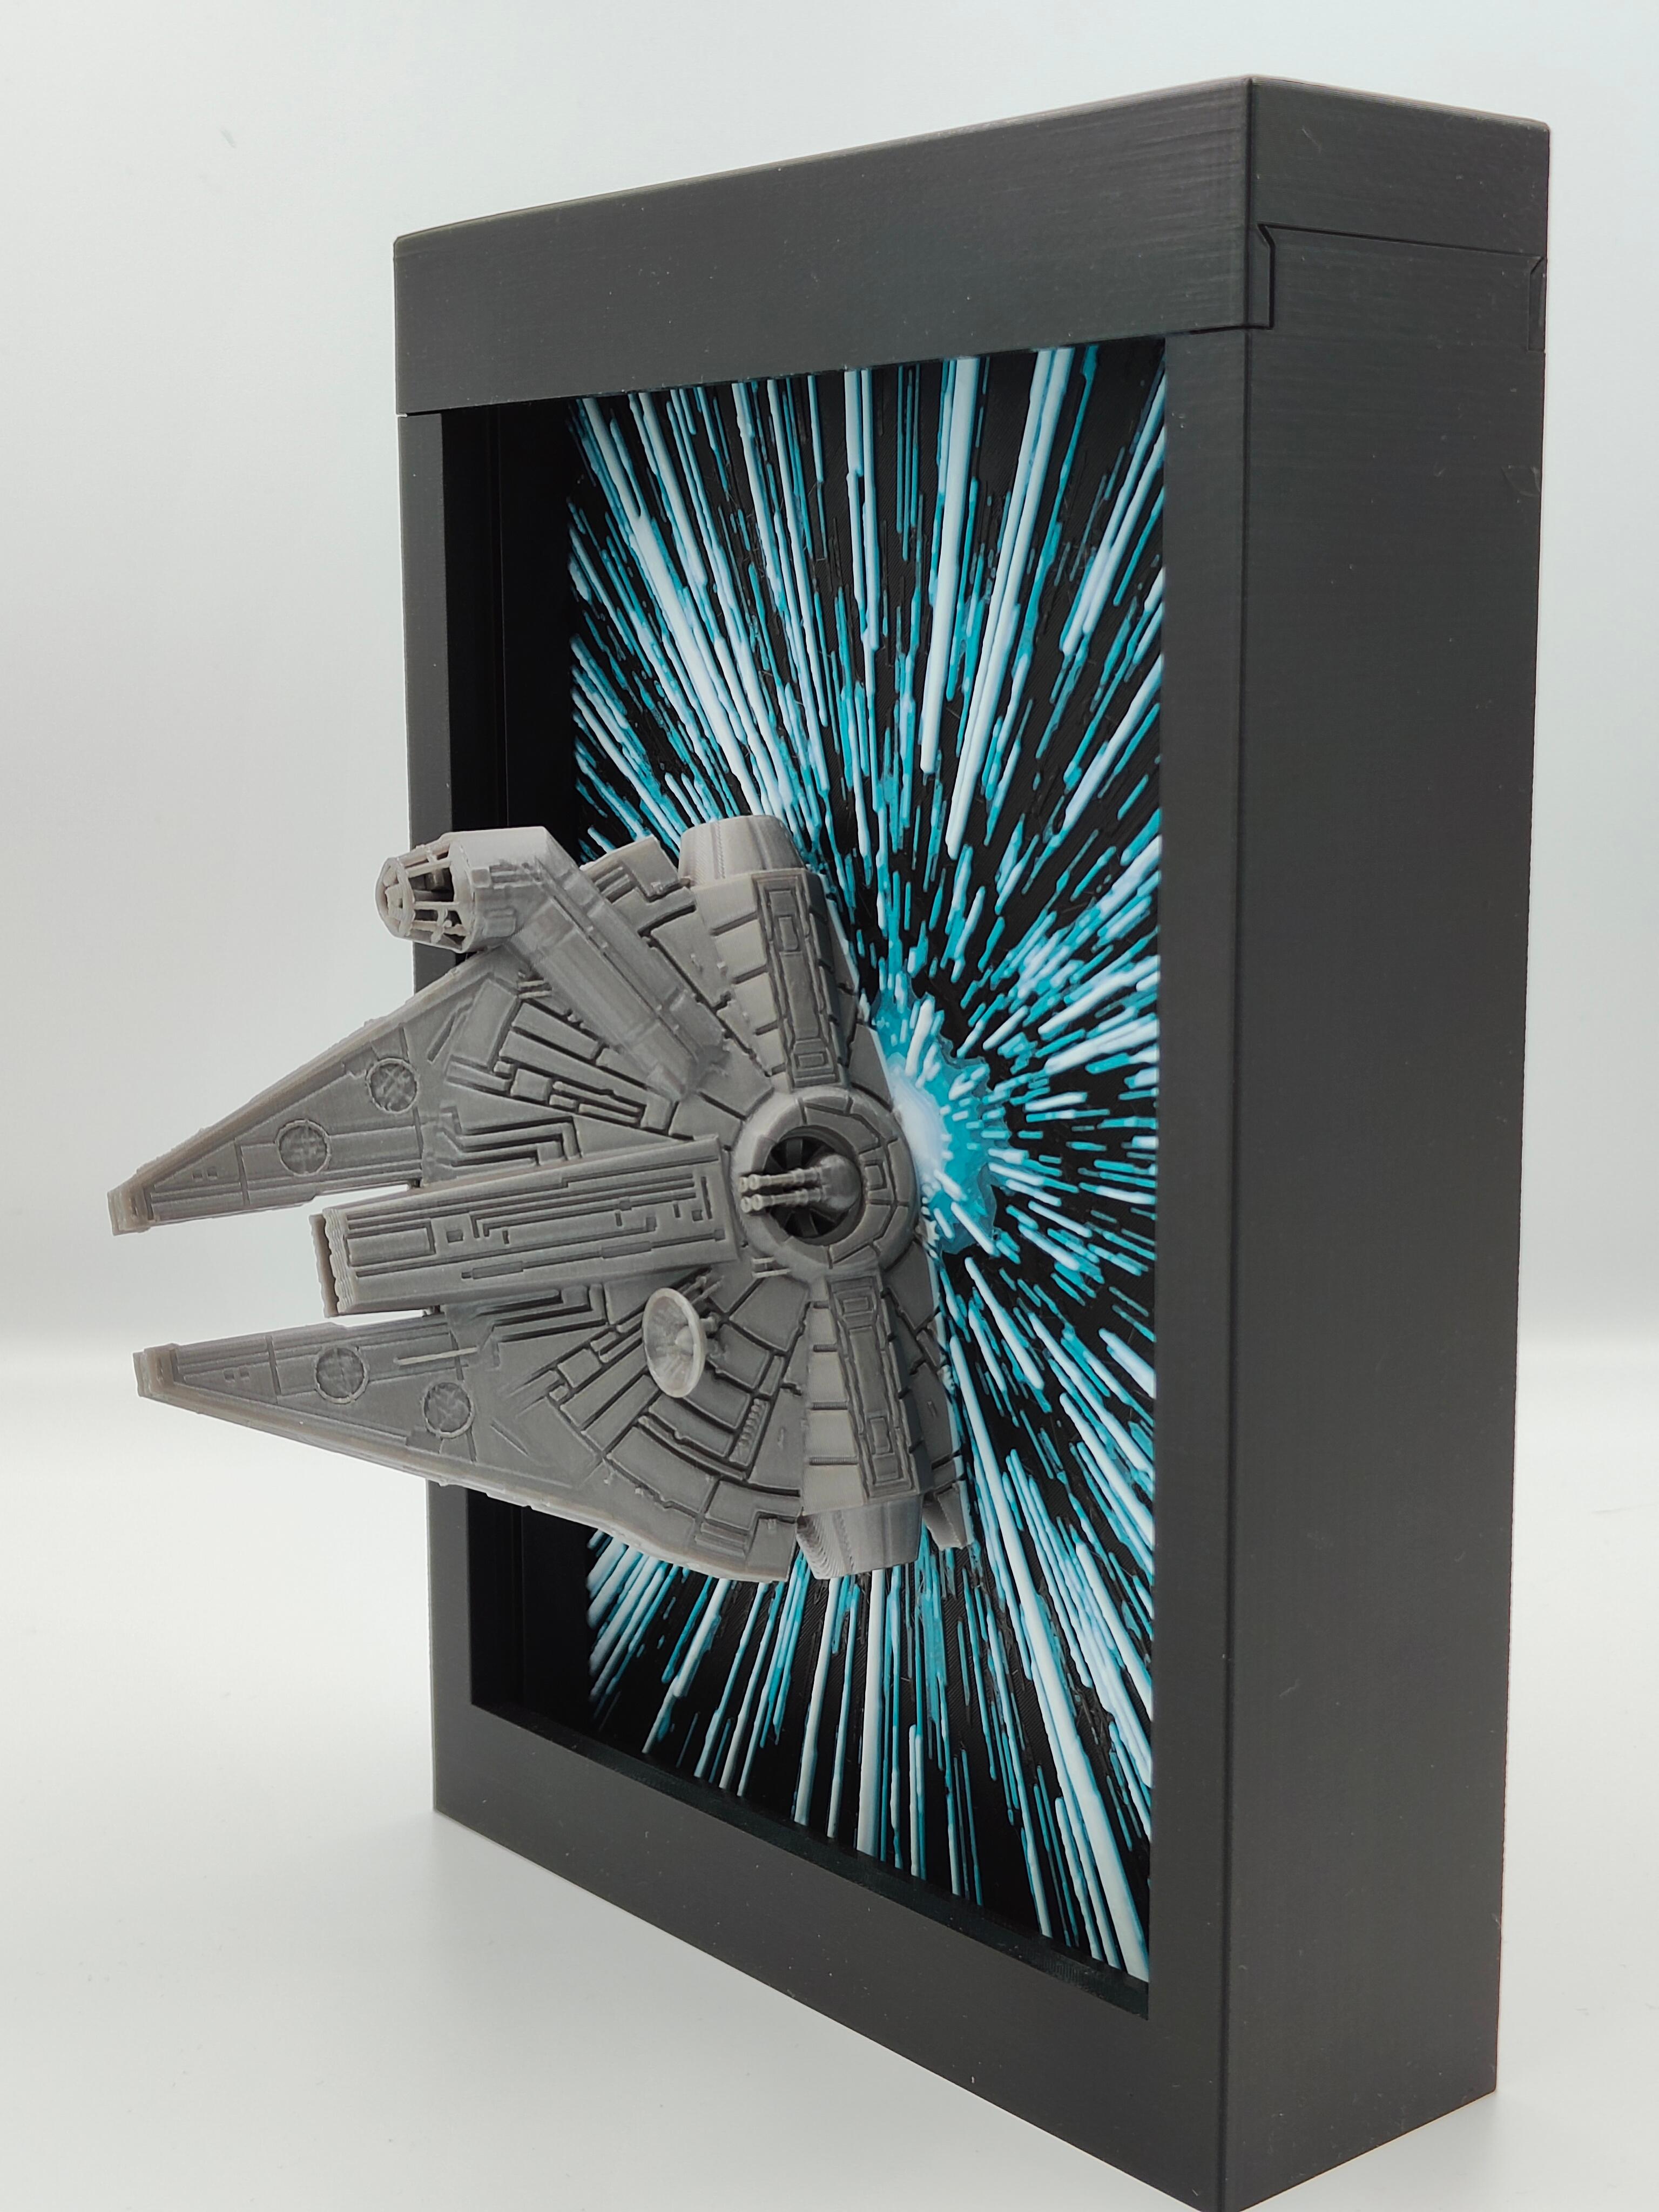
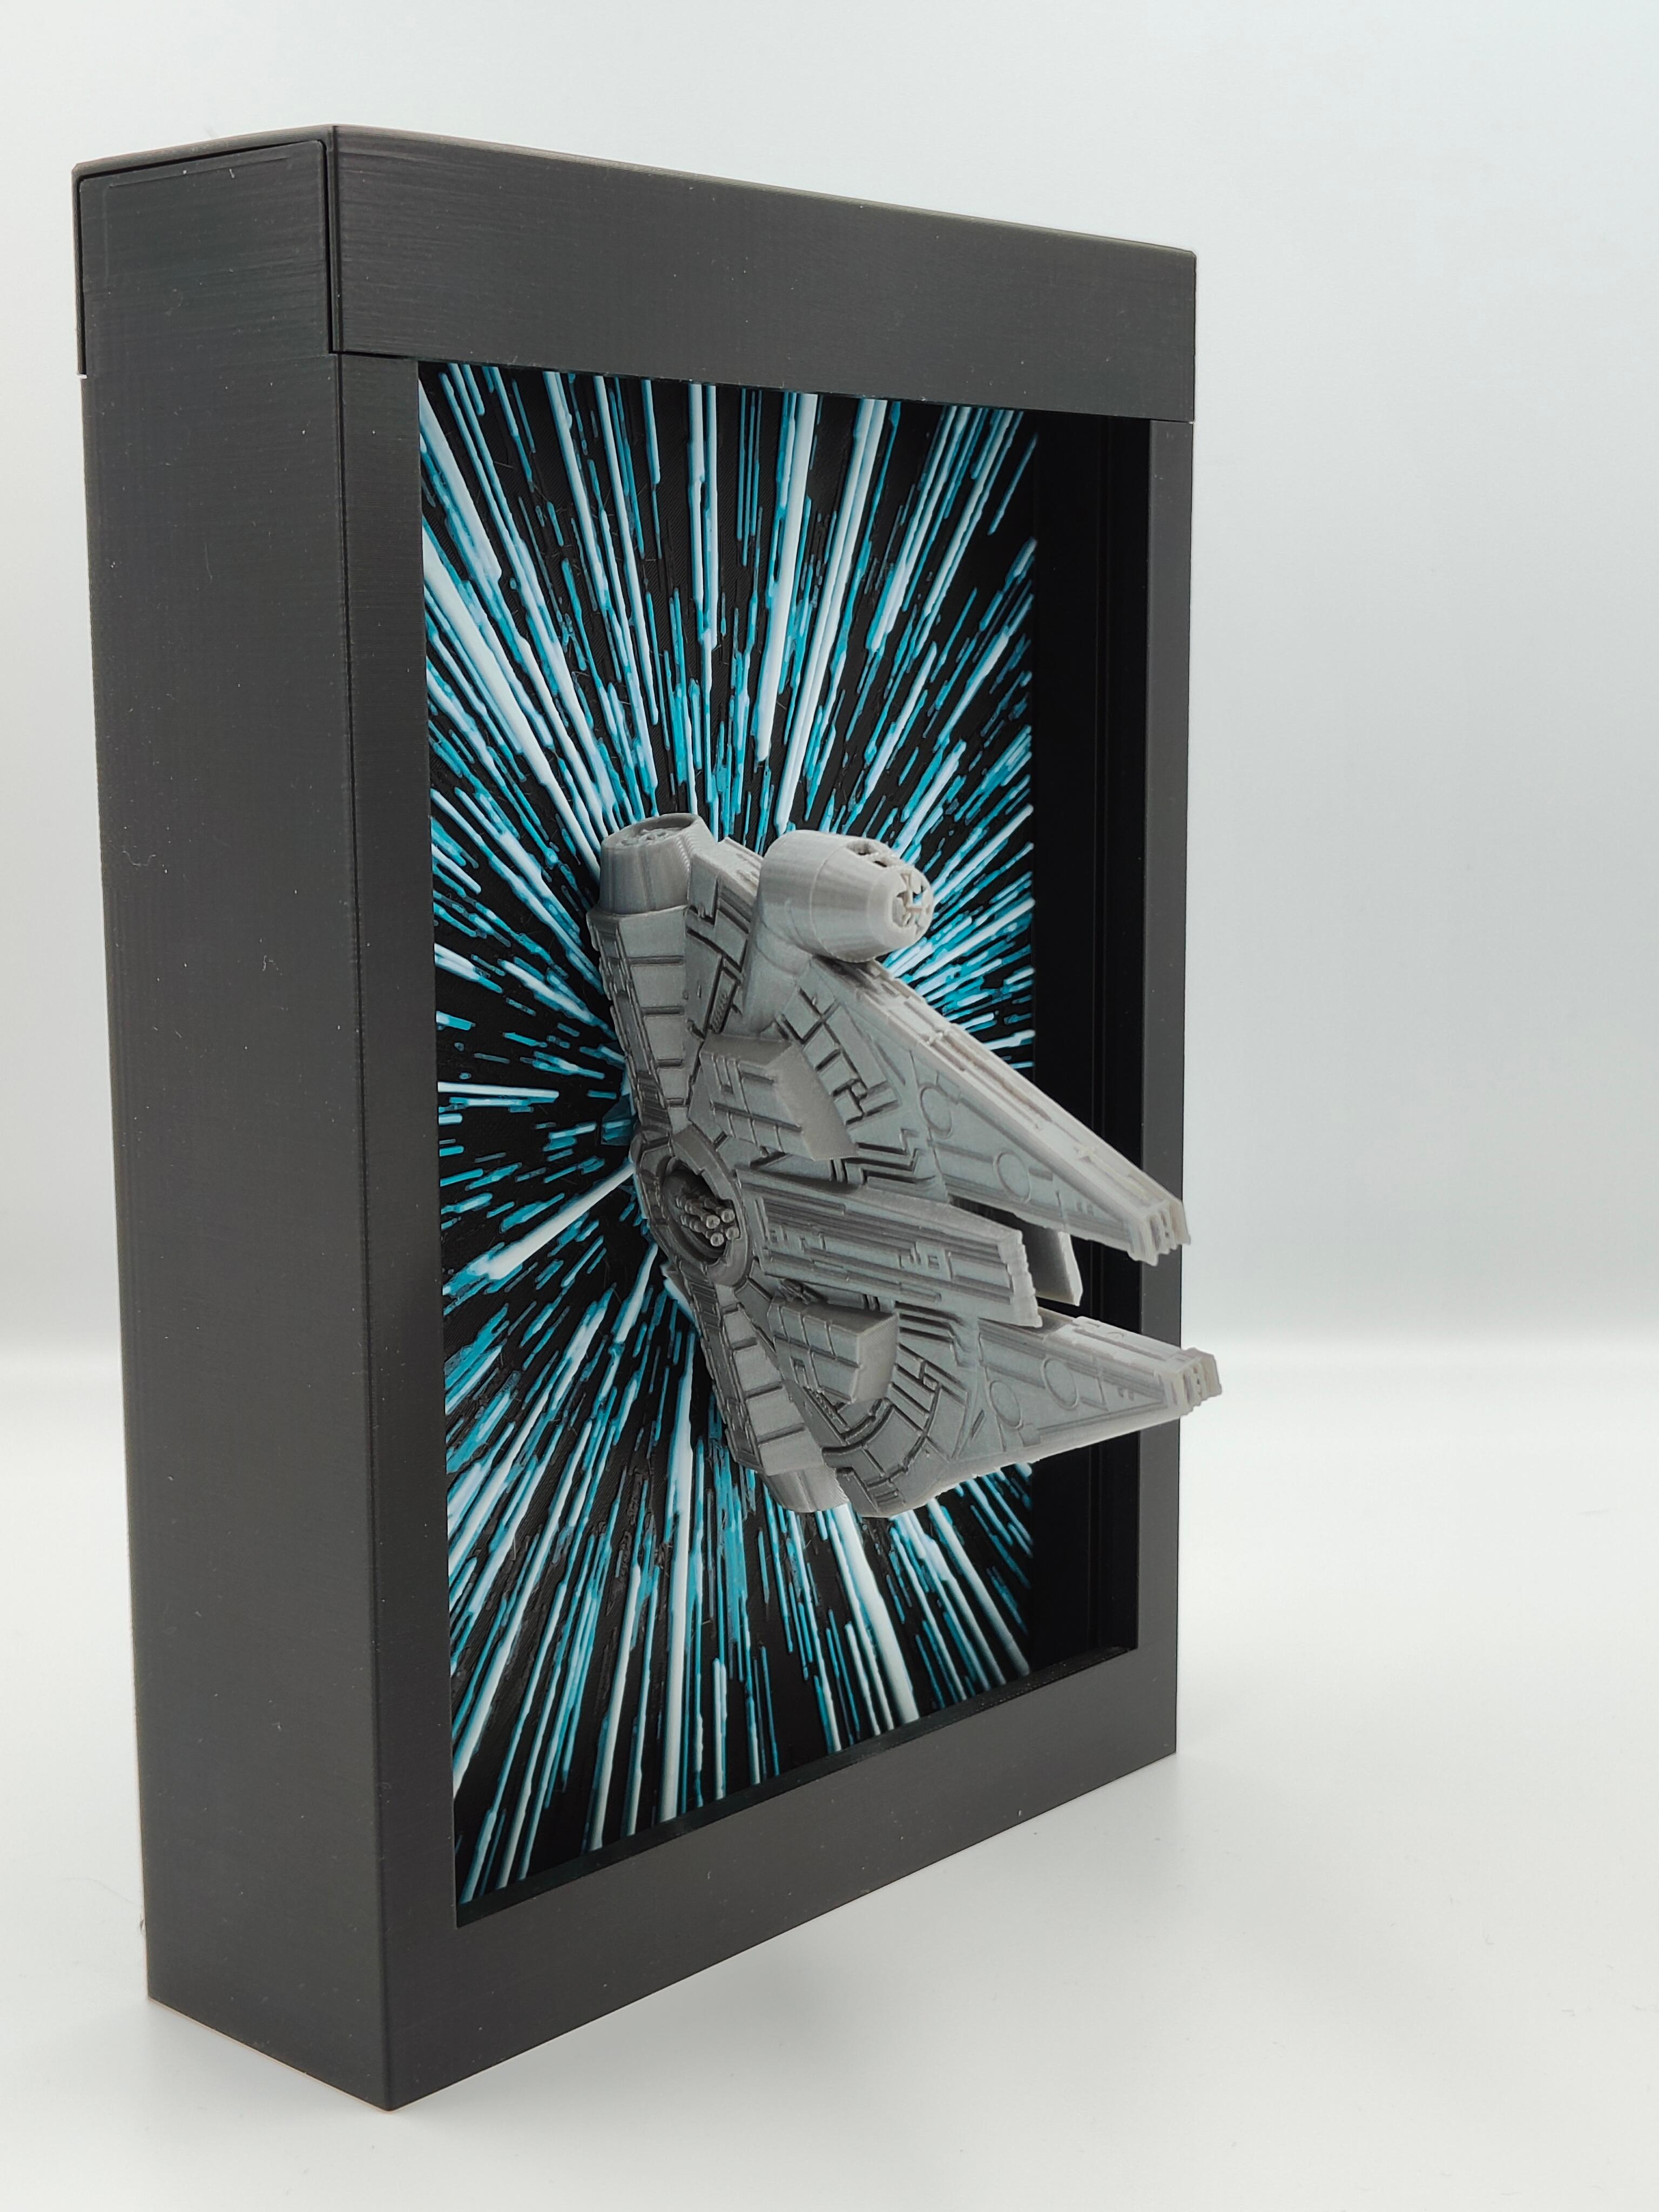
Piece of Junk in Space - Hueforge Wall Mountable Frame (TheCraftyMaker collab) Compatible
bycyanidesugarcyanidesugarPiece of Junk in Space - Hueforge Wall Mountable Frame (TheCraftyMaker collab) Compatible
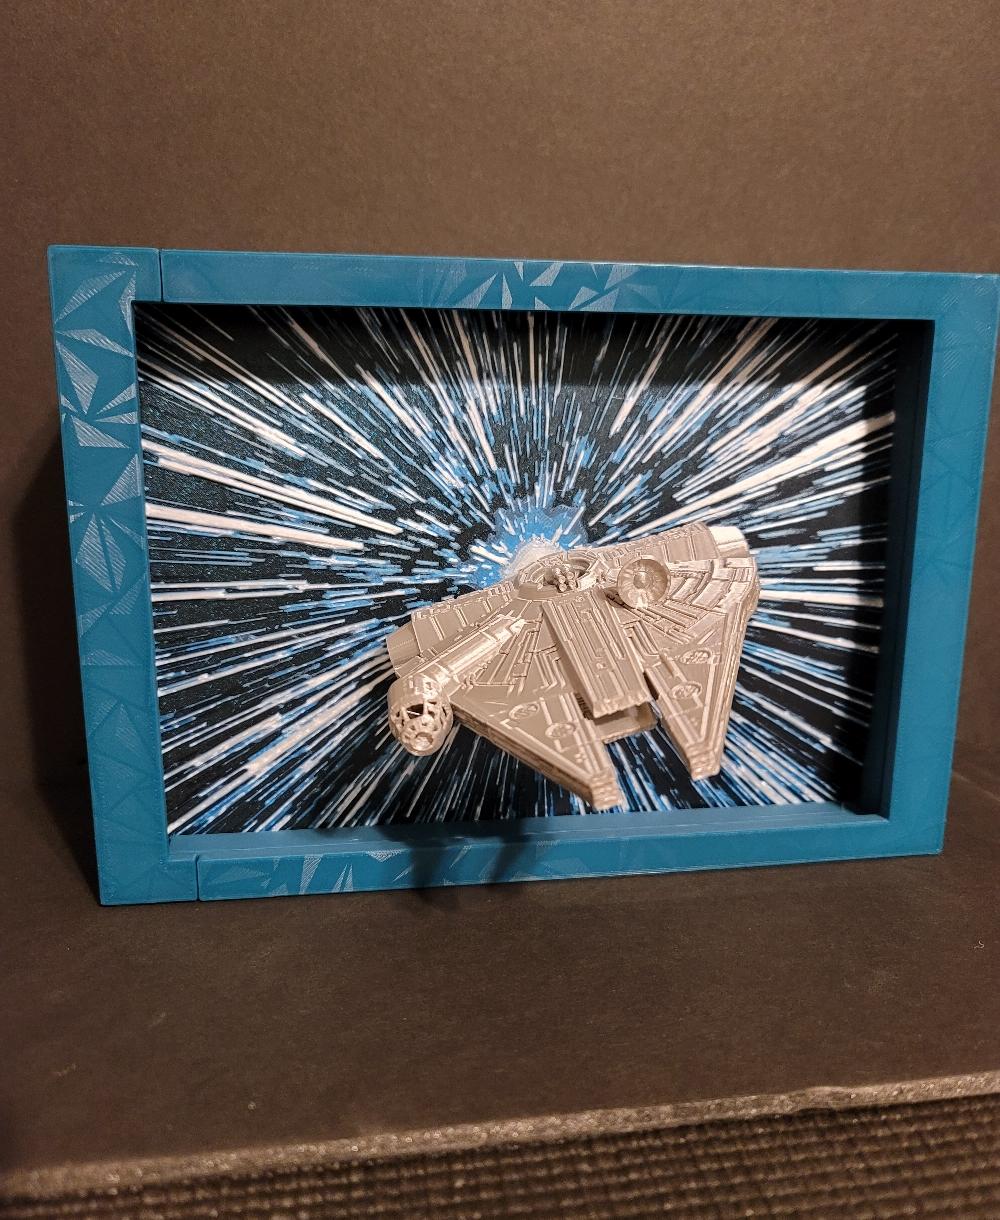
This version of the model is has been adjusted and upsized in conjunction with the collaboration with TheCraftyMaker's Hueforge Wall Mountable Frame.
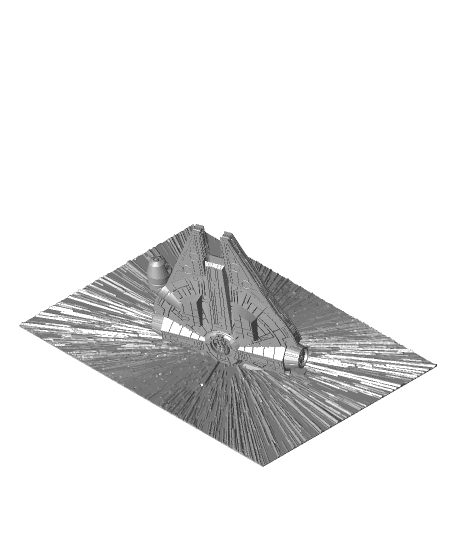
This print is now 210mmx150mm, slides in perfectly into the frame, and you can now have a wonderful piece of junk hanging from your wall in NO TIME!
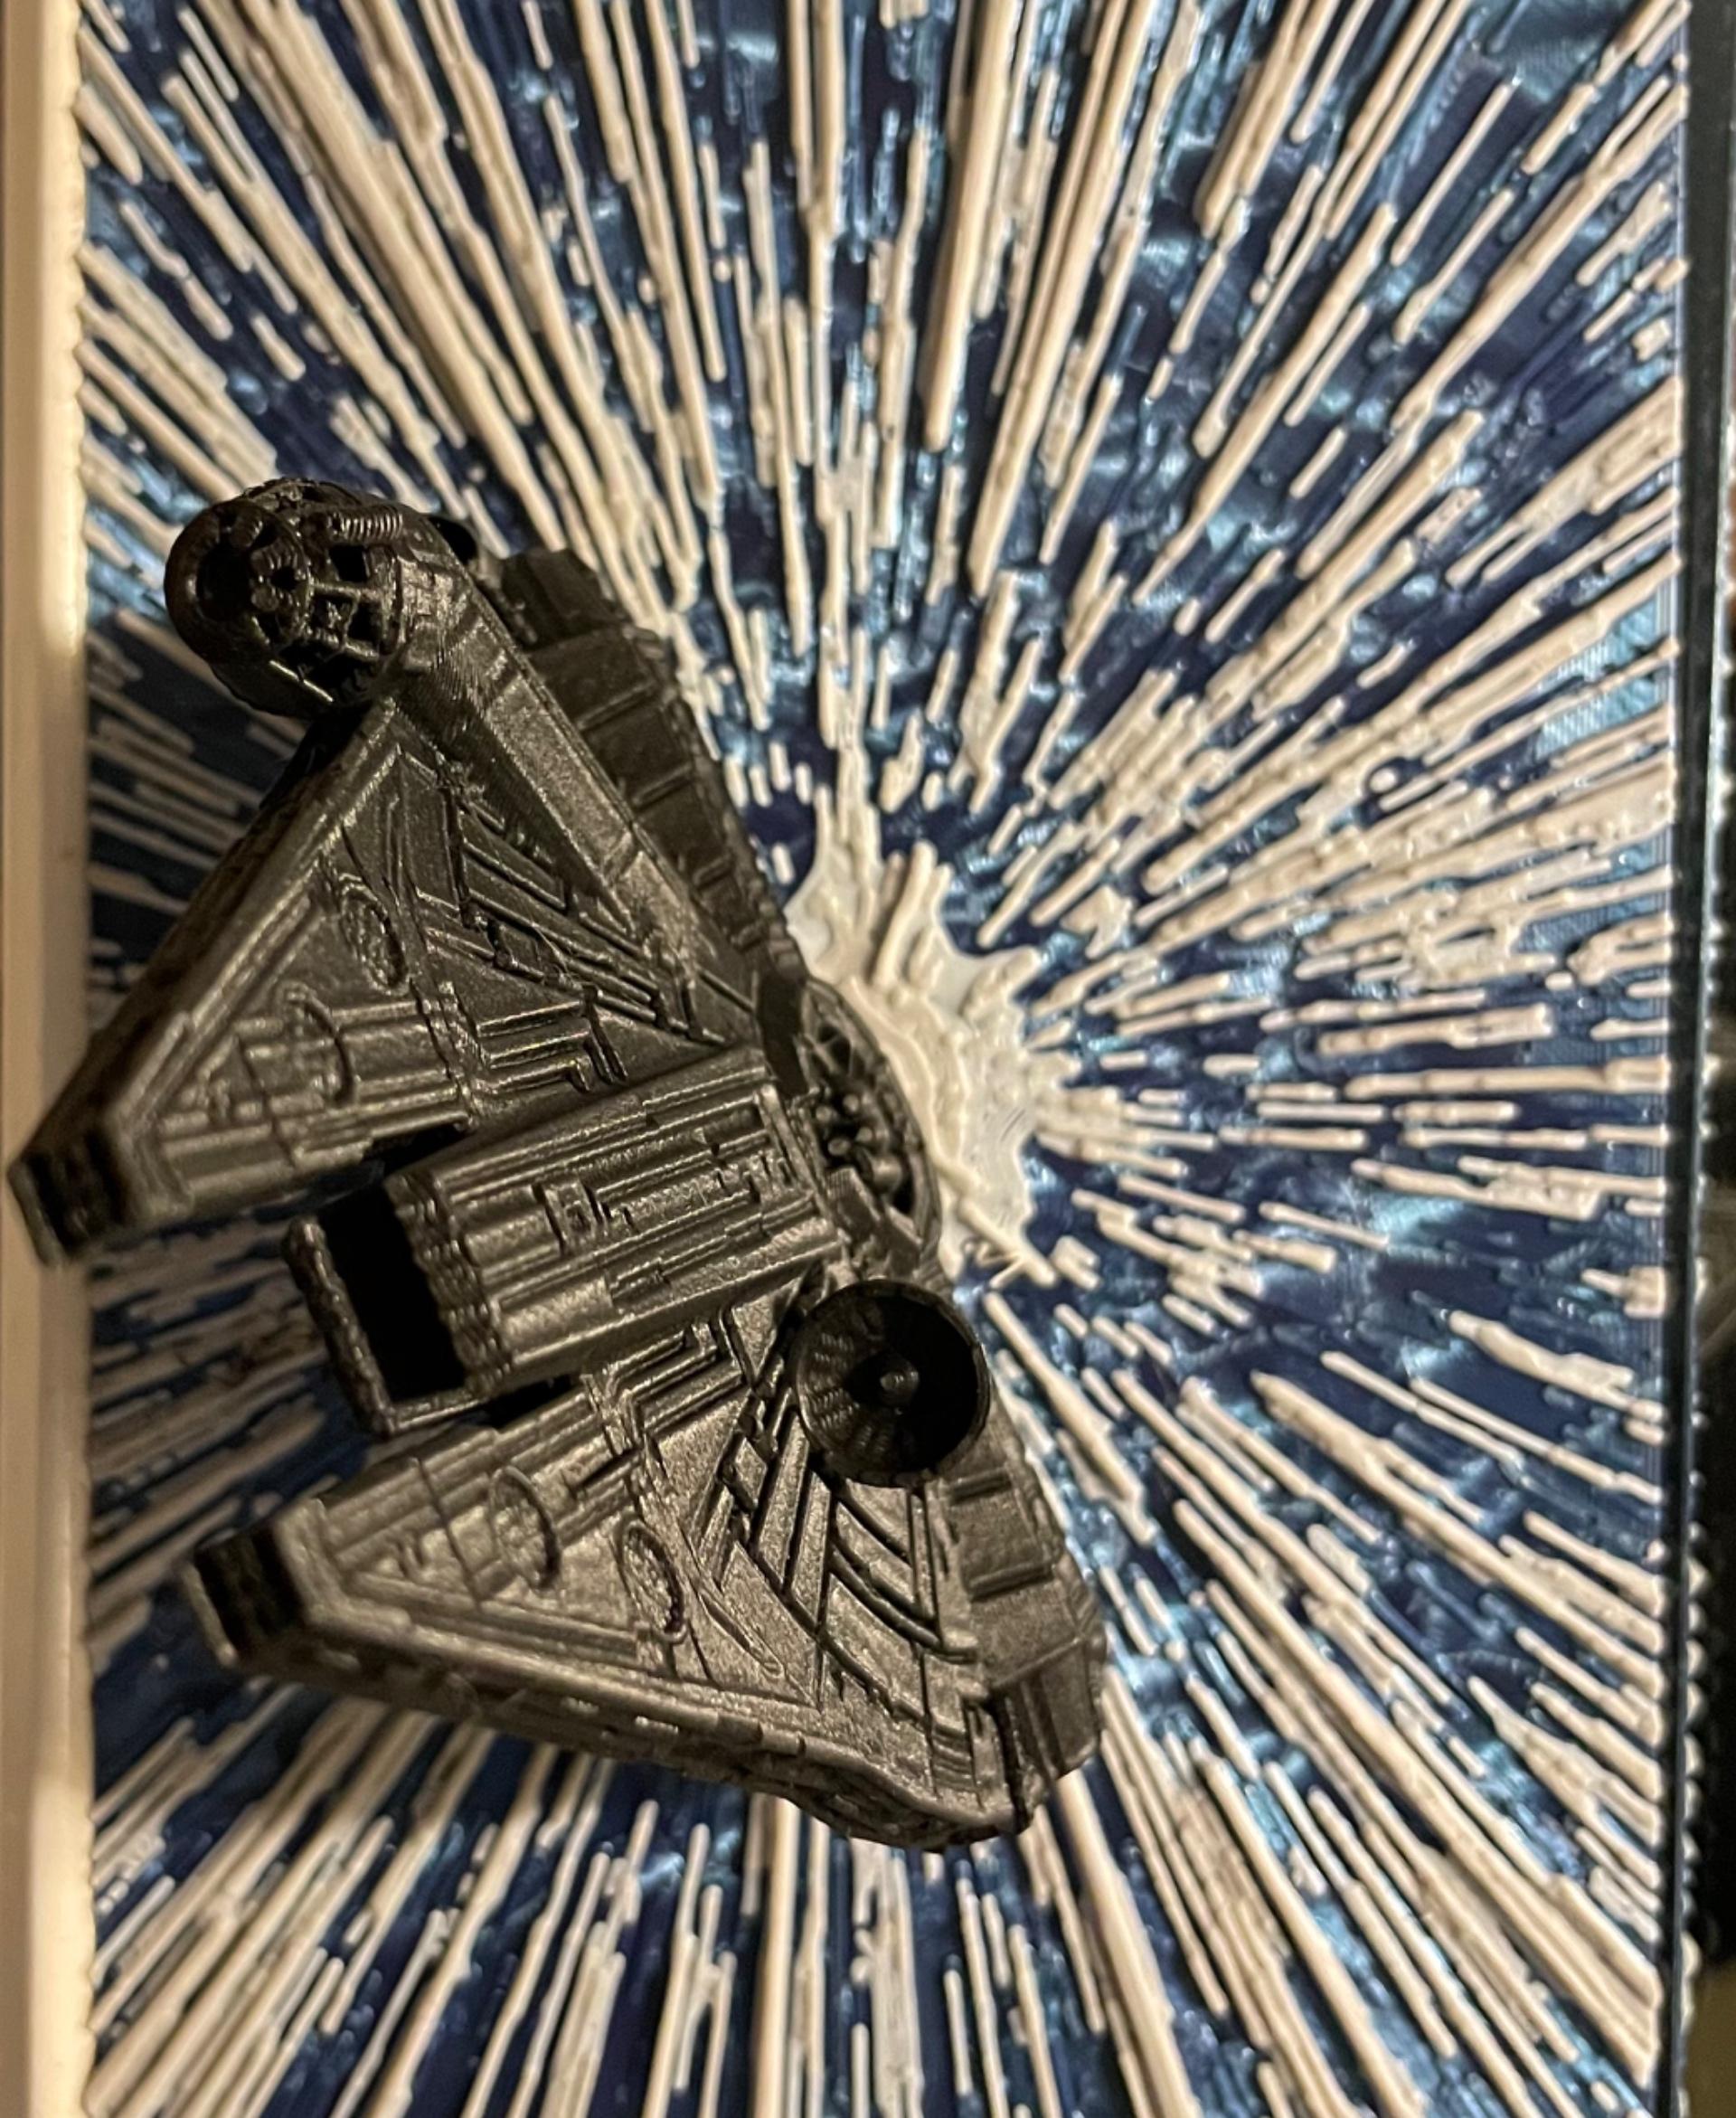
This is a completely print in place model, no supports needed. The print instructions are below.
For the version compatible with the shadow box frame, download the models titled 'FalconForFrame'.
Print Instructions:
- Print the HueForge print (0mm - 2.08mm) at 100% infill.
- The Millennium Falcon portion of the print (2.08mm - 109mm) should be printed at 10% infill, with 3 wall loops, 3 top and bottom surfaces. I used a layer height of 0.16mm.
- You can achieve this by using a layer height modifier in your slicer to modify layers 2.08mm-109m.
- You do not need any supports for this print.
- I used Burnt Titanium as the background for the print, but you can use any variation of a dark or black colour.
- I used Polymaker's Starlight Mercury for the Millennium Falcon, but you can use any gray or silver variant, or whatever you like!
Filament Swaps: Print at 100% infill with a layer height of 0.08mm with a base layer of 0.2mm
Filaments Used:
- PLA Flashforge Burnt Titanium Transmission Distance: 2.5 - (You can use black!)
- PLA META Sunlu Teal Transmission Distance: 5.4
- PLA Kingroon White Transmission Distance: 8
- PLA Polymaker Starlight Mercury (This is for the Millennium Falcon!)
Swap Instructions:
- Start with Burnt Titanium
- At layer #7 (0.68mm) swap to Teal
- At layer #11 (1mm) swap to White
- At layer #23 (1.96) swap to Starlight Mercury (this is the Falcon!)
The beautifully designed shadow box frame can be found here. The images used in this description belong to TheCraftyMaker, who printed and framed this version of the model.
The wonderful Millennium Falcon model was sourced from here by Gareth42. If you haven't yet, you should definitely print the standalone model, because it it marvellous!
Have fun, and let me know how you go with the print!
If you like my models and would like to support my 3D printing endeavours, I now have a Patreon!
Subscribing to the $10AUD tier will grant you a commercial license to sell the physical prints of any of my models.


