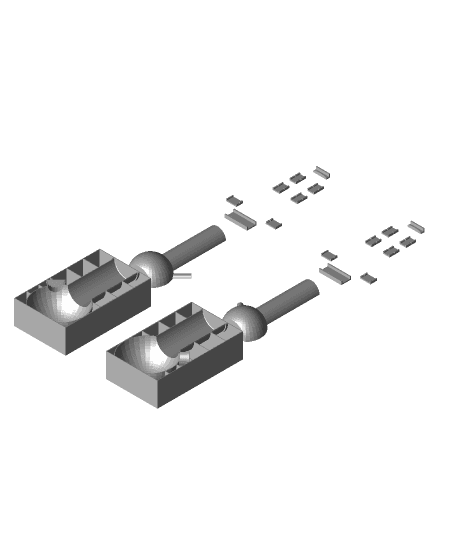
Note that this is my first 3D design ever so please don't get mad if I waste your filament. To make the ice bong, all you have to do is fill the mold a bit with water and put the inner shell part on top. Not shown are some brackets that will hold it all in place. Put some weight on the brackets so the inner shell doesn't float away and freeze. Do this both for side A and side B. After completely frozen, remove the inner shells and place the two ice molds flat side down on a hot baking tray (or blowtorch the seams, whatever you have to get it a little melted). Then put one side back in the mold and place the other on top. Pop back in the freezer and the seams should fuse together. Last thing you'll need is a 14mm downstem and bowl and you'll be good to go! The chamber ice is 2cm thick and the stem and tube are 1 cm thick, so you should have some time before it melts (just don't pass out and forget about it or you'll wake up to a puddle of bongwater). Best to pop back in the freezer if you'll be taking a rest. You can get creative and flavor the water used for the ice too! If anyone is looking to improve the design, let me know! One way would be to add some sort of clamping mechanism on the brackets so that you won't need to weigh them down but I have not gotten around to this yet.
Not that you need to print 8 tube brackets, 2 bottom brackets, 2 top brackets, 2 chamber bracket A's and 2 chamber bracket B's. Chamber bracket A fixes to the side of the chamber that touches the wall of the outer box and B goes on the other side. The model "Ice bong 2.0.stl" shows every part needed to print.
