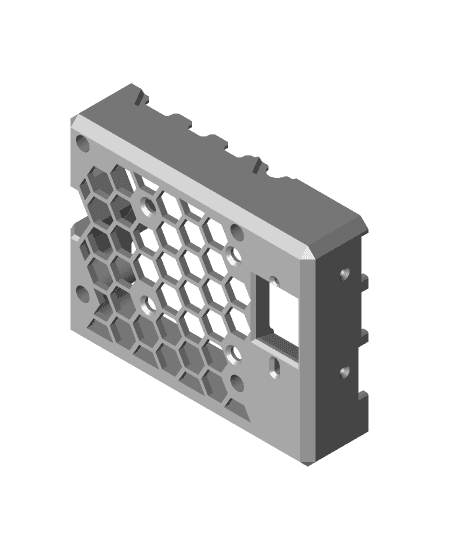
Raspberry Pi4 case for Prusa MK3S+ with DSI opening
Model originally uploaded to Thingiverse at https://www.thingiverse.com/thing:4773724.
This is a remix from the project https://www.thingiverse.com/thing:4579935.
The goal was to mount an Raspberry Pi 4 directly on the frame of the Prusa i3 MK3S+ a look alike.
As per previous made version the case is small and as compact as possible. Main change is the new opening for the DSI connector of the Pi allowing me to plug a screen to the Pi. The spirit was for me to be able to plug such screen without having to use the GPIO connector that would require me to have the board right behind the screen. With this setup I am able to have the Pi positioned above the Rambo board and have the screen deported somewhere else connected with a ribbon cable.
Other esthetical modification is that I used honeycomb pattern for the vent opening.
All peripheral ports accessible (not the Pi headers). Break away window for Pi-cam and screen DSI connector.
To complete the assembly you will need
For this you will need this shield : https://smile.amazon.com/gp/product/B07Z3Q417K/ref=ppx_yo_dt_b_asin_title_o04_s00?ie=UTF8&psc=1
and
4 M2.5x5 Screws (not included with the kit) 4 M2.5x8 Screws (not included with the kit) 2 M3x10 Screws (for mounting the case to the printer)
Assembly instruction (as per previous project):
-
Follow the instructions for preparing the plate to attach it to the Raspberry Pi4.
-
Take the 4 of the smallest standoffs included with the kit. There will be 8 of these, make sure these are the standoffs with the shortest posts. This is important as, the threaded holes on the cooling plate are not segmented. This might cause conflict in trying to tightening things up (found this out from personal experience) if using the longer of the two options.
-
Take the Pi4 and slot it into the case bottom. Take the plate and align it to the top of the Pi4. Slip the 4 M2.5x8 screws into the holes, tighten the screws lightly, in a diagonal fashion in order to ensure the plate stays aligned. Once all of them have been started, tighten to snug, be careful not to over tighten.
-
Take the 4 standoffs and screw them into the holes on top of the plate, making sure they are secure but again, do not over tighten. Plug in the fan per the instructions for the cooling plate.
-
Take the case top and slot it into place over the Pi4, being careful to not pinch the fan cable. Secure the top with the 4 M2.5x5 screws.
-
Secure the case to the back of the printer with the 2 M3x10 screws. Plug in the cables and insert your SD card and you are done
Raspberry Pi4 case for Prusa MK3S+ with DSI opening

PRUSA MK3S Front panel for DSI OSOYOO 3.5" touch screen
Octoshield Case for Raspberry Pi 4 for Prusa Mk3
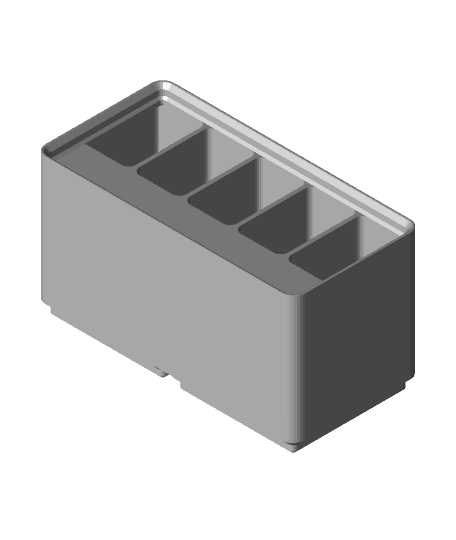
Gridfinity Divider Bins

Star Wars Fang Fighter Kit Card
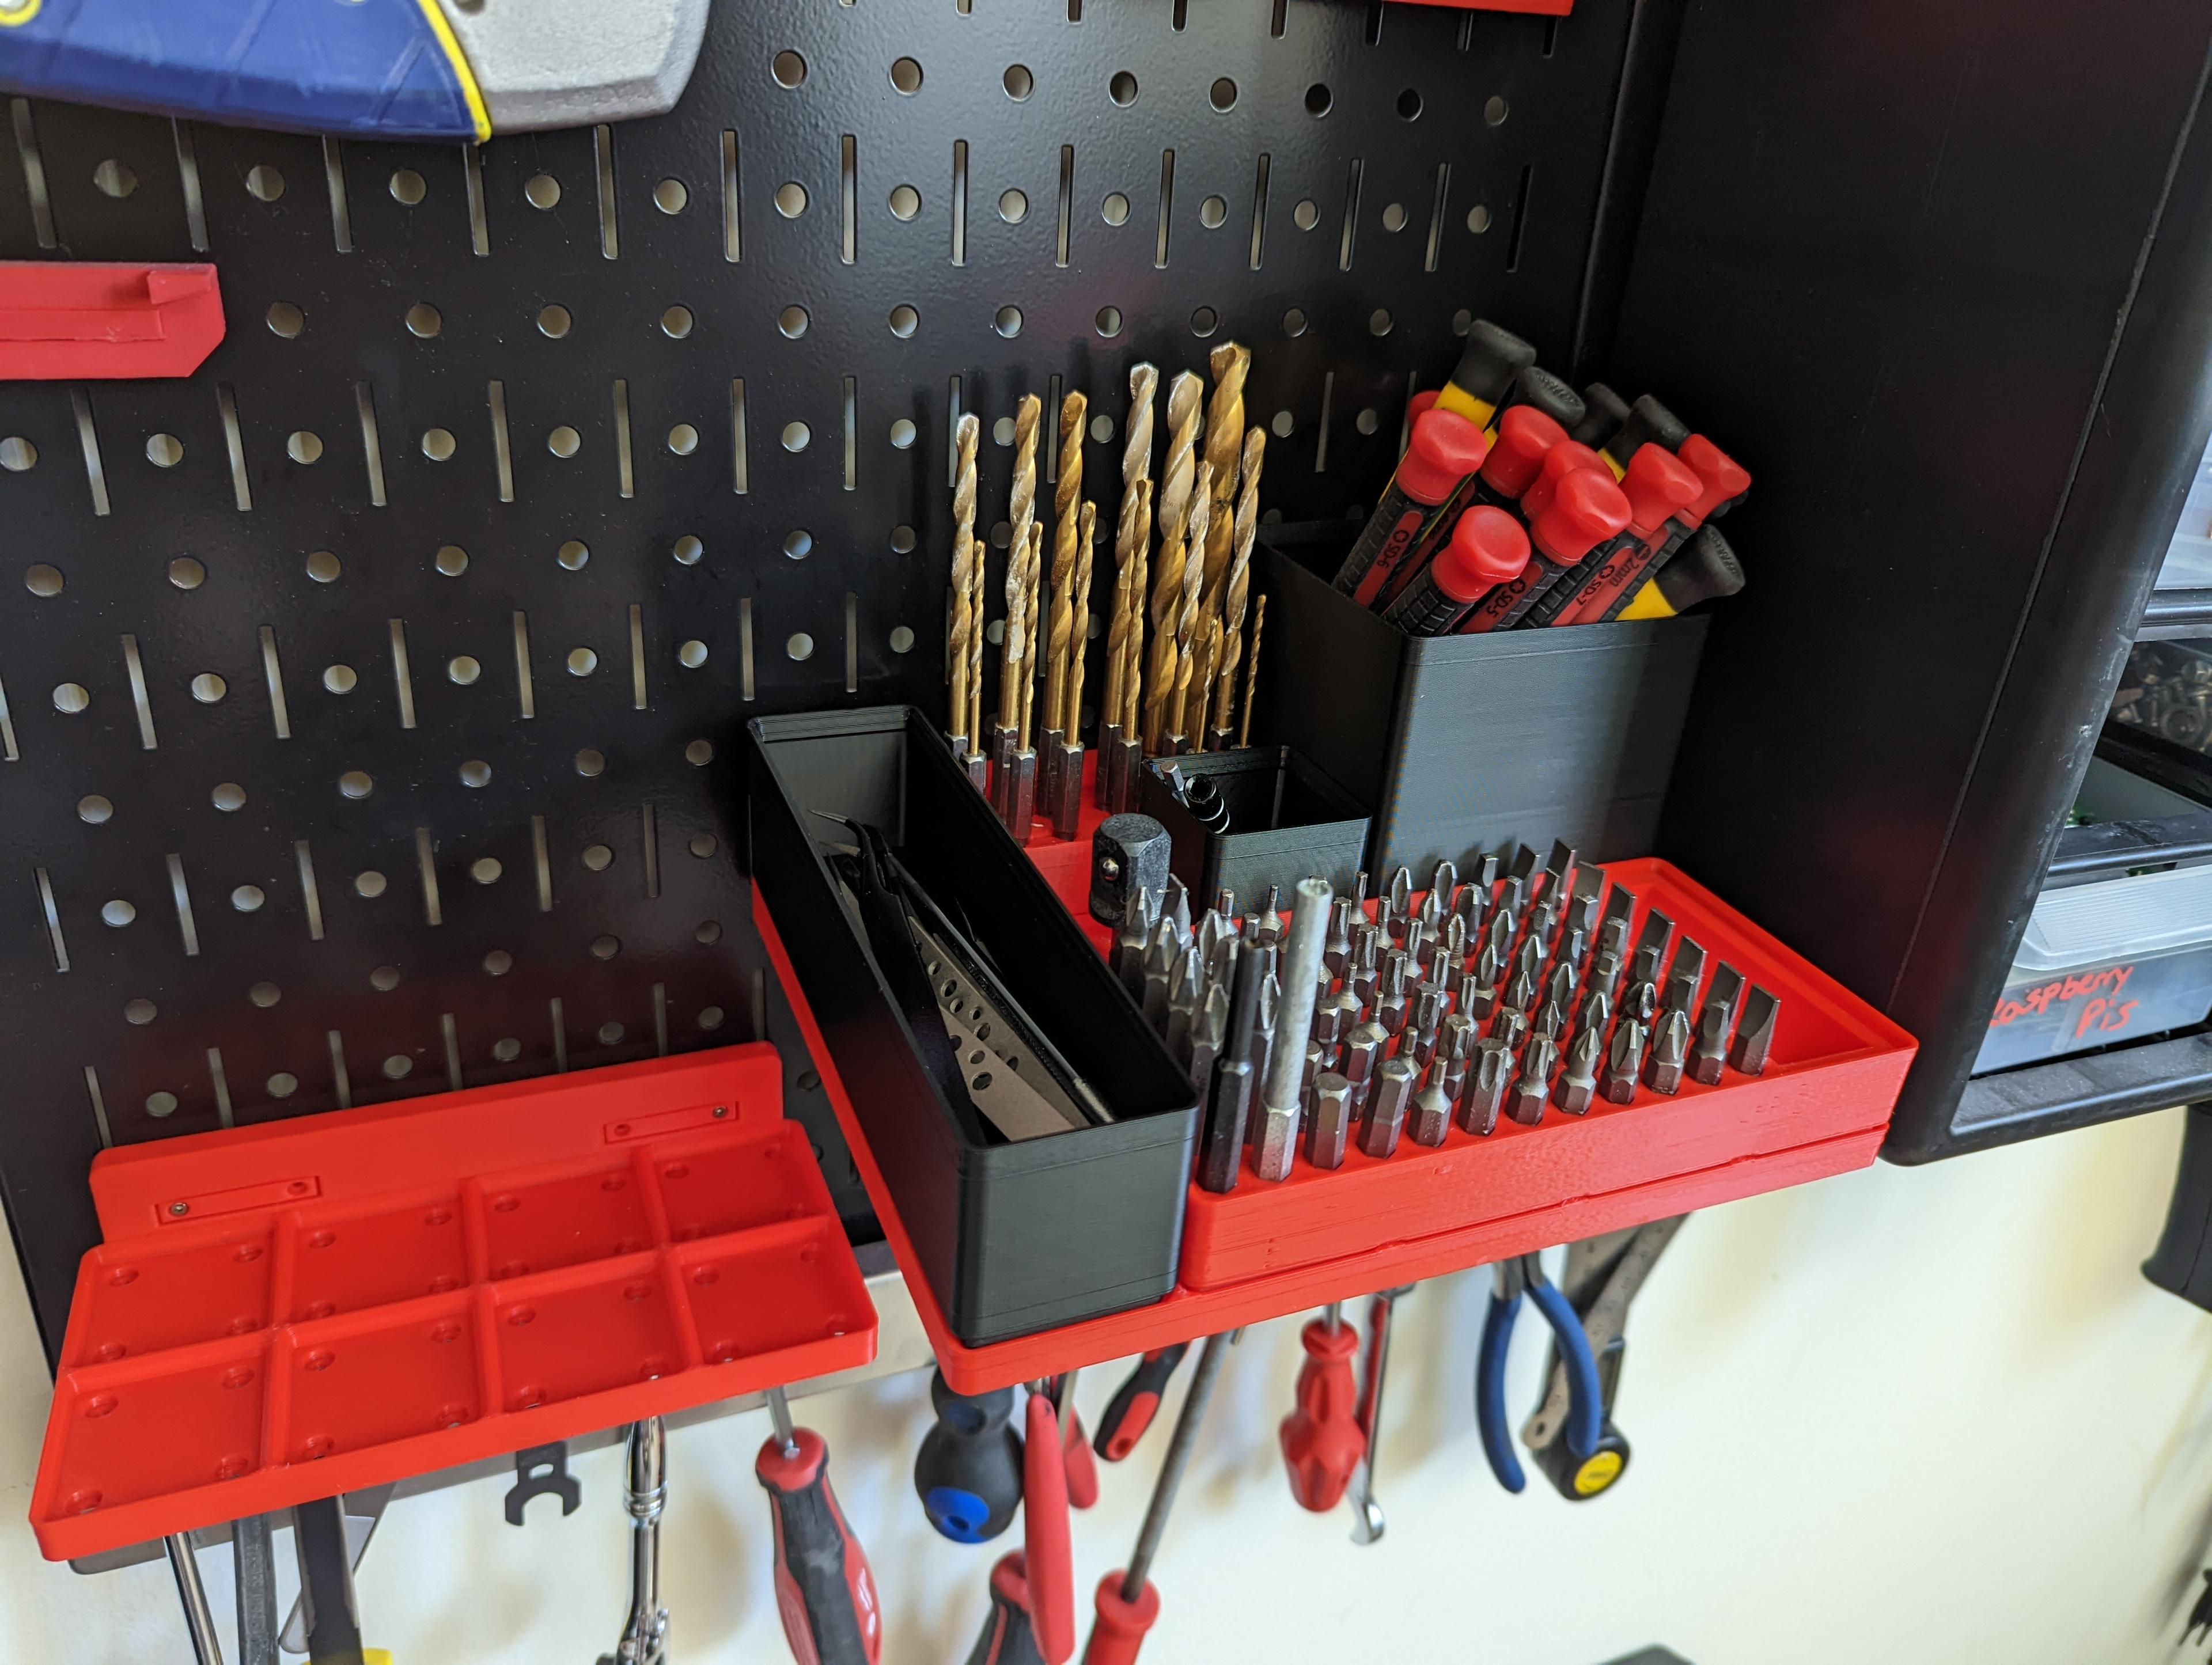
Gridfinity Parametric Wall Control Baseplates
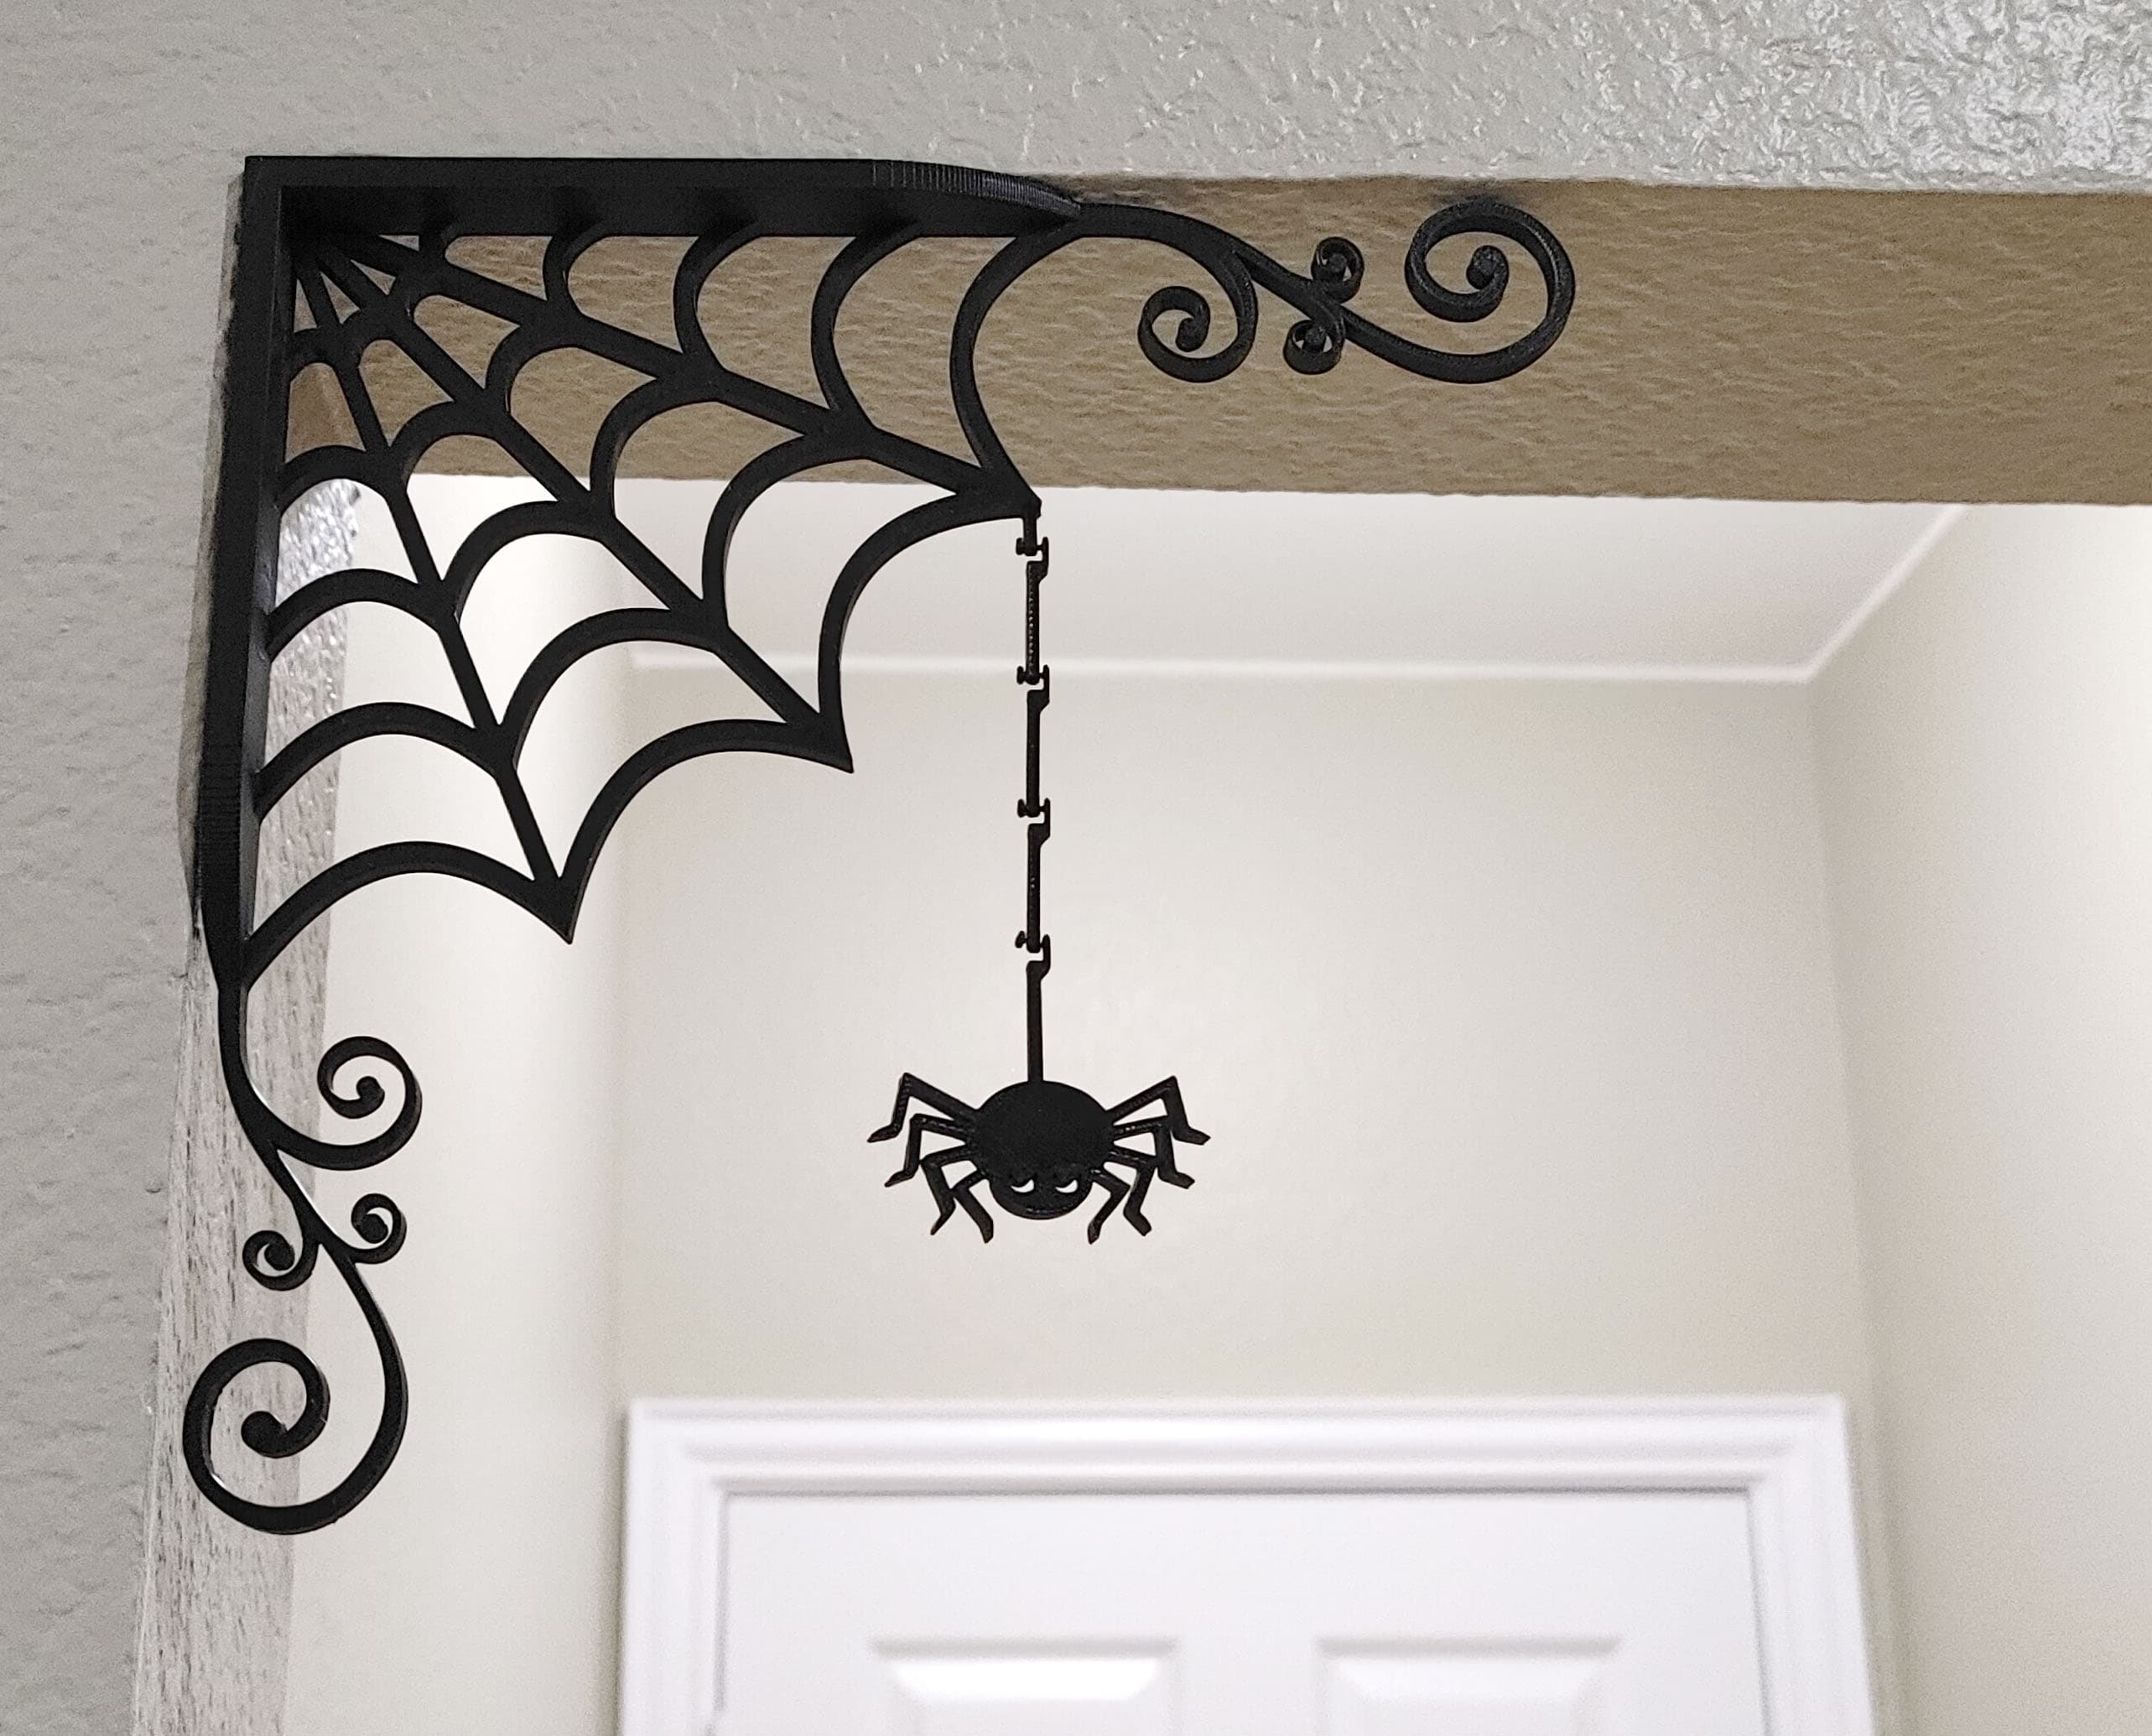
Magnetic Corner Print-in-Place Spiderweb Halloween Decoration
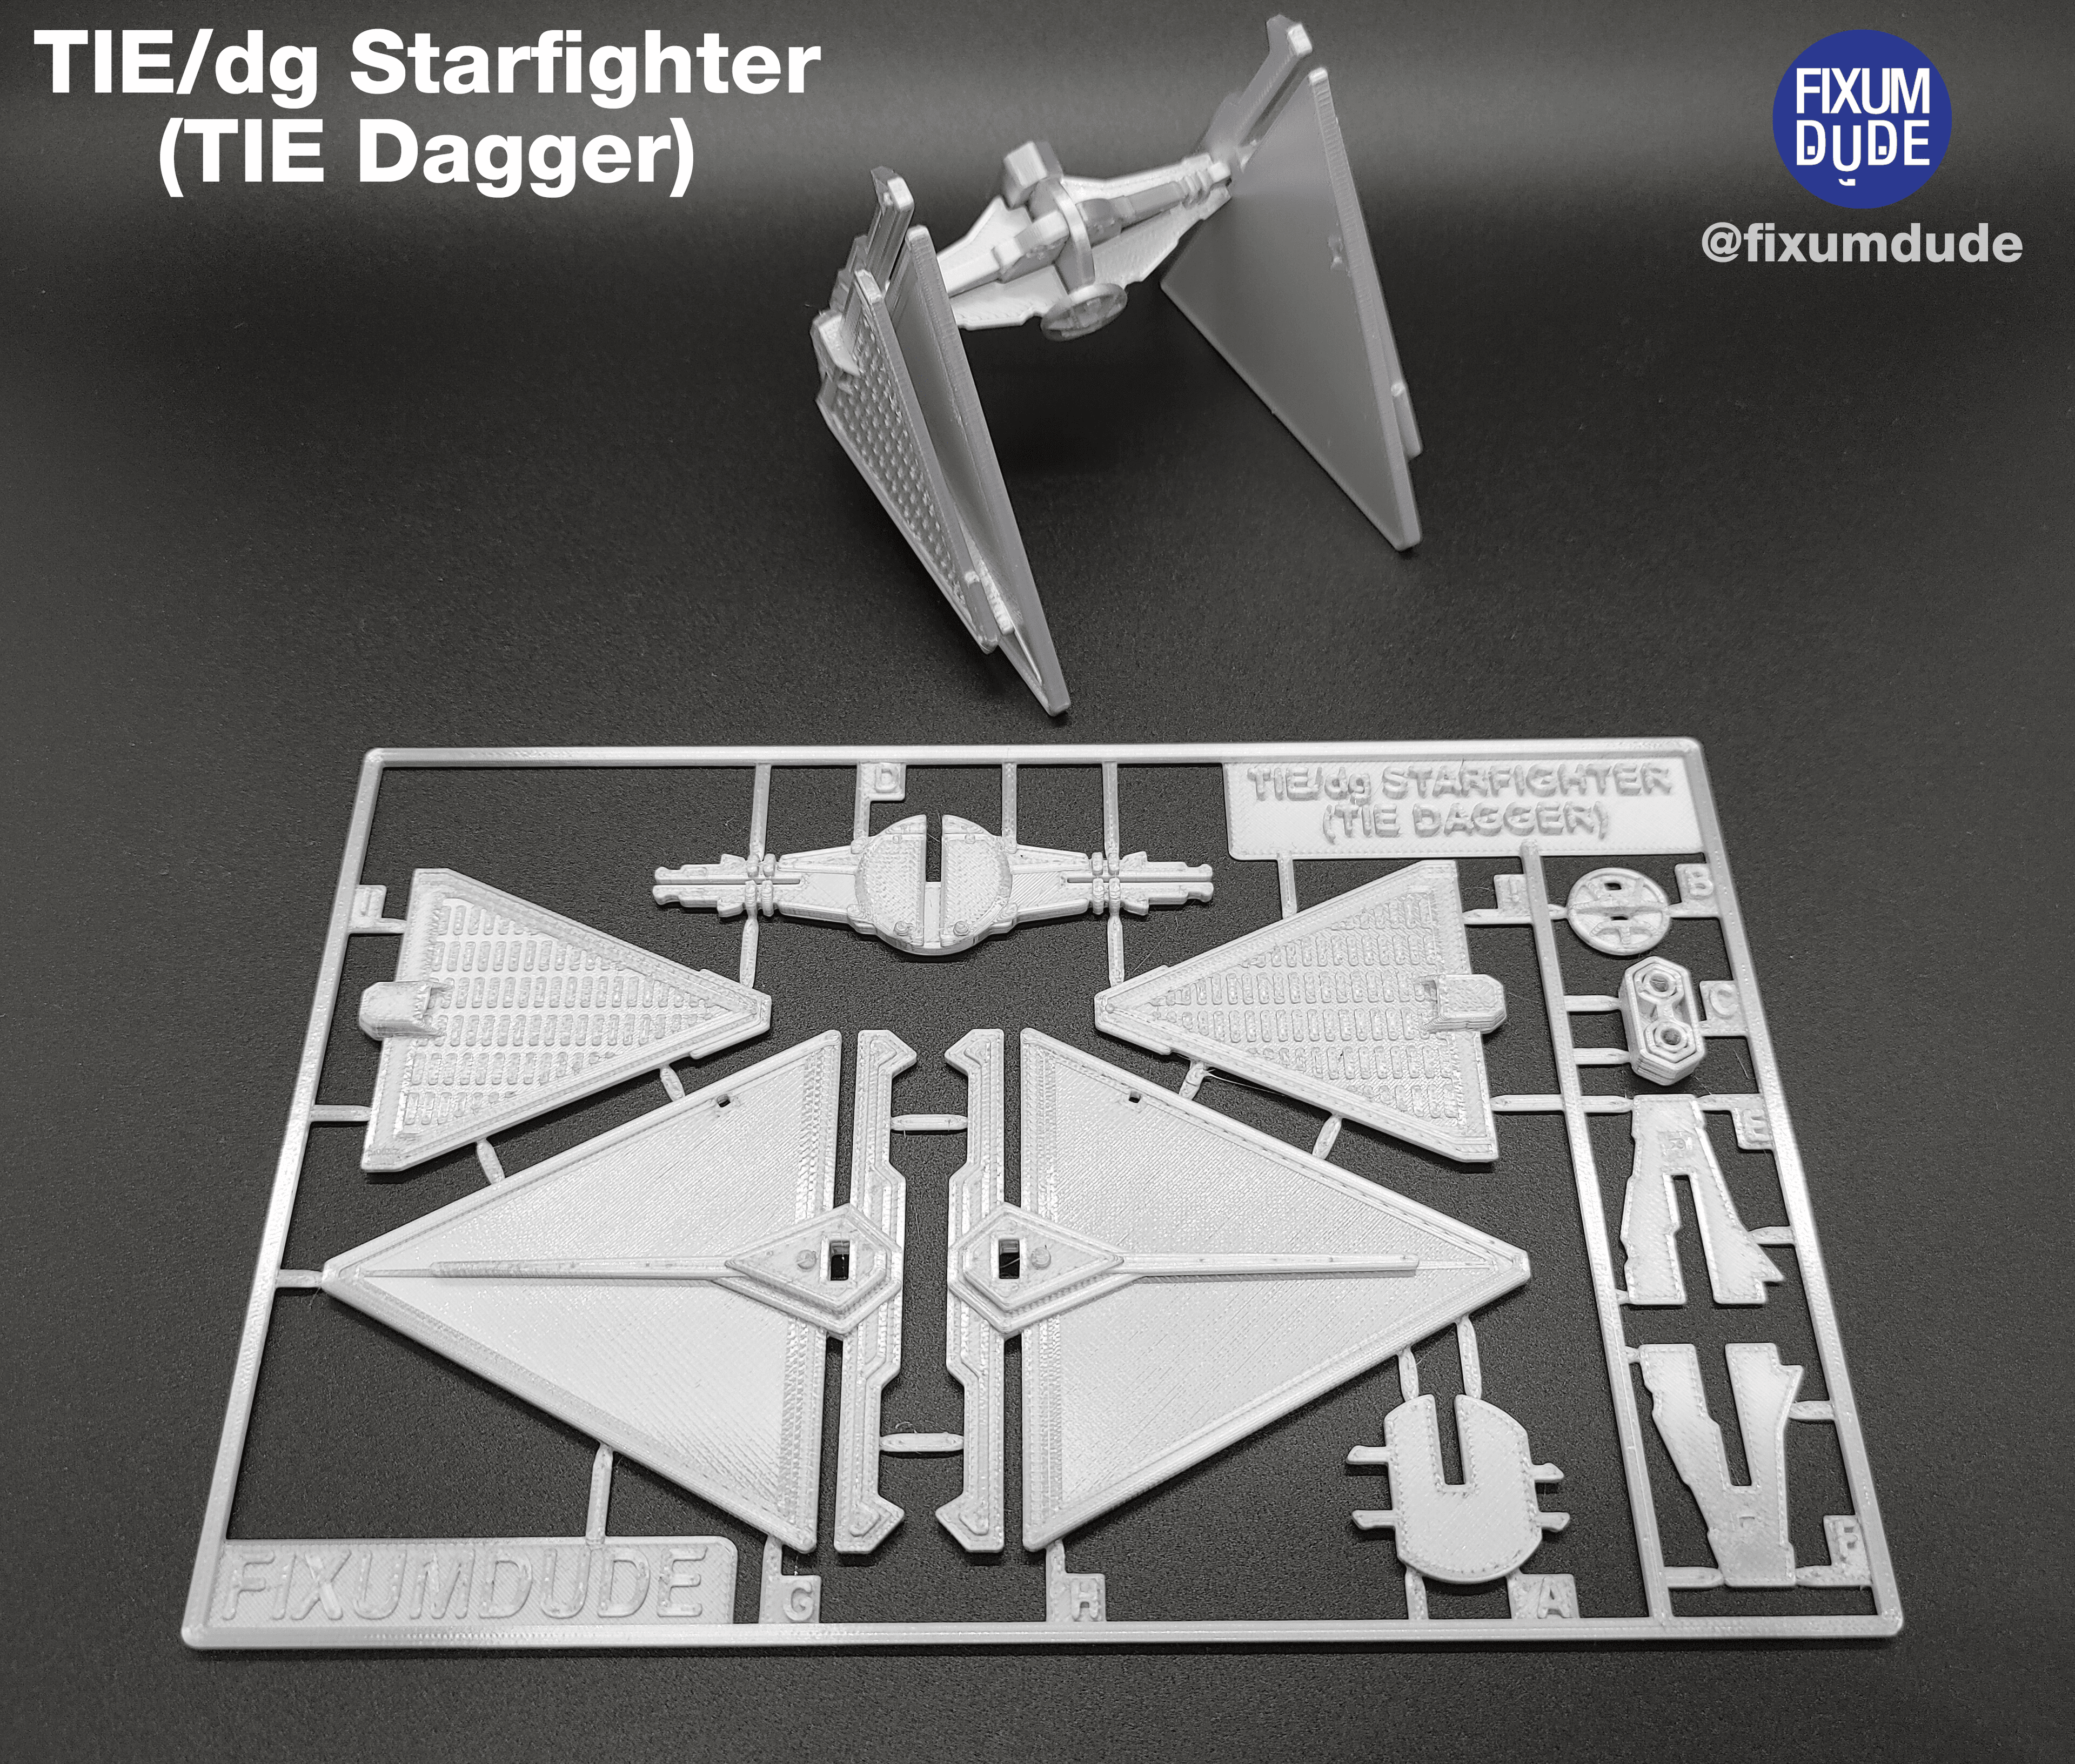
TIE/dg Starfighter (TIE Dagger) (Sith TIE Figher) Kit Card

Spiral Christmas Stretch Ornament 2024
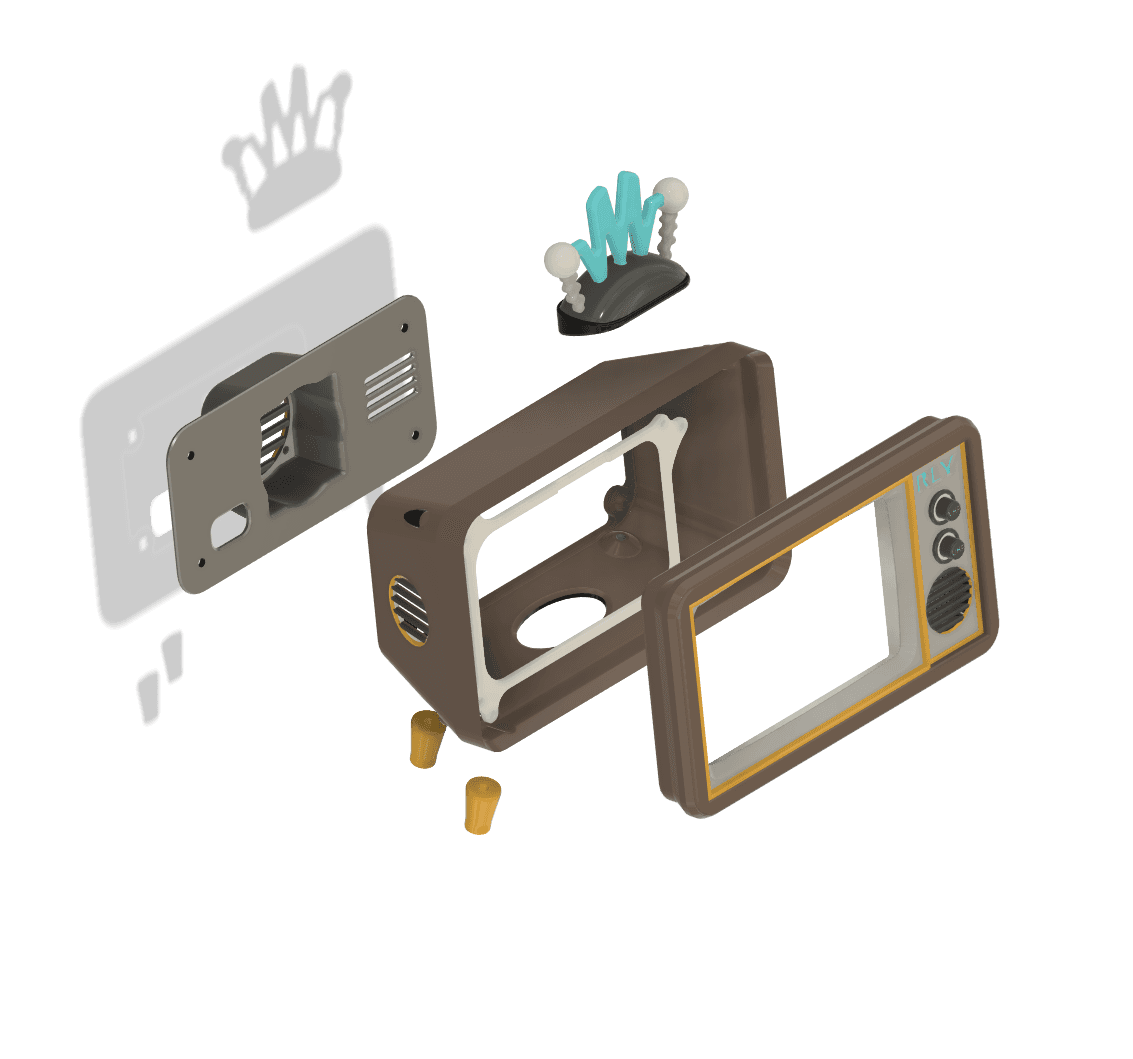
Pi TFT50 TV - Vintage Tube TV Raspberry Pi case!

Spiral Christmas Balls
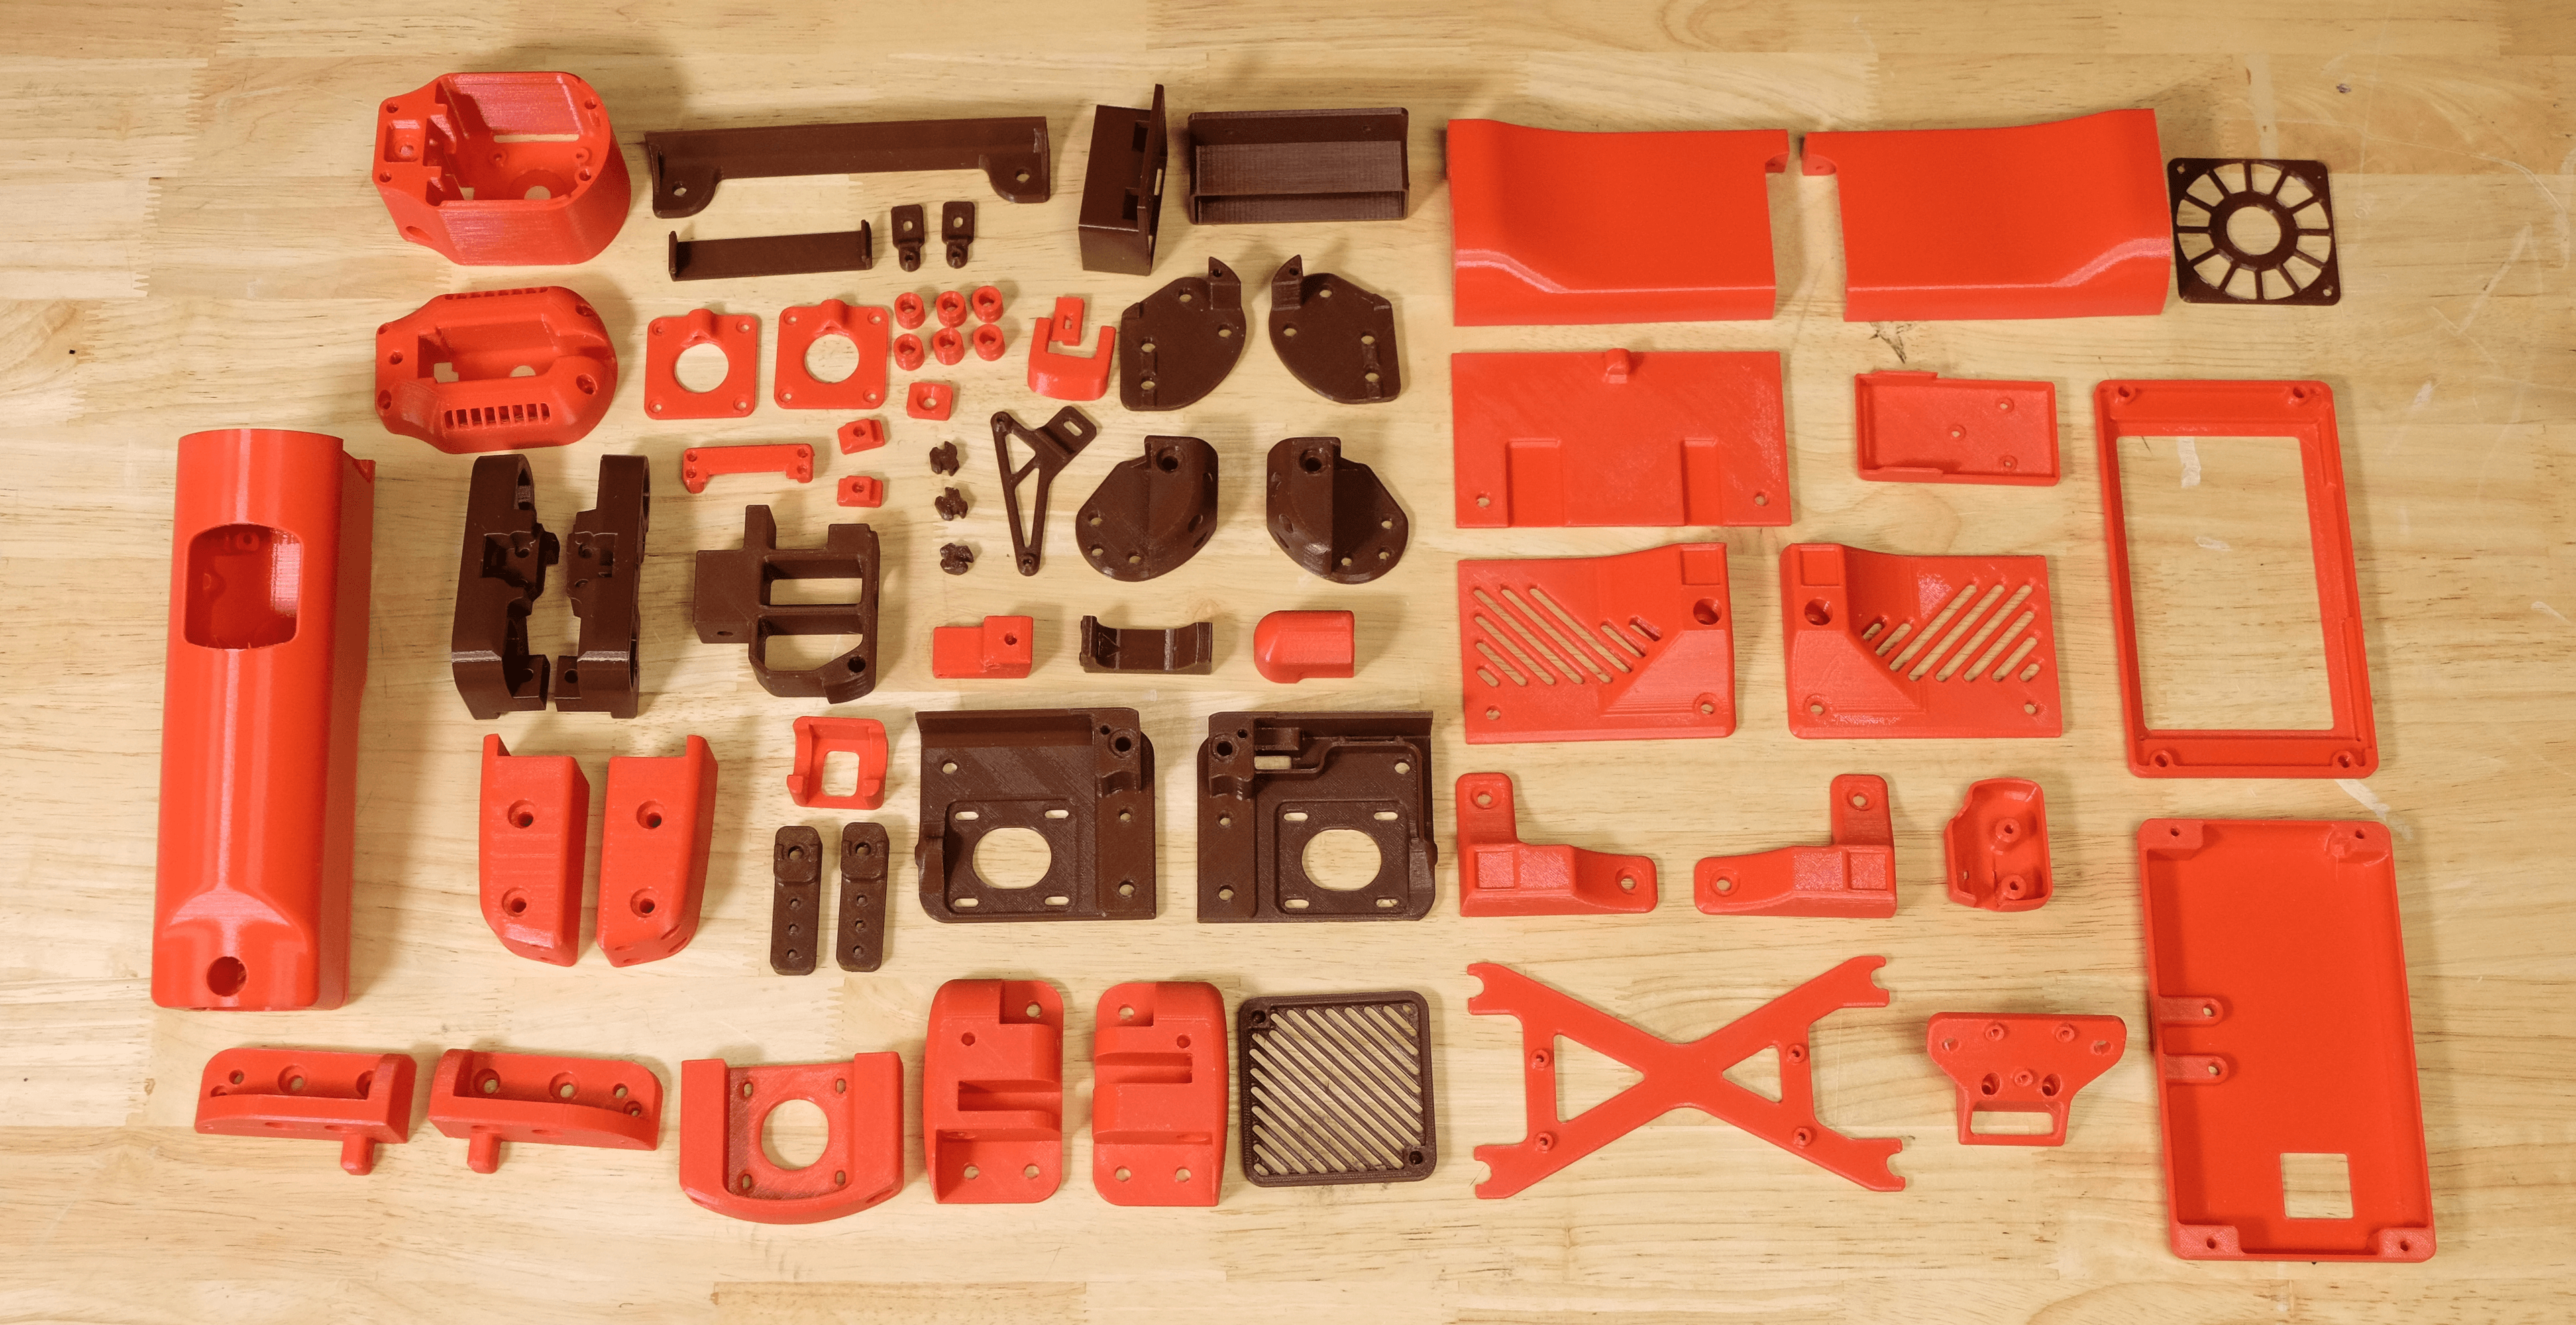
Cocoa Press 3D Printed Parts

Christmas Spiral Teardrop 2023
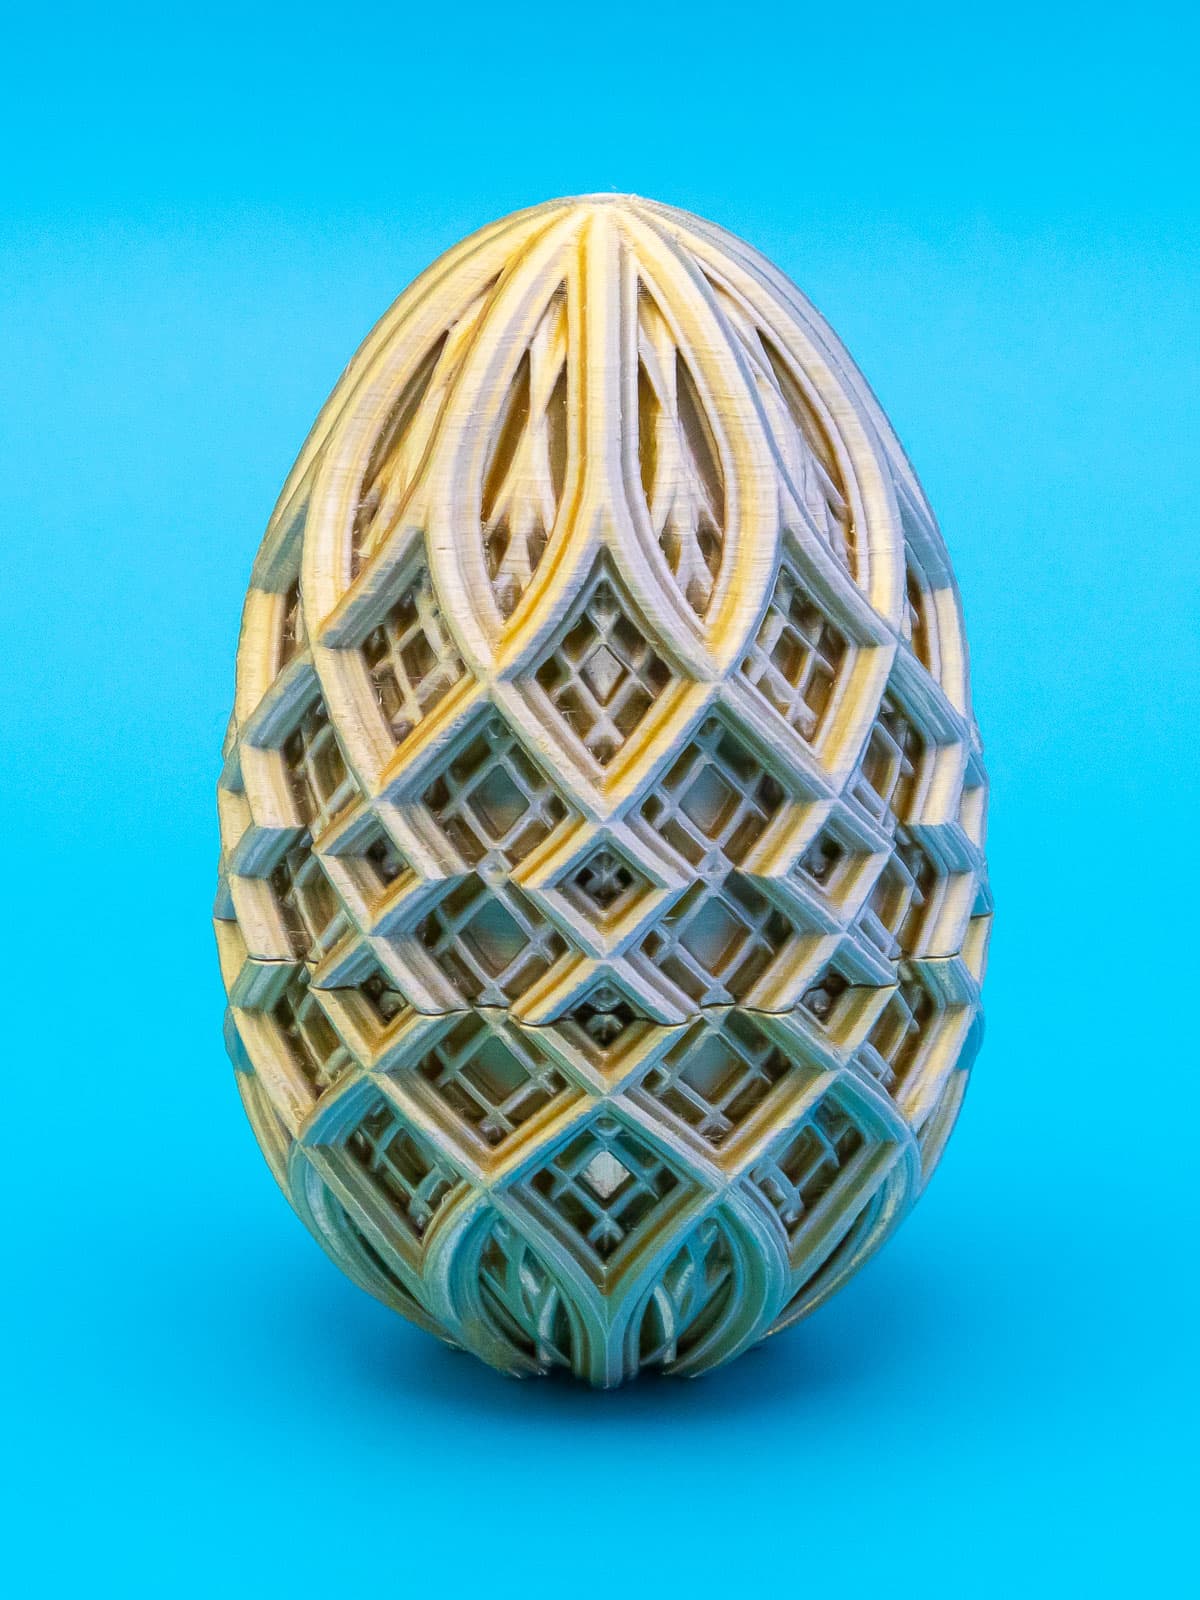
Diamond Easter Egg
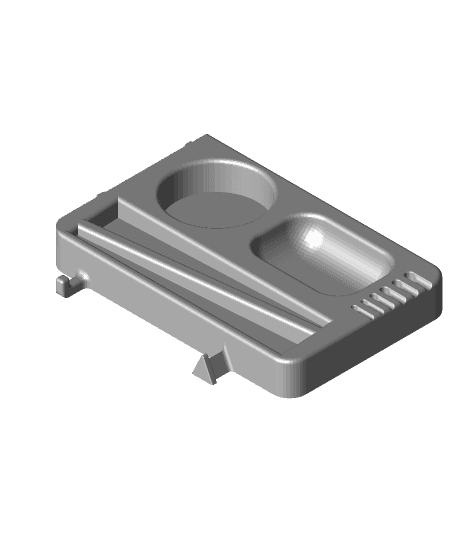
Prusa Mk3S Tool Holder
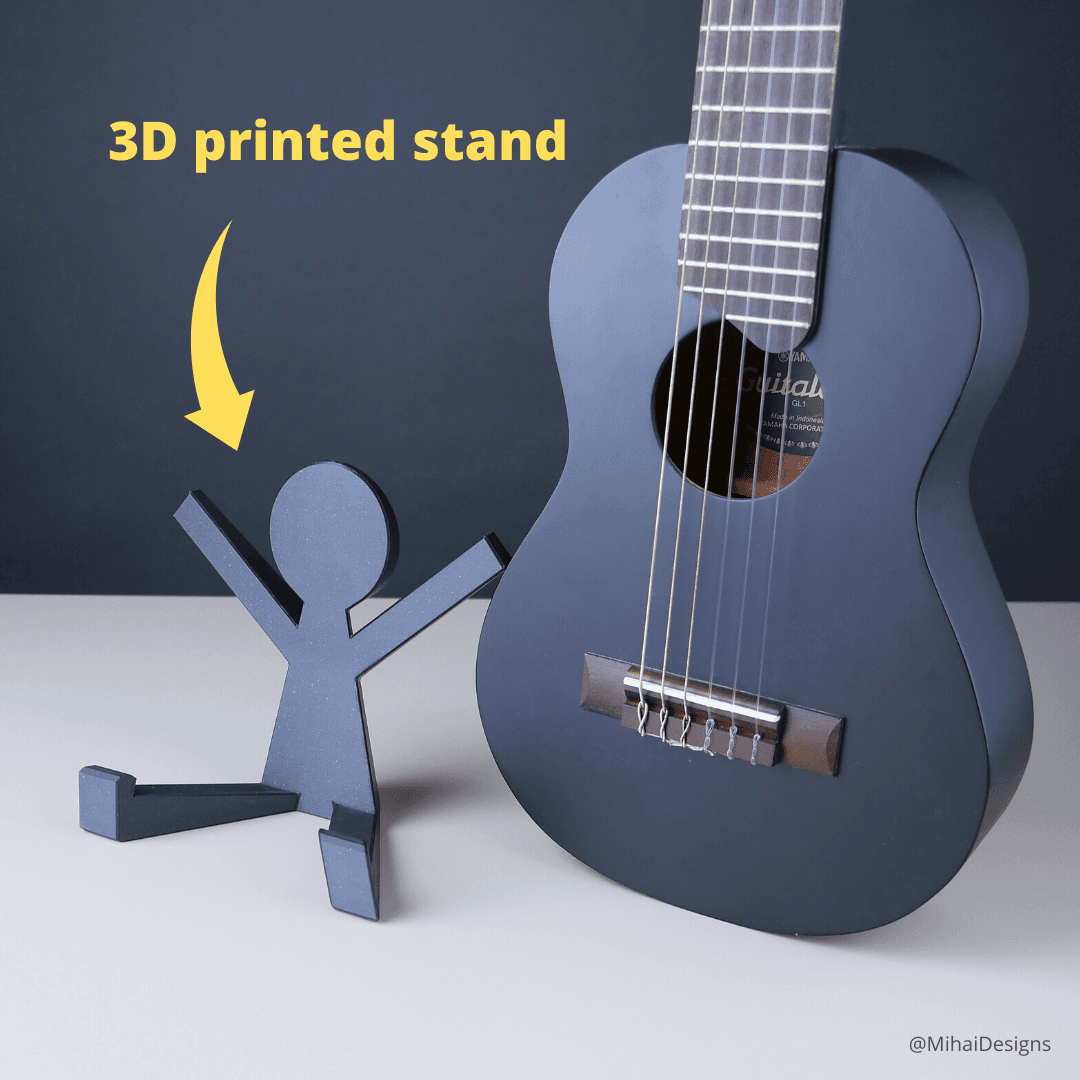
Guitalele Stand

Butterfly Stained Glass
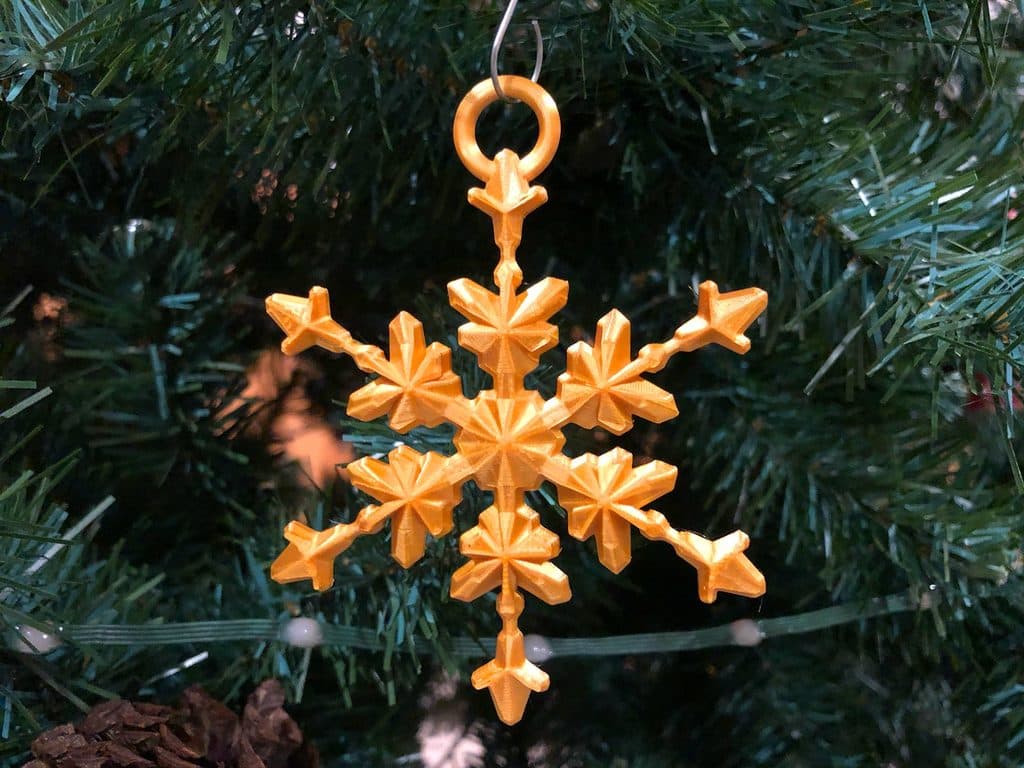
Snowflake Ornament

String Vase
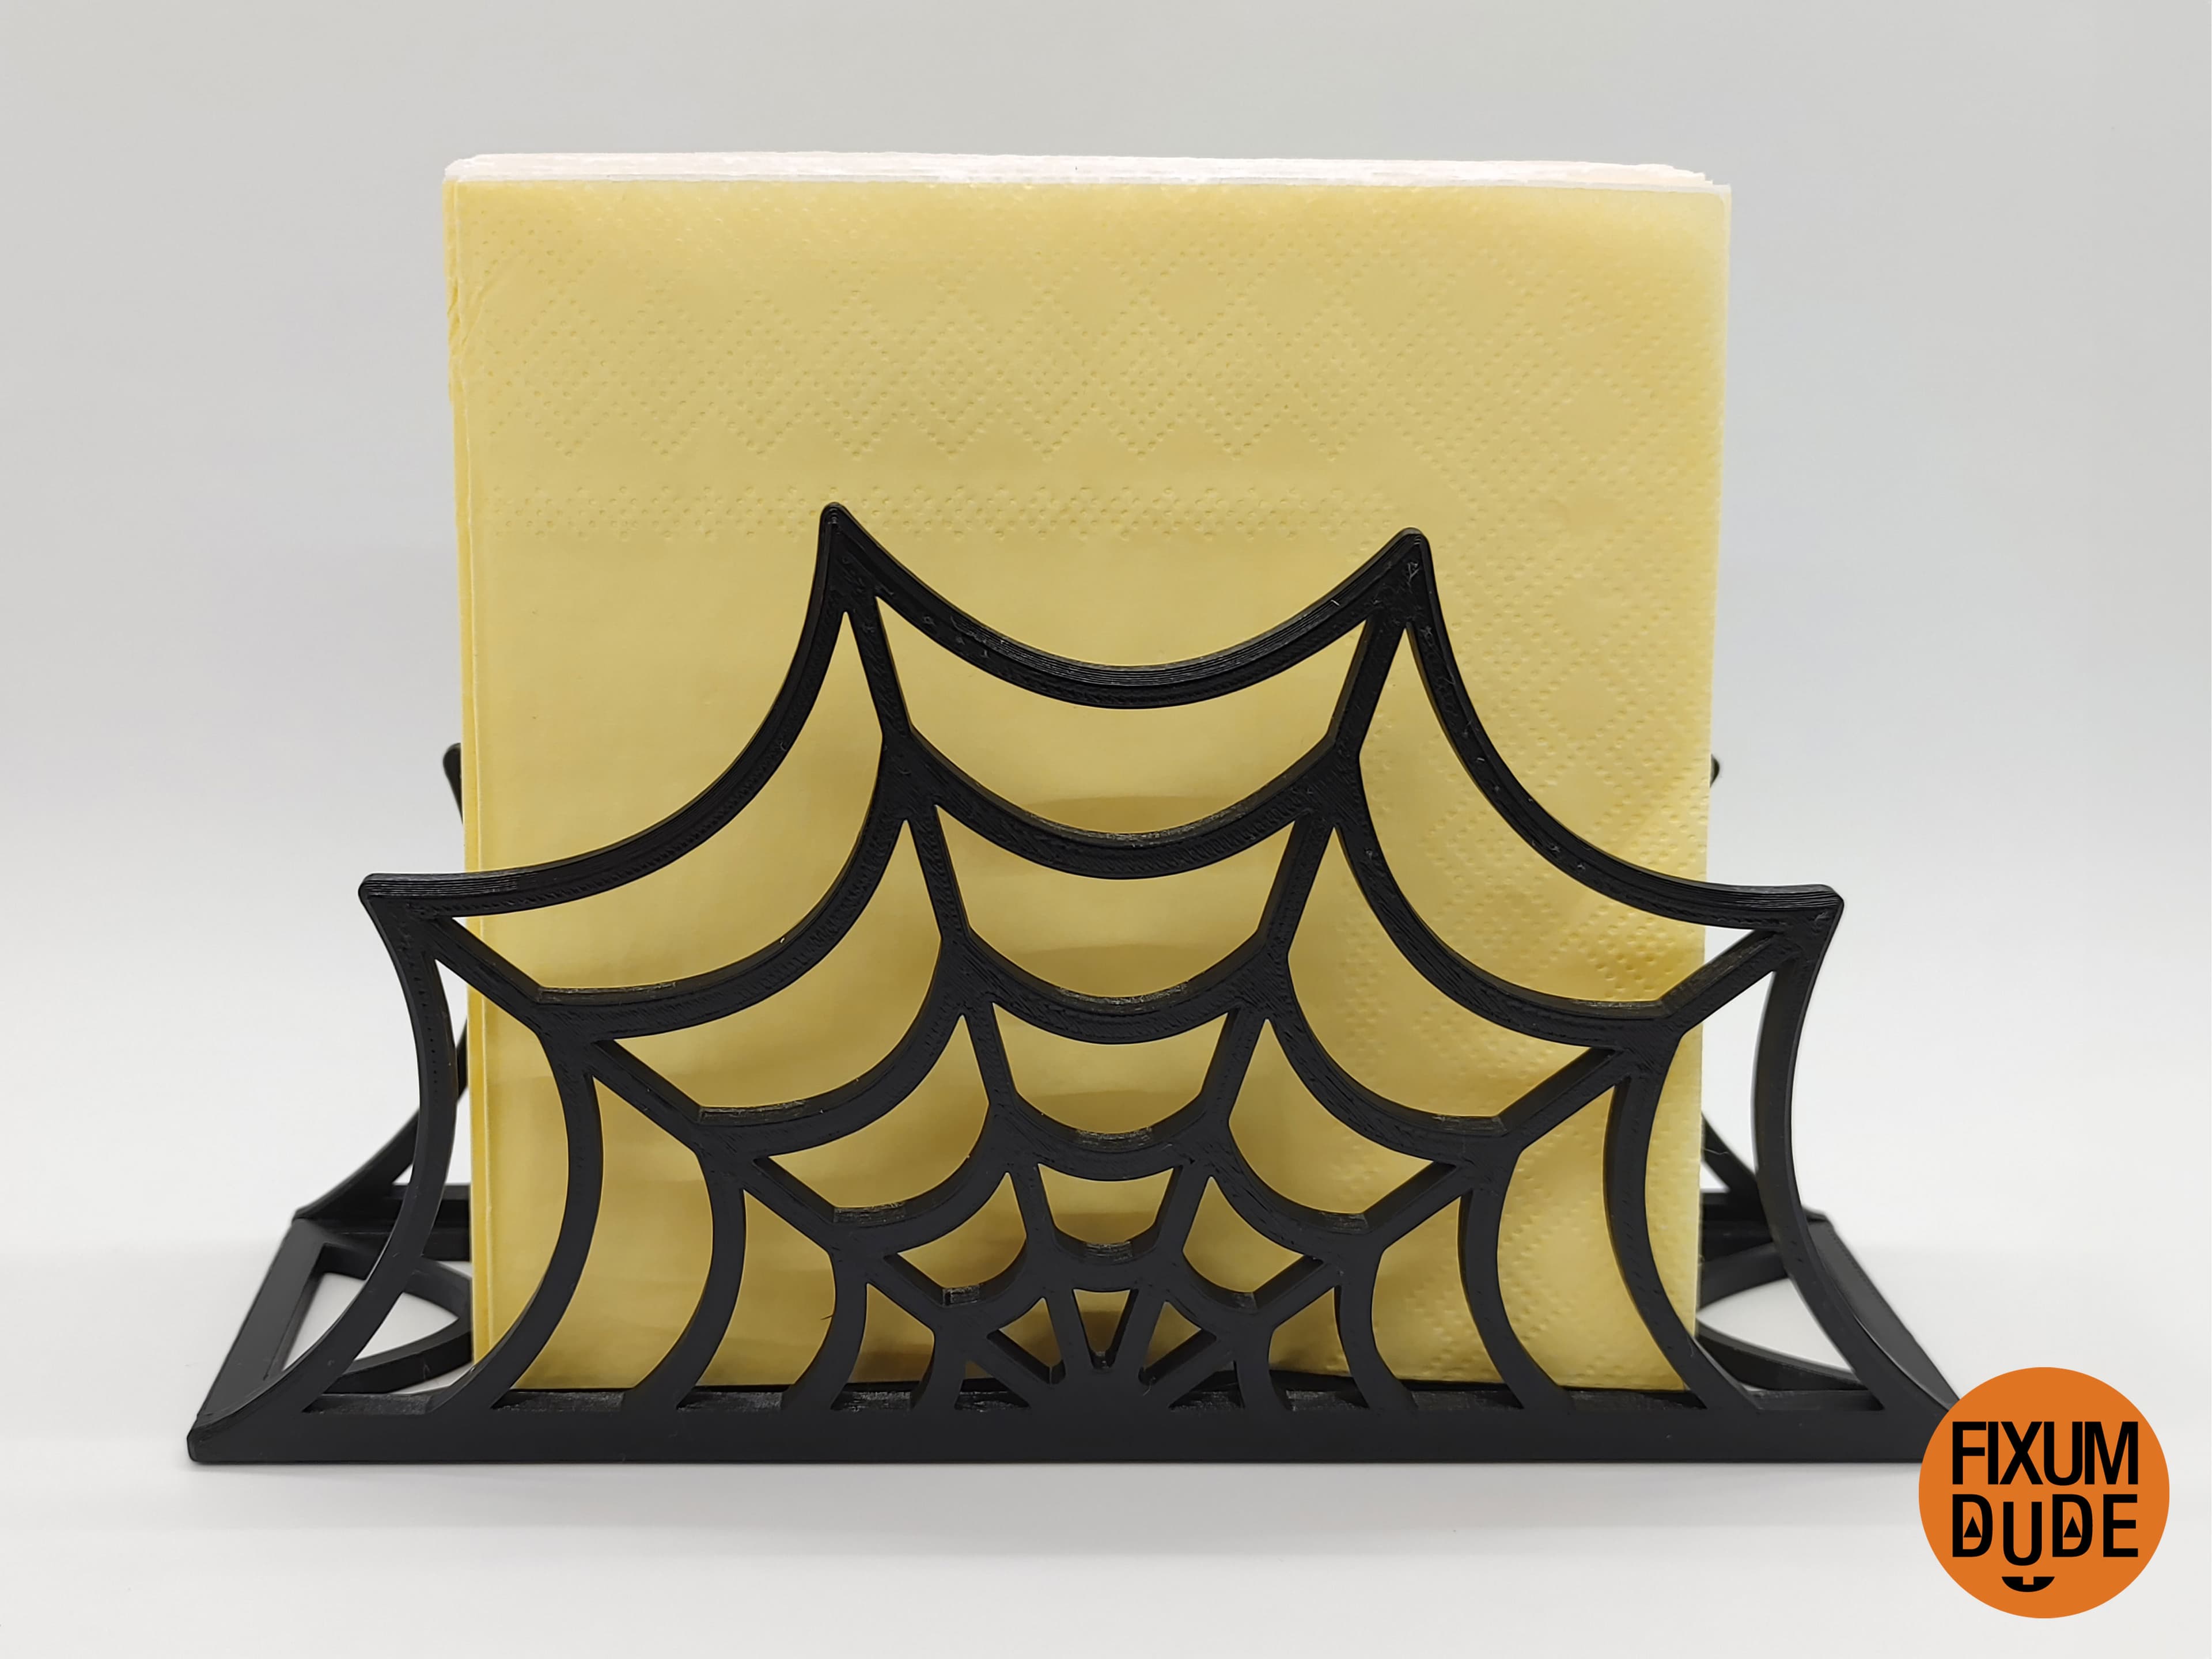
Snap Together Spiderweb Napkin Holder