Reusable adjustable spool for spoolless filament
This lightweight, efficient spool can be adjusted to fit any sample reel with an inner diameter between 90mm and 180mm.
This model was designed by Felix and has been reposted as permitted by the CC-BY-NC-SA 4.0 license. View the original at https://bit.ly/2Wkb6XE
I reposted this because I mentioned it in a video, and want it to remain available if the original is taken down. Watch the video at https://www.youtube.com/watch?v=BBK1qFYNsWE
Designer's original description: This is a reusable and adjustable spool to be used with spoolless filament like this one: dasfilament.de/filament-refill/pla-1-75-mm
The part was designed with the target in mind to use as little material as possible while not letting the spool get to small or unstable. I also wanted the spool to be a bit more sturdy (hence the screws) and not just plug it together.
I made the spool adjustable so it would be compatible with different filament brands. But since I haven't used filament refills from another brand than dasfilament yet, I don't know whether different brands use different inner diameters for their spools. :)
You need 6 M3x10 screws and 6 square M3 nuts to assemble and adjust the spool. To assemble the spool, the parts have to be printed in the following quantities:
outside-part: 2
inside-part: 3
screw-cap: 6
The diameter of the inner ring can be adjusted by loosening the screws, sliding the inside-parts in the desired position, and retightening the screws.
For the first assembly, screw one outside-part and three inside-parts together, but do not tighten the screws yet. To protect the other parts, the screw caps or a washer should be used between the screw head and the parts. Place the spool on a table with the outside part facing the table. Now, place the filament on top of the spool and adjust the inside-parts to the inner diameter of the filament you are using. Then, carefully place the remaining outside-part on the top and tighten the screws. Turn the spool around and tighten the screws on the other side.
Changing the filament requires you to loosen the 3 screws on one side, remove the "outside-part", replace the filament, put the outside-part back in place, and retighten the screws.
It takes about one minute with an electric screwdriver, but I am sure there are better and easier designs out there. However, I'm using three of them for over a year now and have no complaints.
Happy printing!
Reusable adjustable spool for spoolless filament
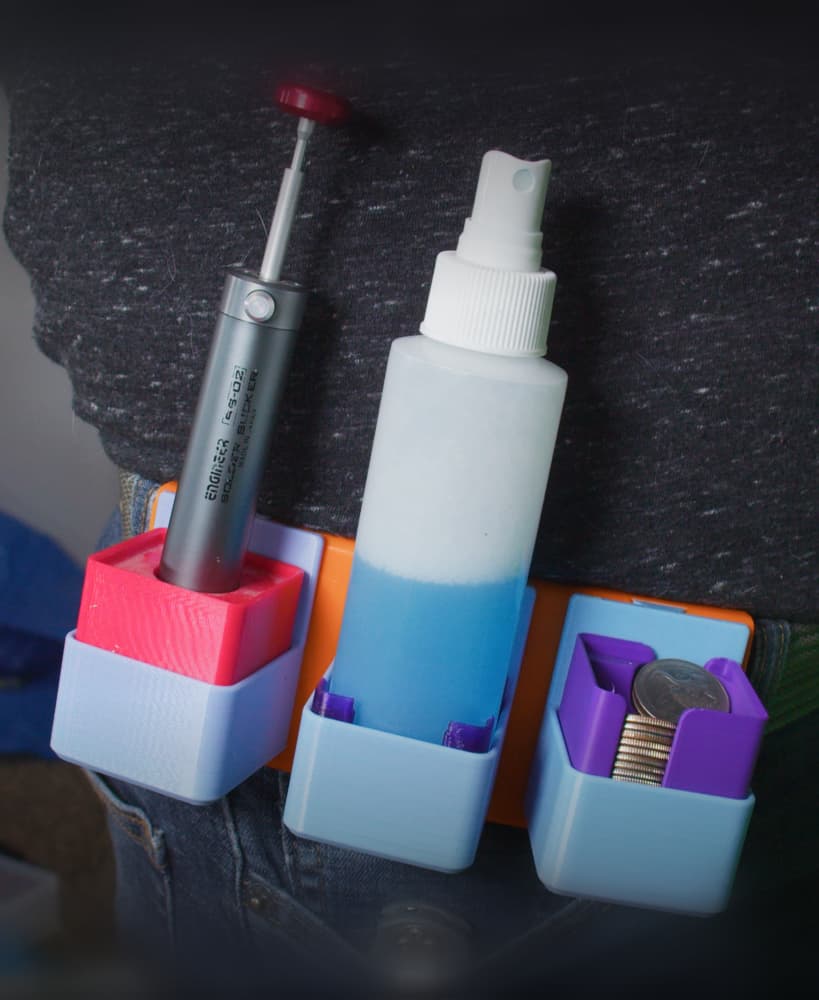
Gridfinity Utility Belt Module for Modular Utility Belt
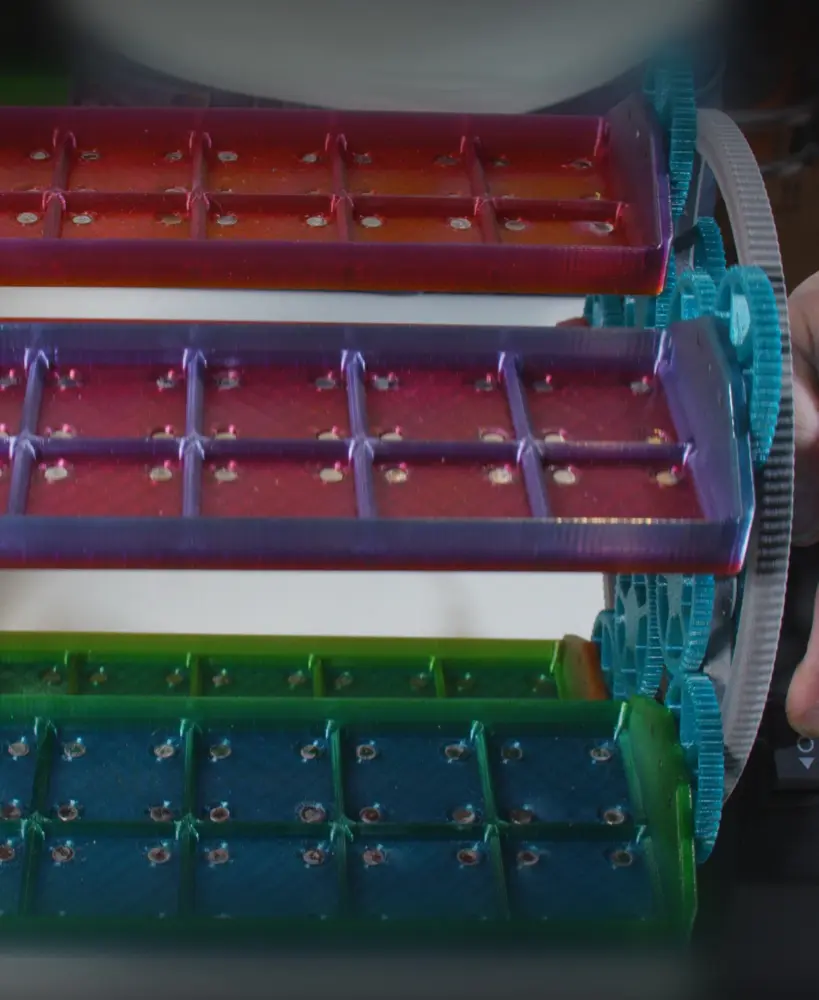
Gridfinity Carousel Carriage w Magnets
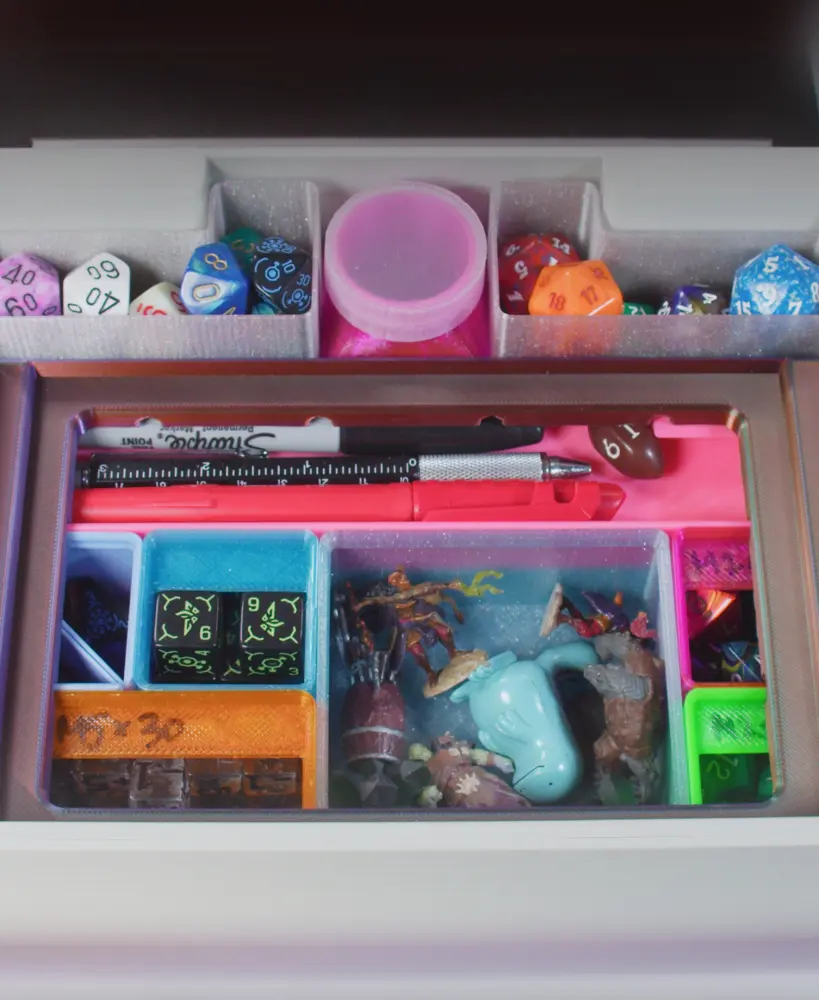
Gridfinity Kit for Dungeon Master's Tome
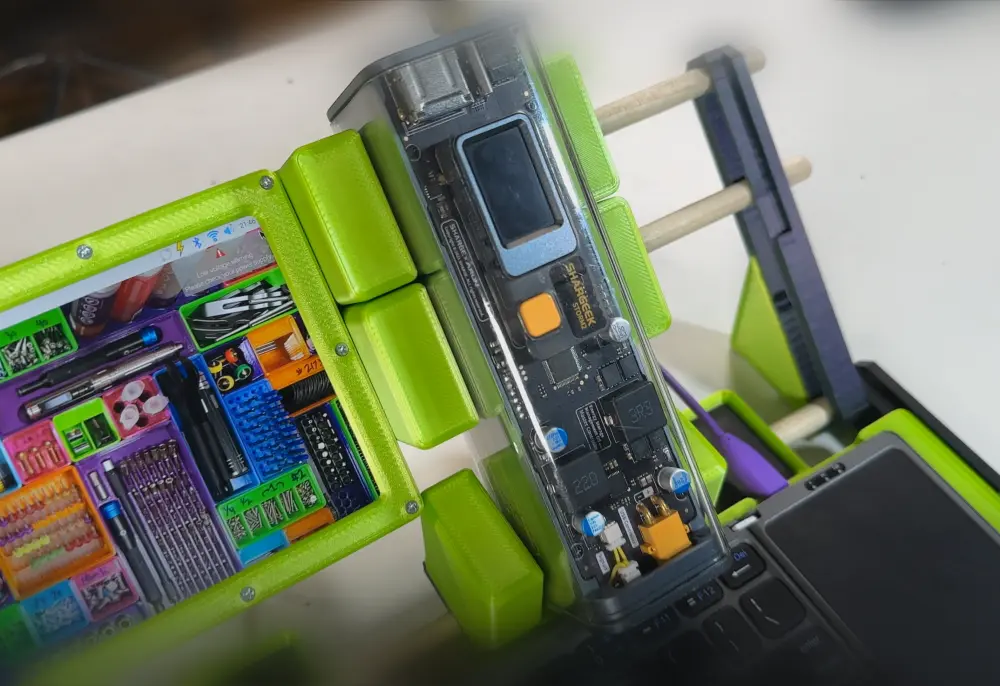
Shargeek USB Power Bank Gridfinity Cradle
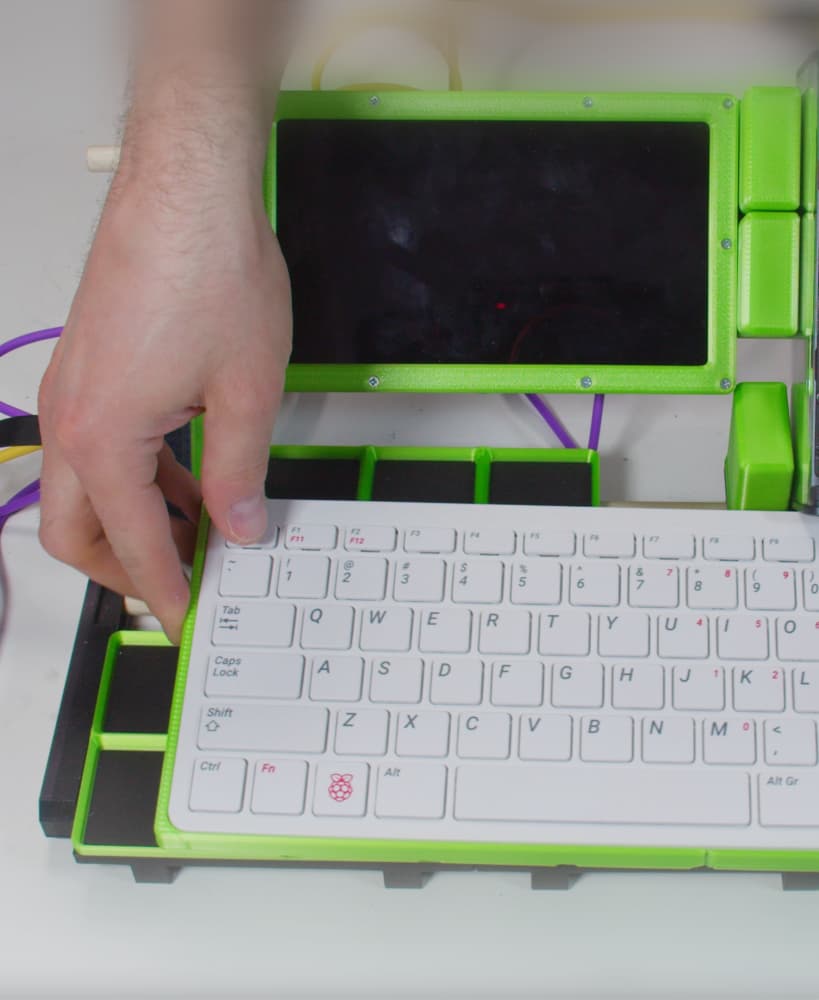
Gridfinity Raspberry Pi 400 Tray (for Cyberdecks)
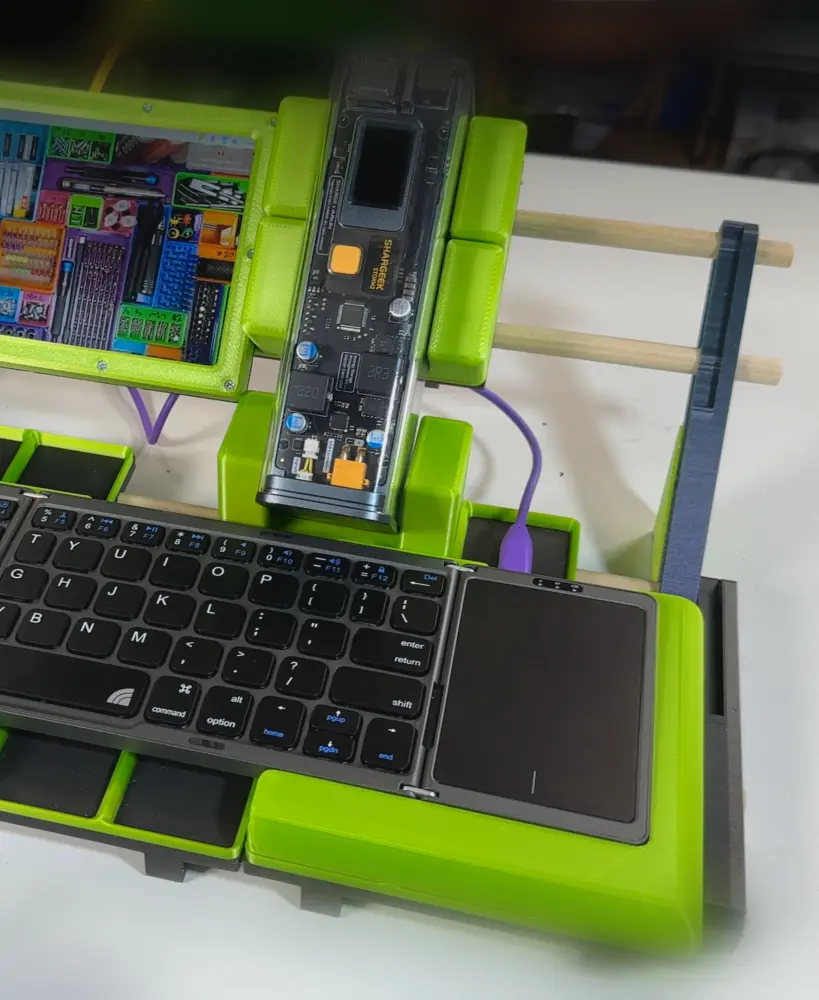
Inland Folding Keyboard Gridfinity Tray (for Cyberdecks)
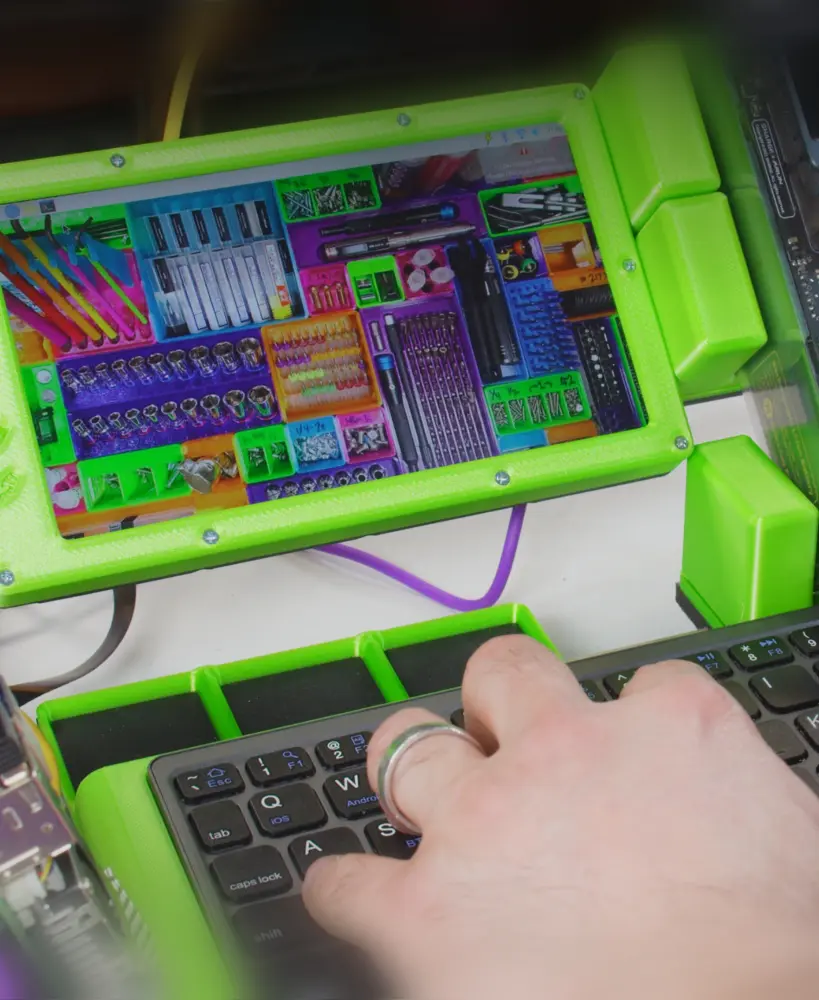
Gridfinity 7" Mini-Monitor (for Cyberdeck)

WaveShare AMOLED Panel Mount Frame (With rgbleds!)

North XL Extra-Tall Rgbled Feet

RGB Silicone-Sleeved AIO Tube Clamp Comb Clip Thingamajiggler

Silverstone IceMyst Custom Emblem

Authentic Faux RAM (Looks like G.Skill Trident Z5 RGB) (Download More RAM)
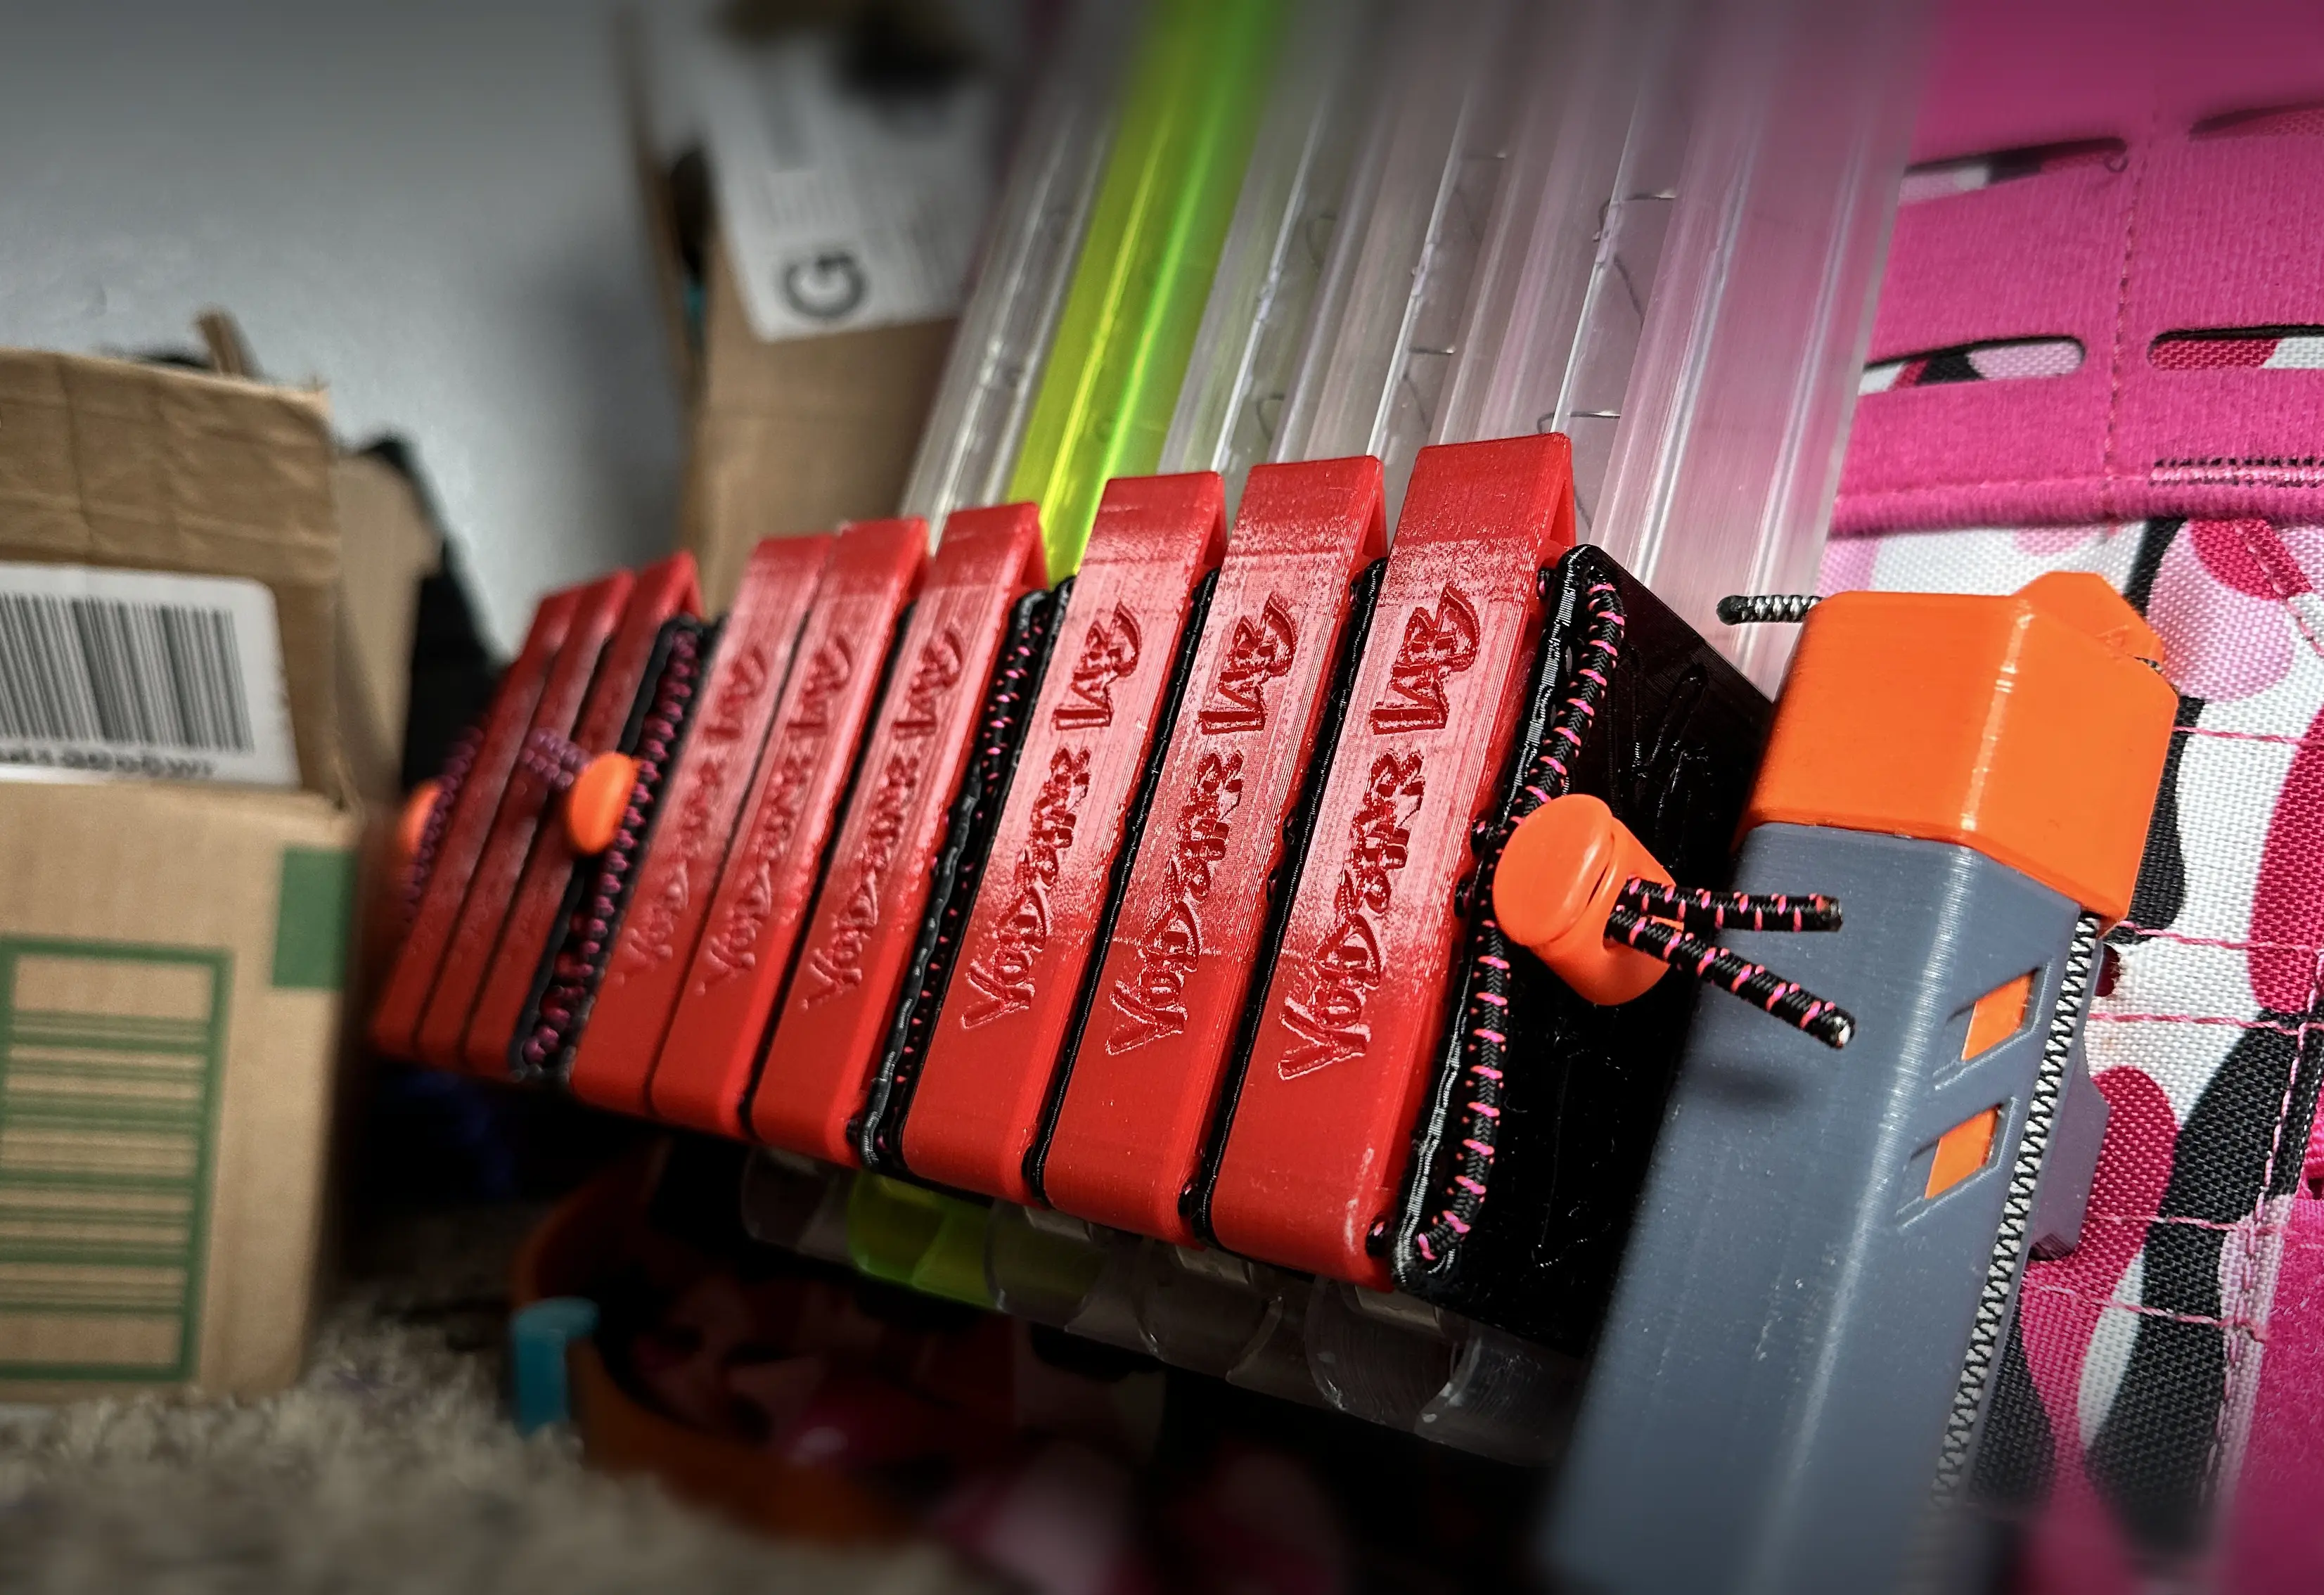
Transwarp Saya - High-Density Nerf Mag Holder for Talon, Katana, and Zinc
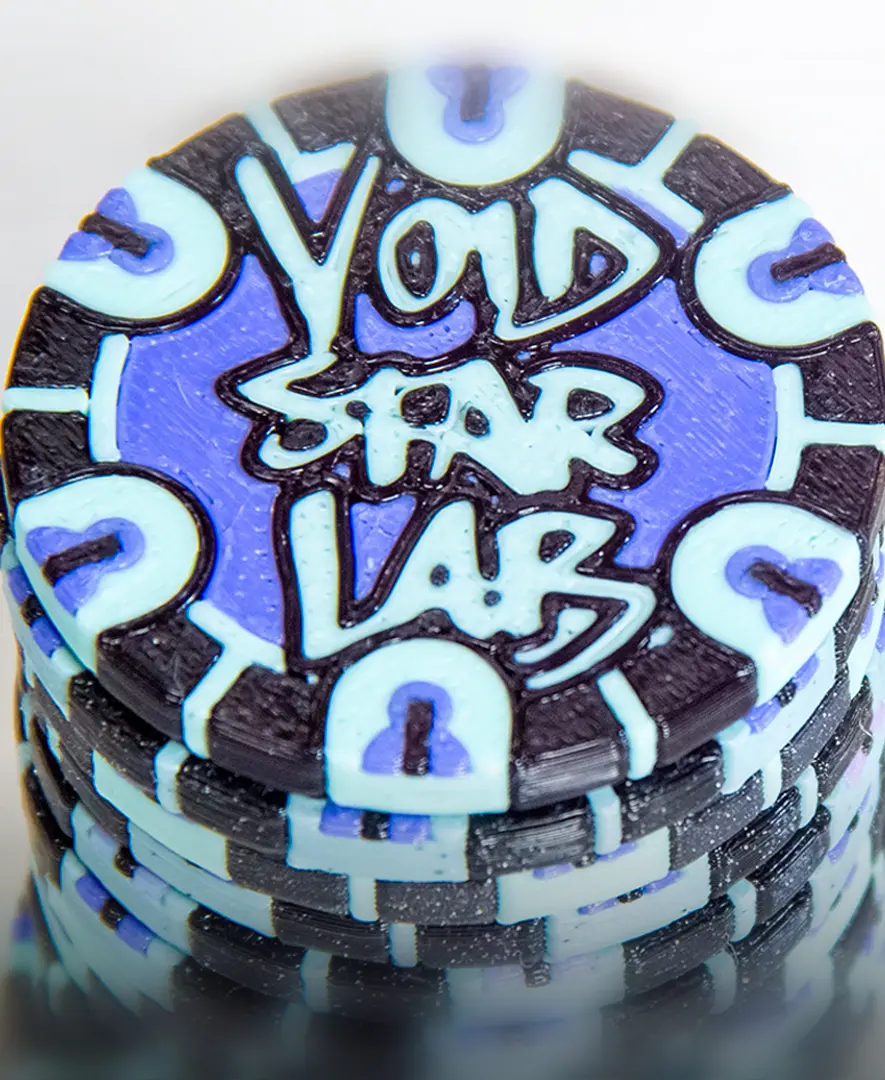
MakerChip: Zack Freedman/Voidstar Lab
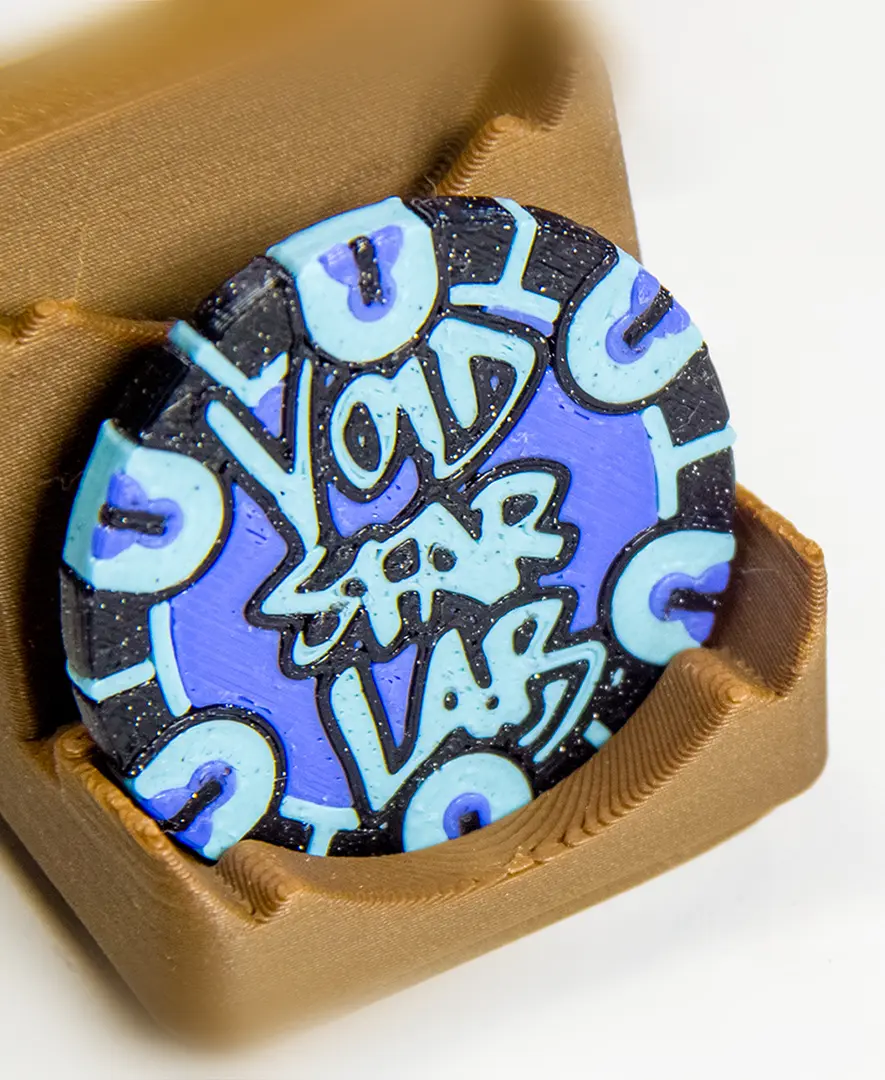
MakerChip Gridfinity Holder (also fits poker chips)
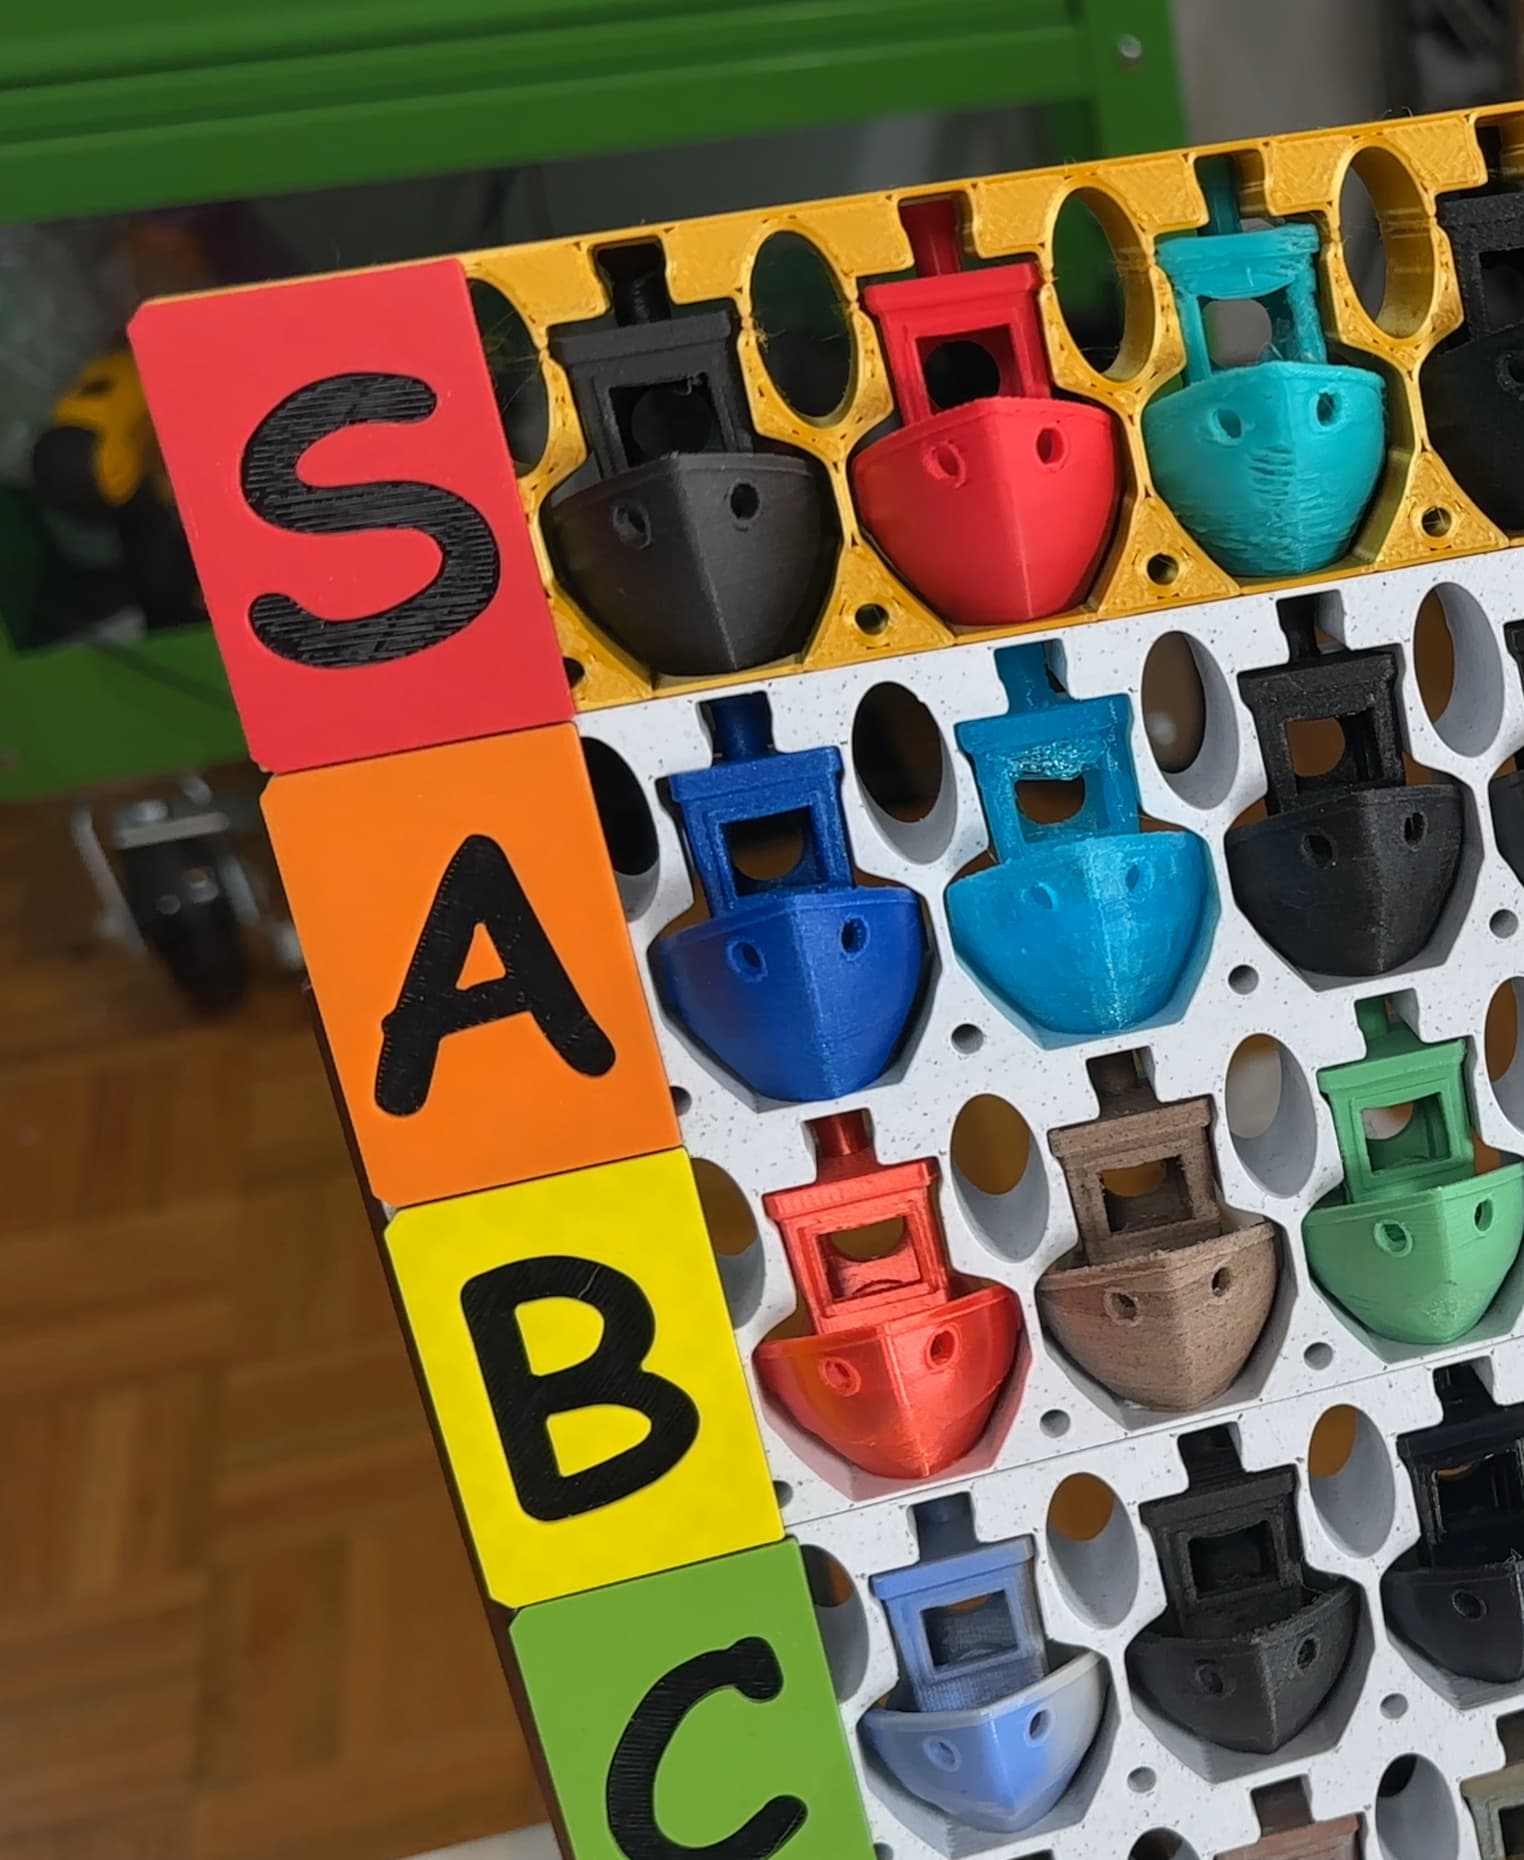
Benchy Tier List!
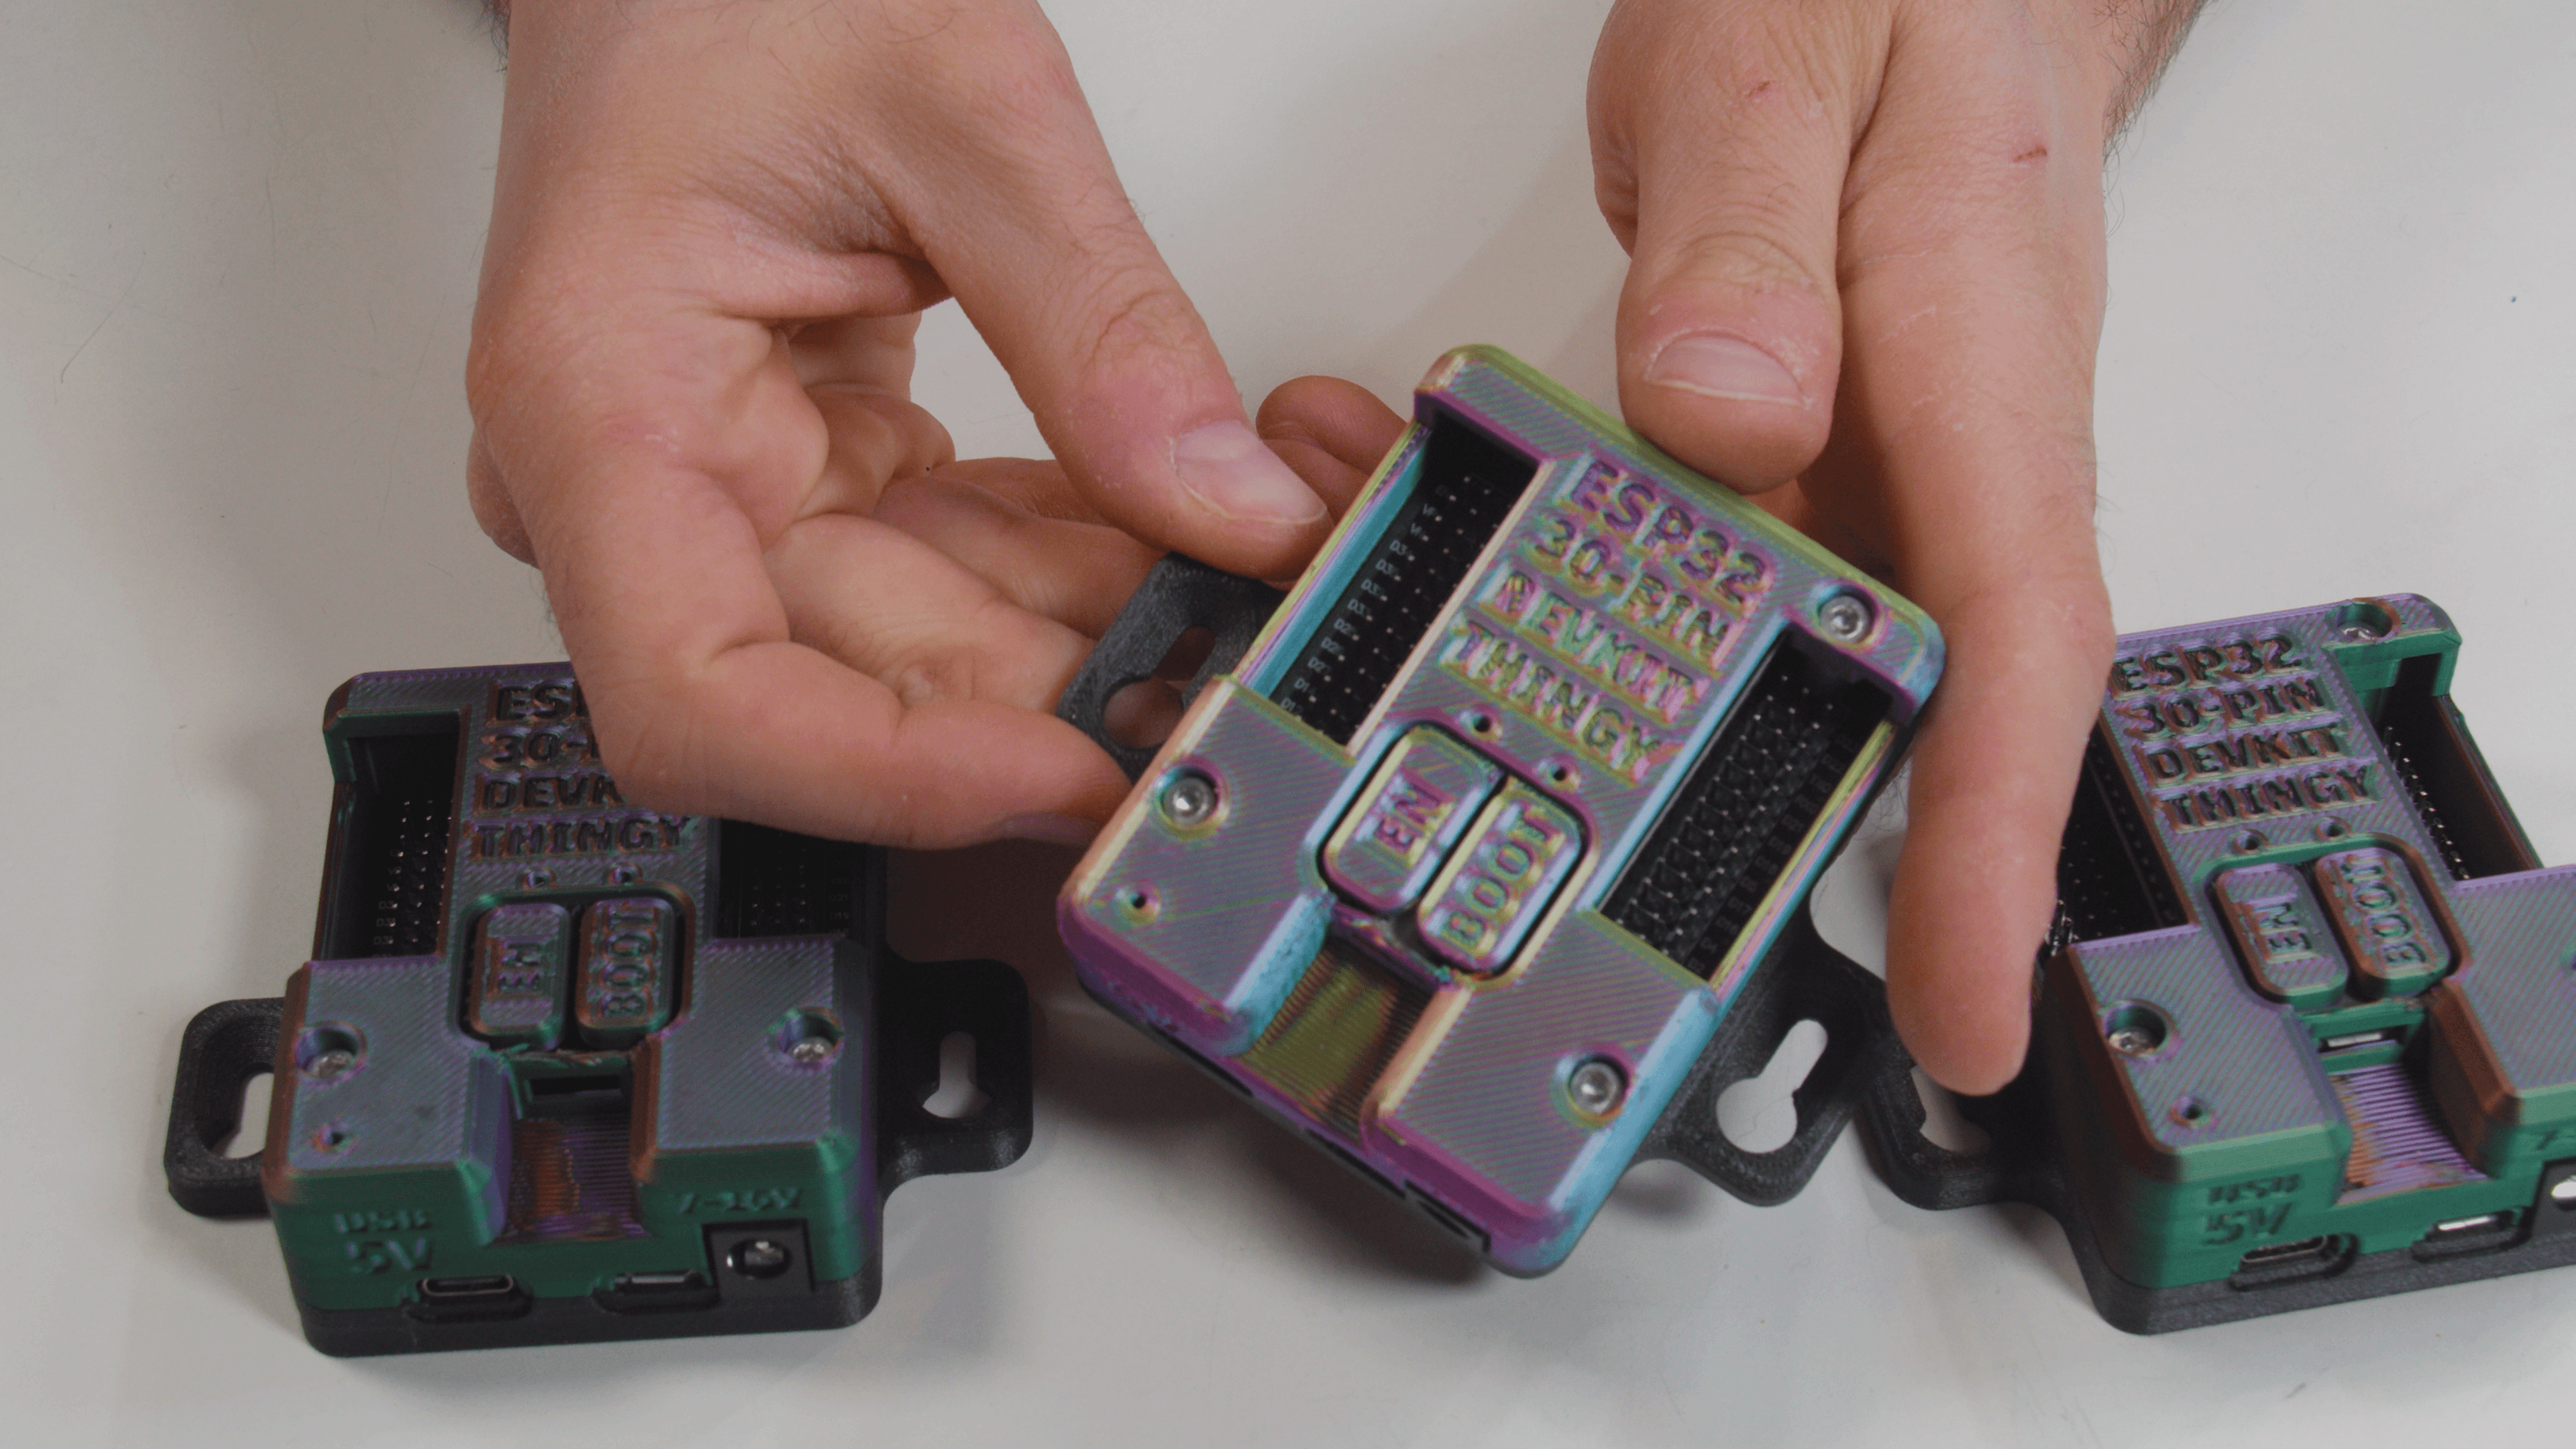
ESP32 30-Pin Devkit V1 Expansion Board Enclosure Thingy
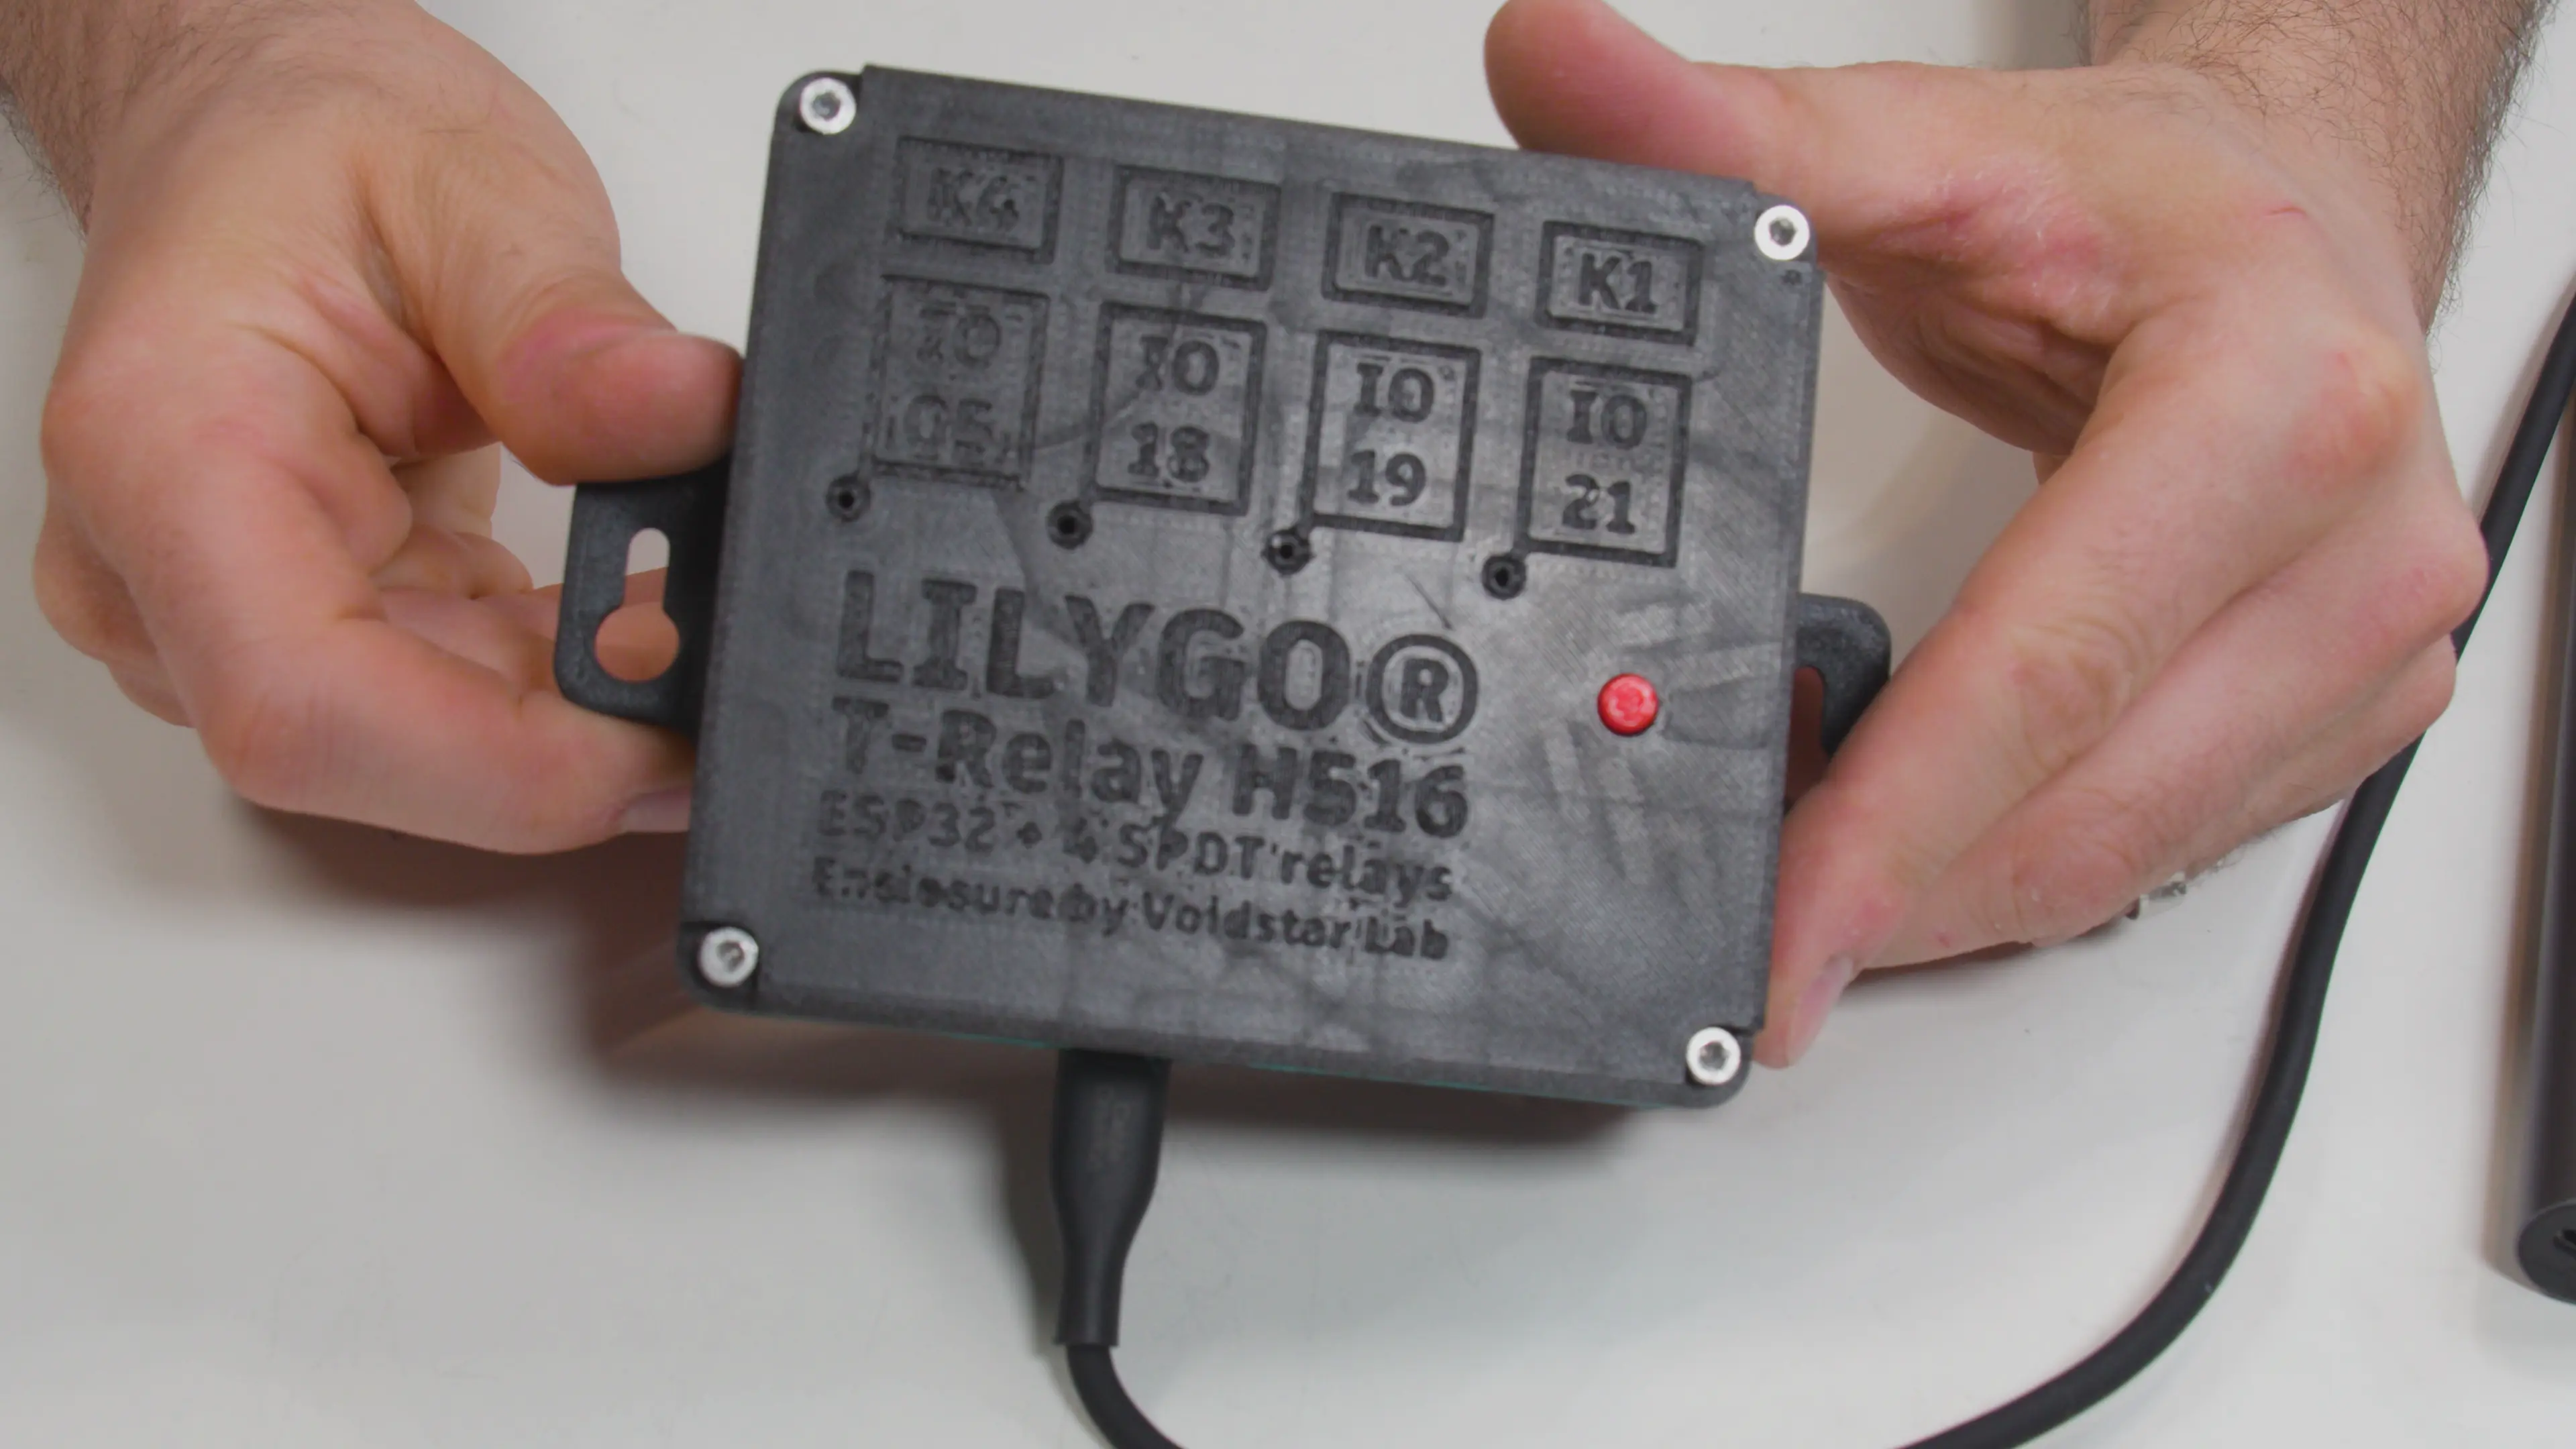
Lilygo T-Relay H516 Enclosure
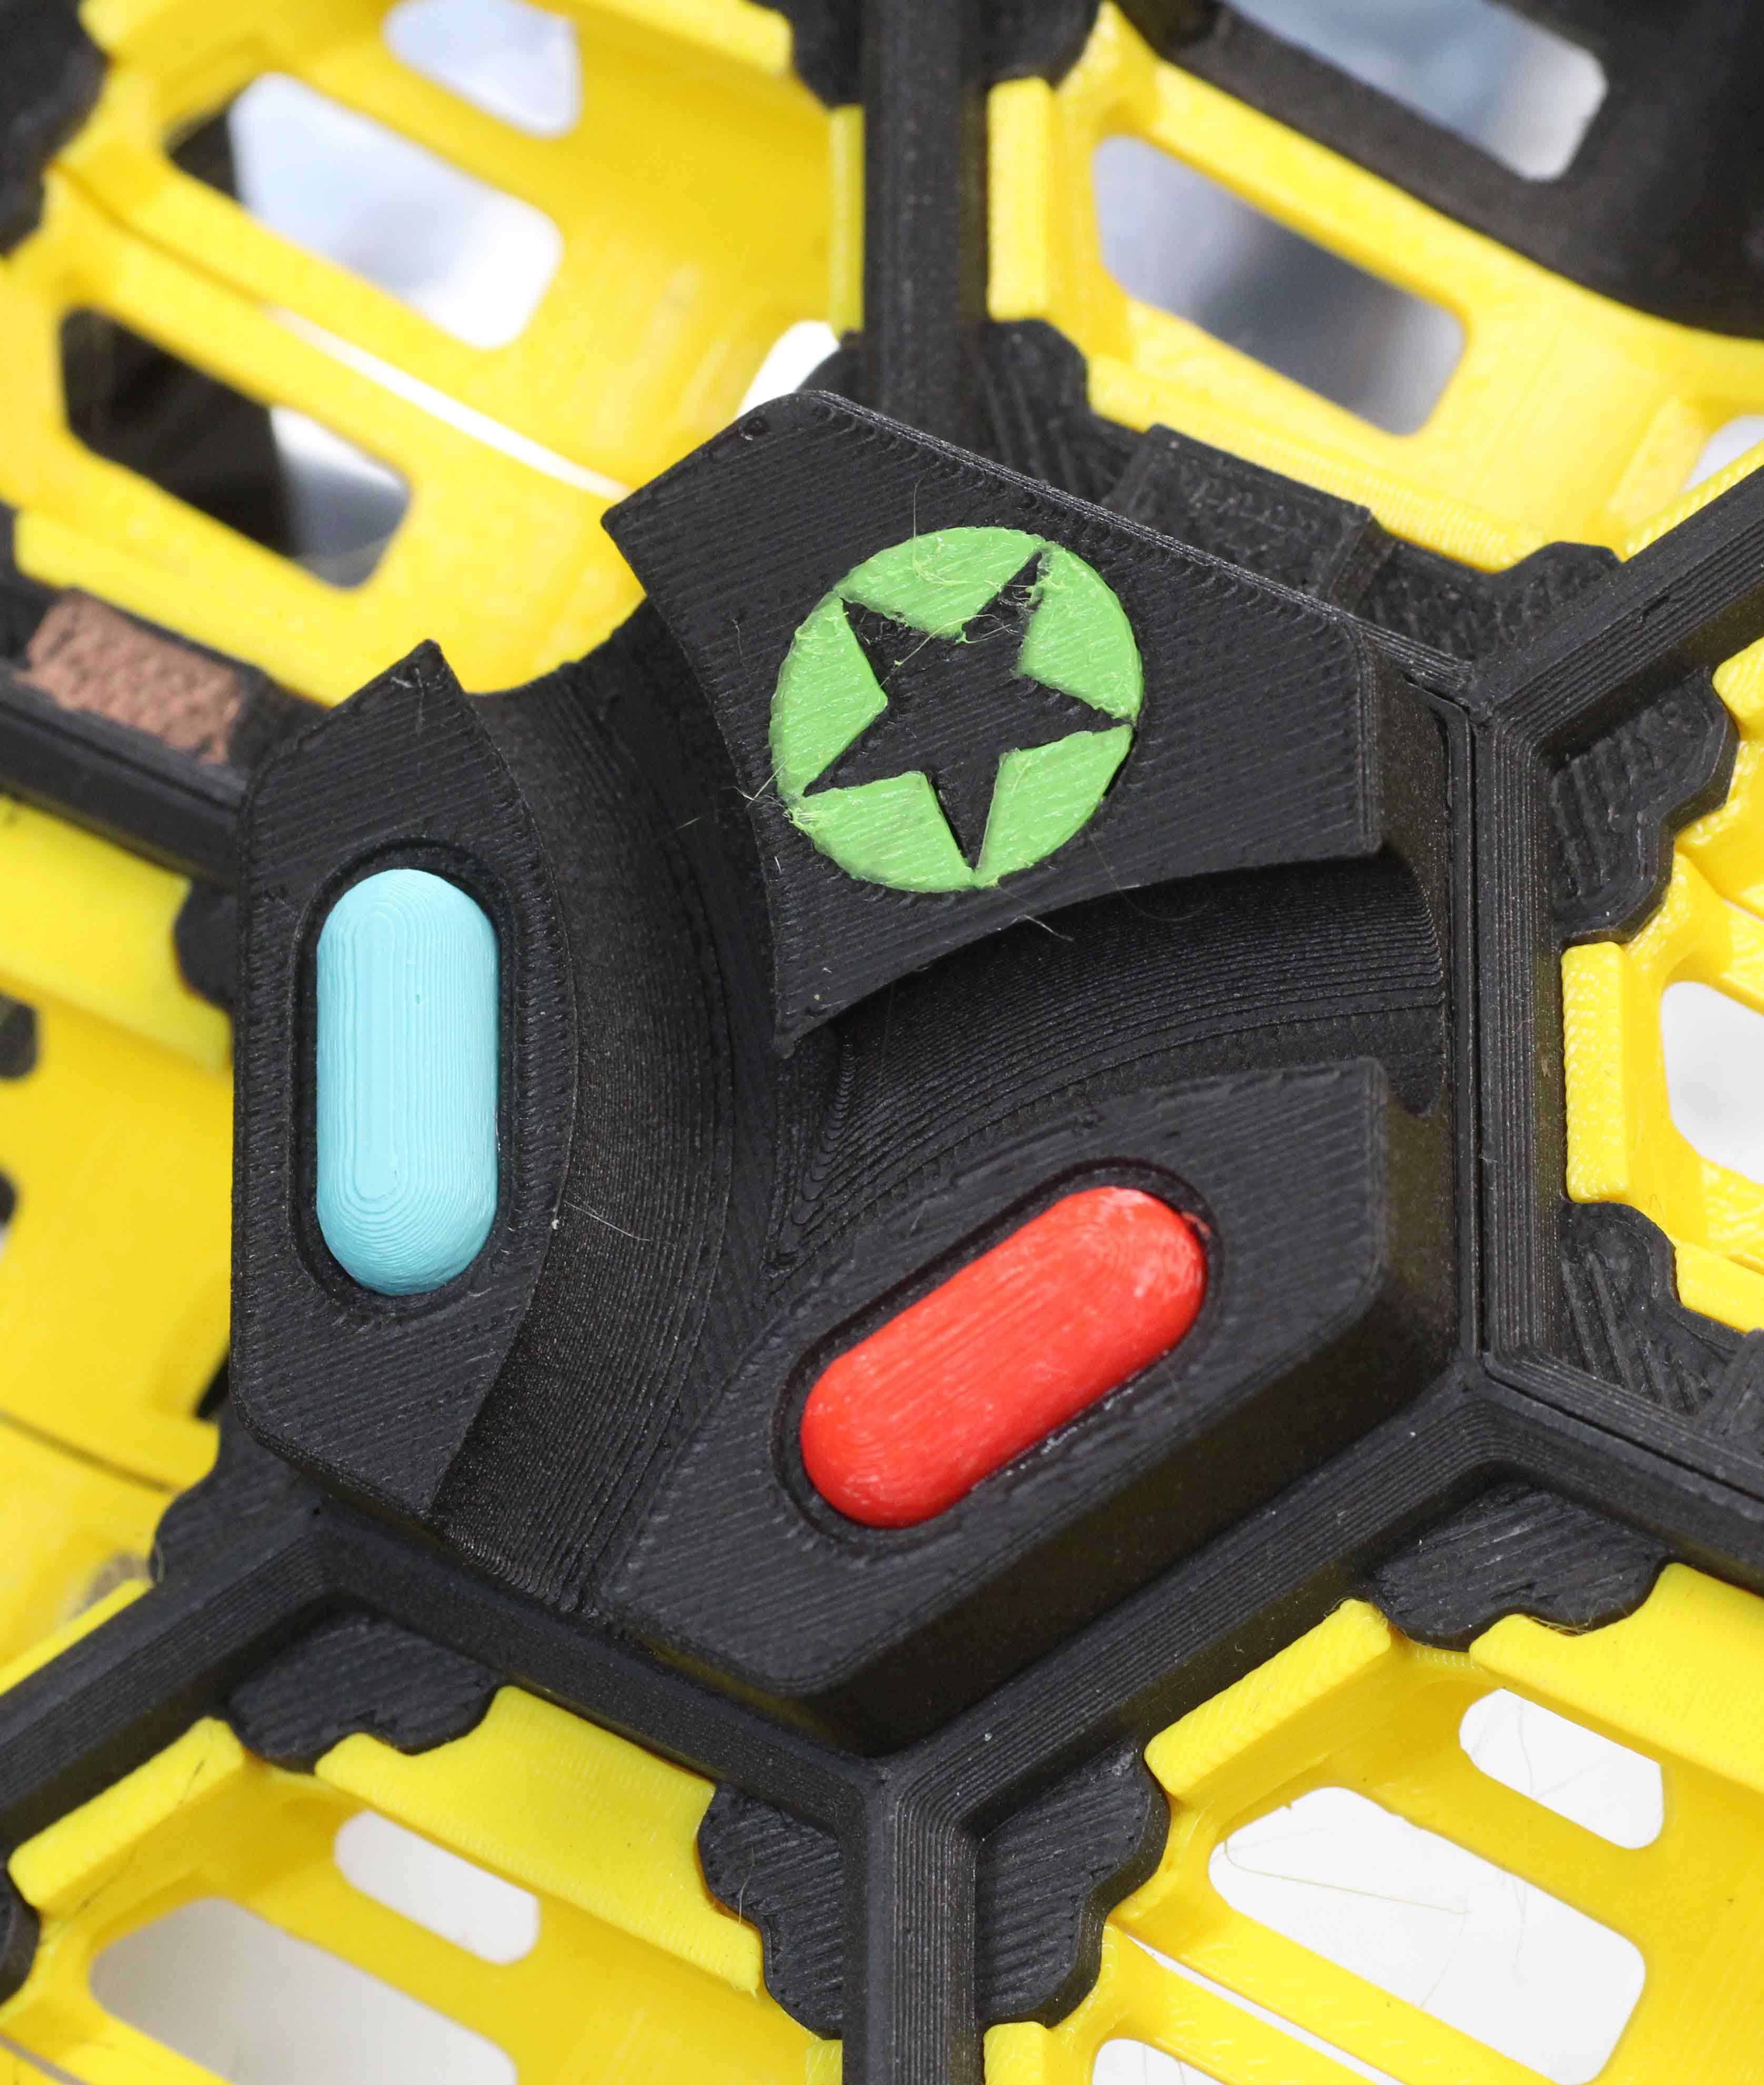
Hextraction: Take the Tilepill