
Raspberry pi camera magnetic mount for pi-cam v1.4
Model originally uploaded to Thingiverse at https://www.thingiverse.com/thing:4934582.
I wanted a camera mount for my pi-cam so I designed this with magnets in the base so I didn't need to modify my chassis.
required materials:
4x small thread-forming screws. M3 I think. I don't know. 3x 10mm diameter x at least 1.5mm thick magnets. 1x set of the 3D printed parts (print one set of either the STL files or 3MF files. no need for both. 1x Raspberry Pi camera v1.4 (don't know if other versions have the same footprint. They may also work.
instructions:
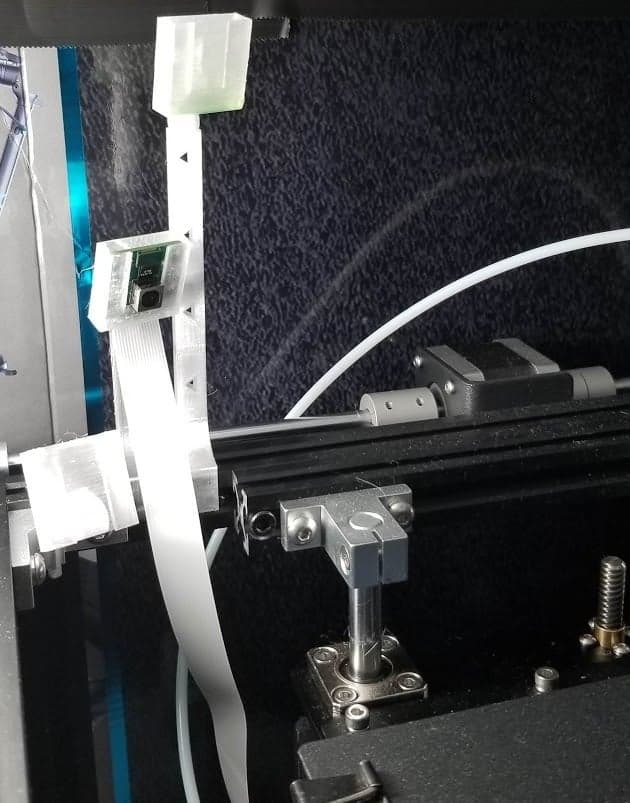
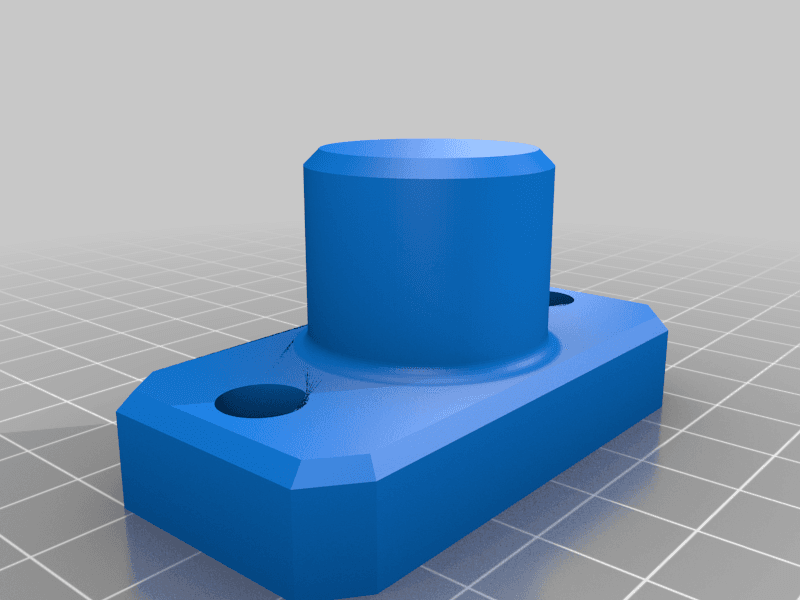
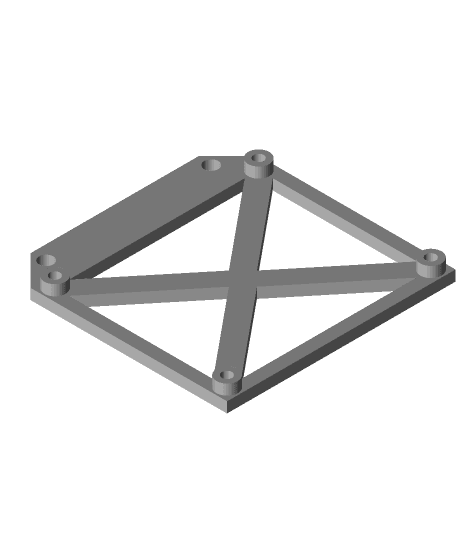
- Print parts and assemble as shown in photos.
- Press fit the magnets into the recessed slots on the back of the chassis mount. If your magnets are slightly smaller, you may need to add some glue.
- Put some insulating tape over the screws that hold the camera mount to the mini-gopro mount.
- Carefully press pins on camera mount into the camera PCB holes.
- Using a soldering iron or heated metal knife or similar, carefully press down on the plastic pins to melt them over the PCB and affix them in place.
Pro-tip: If you are using the pi-camera for your 3D printer and you want to have it installed for close ups of your printed item, you may need to turn the lenses screw about 3/4 turn anti-clockwise to bring close objects into focus.

Raspberry Pi Cam Mount for 5/16" Post

5/16" Post, Ribbon Cable Mount, (Raspberry Pi Cam)

5/16" Post, Ribbon Cable Mount (Raspberry Pi Cam)

2020 Ribbon Cable Mount (Raspberry Pi Cam)
Simple Pivoting Raspberry Pi Cam, No Screws Needed (For standard rails, like Ender 5)
2-Holed Base for Raspberry Pi CAM Mount

Raspberry Pi Camera Cam Module v3 Enclosure Magnetic Mount
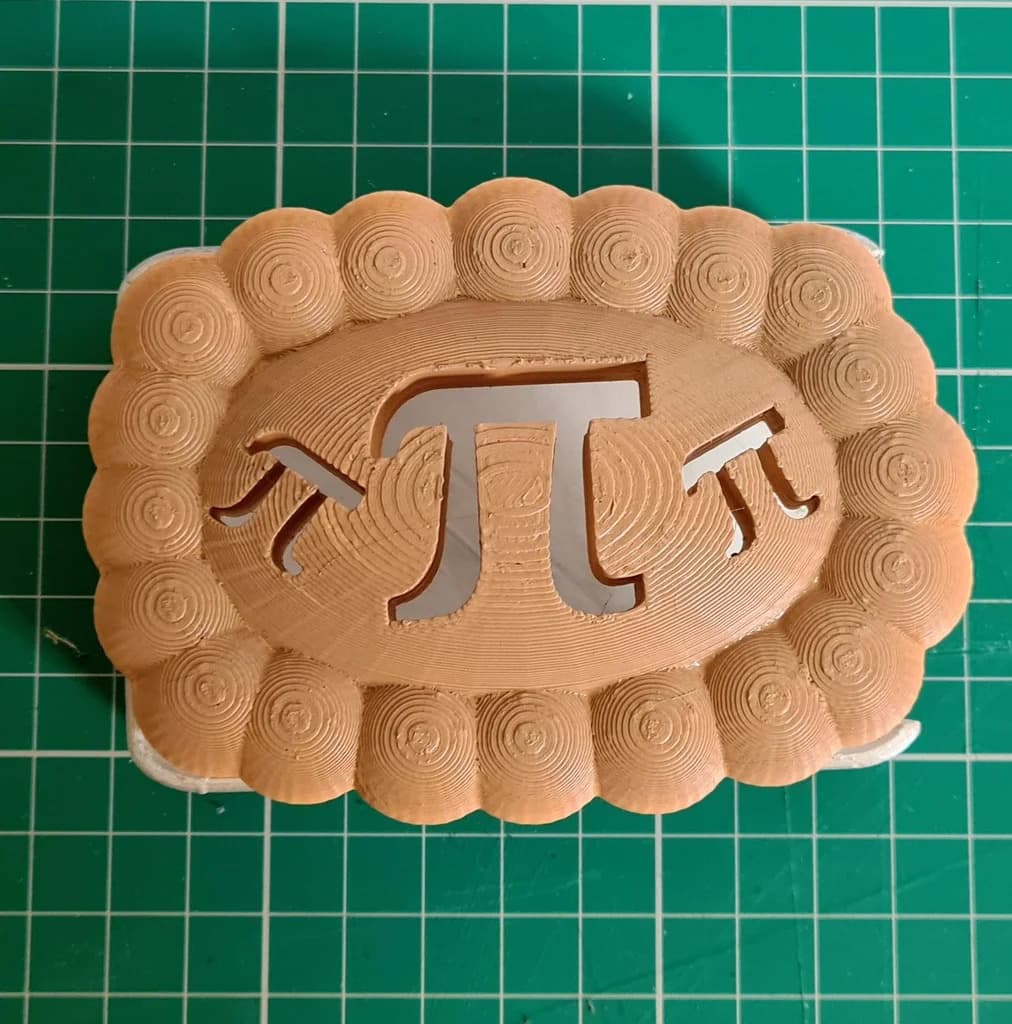
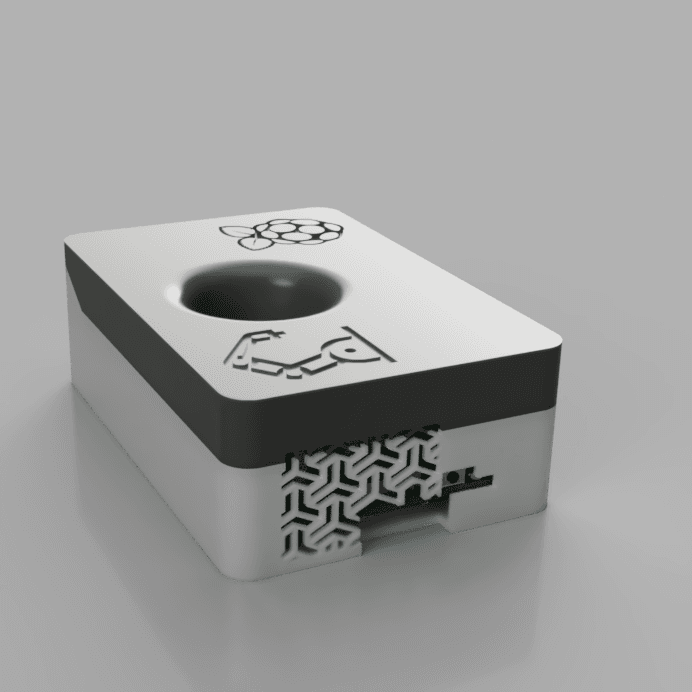
Pi Pie Raspberry Pi Case (Easy Print Version)

Raspberry Pi & BigTreeTech Pico 40mm Fan Mount - Pi Zero 2W 3 4
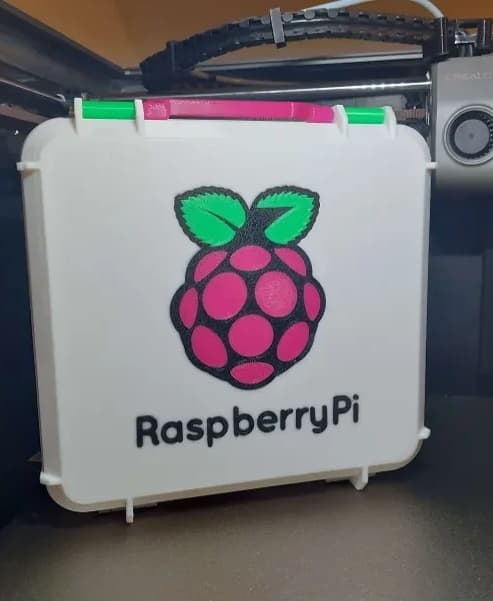
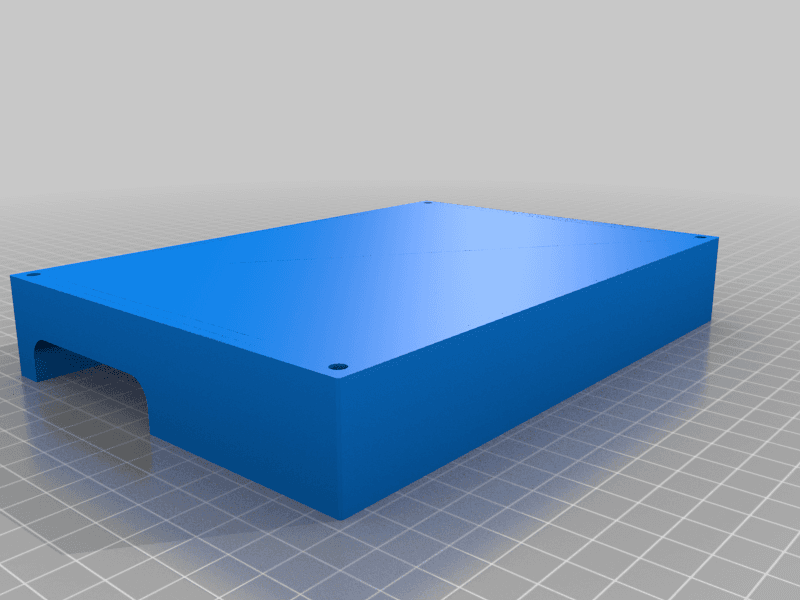
Raspberry Pi Box
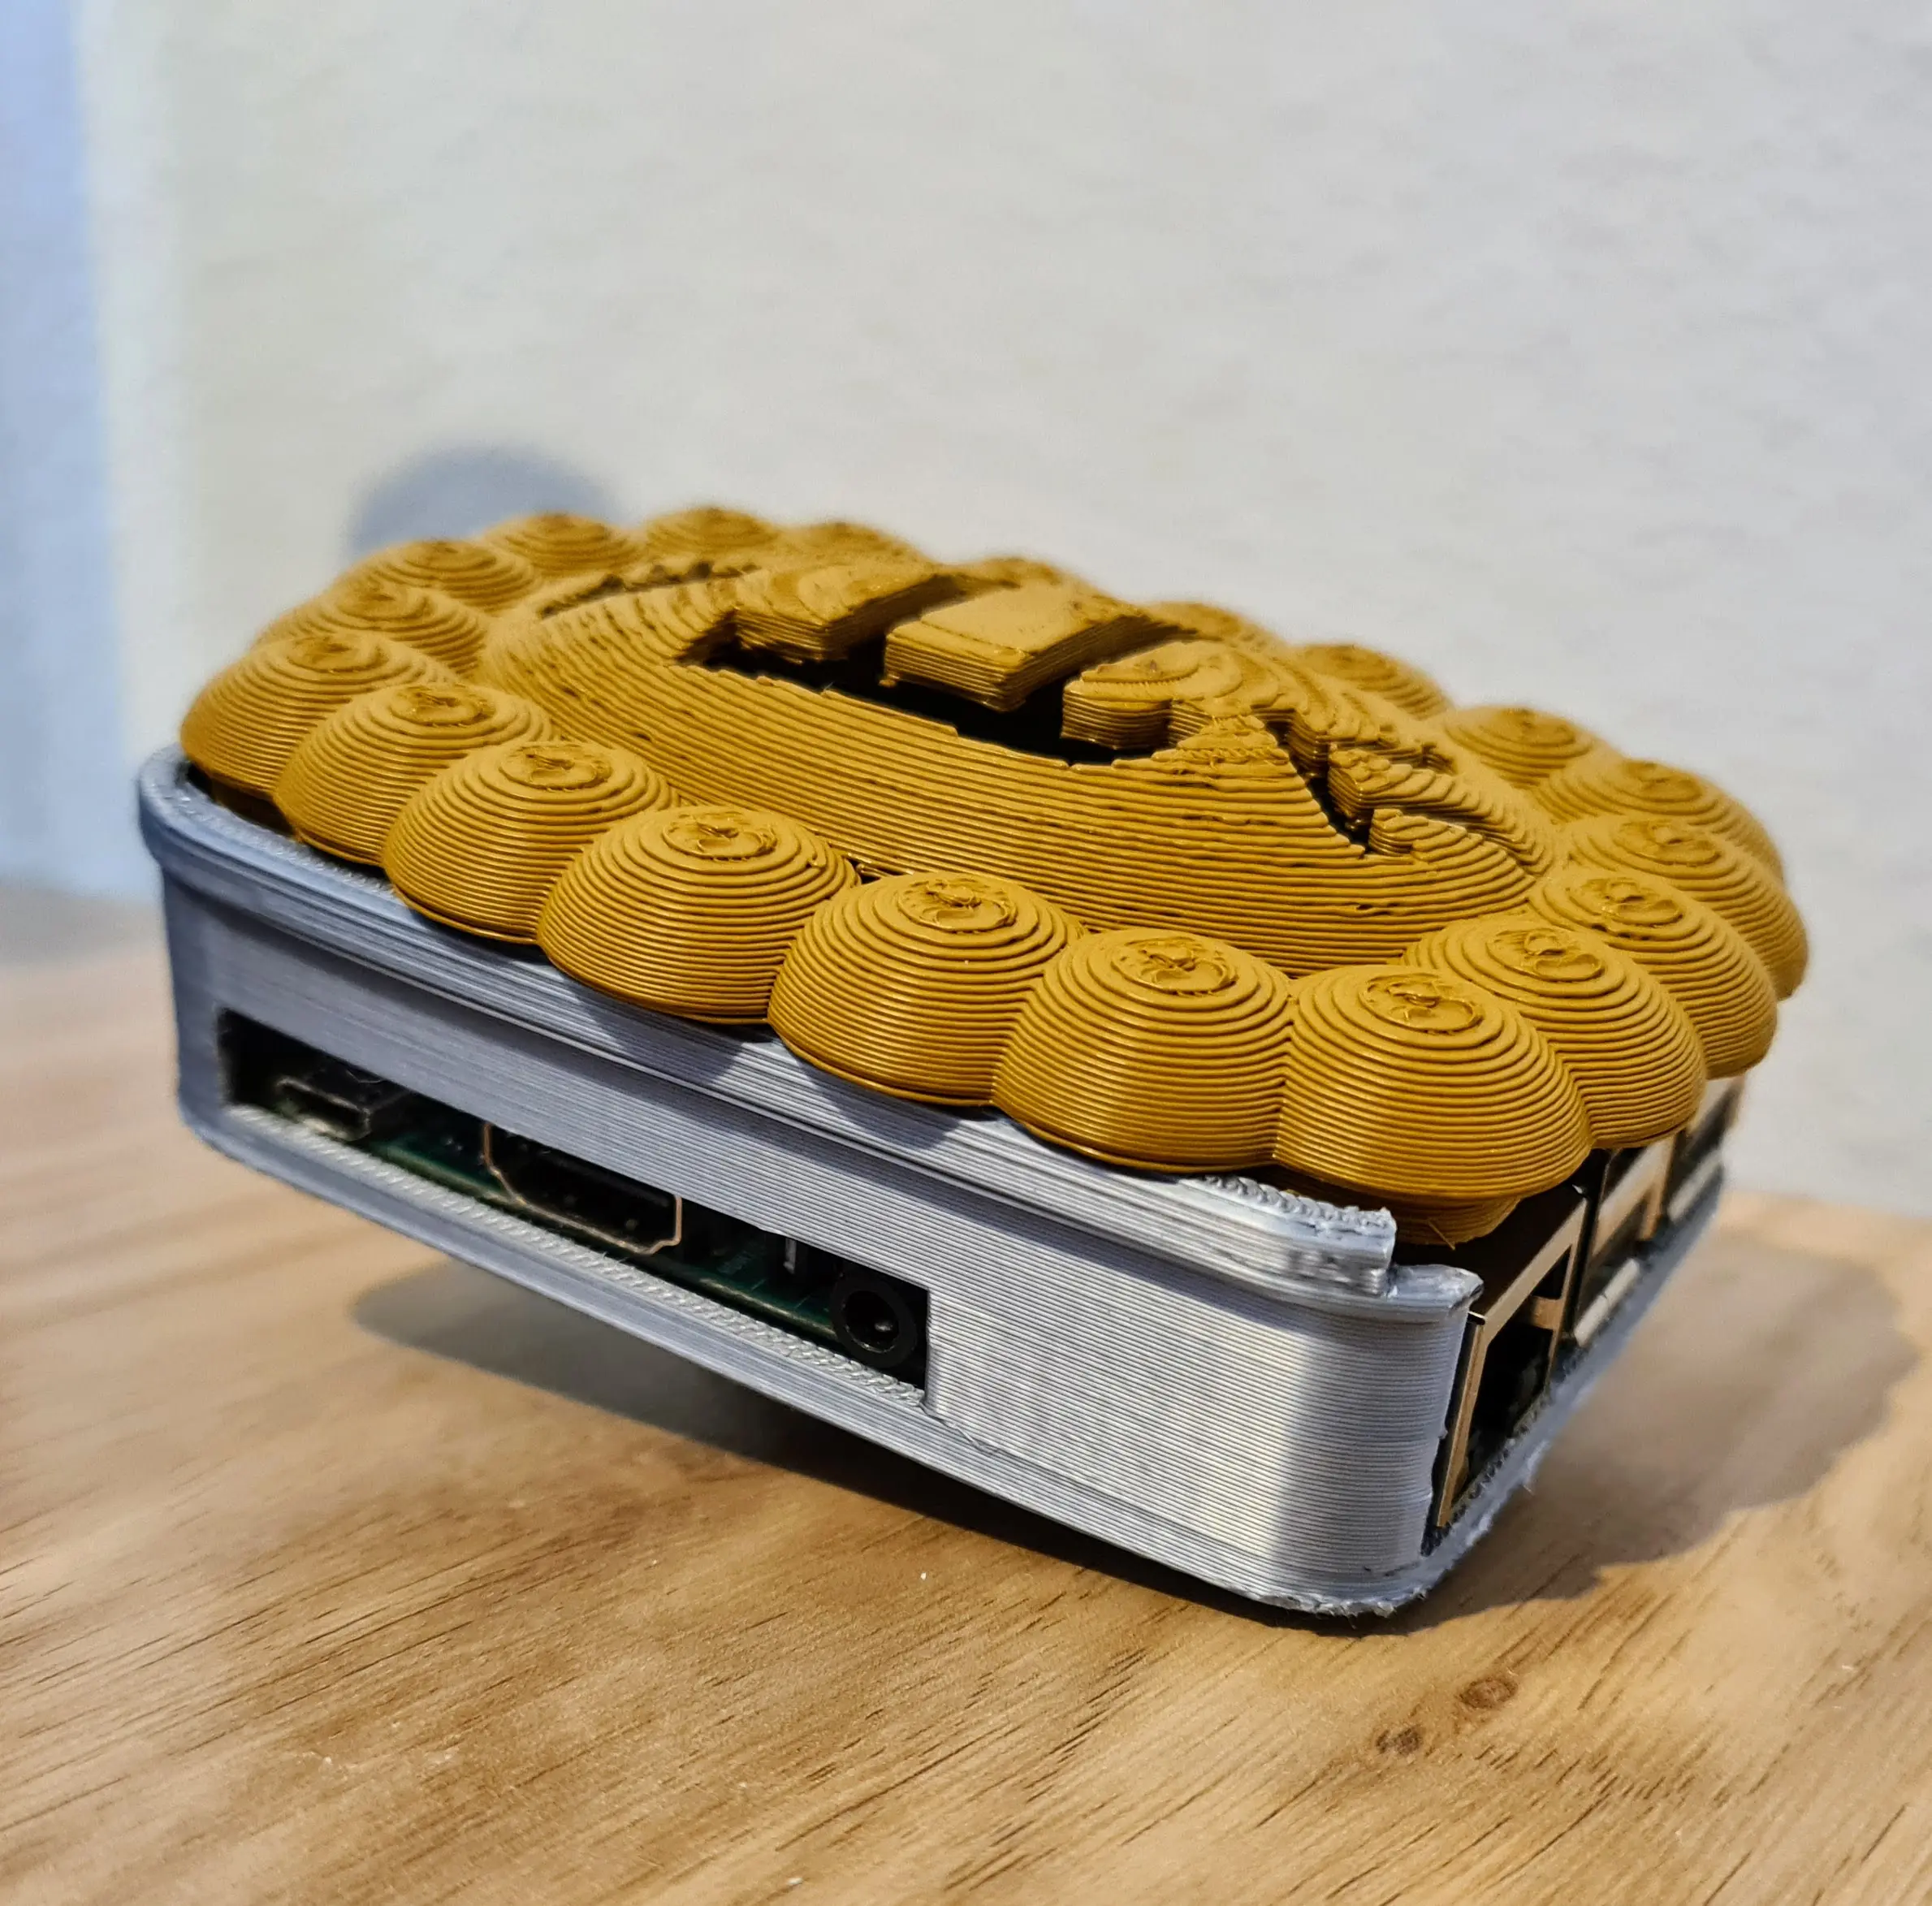
Pi Pie Raspberry Pi Case

M!N!MAL 0 CH - Raspberry Pi Zero 2 / Banana Pi M2 Case / Housing / Sleeve with Heatsink & Cooling
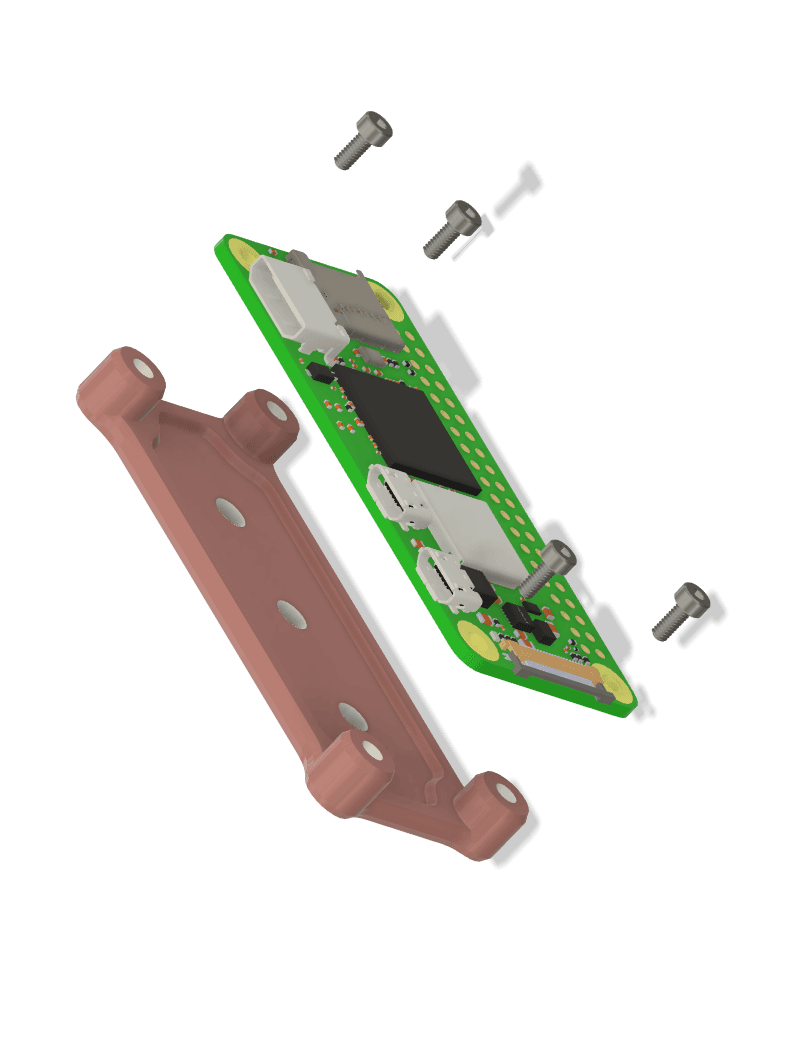
Raspberry Pi Zero Mount - VHB Tape or M3 Screws - Pi Zero 2W
SnapBox Raspberry Pi 3 / 4 / Zero - (Resin)
Pi Plate (simple raspberry pi 4 mount)
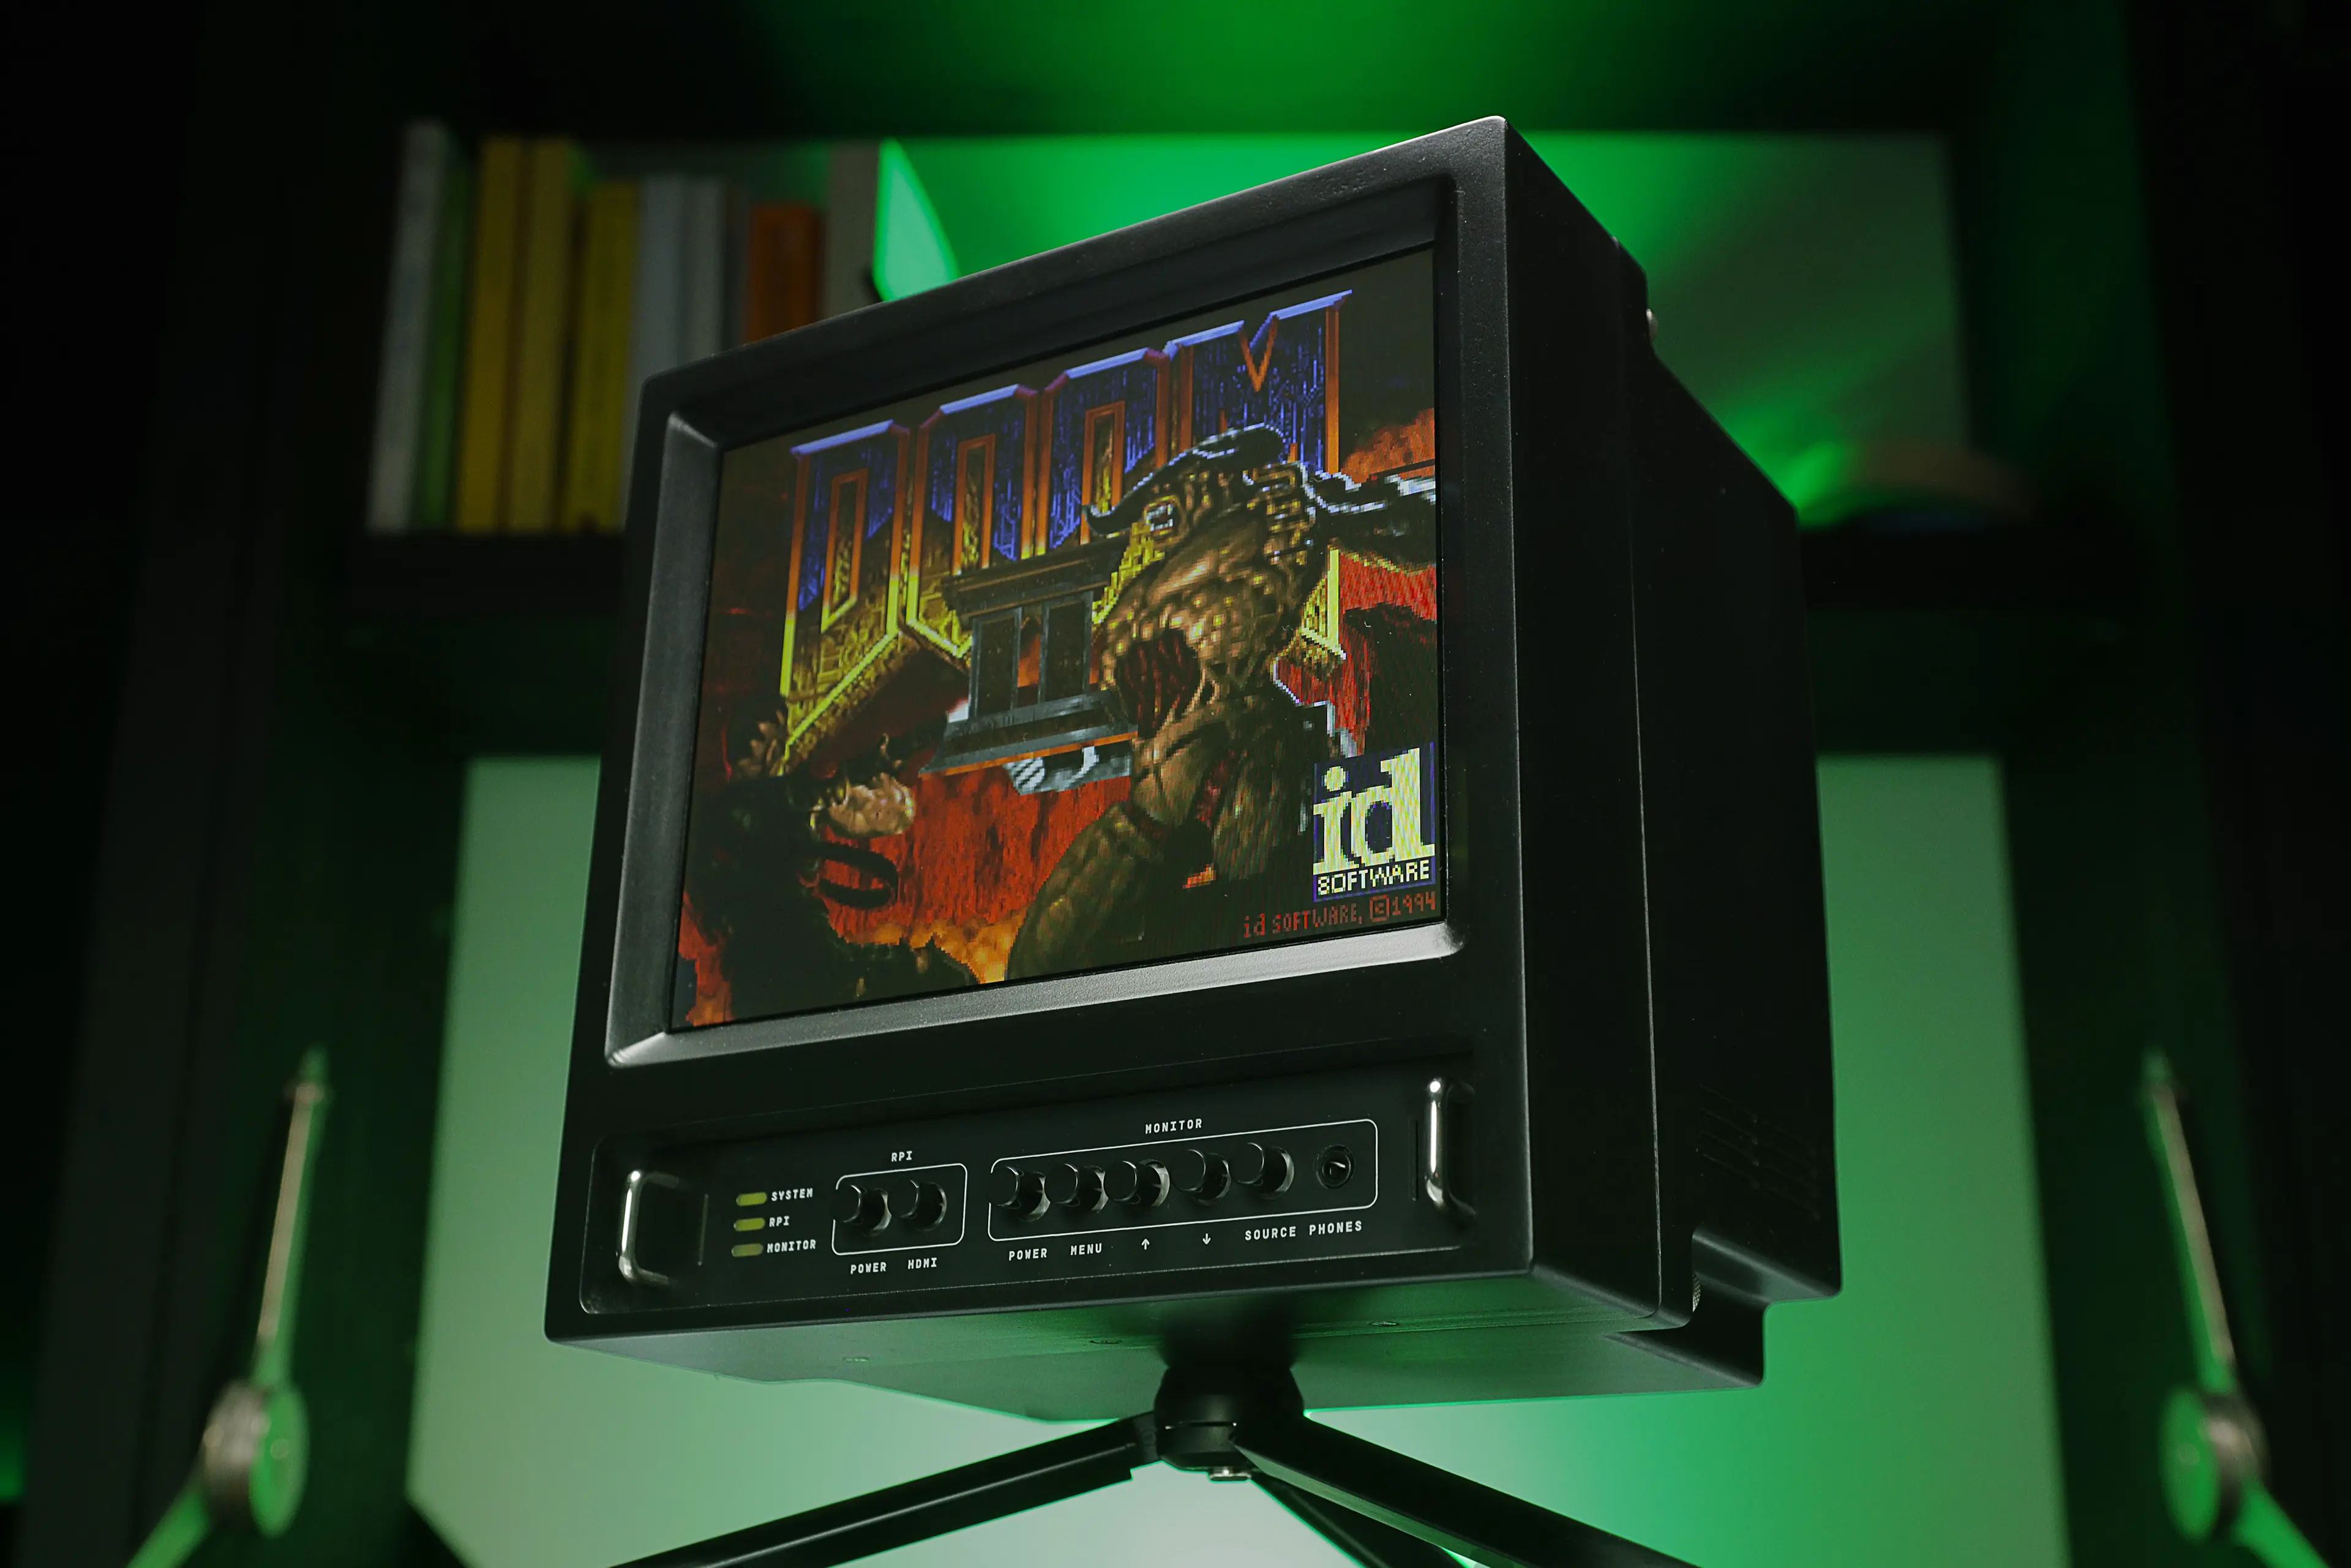
CRT Style Raspberry Pi Enclosure (portable) — Pi Terminal
Raspberry Pi Display Monitor 7" Screen Box RPi Enclosure Case
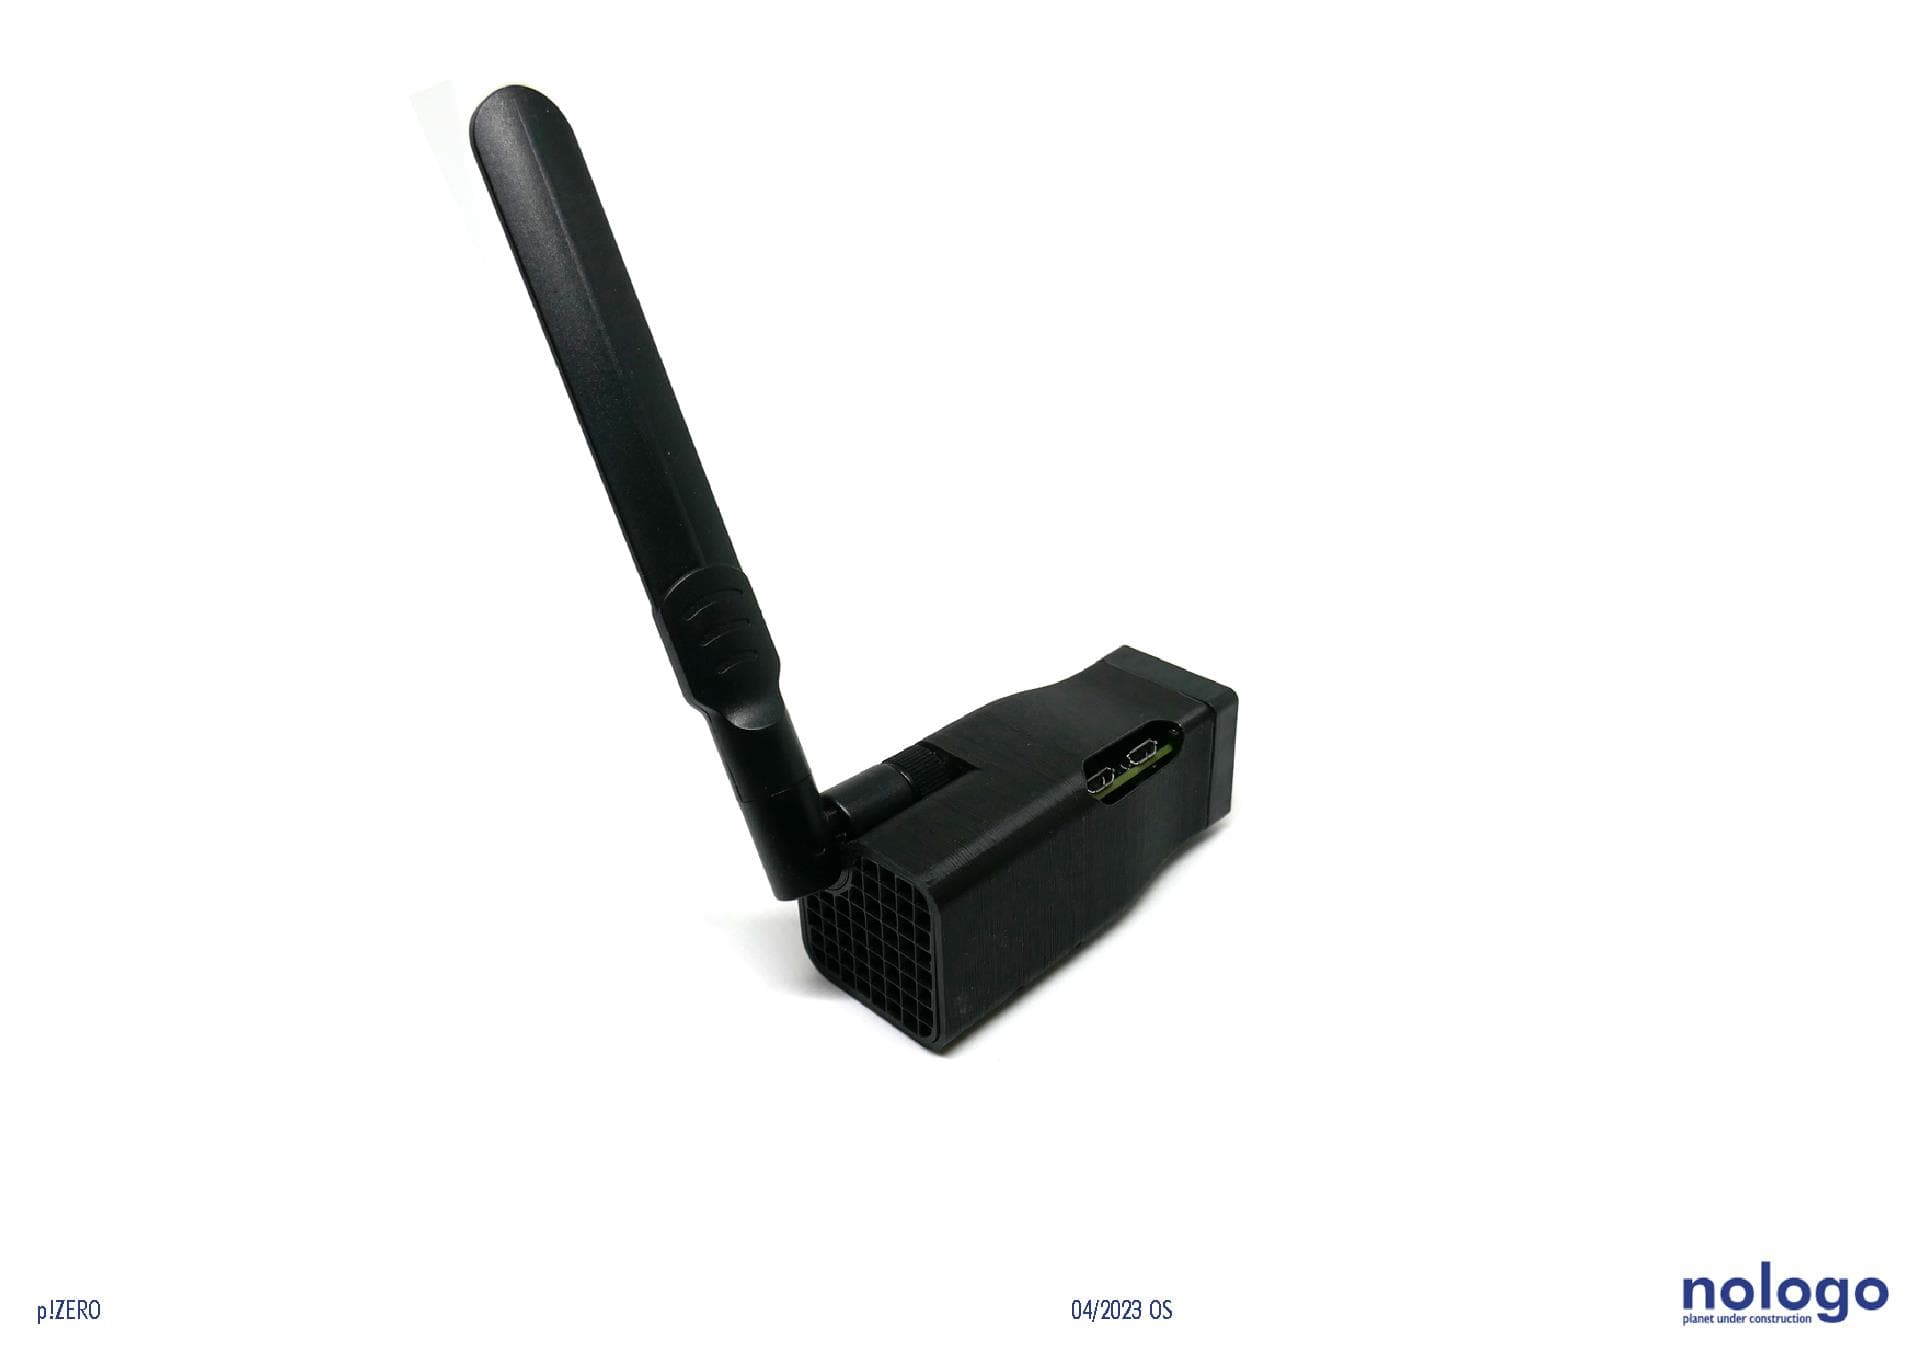
SH!ELD Zero - Case for Banana Pi BPI-M2 ZERO or Raspberry Pi Zero 2 W
RASPBERRY PI 5 CUSTOM CASE
