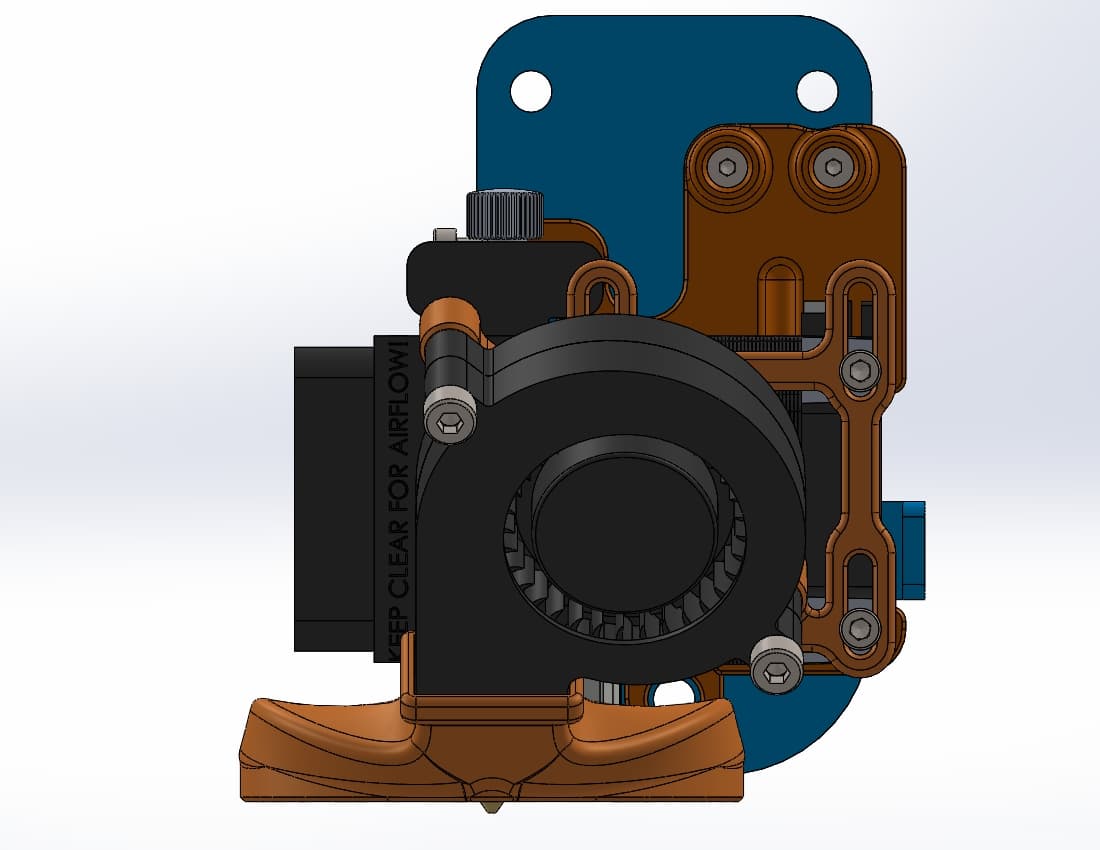
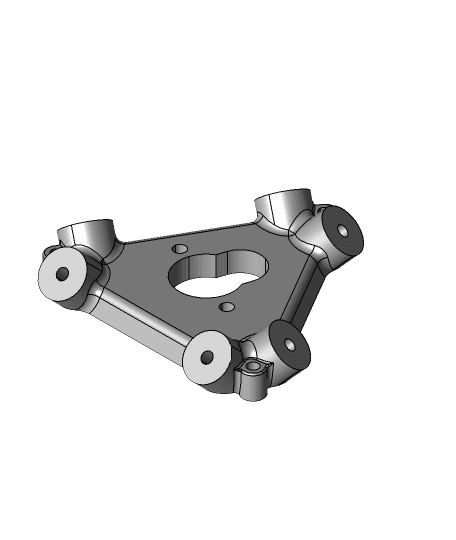
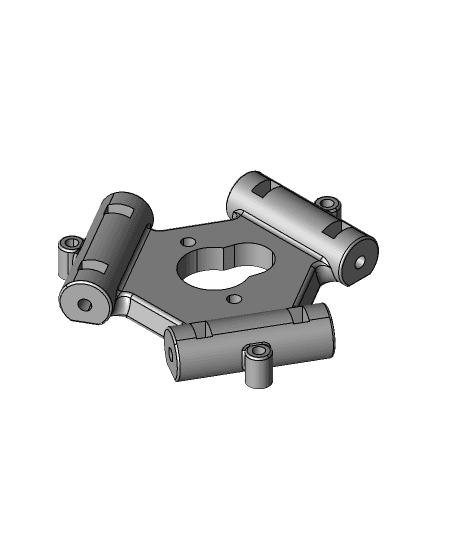
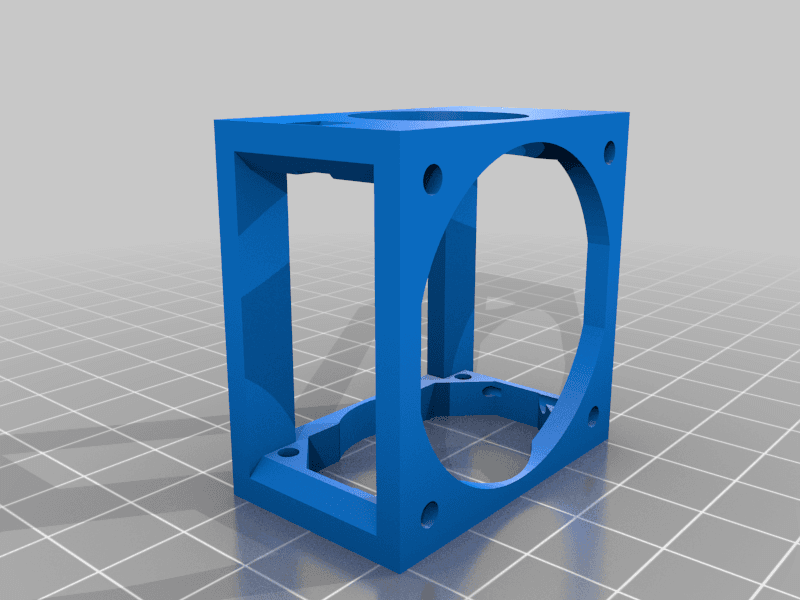
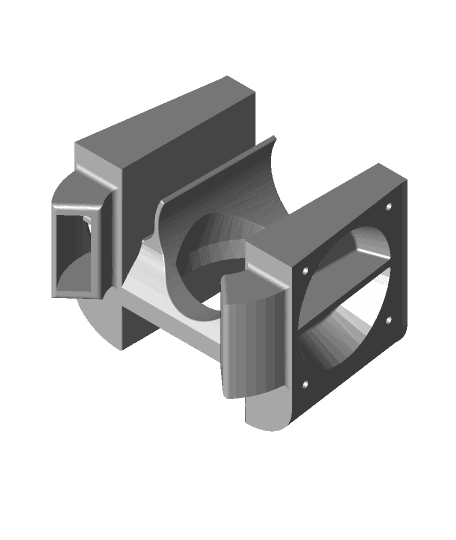
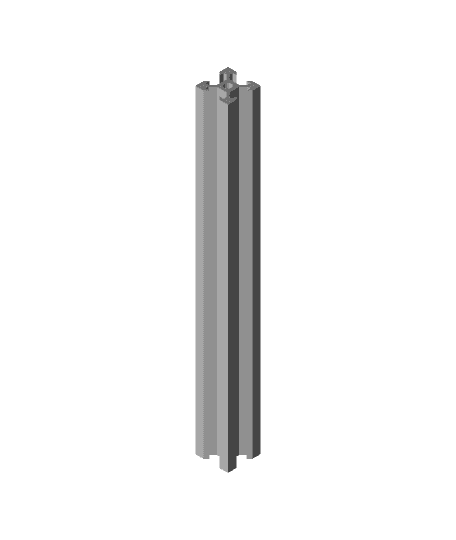
Delta Effector with 5015 Fan and Auto Calibration
Model originally uploaded to Thingiverse at https://www.thingiverse.com/thing:4847896.
This is a remix of "E3D v6 Effector for Micromake Delta Kossel v2 (with 5015 fan)" by Algenist (https://www.thingiverse.com/thing:3706236). I’d mark this as a remix, but Thingiverse is falling apart and that feature isn’t working for me. I made the following changes in Freecad:
• Opened the diagonal rod screw holes slightly on the effector plate. • Added holes in the effector plate for 6x4mm magnets. • Designed a magnetic detachable Z probe. • Had to redesign the air duct to allow room for the Z probe. It’s a slight loss in cooling, but it was worth it to me to no longer have to manually calibrate. • Shortened the rod separation from 43mm to 42mm.The air duct was a little tricky. You may need to scale it on the Z axis of your slicer if it scrapes your print. It works fine for me, but I could see a slight change in the first layer making a difference. It should be printed in ABS. Be sure to set the m3 nuts on the effector plate for the diagonal rods with some hot glue or superglue and use a touch of superglue to set the magnets. I used the following magnets https://www.amazon.com/dp/B07C6CYPLR?psc=1&ref=ppx_yo2_dt_b_product_details and the following micro switch https://www.amazon.com/dp/B07P11JG8K/?coliid=IBQDVS5QYVGZH&colid=3TG04TW2M3MEN&psc=1&ref_=lv_ov_lig_dp_it . The probe cable was soldered and heat shrinked onto the micro switch. You'll need to drill out the screw holes a little on the micro switch to allow the m3 screws to go through. Any 2 wire JST connector can be used to make it easy to remove once calibration is finished. The micro switch is wired normally open.
The following changes were made to the Marlin config files: Configuration.h: #define USE_Z_MIN_PLUG #define Z_MIN_PROBE_ENDSTOP_INVERTING true #define Z_MIN_PROBE_USES_Z_MIN_ENDSTOP_PIN #define NOZZLE_AS_PROBE #define NOZZLE_TO_PROBE_OFFSET { 0, 0, -22.9 } // This will need to be fine tuned with babystepping. #define DELTA_CALIBRATION_MENU #define DELTA_AUTO_CALIBRATION #define Z_CLEARANCE_BETWEEN_PROBES 8 #define Z_CLEARANCE_MULTI_PROBE 8 #define Z_PROBE_OFFSET_RANGE_MIN -25
Configuration_adv.h: #define BABYSTEPPING #define DOUBLECLICK_FOR_Z_BABYSTEPPING #define BABYSTEP_DISPLAY_TOTAL #define BABYSTEP_ZPROBE_OFFSET
I added a simple custom command to my octoprint config file for autocalibration:
- M190 S65
- M104 S0
- G33
- M500
It hasn’t been tested, but I wouldn’t heat up the hot end since it may melt the Z probe.
This is a work in progress. There has been a good bit of trial and error and some things may have been left out or not fully explained. If you have any trouble I’d be glad to look into it or talk you through it.
Delta Effector with 5015 Fan and Auto Calibration
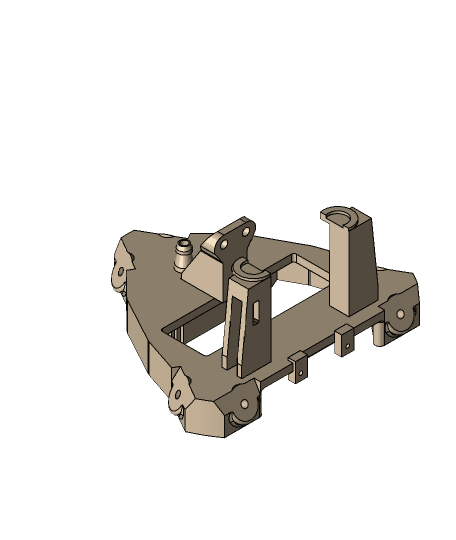
Nimble V1 Piezo Hotend z-probe for e3d v6 + Magnetic Delta Piezo Effector
Effector for BI or any delta with 64 mm spacing
Imahara - E3D Revo|V6 Assembly for FLSun Super Racer
Nimble V1 Kossel effector with 43 mm ball spacing
Nimble V1 Effector for Ultibots D300 with 55 mm spacing
Nimble V1 Kossel effector for magnetic ball joints including Fan Ears
Nimble V2 Smart effector mount
FLSun Q5 hotend fan support structure

FLSun SR Super Racer - HGX lite & CPAP cooling (Sherpa mini added!)
Chimera Effector for the BI V2.5

Nimble V2 mount for the Artemis effector
HE3D K200 HotEnd Assembly
Removable Bed Levelling Probes for Anycubic Kossel Linear
Kossel Mini Frame Alignment Tools
Diamond Nozzle mount for 3 Nimbles V1 with 50 mm ball centers
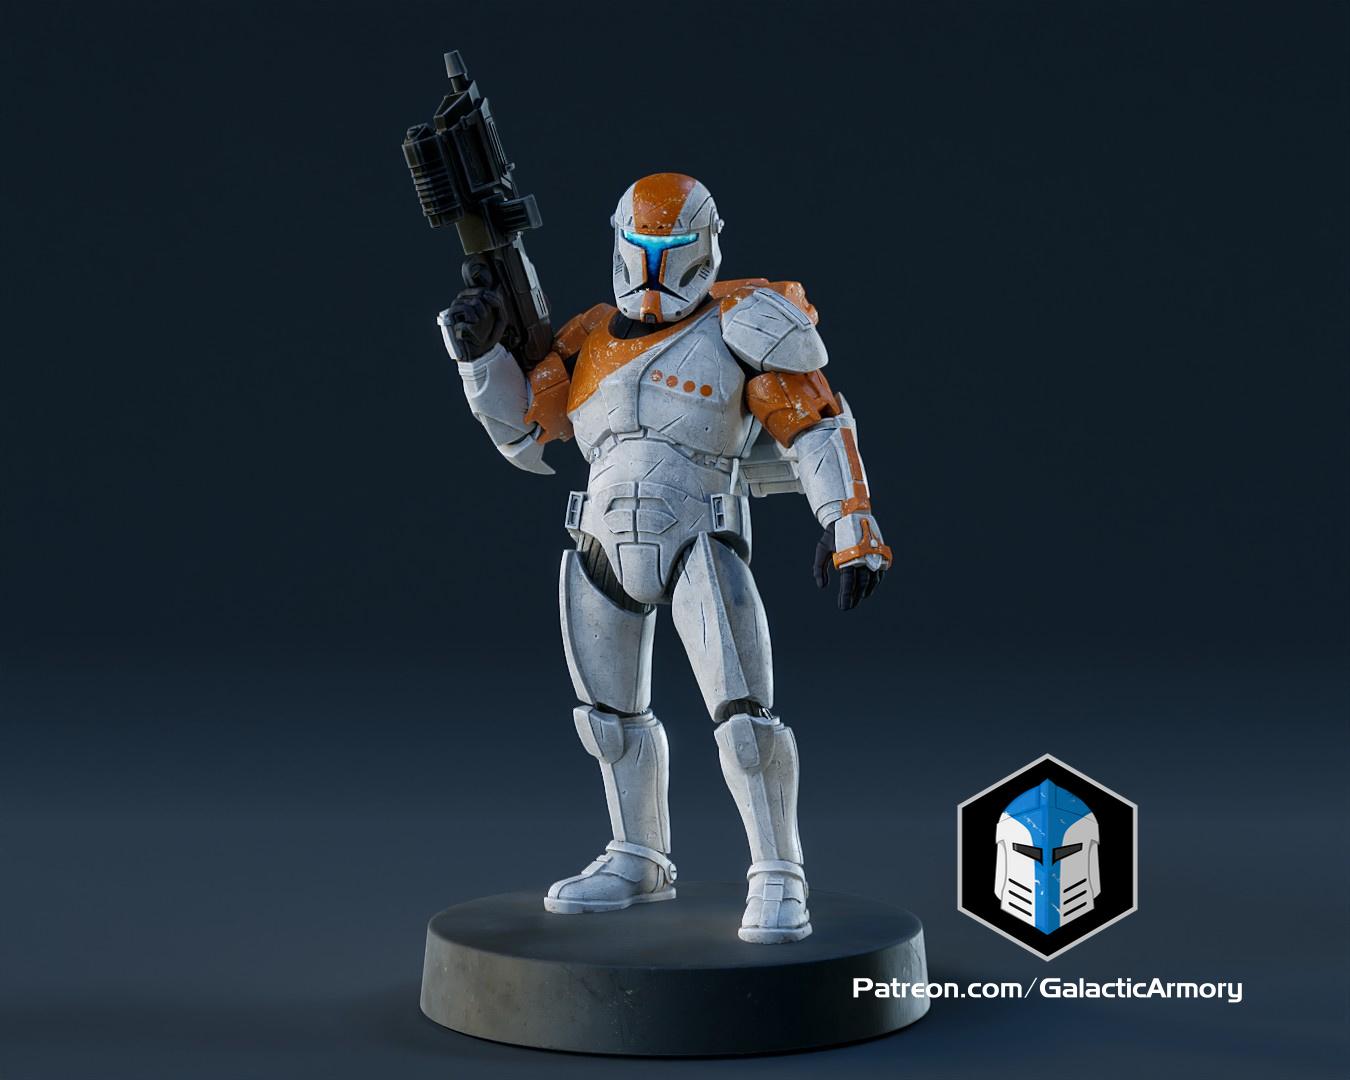
Republic Commando Miniature

Artillery Sidewinder X1 and X2 5015 part cooling fan duct.
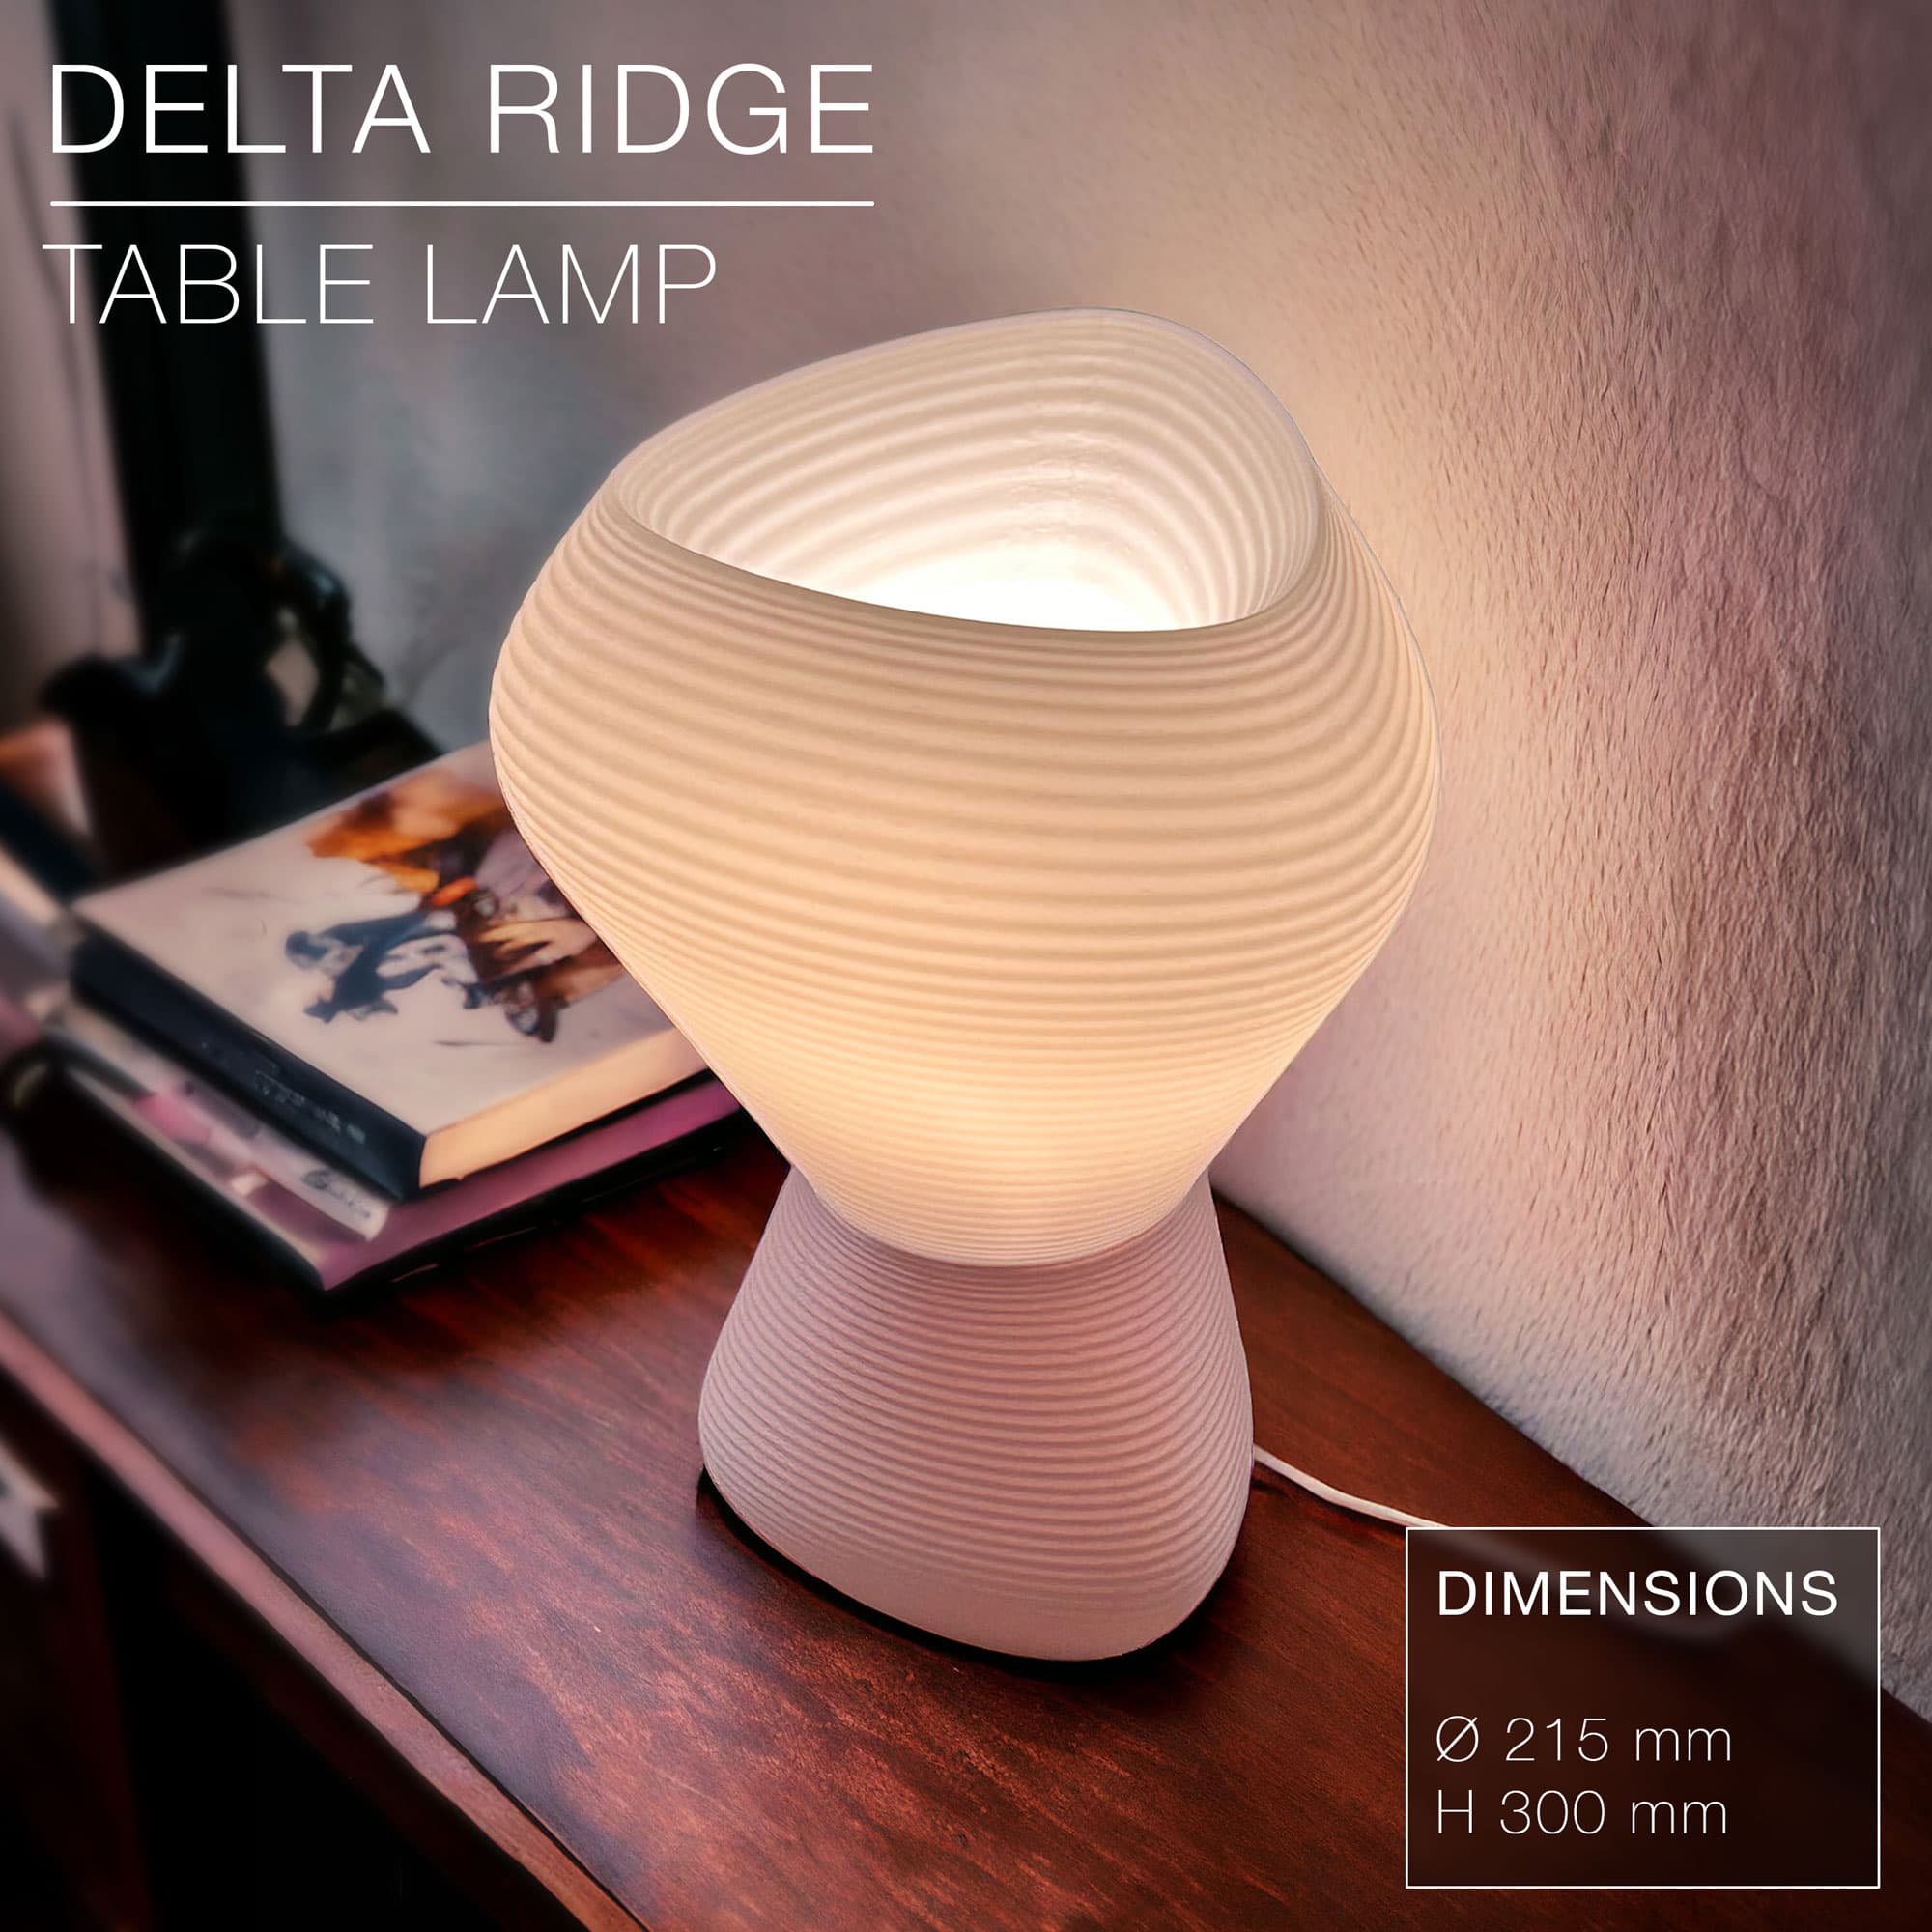
DELTA RIDGE | Table lamp E14 & E27 fast-print

JAW Gripper Assembly.STEP