
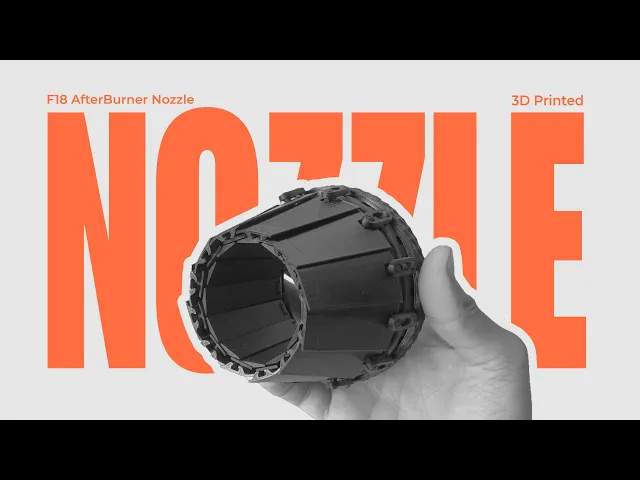


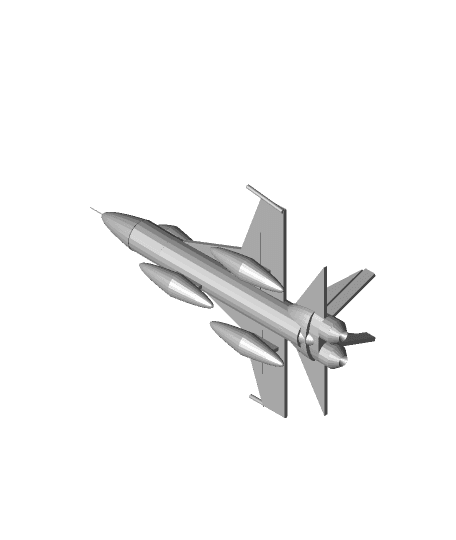
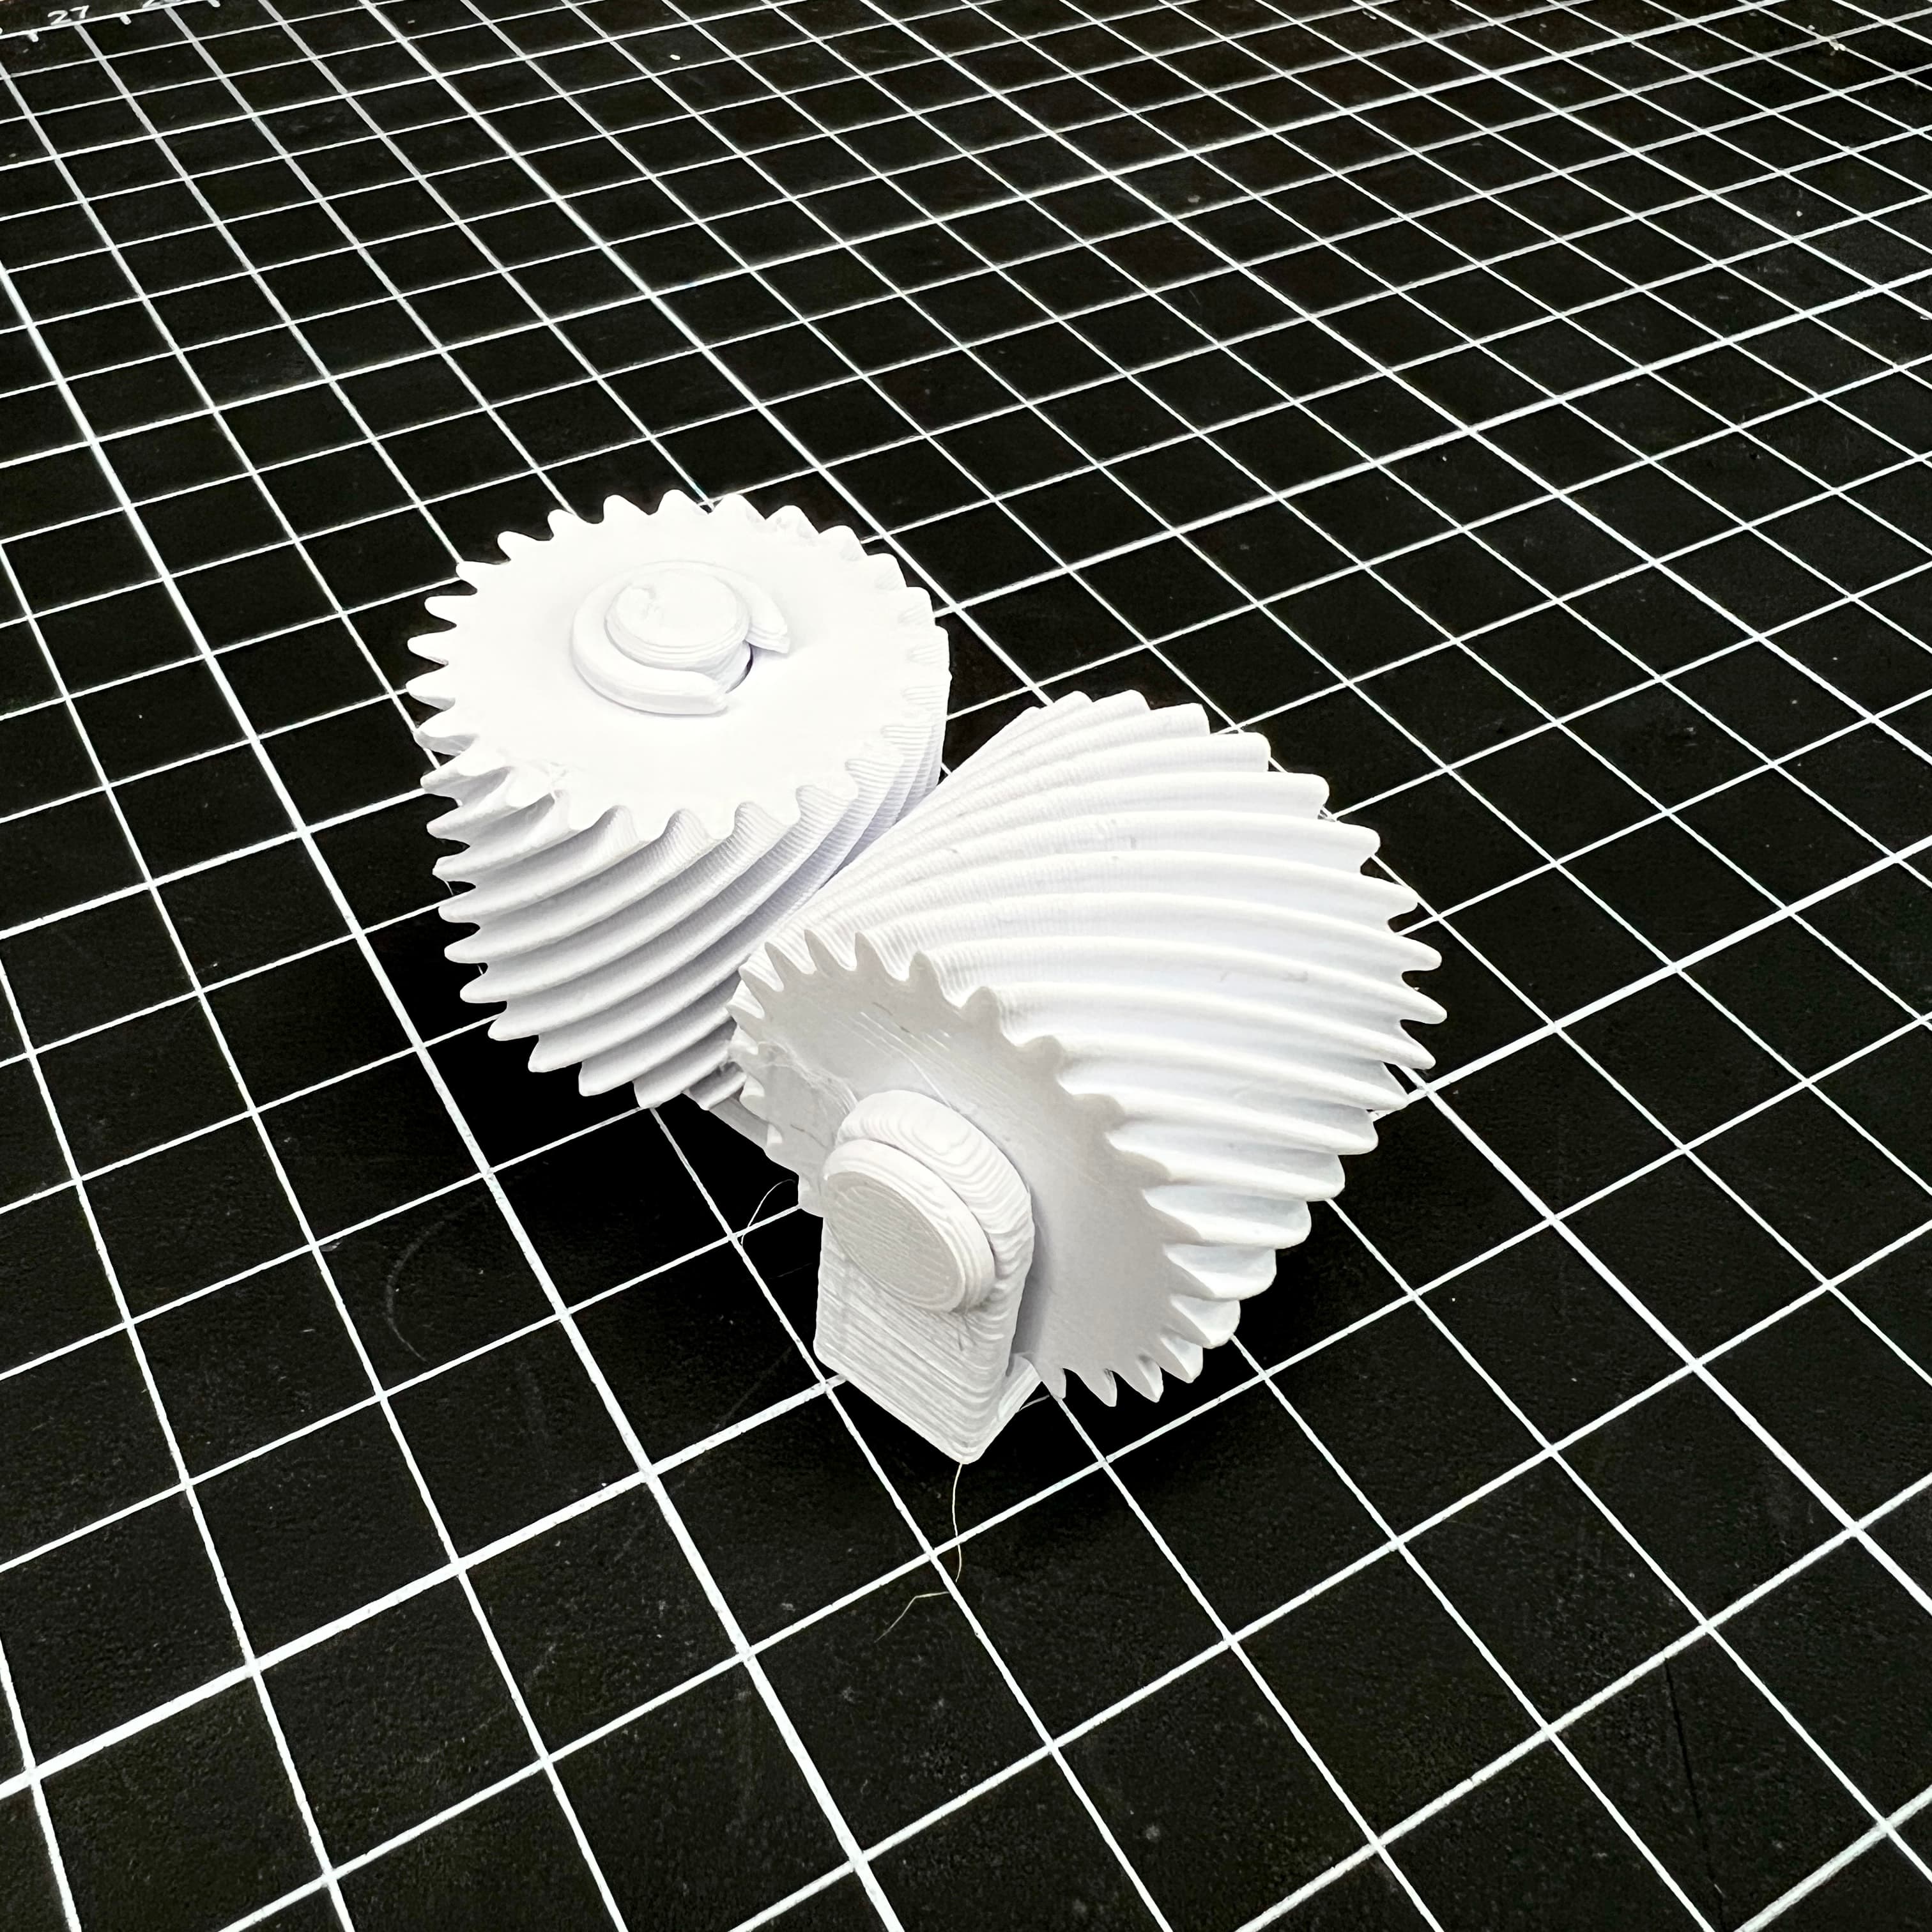
F-18 Afterburner Variable Nozzle
Reverse-Engineered afterburner variable nozzle based on F-18 fighter jet.
Model Info: This model is just an experiment to understand how an afterburner nozzle works. However, it’s not an exact representation of the real ones and may not be a practical model for use in actual jet engines.
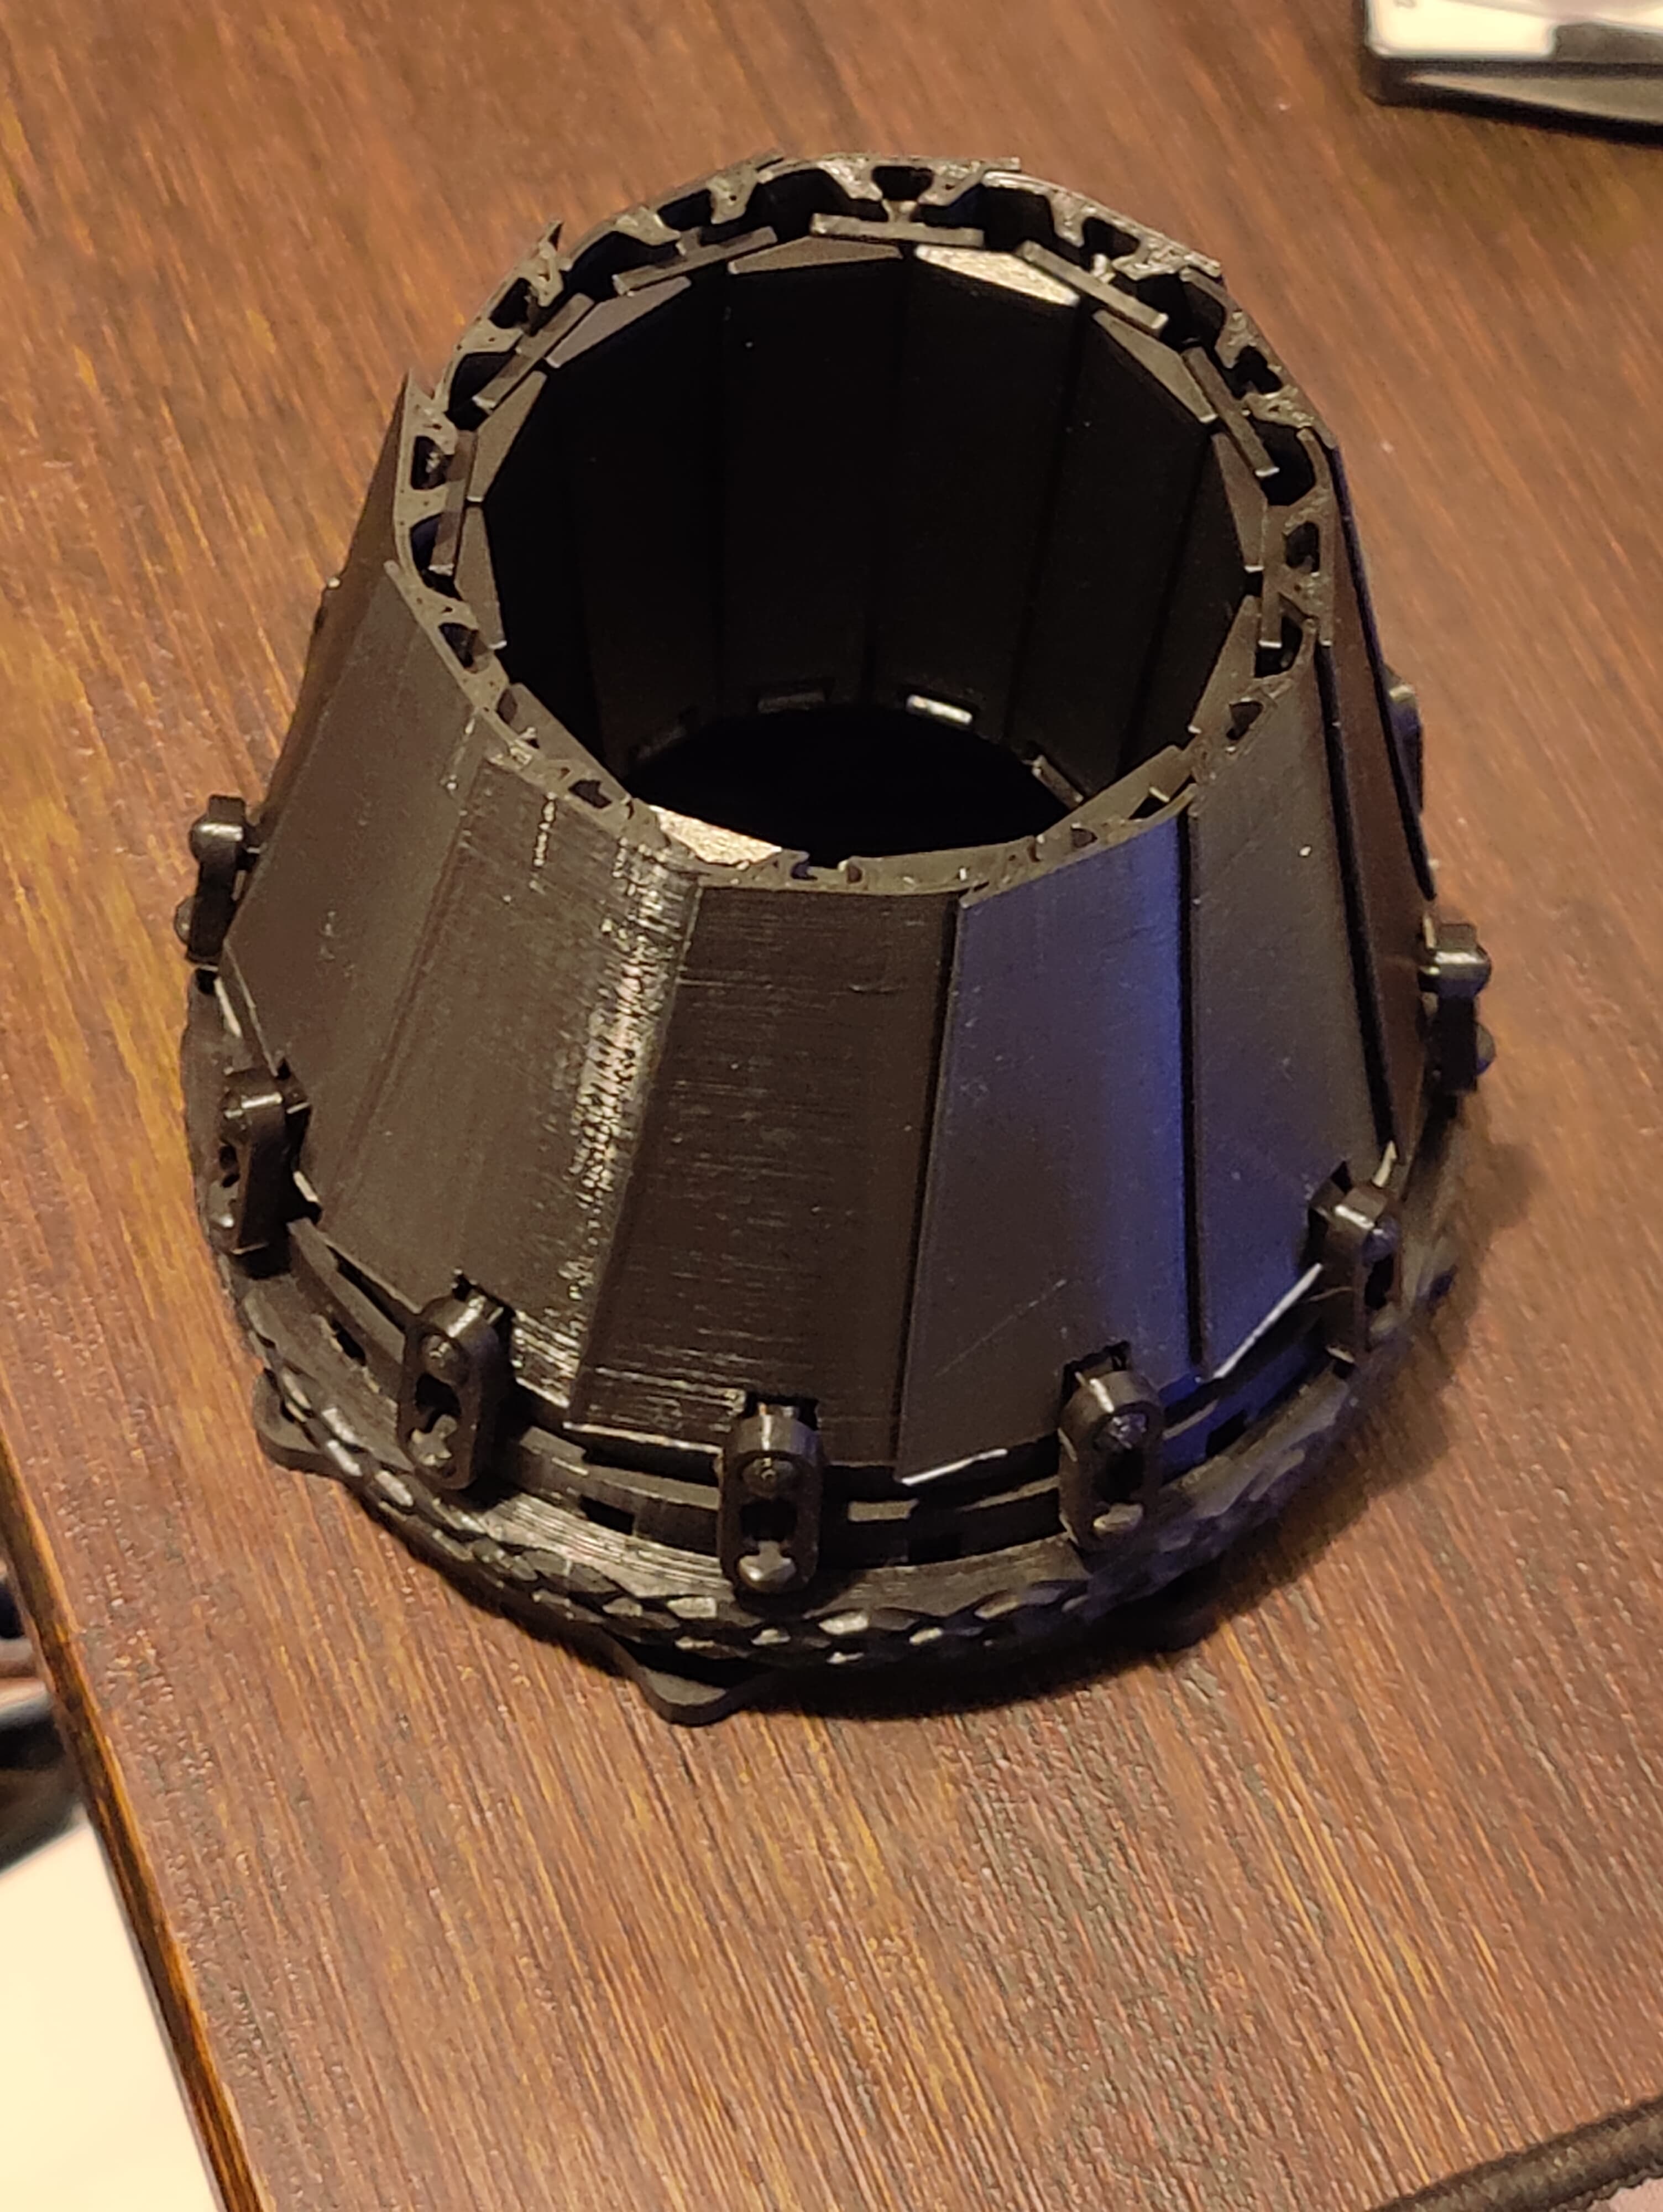
Dimensions: 105x90 (RxH)
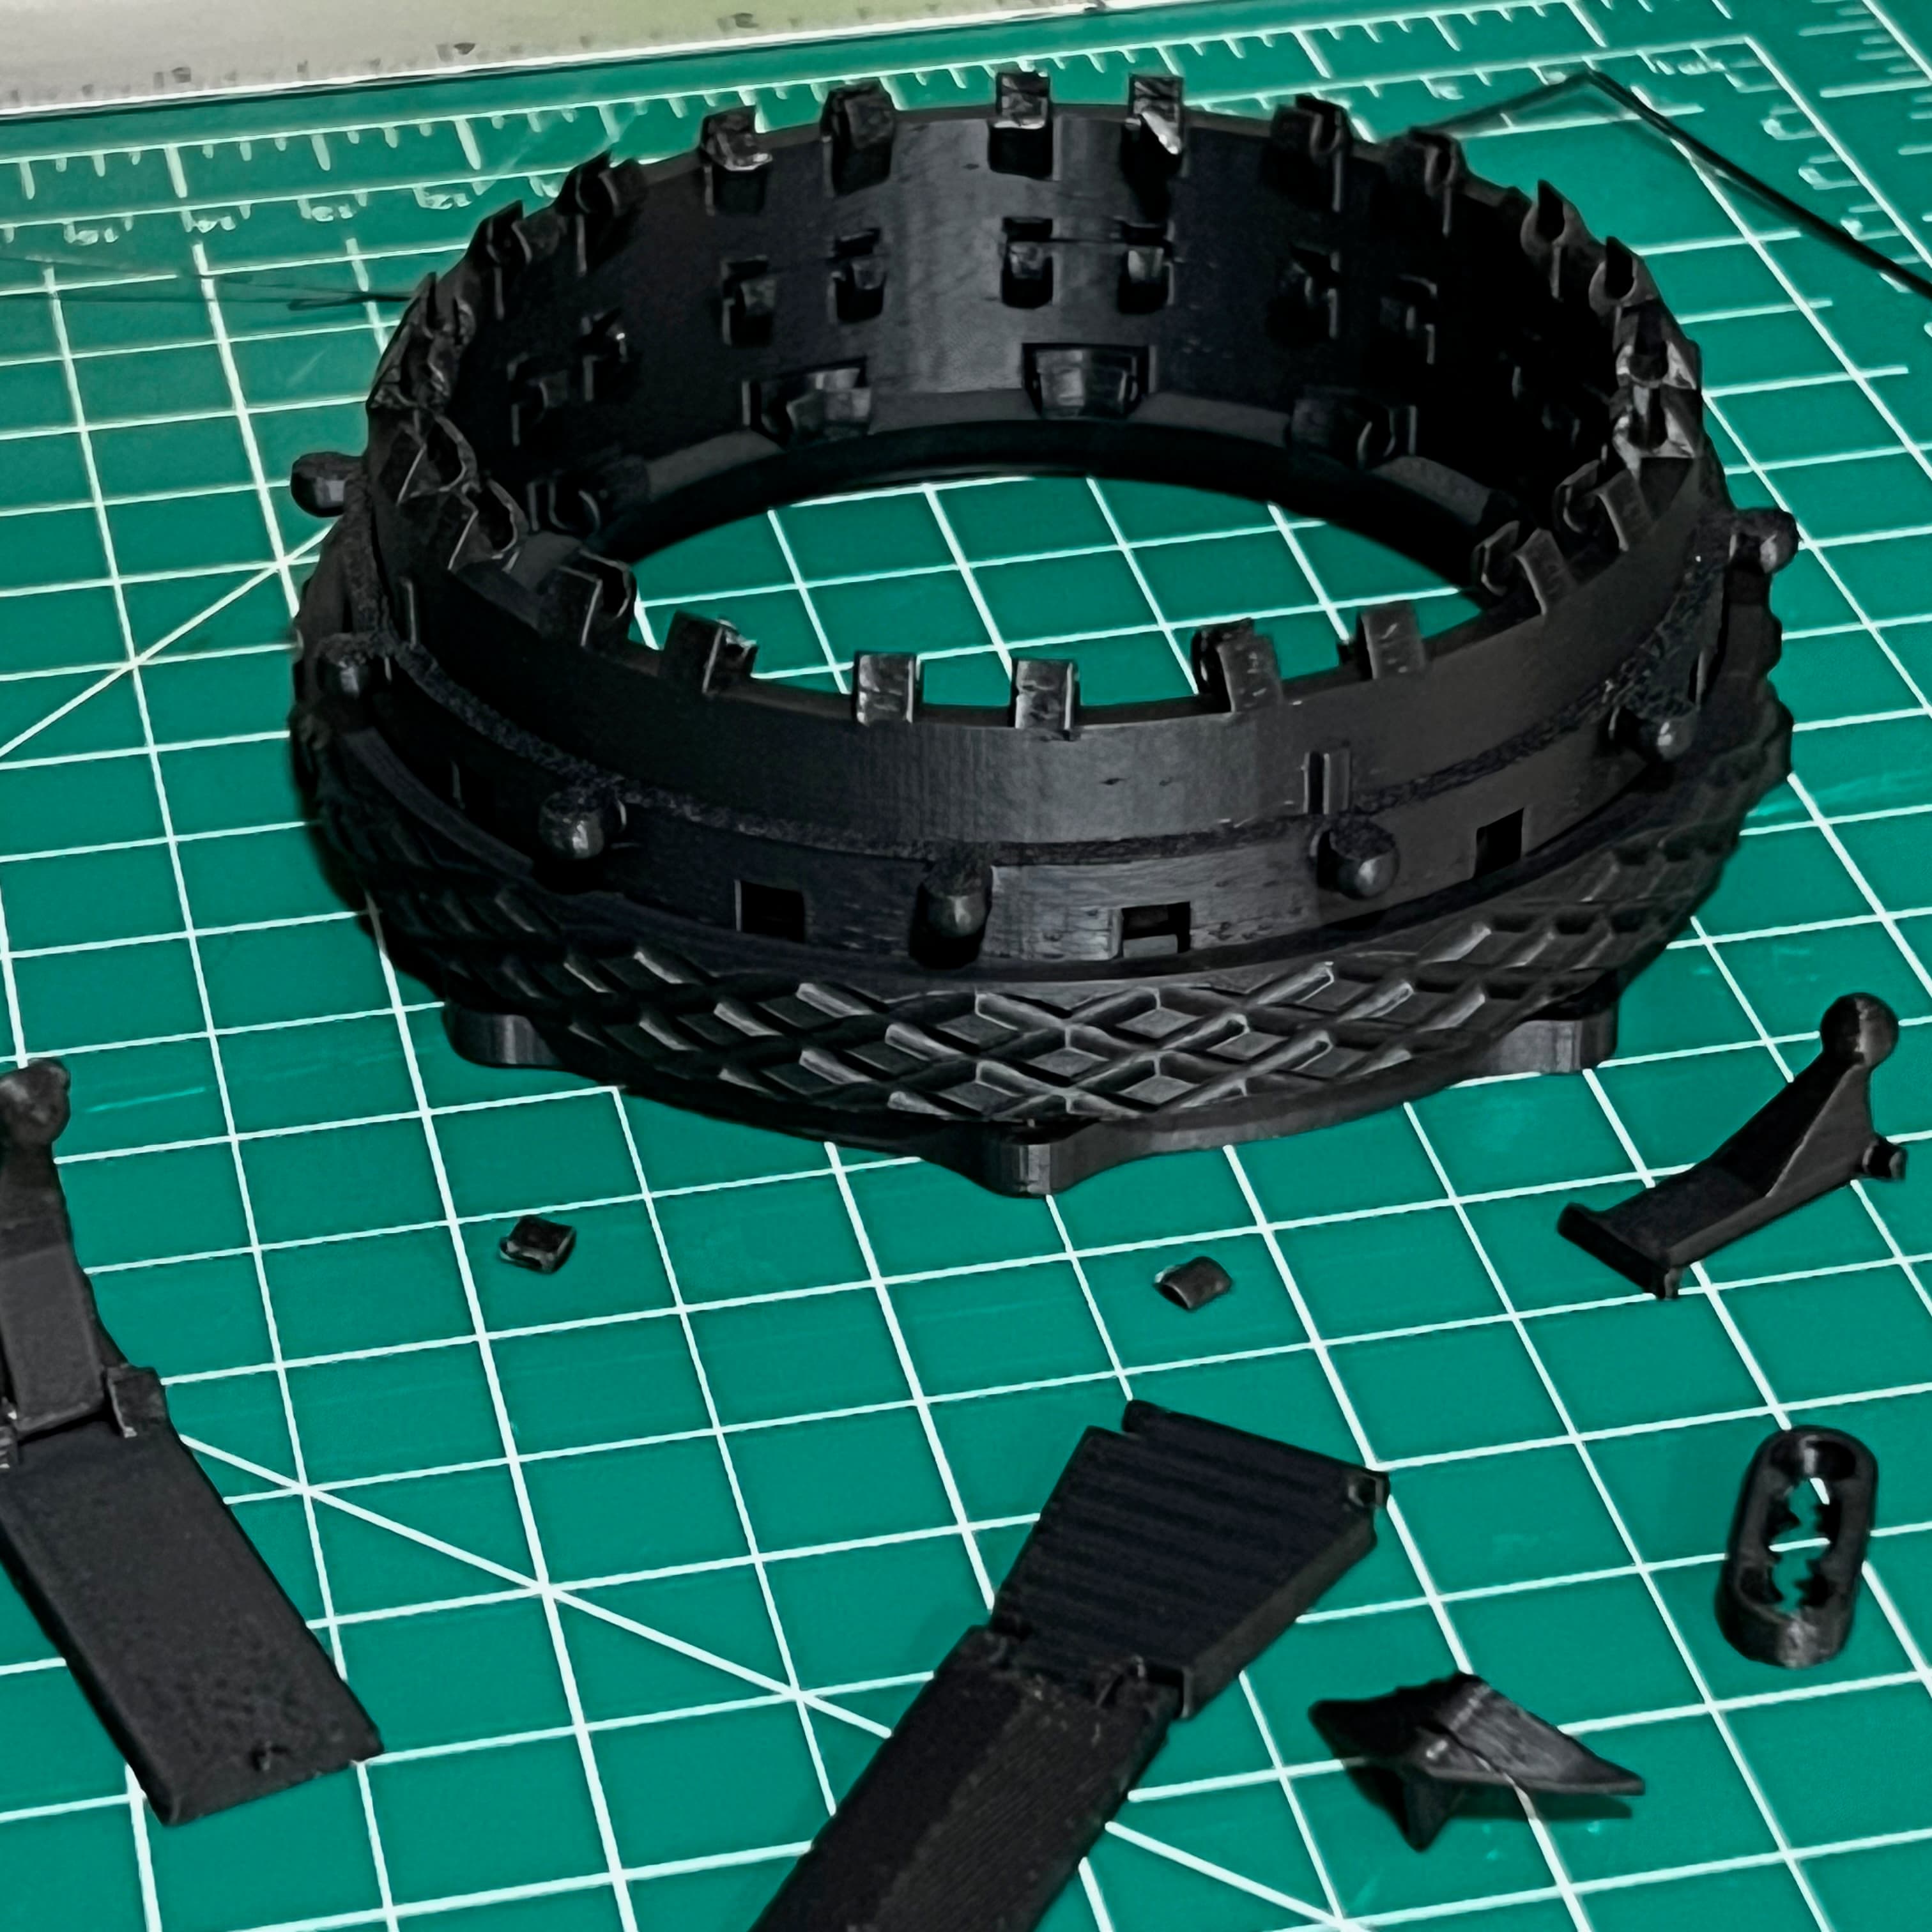
Part List
- body = 1
- Holder ring = 1
- Nut ring = 1
- Blade A = 12
- Blade B Assy = 12
- Blade C = 12
- Link A = 12
- Link B = 12
- Rod = 12
- Support = 12
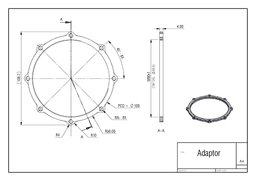
- Adaptor = 1
Printing This model contains many pins and joints, so it's essential to print with high quality to ensure all the parts fit together perfectly. Material: PLA Layer: 0.2mm Infill: min 10% Supports: NO Brims: only for blade C
features I designed a threaded end on the nozzle to allow it to attach to other components. If you can't design a threaded part, you can use my adapter with M5 holes, which makes it easy to attach to anything.
I appreciate your support and downloads. Please share your thoughts and experiences with me, and I'd be even happier if you could provide suggestions to help improve my model. Thanks!

F-18 Afterburner Variable Nozzle
f-18 hornet.stl
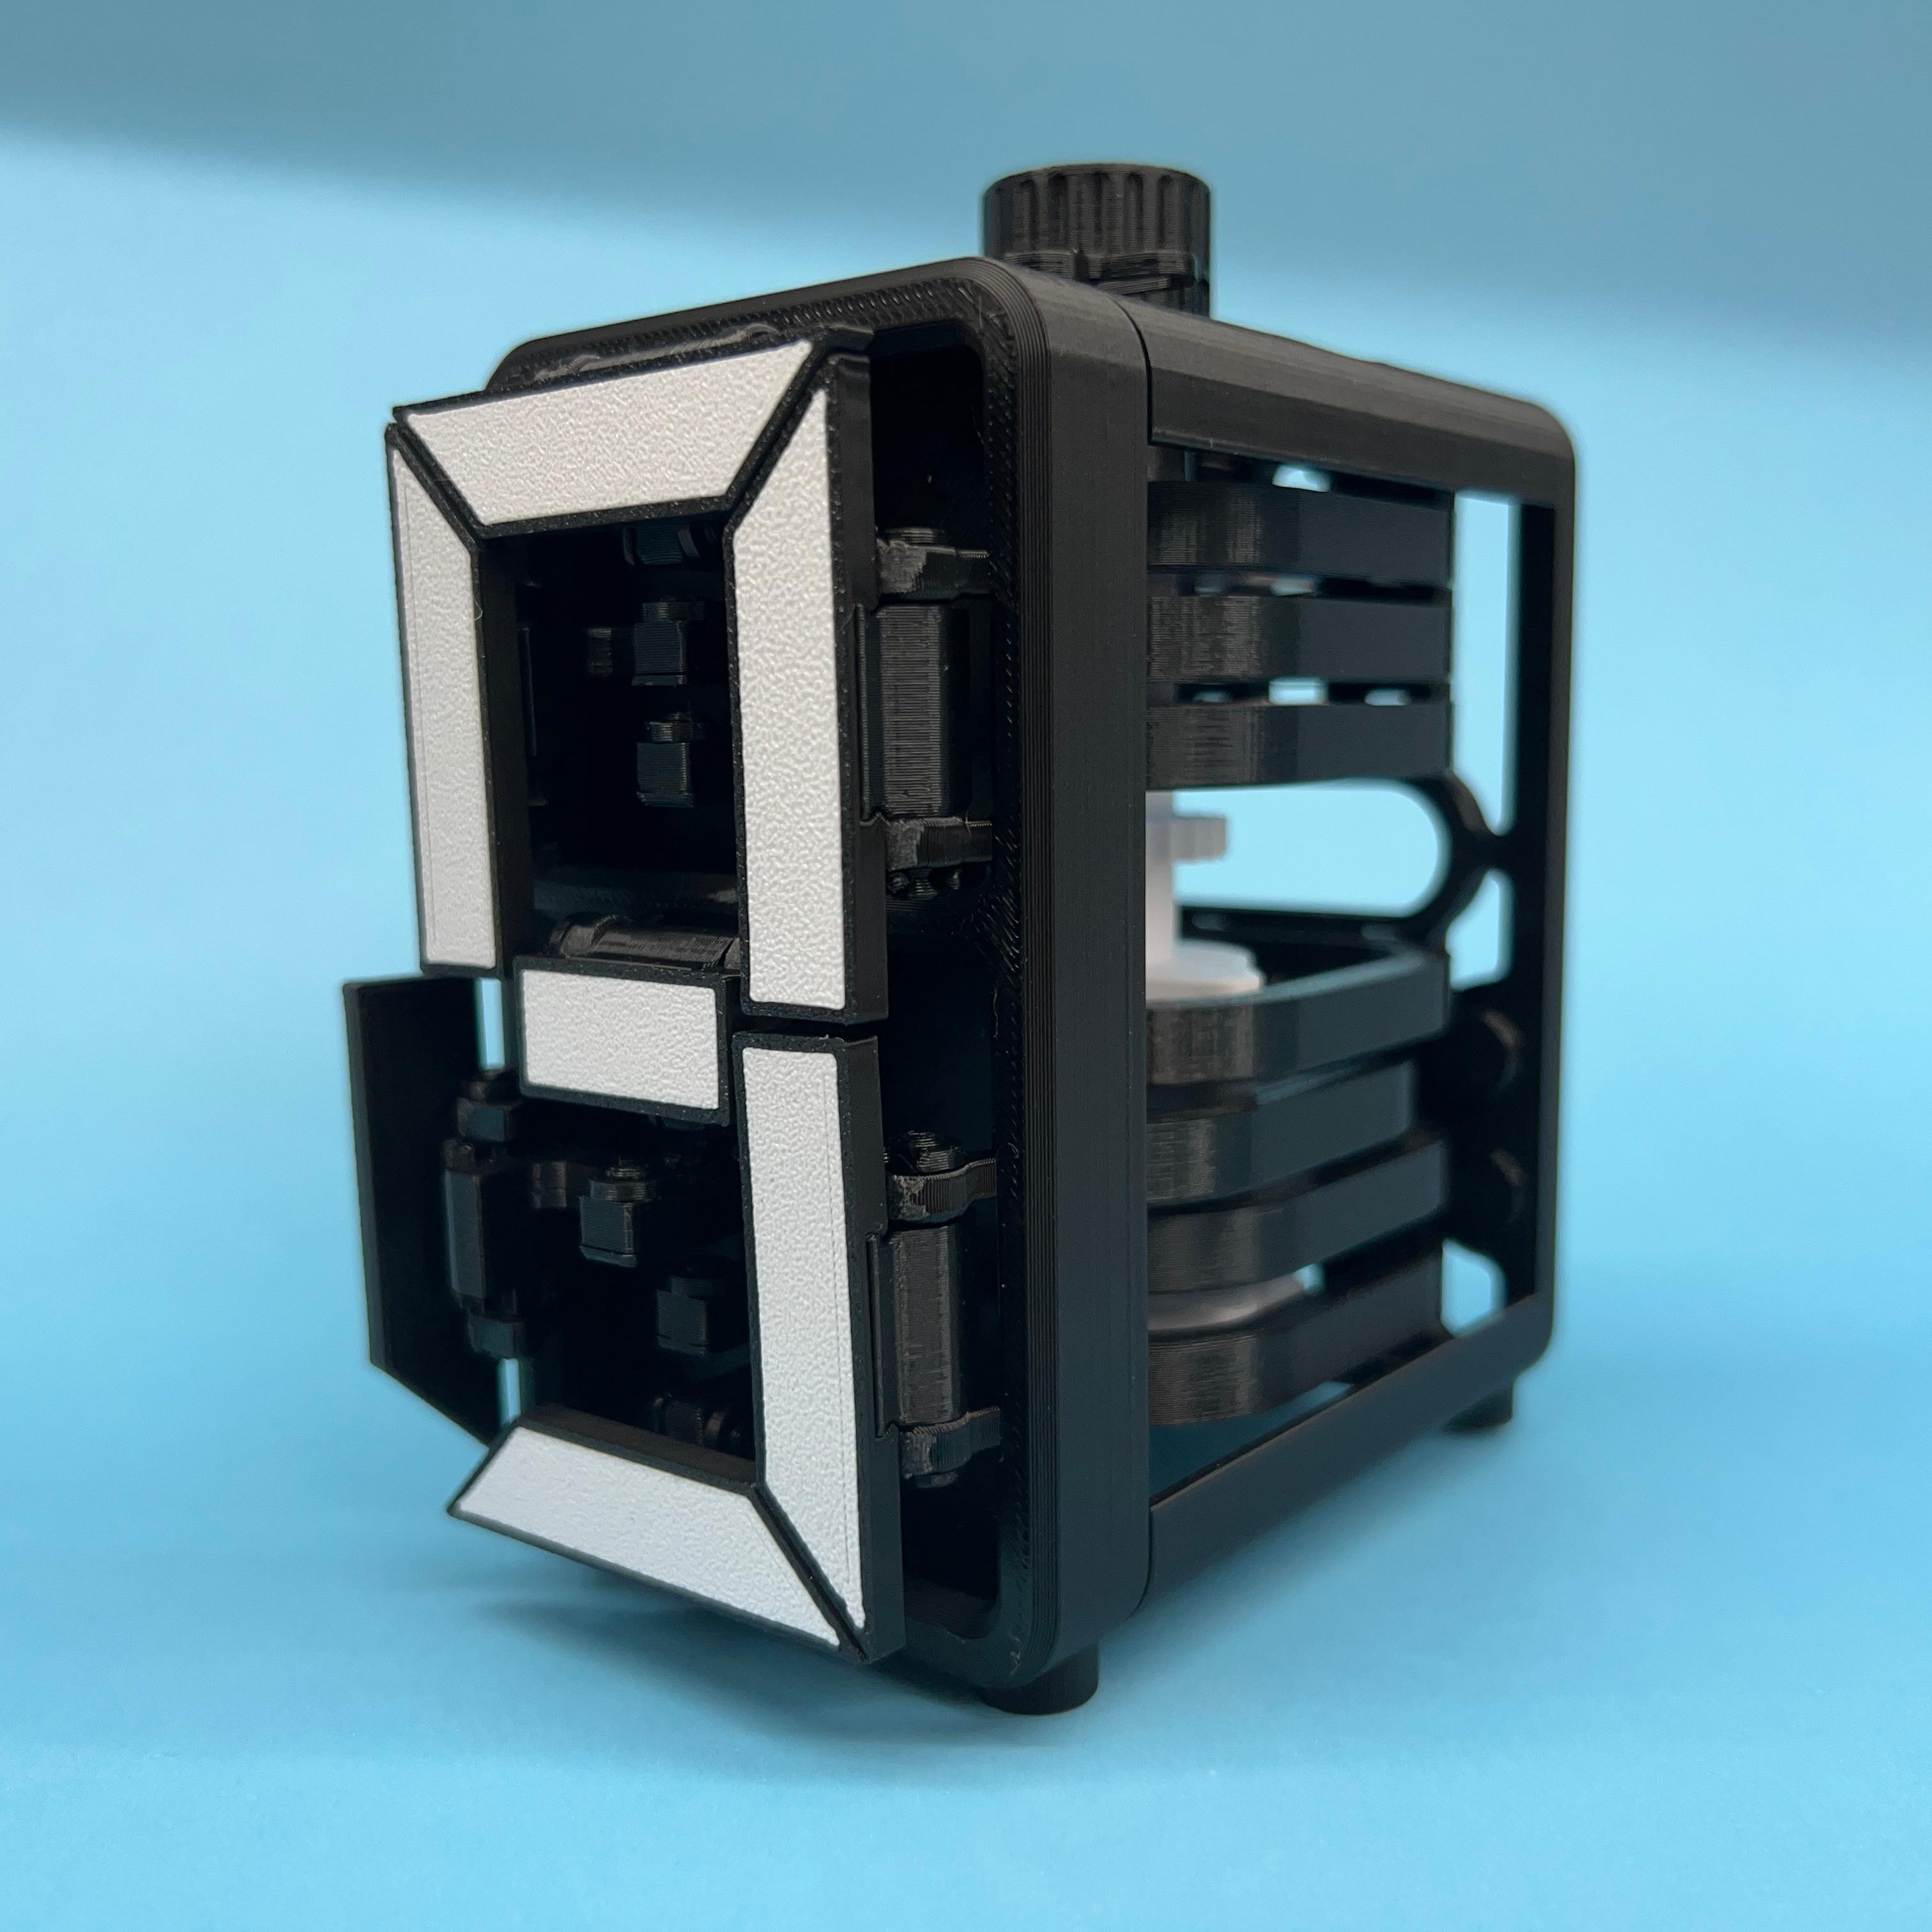
Rack Driven 7 Segment Display
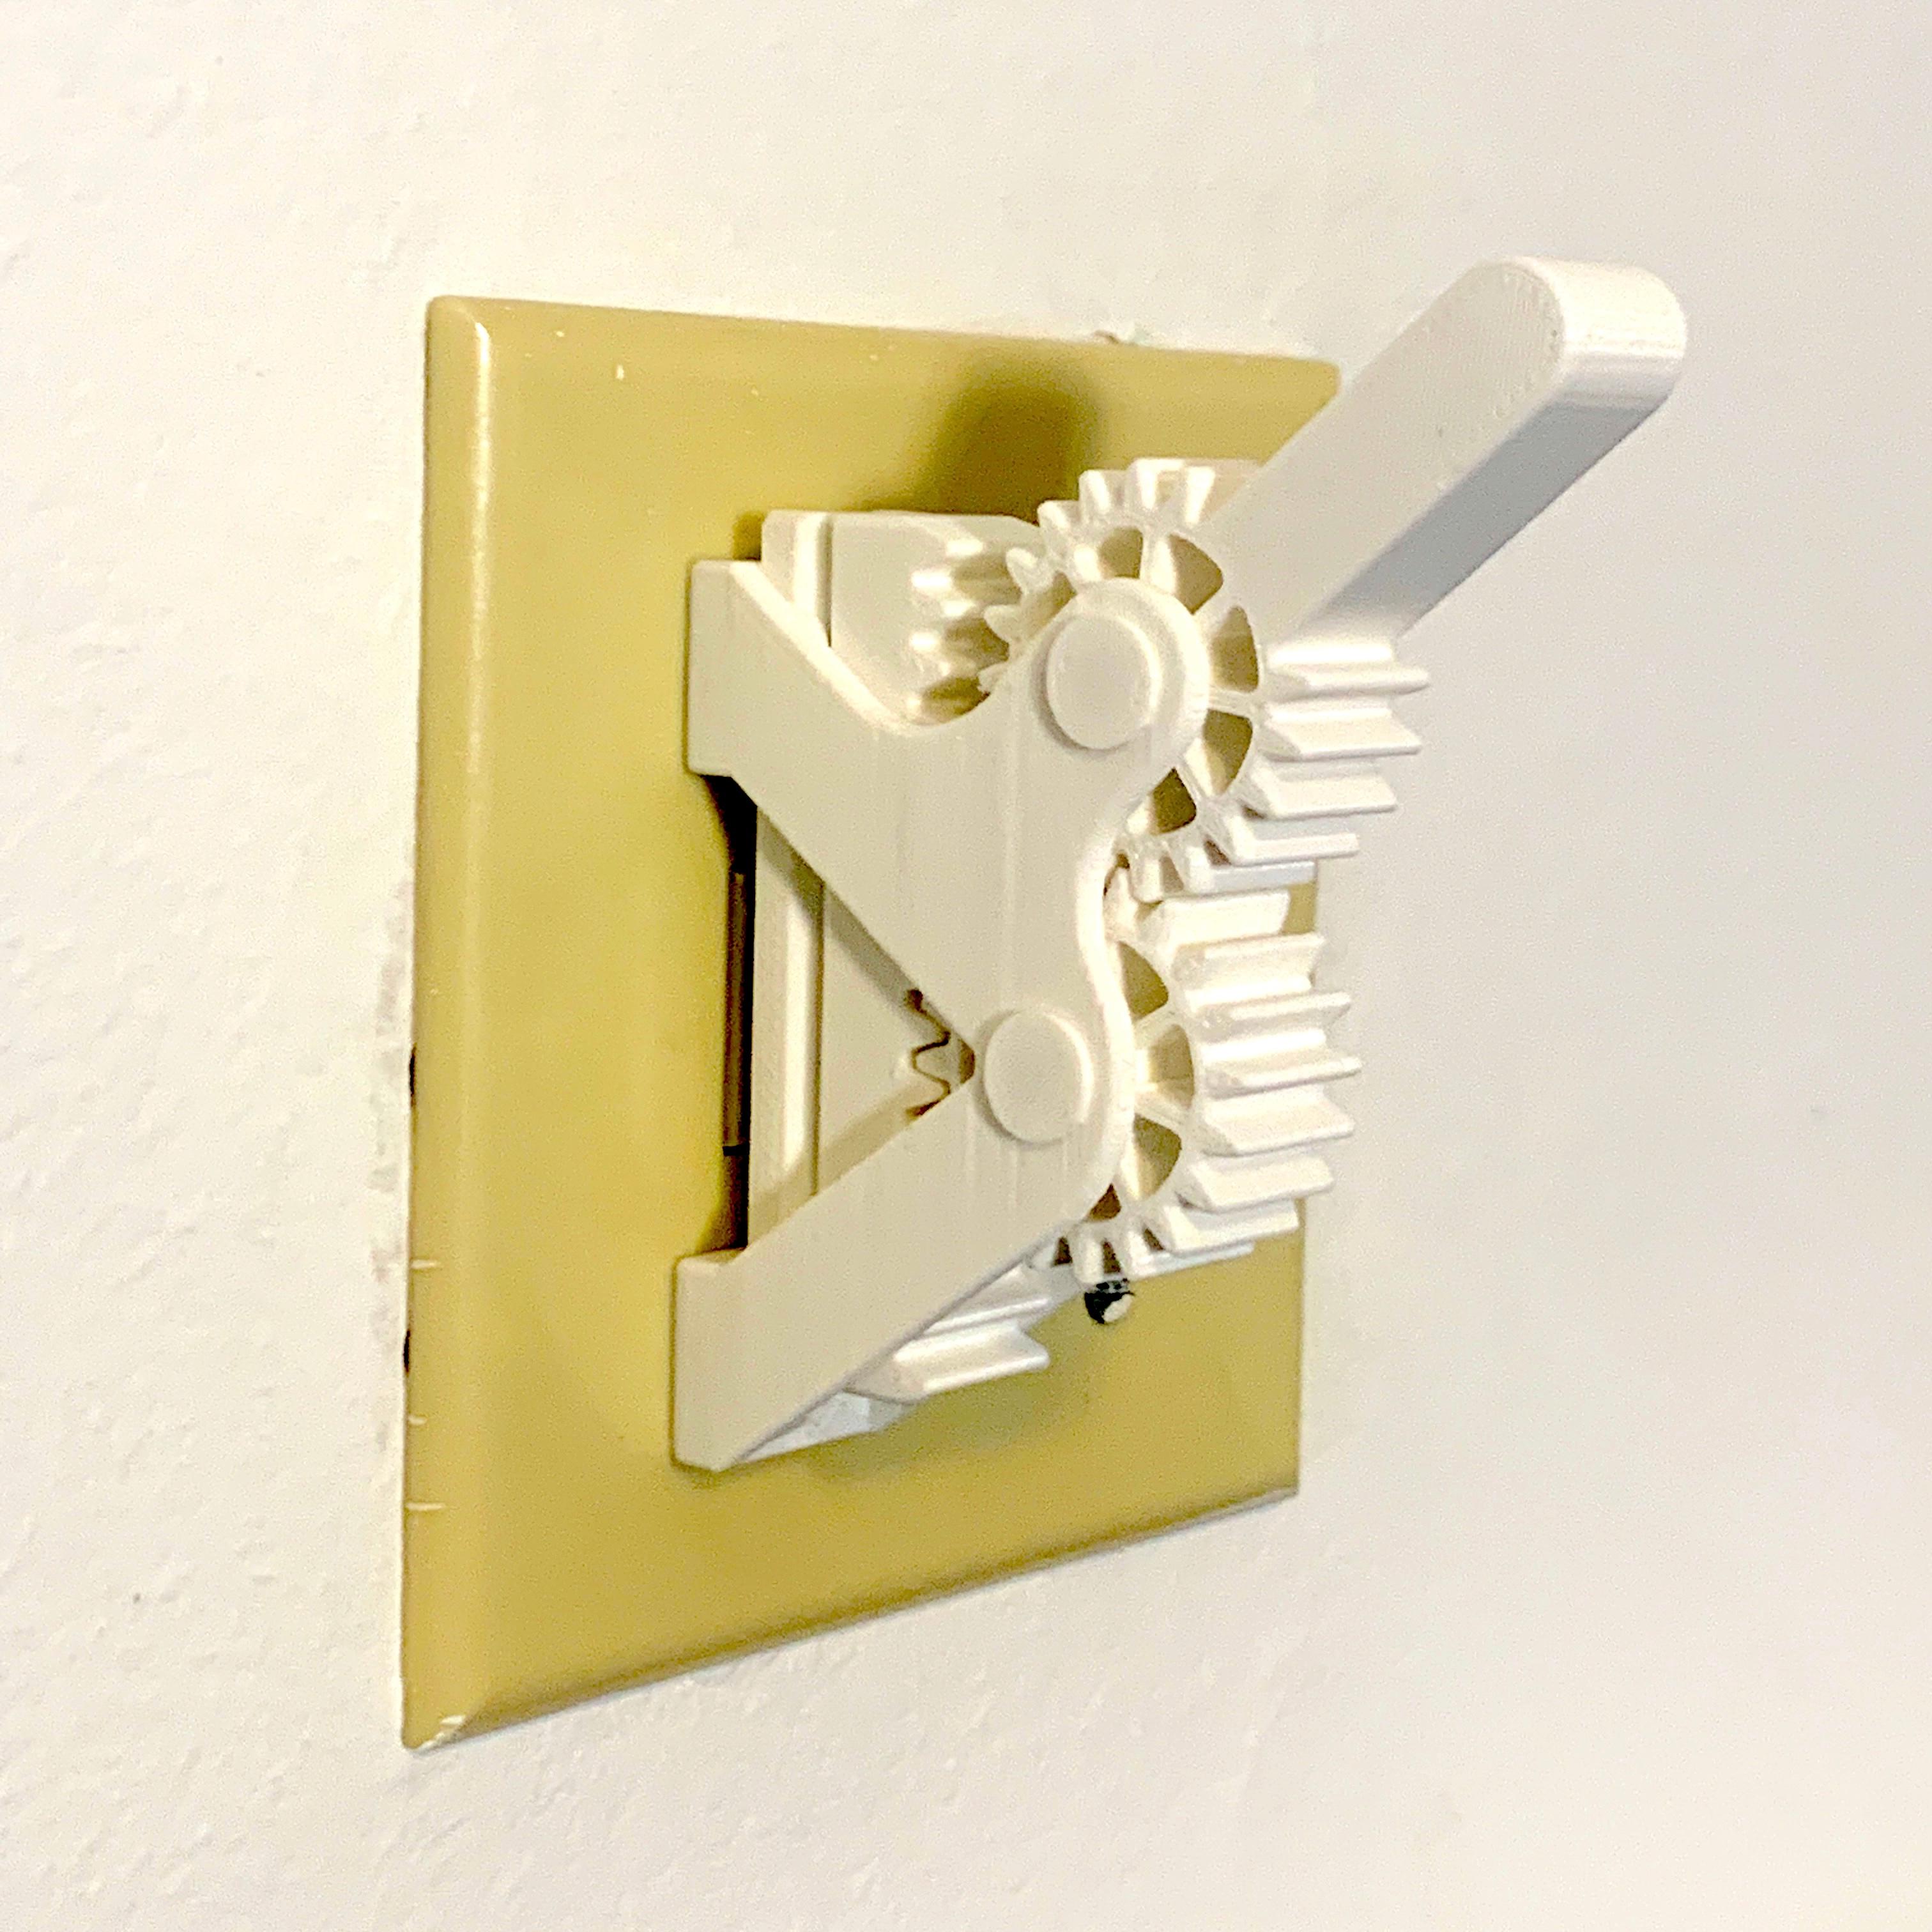
The Gear Switch
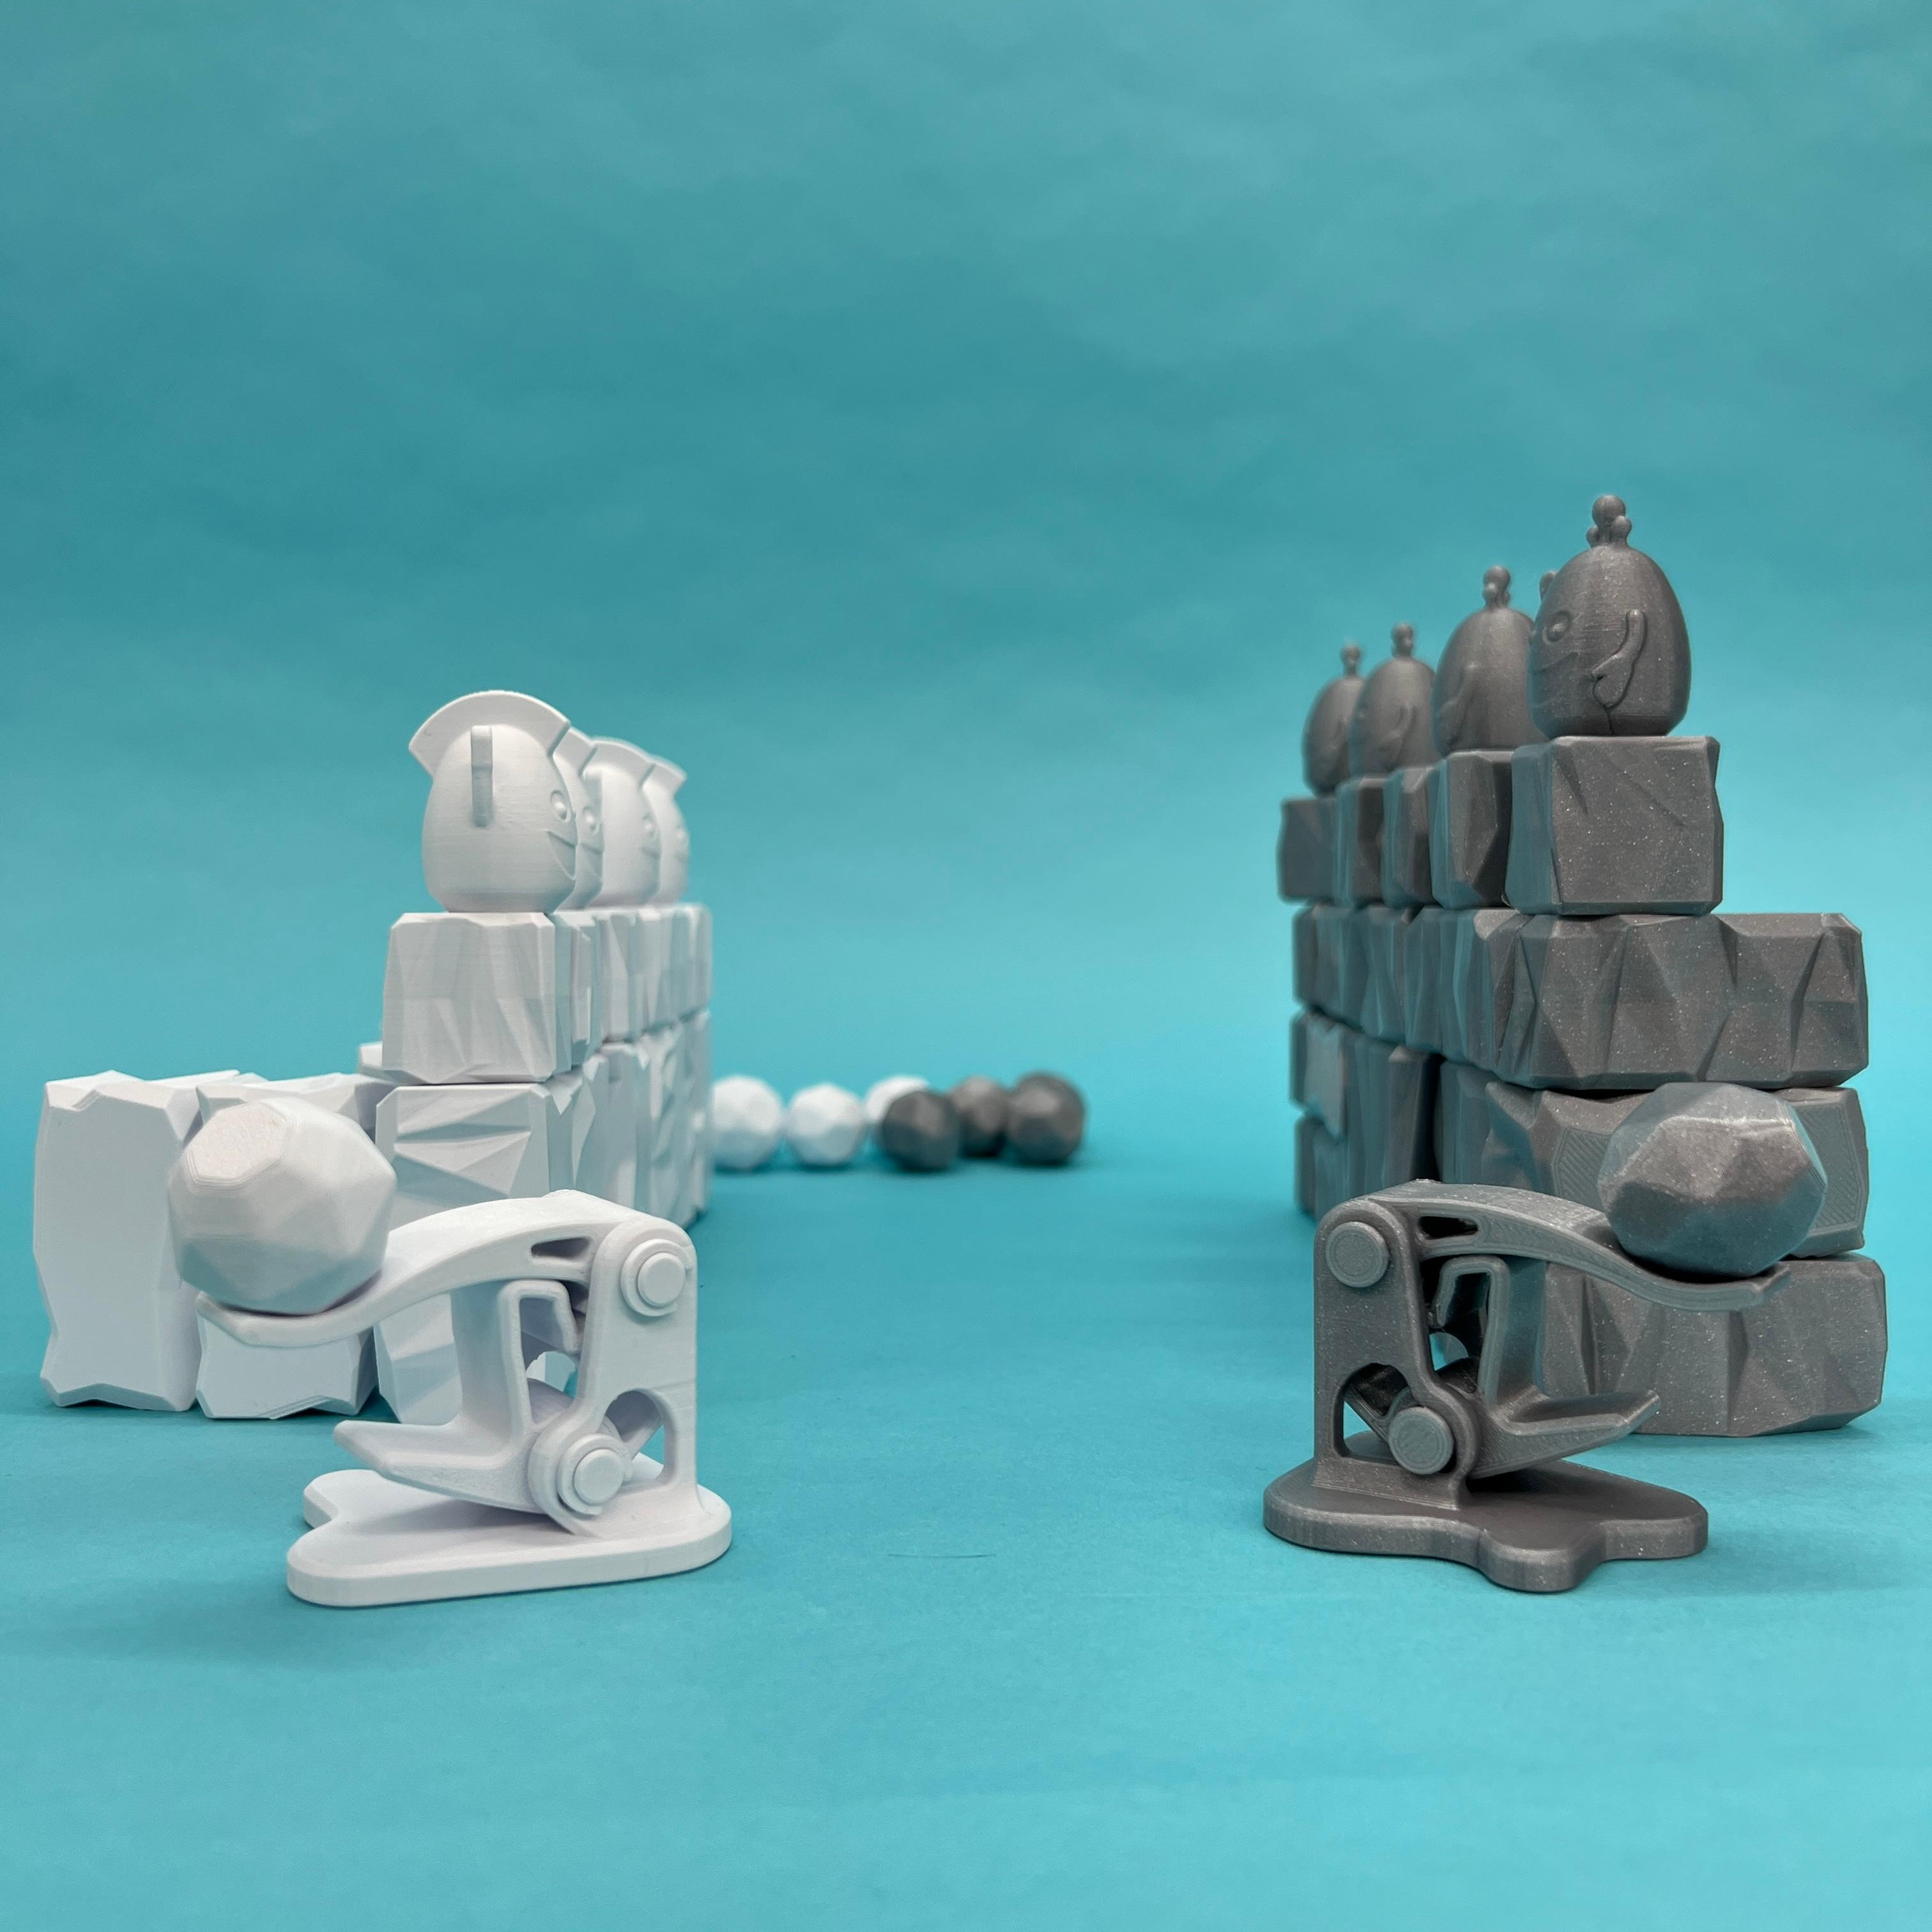
Sprocket Siege Catapult Game
Cross Gears Test Print

The Heli Launcher

Halloween pendant pack of 15 Holiday Party Earrings

Playful Kitty wall art Celestial Cat wall decor Space Kitten decoration

flower skull wall art pretty skull with snake wall decor gothic decoration

The Robo Baller

skull wall art bones wall decor demon decoration

Retro Pie Container – Kitsch and Vintage Style Trinket Box, Desk Tray, or Display Piece

eagle wall art united states of america wall decor flag decoration
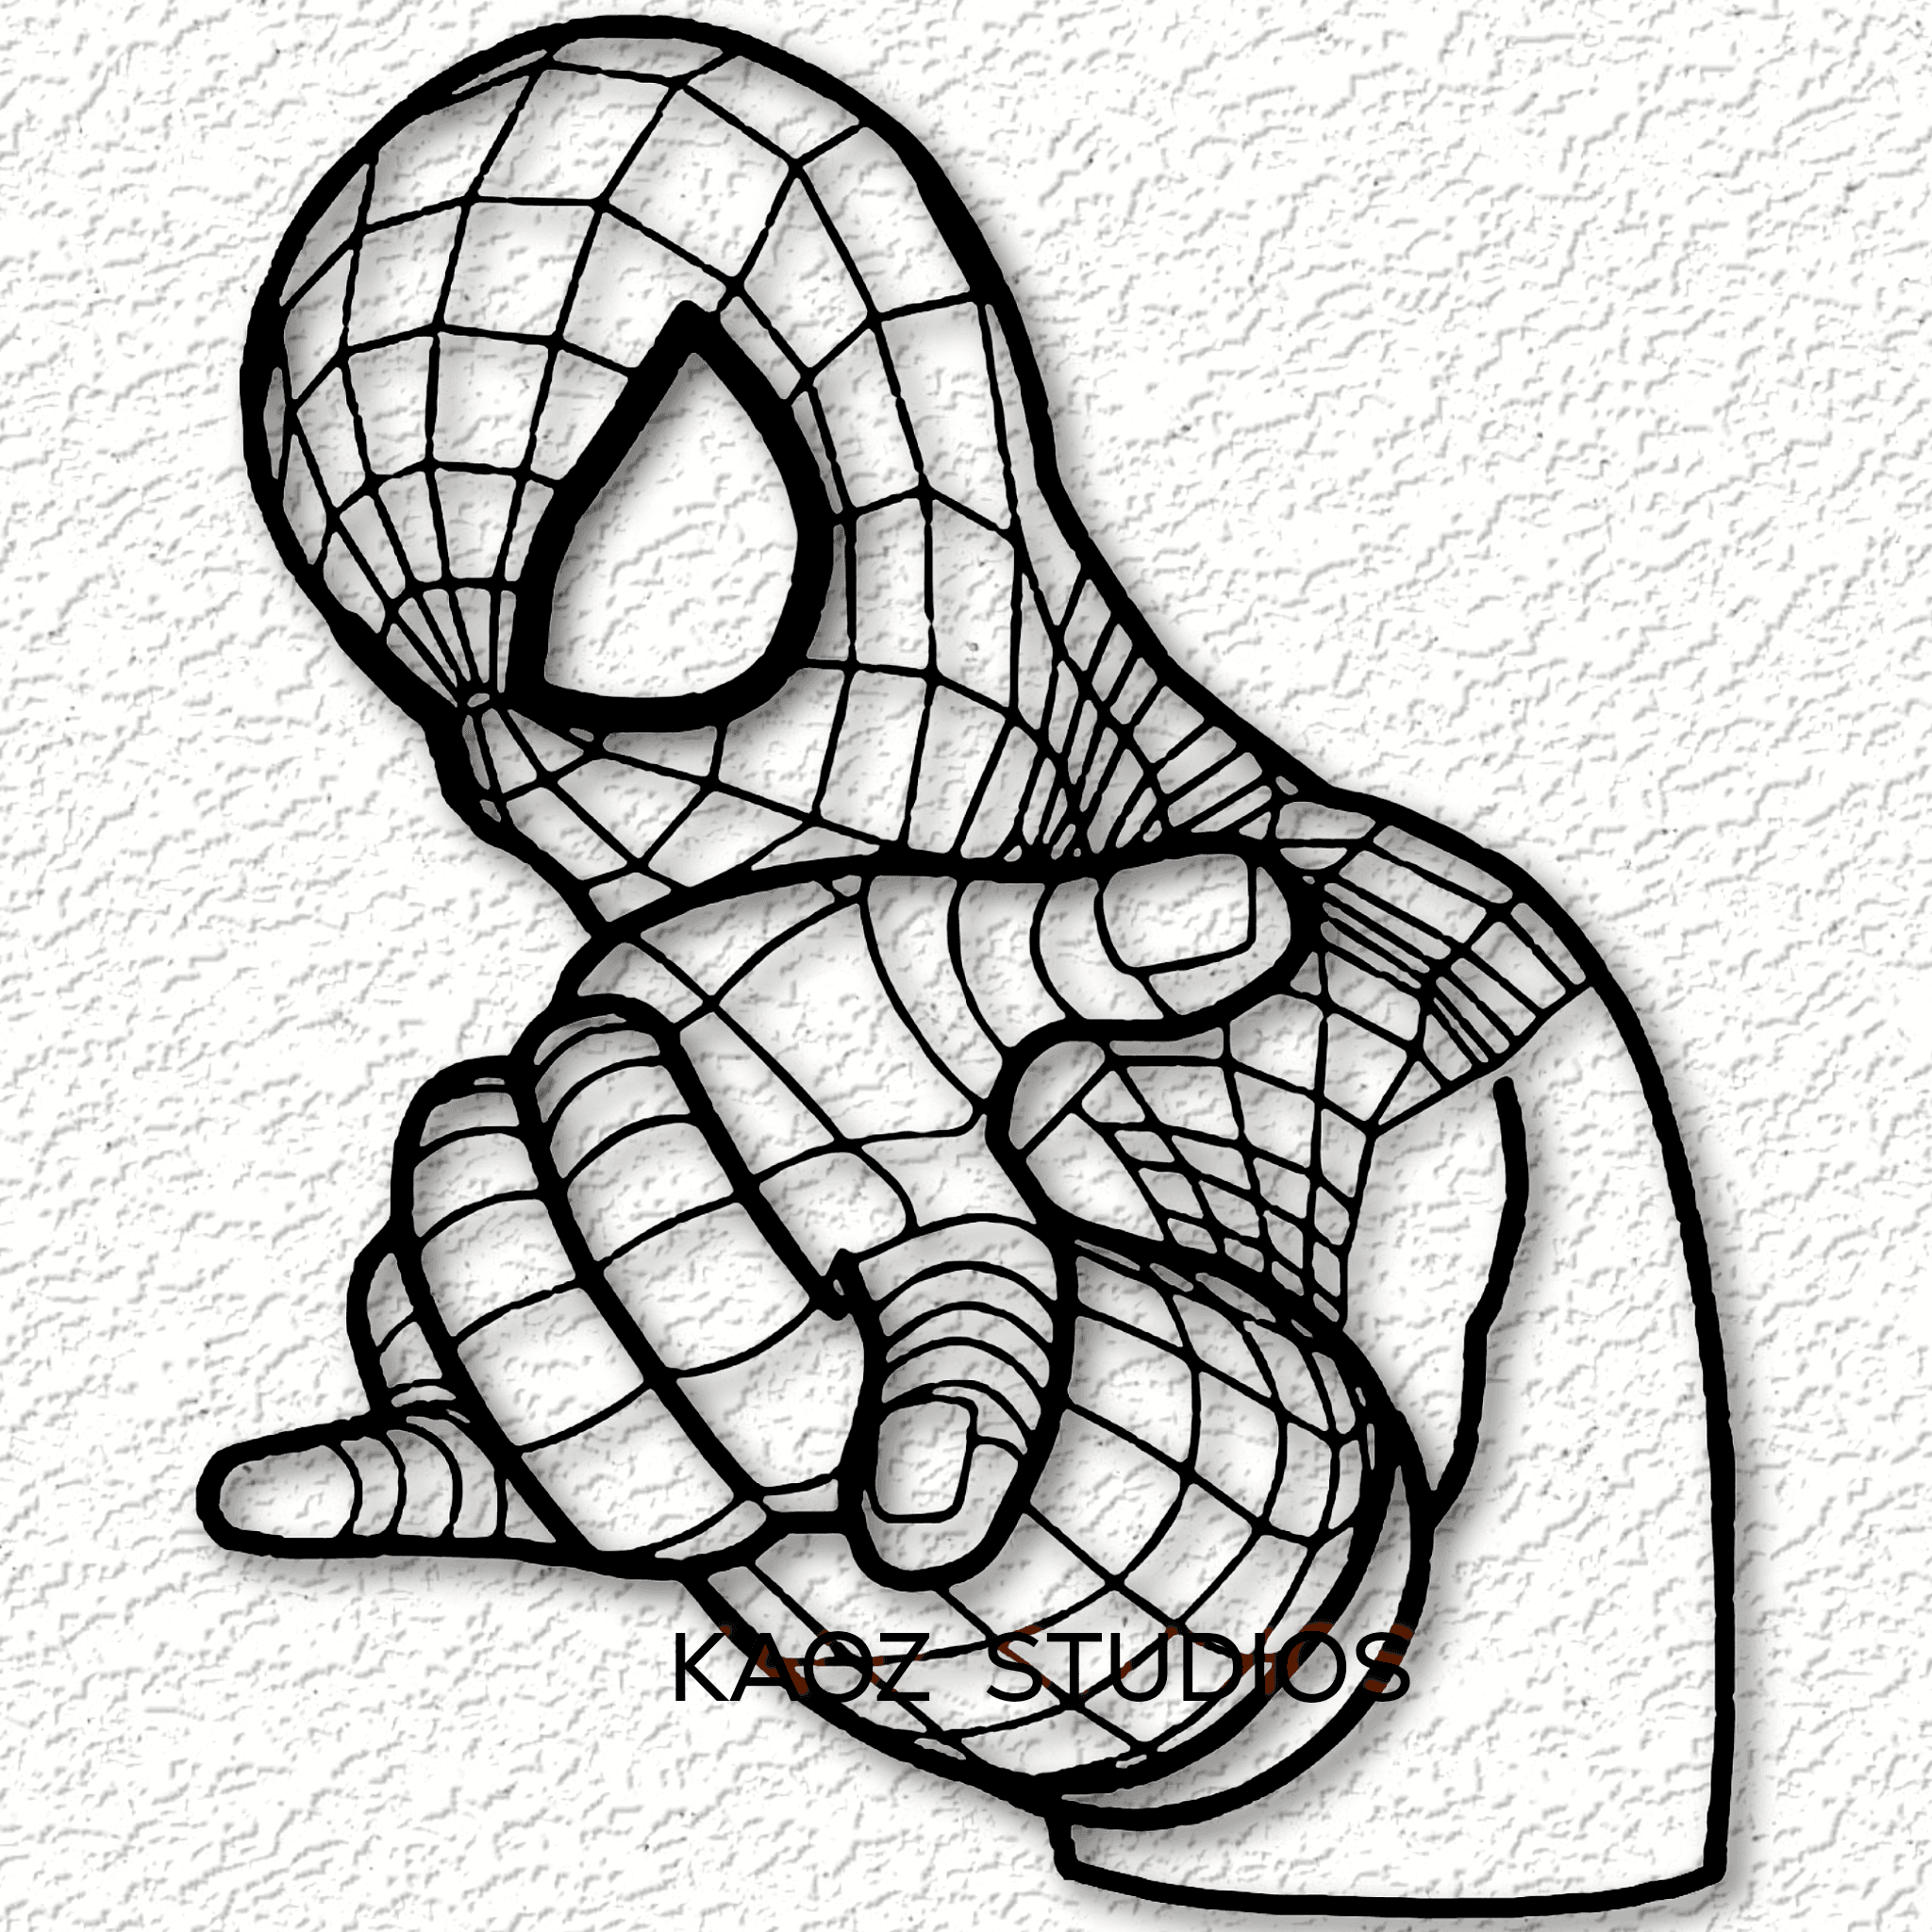
spiderman wall art spider man wall decor spiderverse decoration

Realistic Peeking Kitten wall art Kitty wall decor Cat decoration

Cat Wall Art Kitty Wall Decor Kitten 3D Optical Illusion Art
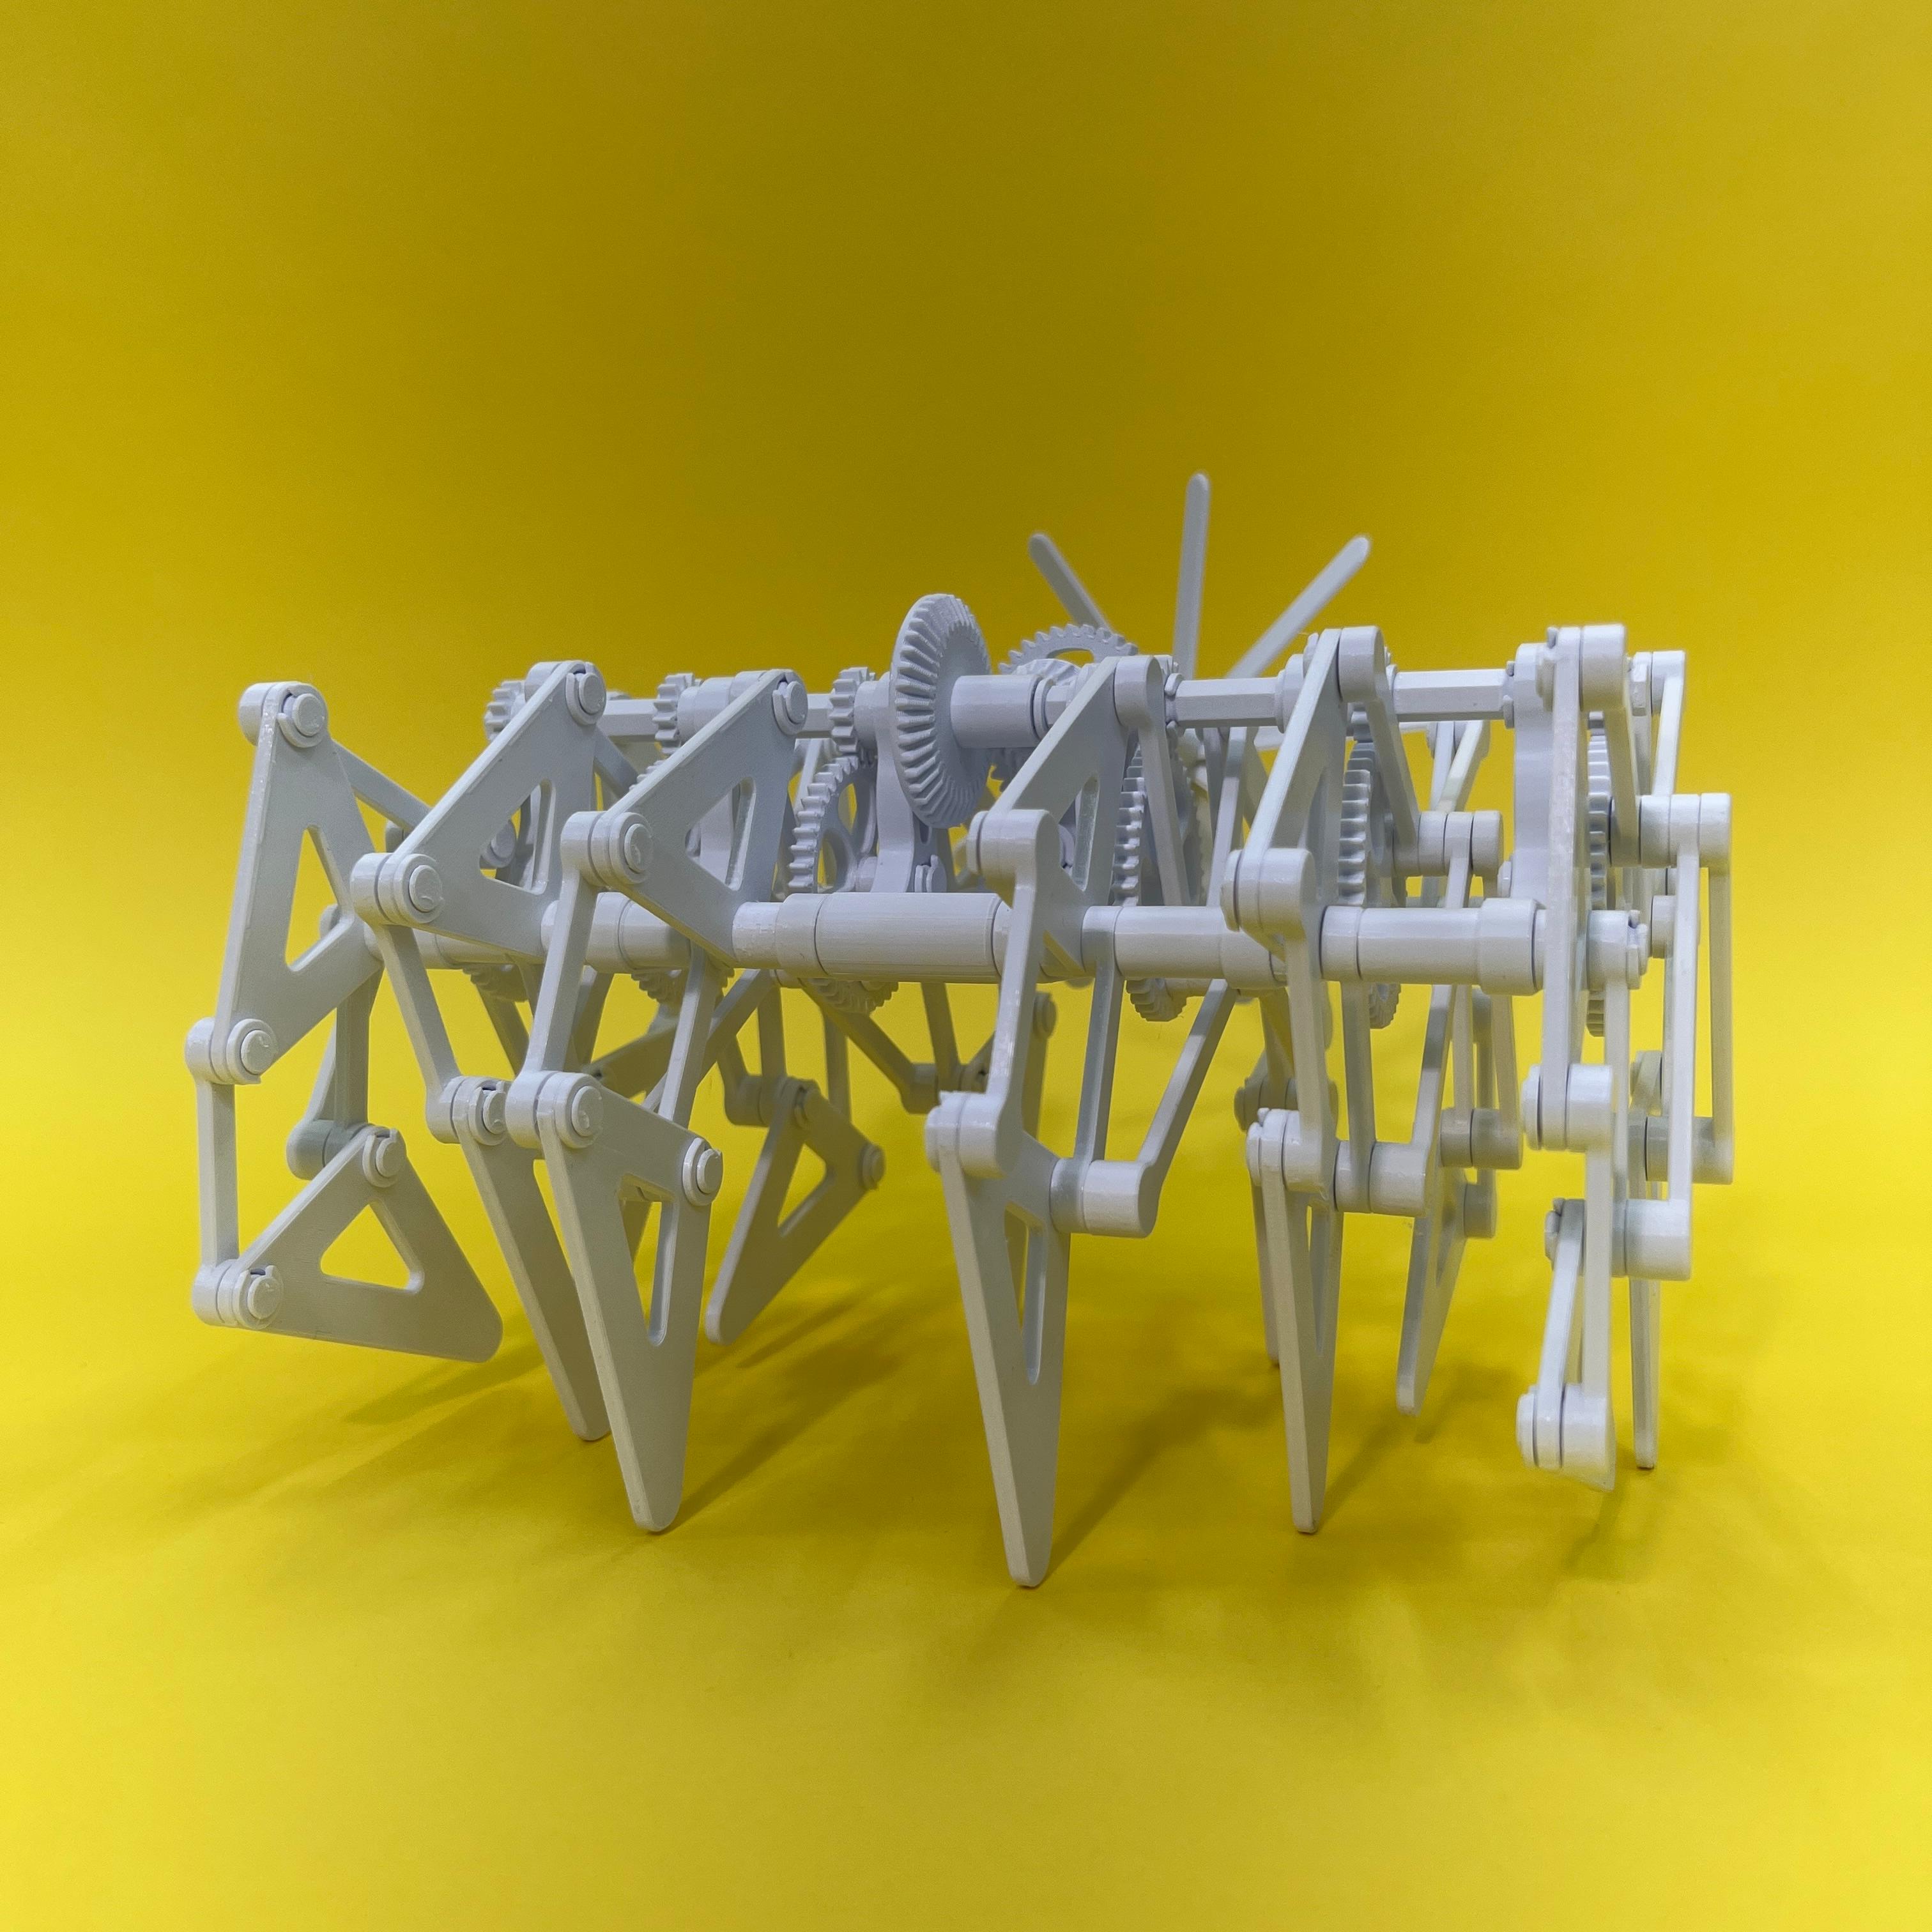
The Toronto Strandbeest
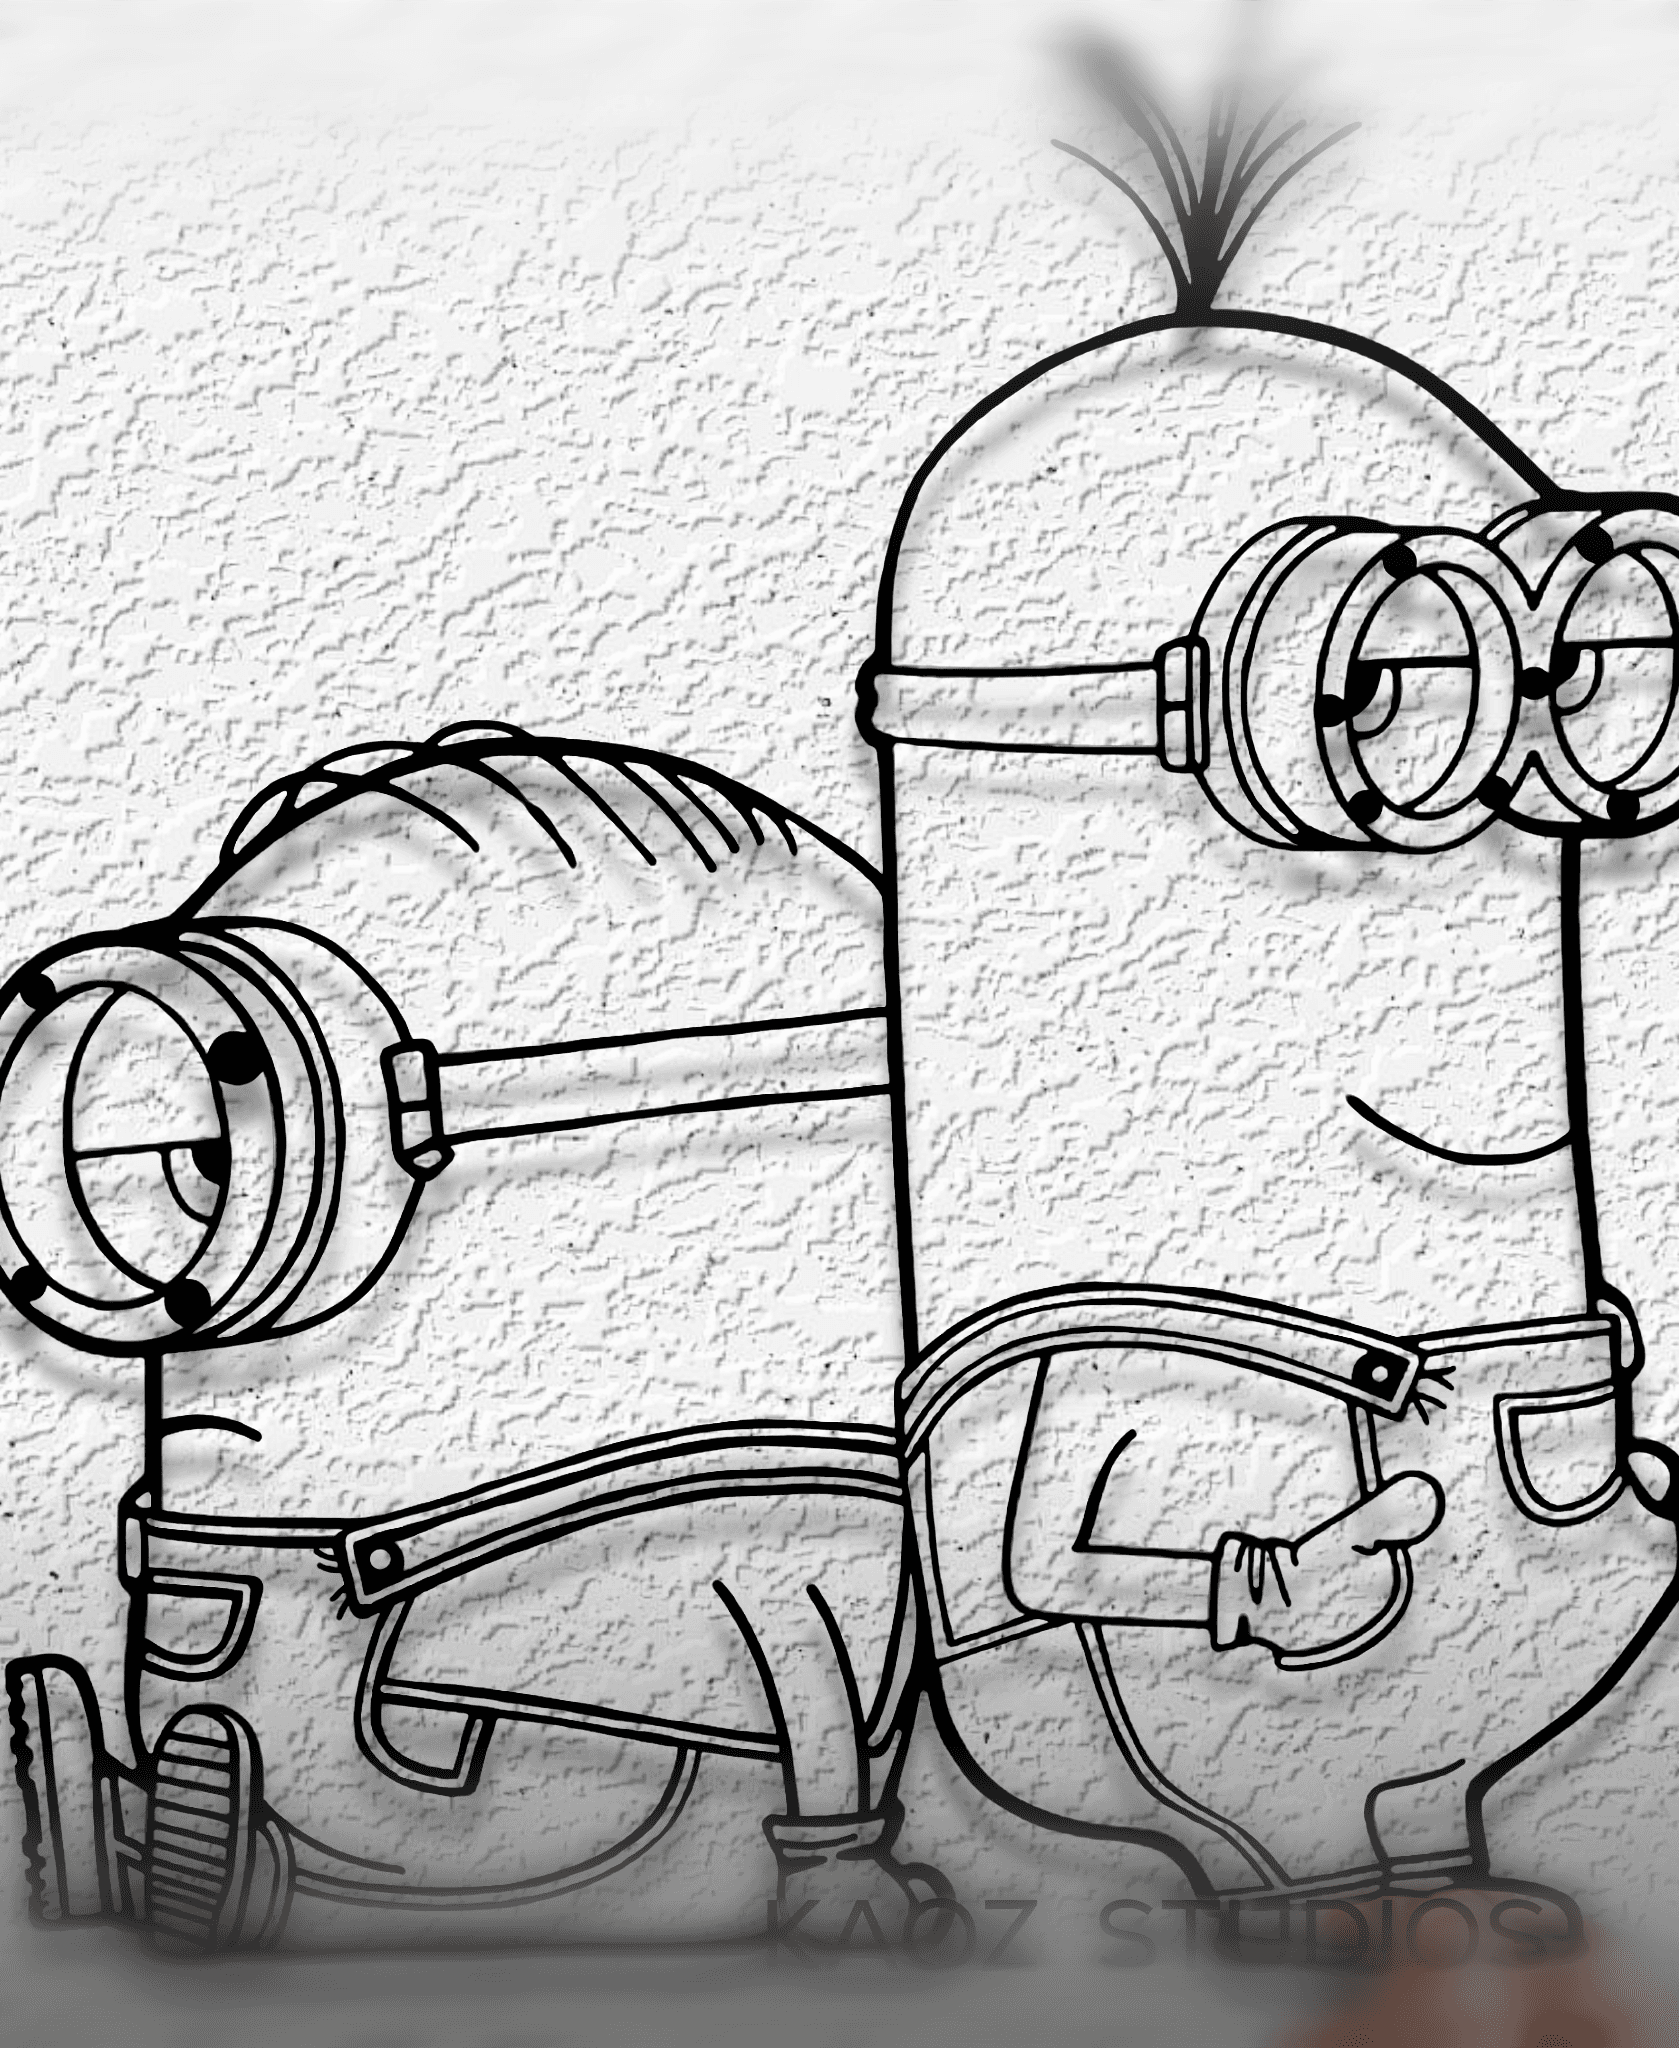
Minnions wall art Despicable Me wall decor disney pixar farnart

Mandala Cats on the Moon wall art - Leave a ♡

Thanks for sharing your print with us. Yes, it's a little tight, but after opening and closing it a few times, it loosens up and works perfectly smooth.
Hello sir! I am currently working on an RC jet plane project and your modeling interests me a lot! I would like to reproduce the same thing for the f-16. Would it be possible to ask or purchase a STEP format of your modeling? I would do a test with ceramic printing or with a ceramic coating after modifying it if you're agree. It's a personal project. Nothing commercial
ma man..... I guess u won't be intertested in sharing....... would you? 😭 xdd
Yes, send a message on Instagram to talk about it. ID: shayan_cad
not me printing this with a .6 nozzle and .2 layer height..... but hey... the Blade C's goin along well... so if I can nail that I don't think there will be any problems.... exept the main body... gona have to reprint it cause the dam thing likes to snap.... point to myself... be patient with assembly
but holy shit... when the print of a Blade C is almost done... it bends during printing so dam much it's scary... I don't know HOW the fuck do I get such good quality off it anyway when it bends worse than yo mom 😭
new report... I now despise the main body with a burning passion.... onto my 4th fuckin reprint
ok... new strategy... pause print and add those annoyng ahh fragile tiny parts mid print and then resume...
skill issue
please send me an email in (shganjipour@gmail.com) or send a massage in instagram (Shayan_CAD) i will guide you😁
I printed it in .1mm layer height... thinking I just need more resolution but the issue is the main body snap on joints are too flimsy to be printed in pla since pla doesn't flex at all and just breaks.... having a bit beefyer version would probably solve the issue.. that or having to print it in something more flexible
maybe use a PLA composite?, I am planning to use a PLA+. Also, what printer do you use?
I did used elegoo rapid pla +... it was too ridgid, my printer is the neptune 4 max running kalico on open4neptune
I do use pla+ (elegoo rapid pla +) to be precise.... Neptune 4 MAX tho I don't see how important that is
Absolutely wonderful Beyond being a simple and ingenious construction, it is very well optimized from the perspective that it should be printed. I loved it! Nothing required supports and I didn't even have to use glue. Although, I have to add that the tolerances of the C-clips that connect the -body- to -Link B- need to be rethought. All of those broke off. Personally, Personally, I recommend that instead of treating it as a C-clip, you rethink it as a "through" or "rail-type conductor"
Where can i find the instructions?
Assalam u Alaikum, Shayaan brother, Thanks for the Idea, I was able to model a servo retracting mechanism for the Nozzle, and Also modified ur idea to be able to swapable at the exhaust section of an 80mm EDF. And I really admire ur hard work, recreating whole thing was kinda hard.
JazakAllah u Khair
Fitment between primary seals (blade a) and the linkages was very tight, to a point when i tried to turn the knurl to open the nozzle, it cut my hand. Cool model but ultimately went into my recycle box.
Very cool. If you want to try a fun one, try to do the TF-30 engines that had their individual 'petals' were on rollers and could look quite different open vs closed.