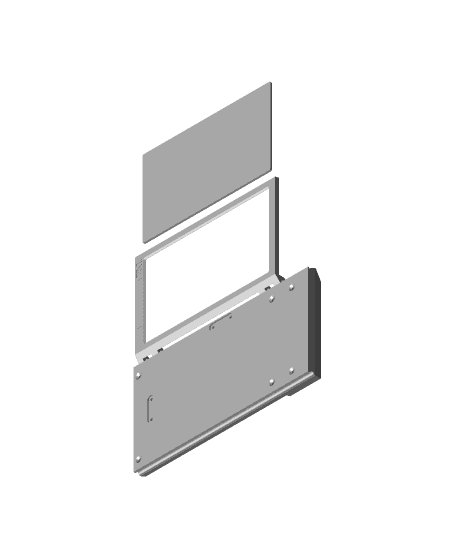
Loki TVA TemPad
More details at : https://www.thingiverse.com/thing:4919791
Recommended hardware: It is intended for M2.5 socket head cap crew but for those not wanting to buy hardware you can use a piece of 1.75 filament and it should still work ok. For the assembled on cut to a sharp point on the inserted end and use a piece about 120mm long, for a Tempad printed in pieces you just need two pieces about 16mm long. If you want to use the hardware I intended this to use: Hinges Bolts- https://www.mcmaster.com/91292A018/ (you will need to thread inner most hinge) Hinge spacer- https://www.mcmaster.com/91755A311/ (you can see in the photos a little bit of white in the hinge, not a strictly necessary part Bolts to attach two halves of brass body together- https://www.mcmaster.com/97595A358/ Black parts- if you have a laser/cnc should be made from 1/16th in black gloss acrylic Wood- if you have a laser/cnc- https://www.amazon.com/Mahogany-Veneer-Thick-Sq-Pack/dp/B01LG5WLF4/ref=sr_1_11?dchild=1&keywords=mahogany+veneer&qid=1627648500&sr=8-11 Magnets: X 2- https://www.kjmagnetics.com/proddetail.asp?prod=BY042-N52 (holds Time Spinner on, one in spinner one in TemPad edge) ps: I recommend gluing these in well as they are very strong) X 5- https://www.kjmagnetics.com/proddetail.asp?prod=BX021 (one goes on brass lid under little wood strip, 4 get stacked and go in base between the two halves
Update Log: -7/31/21- I have corrected the recommended hinge bolt length from a 10mm to 16mm (link above)
-7/31/21- I increased the magnet recess length in brass parts (marked v2 updated "every part on one file", and originals deleted & ) a little to help with fitment
-8/1/21- Rotated Wood file 45 degrees to help alight "wood grain" in slicers bottom fill, you still need to double check you print preview depending on your set up
8/2/21- I decreased the diameter and height of the Silver parts a little to help with fitment (marked v2, and updated "every part on one file", and previous file versions deleted,)
8/2/21- Added assembly instructions
8/3/21- Added a "Resin-Mostly Assembled-Supported" it is pre-hollowed, with drain holes, and supported model of a complete TemPad that with a mono screen prints in under 3hrs! Picture shows it on my Anycubic Mono X. It is still split into a few parts so I could support things on non critical sides and so you can still add magnets. I do feel for ease of painting and the highest quality everything should be printed separately but if you just want a TemPad quick this is the way to go.
Notes: Supports??-I’ve taken the time to optimize these files for 3d printing, This should mean no supports, with a few exceptions the brass top of the base has a little ledge on the right side that will need support, and the Lid will need supports around the magnet recess -possibly-and for sure the hinges.
I have tried to make this a fun time to print and assemble and put a lot of testing in this to get things right. A few file options have been made available including things split up by machine type, by color, even a few options with it preassembled if you don’t care to print the parts separately. This should work nicely if made with a half decently accurate machine, and material parts should slide together with minimal sanding, clean up or glue needed . If you have trouble let me know so I can make it changes to make this easier for everyone.
Keep in mind everybody’s machines and settings are different so I can’t make this work for everyone right off the bat without good feedback. I am still stress testing these files on different machines so if you have questions comments or concerns let me know what I can do to help make this work for your needs.
I have versions Meant for for FFM (filament based 3d printing ) and resin printers. There are subtle changes between both files as both types of machines have their strengths and weaknesses.
The FFM Files should load pre-oriented for best results printing
