


Anycubic Vyper & Kobra Max Part Cooling Duct UPGRADE! - Improved print quality
DANGER NOODLES!
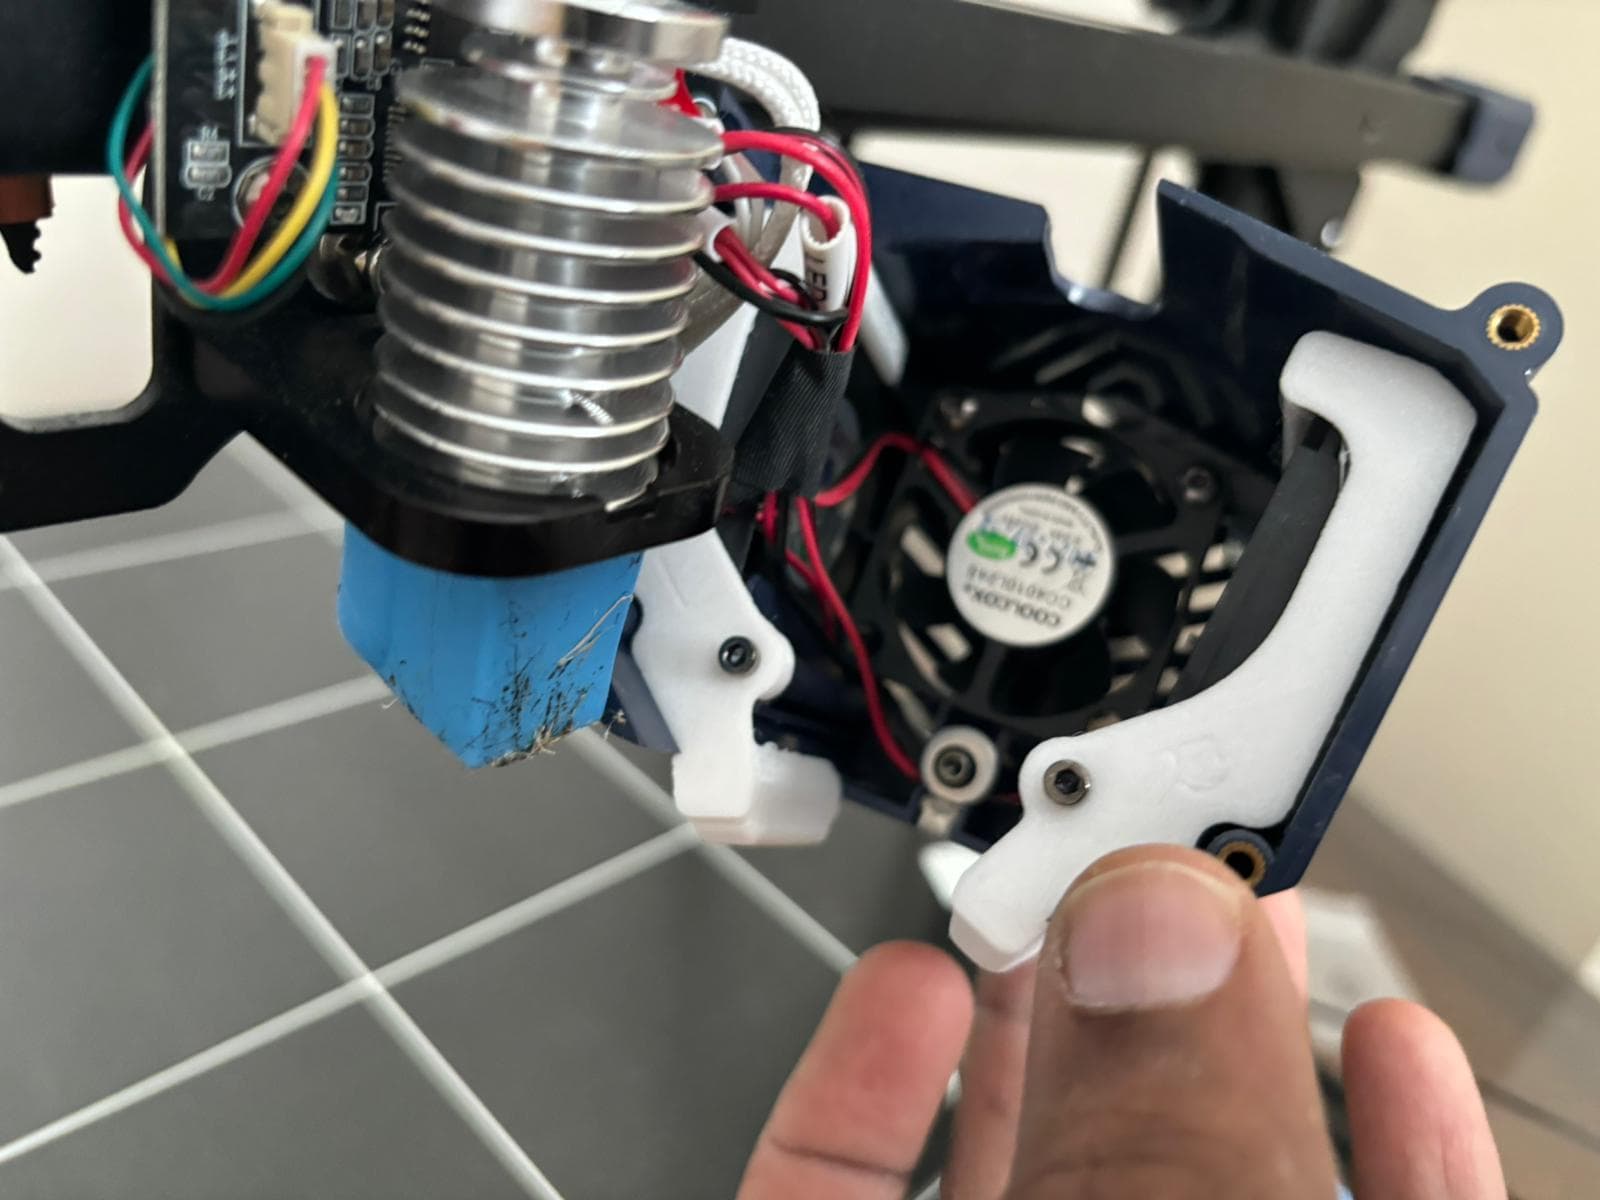
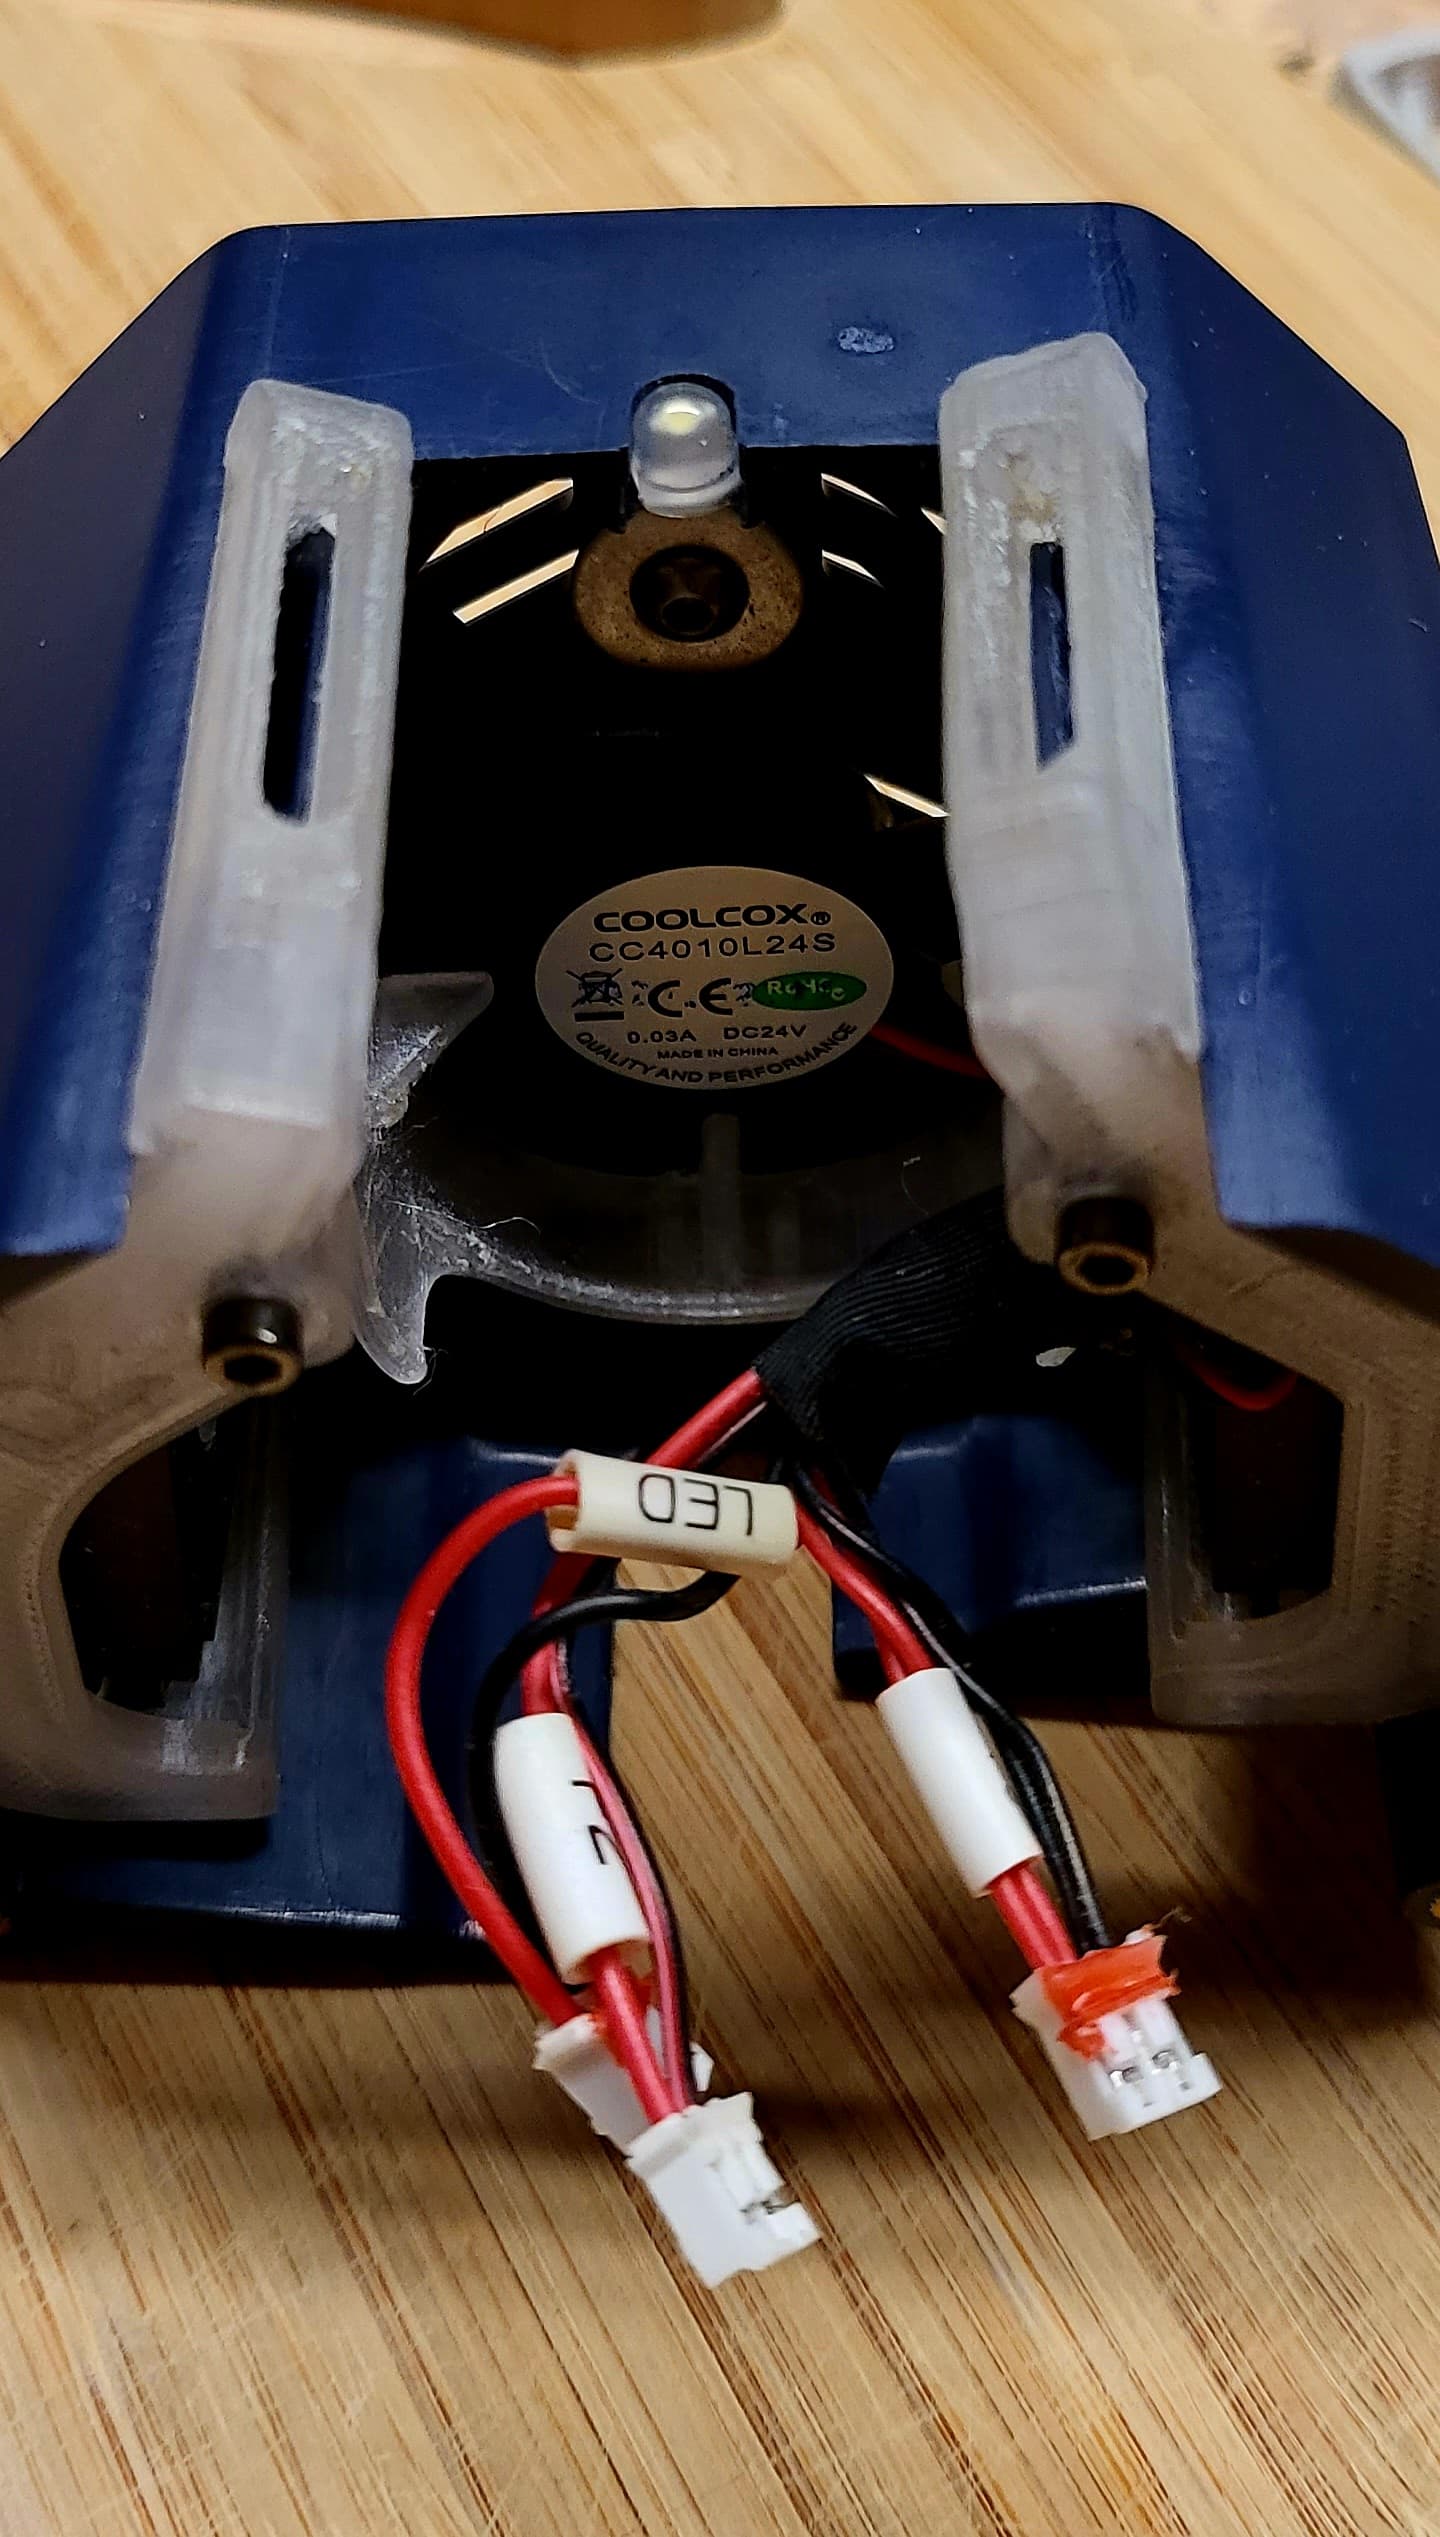
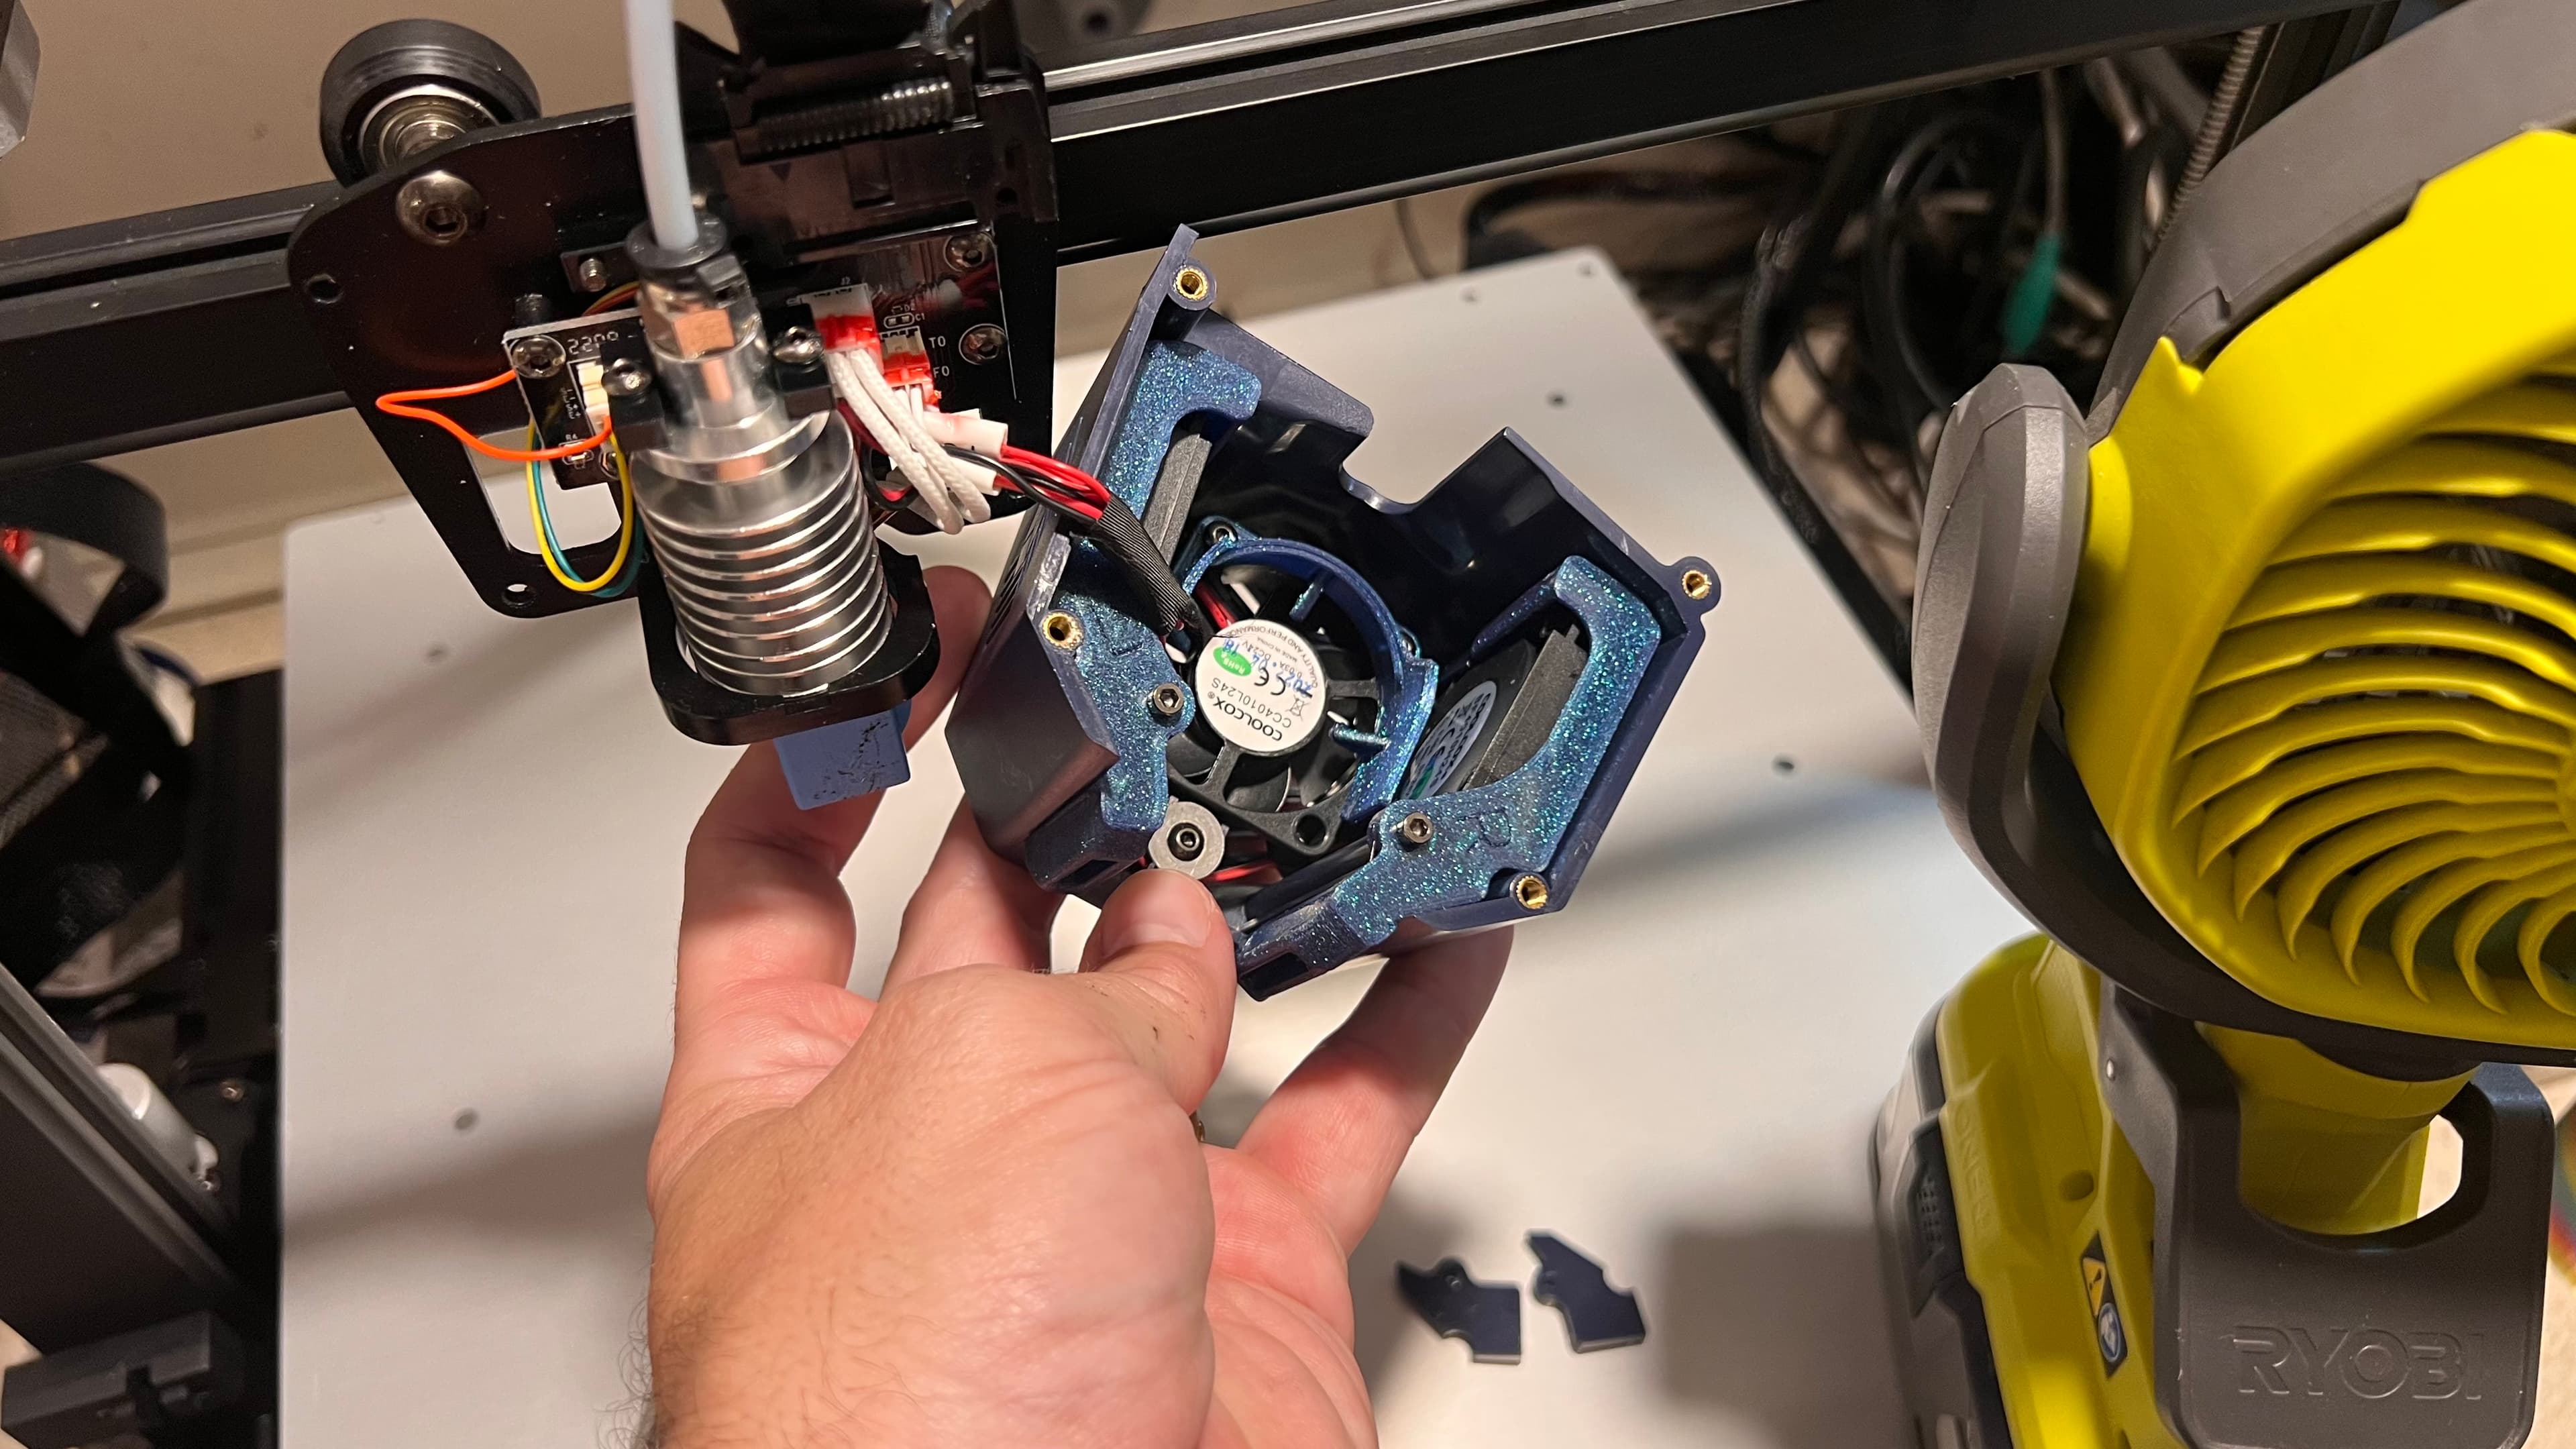
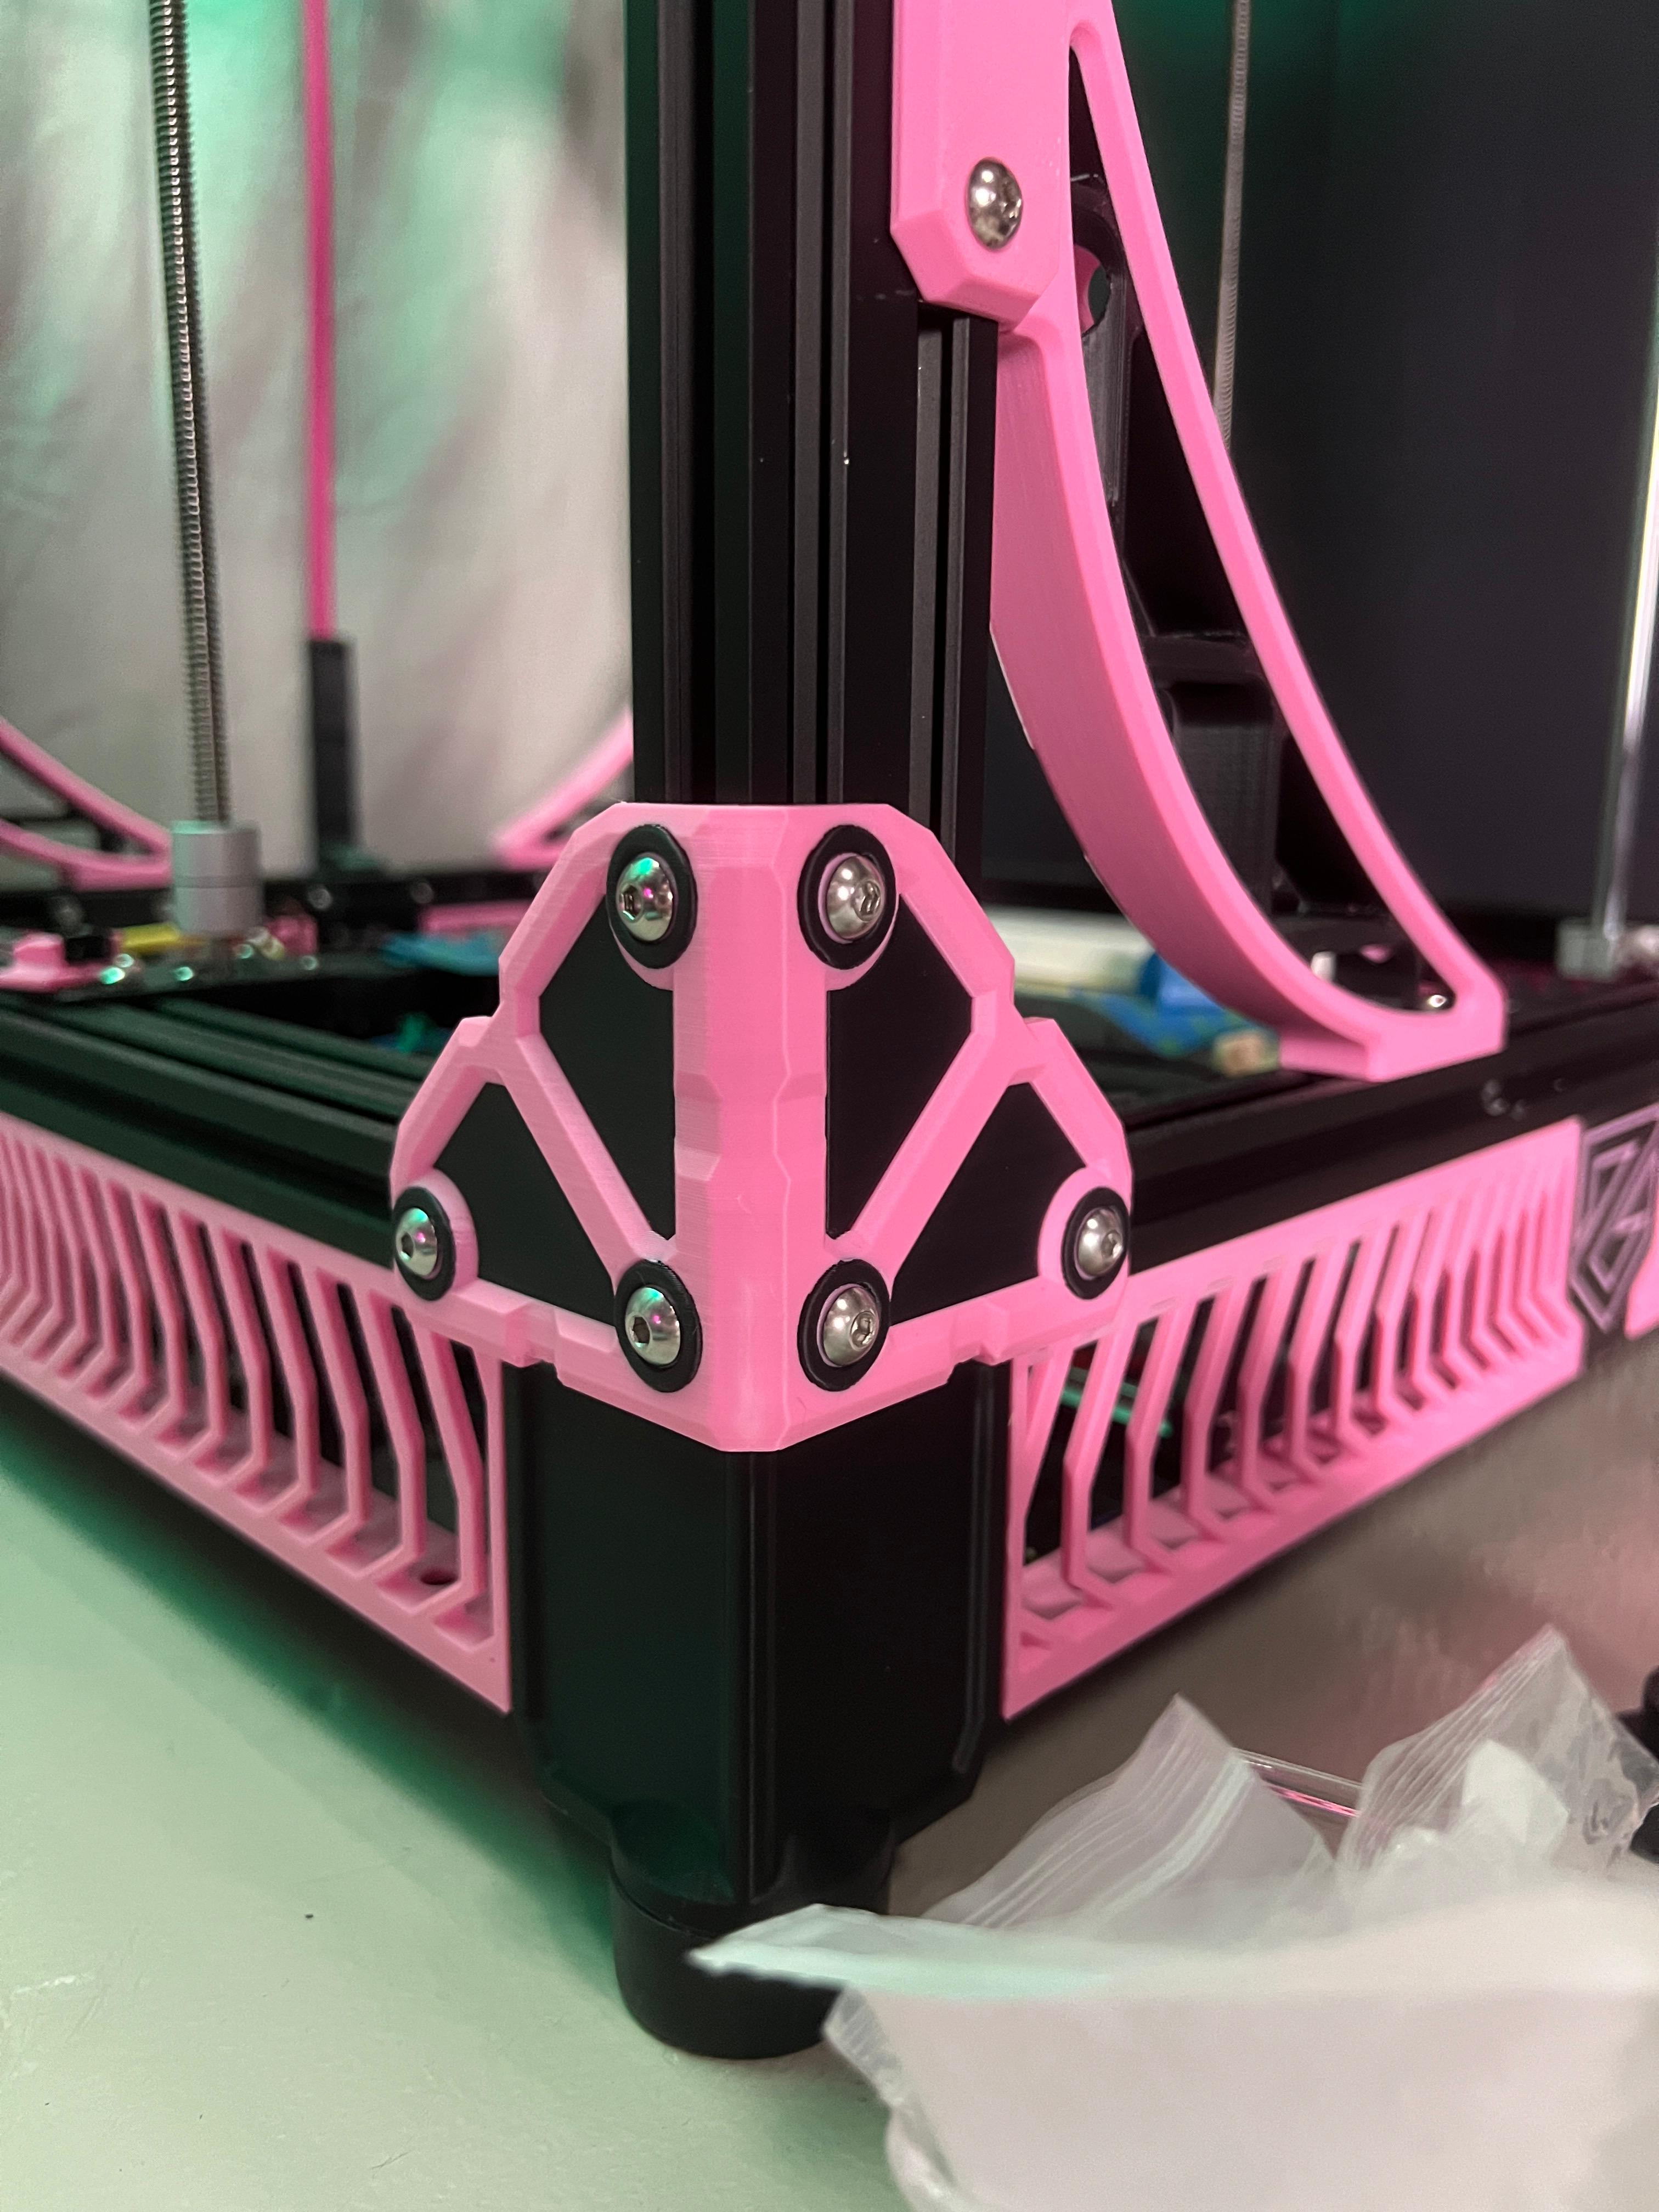
While running the AnyCubic Kobra Max I found that the part cooling ducts left something to be desired. Yay the machine has dual 4010 fans, but they exit the shroud too far from the printer nozzle and are not well guided. In comes my add-on Fan Ducts that guide the air much closer to the nozzle area AND block off areas where the part cooling blowers could suck in hot air! Fits both the AnyCubic Kobra Max and the Vyper line of printers.
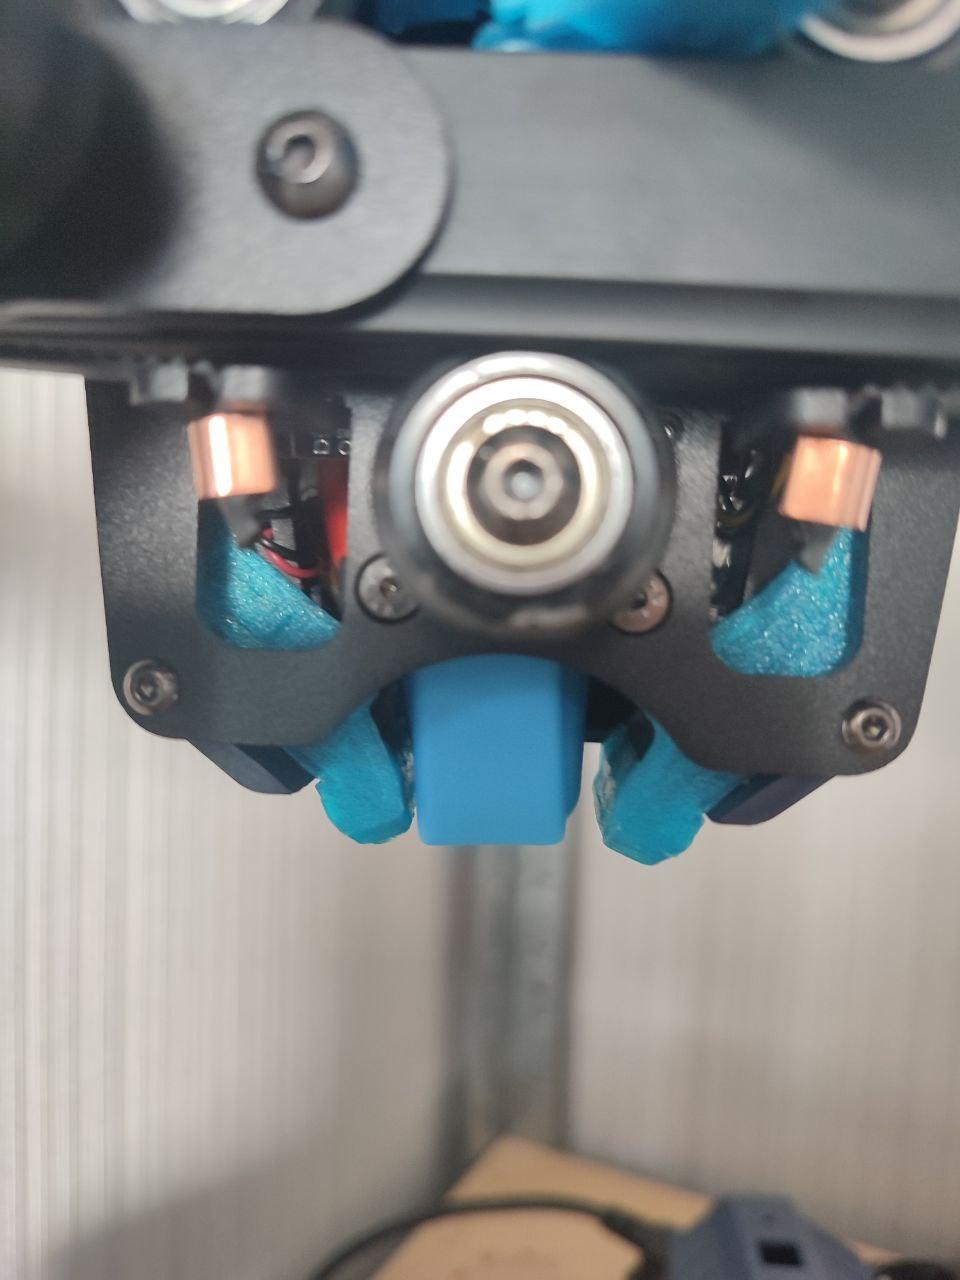
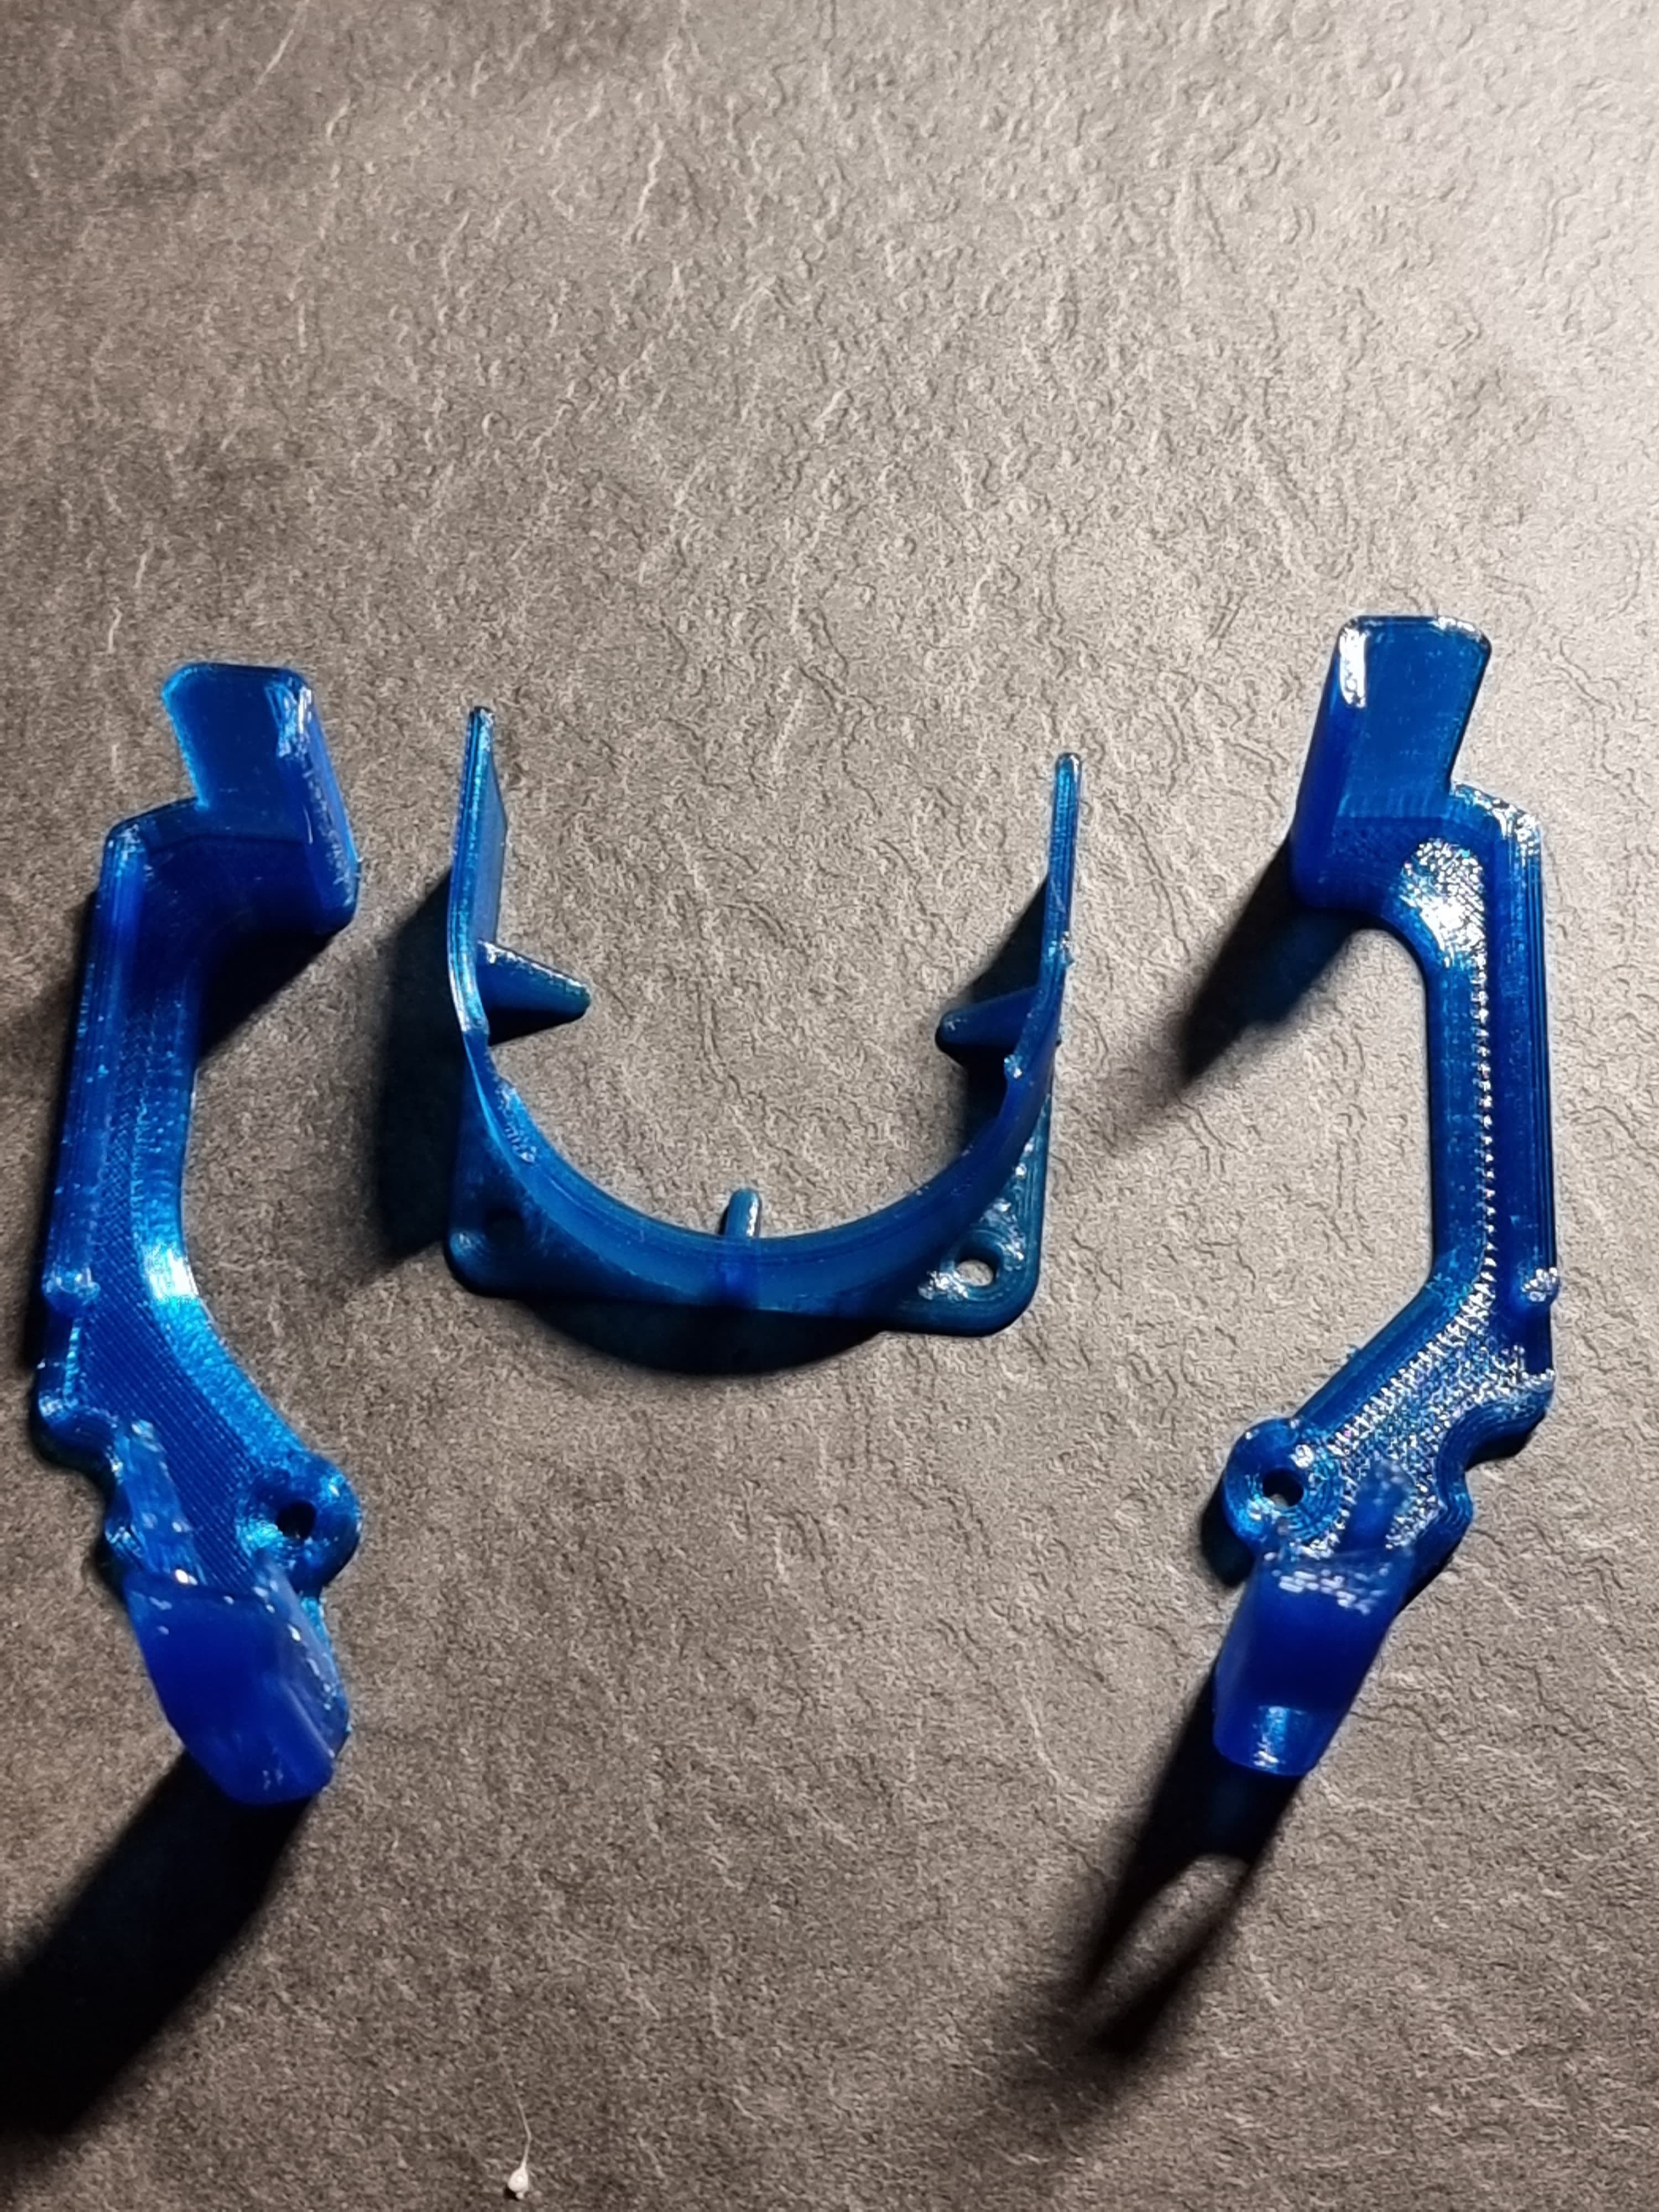
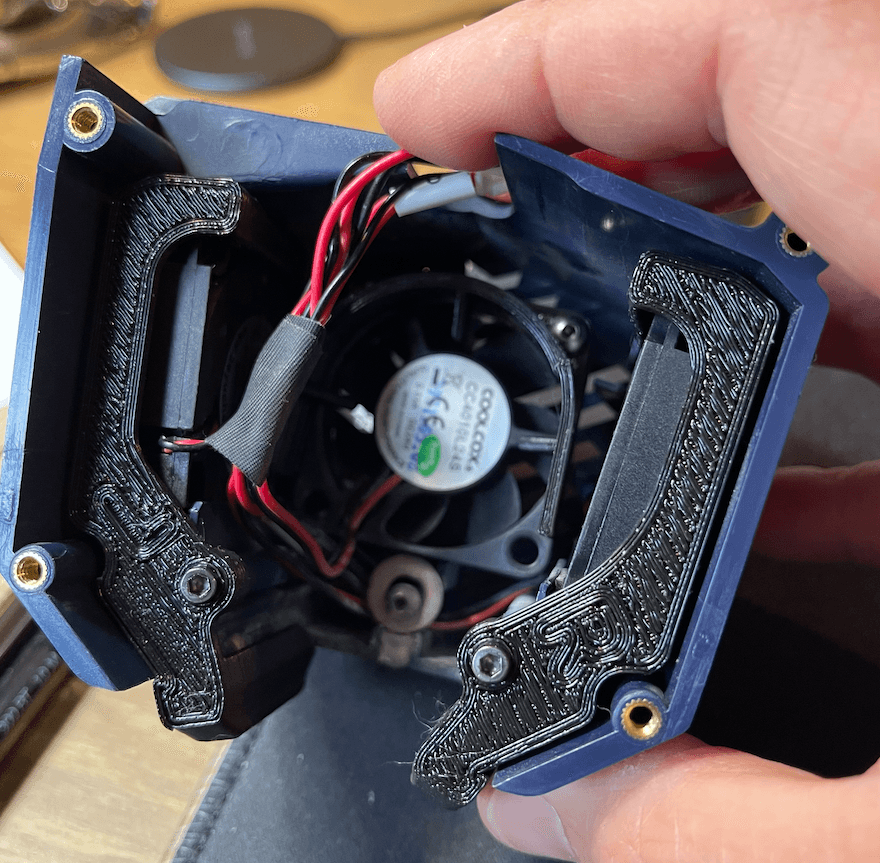
Installation:(See photos to help.) Remove the stock Fan Shroud from the print head. Locate the screws that hold on the blower fan retainer pieces & remove (save screws). Slip new Part Cooling Ducts into the opening of the old ducting (has a clip to "latch on"). Firmly press the Ducts into the shroud along side the Blower Fans until the ducts are flush against the fans. Reinstall original screw through the ducts. Reinstall the Shroud onto the print head, being careful to not pinch the wiring as there is now less room.
AFTER ASSEMBLY: Be sure to run an "Auto Level" run to ensure that the wiring and new parts are not interfering with the strain sensor and Bed Leveling functions properly. If you find ANY issue, adjust the wiring inside of the shroud and repeat the process.
The 40mm "Guide" is meant to funnel the Heatsink air more directly to the Heatsink and slightly shield the Blower fans from the heatsink. I don't know how effective it is, but I included it as I'm using it currently.
- Necessary Hardware (Affiliate Links):
- AnyCubic Kobra Max: https://tinyurl.com/KobraMax
- AnyCubic Vyper: https://tinyurl.com/AnyCubicVyper
- PRINT PARAMETERS:
- Print SLOWLY, Small areas require cooling time.
- Recommend 4 Perimeters
- 10%+ Infill (I use Rectilinear)
- NO Supports Required
- PLA works fine, but PETG or ASA would be better if printing higher temp materials.
Want to Support what I do? Check out my social medias please!
Link Tree: http://www.HotRodHippie.com/links
All of my Designs are covered by a Creative Commons Non-Commercial License. Sale of prints using my designs are the sole right of myself, the designer, and those I license to do so. Please understand every design is hours of work and multiple prototype prints to ensure quality. Unauthorized sales will result in new designs not being made public.
PLEASE Credit any and all Remixes of my designs: MandicReally

Anycubic Vyper & Kobra Max Part Cooling Duct UPGRADE! - Improved print quality

Modular 10" Mini Server Rack! - Mod10

DropEffect NeXt-G UHF Voron StealthBurner Mount
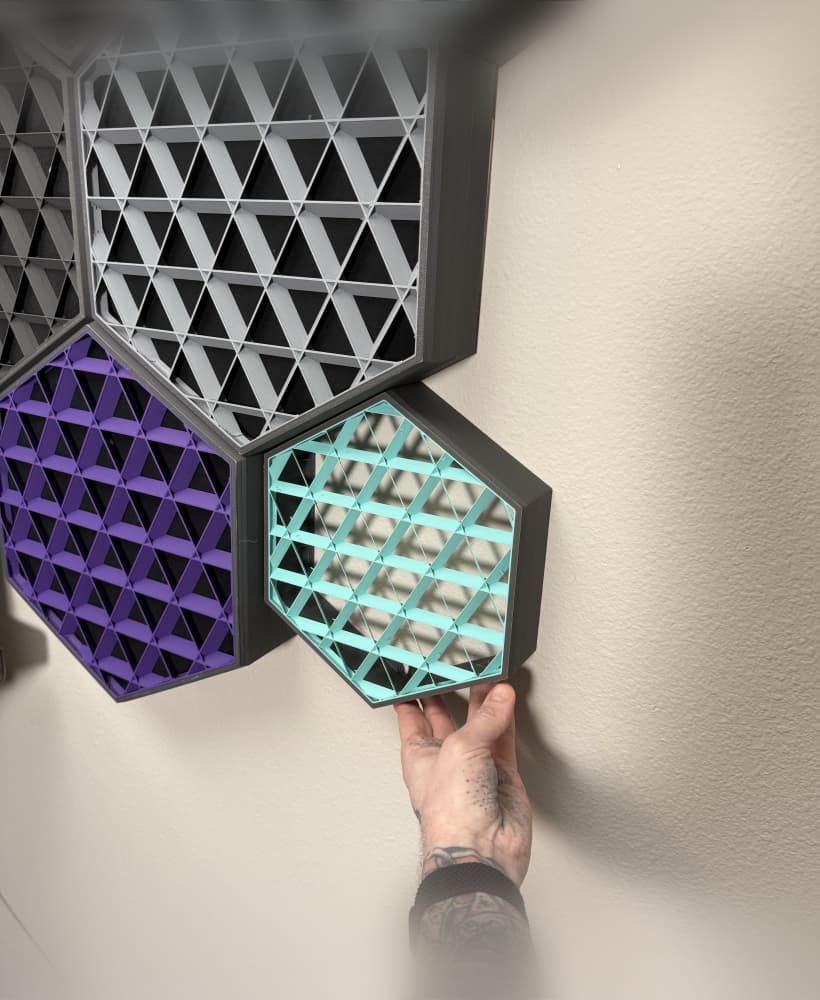
Medium 3D Printed Sound Panels! Bambu & Prusa Mk4 version!

3D Printed Sound Panels!
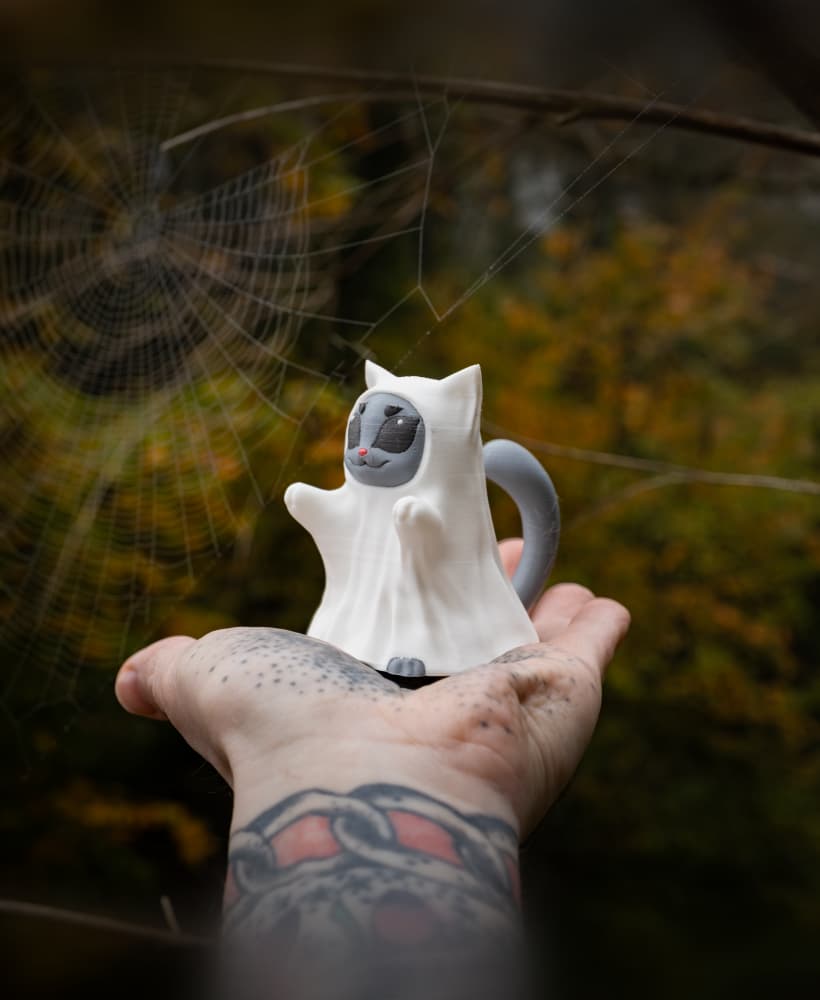
Trick or Meow! Cat Sheet Ghost Costume for Halloween!
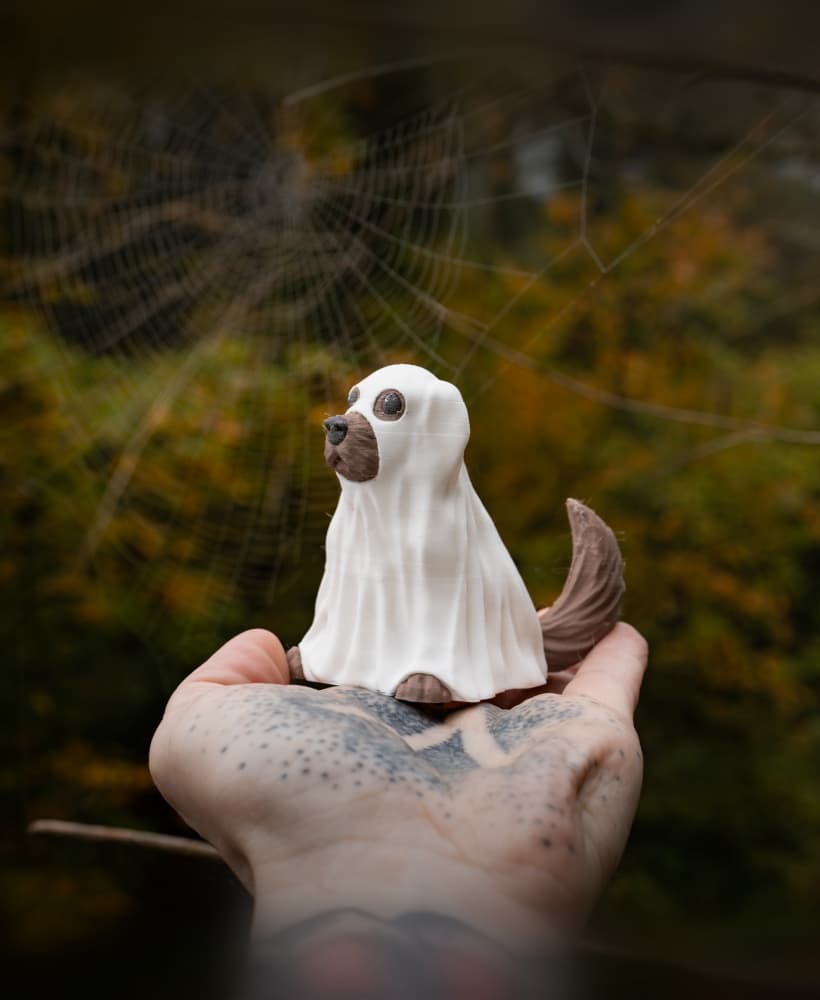
CUTE Halloween Dog Ghost Costume! Such a good boi!
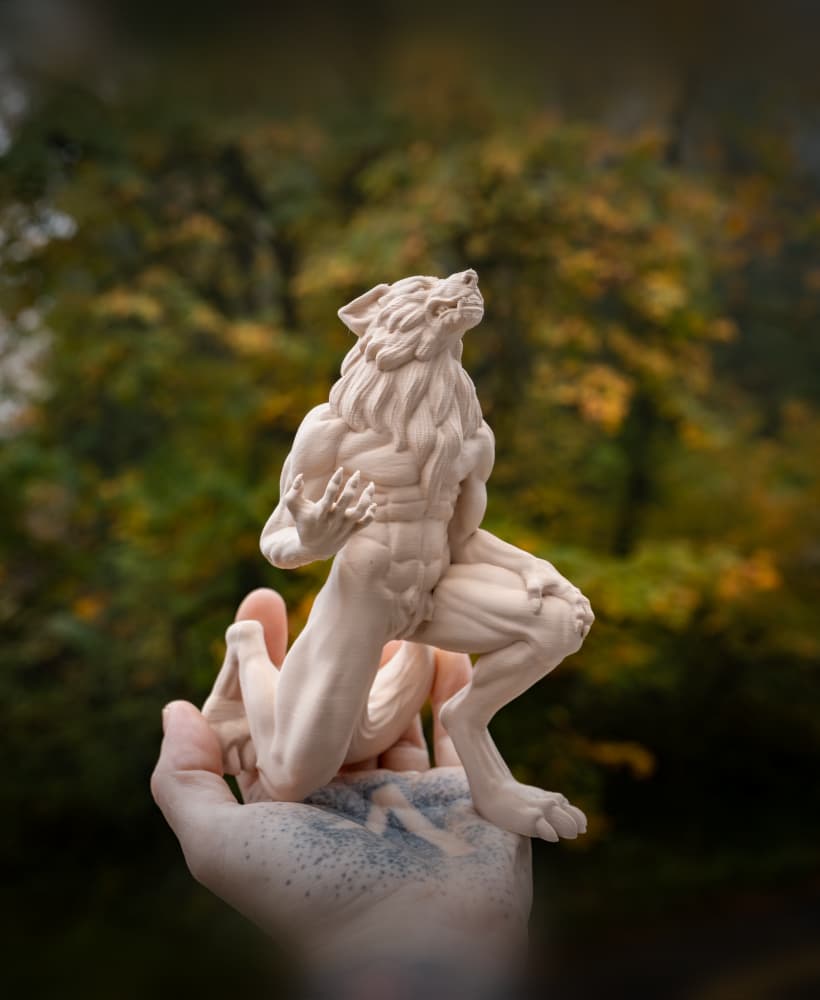
Howling Werewolf - Halloween 2024 Fabled Creatures Release!

REPRAP 3D Printer Belting Tools - EASILY Belt your Core-XY 3D Printer!

MOTHMAN - Fabled Creatures Desk Statue for Halloween!

Cthulhu RISES for Halloween! Old gods, new technology! Fabled Creatures 02
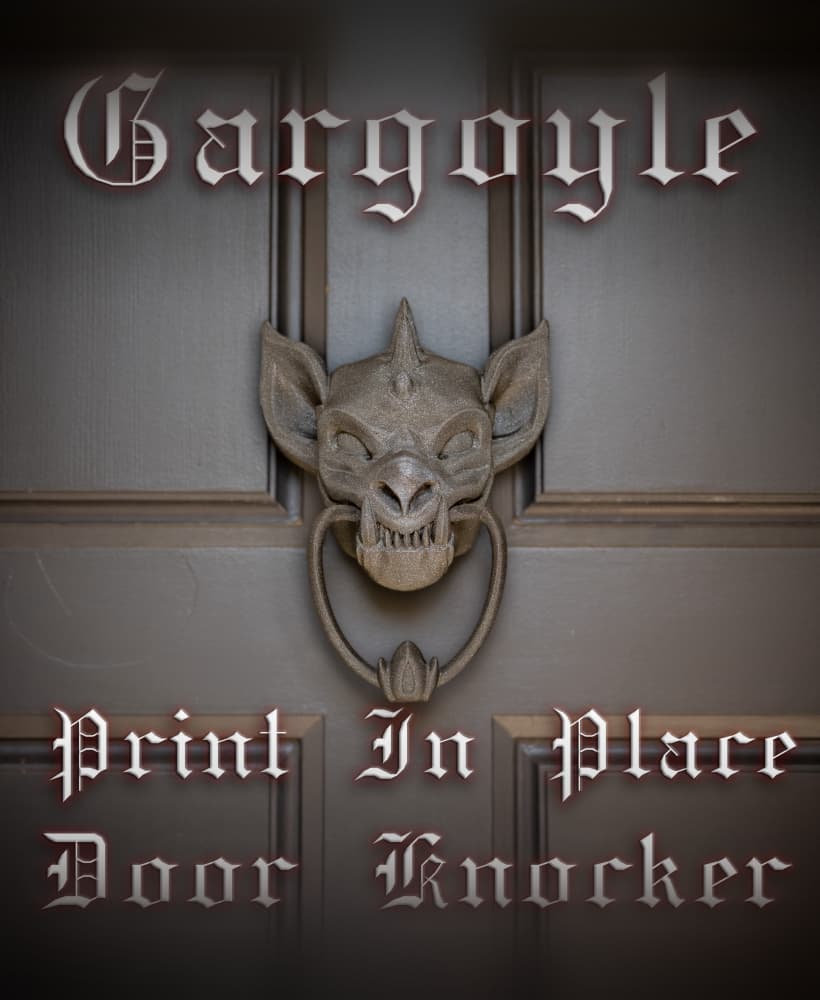
Gargoyle Door Knocker - Print In Place Halloween Door Decoration!
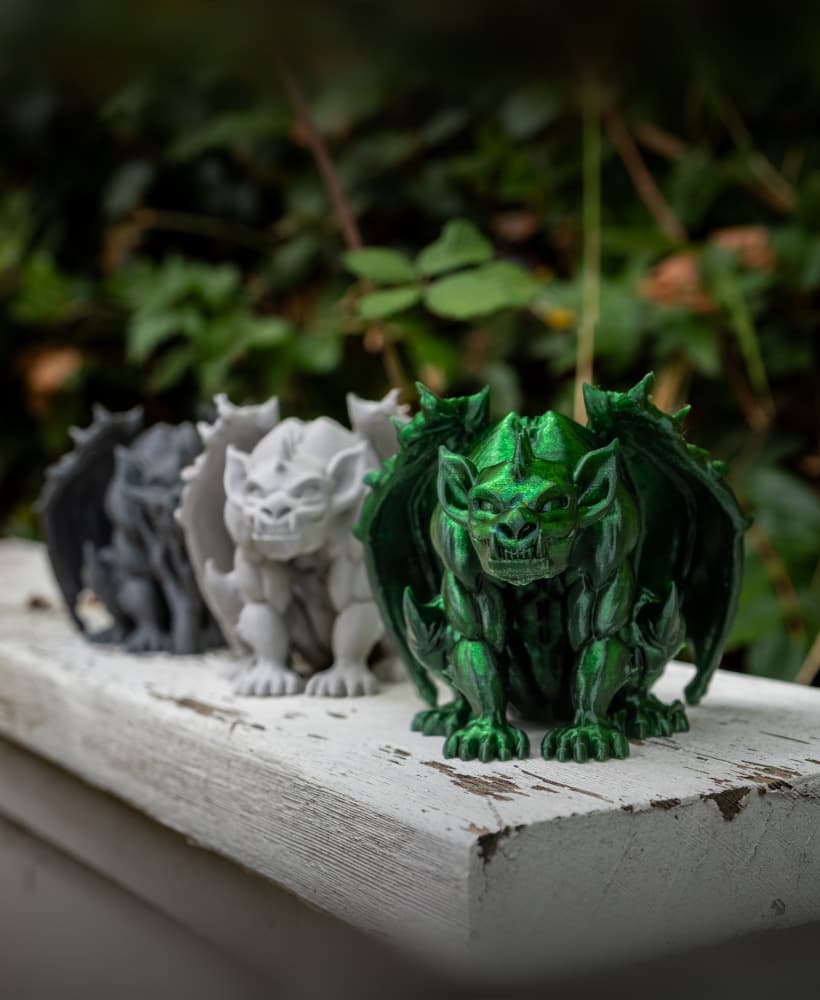
Gregor the Gargoyle Statue - Fable Creatures Collection

Tavern Tankard - Fantasy themed 12oz Can Cup!
PolyMaker PolyDry Reverse Bowden Retainer
Voron Hex Pattern StealthBurner Toolhead
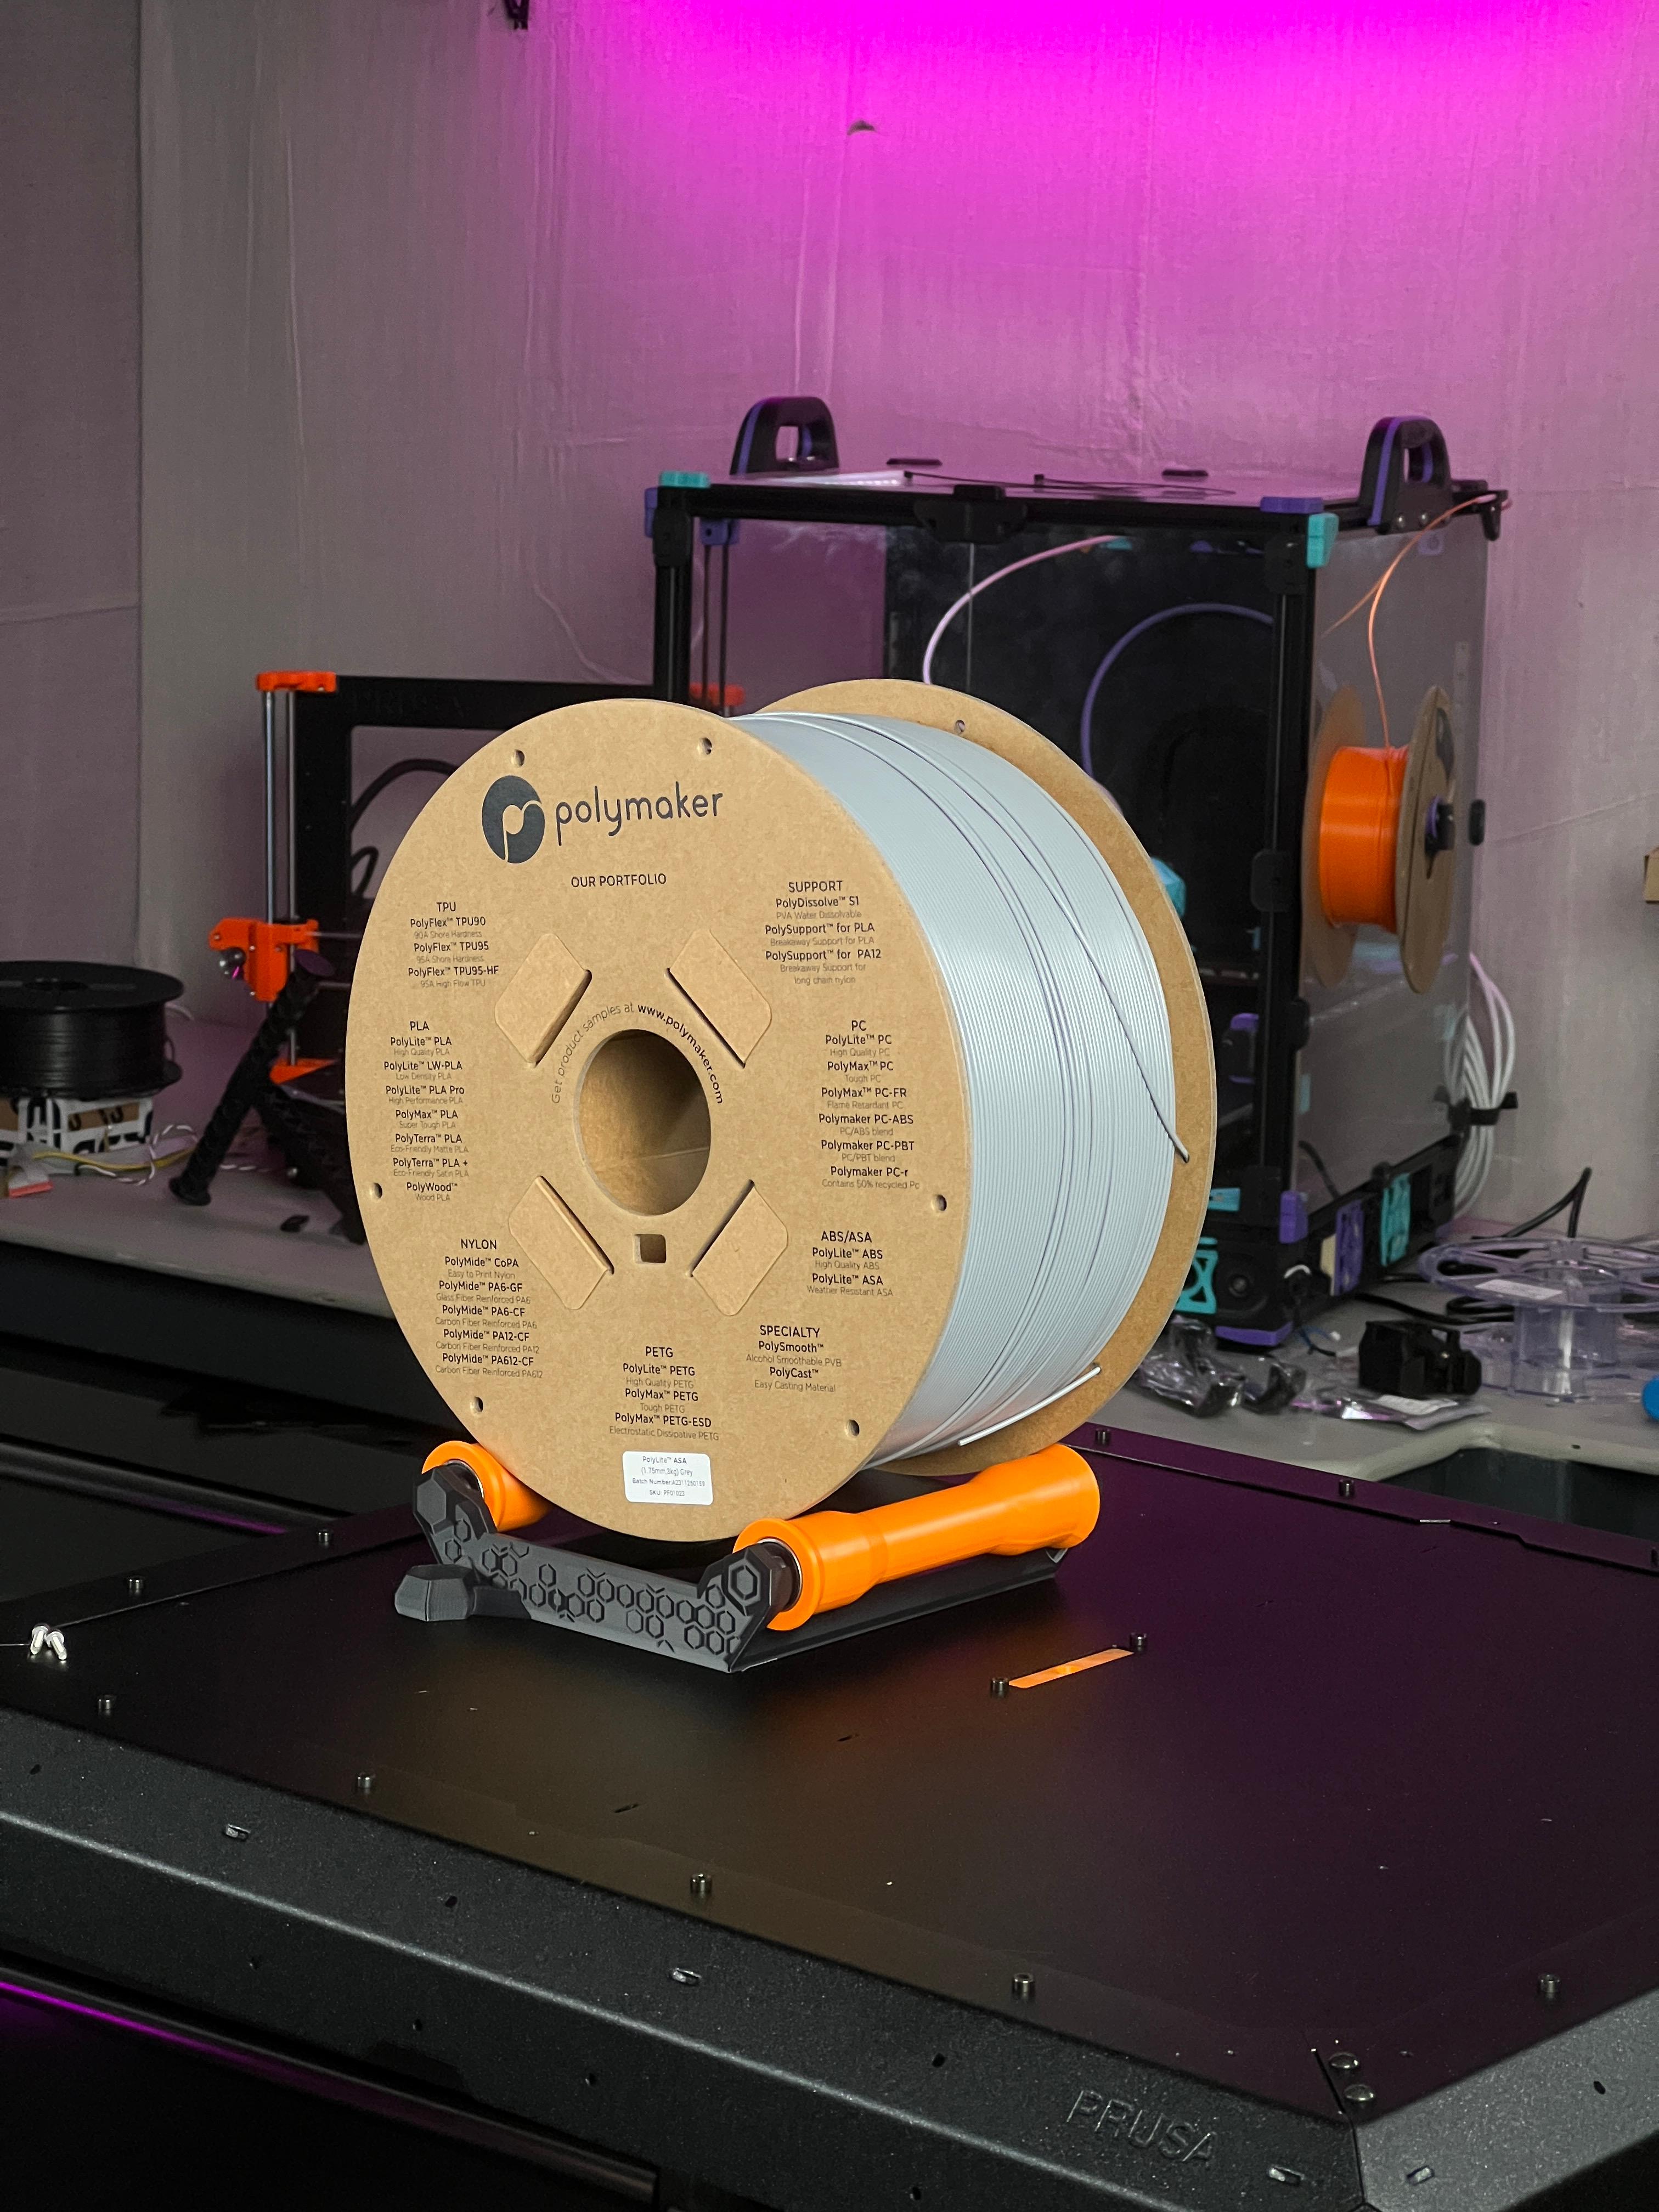
Prusa Enclosure 3kg Spool Holder
Polymaker 3kg Cardboard Spool
Galileo 2 Hex Door for StealthBurner - BigTreeTech SB2209 SB2240
Ender 5 Plus Z Cable Chain Mod - Manage your Bed wires on the Z-Axis!
Fitted on my kobra max. reprinted temp tower after auto-level. vast improvement observed.
Thank you, it works well with my Kobra Max except for the left side which I had to cut with pliers because an electronic card prevents it from entering.
Thanks so much for this design! I fitted this on my vyper and I think it's a must for any vyper owner! It made a huge difference to my prints
I've made these in the past for my kobra max, not sure where I got the file. Printed with ASA. awesome addition to this style head.
does not fit Kobra Max, after checking specifically the left part. I think it is thicker than the original one or it gets stuck on a screw or something on the heating part because I cut half of it and it fits. the middle part also blocks a little less than the left one, and I don't know why, but it is the least important
I was having a lot of trouble with heavy stringing. Calibrated e-steps, flow, temp, retraction, drying filament... nothing did the trick.
Installed this as a last resort and worked like a charm. Prints come clean from stringing now, even better than on my ender 5 pro (equiped with a custon 5010 blower fan).
Great design!
Just made this using ASA filament. Works like a champ! Thank you.
When opening in cura, the shround is hovering above the bed and not touching... also, there is a good bit of overhanging... how do i overcome these issues when printing?