
.jpg&w=256&q=75)

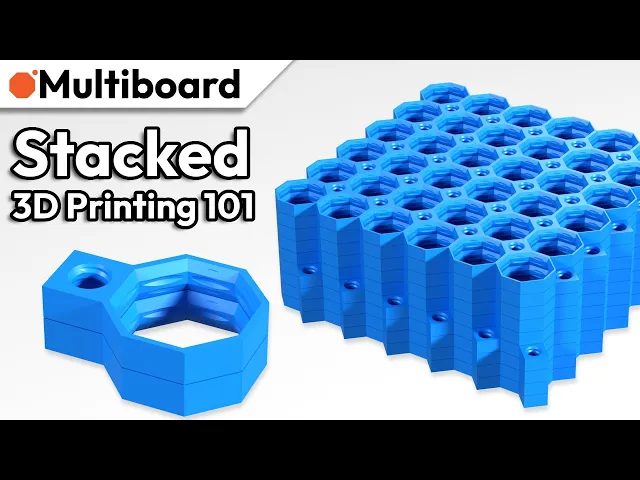
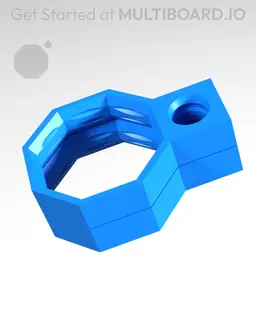
Ironing Stack - Test Print - Key Chain
This small stack allows you to test "Ironing Stack Printing" with your printer.
Stack Prints are parts that are printed on top of each other. Click here to watch a video tutorial about it.
Printing Guidelines:
The printing orientation is as provided in the file. Make sure the downloaded files are .STL.
Printer Settings: Turn on "ironing" for top surfaces. Set seam position to "random" for more strength (optional). Use 3 perimeter wall thickness, 0.2 mm layer height, 15% infill, and no supports. Apart from that, use your printer's default settings.
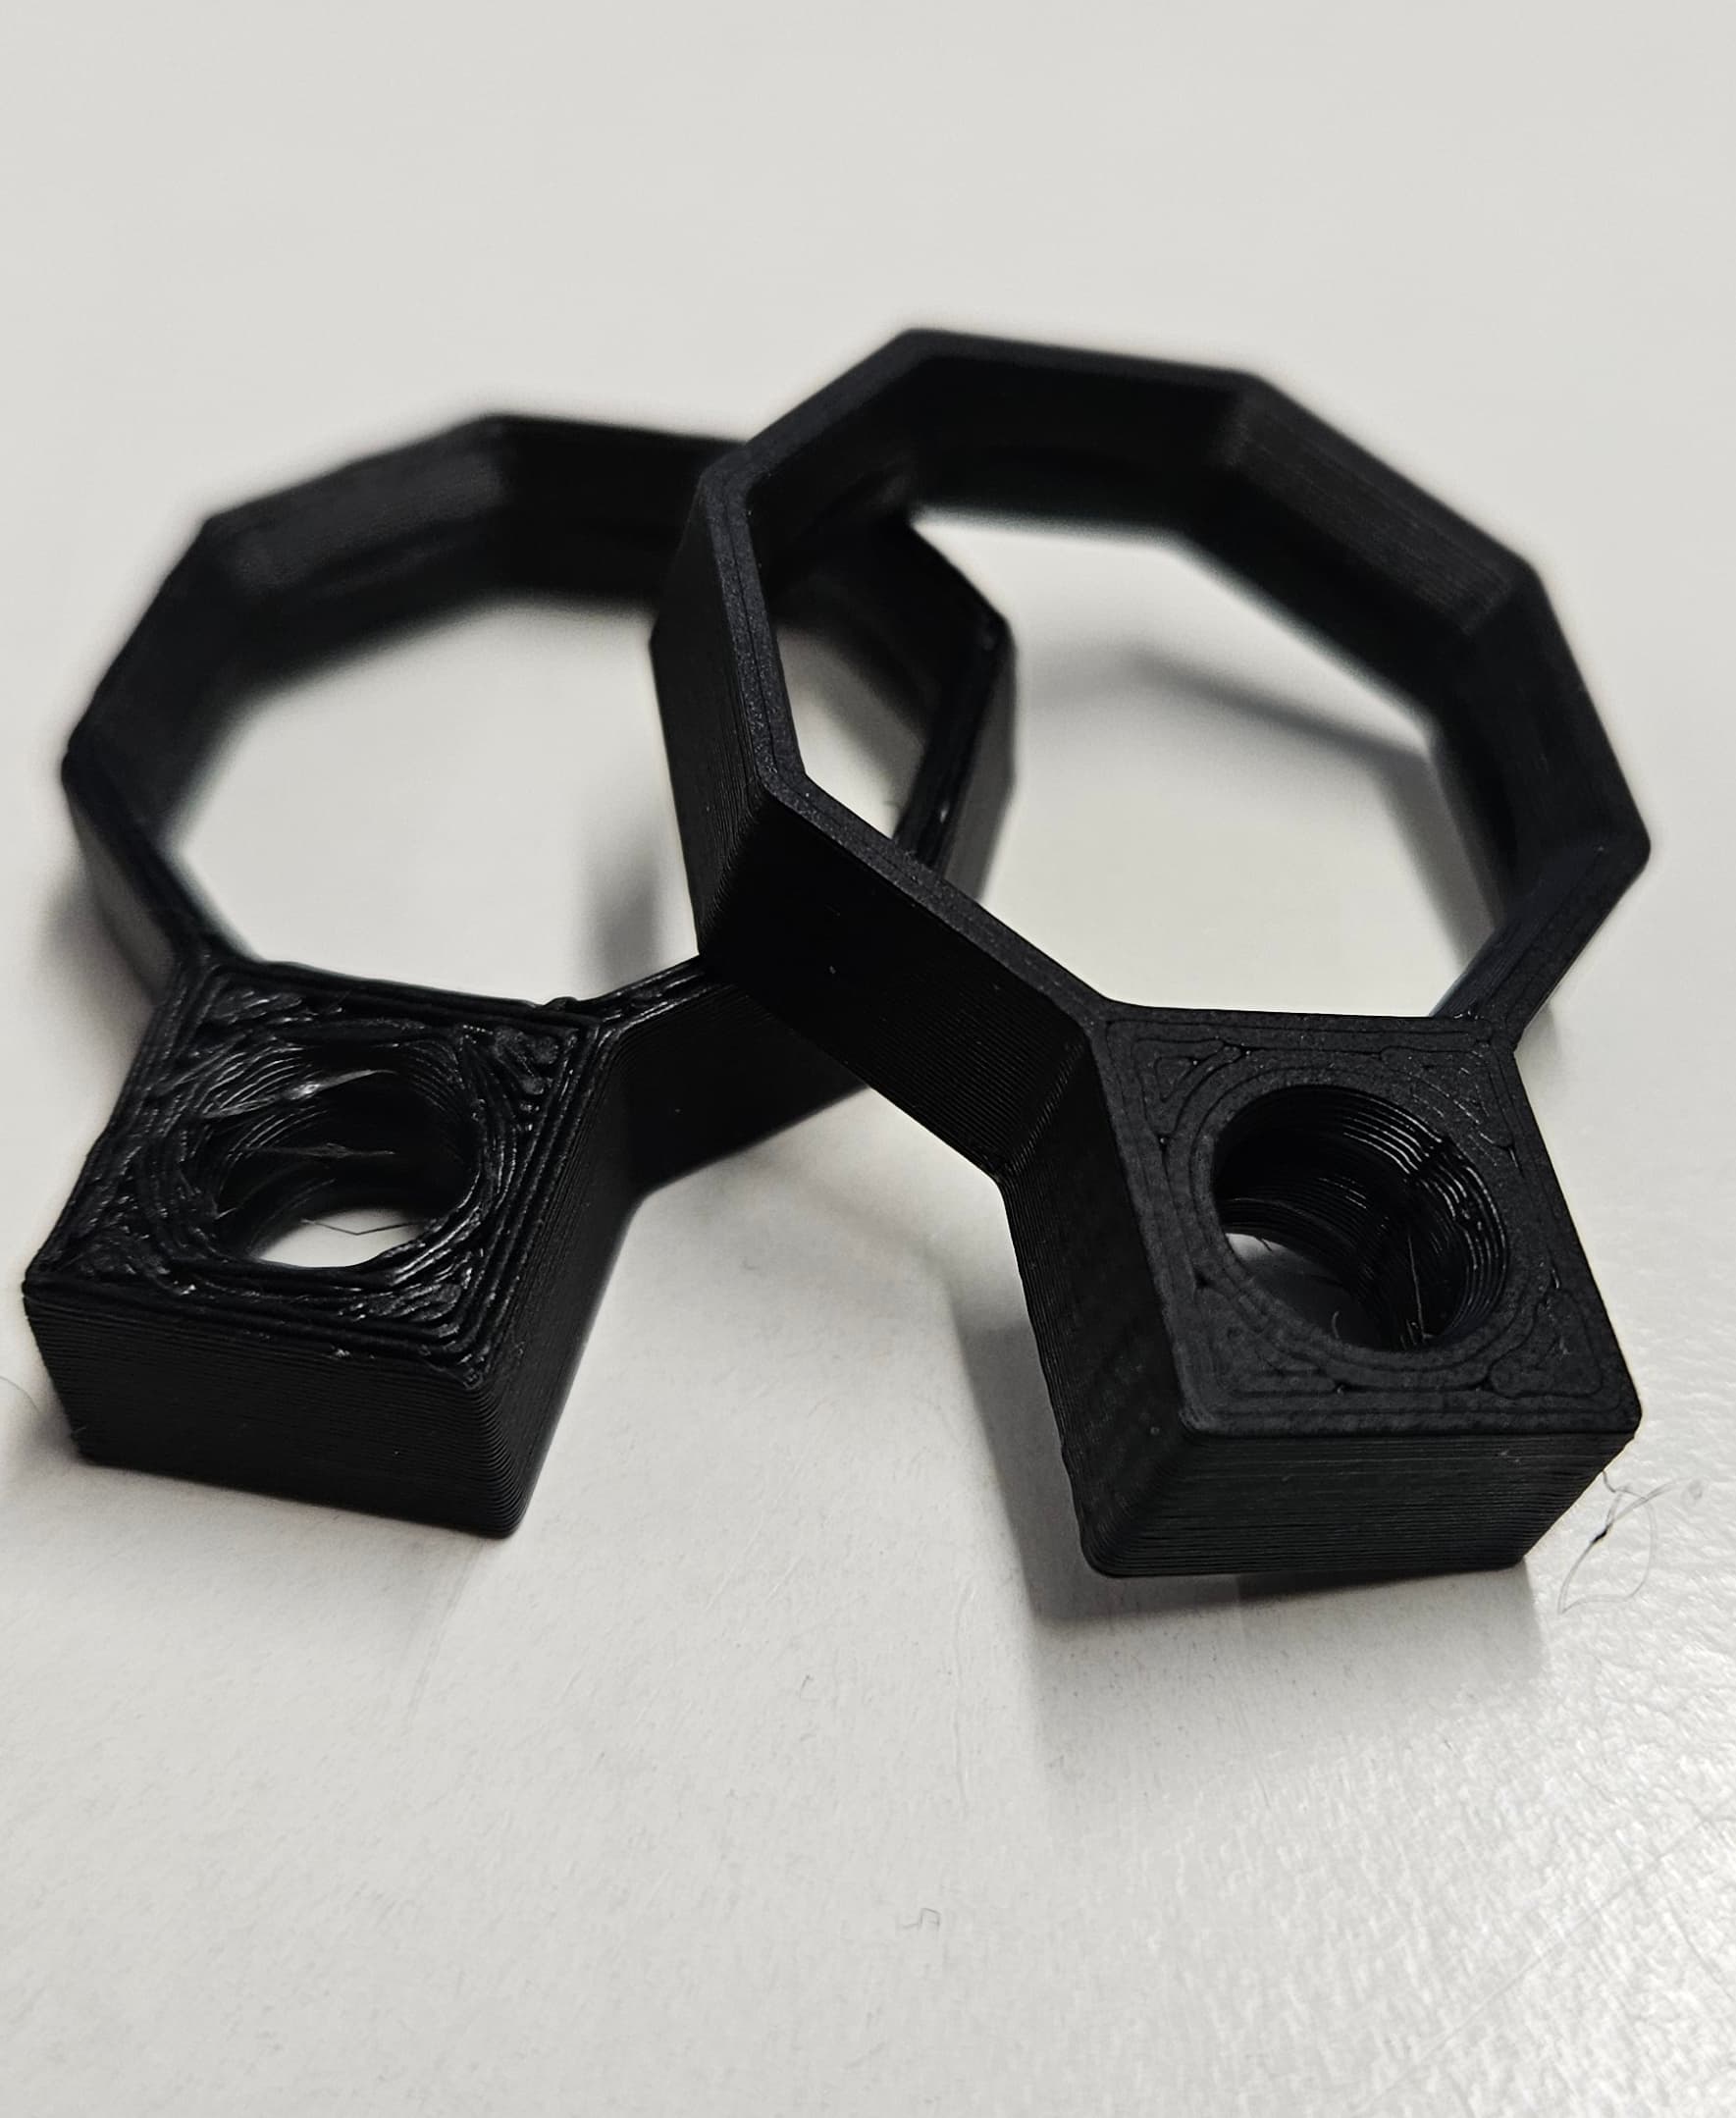
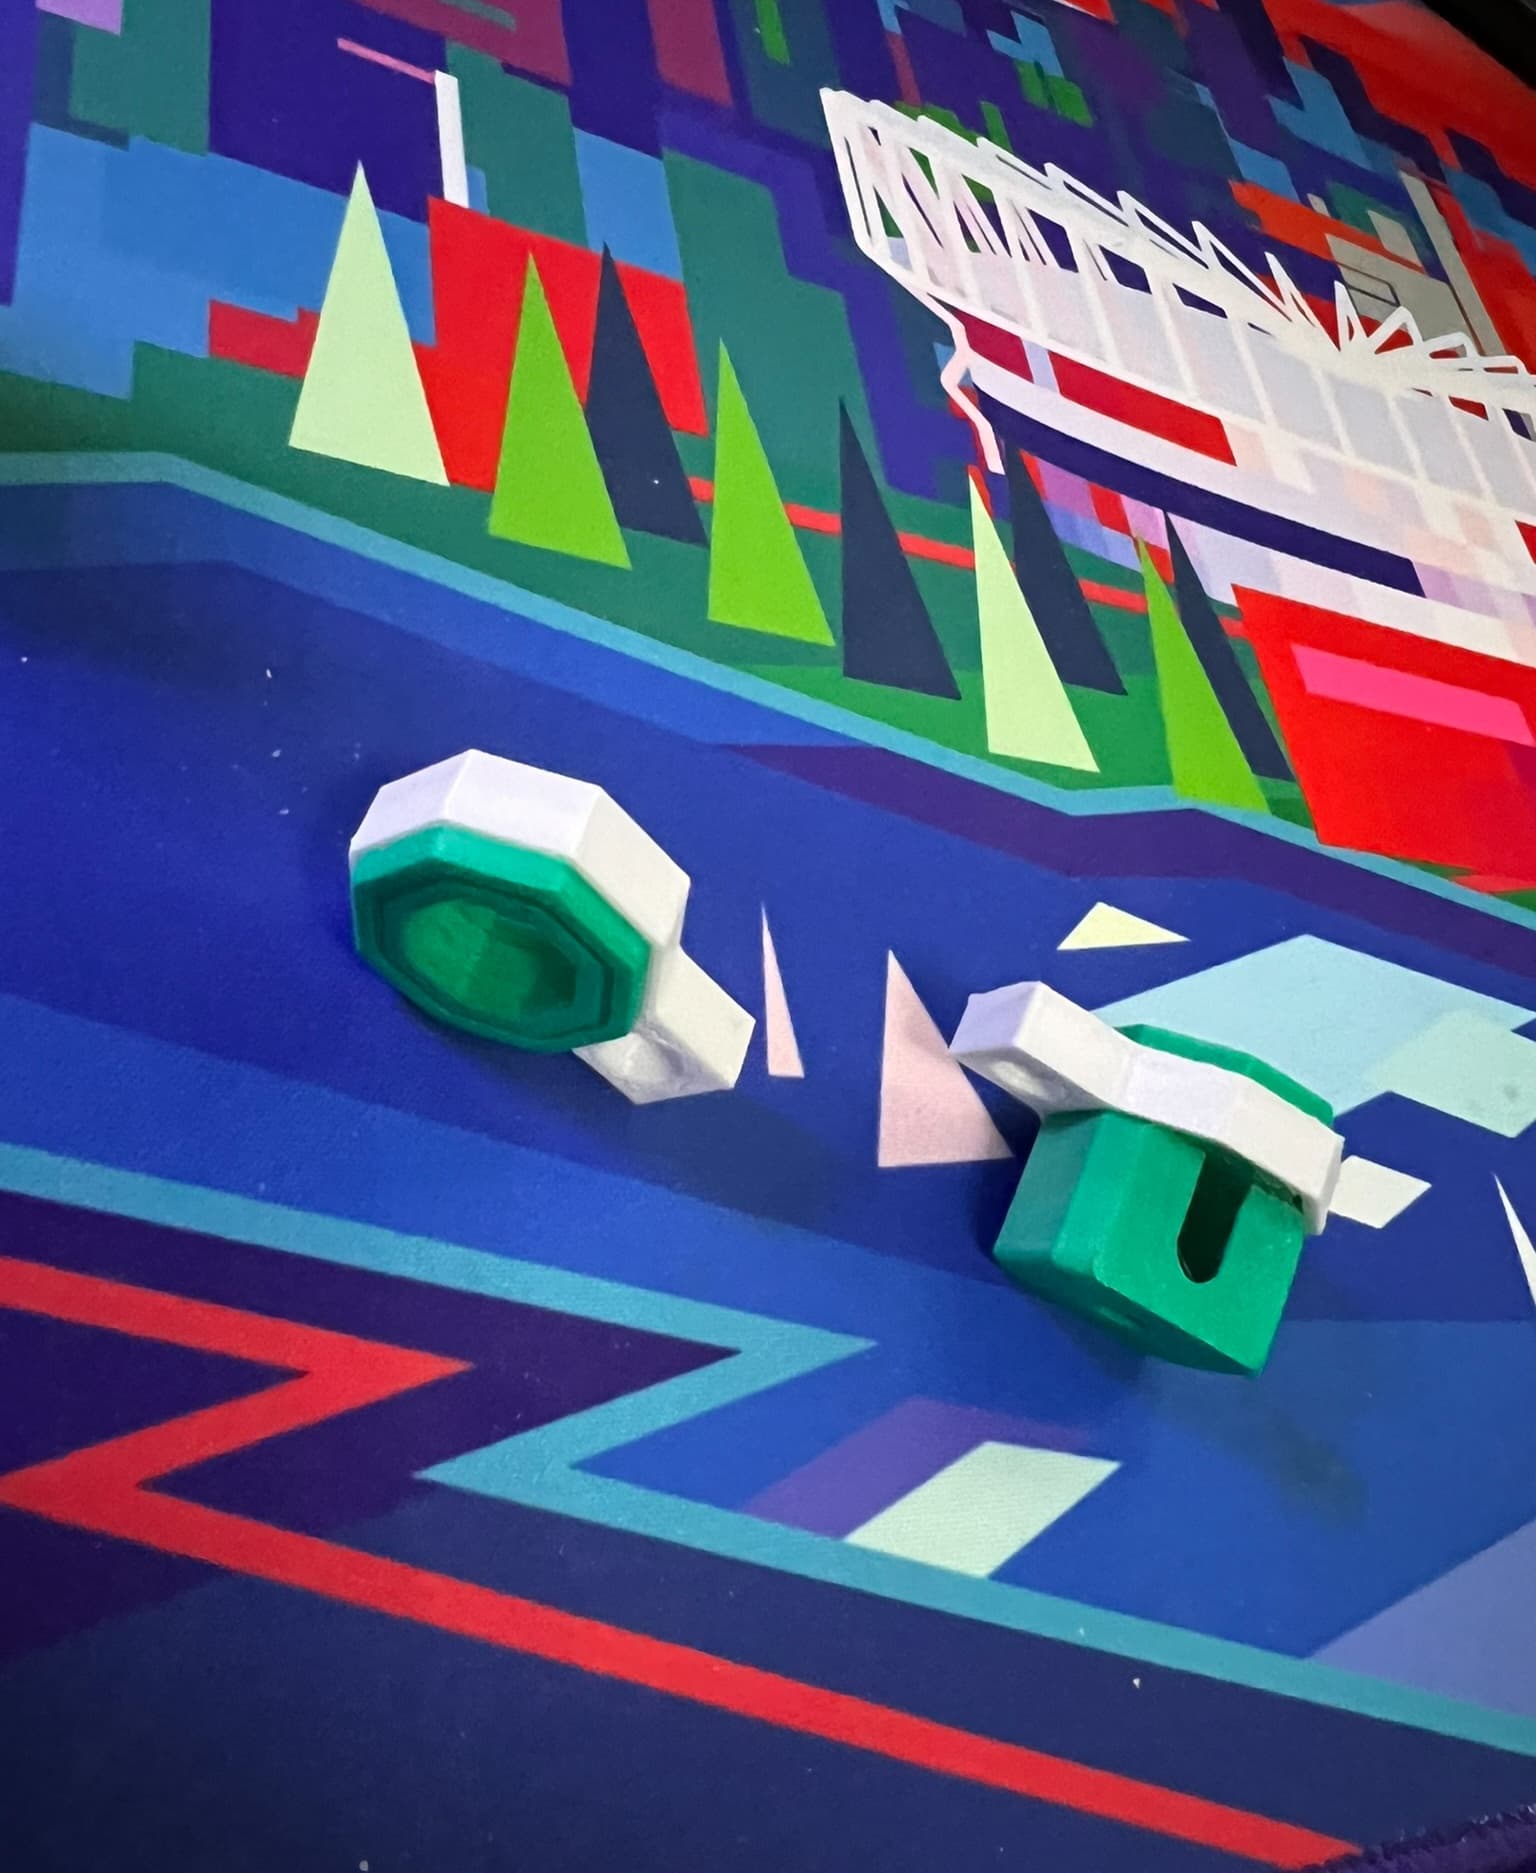
Also, keep in mind that one side of the tiles aren’t going to come out as nice as printing individually (in case you want to use them double-sided).
Test out Ironing Stack Printing using this test file: https://than.gs/m/977033
If Ironing Stack Printing doesn't work for you, then try out Multi-Material Stack Printing.
For more information about printing options and guidelines, click here.
This object is part of Multiboard, a FREE and ridiculously modular organization system with thousands of parts for creating the most adaptable workspace possible. Learn more and find ALL the parts at https://multiboard.io


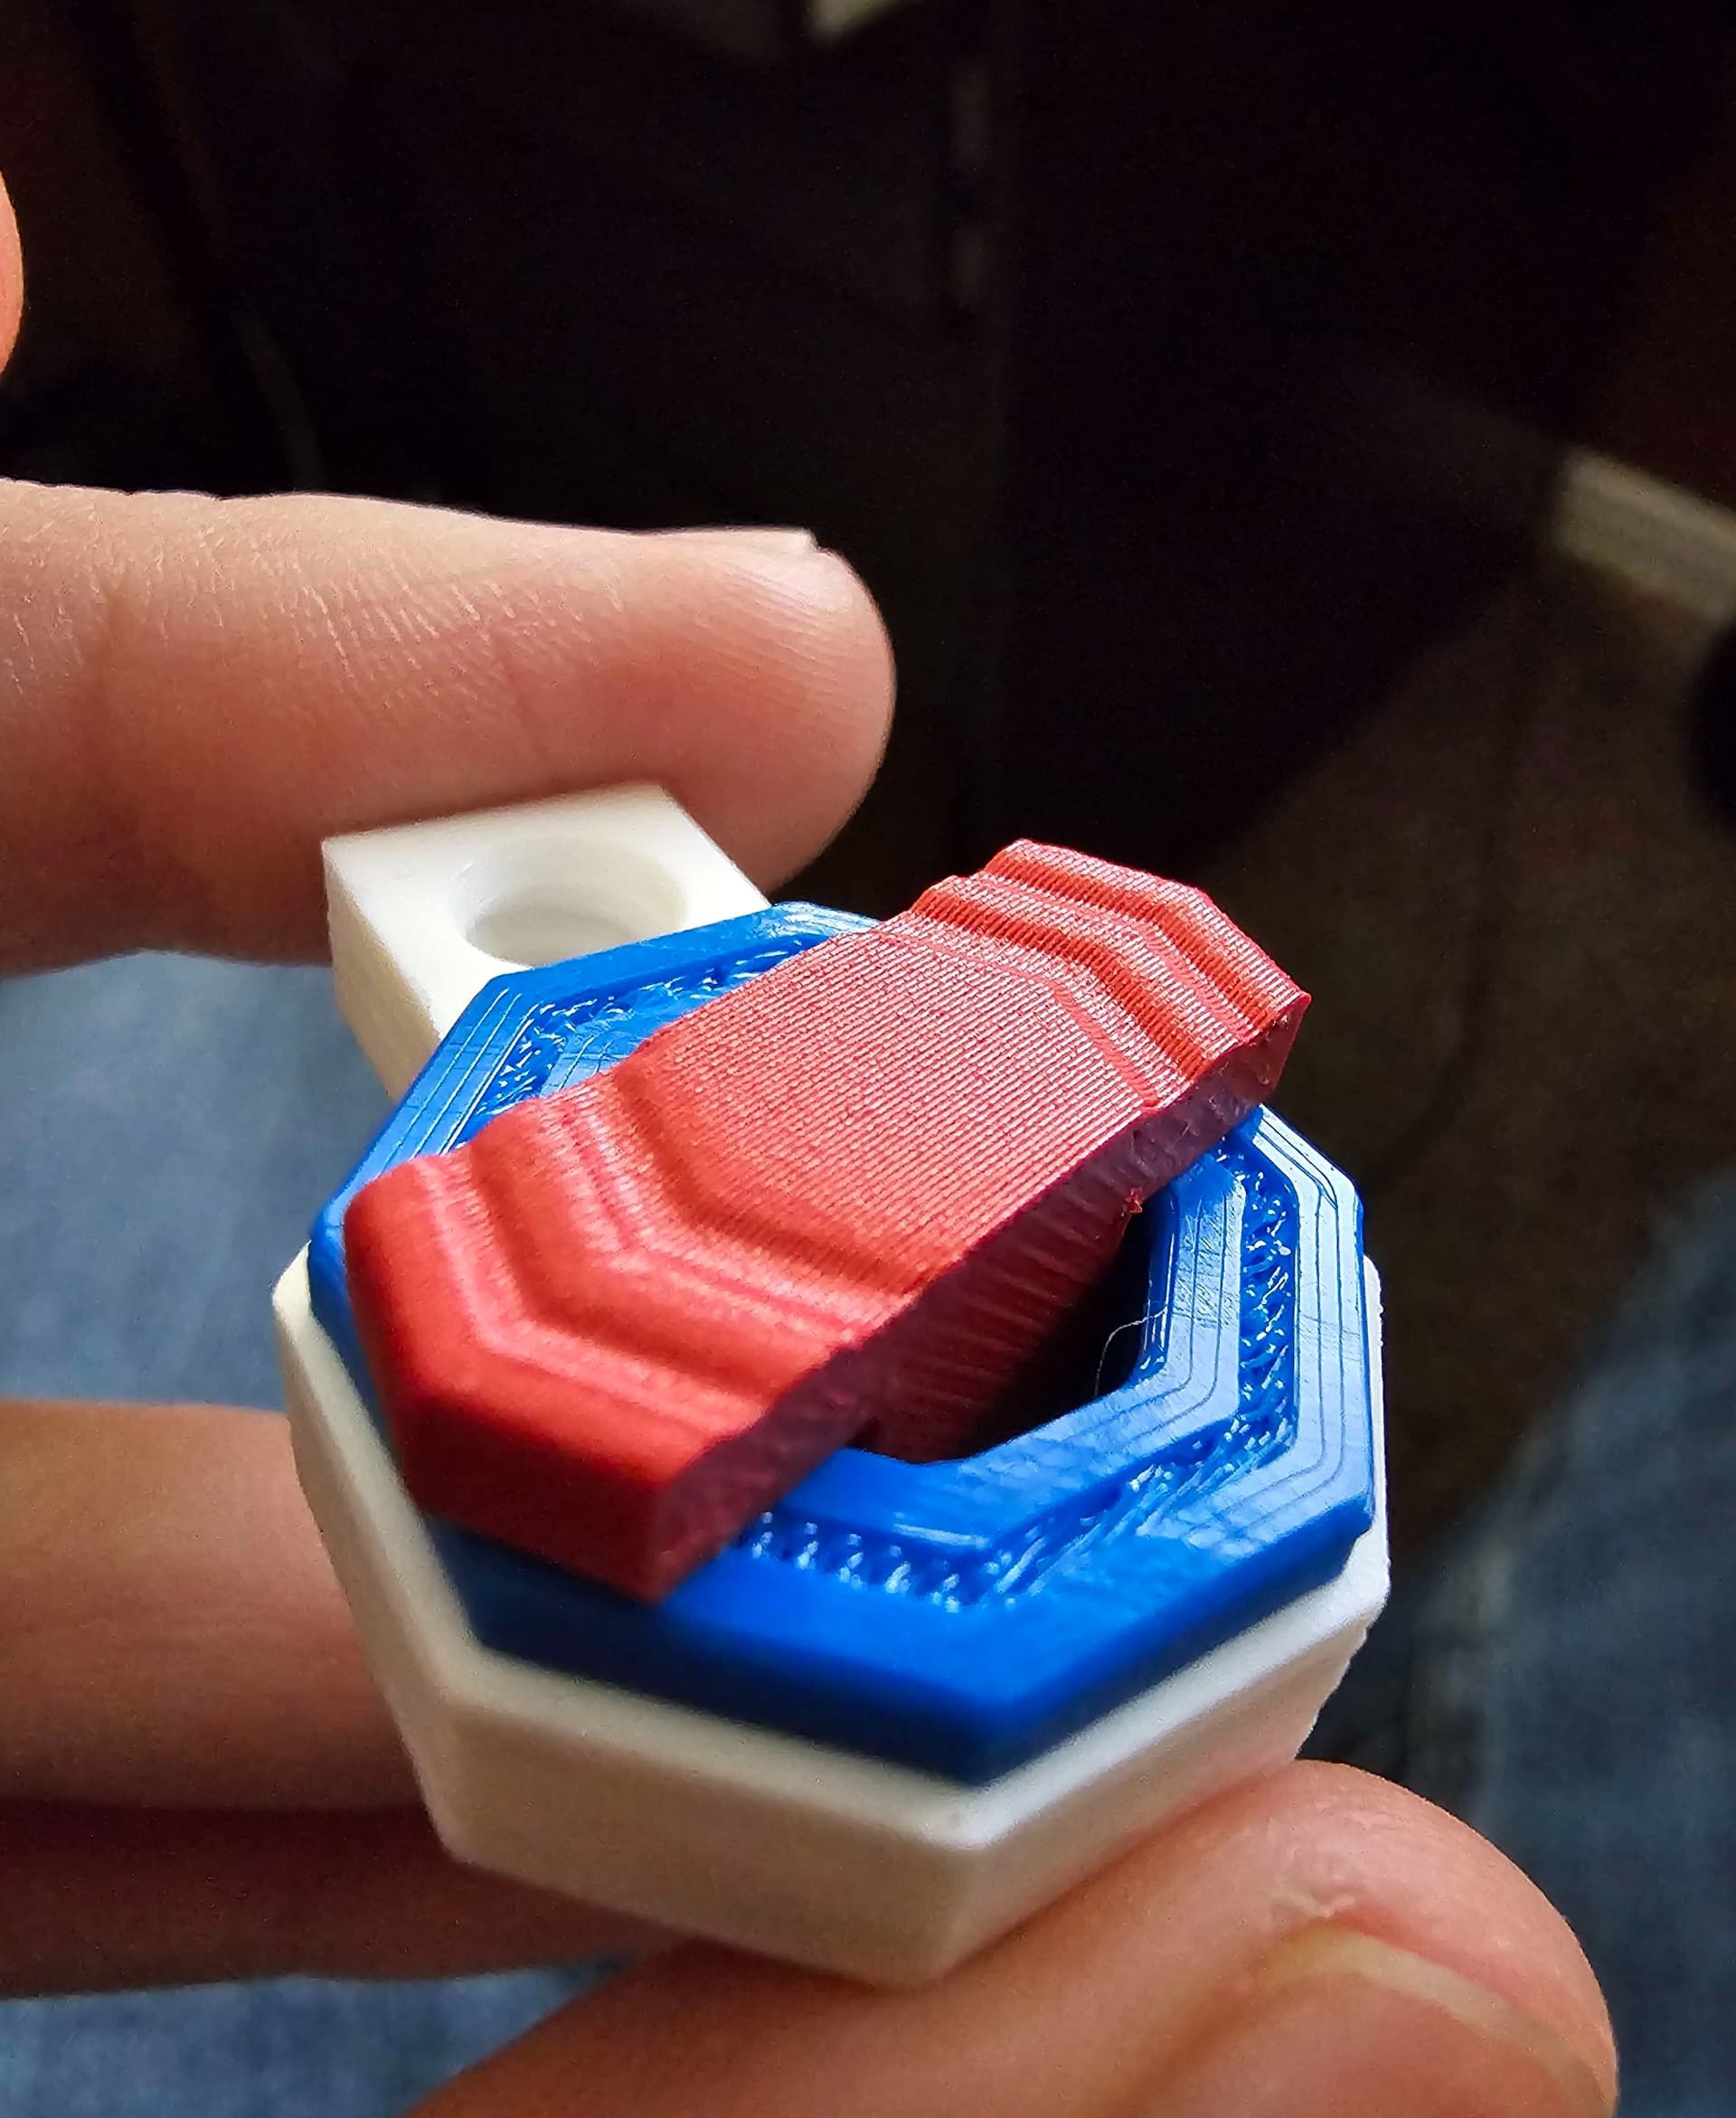
Ironing Stack - Test Print - Key Chain
Fix Point to Countersink Adapter

Flush - Small Hole Center Marking Tool
6.25 Offset - Small Hole Center Marking Tool
12.5 Offset - Small Hole Center Marking Tool
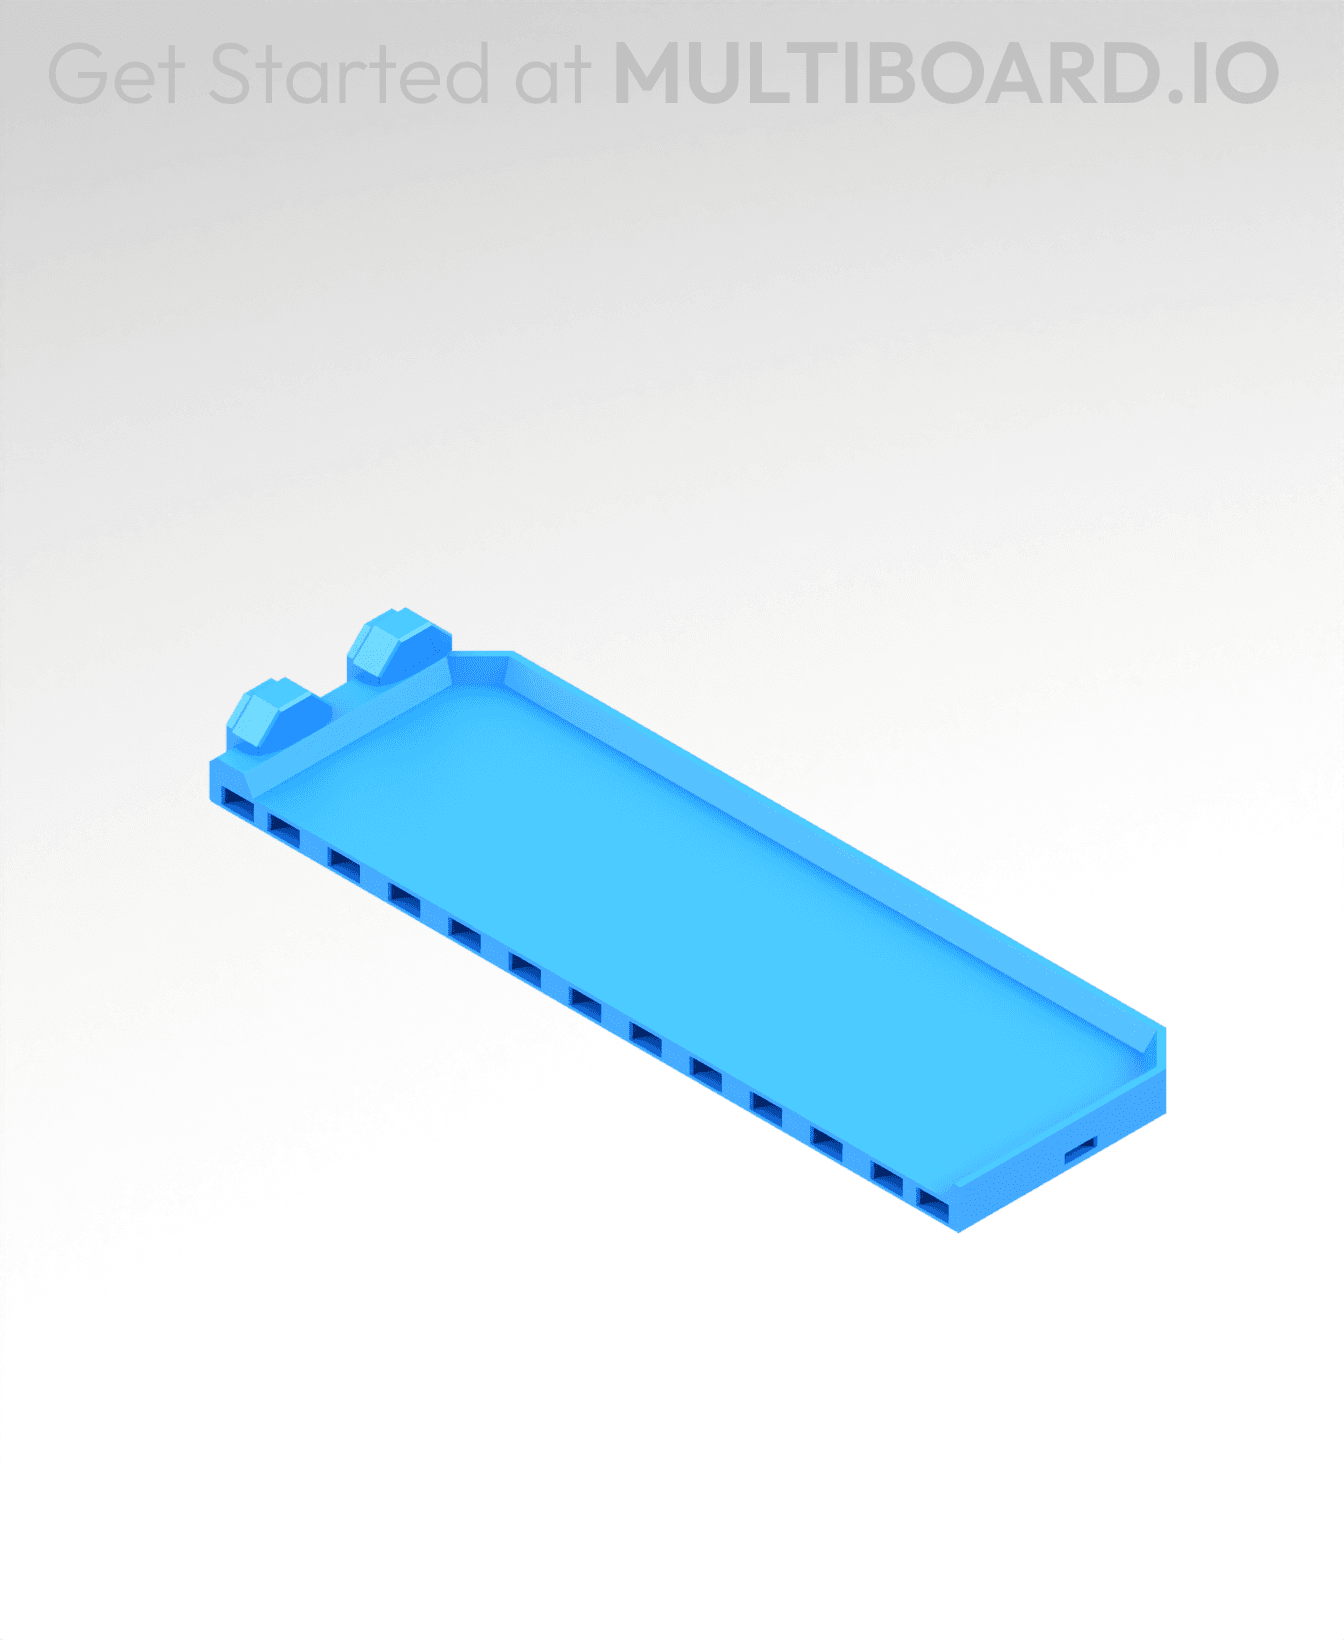
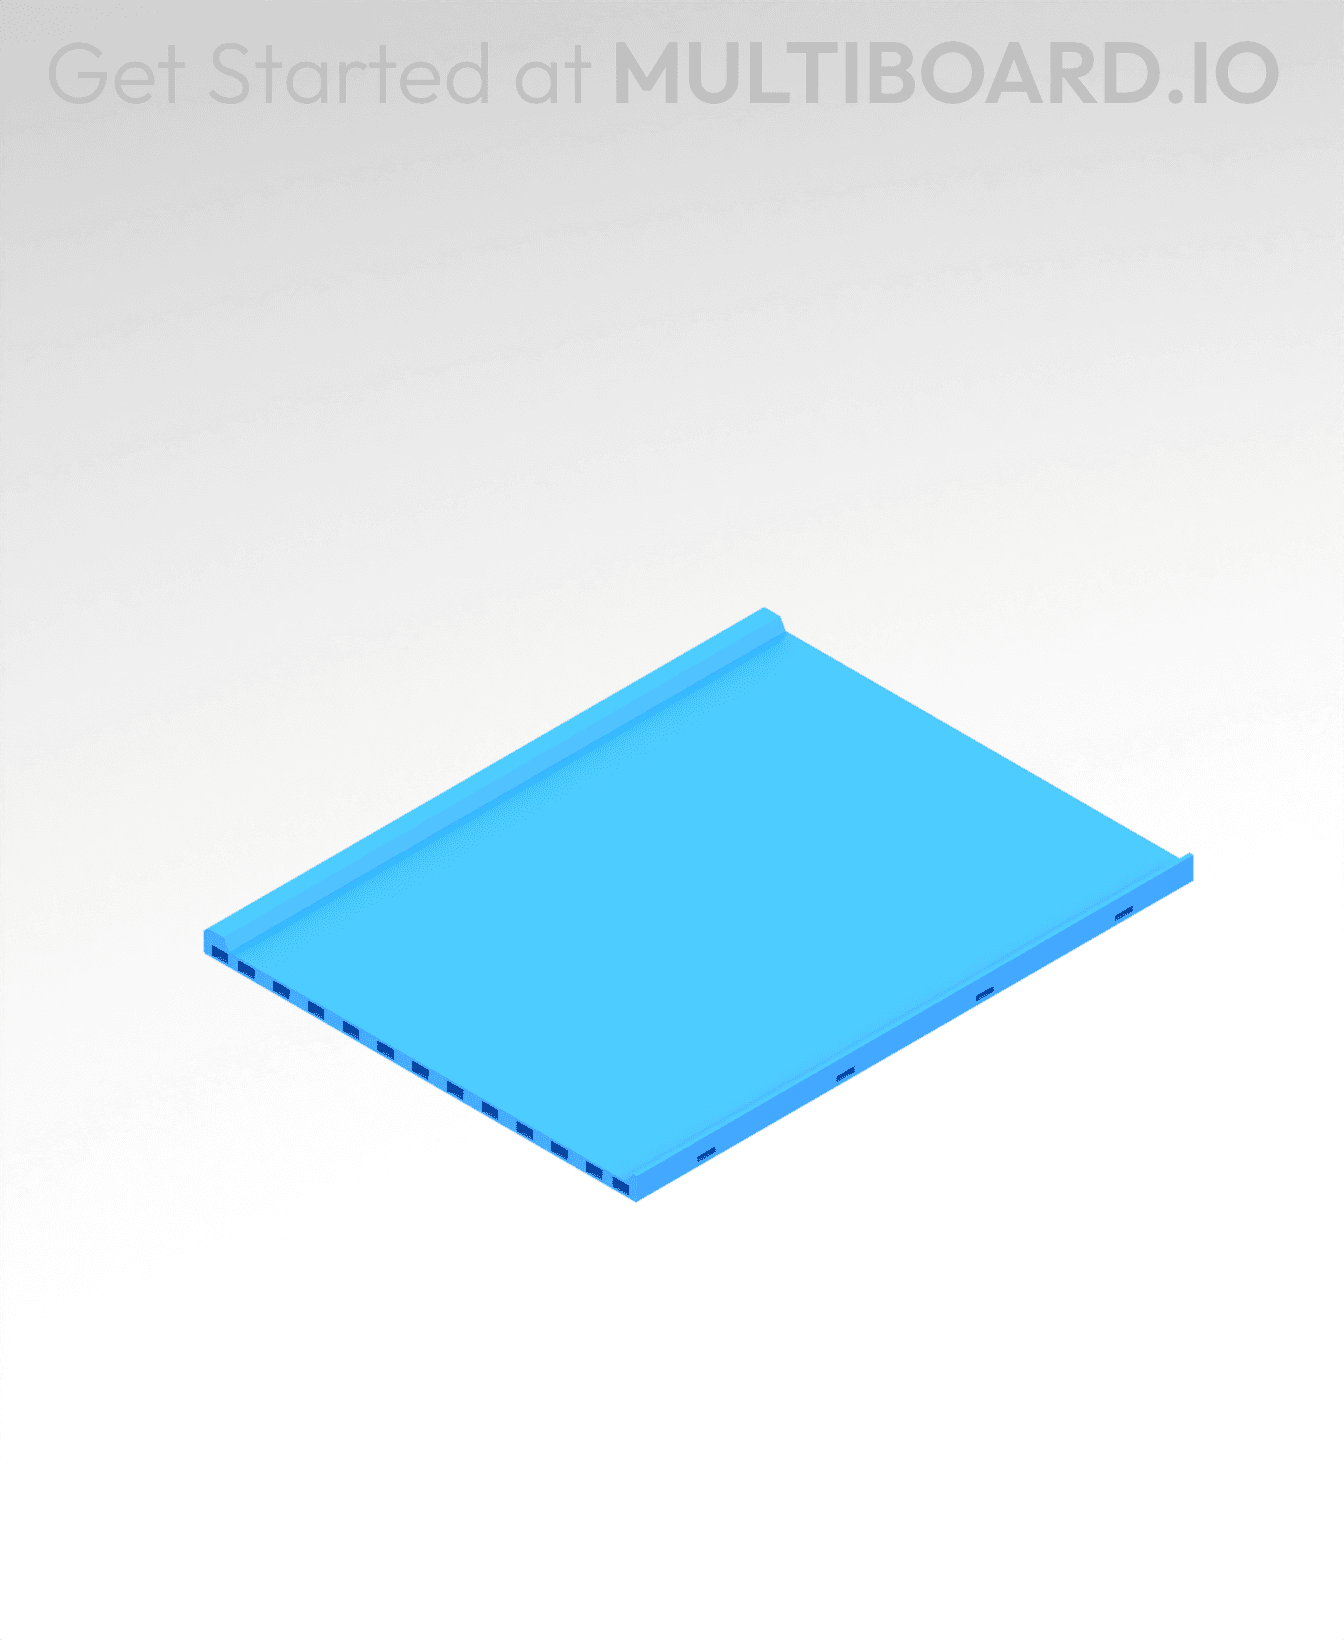
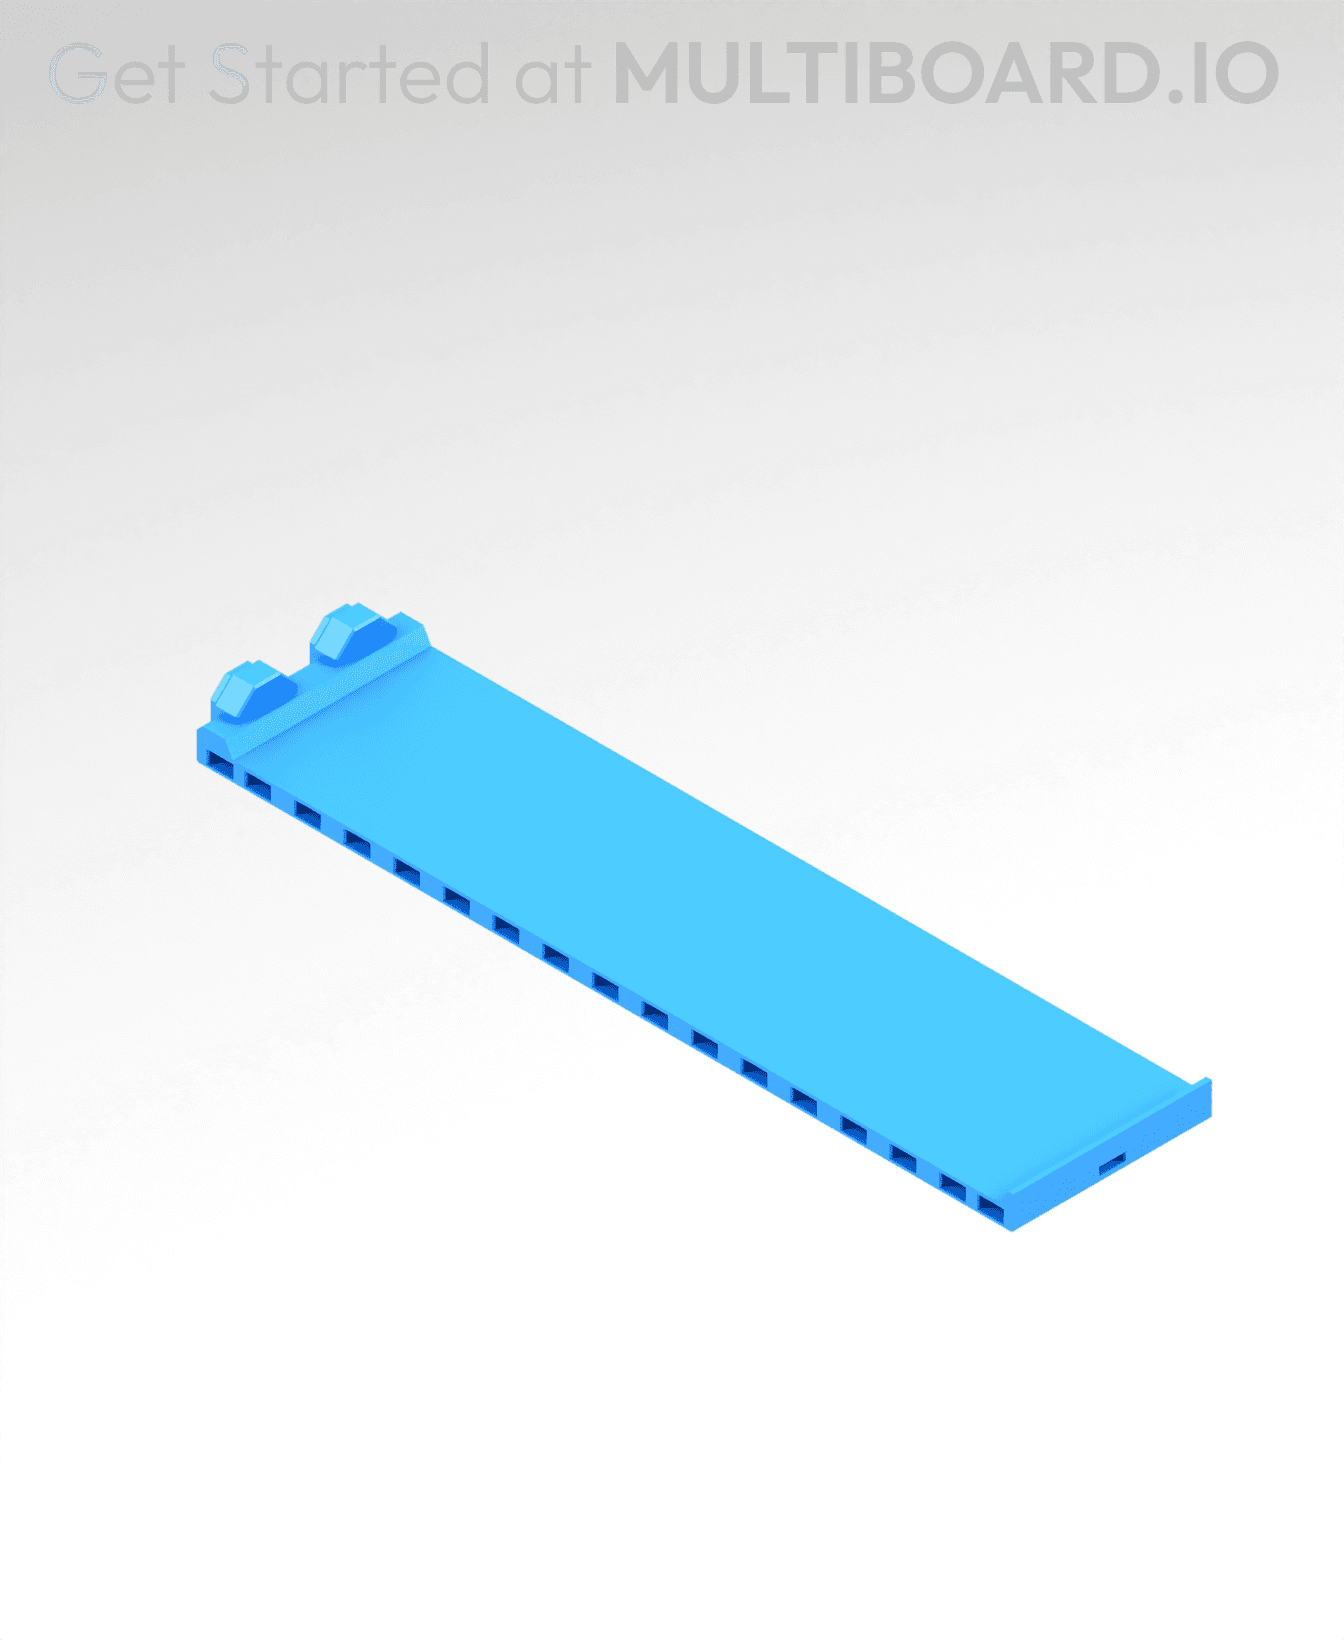
2x6 MU - Right Support End - Modular Bolt-Locked Shelf
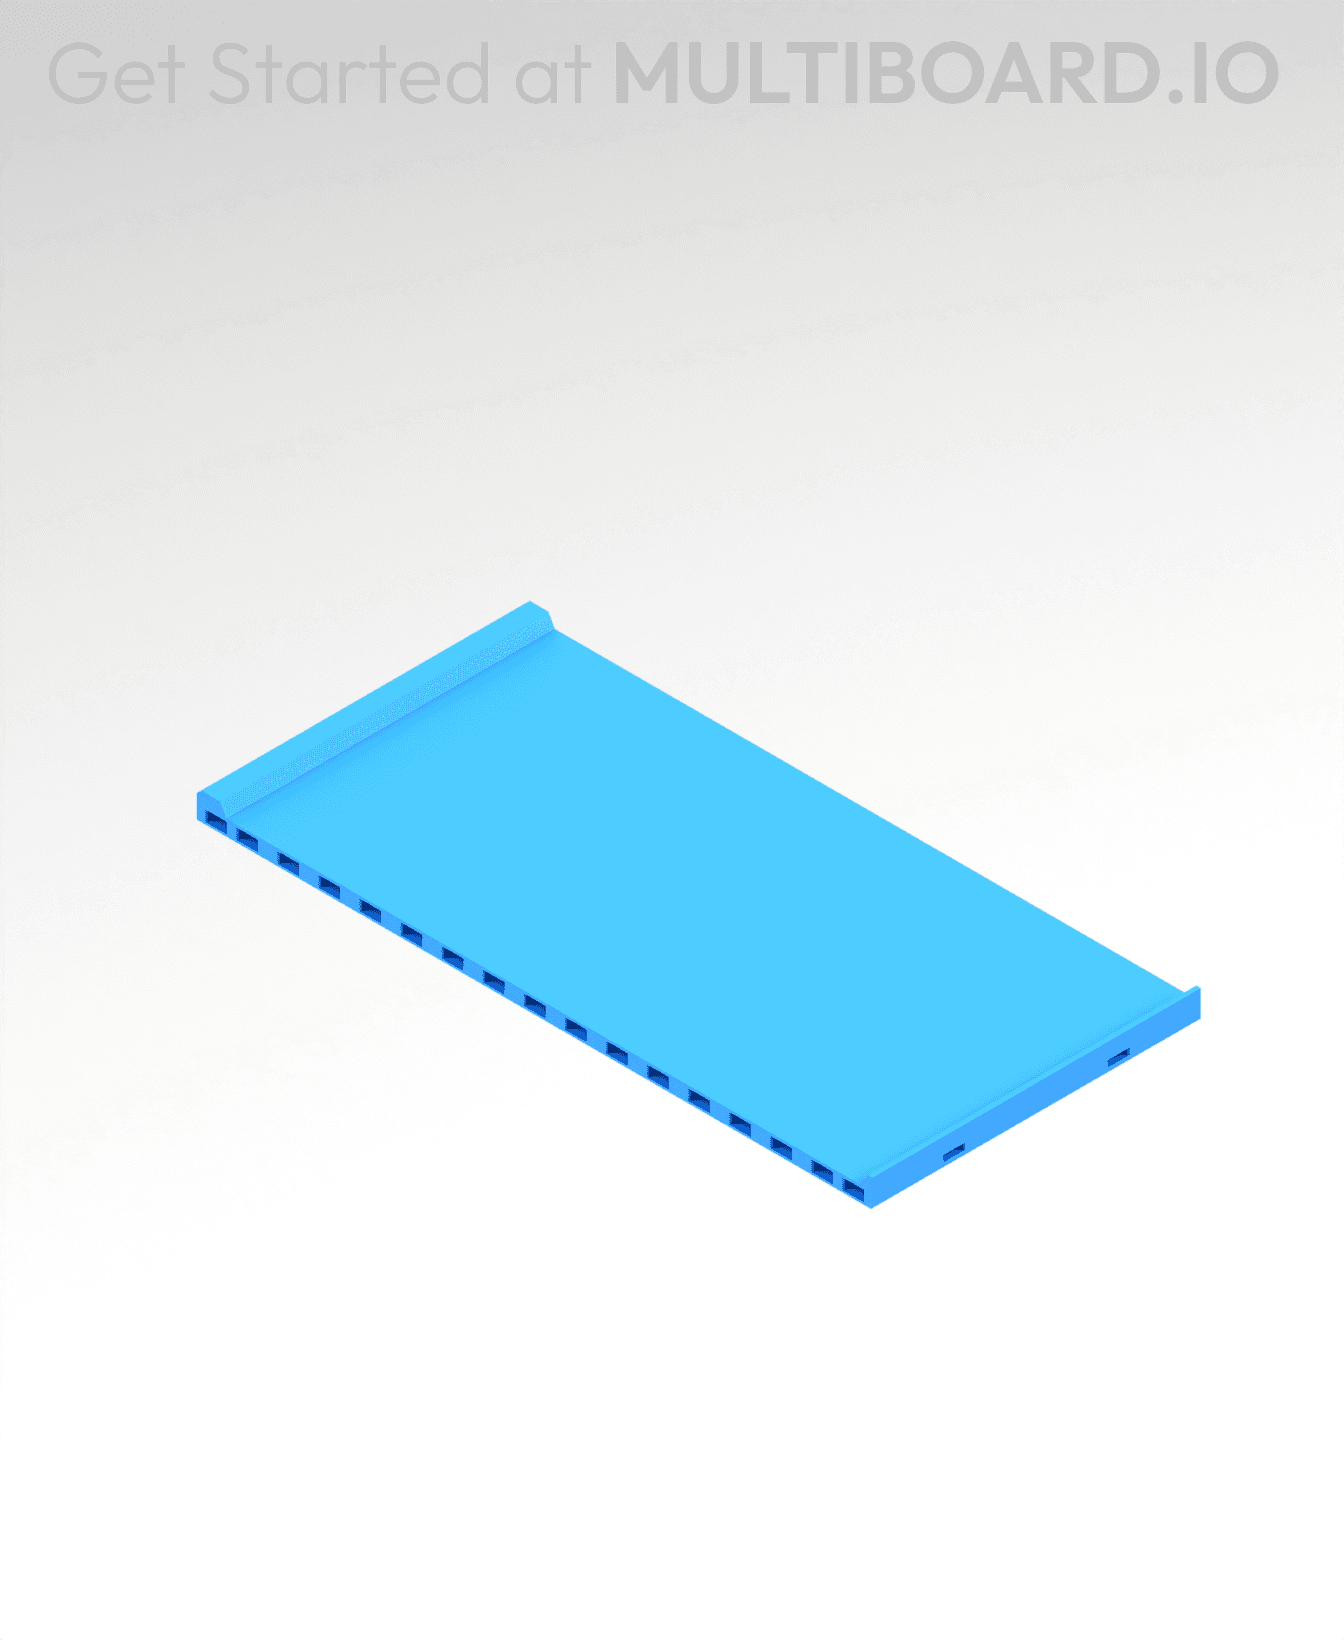
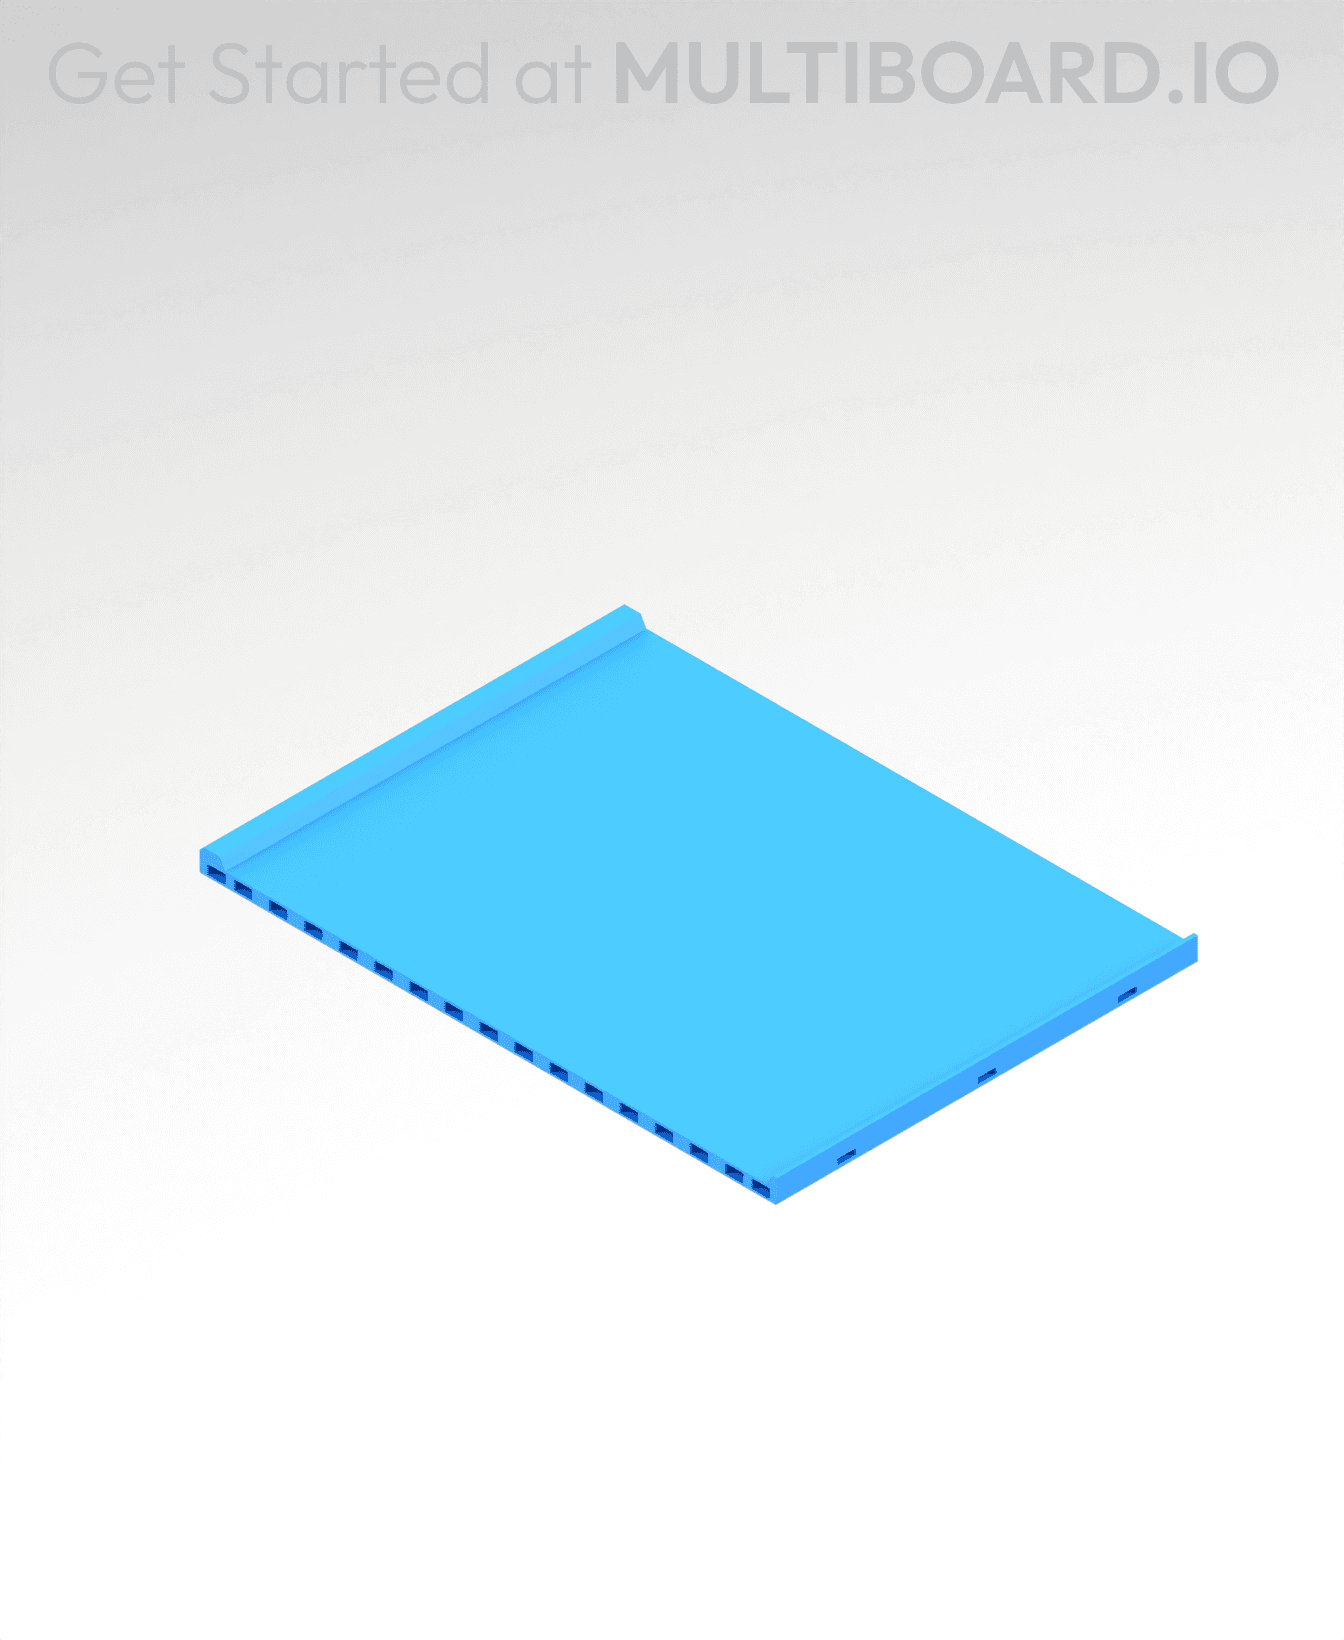
4x8 MU - Center - Modular Bolt-Locked Shelf
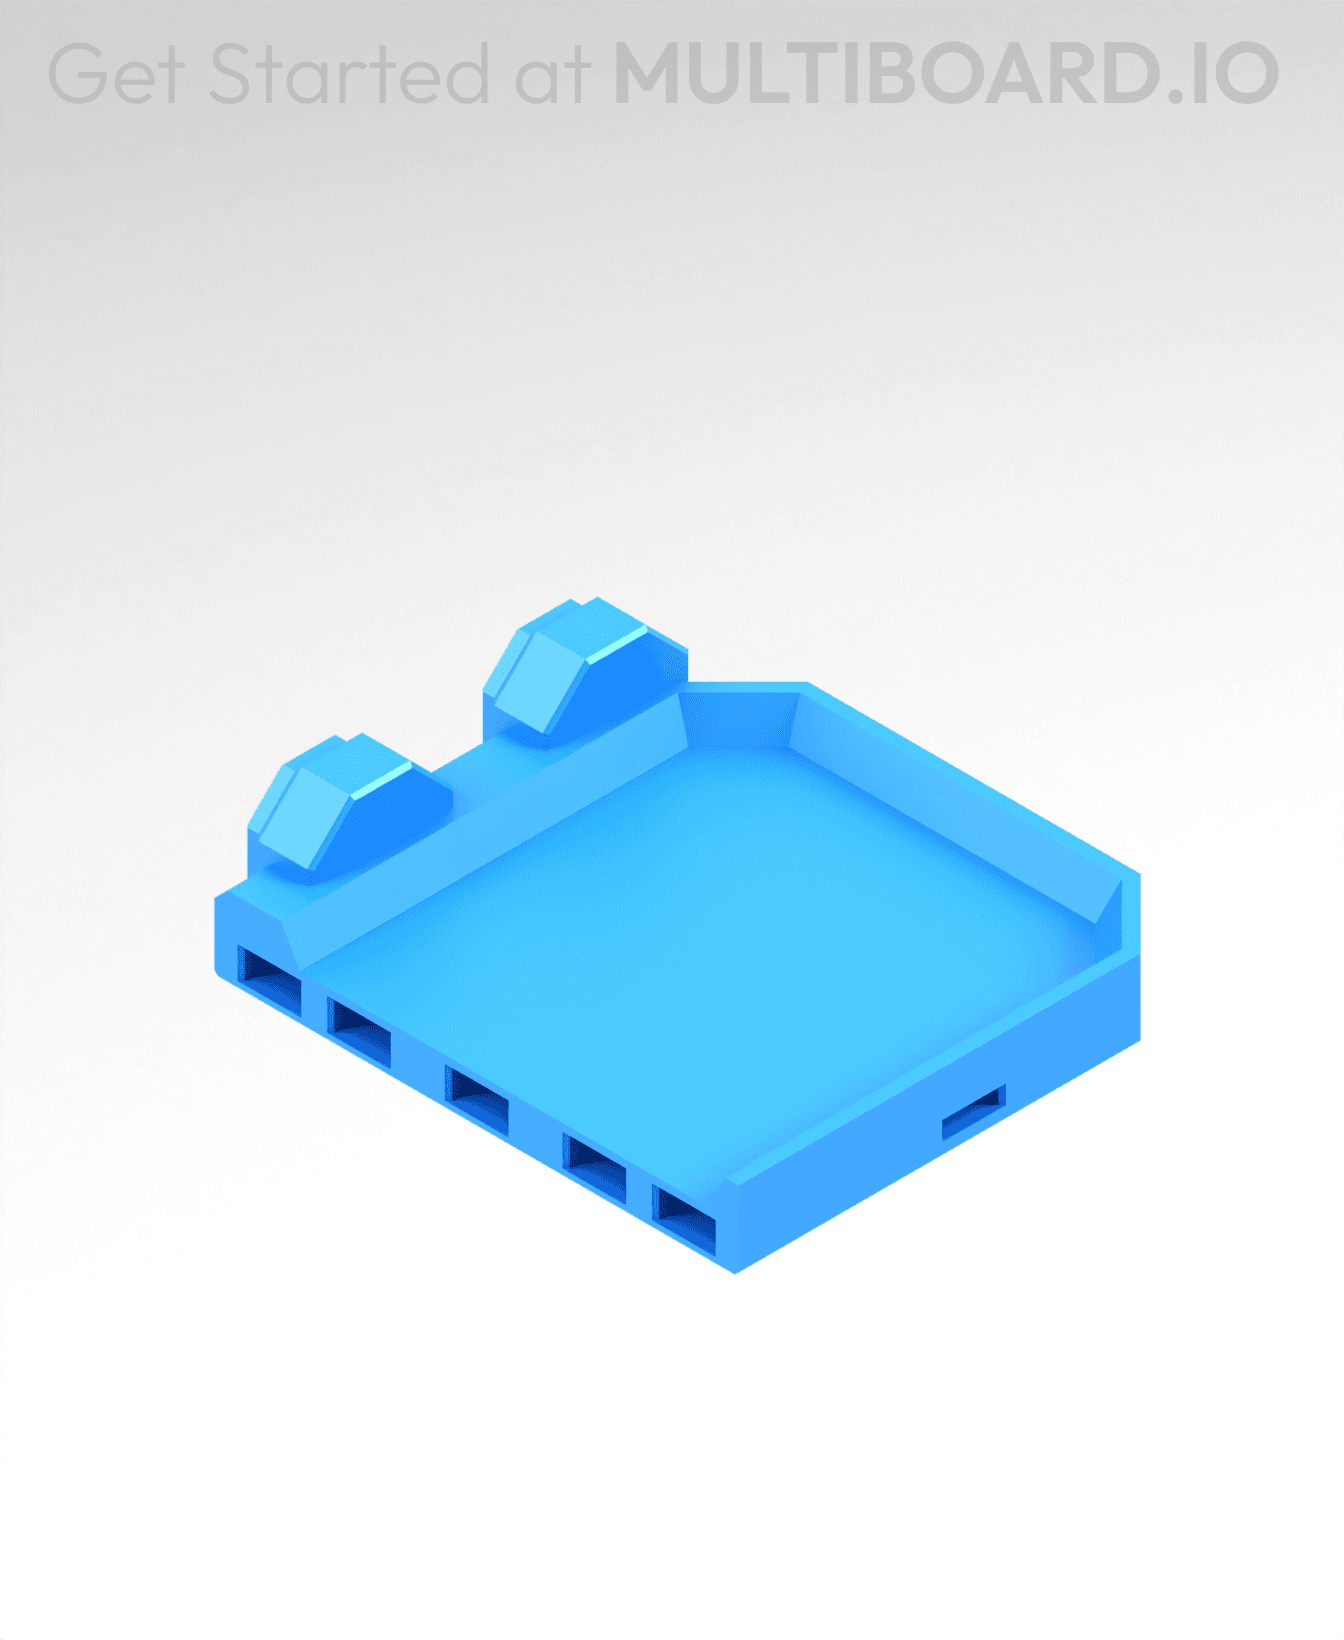
2x2 MU - Right Support End - Modular Bolt-Locked Shelf
2x6 MU - Left Support End - Modular Bolt-Locked Shelf
8x8 MU - Center - Modular Bolt-Locked Shelf
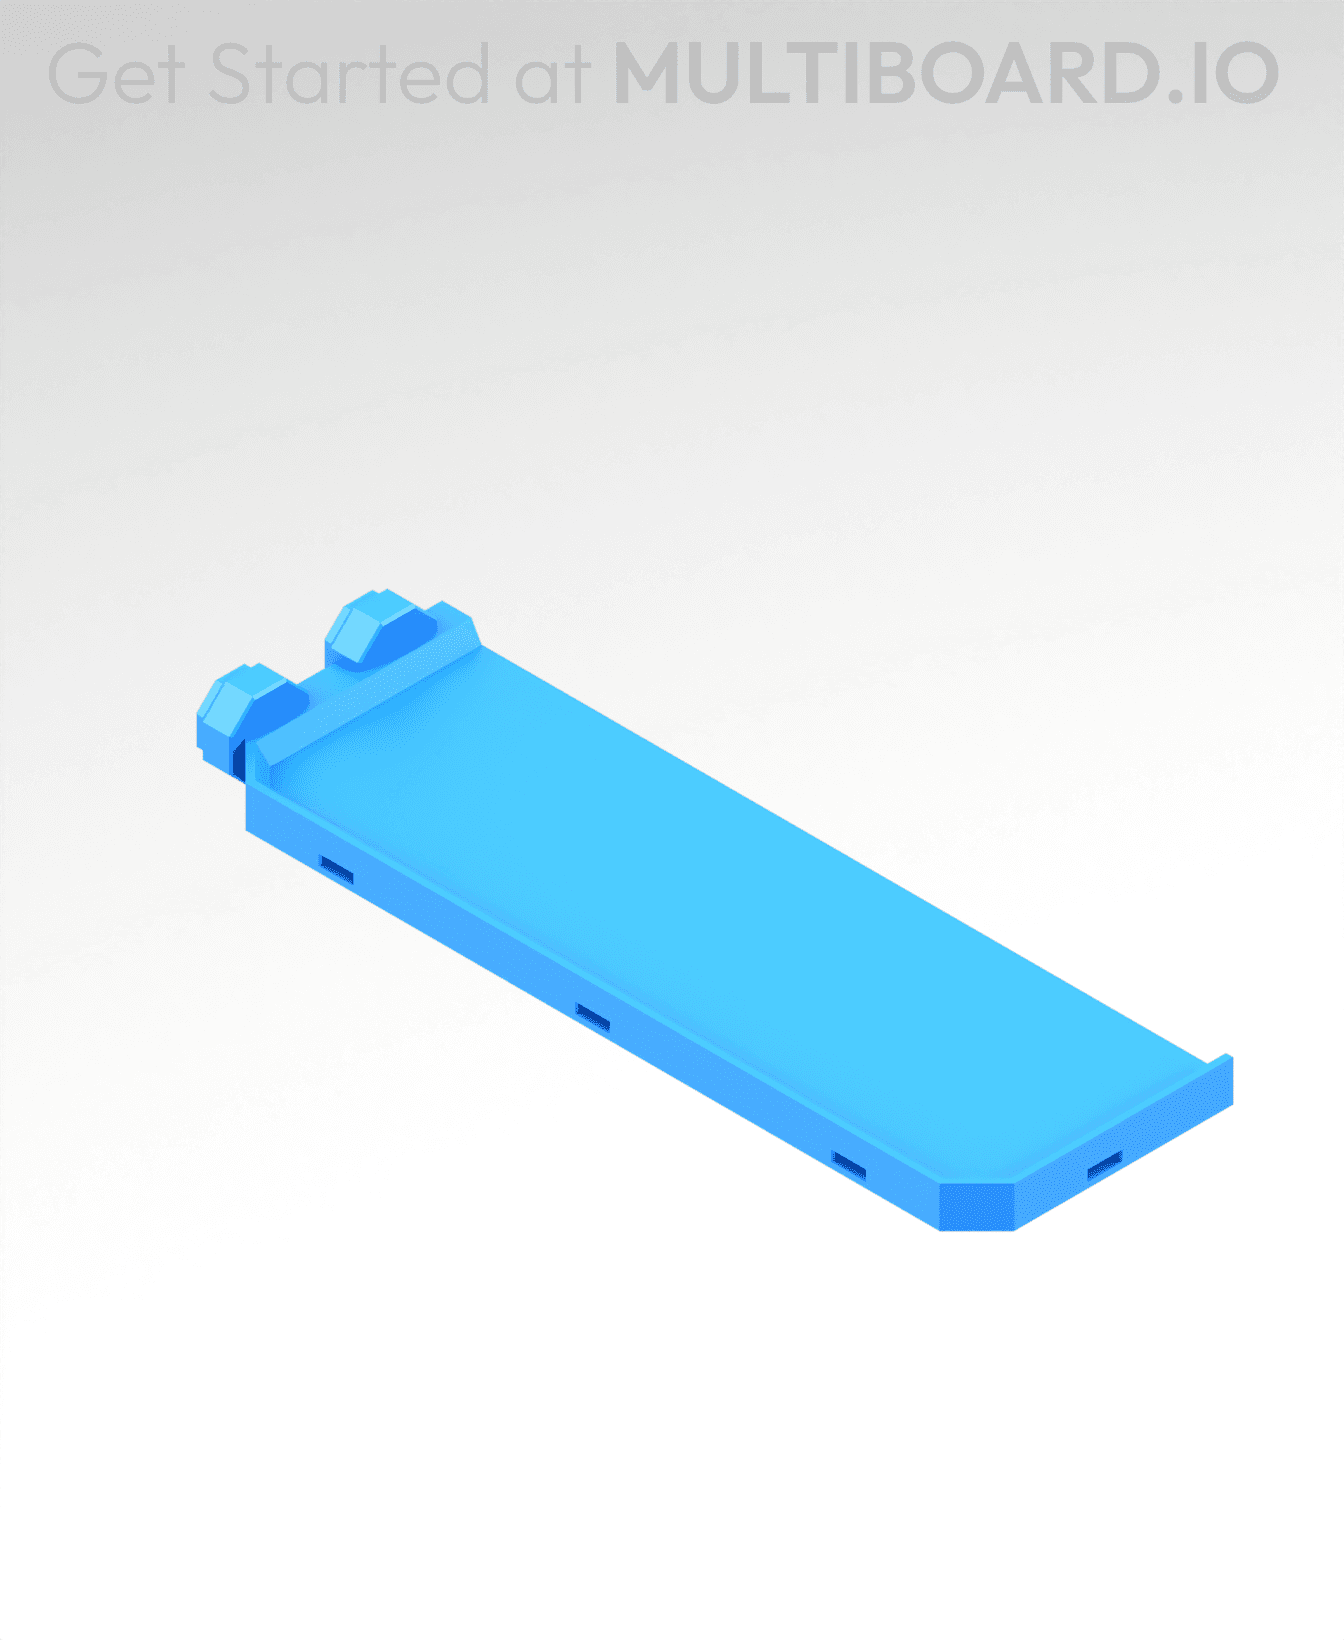
2x4 MU - Right Support End - Modular Bolt-Locked Shelf
4x6 MU - Center - Modular Bolt-Locked Shelf
2x8 MU - Left Support End - Modular Bolt-Locked Shelf
2x2 MU - Left Support End - Modular Bolt-Locked Shelf
8x2 MU - Center - Modular Bolt-Locked Shelf
8x4 MU - Center - Modular Bolt-Locked Shelf
2x4 MU - Center - Modular Bolt-Locked Shelf

2x8 MU - Right Support End - Modular Bolt-Locked Shelf
8x6 MU - Center - Modular Bolt-Locked Shelf
2x8 MU - Center Support - Modular Bolt-Locked Shelf
If this works i´m sure as hell gonna support him, this is the thinking and kind of enterpreneur i want to support, not some big corporation producing dirty in china and greenwashing at home.
I figured this out on the Qidi Plus 4. Enable supports, but change it to "manual" and just don't add anything to the model. Qidi Slicer is happy because you enabled support, but none are actually printed. Works like a dream. Came out perfectly for me, using Creality Hyper ABS.
Can't seem to make this one work, 1st time trying to print a stack, if anyone can help it'd be appreciated!
Tried using Generic PLA and eSun PLA+ profiles with same results, with both Standard 0.2mm profile and Strength 0.2mm profile
In both cases I made sure that I had:
Default everything else Thanks
Forgot to mention the actual issue: First “layer/item” prints well The second one becomes spaghetti as it doesn’t stick on the first one, as if the gap is too big
Use an outer brim in your settings. It will help keep the part from moving around. I am finding I have to do that on my Bambu X1C on anything small otherwise it gets yeeted off the plate.
"yeeted". LOVE that word!
Thank you for refraining from calling this system Open Source. Open Source licensed products don't restrict commercial use. If you want to use a generic name, call it "Source Available".
@russnelson He still have to make a living somehow, for all I know he's taking all the risks involved right now because this whole project can end up beeing a total flop and you can see clear as day it's his idea to create and kickstart such a community long term. And he did not even called it Open Source AFAIK, strong copyleft advocates are so absurd these days :(
what? you completely misunderstood the statement you replied on.
Just printed using Sunlu basic white PLA on an AnyCubic Kobra S1 with ACE:
3 wall loops 0.2 mm layer height 15% infill No supports Ironing all top surfaces (need to enable advanced toggle in AnyCubic Slicer Next) Random seam position
The rings were difficult to pull apart and I had to do a little cutting with an X-acto to get them started. Might try again, as I'm not confident enough in my settings to do a full stack
I ran the test print “977033” • Printer - Flashforge Adventurer 5M 0.4 Nozzle • Bed type - Smooth High Temp Plate • Filament - GEEETECH PLA & SUNLU Elite PETG
Set the profiles the same: • Filament Profile – Flashforge PLA Basic & Flashforge PETG Basic • Layer height - 0.2mm • First layer height - 0.2mm • Seem - Random • Wall loops – 3 • Infill – 15% • Ironing type - All top surfaces • Default everything else
Part 1
Assuming when it says 3 for perimeter wall thickness on bambu lab that would be 3 in the wall loops? new to this lol
Yup, wall loops, wall thickness is the number of walls
Works for me perfectly, printed with the A1 with a little help of a small screwdriver the parts cracked apart 👍🏼