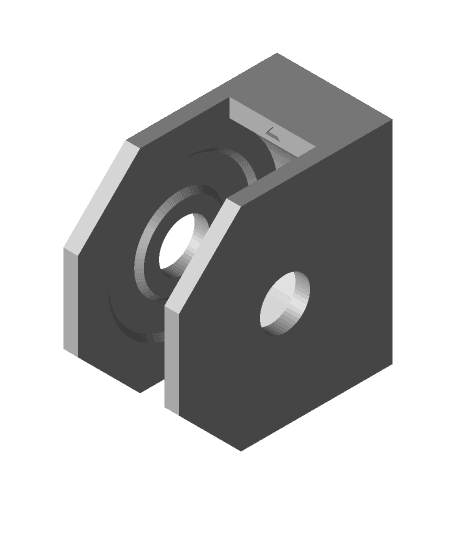
FINALLY — Dry Box actually working great (no supports needed)
byDesign8Studio.comModel originally uploaded to Thingiverse at https://www.thingiverse.com/thing:5200203.
I made and tried out a bunch of designs for dry box filament storage / dispensing. Some were designed in ways that did not last / did not stay functional. Some were designed in ways that allowed one spool's use to transfer unwanted spin force to spools not being used, which caused them to unwind (which is terrible since it leads to tangles). I finally drew from some designs with great potential, made some improvements and changes, and came up with this design that really works.
This remix draws from not only Ikea Samla 22l Filament Box — by TheSchneider January 25, 2019 but also The Ultimate Spool Holder Dry Box — by ritchrock May 24, 2018.
Note that my design doubles up the number of 608zz bearings in order to widen (by double) the width of the (normally narrow) window one has to "hit" to get a new spool inserted. It has its bearing holders ("guide filament roll" part) designed as square-bottomed so the base of the "Sterilite 20qt" bin keeps them from doing any unwanted rotation on the 5/16 in. (or 8mm) steel metal rod.
Apparently there are multiple versions of "Sterilite 20qt" bin. This is made for the type that has the seal in the lid.
Non-printed Items Needed:-
5/16 in. (or 8 mm) plain steel round rod (available at home improvement stores such as Lowe's or Home Depot, etc). Cut this to two lengths of 12.5'' each.
-
Sterilite brand 20qt bin/container (the kind with the anti-moisture seal in the lid).
-
32 x 608zz bearings — here's an affiliate link to the ones I bought and used: https://www.amazon.com/gp/product/B07JB2Y4H3?ie=UTF8&psc=1&linkCode=sl1&tag=httpdougjosne-20&linkId=e246eef1b40c9f059b42ad85e9a82fa5&language=en_US&ref_=as_li_ss_tl
4 x "Guide filament roll with 2 ball bearings - 4x.stl" 6 x "Guide filament roll with 4 ball bearings - 6x.stl" 2 x "Sterlite-Rod-Holder-NEW.stl"
Printing note:Note: Before you print a run of everything, test print one of the "Guide filament roll" parts, and test fit your part, both on the steel round rod and on the insertion of the 608zz bearings. If you find it too loose, up your printer flow rate in your slicer settings, in 1% increments.
This took quite a bit of work to perfect, so if you use it and like it, considering buying me a cookie via https://paypal.me/dougjoseph
If you have any questions, ask in the comments. I'll do my best to respond.
PS: Notes on my accelerated printing settings:I have my printer's stock hardware (with 0.4 nozzle) using tweaked slicer settings that not only emulate a 0.6 nozzle, but also increase movement speeds (both printing and nonprinting movements), so that I get much faster printing, with quality that is acceptable for these kinds of parts that have functionality mattering more than fine layer lines and max precision. To learn about this setup, checkout the 2 YouTube videos linked in my V1 and V2 printer enclosure designs, linked below:
