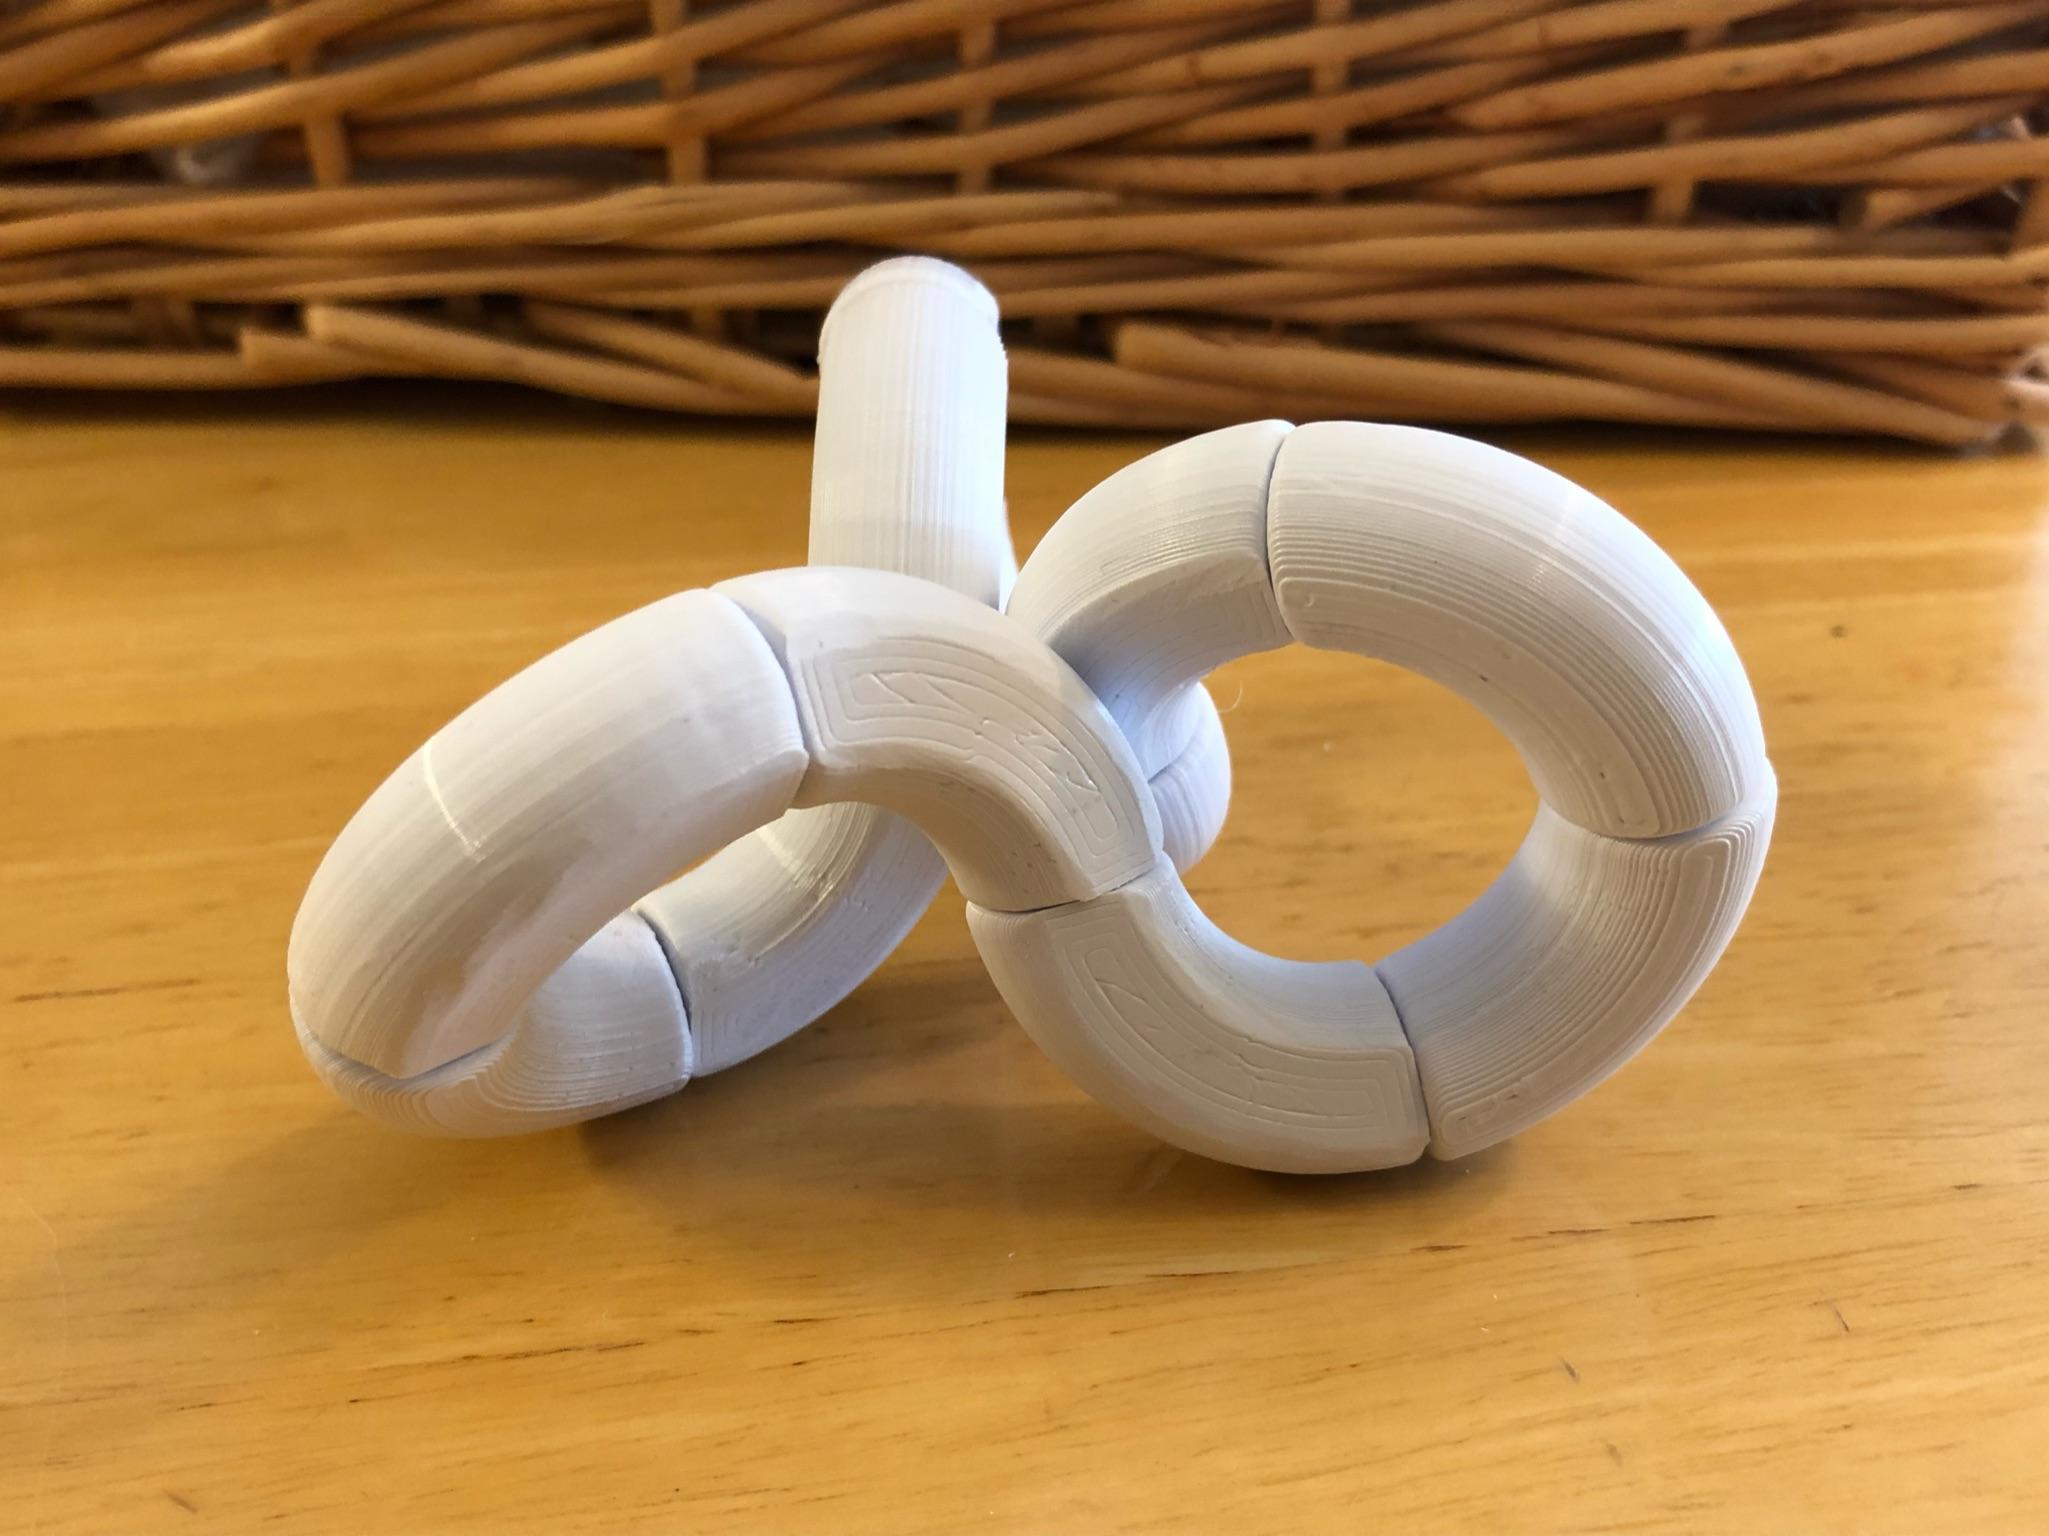
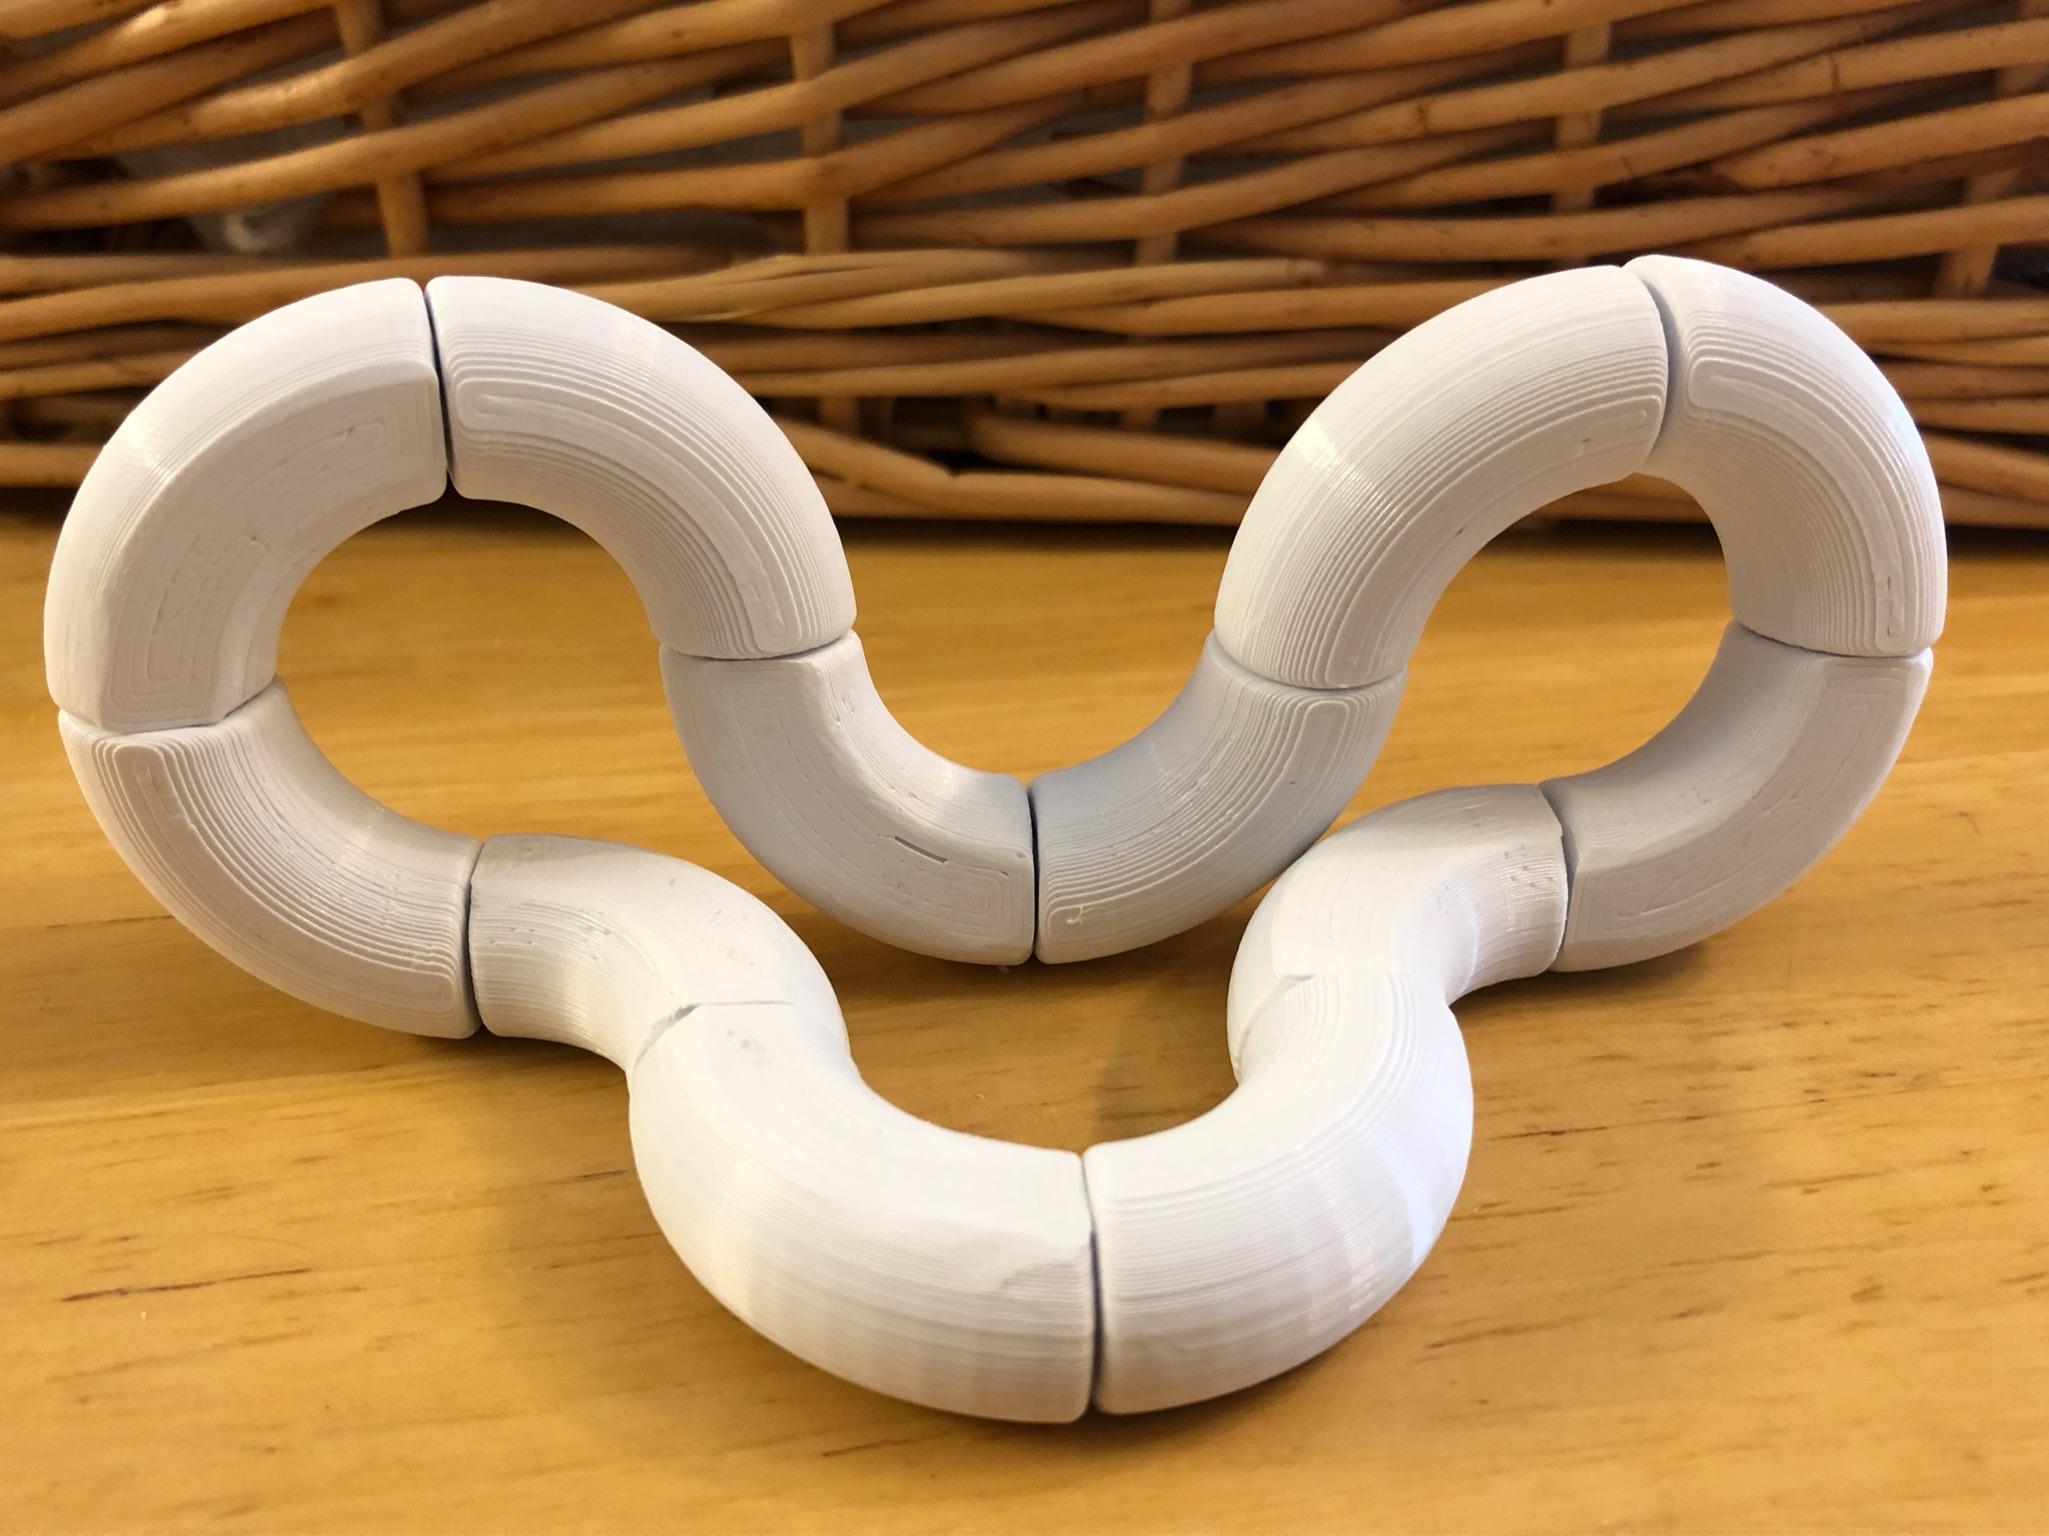
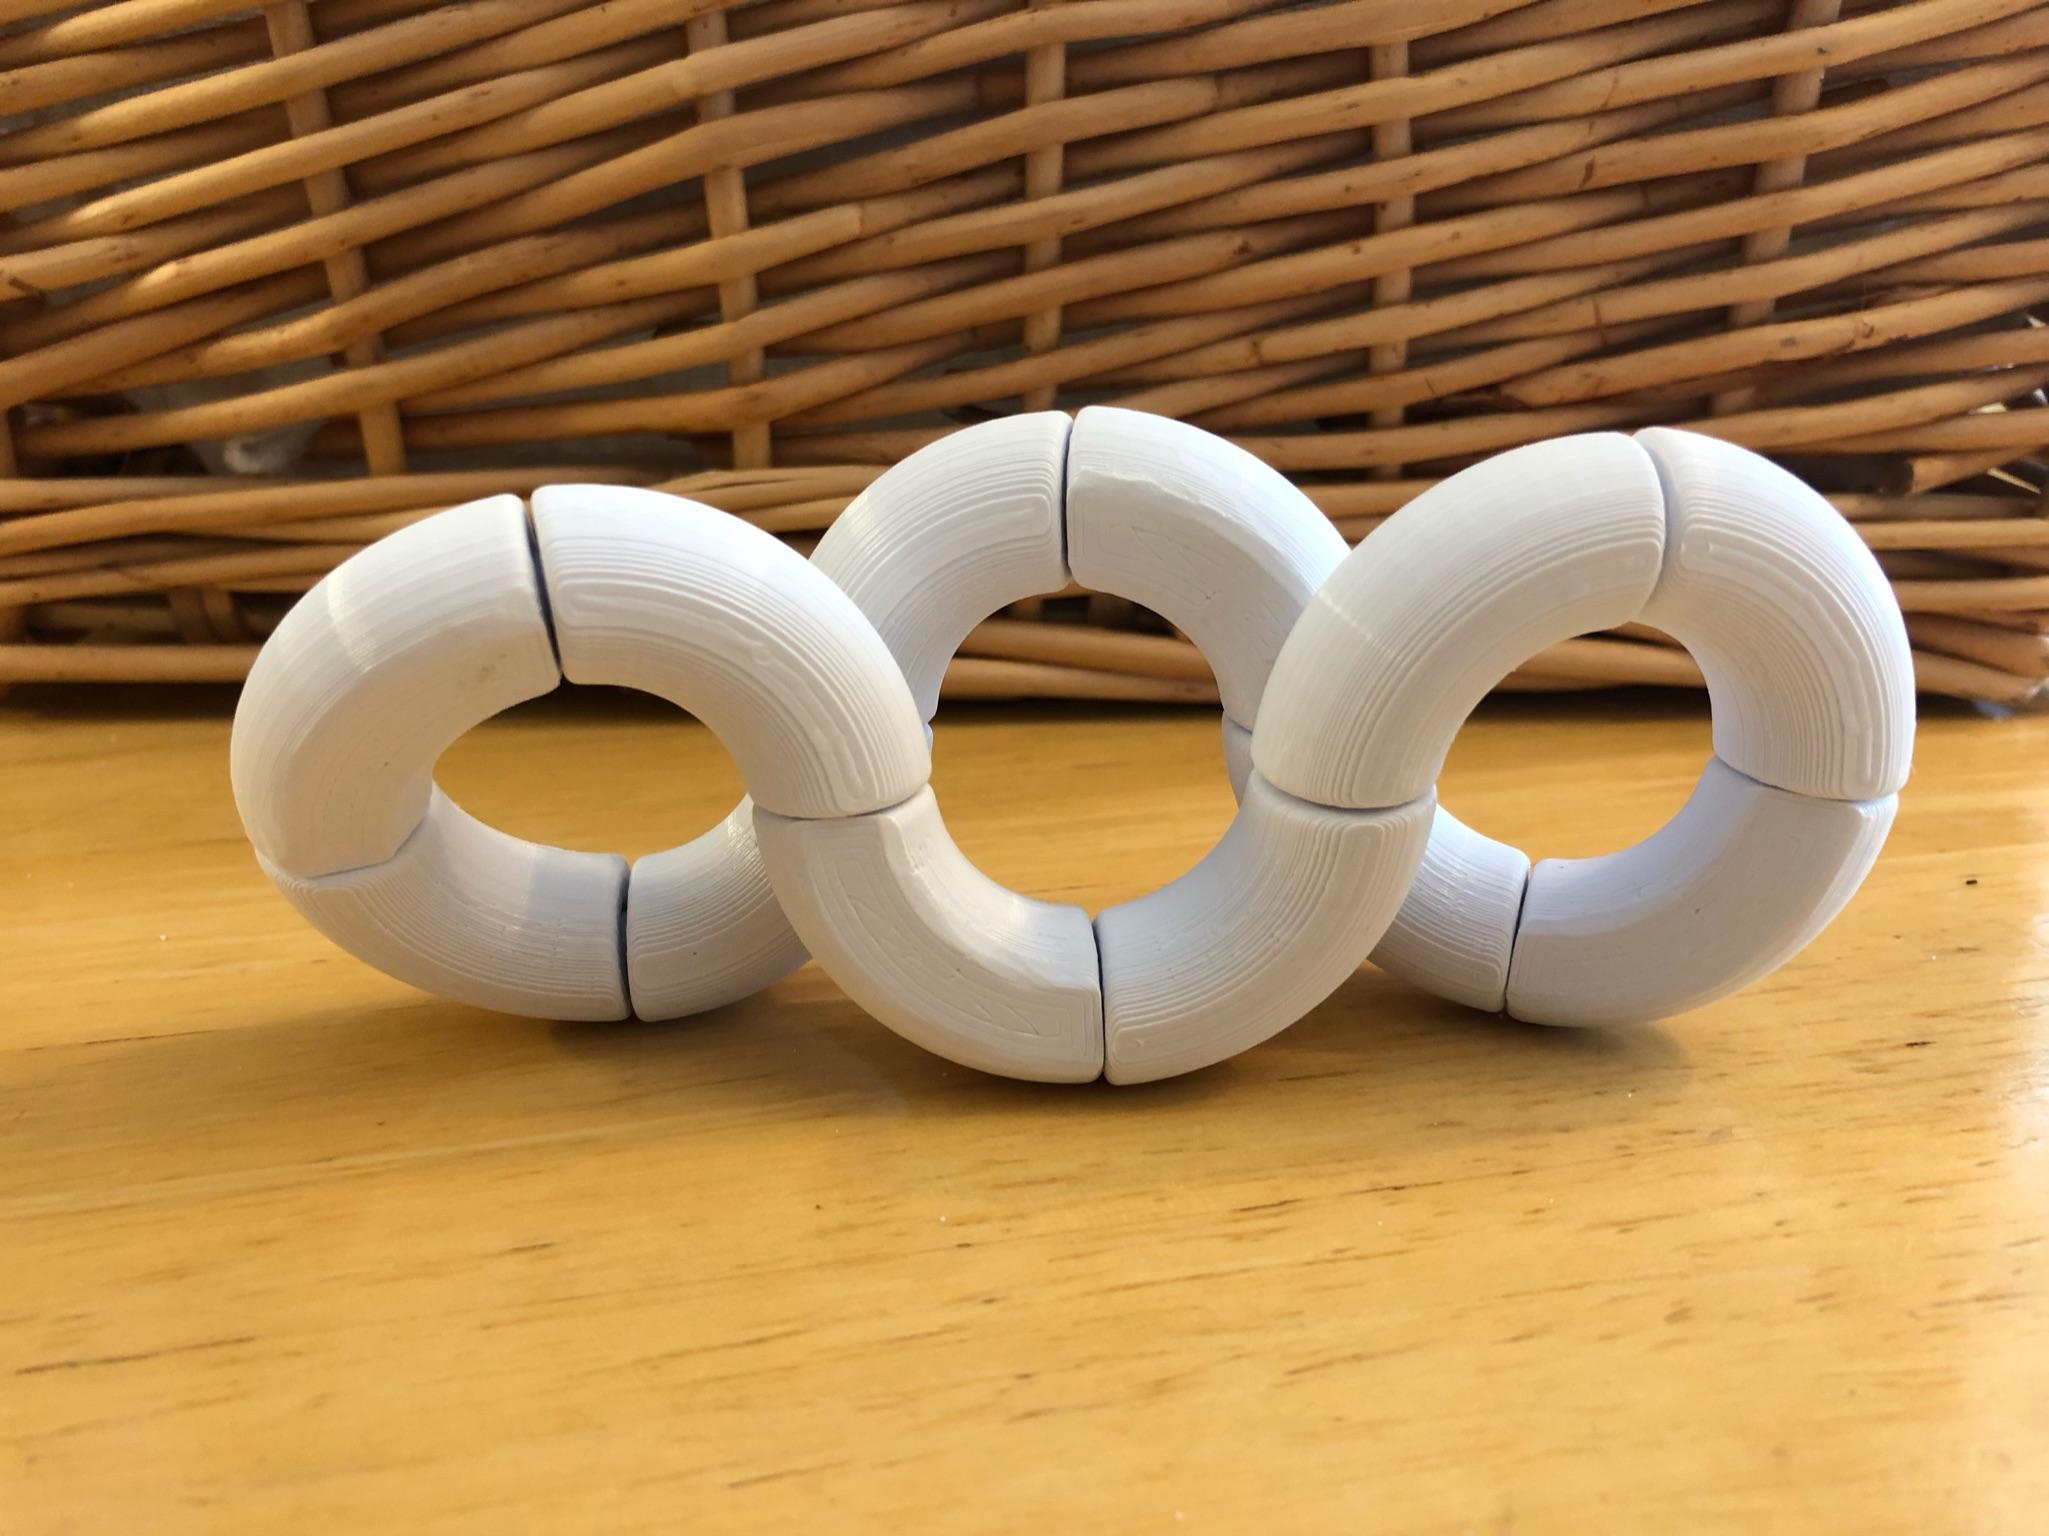
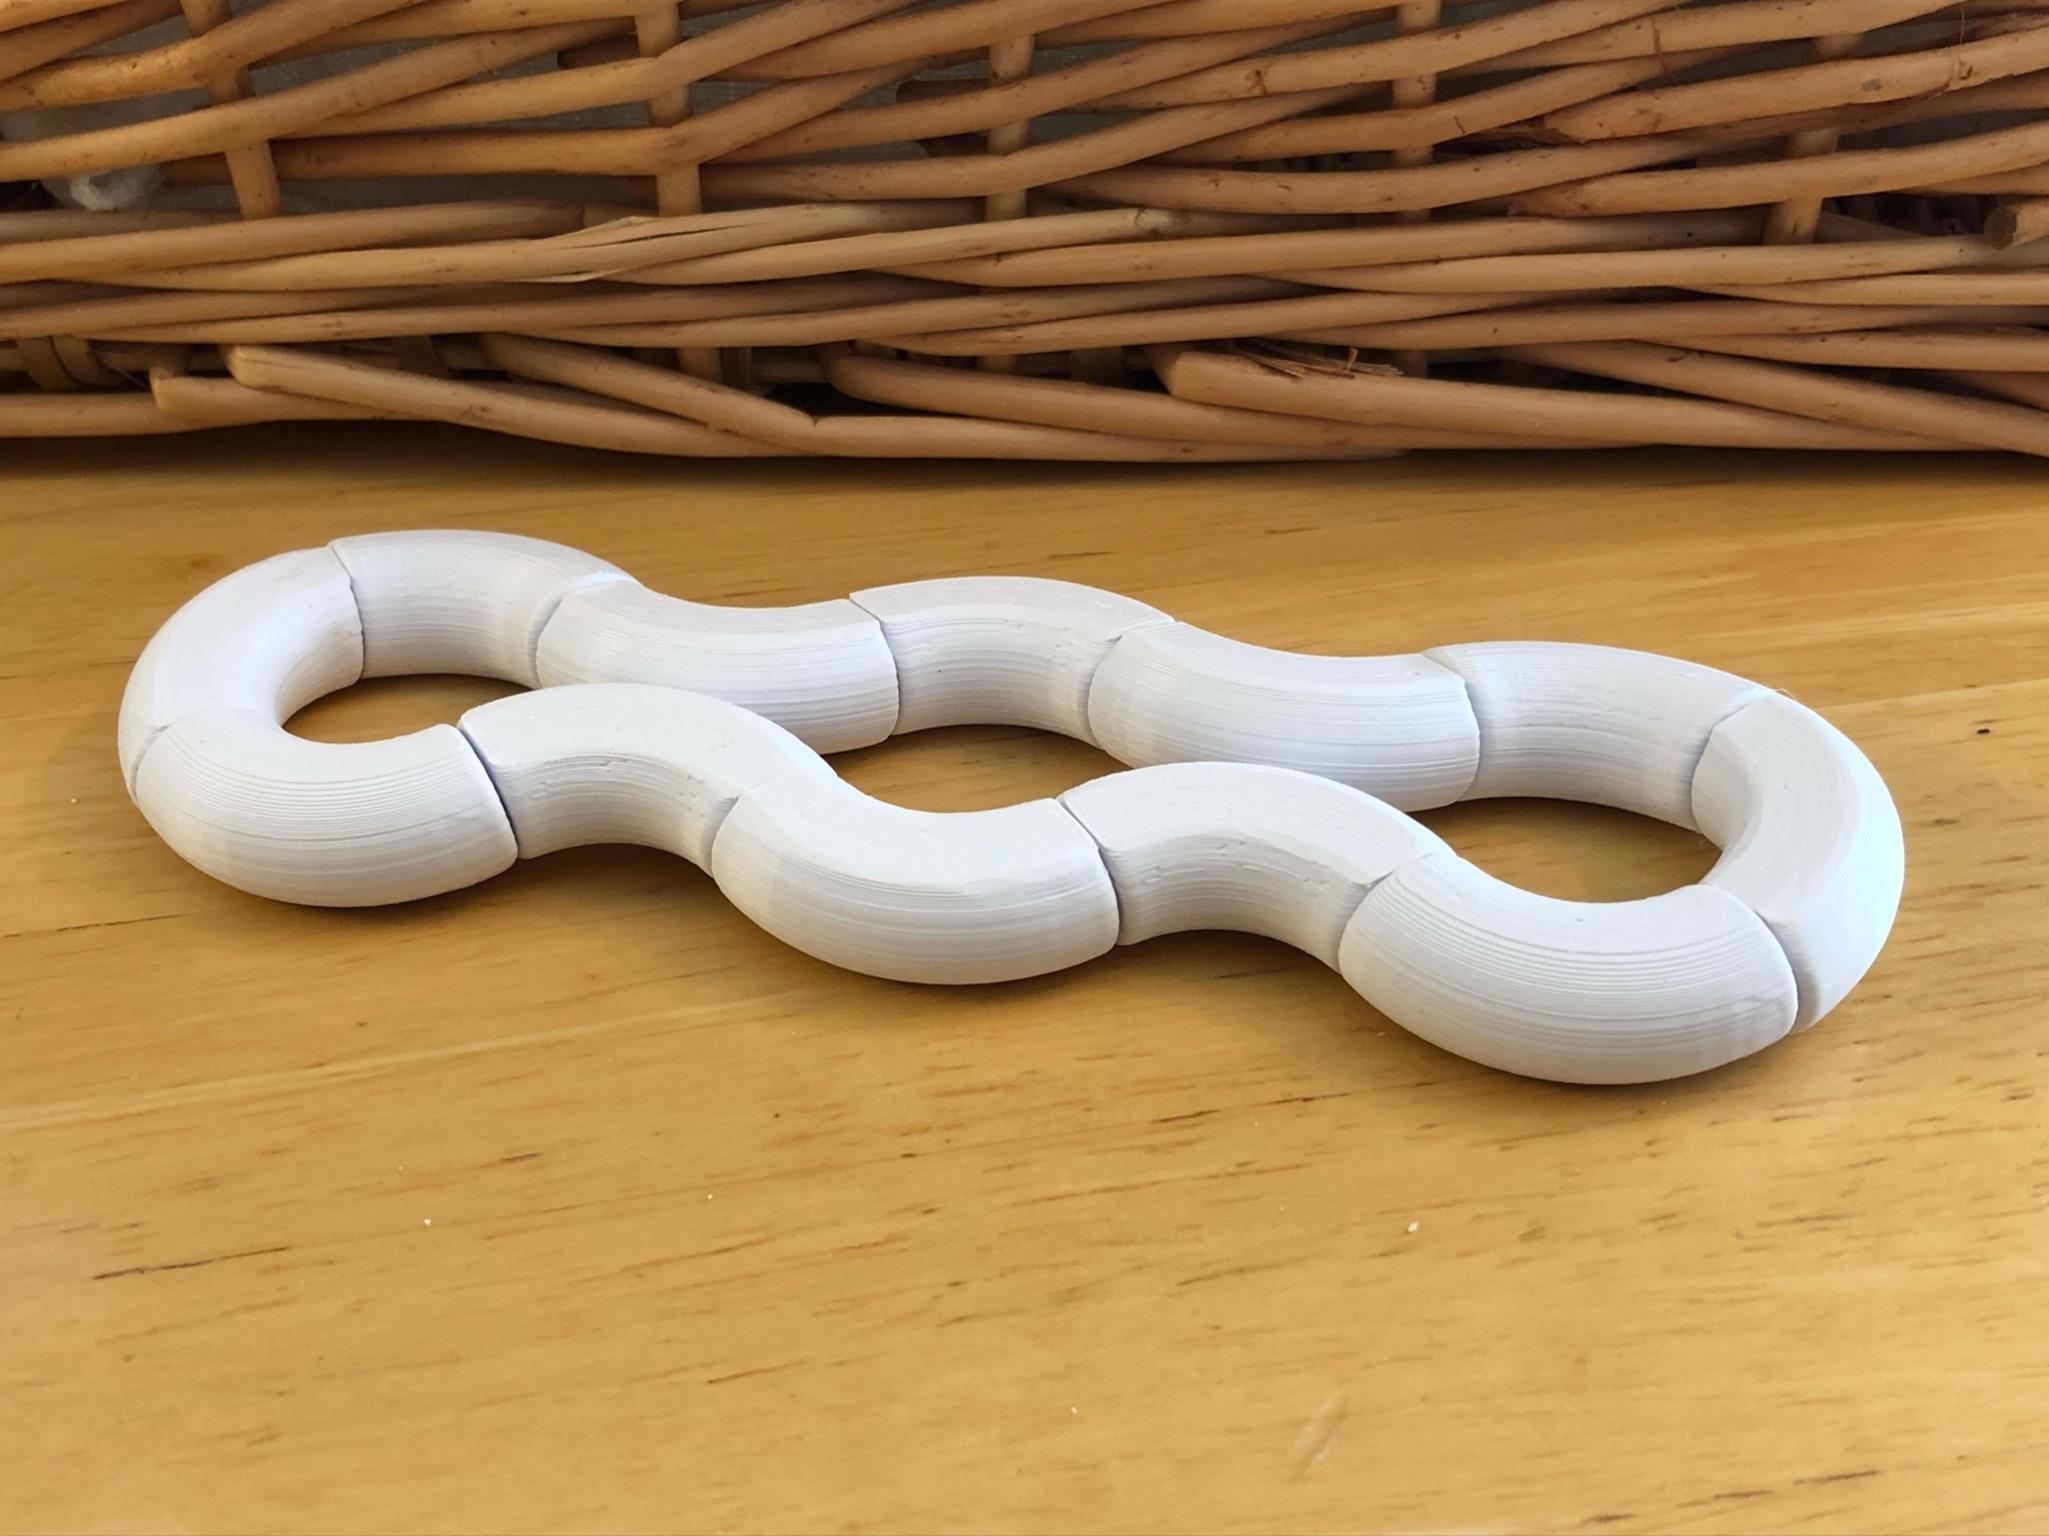
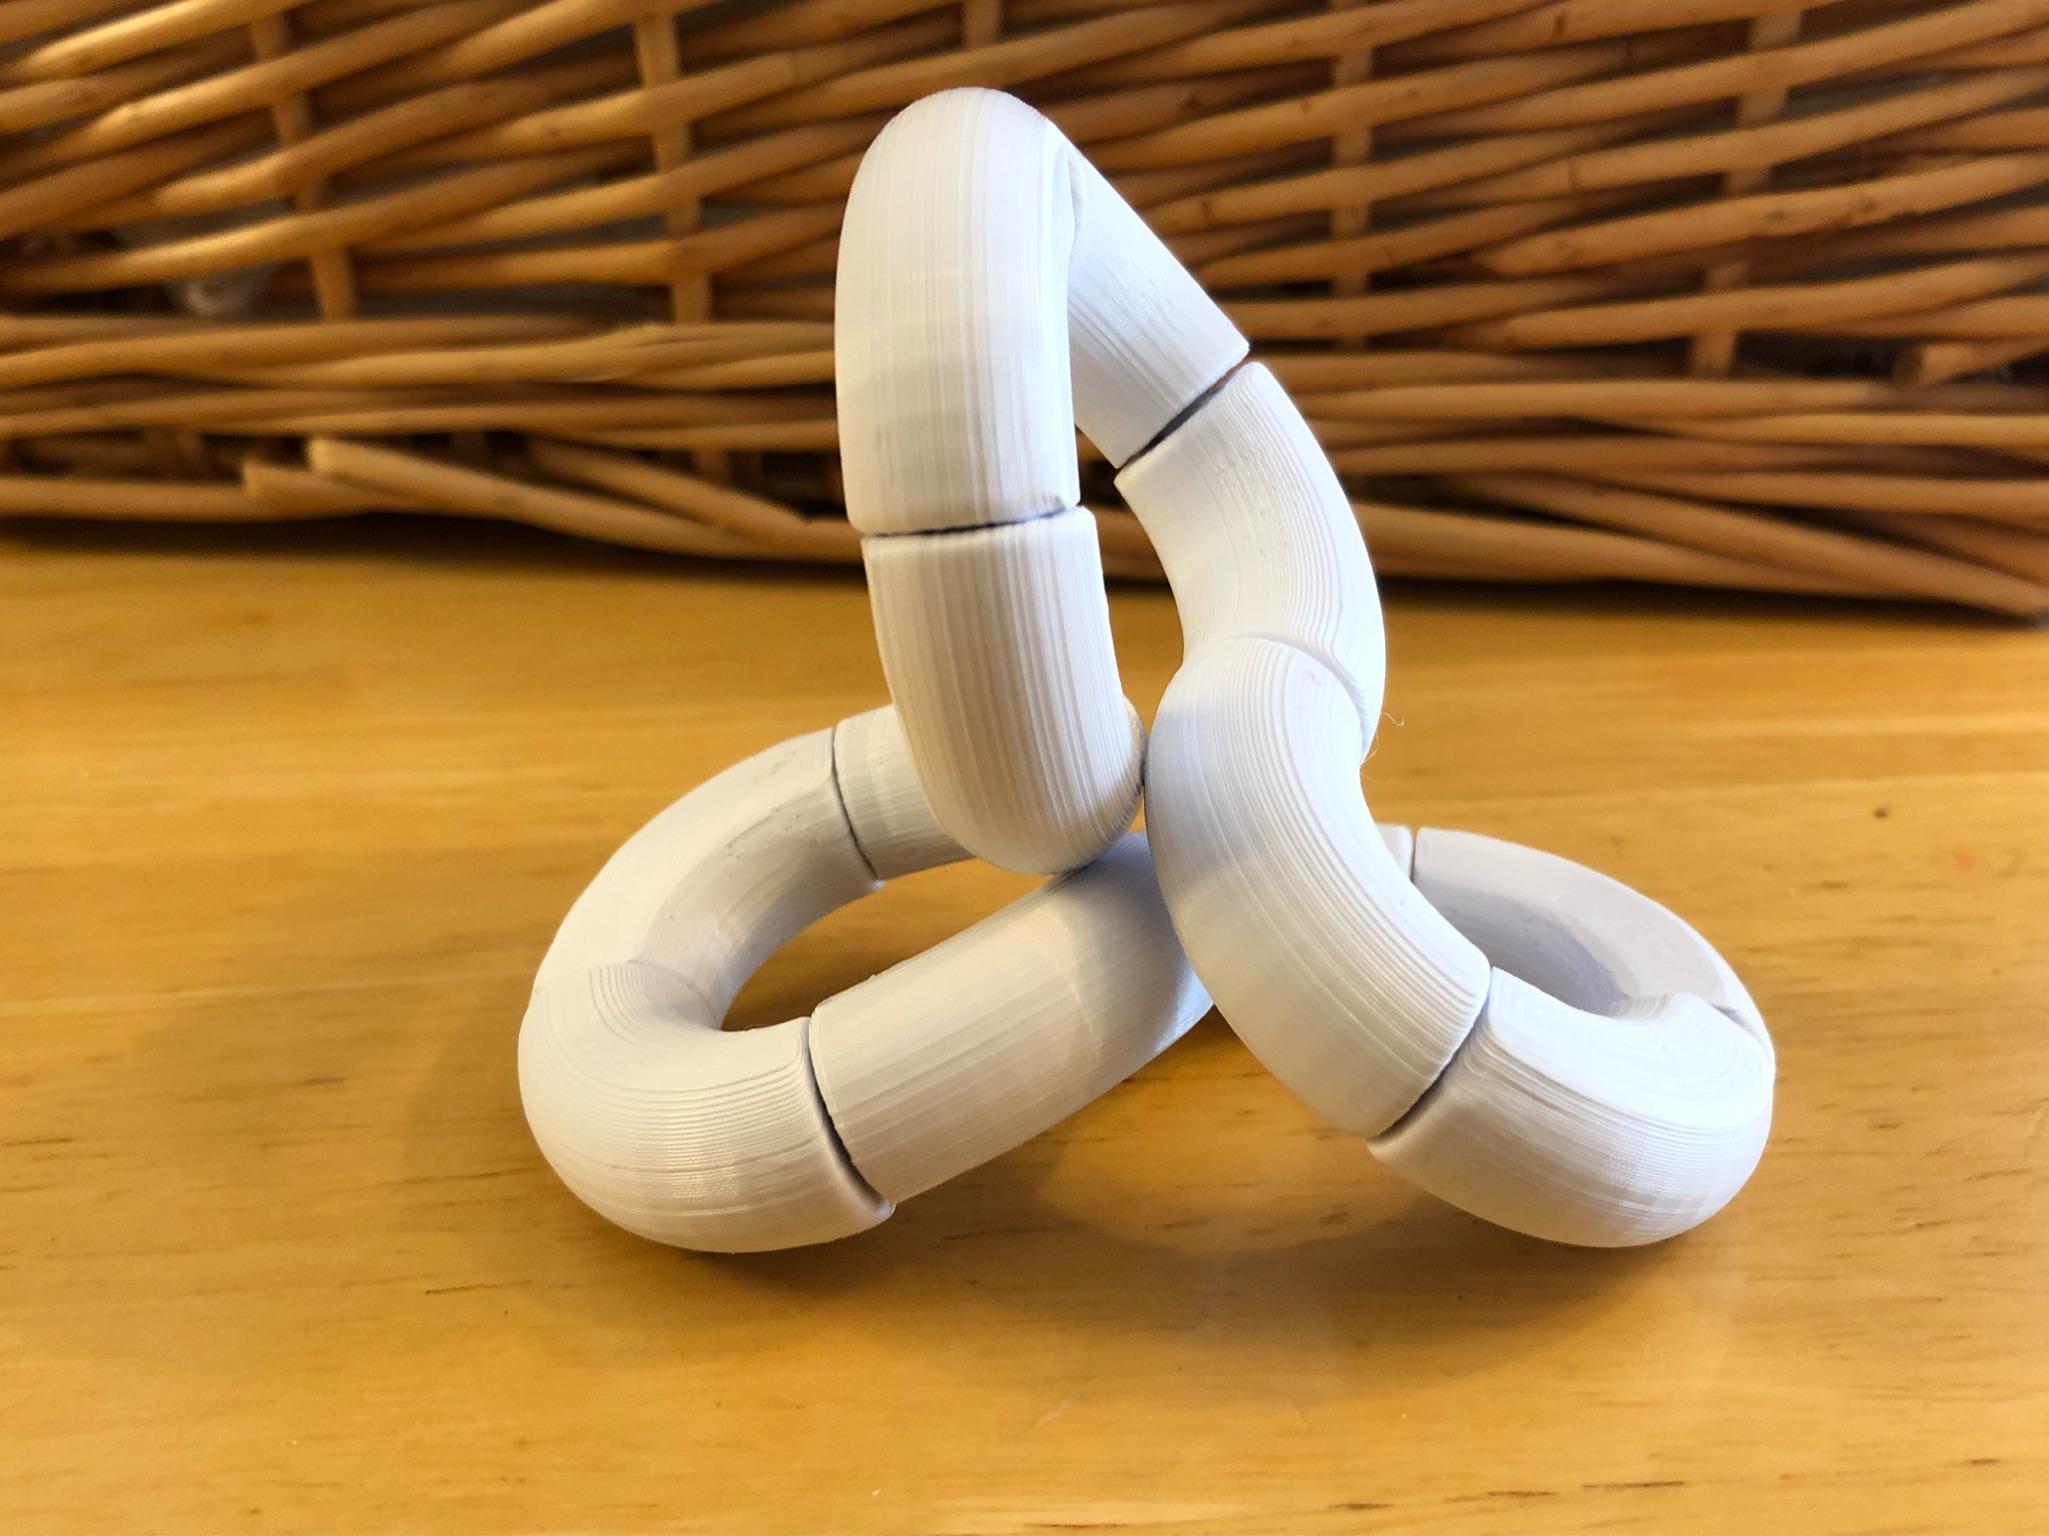
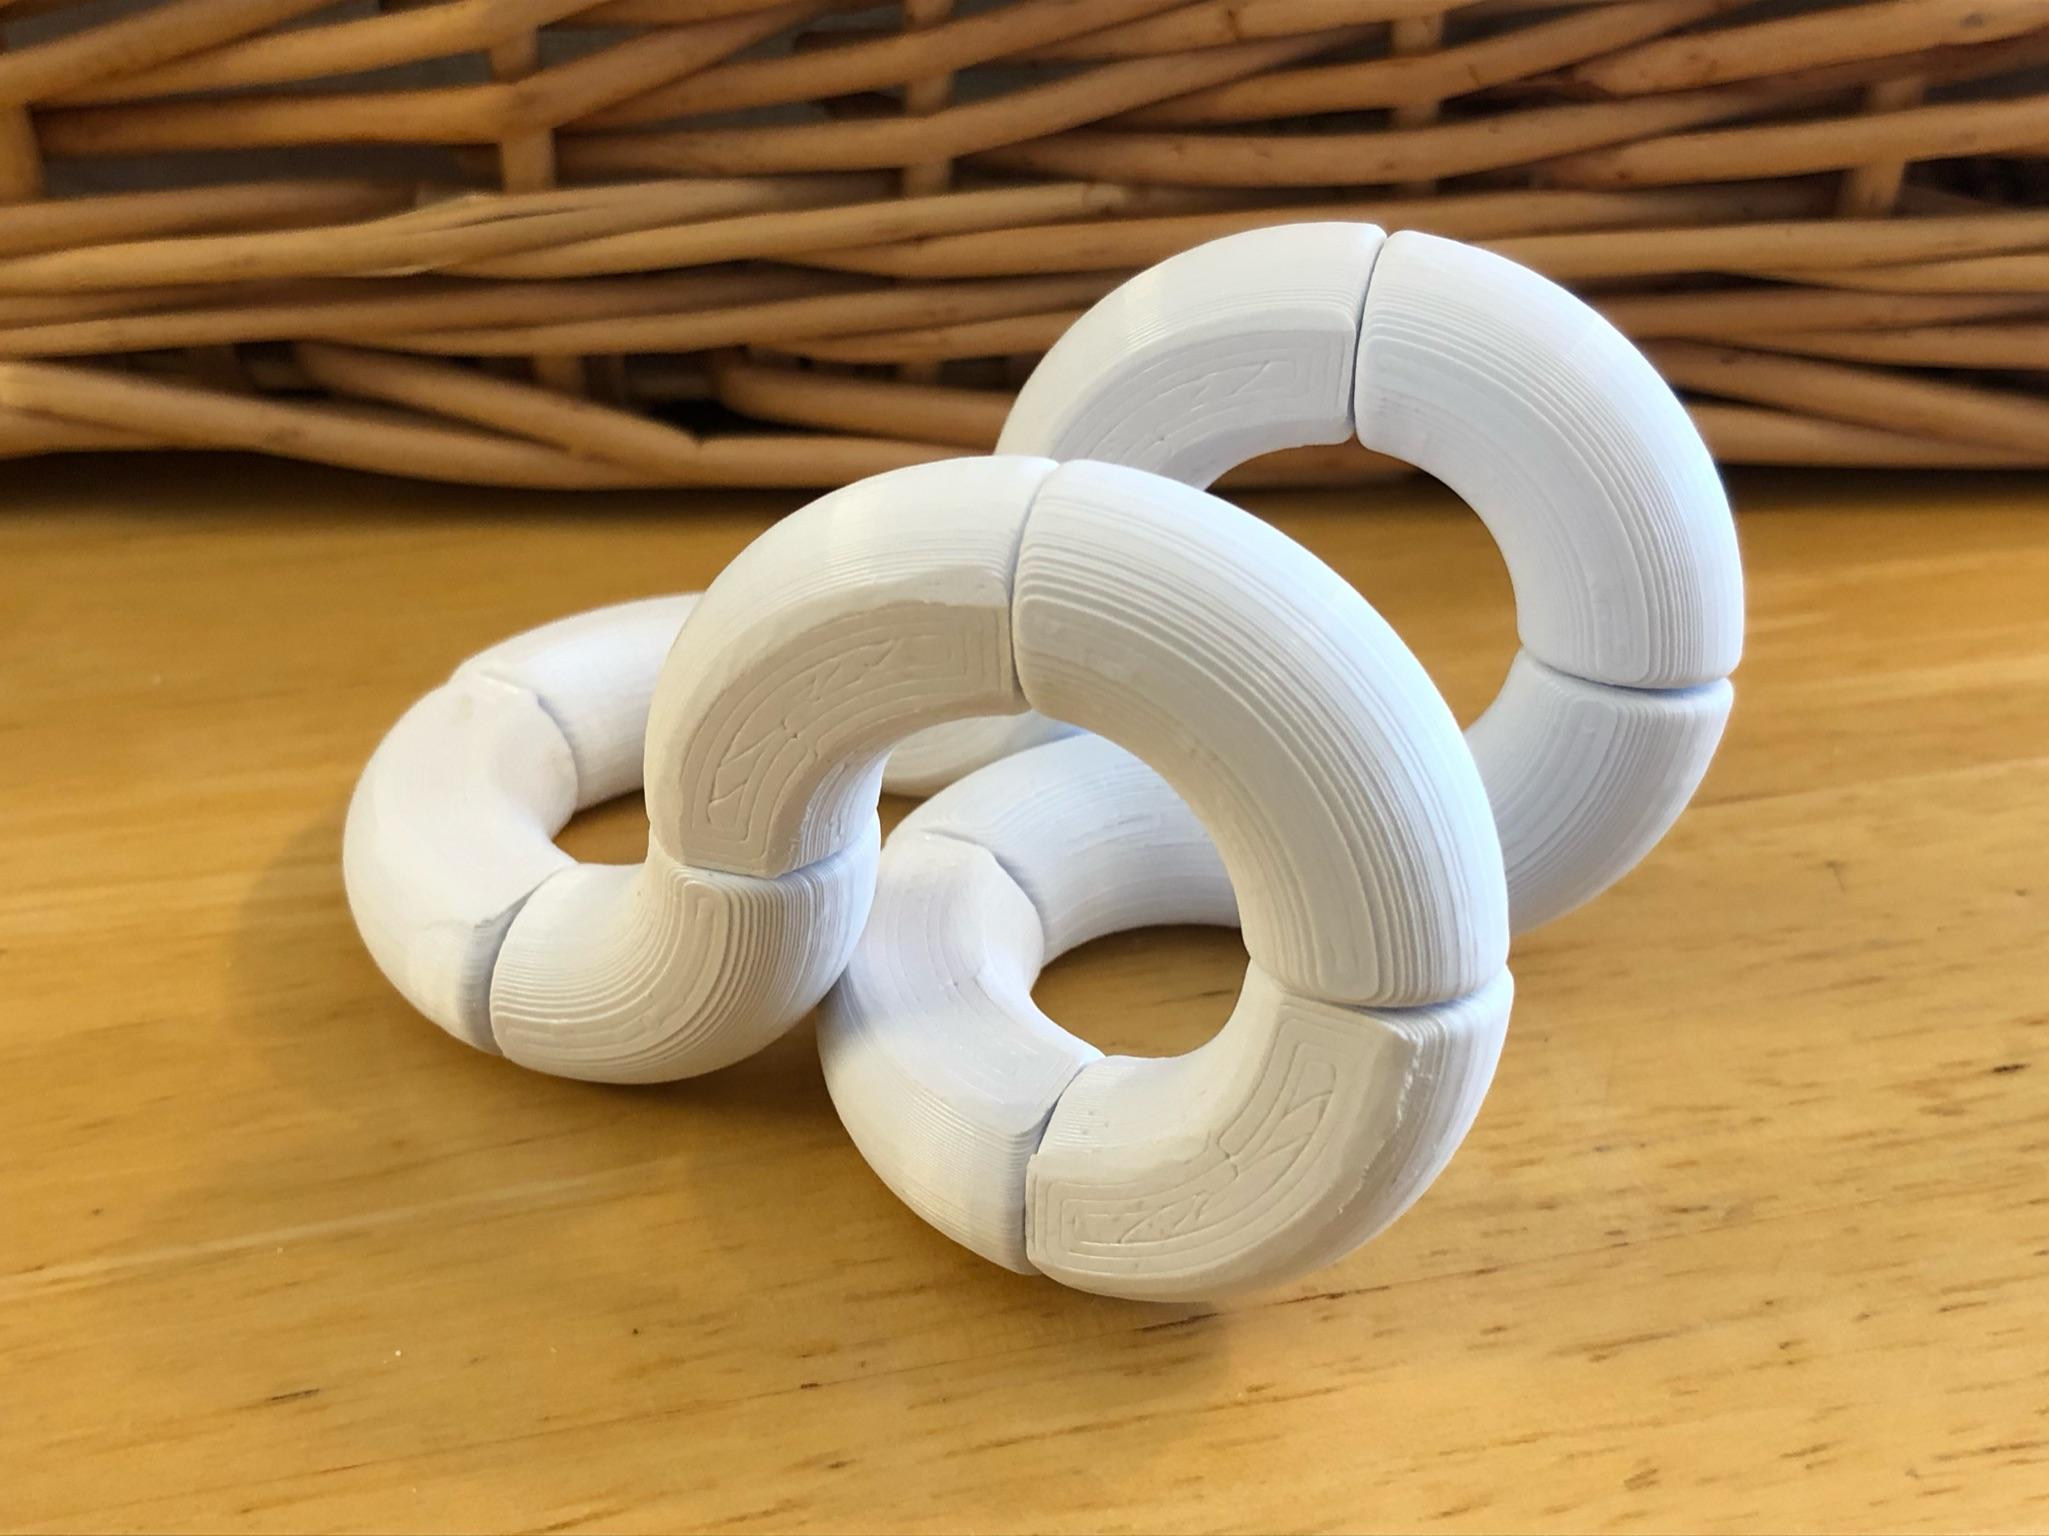
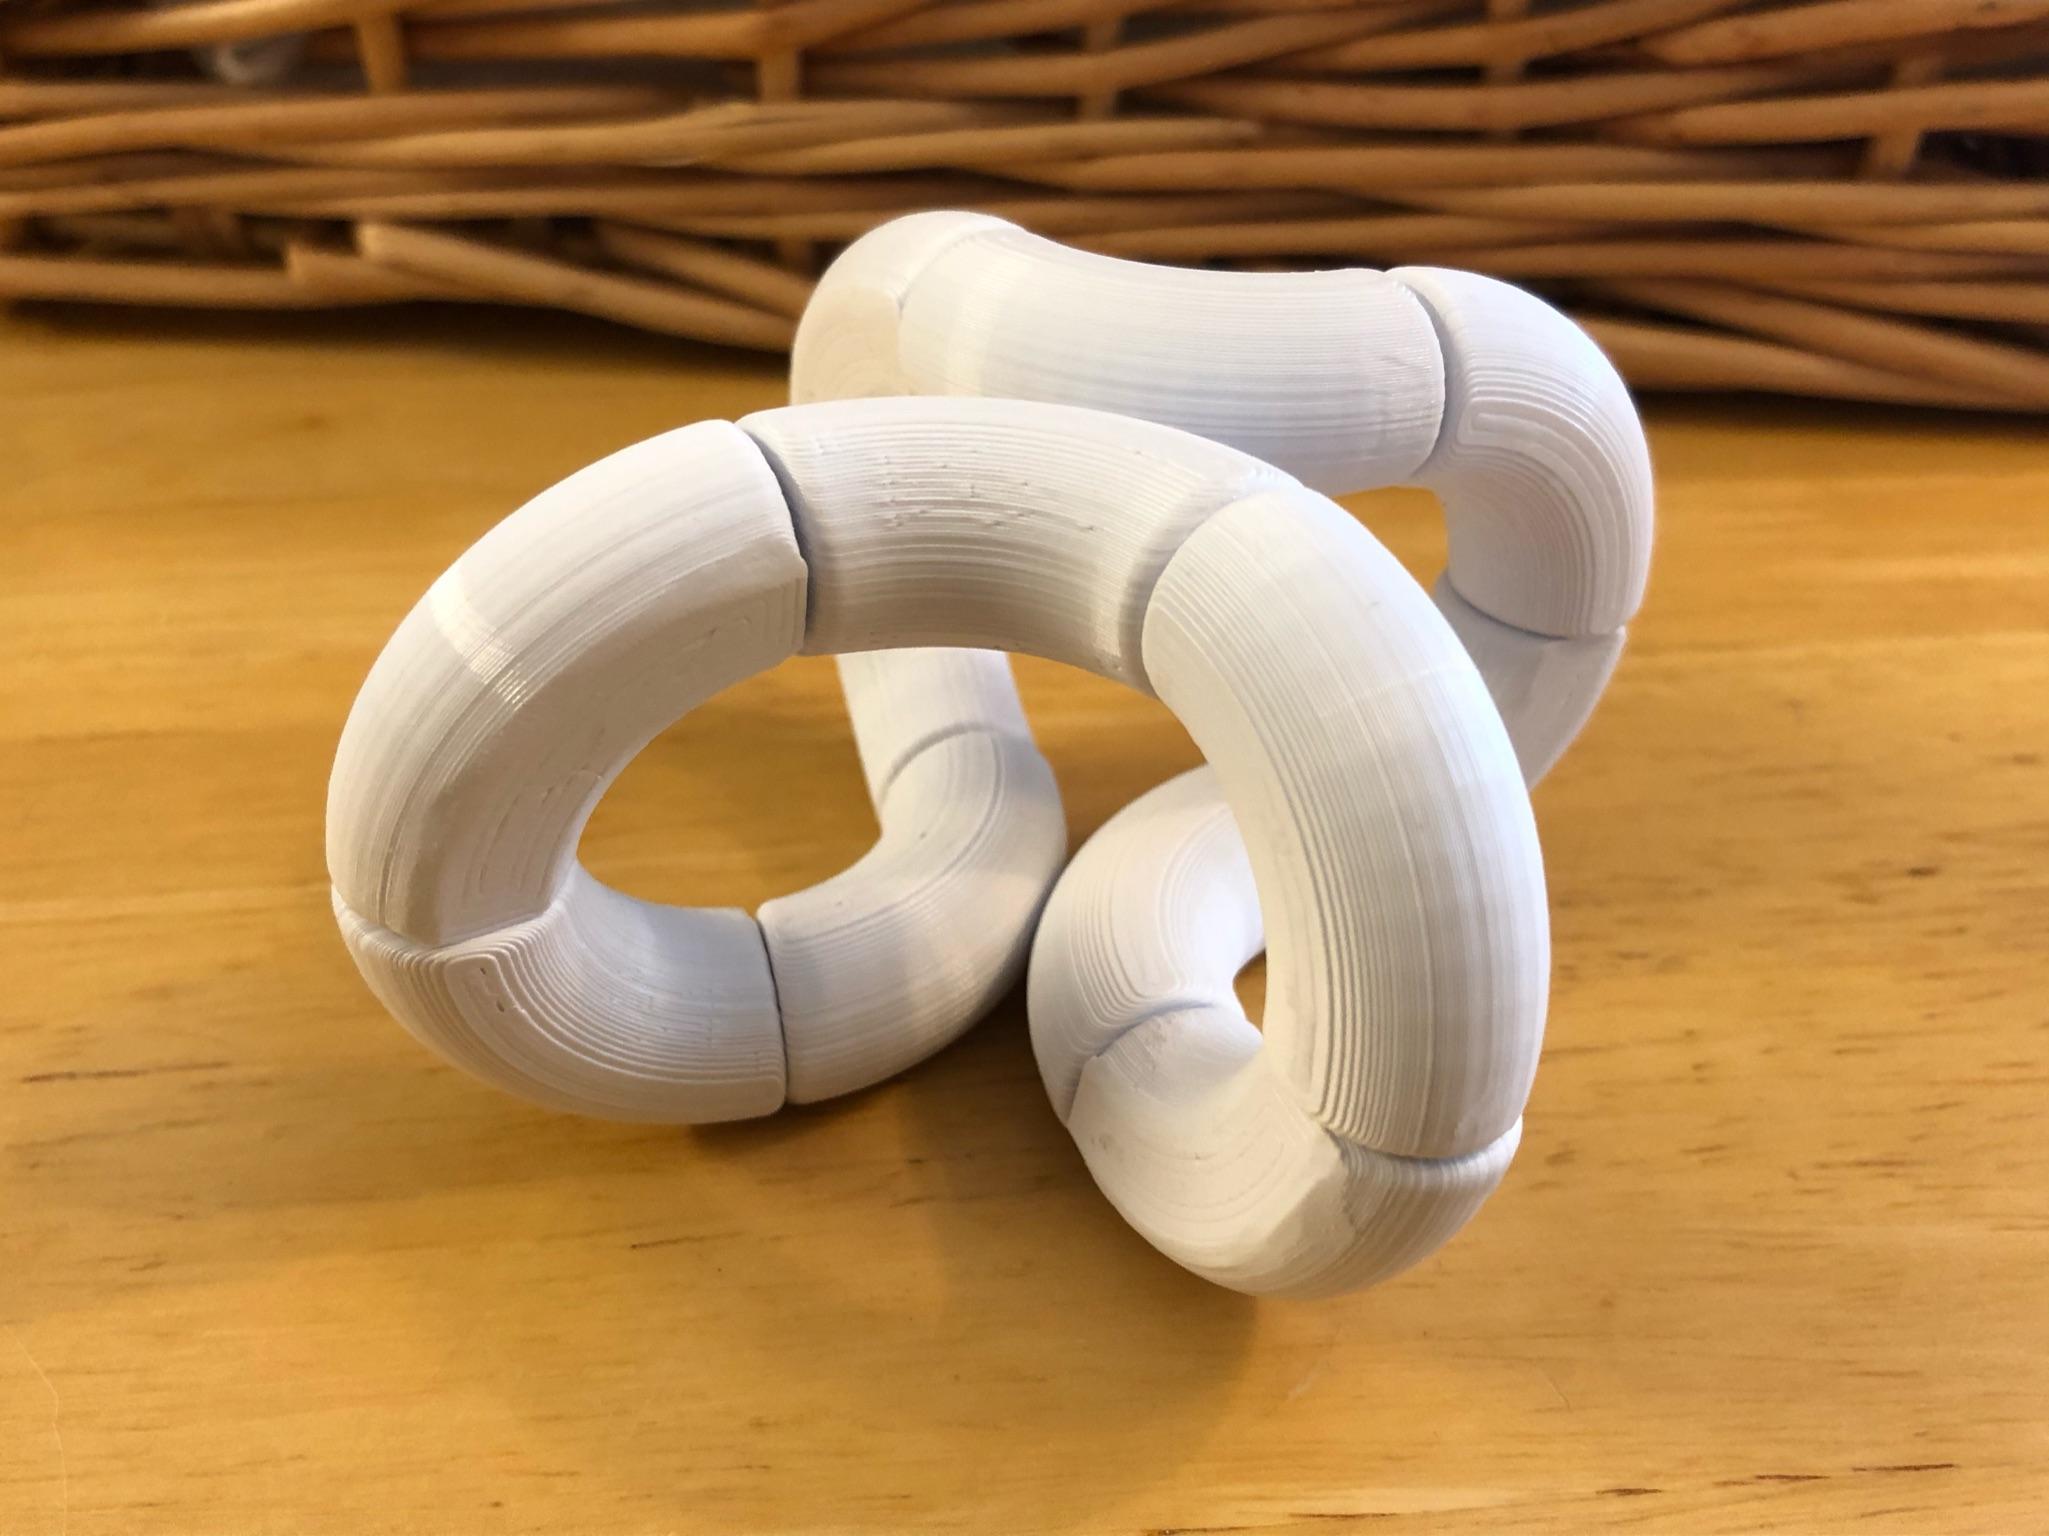
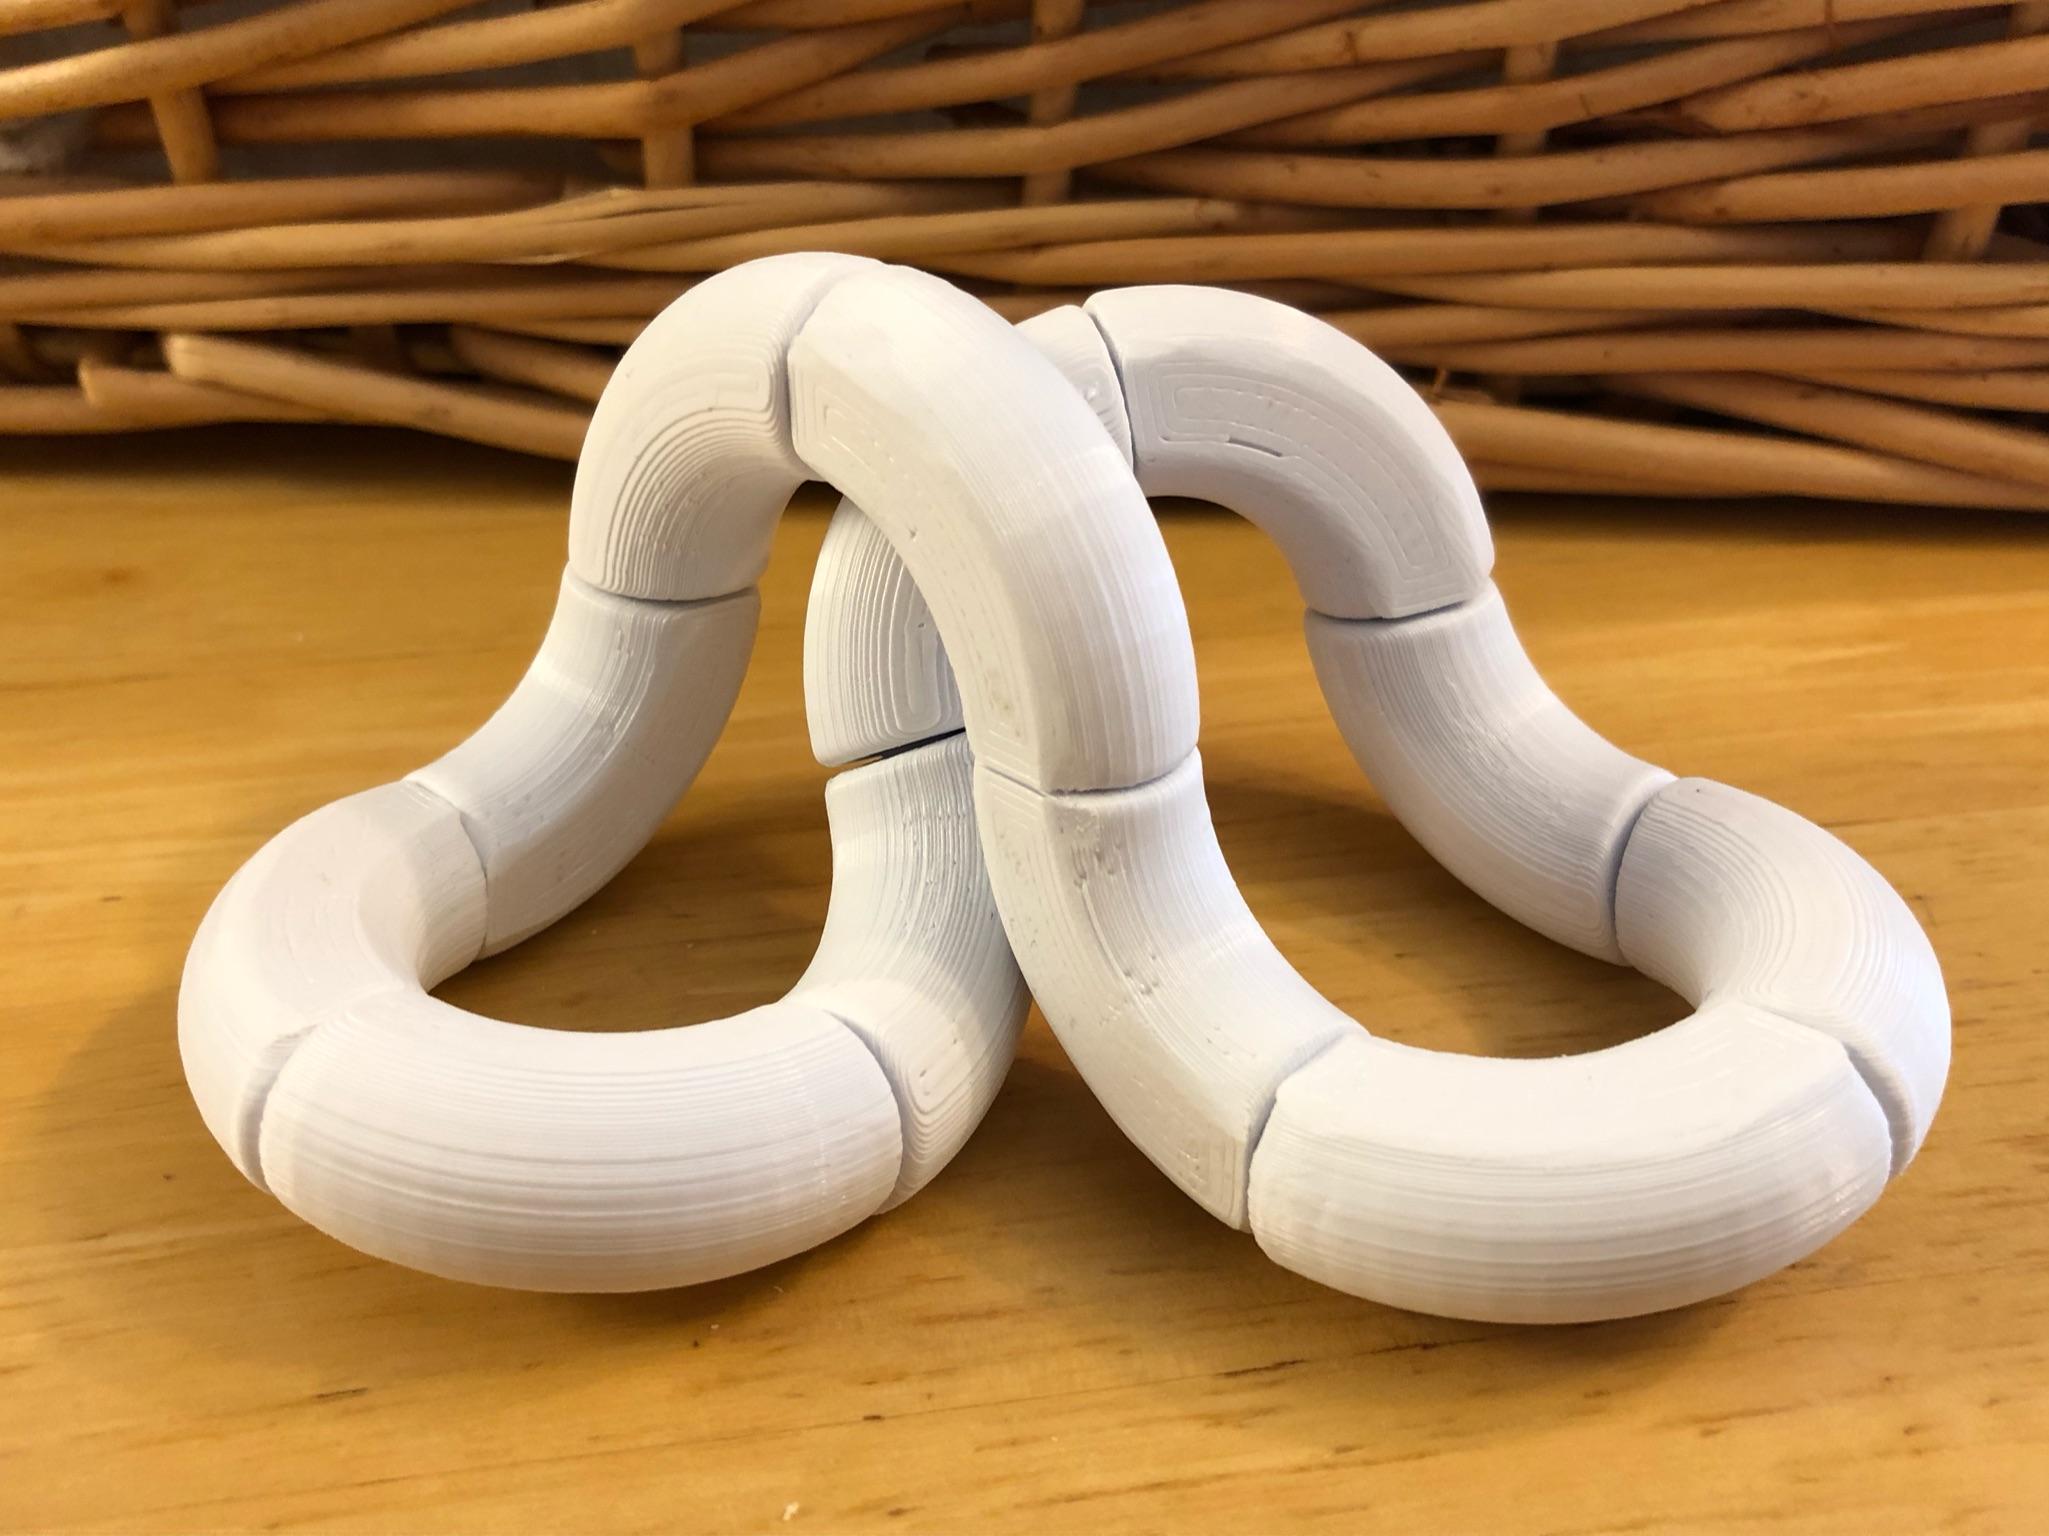
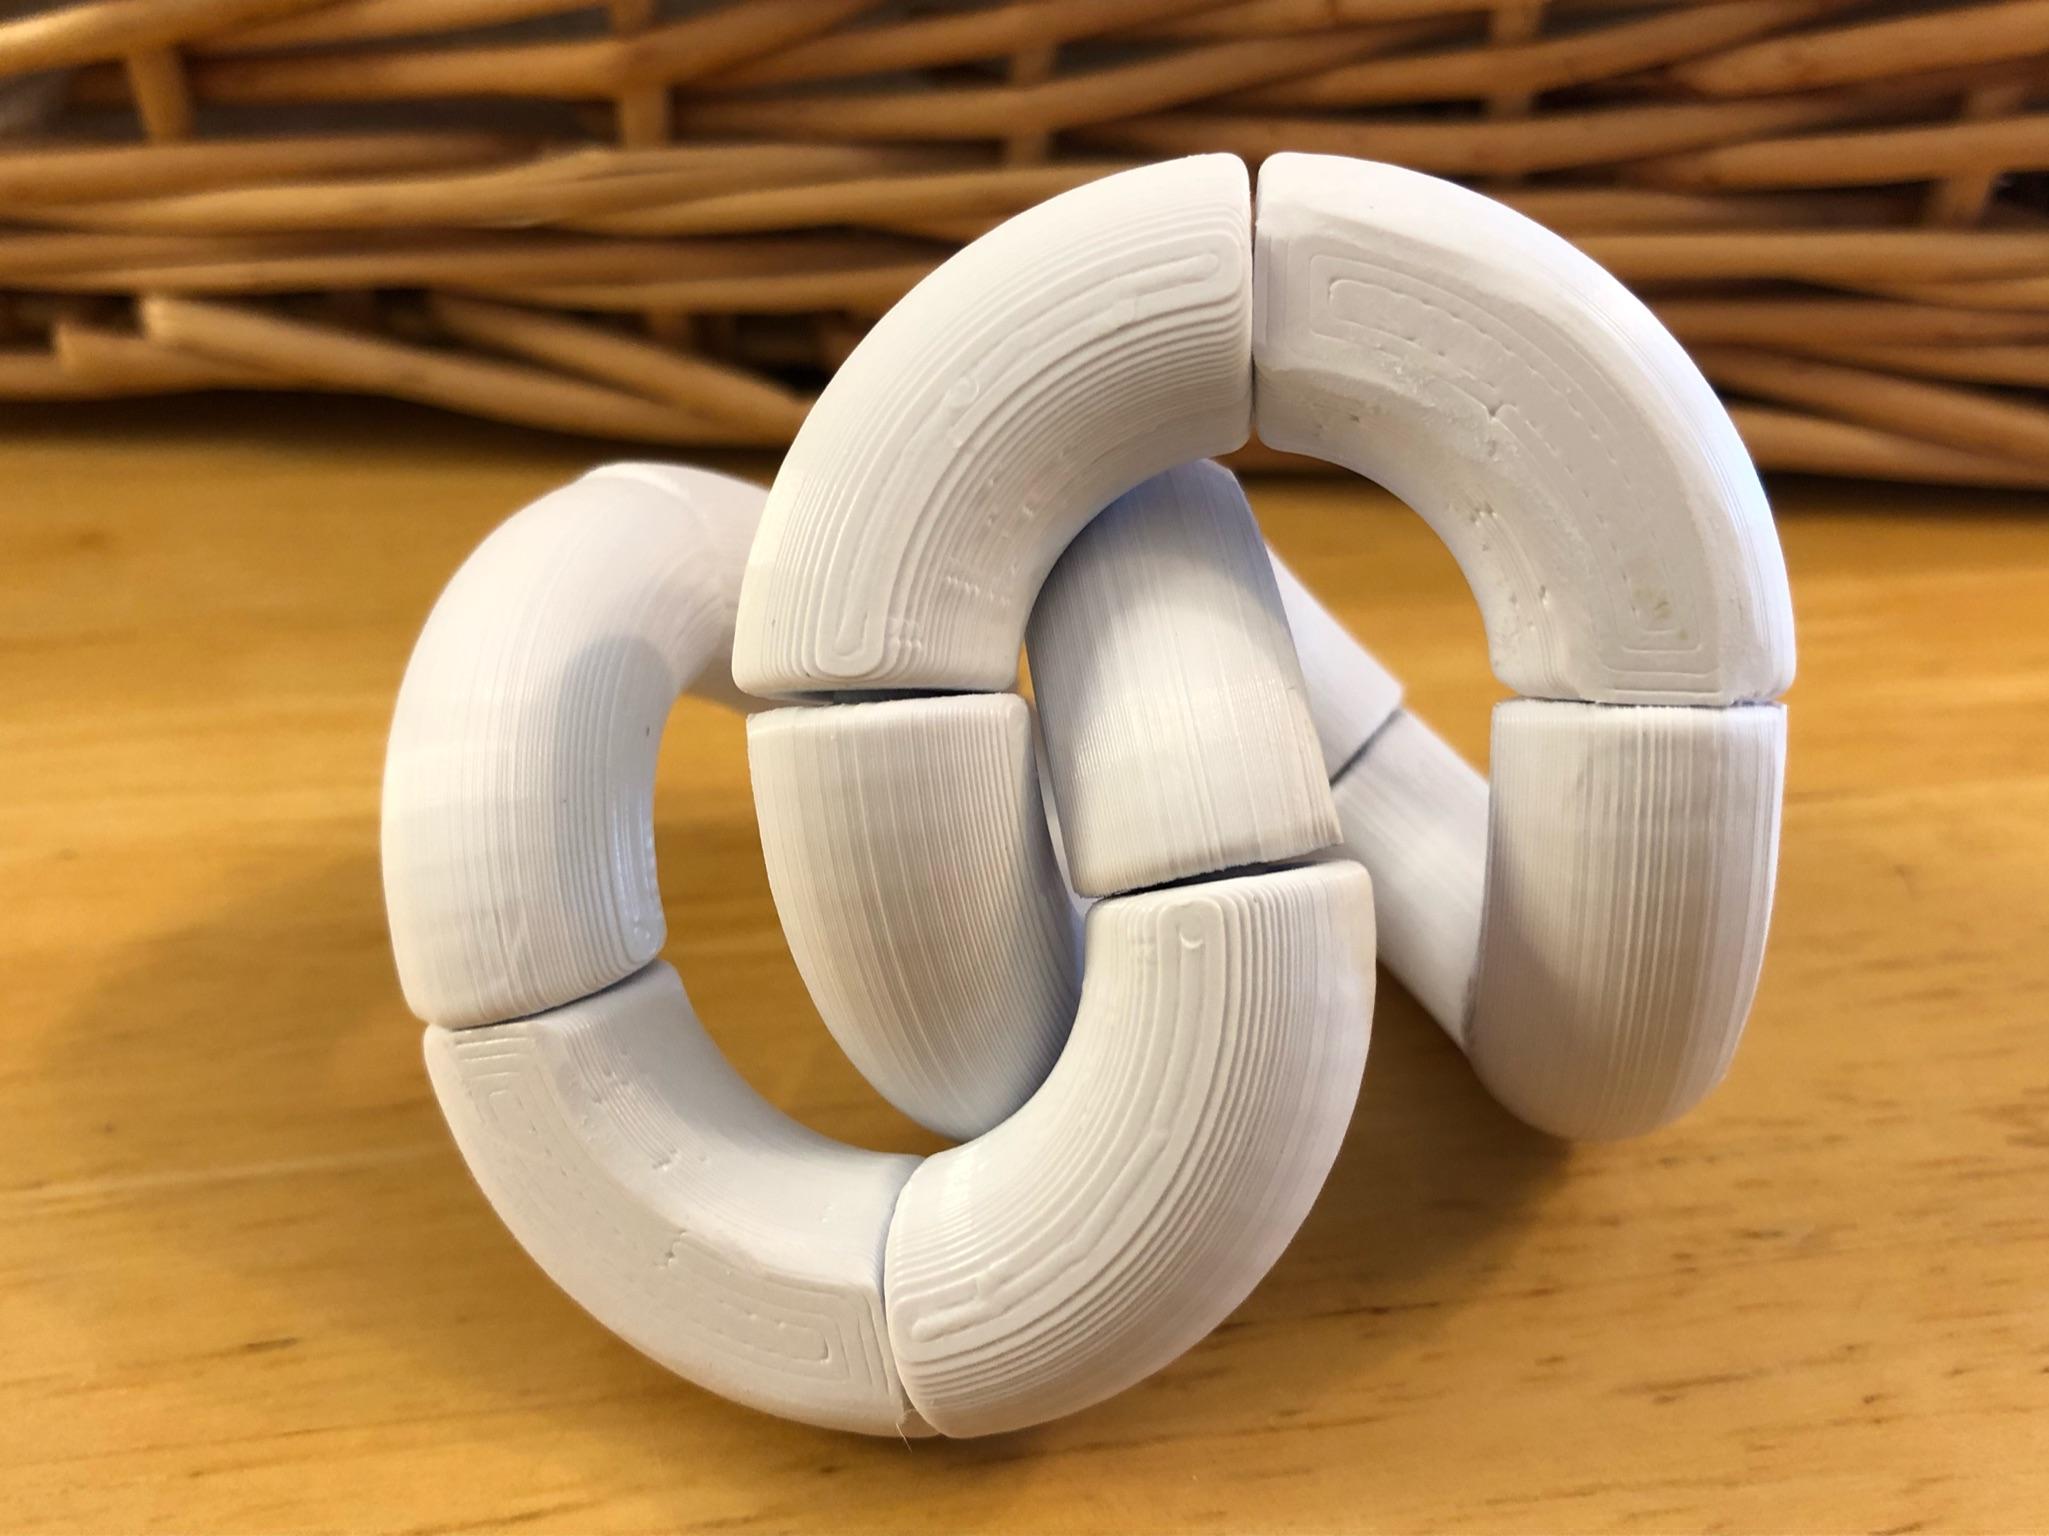
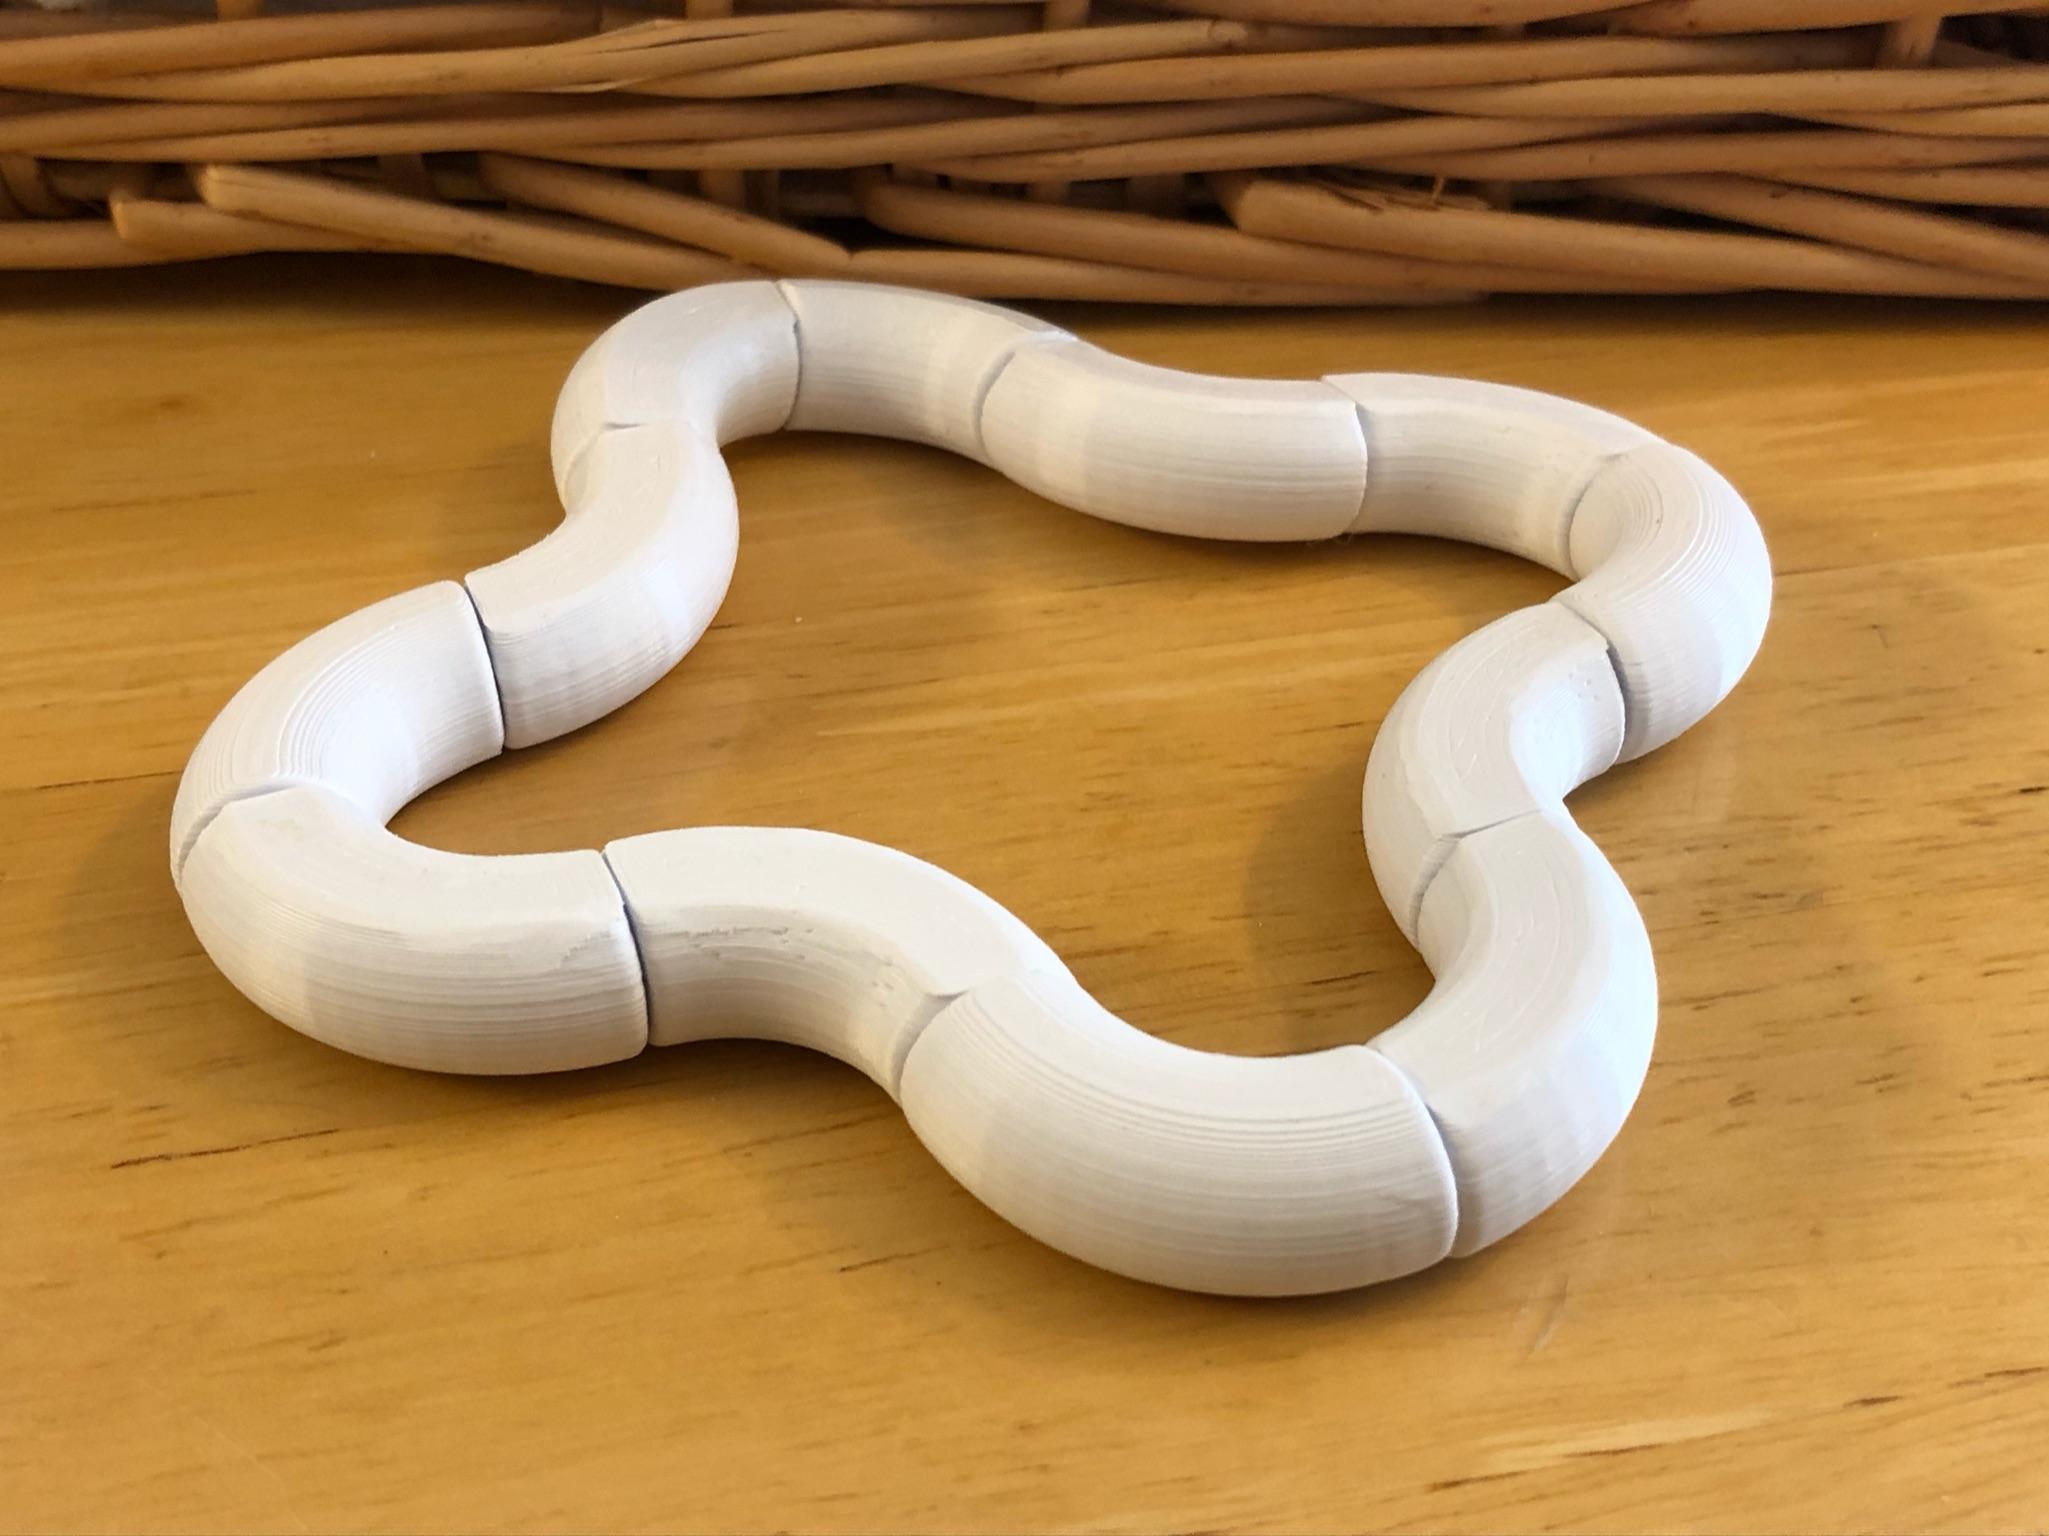
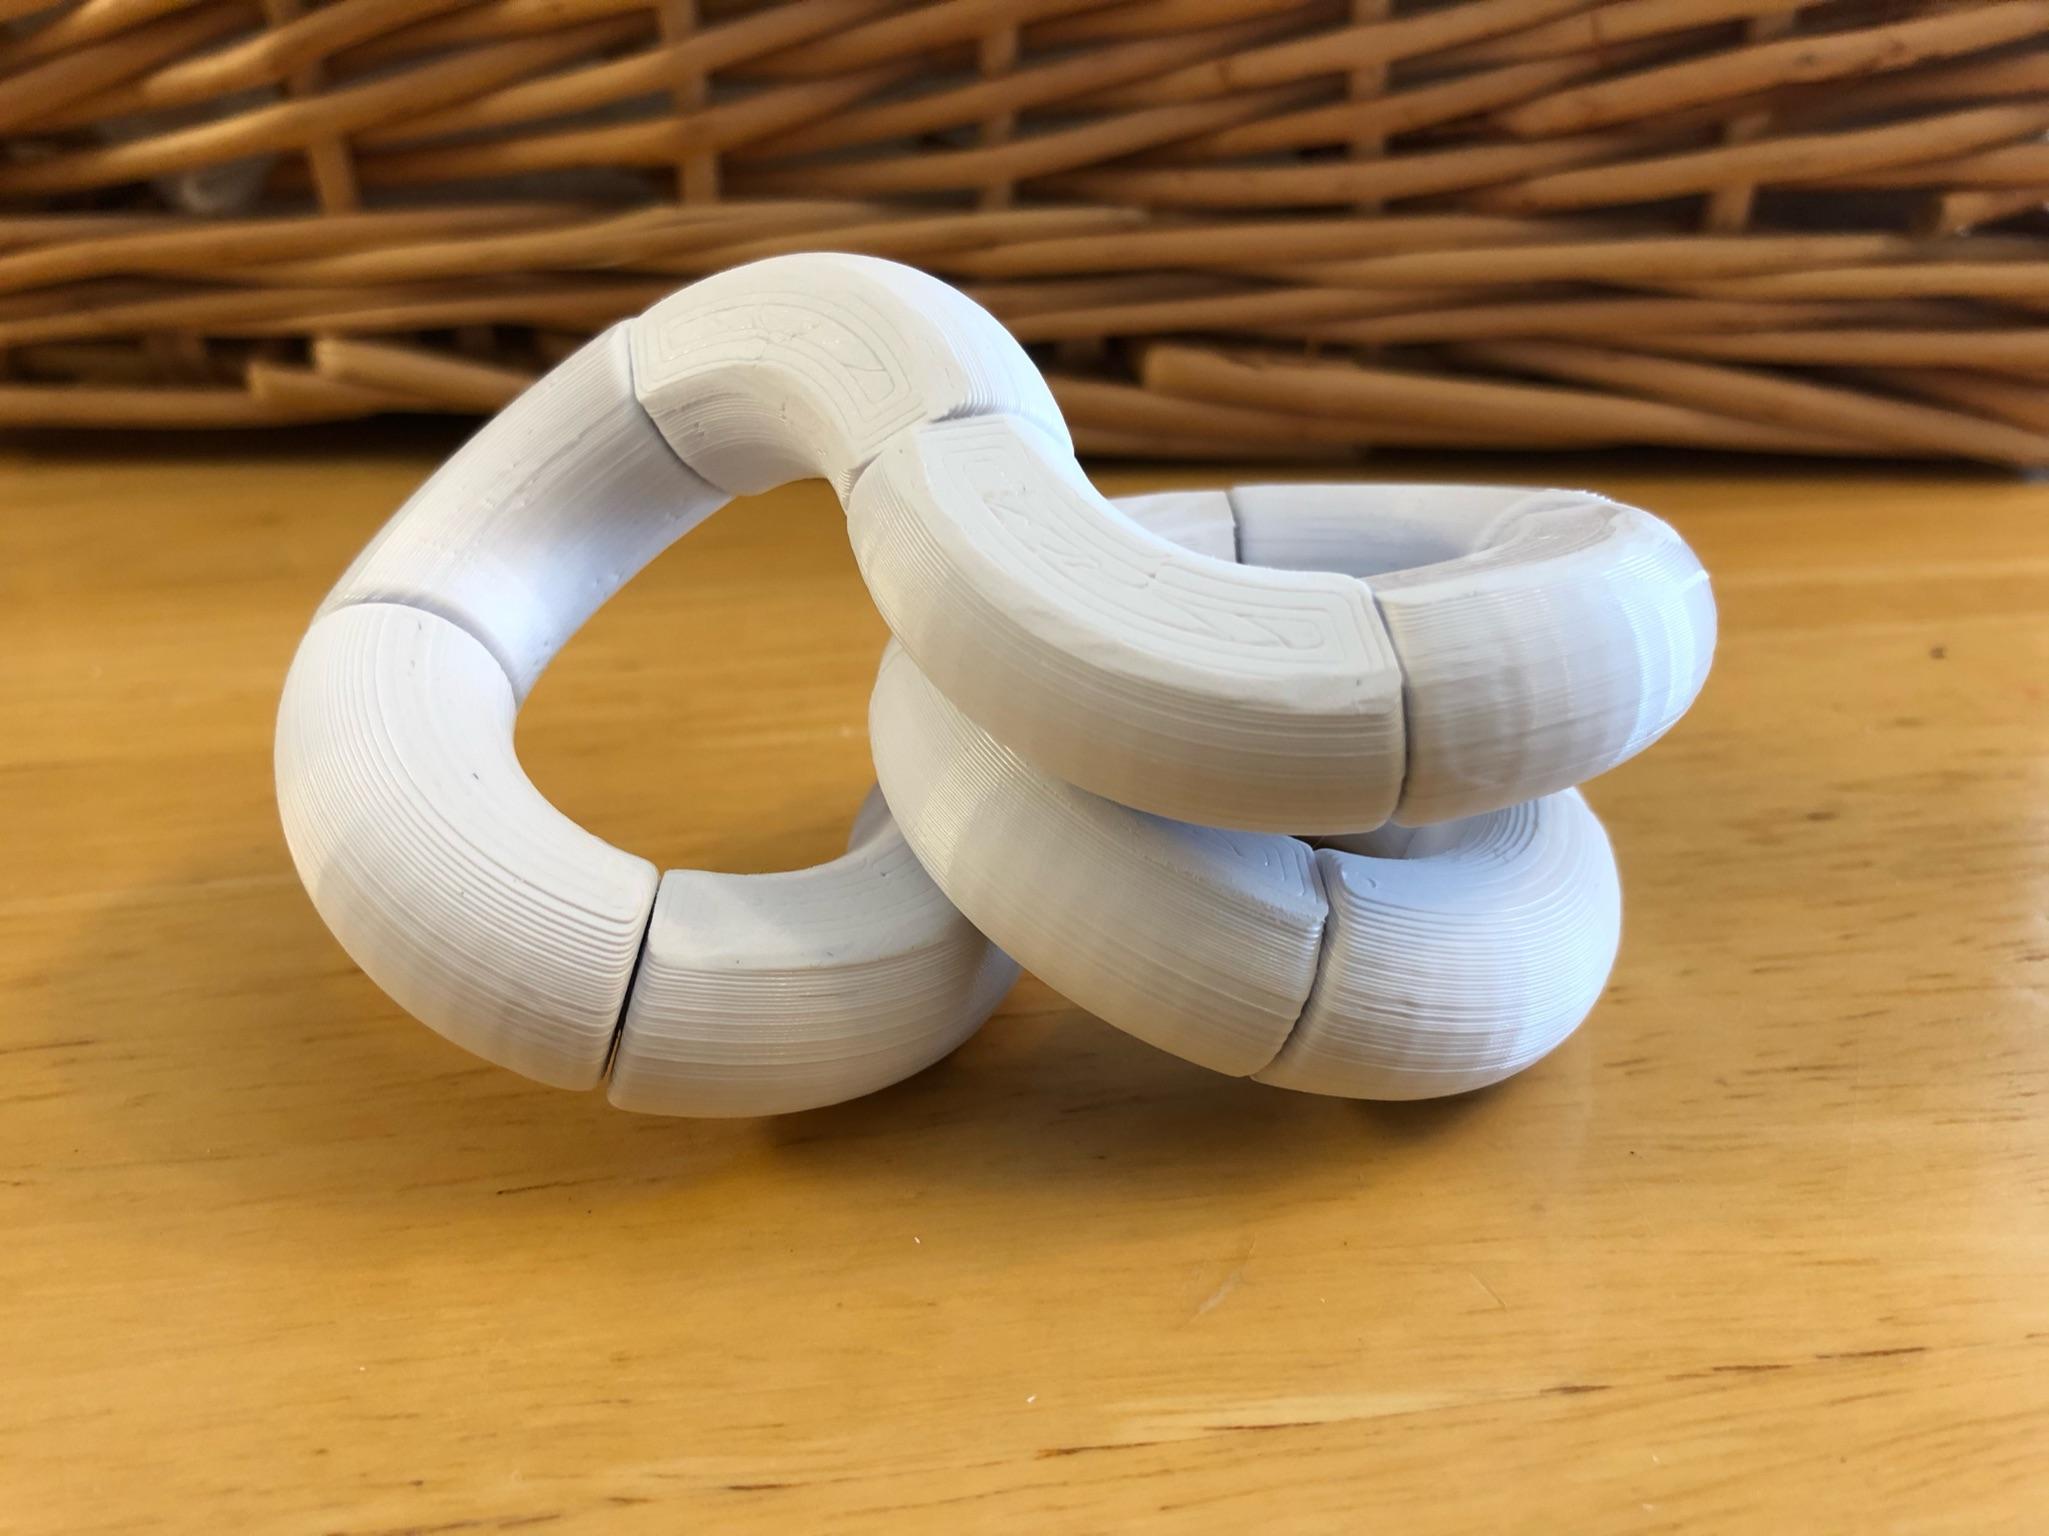
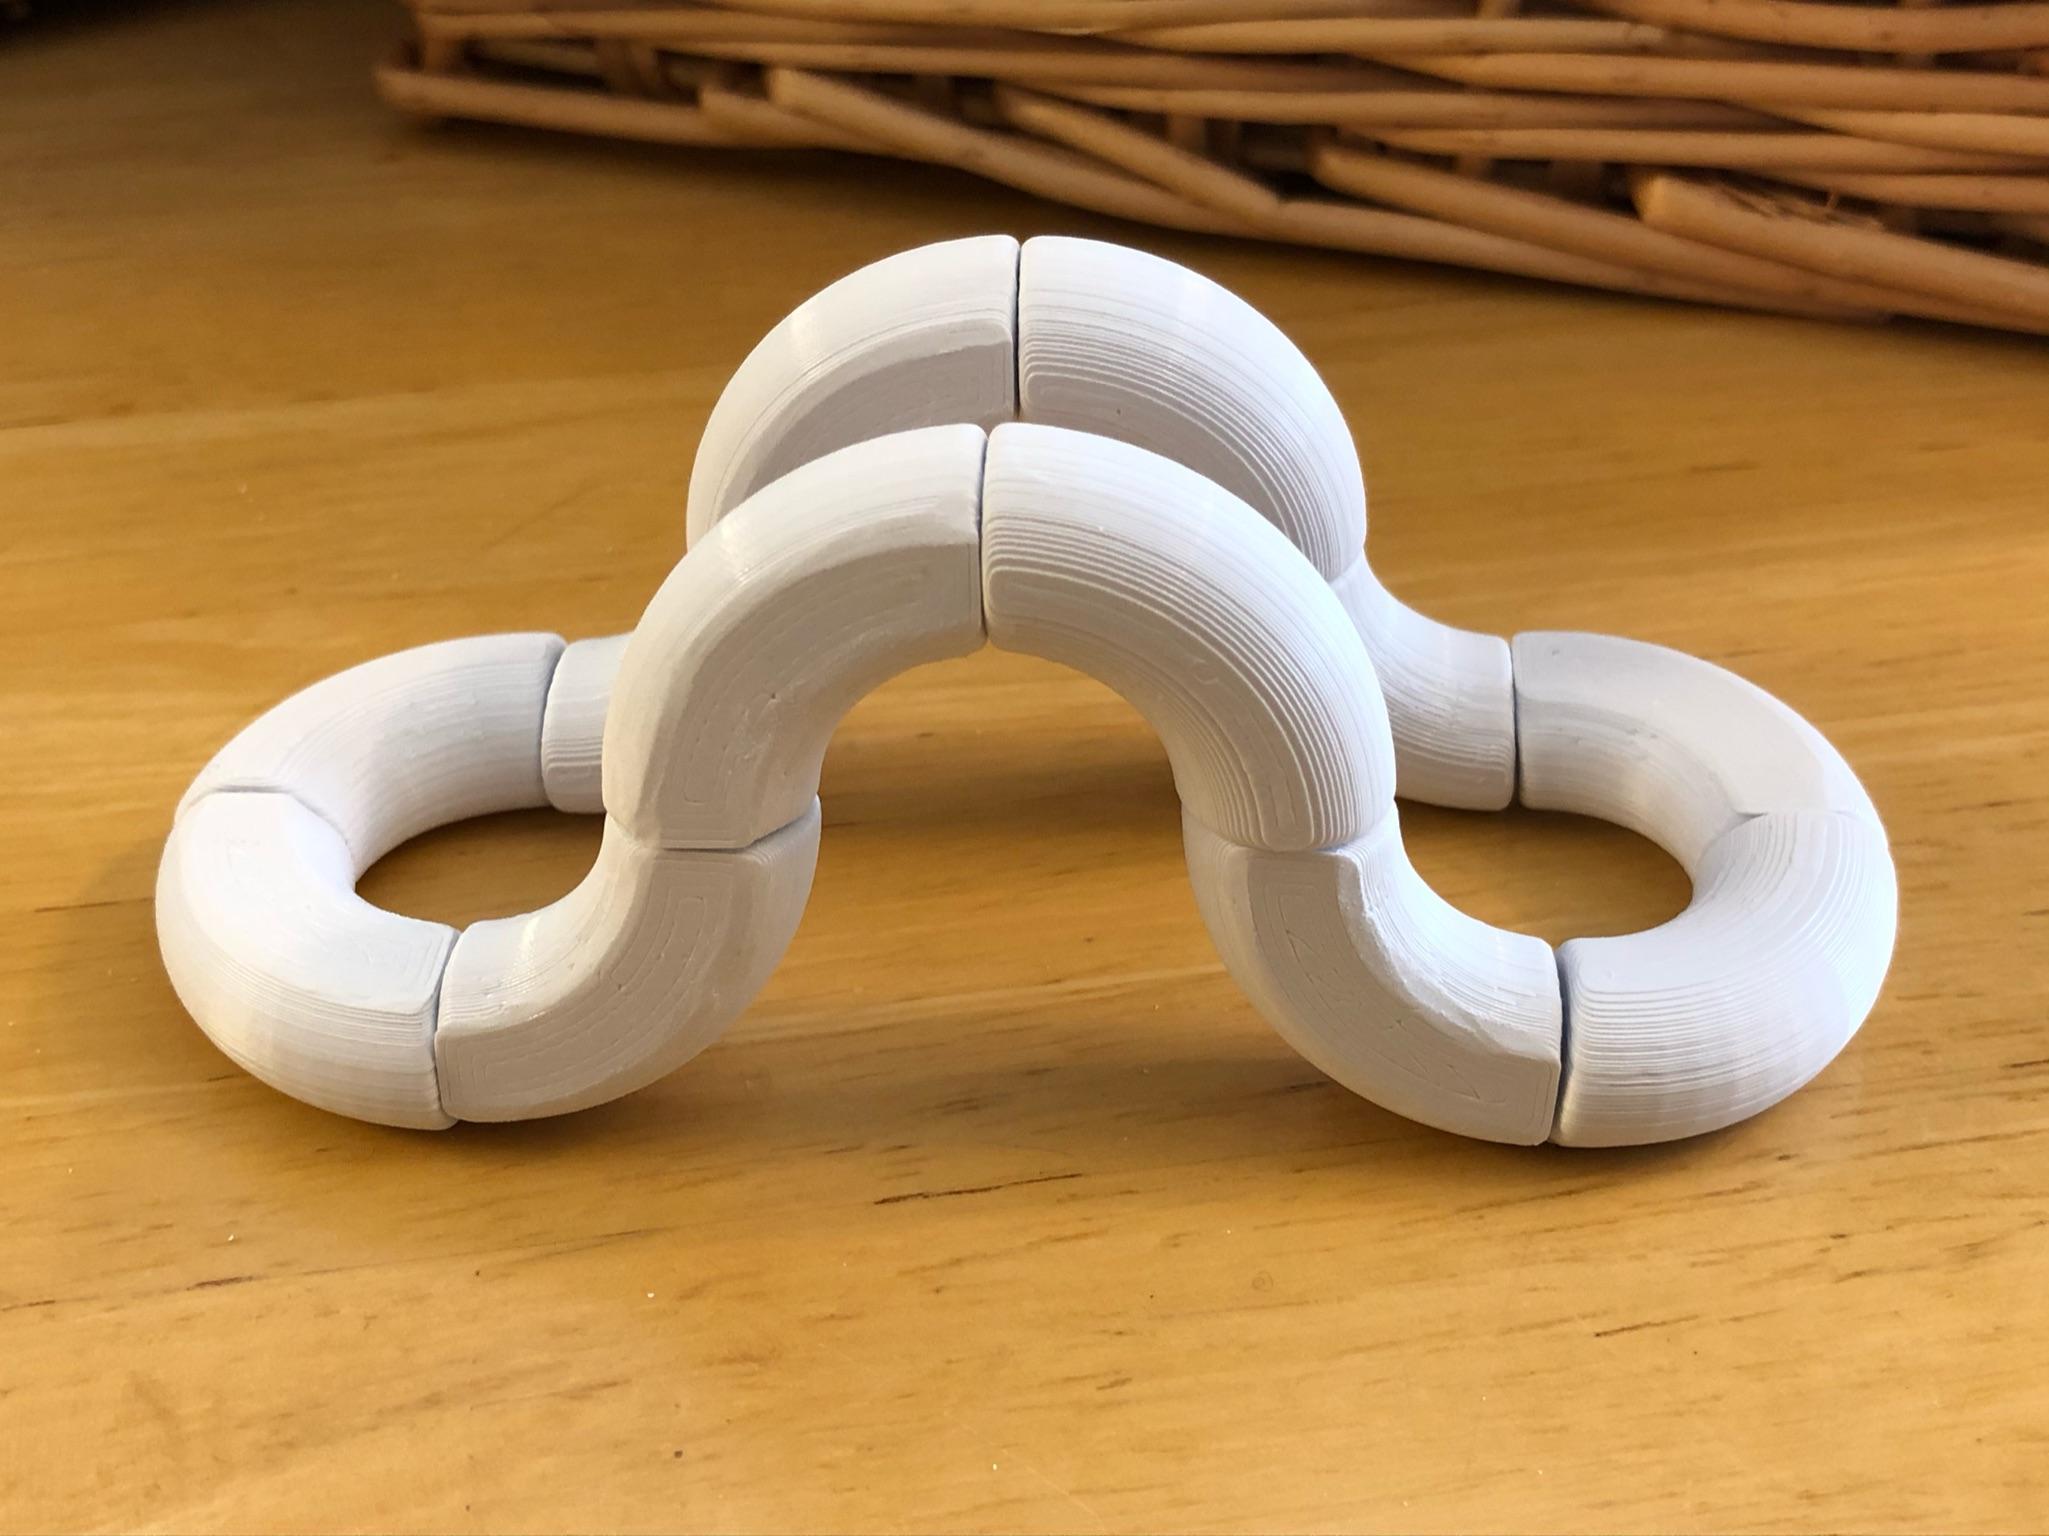
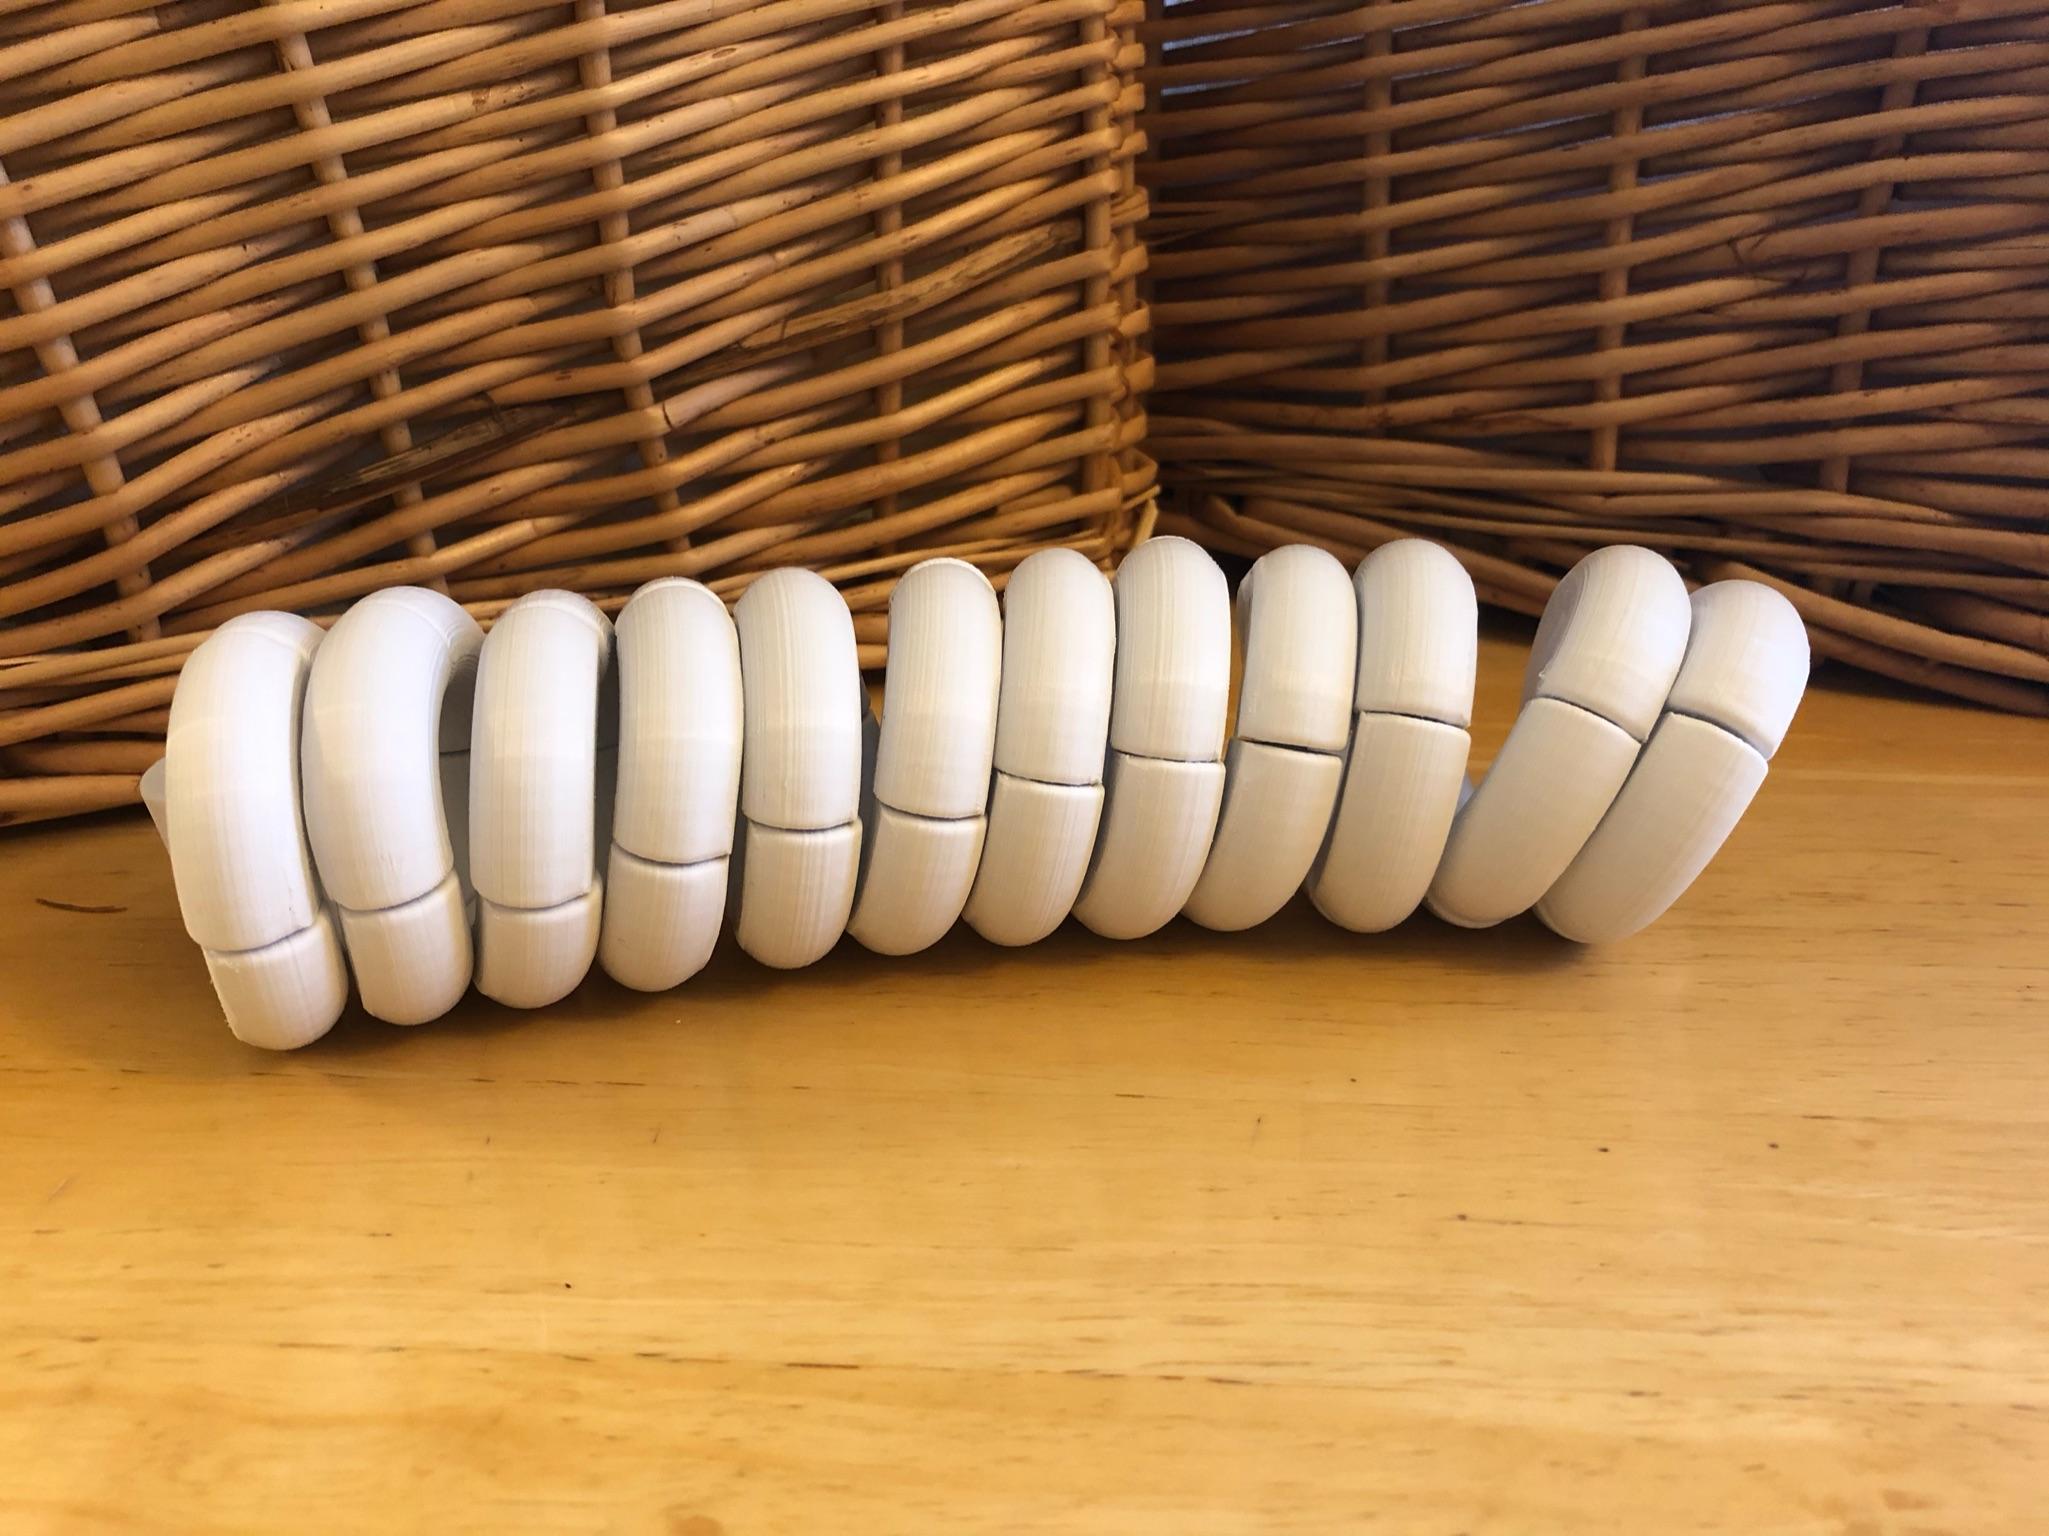
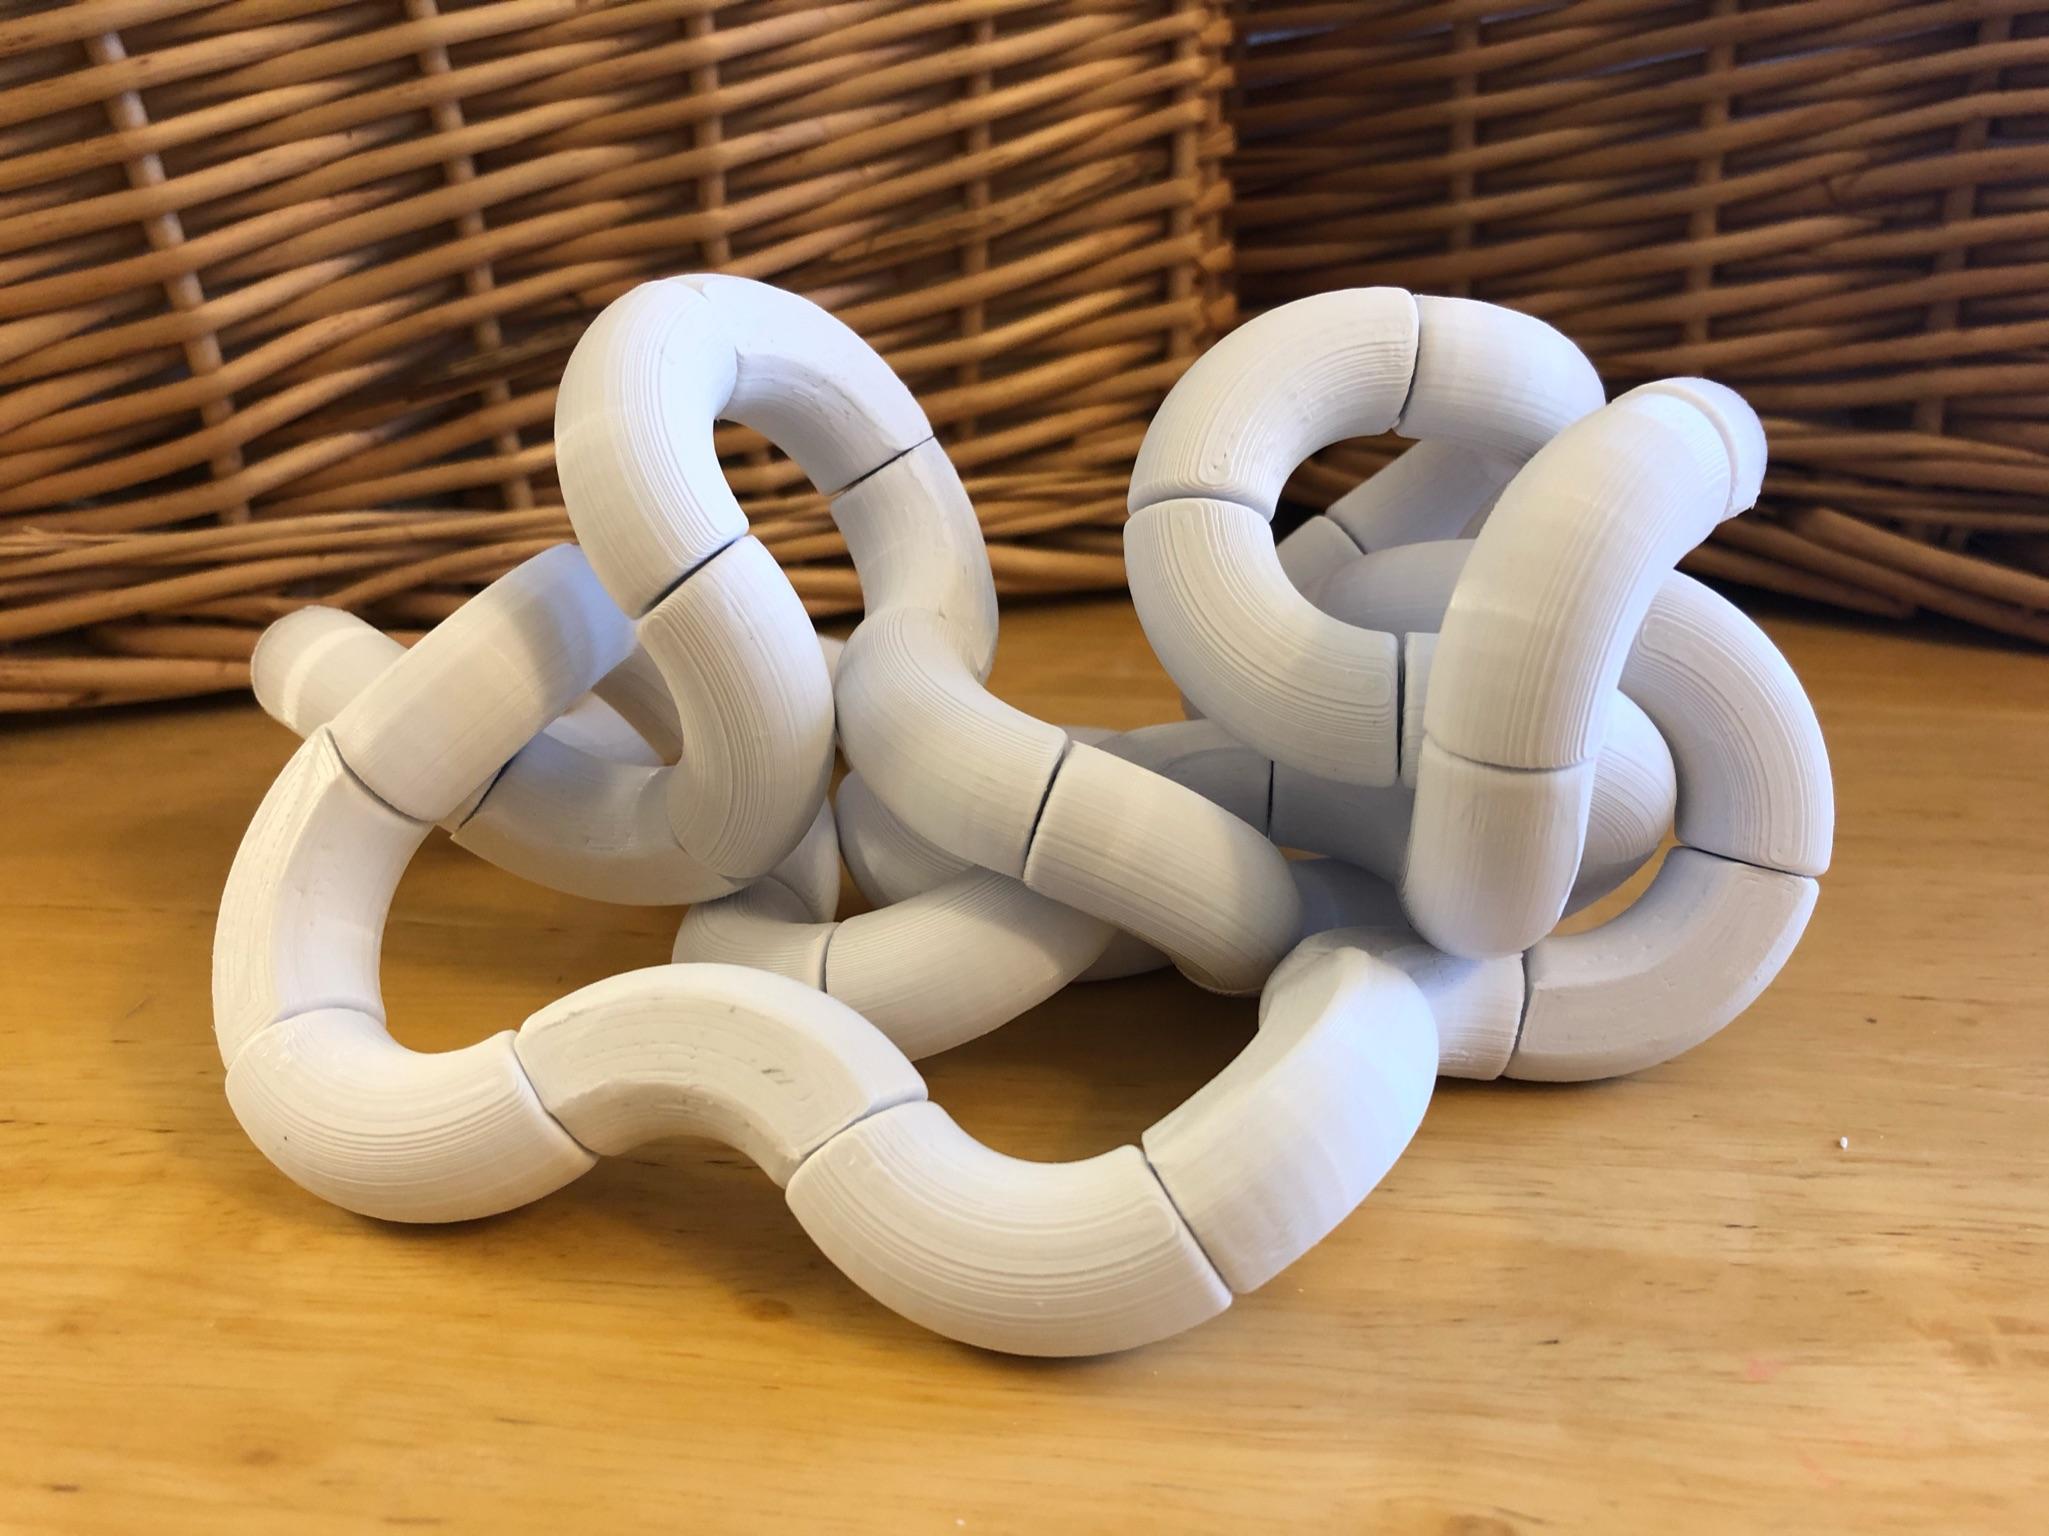
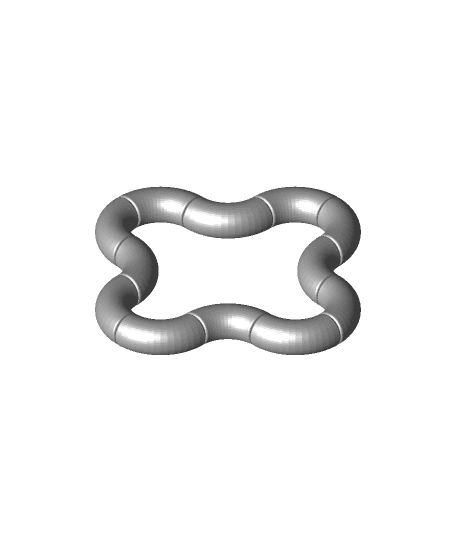
These print-in-place twisty tubes can be used as puzzles or just fun fidget toys. See here for video: https://youtu.be/_59nRTc5oJ8
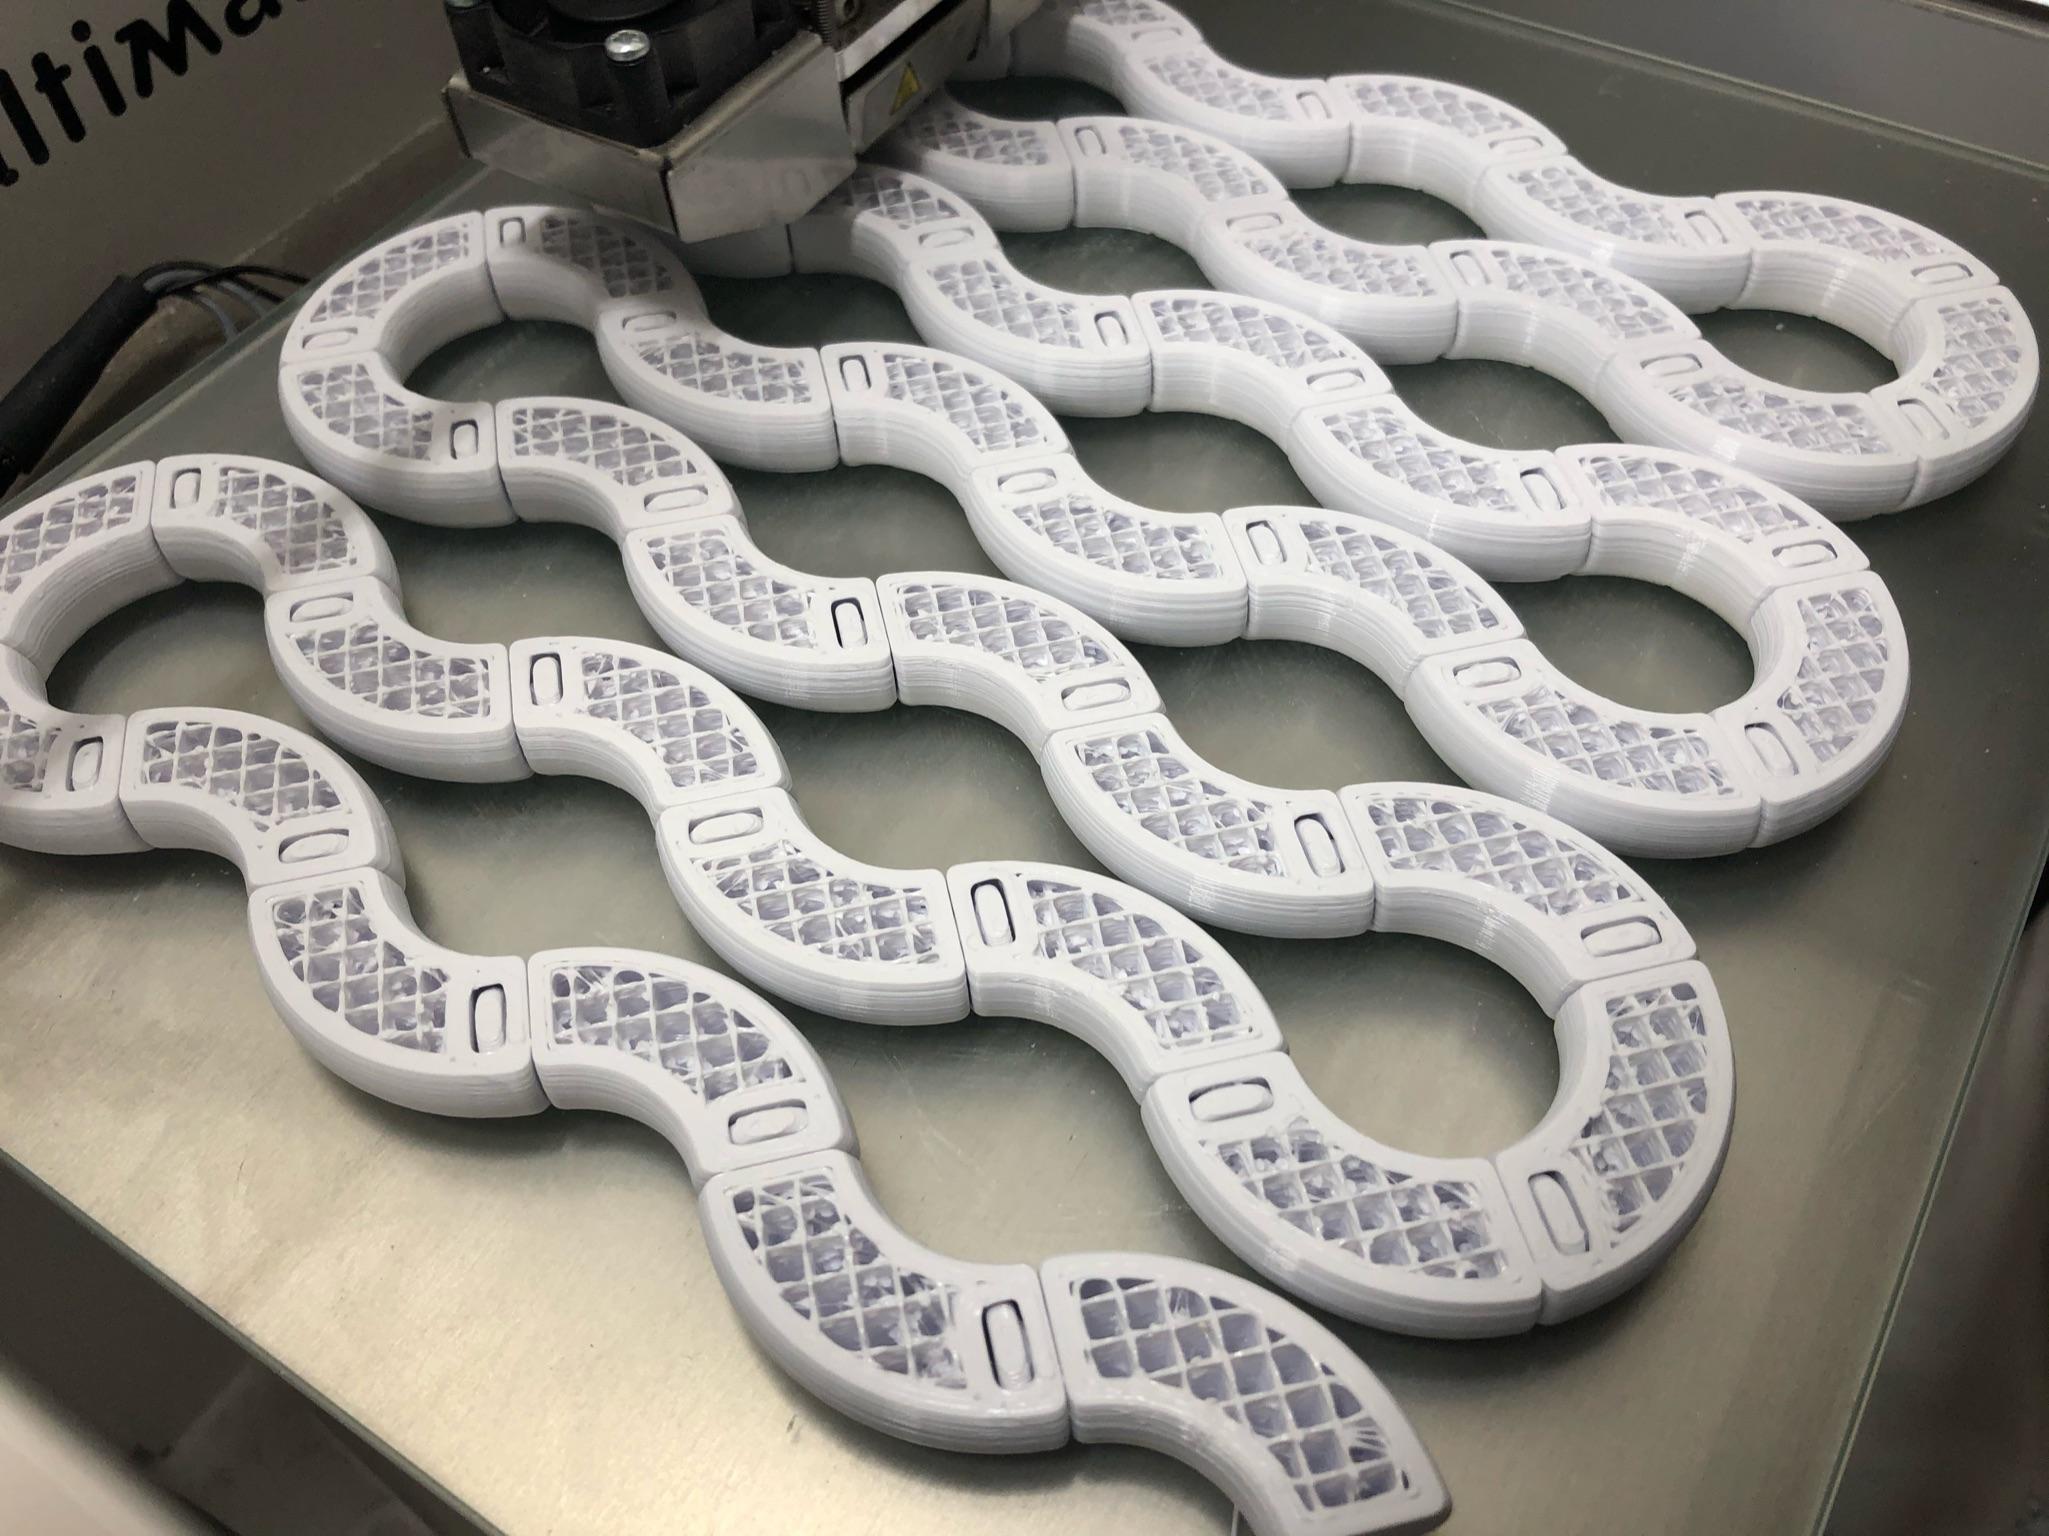
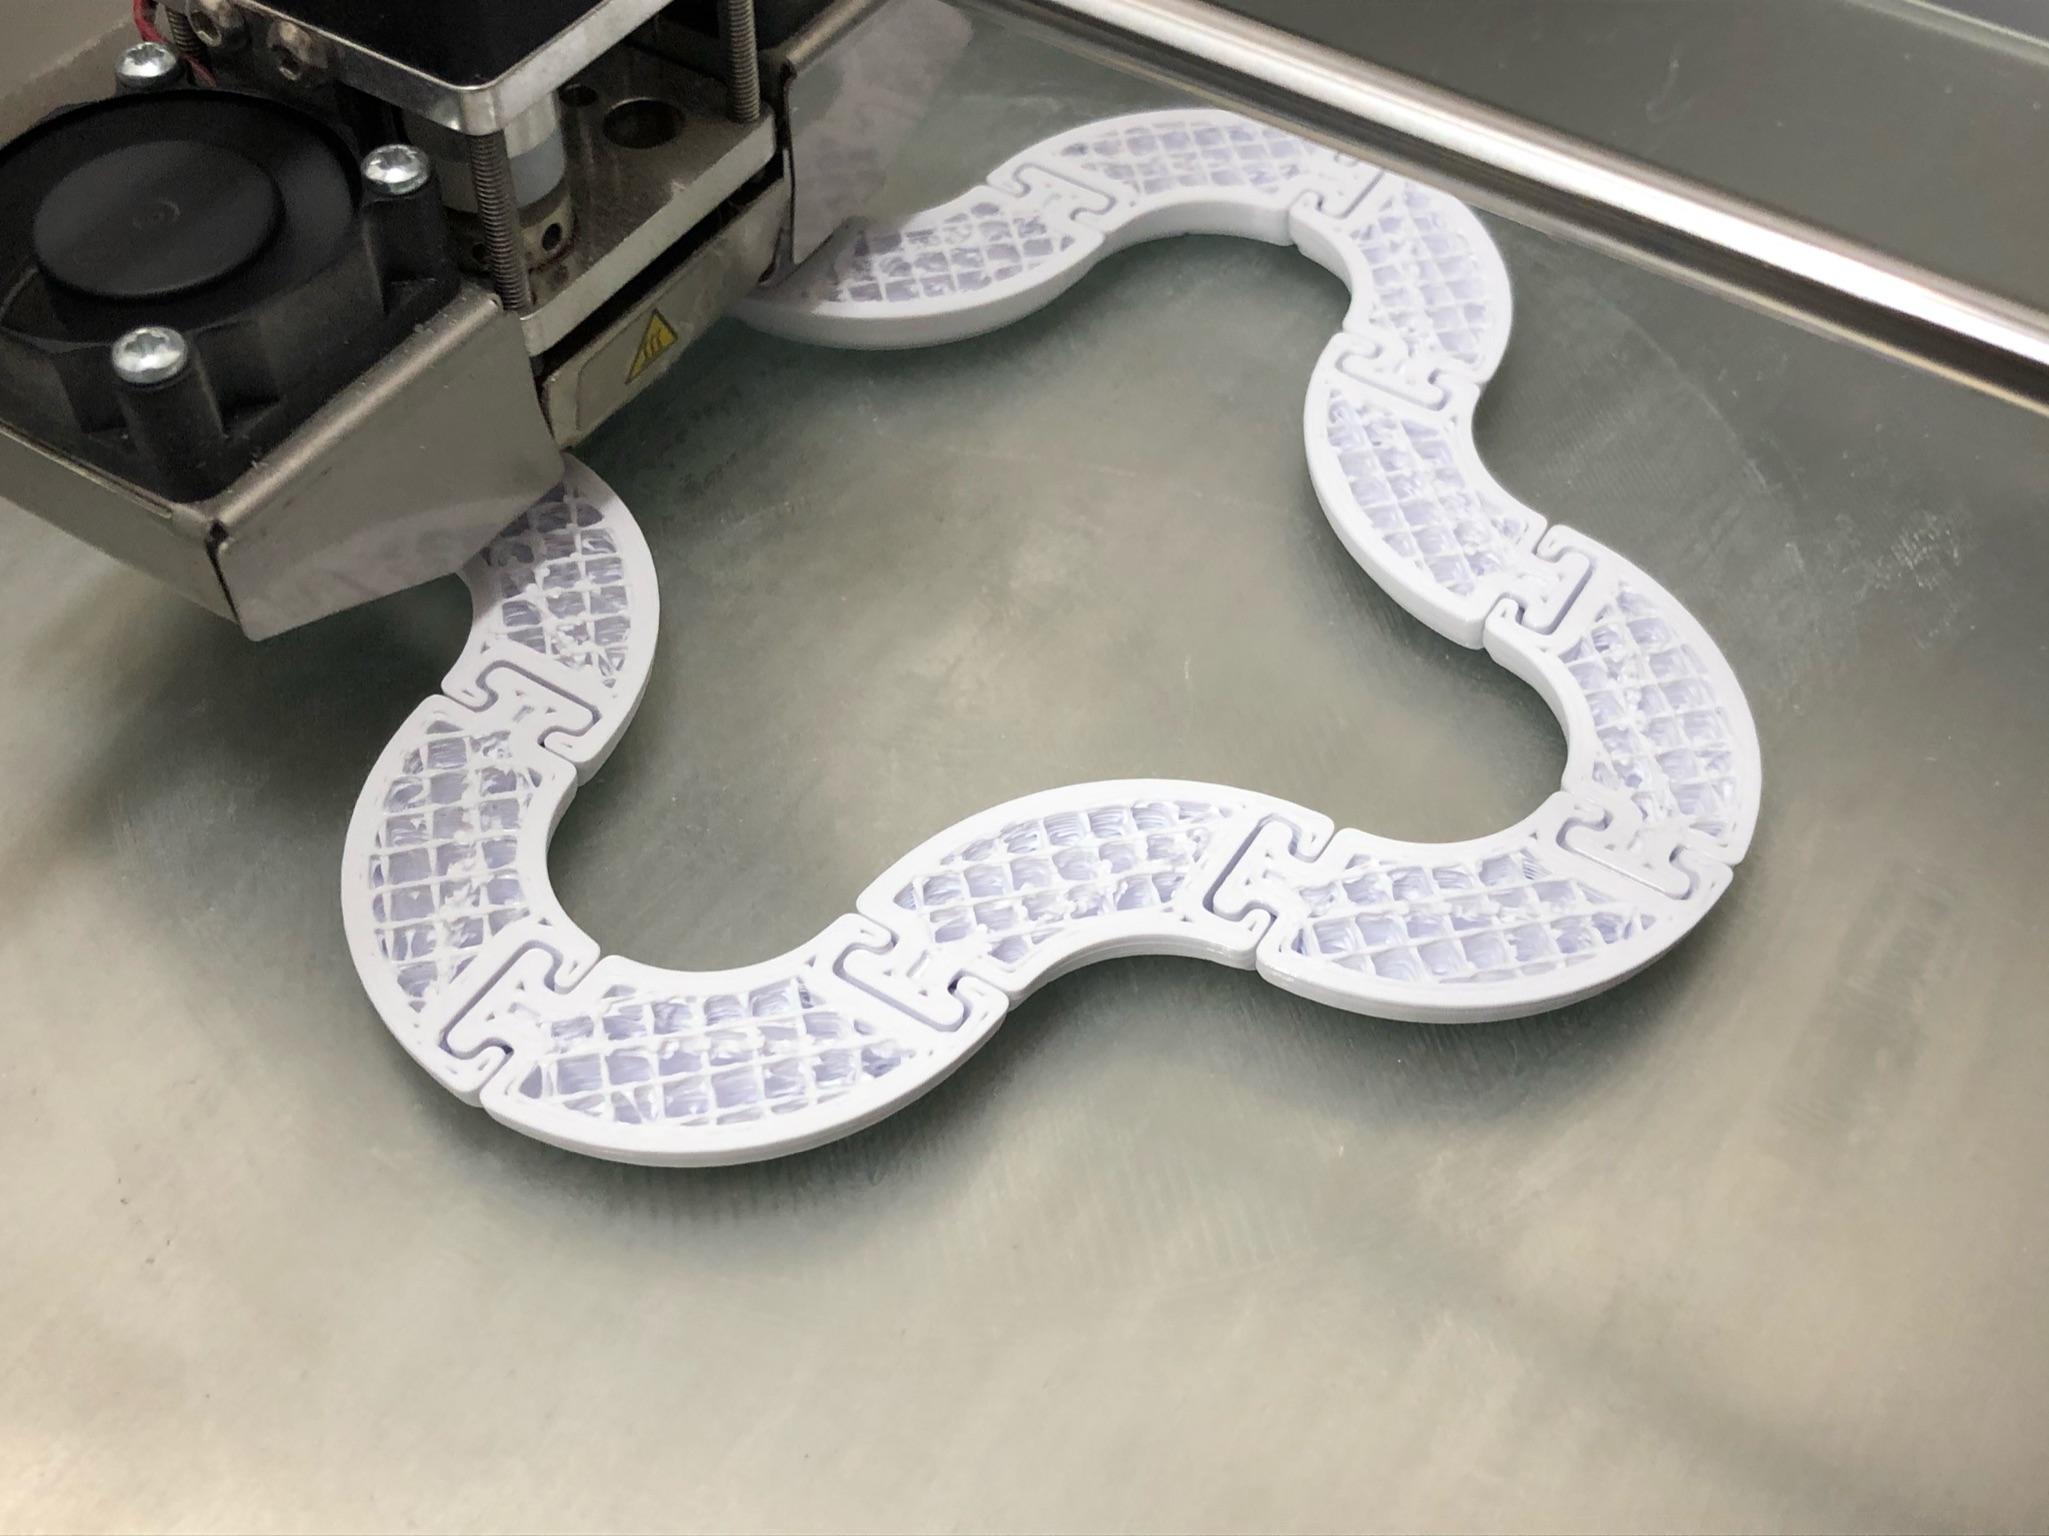
The 90 degree “elbow” tubes are connected using a unique print-in-place pivot design in which the inner part of the pivot is printed on tiny built-in supports within the cavity of the neighbouring segment. Scroll through the layer mode on your slicer first to make sure that the supports will be printed. They show up as tiny blobs in the pivot cavity right before the inner pivot starts to print.
Tolerances in the pivot mechanism and between neighbouring segments are intentionally tight and you may get formation of some small adhesions. You will need to use a bit of force to break the inner pivot from the supports. Give the pivot a few twist under pressure to smooth out the left over supports in the pivot cavity.
Give the print plenty of time to cool. If you try to twist the segments apart while the plastic is still soft you risk breaking the neck. If you are getting too many adhesions, try lowering your extrusion rate. Use the “2 segment test print” to dial in your settings before printing a larger piece.
“90deg 12 segment closed loop” is my favourite and it is a good one to start with! If you want to use this as a puzzle, try and create some of the shapes pictured.
“90deg 48 segment open” is a larger piece for more open-ended shape construction. It requires a 200mm x 200mm buildplate.
This is an entry for the Print-in-Place Designs 3D Modelling Challenge #3Dprint #thangs3d #pdo
