Spiralized Octet Truss Modular Snap Struts
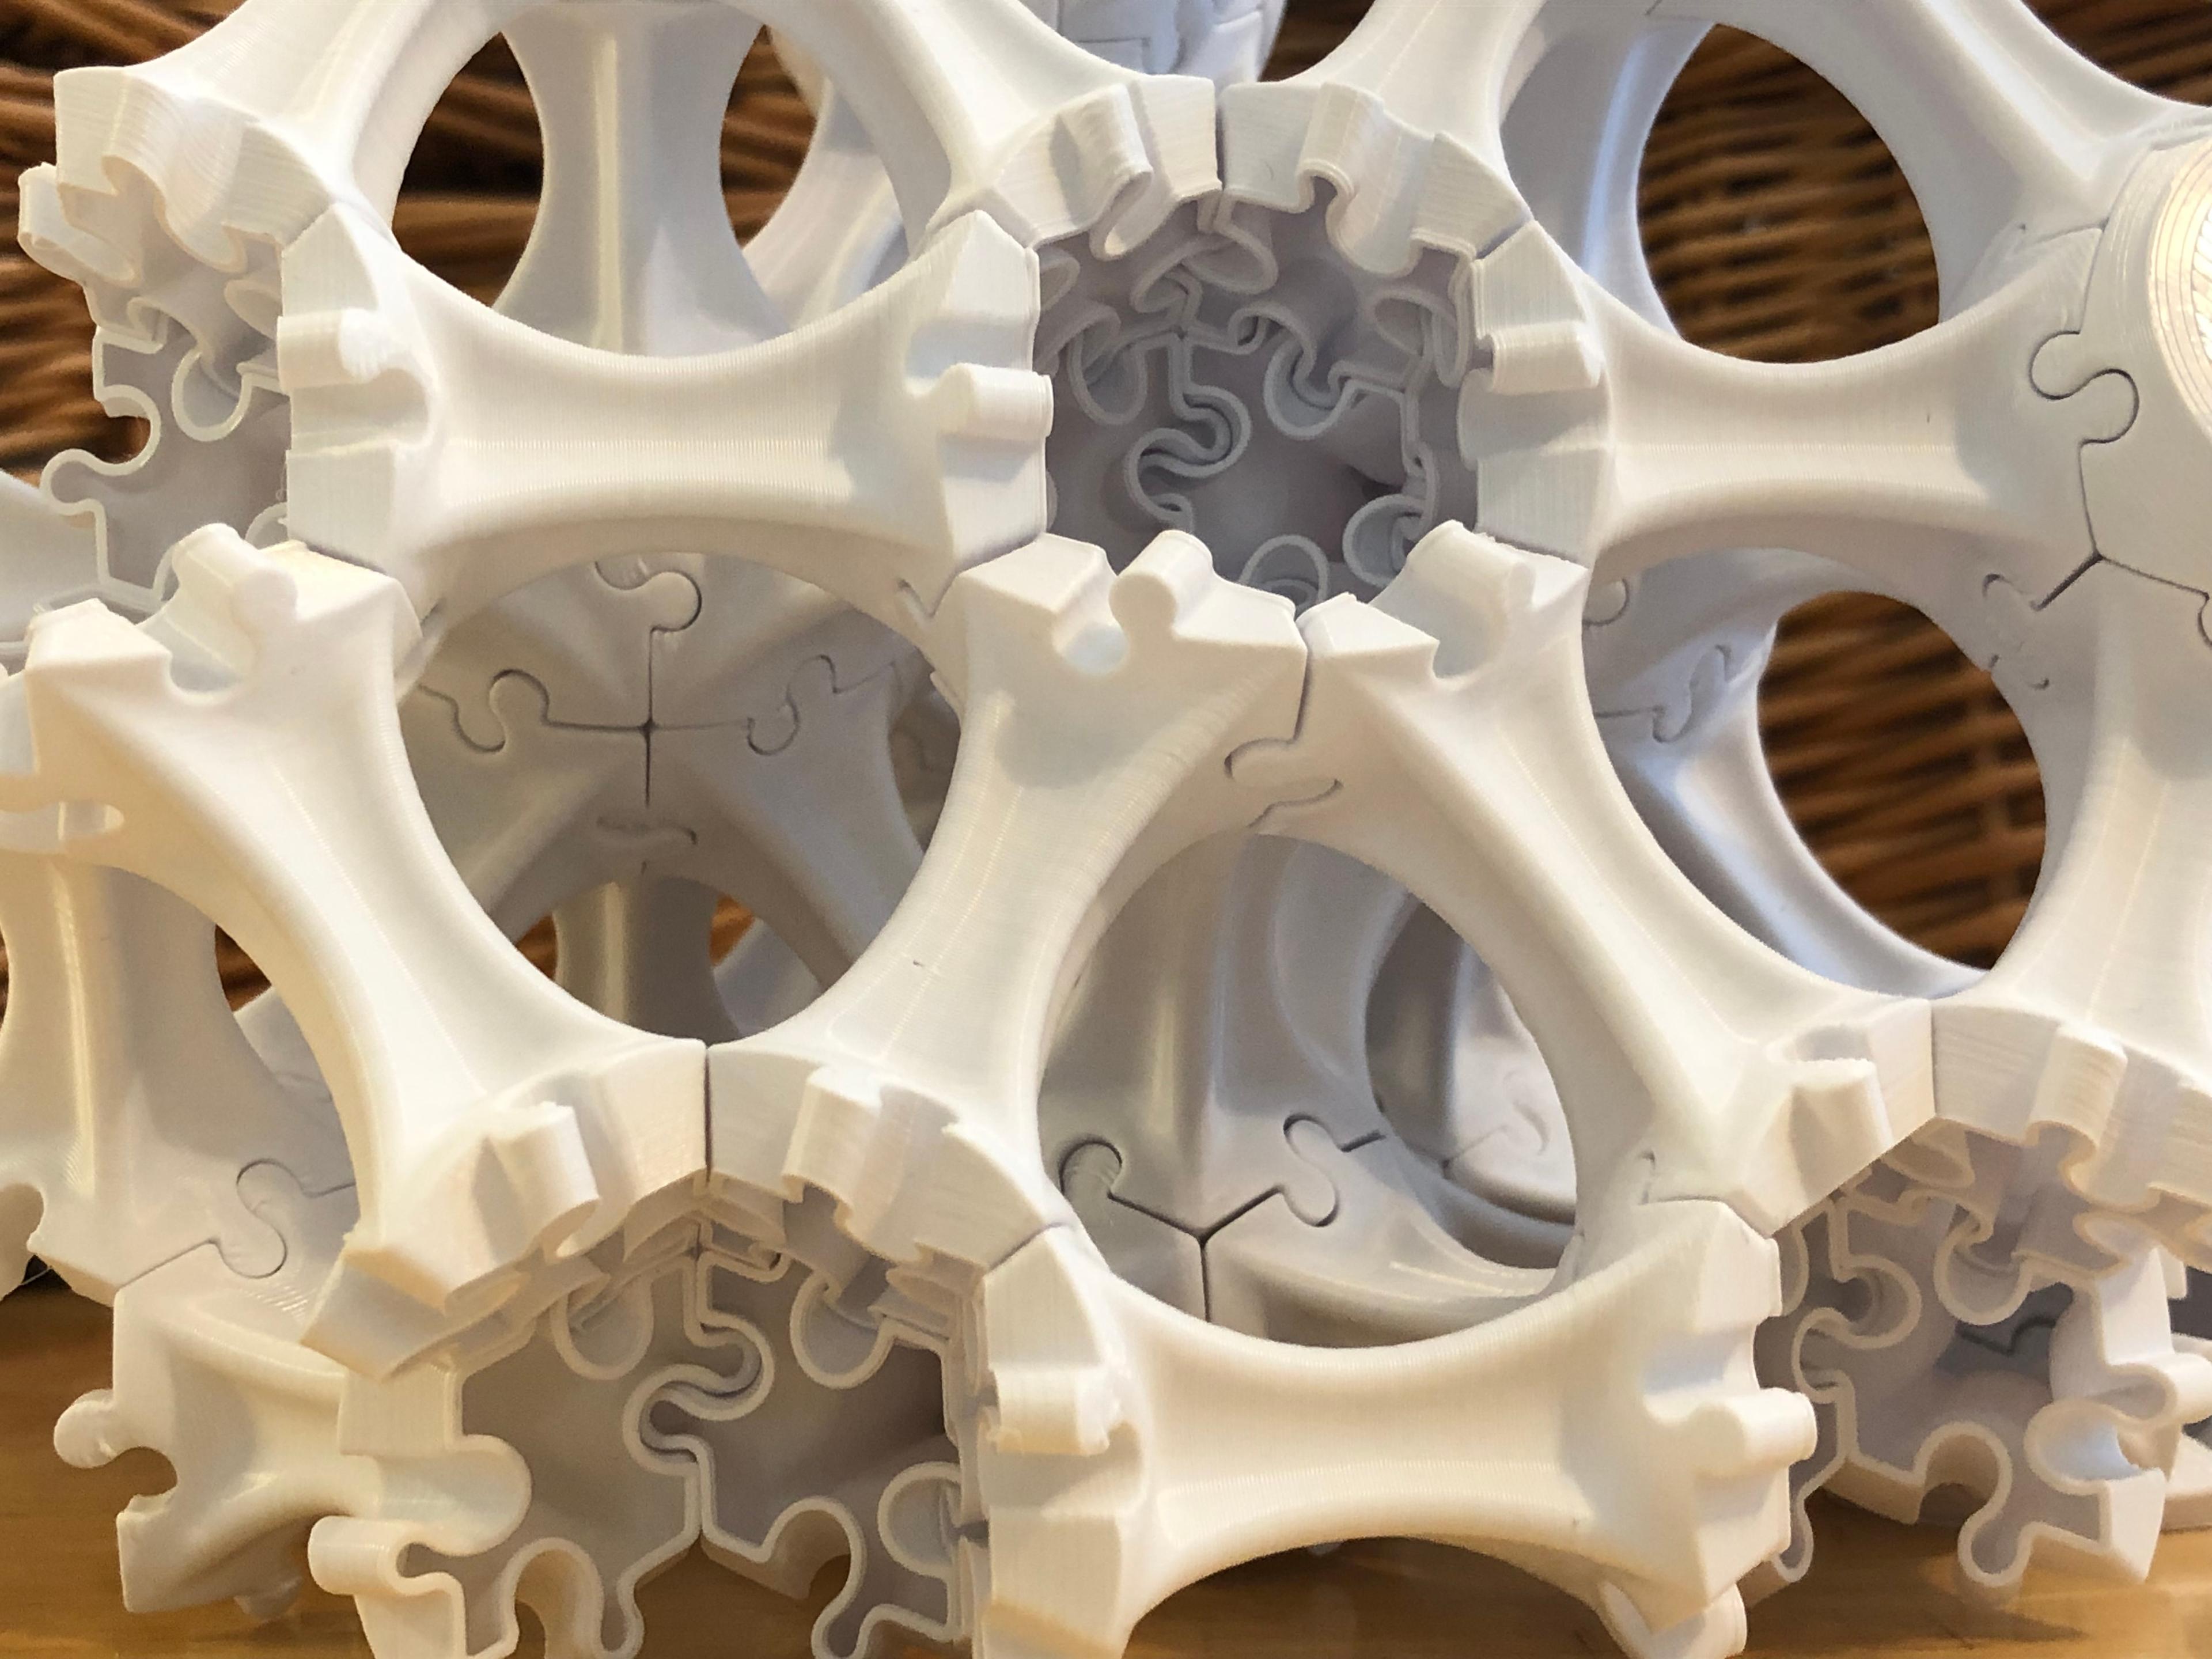
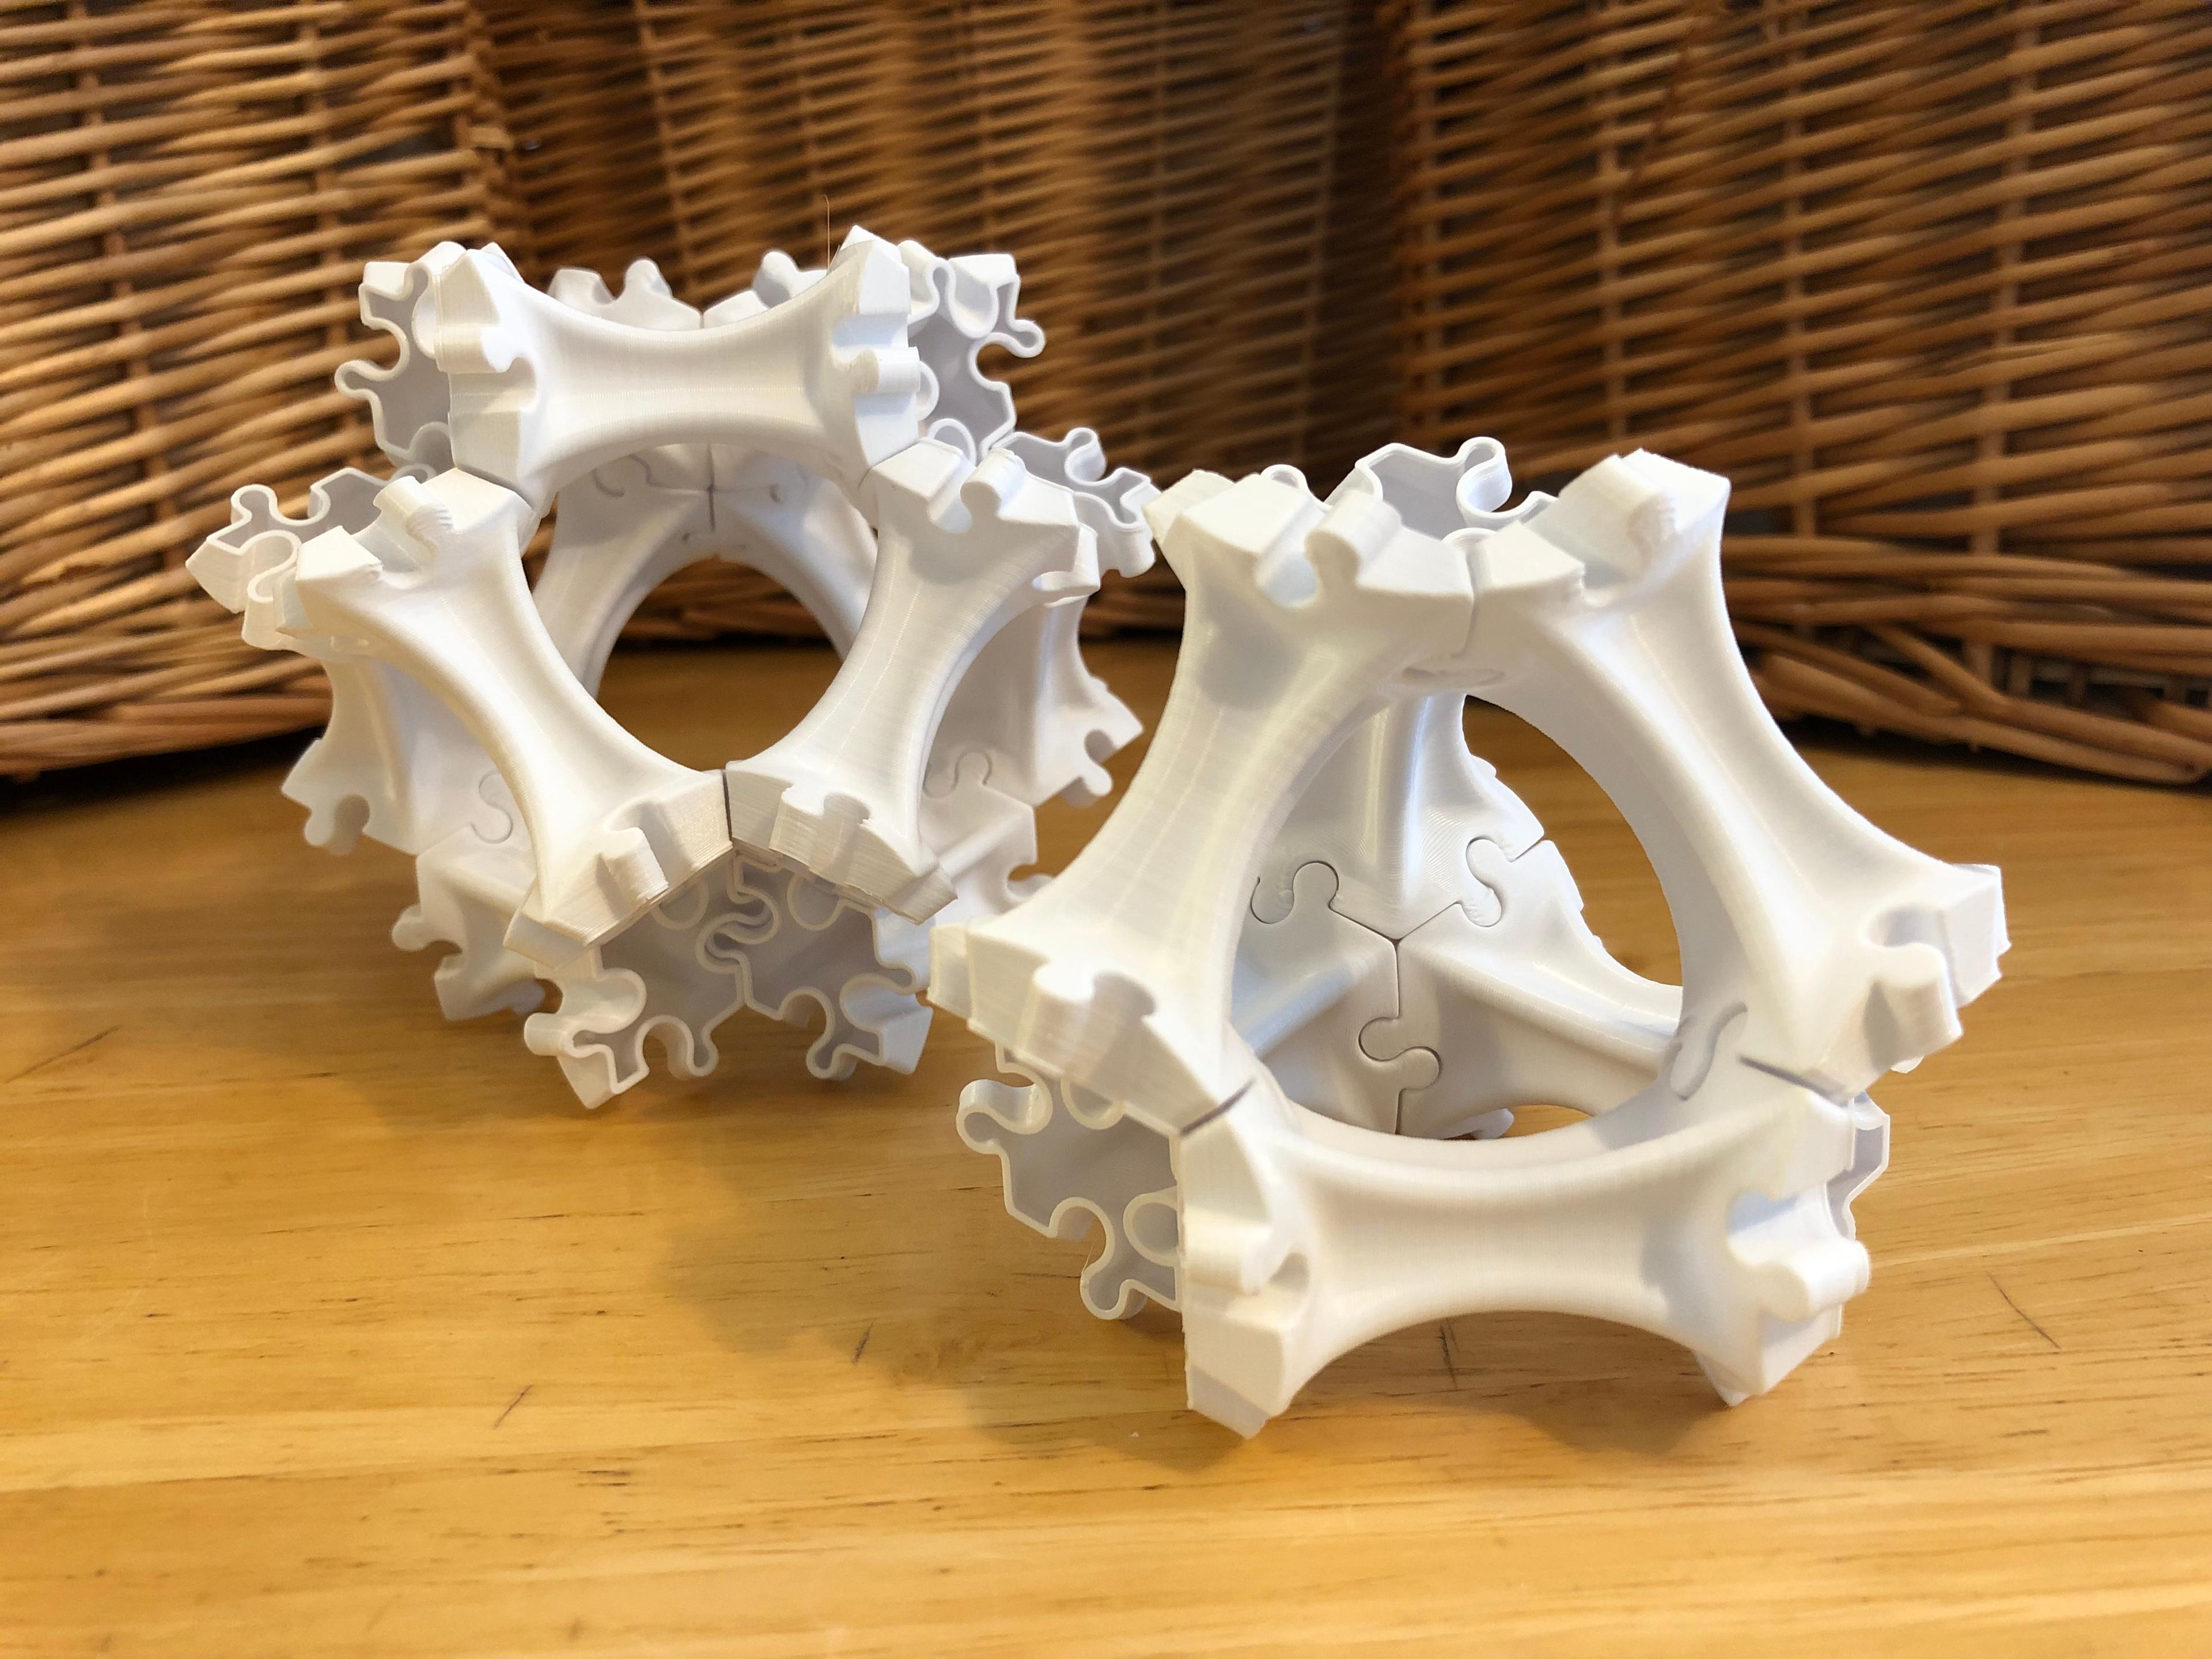
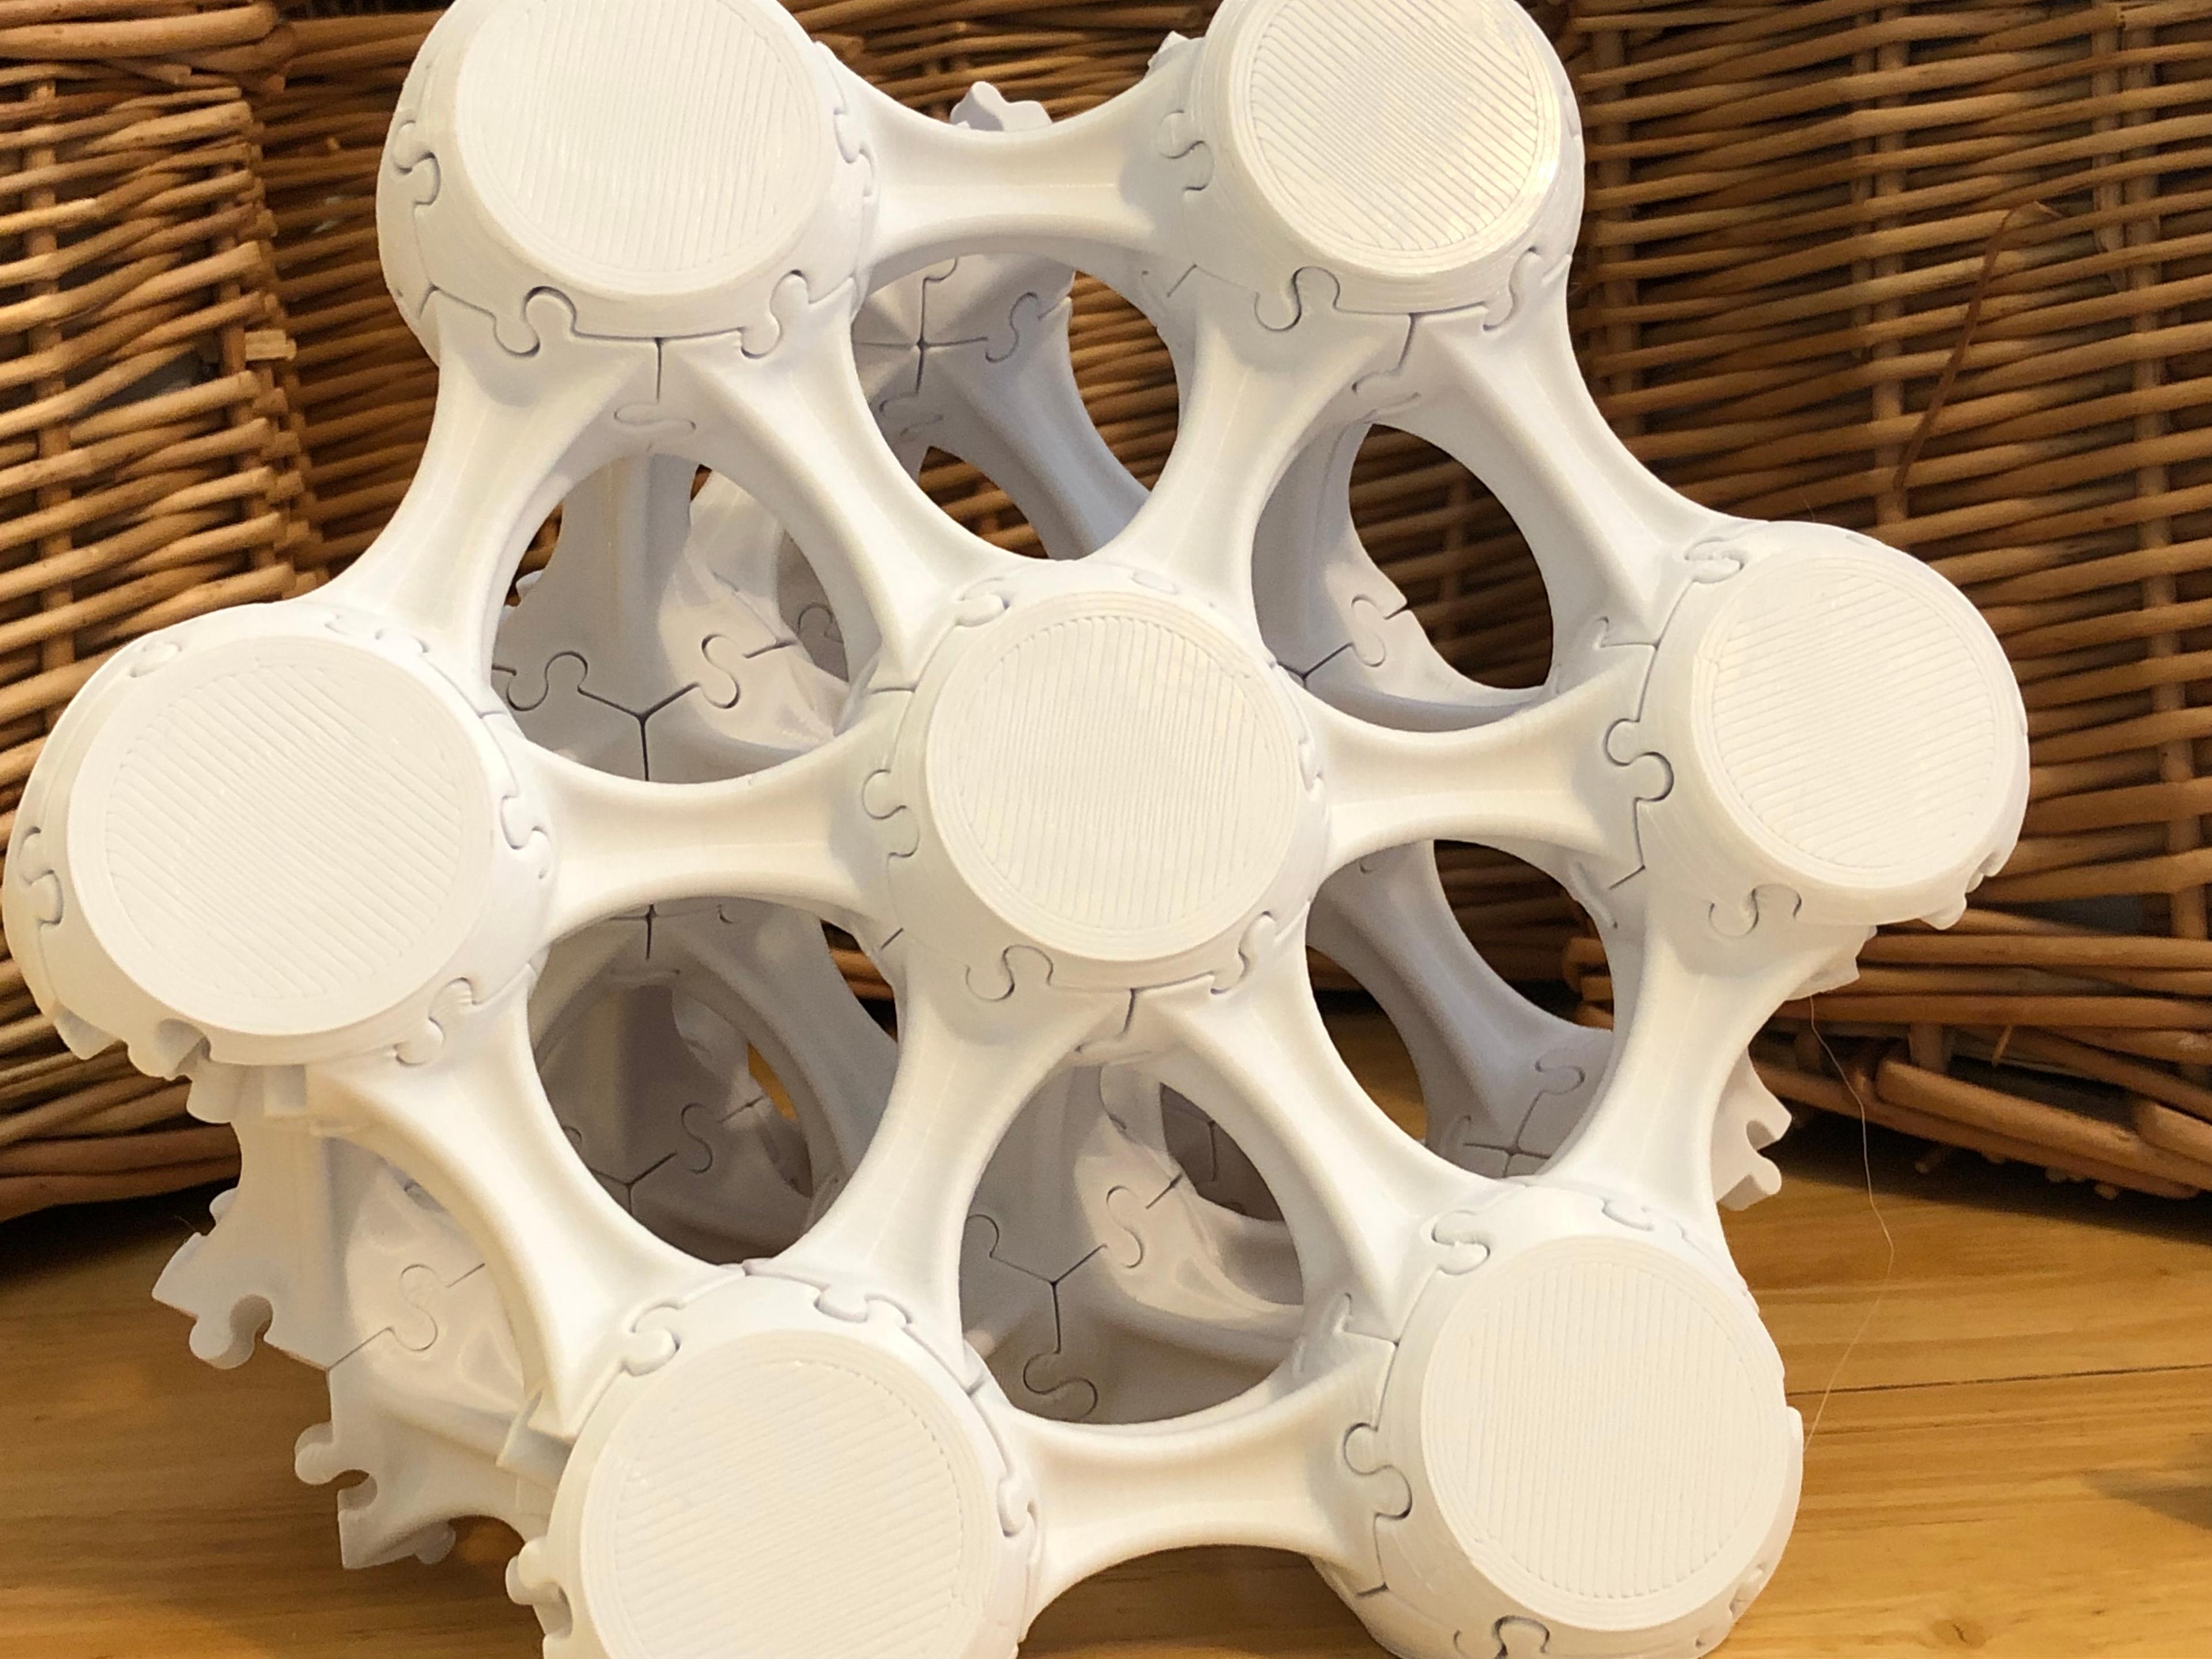
This snap-together modular strut system can be used to create large scale 3D printed objects with minimal time and material. Chairs? Tables? Bridges? How big will you go?!
See here for video of some basic shapes and structures: https://youtu.be/ifpAeNatWeI
See here for video demonstrating end cap configurations: https://youtu.be/PjqBAvGYHfw
Summary
The “octet truss” is a geometric pattern used in architecture and structural engineering in the design of lightweight, rigid space frames used to span large areas or fill large spaces. It is known for being strong, rigid, and lightweight.
The 3D printing technique known as “spiralized printing” or “vase mode” is faster and uses relatively less material than other slicing techniques.
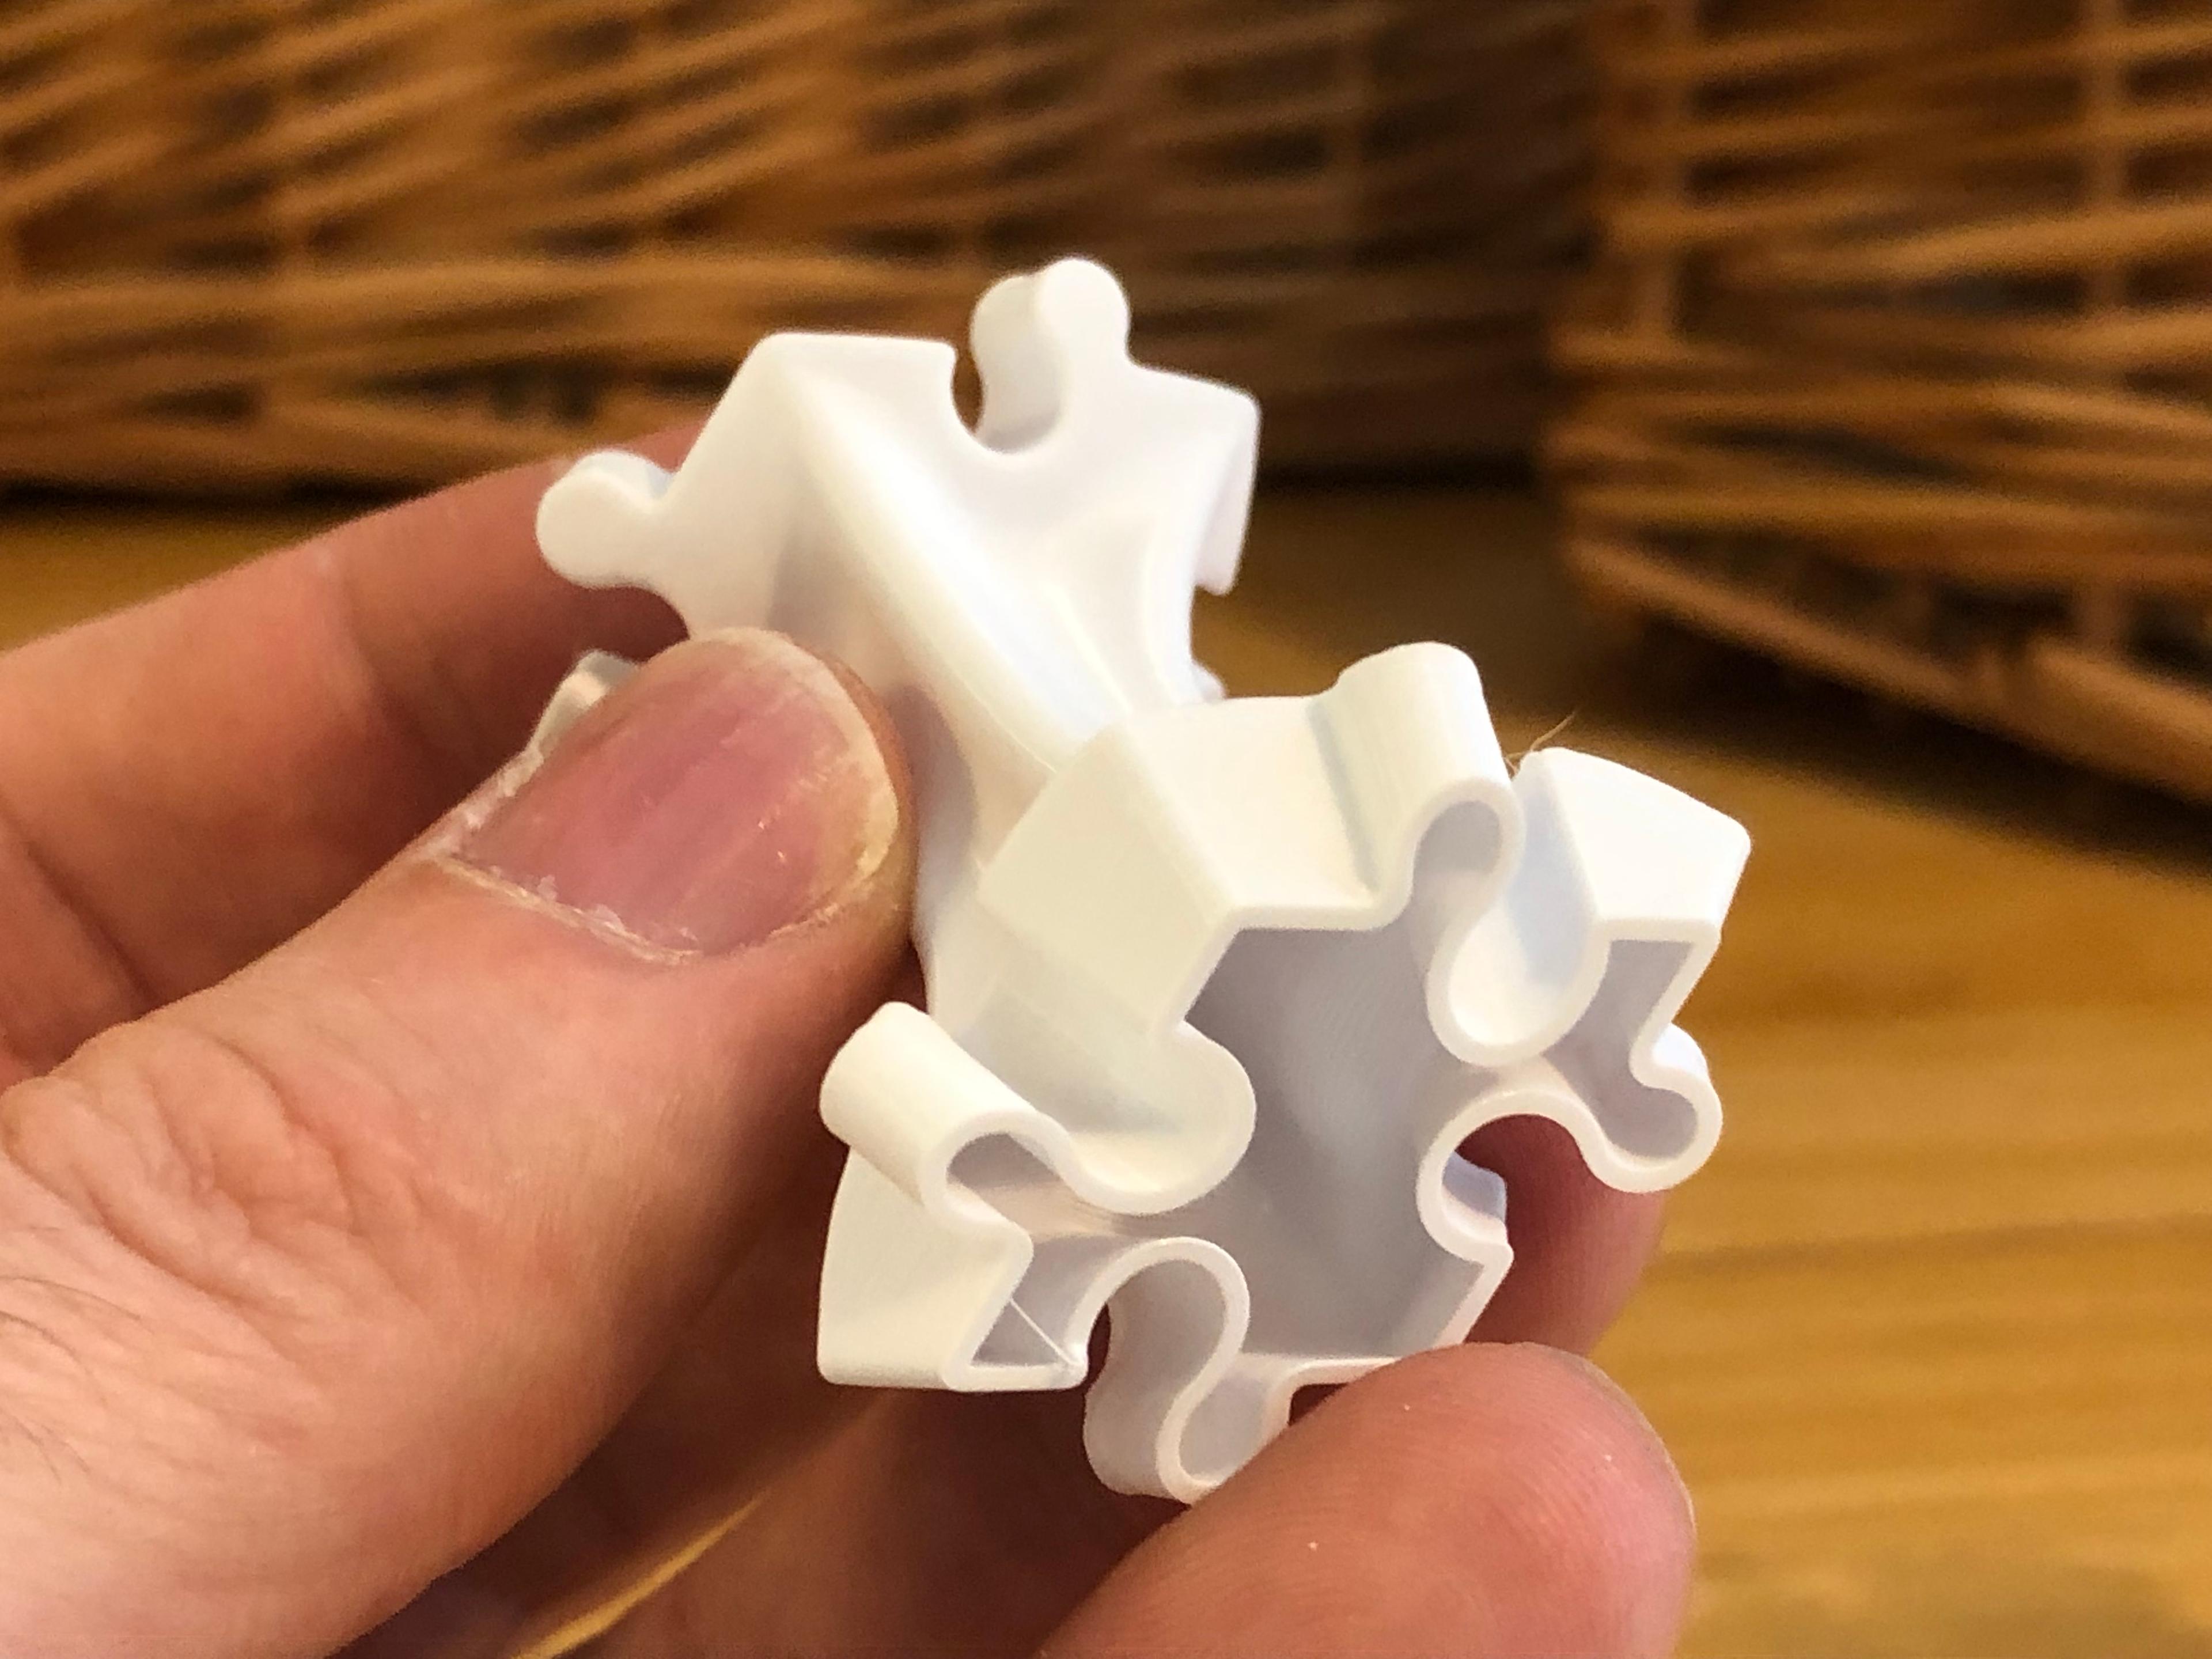
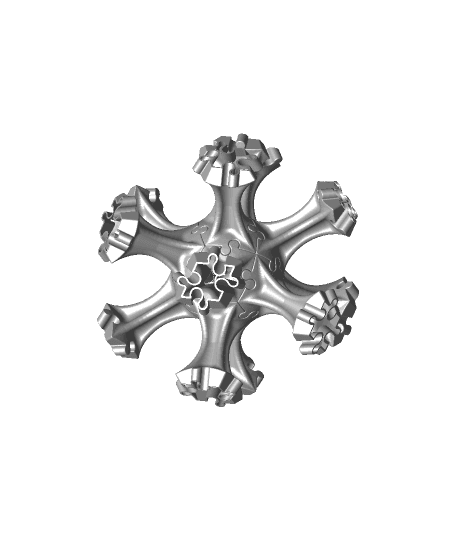
This design combines the geometry of the octet truss with a shape that is optimized for spiralized printing. In “Spiralized Mode,” a single piece will print in 20 min at regular speed and use less than 4g of material. In comparison, printing a single piece in regular non-spiralized settings takes approximately 35min and 12g of material.
The octet truss is composed of tetrahedrons and octahedrons with twelve struts joining at each vertex. The pattern is quite instinctive once you start playing with the pieces, so you do not need to understand the geometry to build with this design. This lattice structure can continue infinitely to take on whatever structural shape you would like to create.
The pieces to require some force and a bit of practice to snap together. They are held in place by the flexible nature of the spiralized print. Assembled pieces are actually quite strong on their own, but you can add glue for a stronger and more permanent structure.
Struts
The struts are designed to print with a 0.8mm nozzle. They will print with a smaller nozzle but may not be as strong. Here are recommendations for printing in Cura:
- Turn off bottom layer by setting “Top/Bottom Thickness” to 0mm
- Adding a “skirt” is a good idea
- In “Special Modes,” check “Spiralize Outer Contour.”
- To print multiple copies in one print, go to “Special Modes” and change “Print Sequence” to “One at a time”. If you choose this option, you will need to pay special attention to placing the objects on the print bed in such a way that the print head and gantry do not collide with the finished prints. The files is sized to allow 12 “one at a time” prints on a 220mm x 220mm Ultimaker 2+ print bed.
End Caps
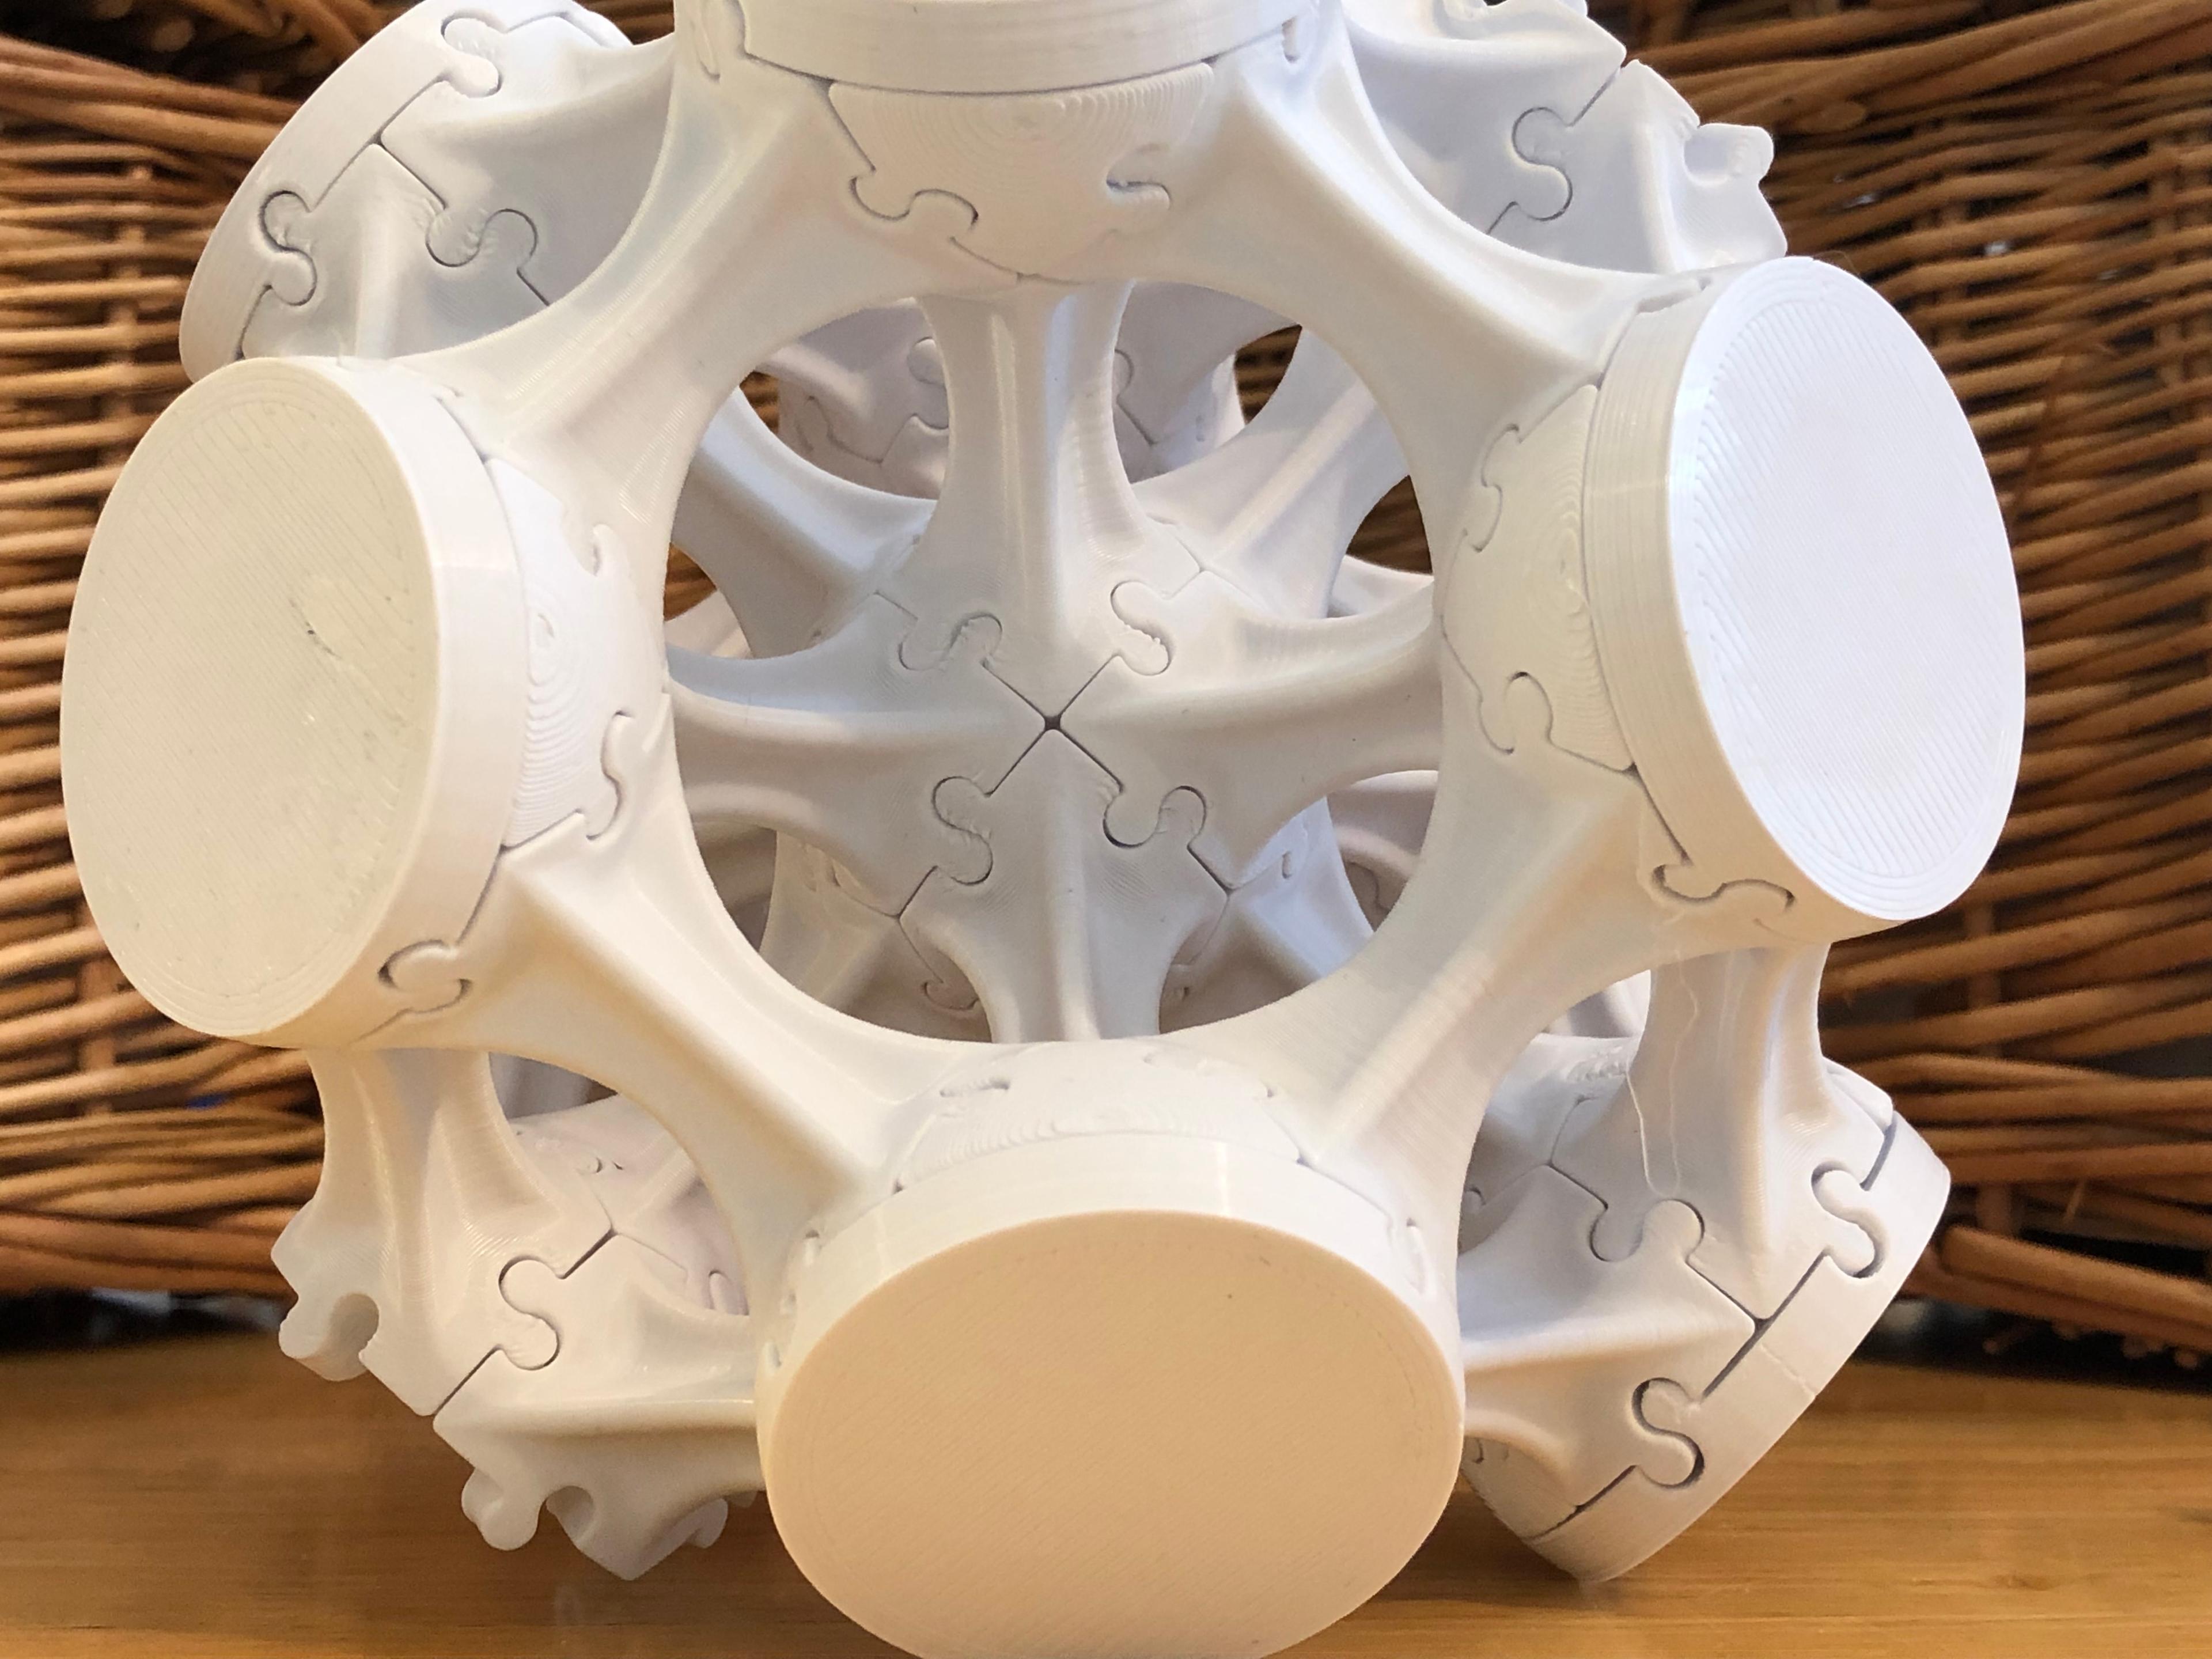
The various end caps can be used aesthetically or to create solid weightbearing surfaces on your assembly. The end cap system is made up of five pieces that can be used individually or in combination to cap off any combination of struts.
Please note that all ends caps are printed with standard settings, NOT spiralized!
The best way to figure out how end caps are use is just to start playing! Expect to have some “ah ha moments”! The video shows a few of the more common arrangements.
The end caps are name for how many struts they replace.
End Cap Half: Replaces half of a strut and is only ever use in combination with the “End Cap Six” End Cap One: Replaces a full strut and is usually used on combination with other end caps. End Cap Two and a Half: Replaces a two-and-a-half struts. These are use in pairs to replace five struts. End Cap Three: Replaces three struts. End Cap Six: Replace six struts. This end cap is always used in combination with two “End Cap Half”
