
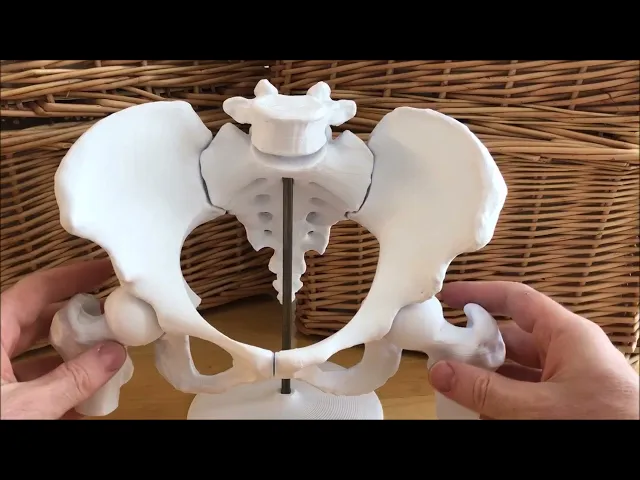


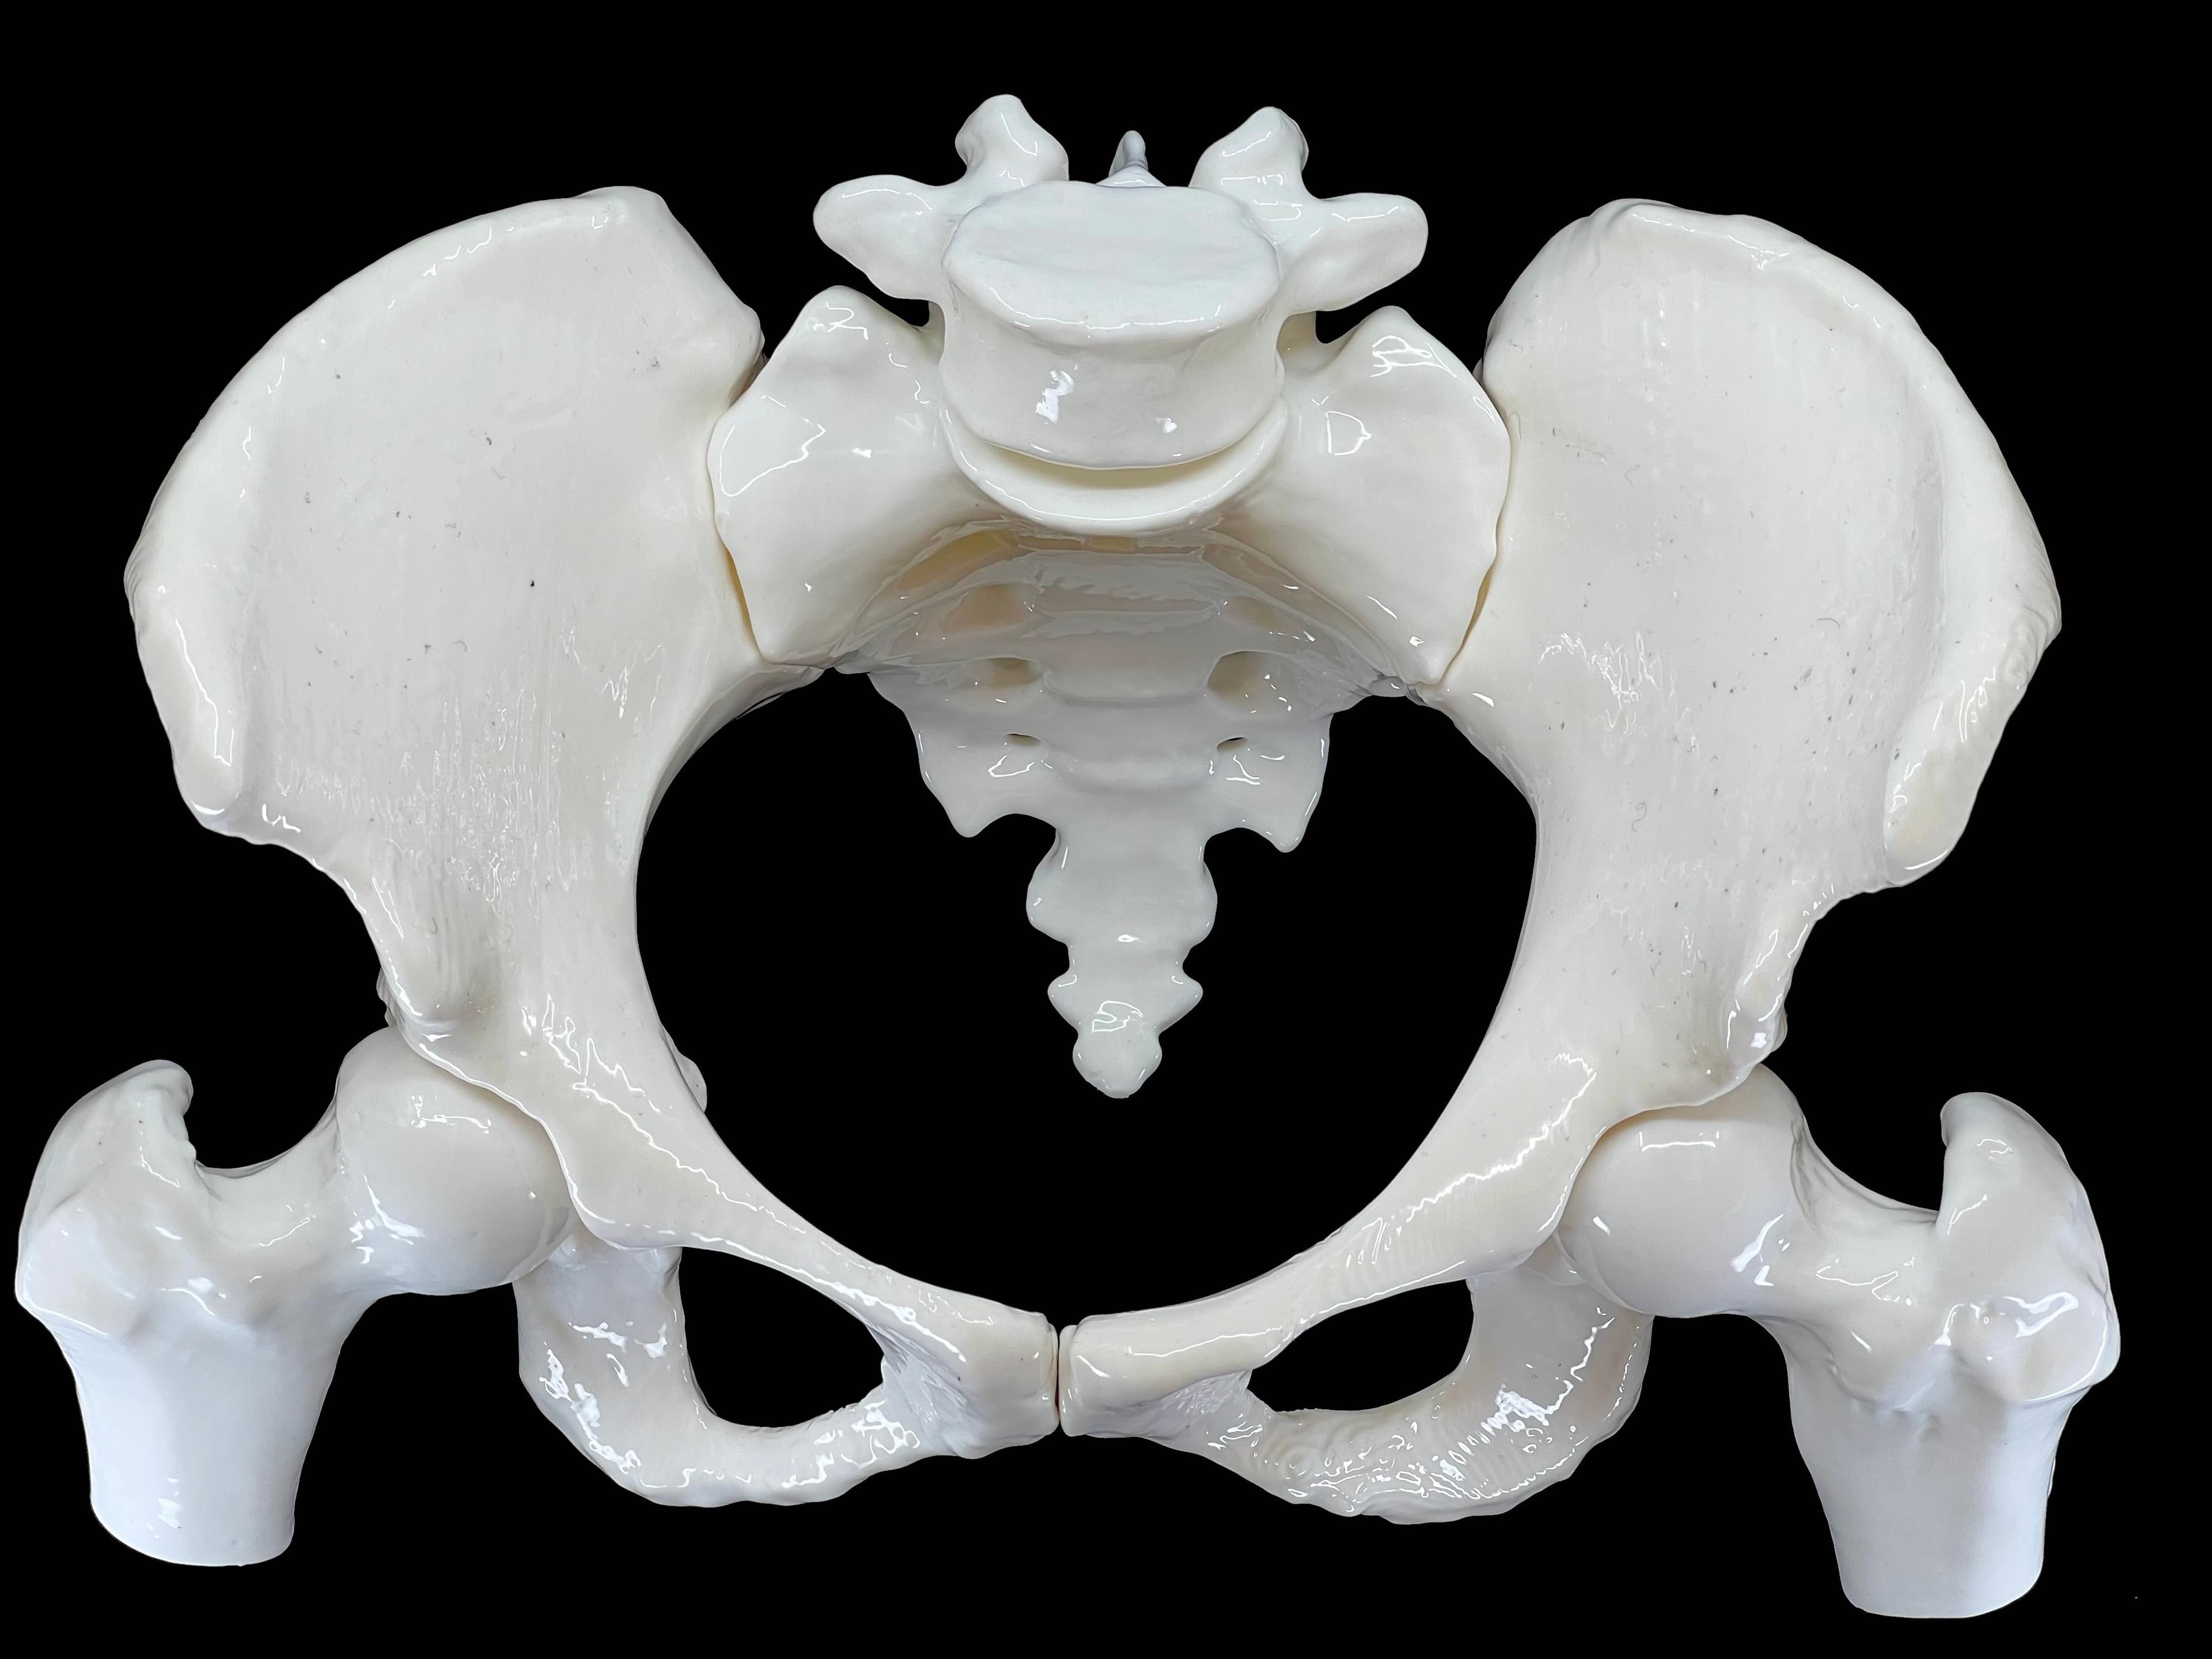
6-Piece Magnetic Female Pelvis Model
This full-sized, anatomically-correct 6-piece female pelvis model includes the sacrum, 5th lumbar vertebrae, left and right hemipelvis, and proximal portions of the left and right femur. An optional stand base is also provided. See here for video: https://youtu.be/djYy23eG_EU To assemble you will need 16 1/4” x 1/8” strong cylindrical neodymium magnets. To use the display base, you will also need an 8” section of ¼” square keystock. Here are considerations for assembly: • Before inserting magnets, clean out the magnet anchors with a 1/4” drill bit to remove any imperfections, allowing the magnets to sit properly. • Ensure that you insert magnets with polarity oriented to allow proper connection of bones. • You may need to use glue to secure some of the magnets in place. CA glue works well. Except for the sacrum, all bones are oriented in reasonable positions for printing. The sacrum is a very difficult bone to print no matter how it is oriented, so you will need to position this according to your experience, preferences, and set-up. The bone pictured in the model was printed upside down, with ample support at the bottom. Every attempt has been made to maintain anatomical correctness; however, the following small modifications were necessary to optimize the files for 3D printing: • Some areas of bone have been thickened to support the magnet anchors. • Thin parts of the medial sacral crest have been thickened or removed to improve printing strength and quality. • With the exception of a few centimeters at the top and bottom, the spinal canal and the complex tunnels of the cauda equina have been filled in to allow for better printing strength and quality. Development of this model was initiated and guided by Health Allies, a small regional Osteopathy clinic in Orange NSW, Australia with 4 practicing Osteopaths from various Universities across Australia. The model will be used for visual learning purposes, from patient education in the clinic, to assisting with continuing learning with other medical professionals.
Resources: https://3dprint.nih.gov/discover/3DPX-015843
6-Piece Magnetic Female Pelvis Model

Large Mizu Gumi Picture Stands

Small Mizu Gumi Picture Stands

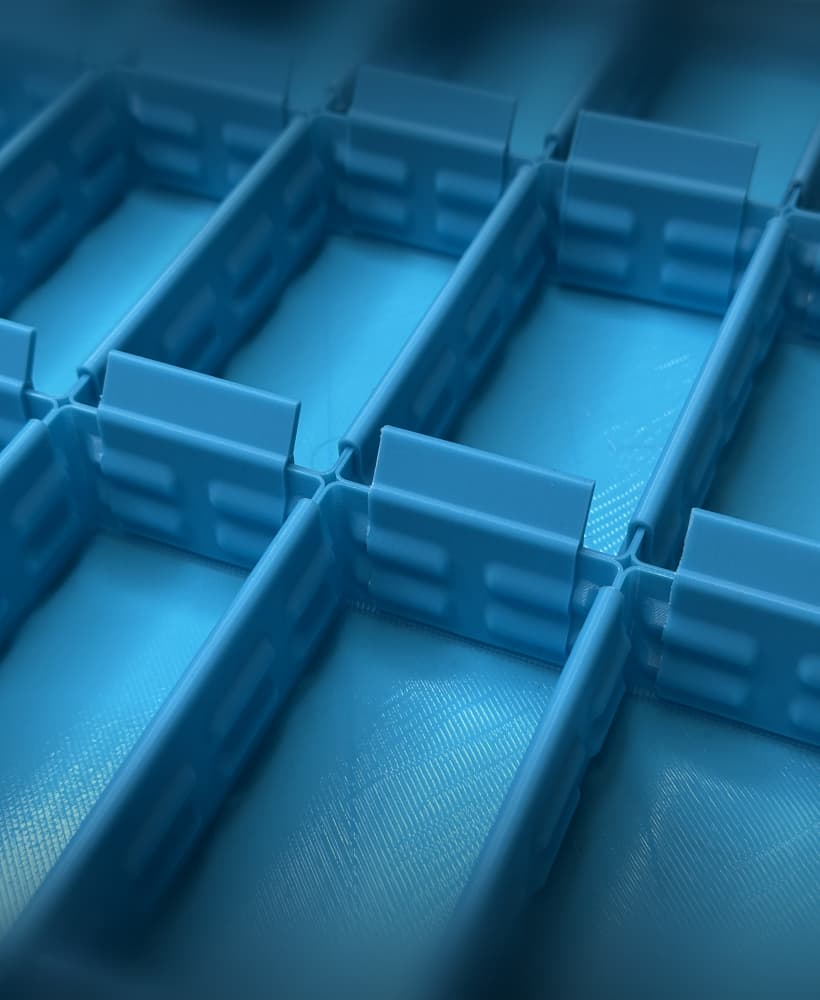
Industrial Construction Set - FDM

Bouali Strange Attractor Sculpture

Aizawa Strange Attractor Sculpture
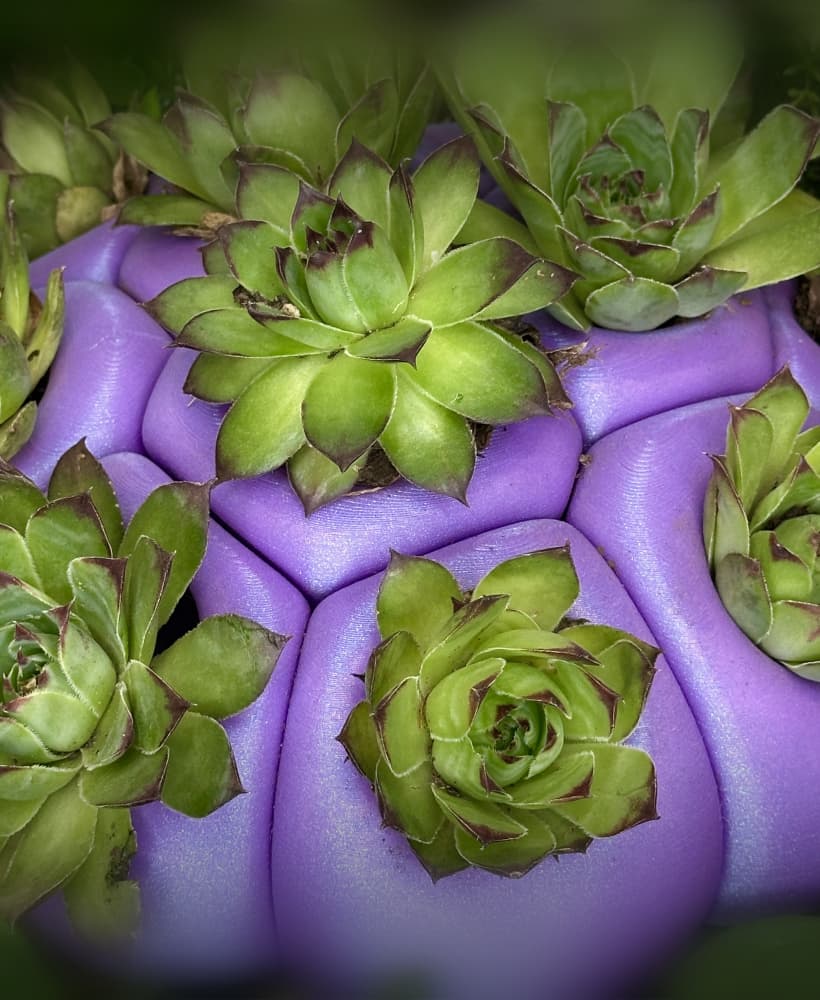
Bio Blob
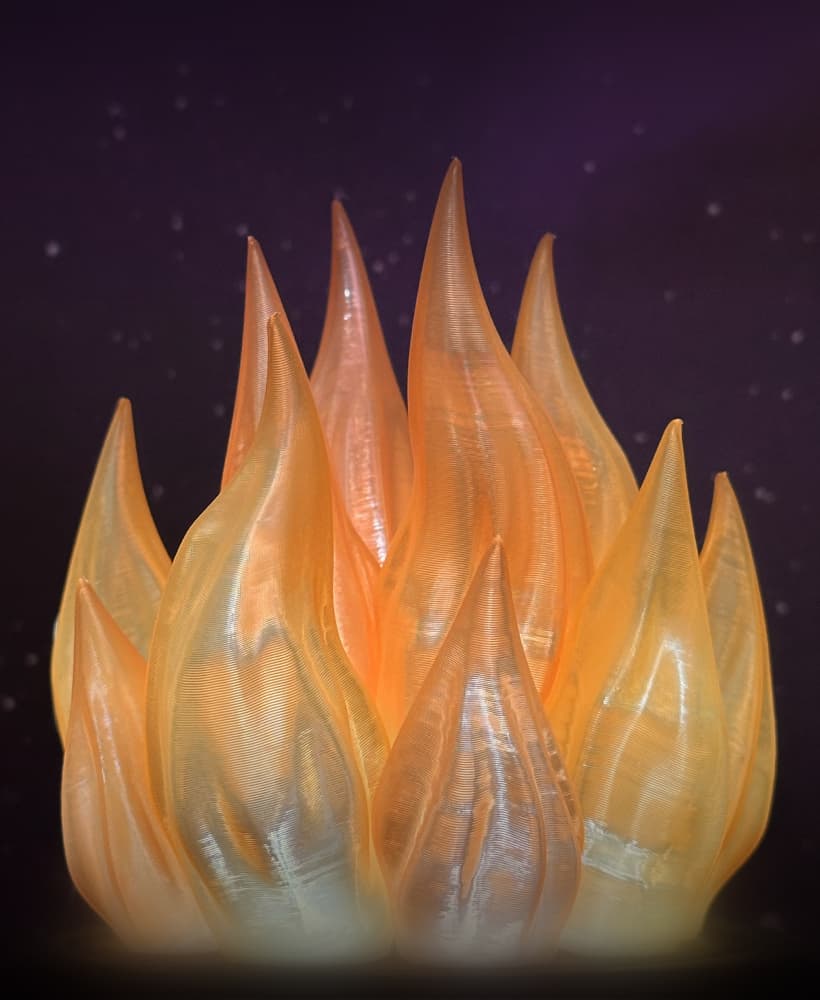
Flame Lamp
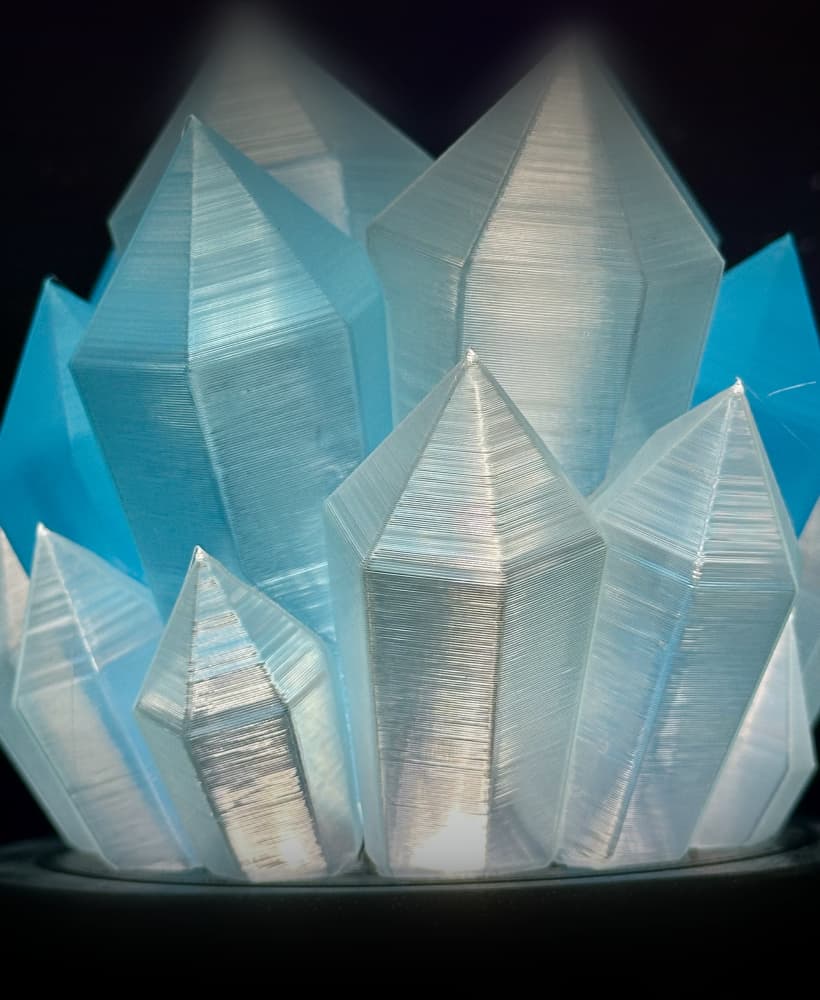
Crystal Lamp
Fidget Ouchies
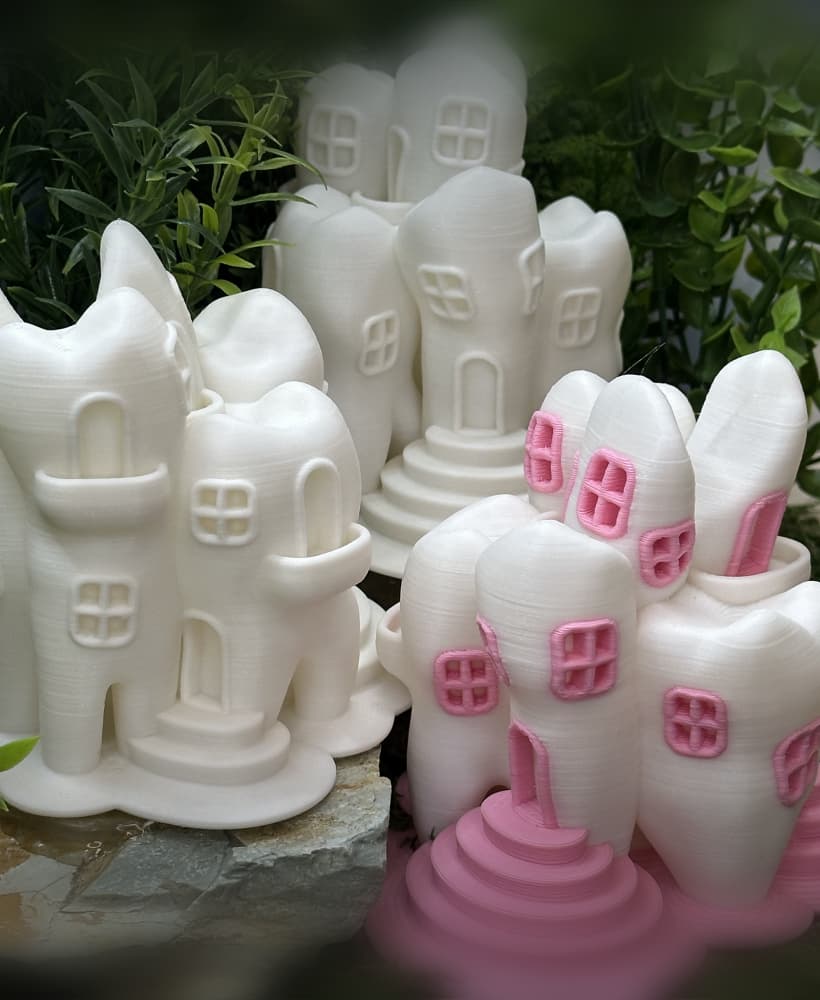
Tooth Fairy House
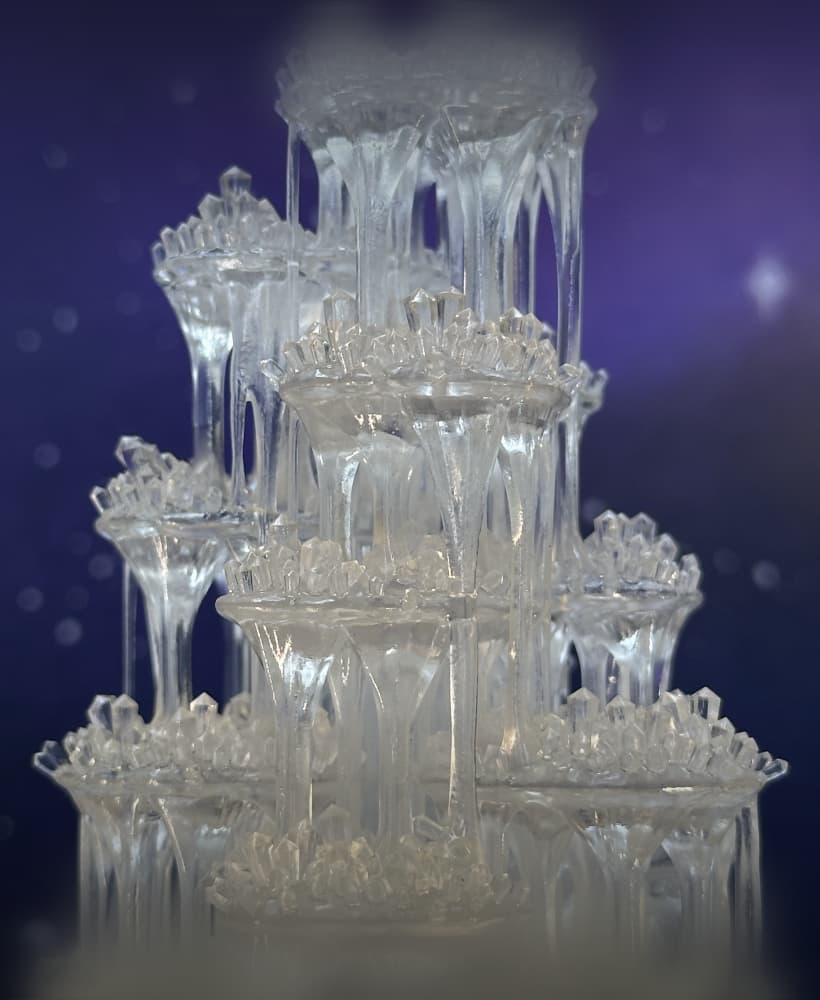
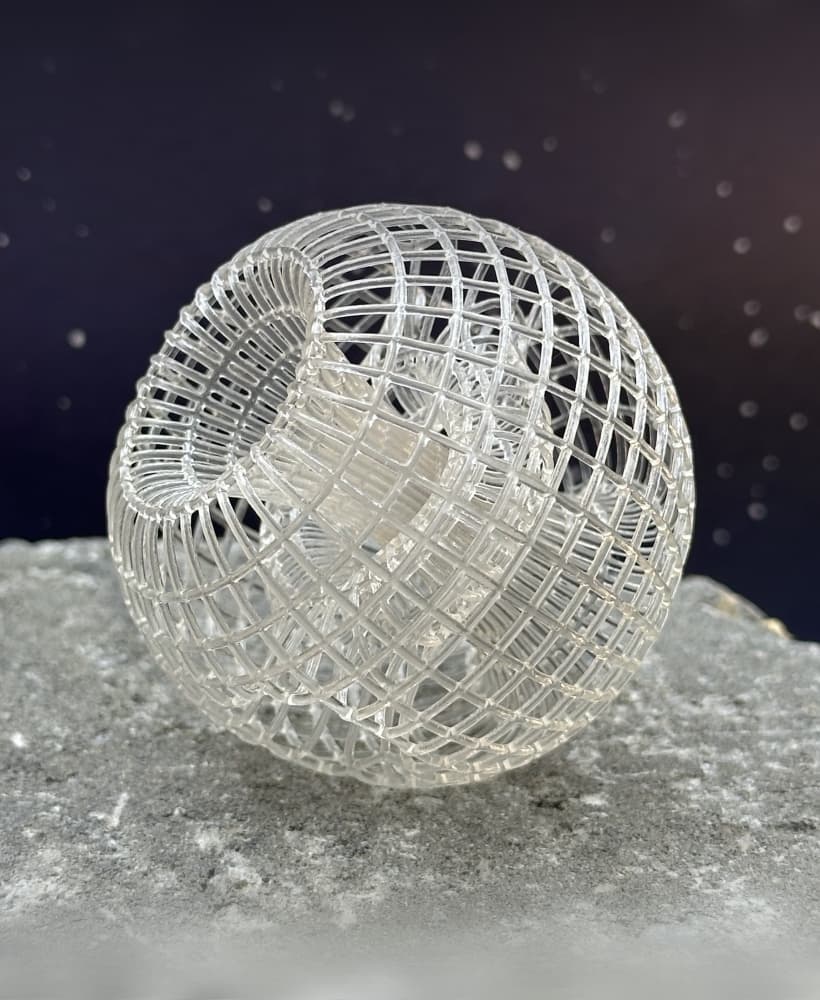
Crystal Citadels

Shack Pack - Sober

Shack Pack - Tipsy

Shack Pack - Plastered
Hole Through a Hole in a Hole
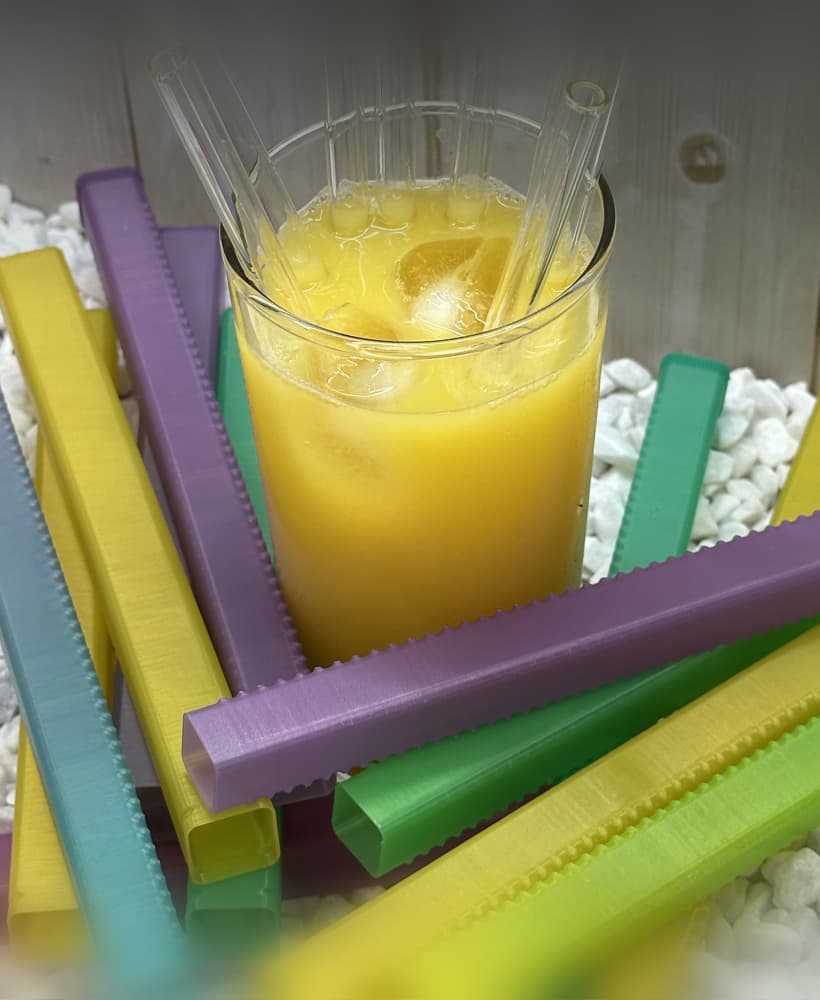
Holder for Reusable Straw
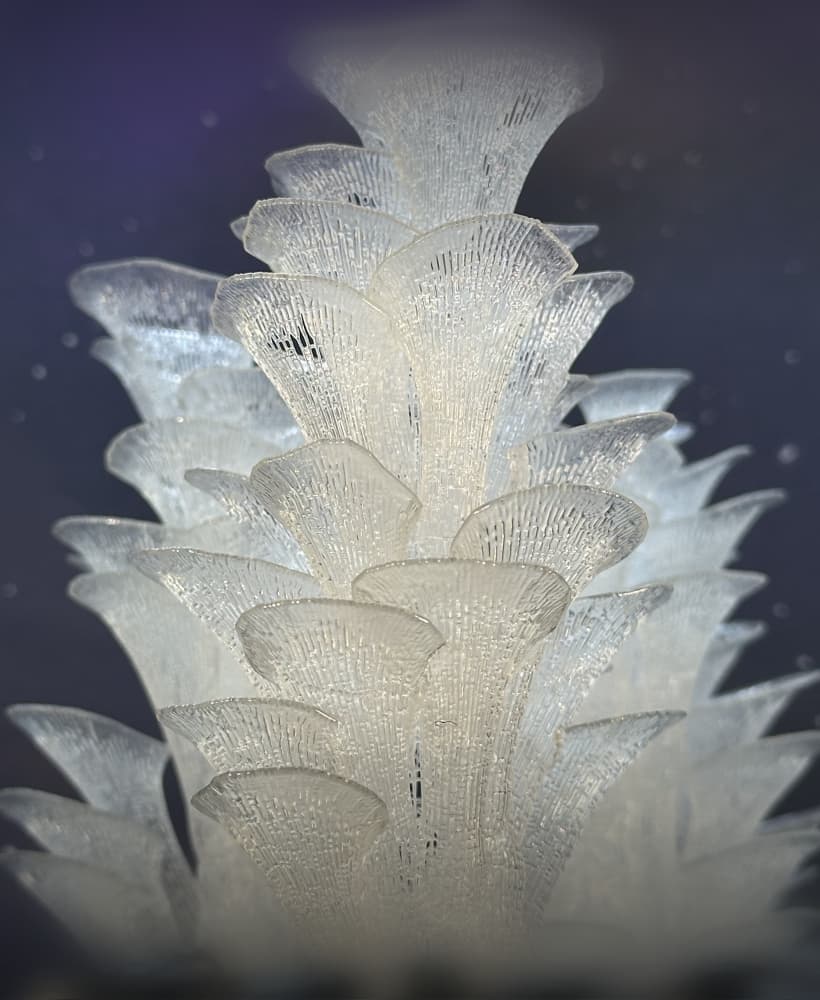
Stellar Blooms
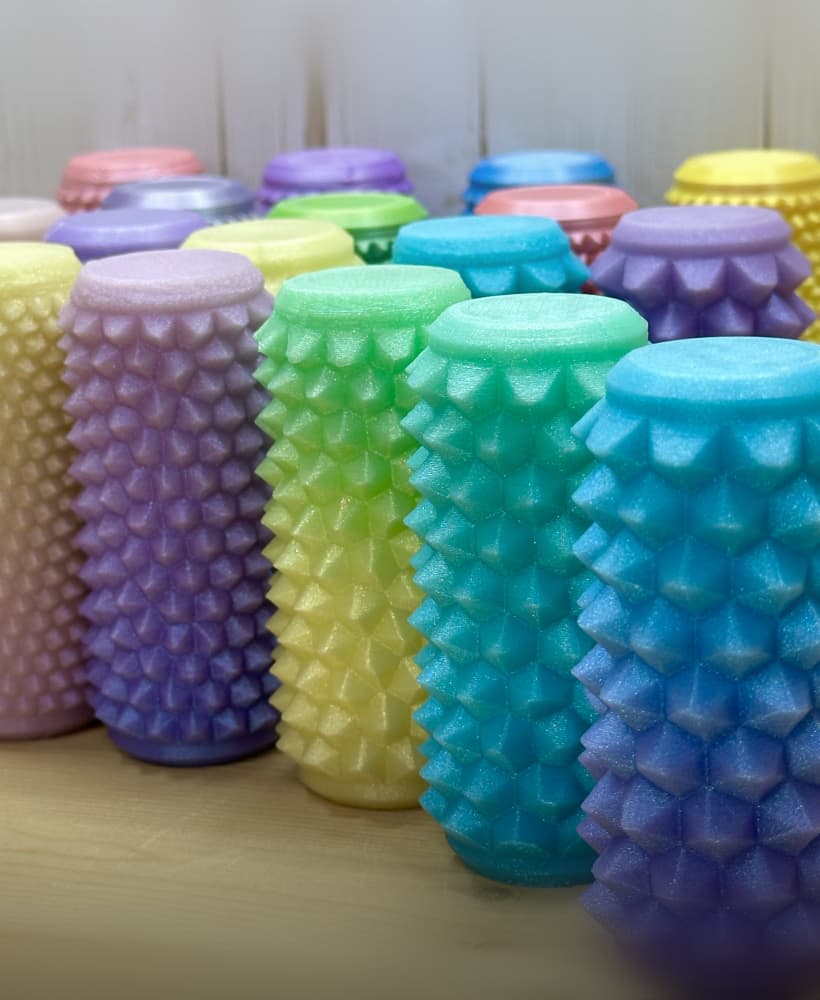
Bump Boxes
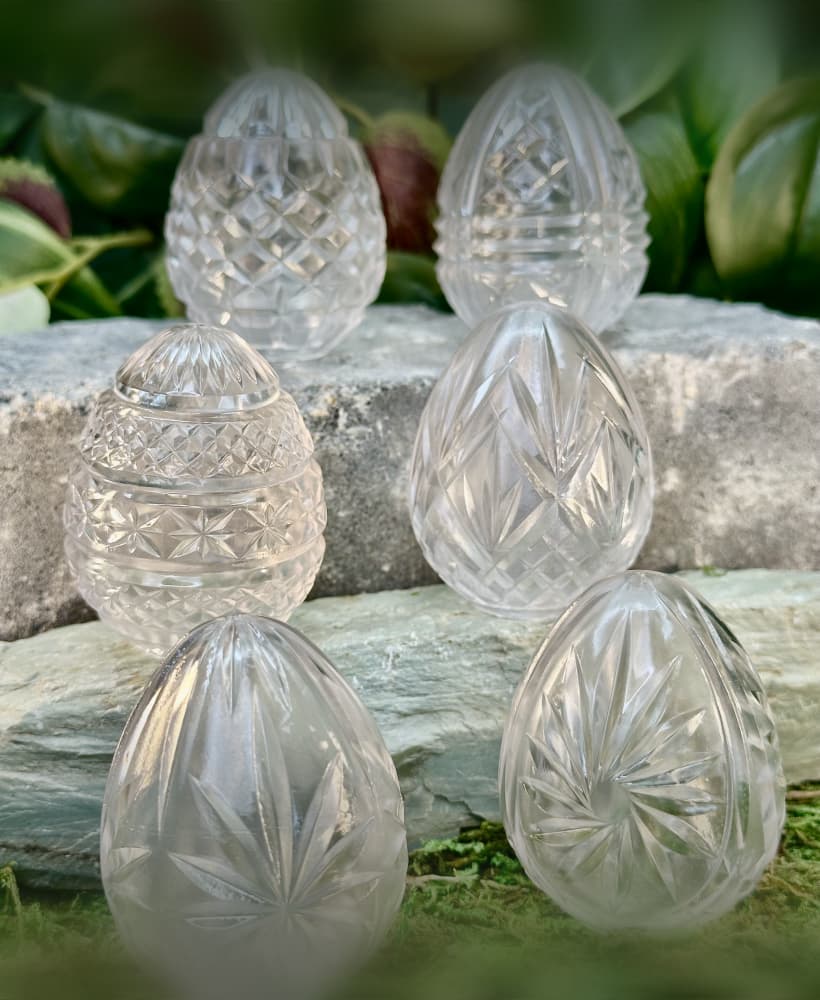
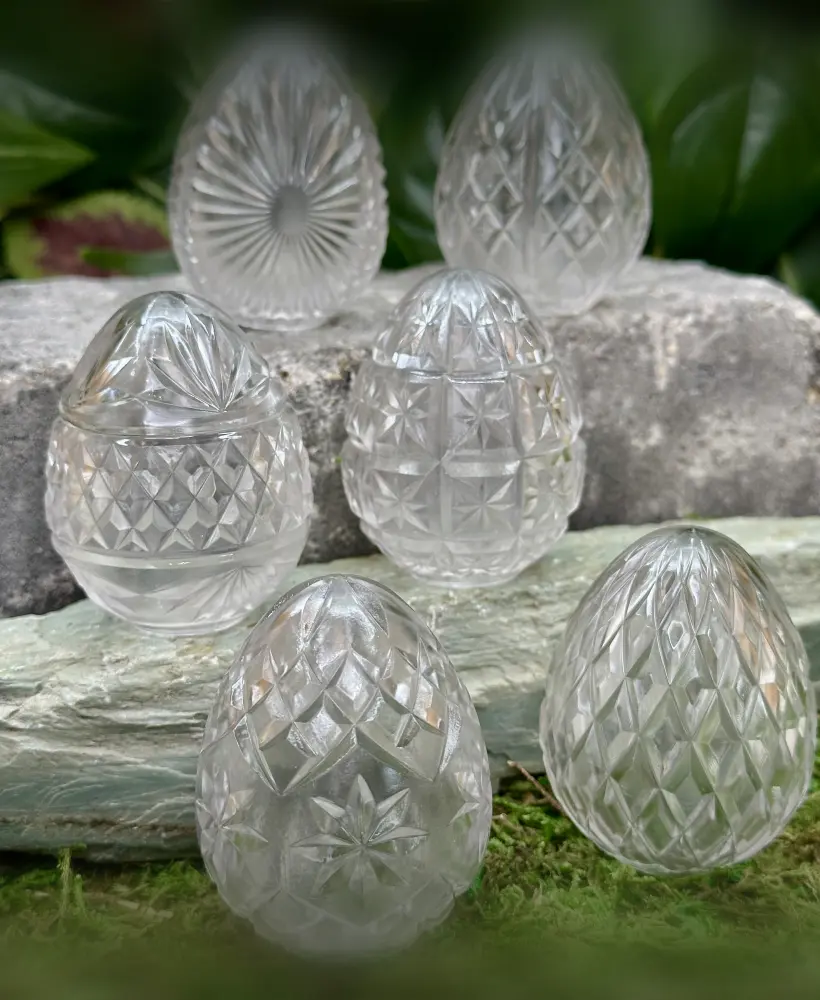
Cut Crystal Eggs - Set 2
I don’t mind if I have to become a member to reveal practical magnet size. But knowing it for years and did nothing or revise is rather ignorant IMO.
Wrong magnets size, now I have to dig out every single magnets I’ve superglued in.
Great Mode!!
% infill recommend?