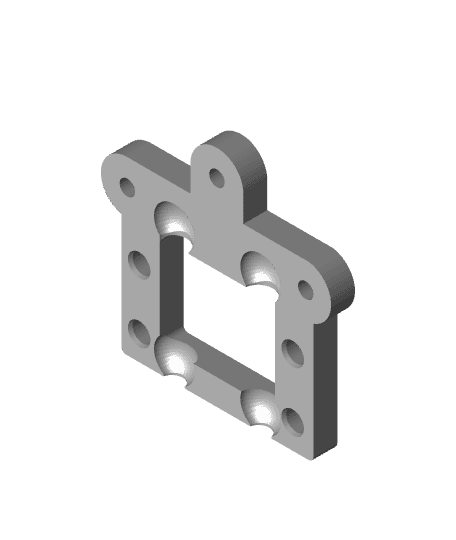
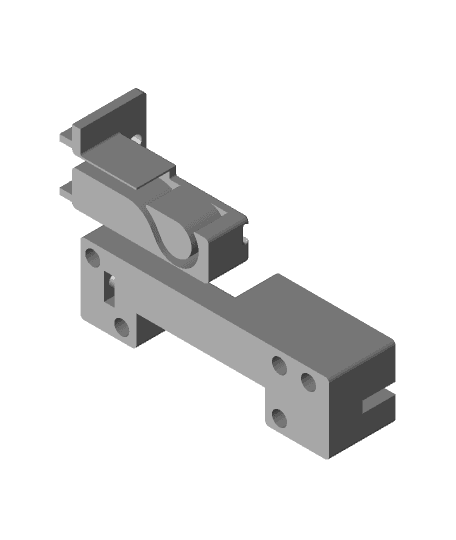
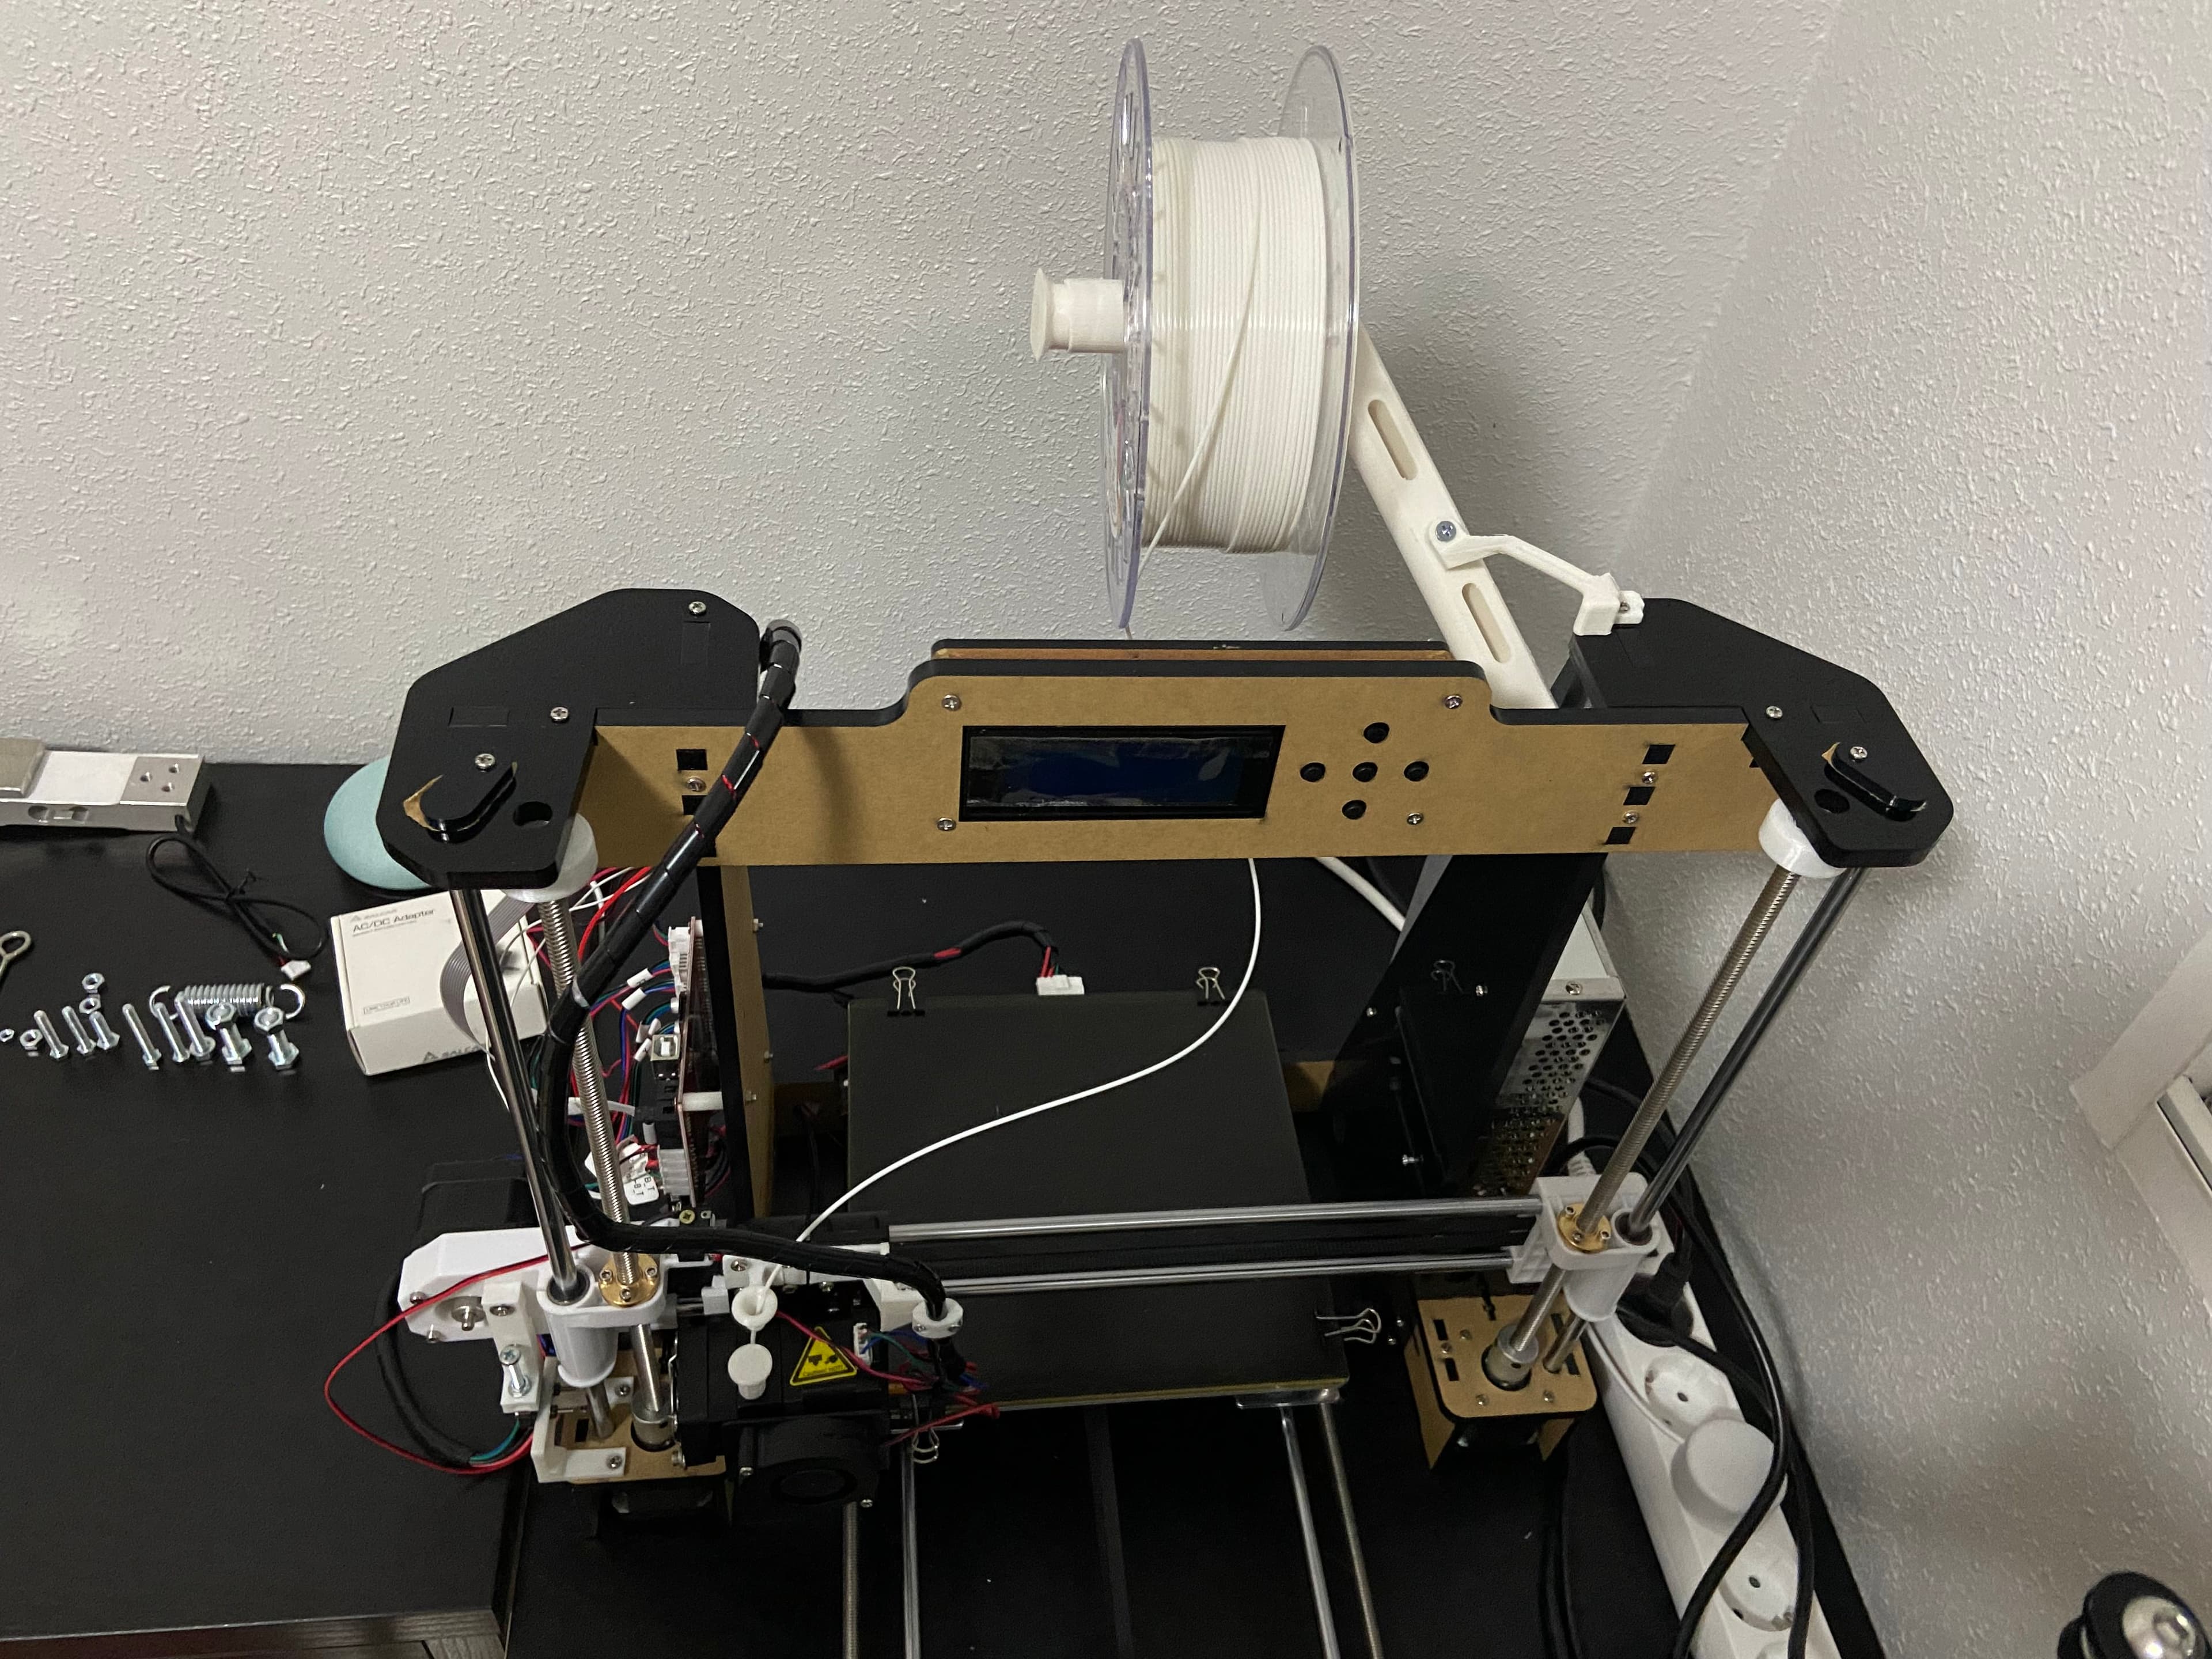
Anet A8 Autolevelsensor @ the back - rear sensor
Model originally uploaded to Thingiverse at https://www.thingiverse.com/thing:2954899.
Thanks for looking by
here is the story and also the settings you have to change in the firmware!
Inspired by a other design ( https://www.thingiverse.com/thing:2105275 ) but with the problem that the Y - Axis is crashing into the mainframe of my Anet A8, i decided to optimize this for me and share it also.
There is a design that is 80% of mine but there is no Thread in the hole and when you use the customizer, it crashes again into the frame, also useless :( ( https://www.thingiverse.com/thing:2368157 )
In the future a will add also a variant without to cut threads into the aluminium parts of the printer if YOU as User need it. Let me know in the comments. Also if you have other ideas or you need a special customized one...
But for now, here we go.
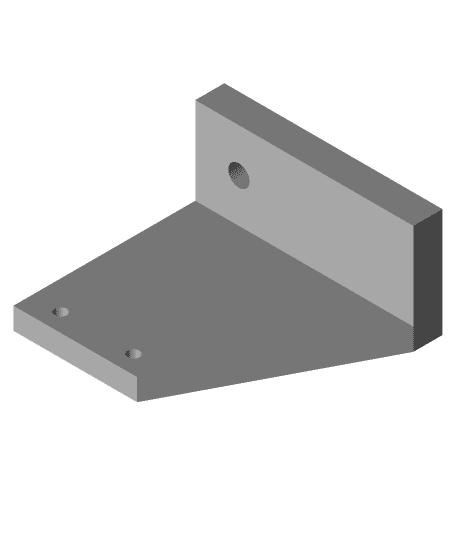
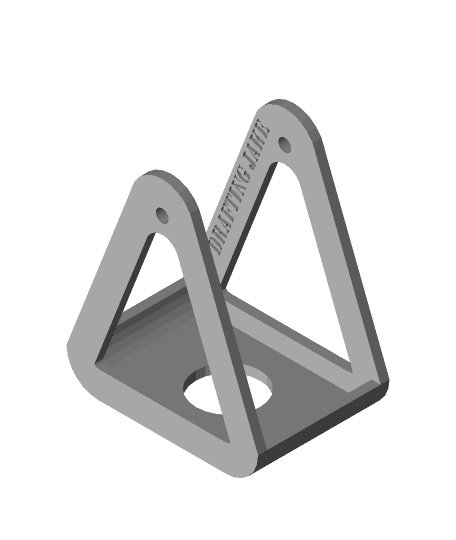
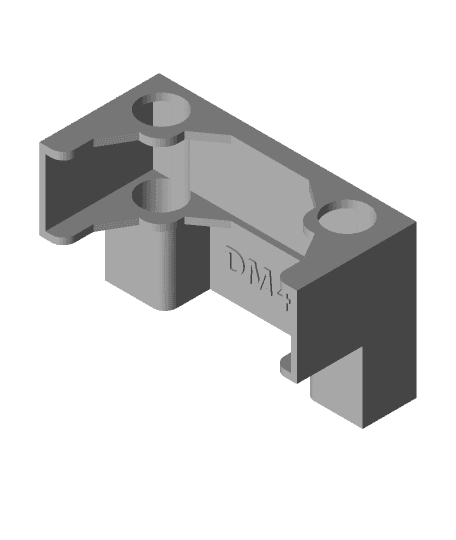
1: You have to cut threads into the aluminium part to mount - the hole has the right diameter, you only have to cut the threads in M4. Possible that i design a part without the need of threads , if response is on the part.
2: Take some of the screws, you mounted the extruder carrier onto the aluminium parts and mount the printed parts on the backside of the extruder.
3: mount your sensor with M3x15-20mm and you are good to go, after you changed the settings in the firmware.
- #define X_PROBE_OFFSET_FROM_EXTRUDER 20
- #define Y_PROBE_OFFSET_FROM_EXTRUDER 65
- #define Z_PROBE_OFFSET_FROM_EXTRUDER (here enter your number - i use -4.5)
If you have Bifilinear (is this the right word?) Autolevel on, the following numbers are good for me:
- #define LEFT_PROBE_BED_POSITION 30
- #define RIGHT_PROBE_BED_POSITION 190
- #define FRONT_PROBE_BED_POSITION 70
- #define BACK_PROBE_BED_POSITION 180
Hope i did not forget something.
Have fun with the parts.
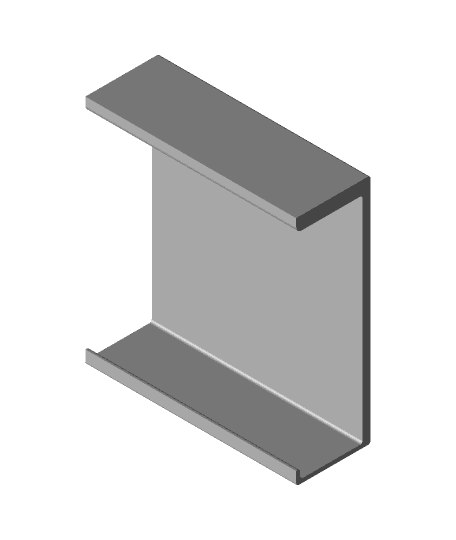
Look also my other designs. Now, after my sensor is on the backside, i also have to change the extruder cooling fan. Not the blower down to the nozzle, that one i have already changed ( but i think not uploaded , must look ) , the 40mm fan on the side to cool the filament. I switch the original to a simple holder for the fan, so you / and i can simple remove it, change the filament and push it back in place.
Follow me to do not miss a part / Upgrade or what ever
DM4DS Sandor
Update 1:
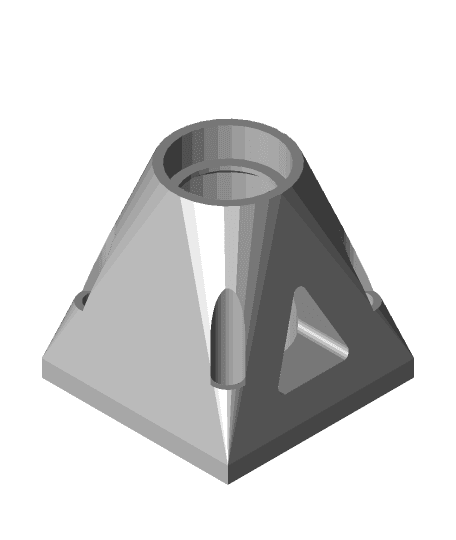
- Added the same part without the M18x1 thread in the big hole complete and splitted
- added also a 12mm one with and without thread complete and splitted
Anet A8 Autolevelsensor @ the back - rear sensor
Anet A6 LCD for Anet A8 (LCD12864) Night Cover

Anet A8 Plus - Power Supply Fan Duct

Anet A8 Plus - Prusa Extruder Mod
Fan Light Mod - Anet A8

Anet A8 Plus - Y-Axis Belt Tensioner
Anet A8 - Y-Axe Tensioner for M5 pulley

MKS Monster8 v2 mount for Anet A8
Anet A8 X-Axis Tensioner
Anet A8 T Corner
TronXY P802MA / Anet A8 z axis lower support
TRONXY P802 or ANET A8 holder bed 220x220 8mm full printed
Anet A8 top filament mount
Anet A8 X Brace (X-axis Z-axis)
Anet A8 Y axis limit switch bracket

Anet A8 - Keep down mount
Anet A8 Spool Holder
Anet A8 - Extruder Fan Mount
HMG7.3 Anet A8 Plastic X Carriage.stl
HMG7.3 Anet A8 Plastic Gantry Adapter.stl