

Santa Gift Box
The Santa Gift Box!
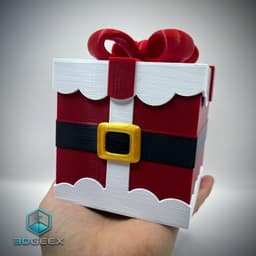
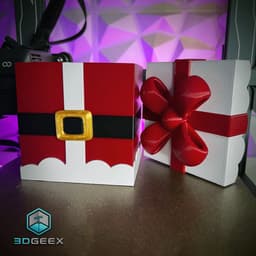
This one is very different from my mostly organic modeling/sculpting. I got the idea from all the Christmas themed cardboard boxes you can find for Christmas and thought it would be cool to think of a 3d printable and reusable design for such boxes - The box is printed in parts so no multicolor printer is required.
The default size in the picture is 10cmx10cmx10cm (give or take) and I do recommend to print closely to this size or bigger as the parts will be hard to connect the smaller you print. I printed it also at 60% and it worked great.
Your printer HAS to be tuned as all the parts fit precisely.
Quick assembly video:
https://www.instagram.com/p/C0J9x8-N0-R/
Instructions:
Coloring the belt:
For the Walls + Bottom if printed at 100% + 0.2 layer height - Do a pause at layer 200 and swap to a black/brown filament, Then swap it back at layer 304. if not 0.2 or you are changing scale then check in the slicer when the belt starts and ends. You can easily paint the Bottom part if you don't wanna swap as this will be covered by the buckle. (Or use bamboo AMS😉)
Assembly:
Place the walls inside the the bottom - Do it carefully and slowly pressing each internal wall inside the outer wall and then pushing everything together - Be careful not to break the little high thin wall! once it sits push it all together and push the thin line of the Bottom.stl inside the Walls.stl If the thin line does break - no big deal TBH you can still pish it inside and it should barely show.
Push the buckle to it's place.
Place lid stripes and lid decor on the lid.
Scaling:
if you scale below 80% - add about 0.5% to the lid.
You cannot scale the Walls.stl and Bottom.stl separately as increasing the bottom will also increase the width of the central line and will not fit inside the walls - They have to be printed at the same scale.
If things don't fit you'll have to adjust your flows/walls/blobs etc.
full size = 200 grams
Santa Gift Box

Freddy’s Ice Cream Pint Holder

Slimer Ice Cream Holder
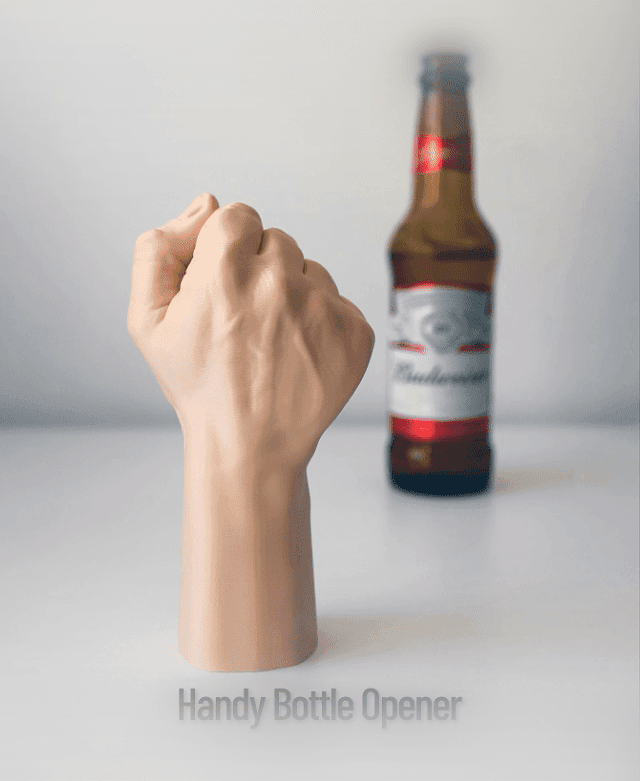
Handy Bottle Opener

Pillar Tray
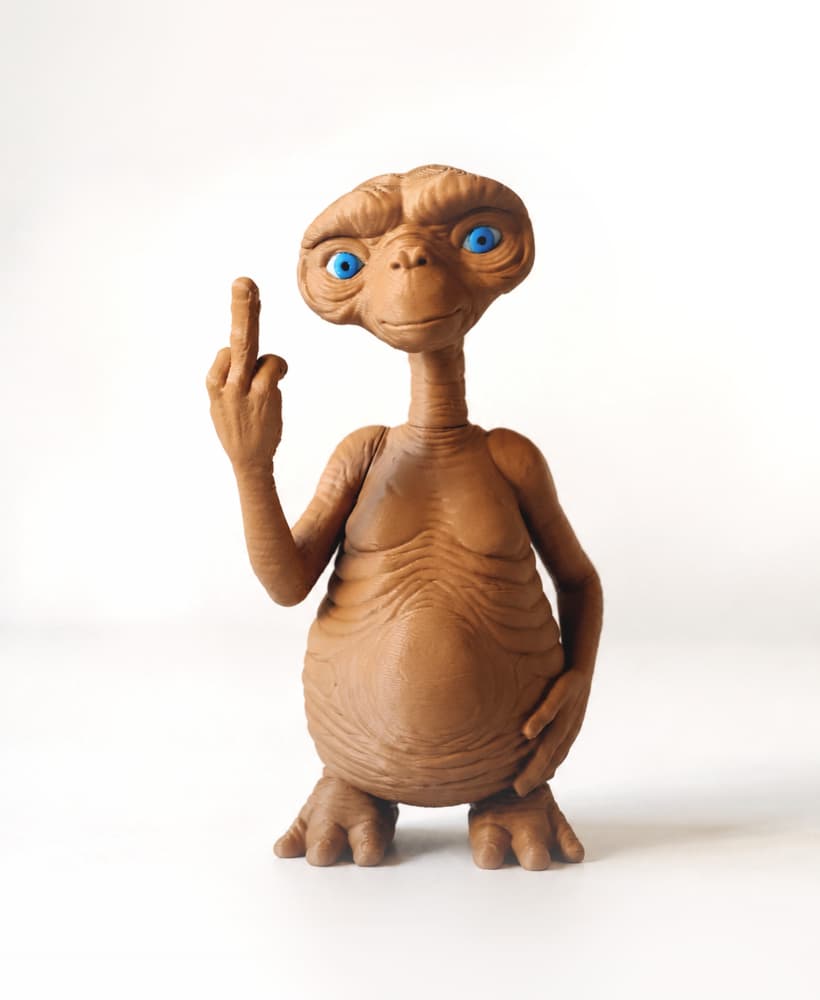
E.T - the Extra Testy

Beerboard

Screaming Cactuses - Part II
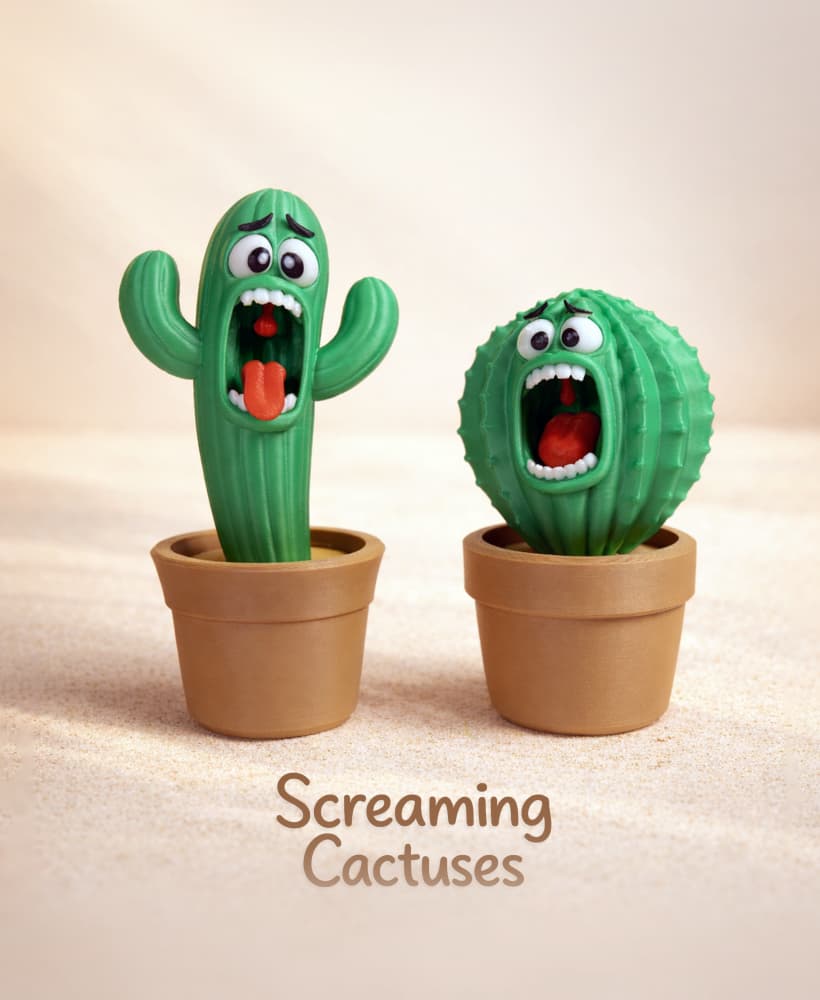
Screaming Cactuses - Part I
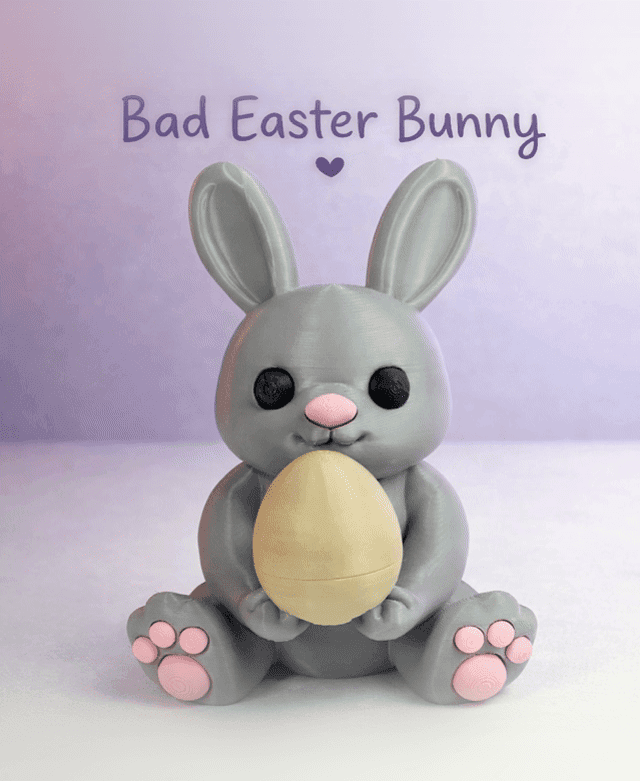
Bad Easter Bunny
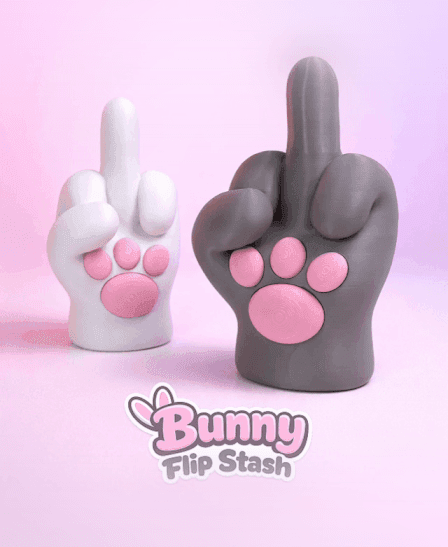
Bunny Flip Stash
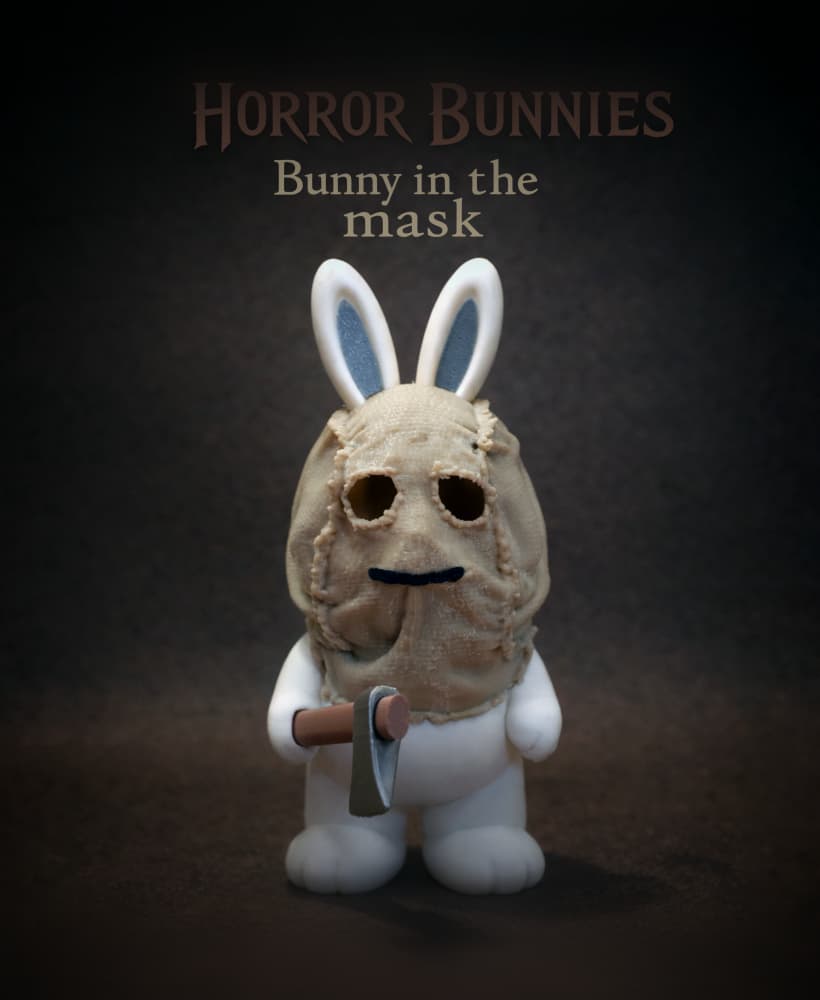
Horror Bunnies - The Bunny In The Mask
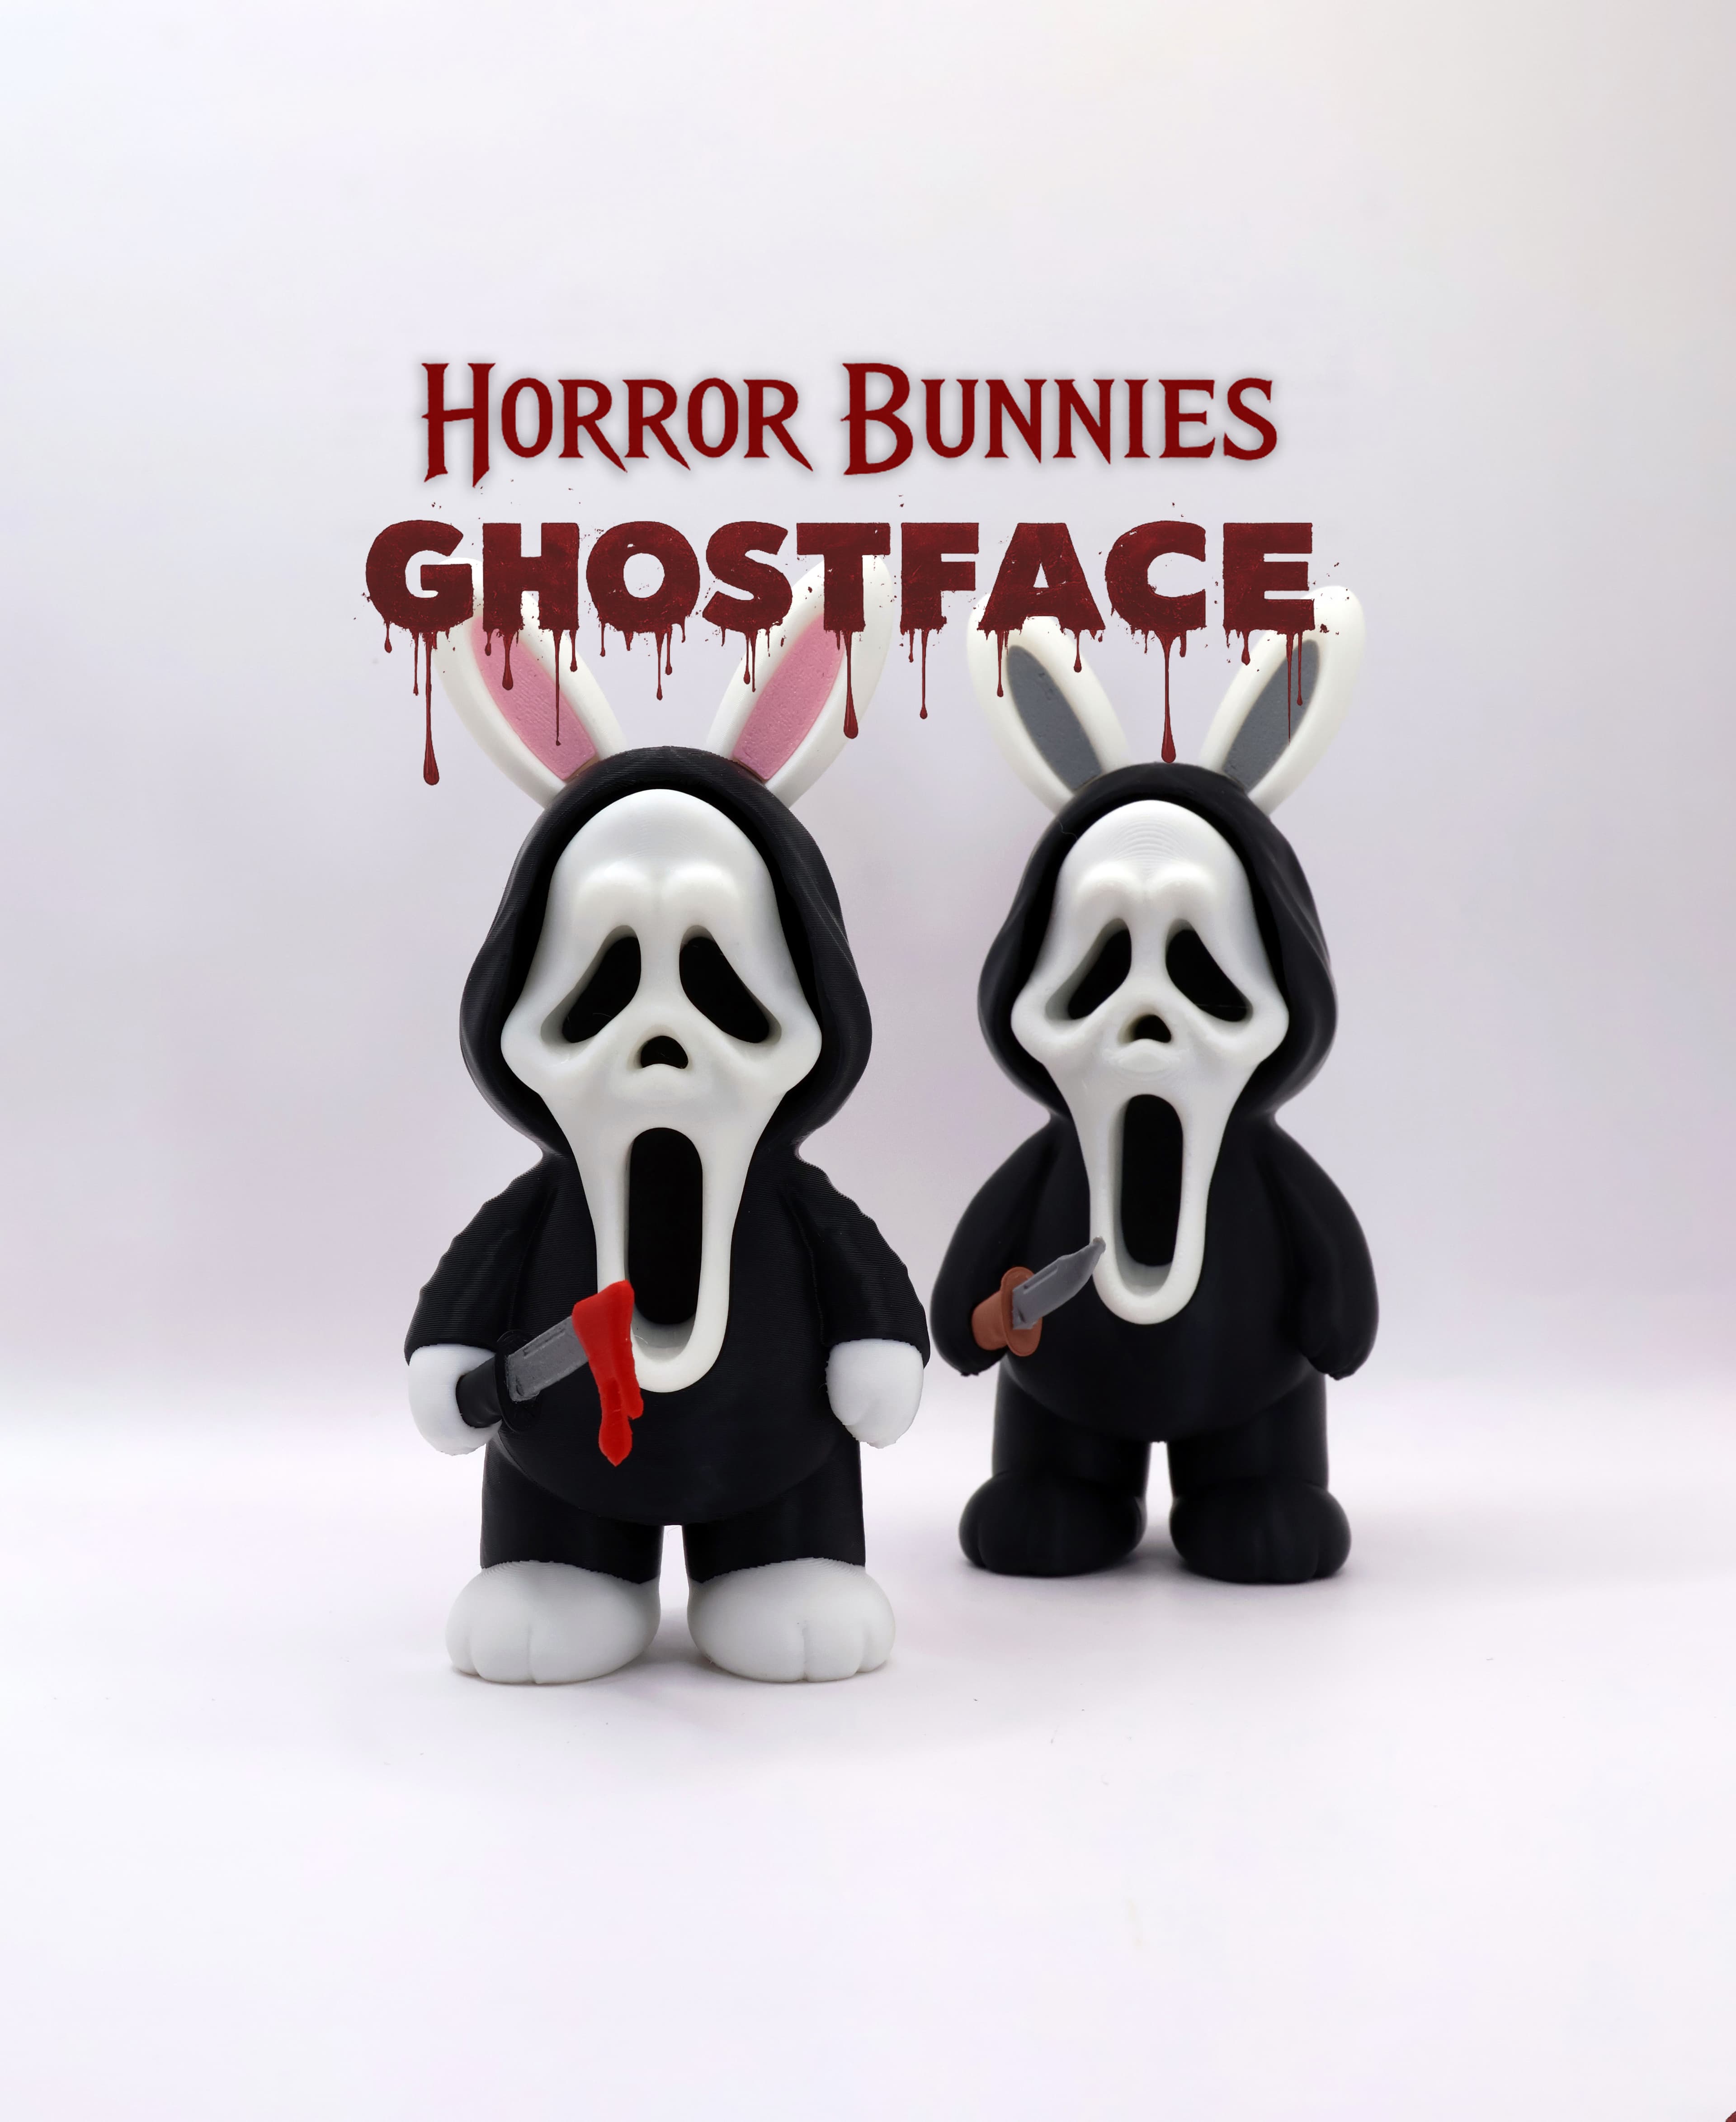
Horror Bunnies - Ghostface
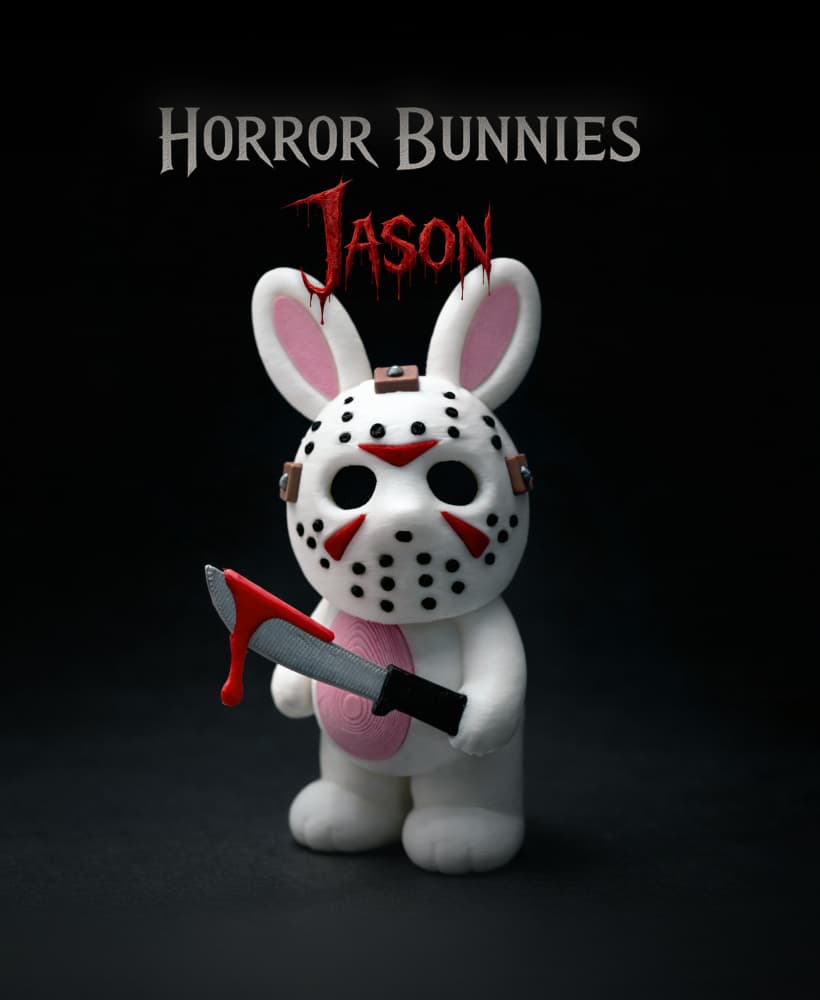
Horror Bunnies - Jason
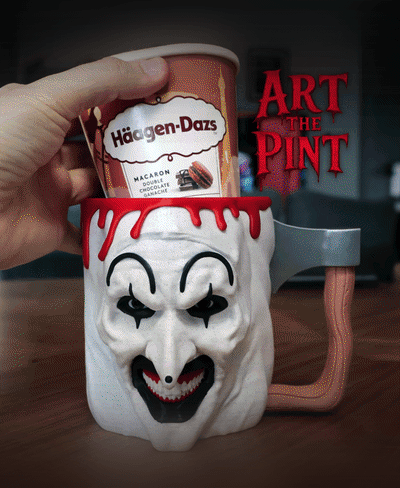
Art The Pint
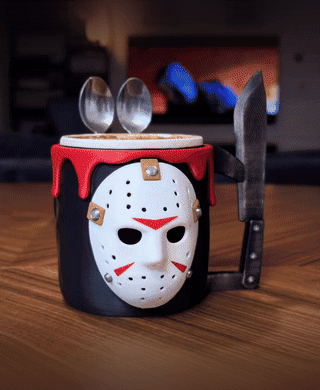
Jason Voorhees Ice Cream Pint Holder
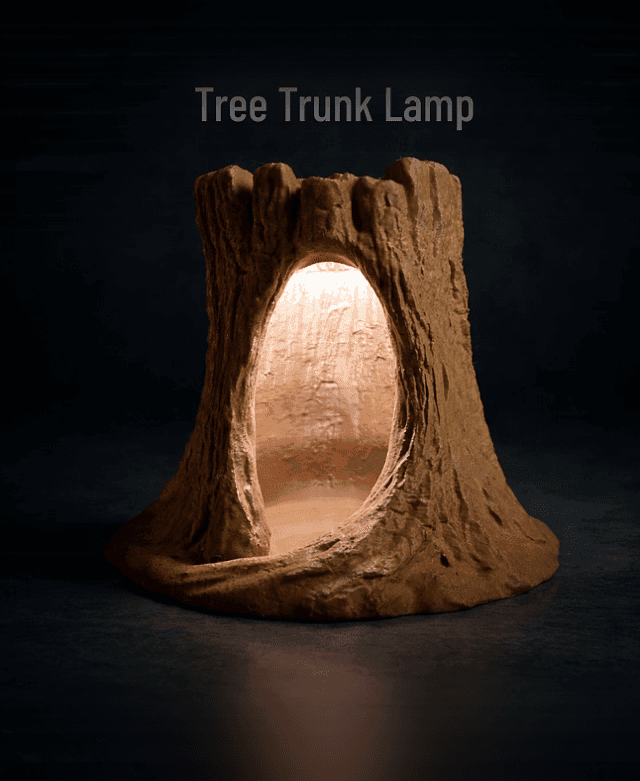
Tree Trunk Lamp
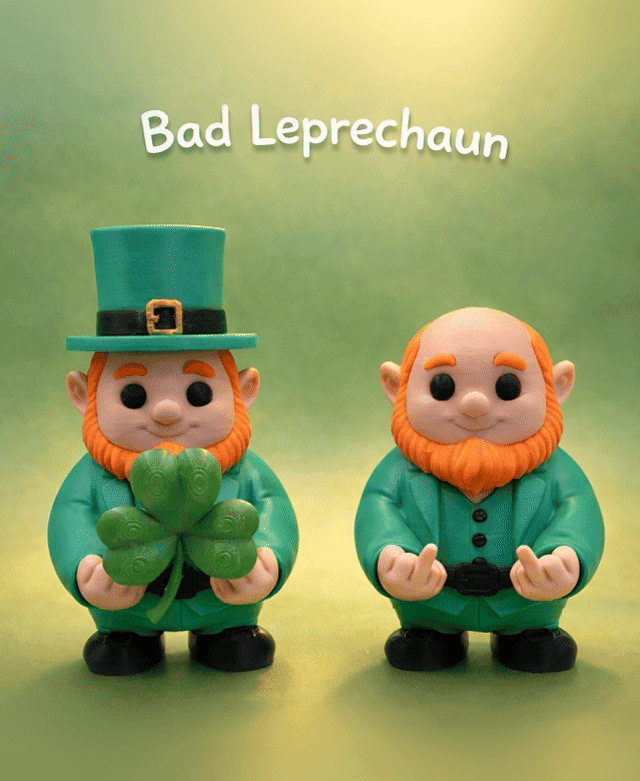
Bad Leprechaun
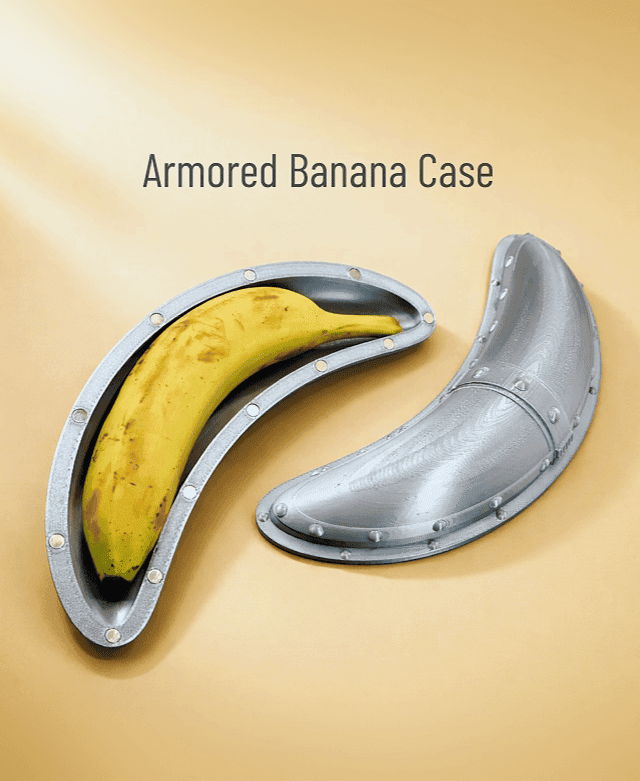
Armored Banana Case
Bad Penguin