Thangs 101: Uploading Files
How to upload files to Thangs.
How to upload files to Thangs.
Whether you’re making 3D models for video games, augmented reality, product design, prototyping, or 3D printing, at some point you’re going to want to upload your models to Thangs. In this blog, we will do our best to get you started and set you up for success in the future.
The first thing you’re going to do is click on My Models at the top of the home page.

Now you’re in the upload screen. The place where all the magic happens. You will notice that there is a button to your left that reads + Add New. Once you click on this, you will have the option to create a folder, upload a model, or create a workspace. If it’s your first time, creating a folder is the first step you’ll want to take. This will provide a nice home for your model once it’s uploaded.

Name and Description
Now that you have created a folder, you can upload your model. Thangs currently supports 29 file types (read which ones are supported here), so as long as your upload is one of those, you can begin the upload process. Once you’ve selected your file, you’ll be given the opportunity to name it, as well as provide a description for it. Providing as much detail as possible in the model name, file name, tags and description increases your model’s search visibility.

Model Permissions
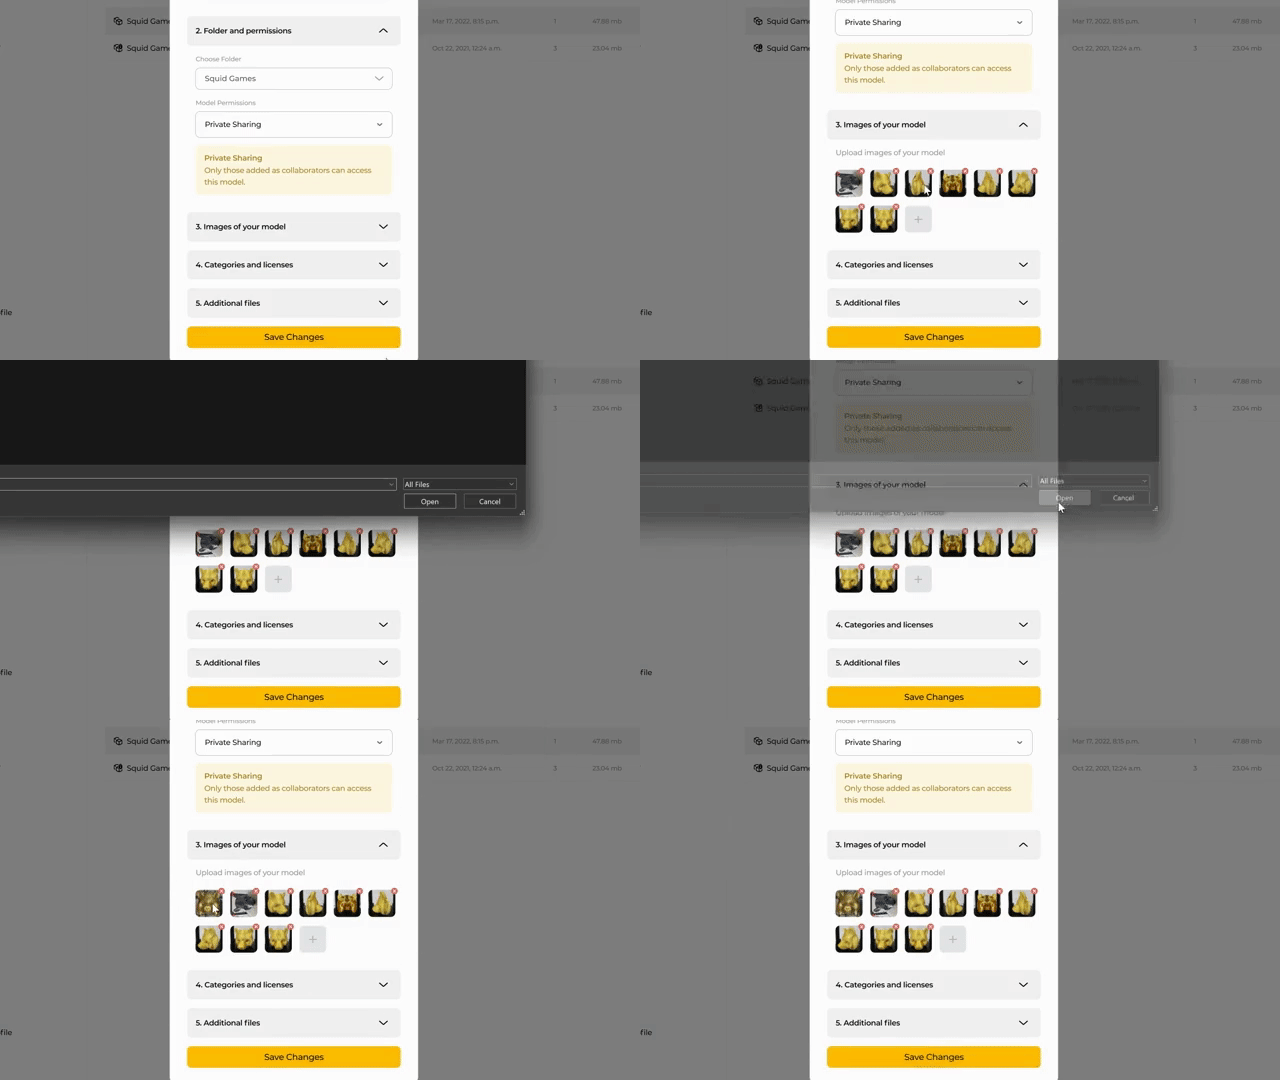
The next step brings us full circle as the folder you created earlier now comes back into play. Here, you can pick the folder for your model and select whether you want to give it private or public permissions. Private Sharing ensures your model or project is only accessible to you until you’re ready to share. This keeps your model from showing up on the home page of Thangs and out of search results. Selecting Public Sharing will allow your model to be accessible to the public, showing up on both the home page (under New Uploads) and in search results.

Upload an image of your model
The third section gives you the option to upload an image of your model. Perhaps you have a photo of your model already printed, you have a fully rigged render of your model that you want to show off, or maybe your model has multiple different parts and you want to display them all together. If you don’t upload an image here, Thangs will use the model orientation selected as the thumbnail until an image is uploaded at a later date.
Categories and Licenses
The second to last section is Categories and licenses. You have the ability to upload a license for your model. For more information, here is a blog pertaining to ways to attach licenses. If you’re still uncertain on the exact license best associated to your work, check out Creative Common’s easy to use plaintext licenses here. Depending on what your model is, you will want to select the best fit for it in the category section. If it’s a vase, you’d pick Home and Garden, for instance. You can also add tags in this section which will make this model easier to find in search results.
Additional Files
Finally, there’s Additional files; this gives you the ability to include documentation files along with your 3D models. This is helpful if you have a PDF that includes specific directions on building an assembly or have a custom .gcode file you want to share alongside your model for 3D printing. We accept the following file types as reference files when uploading your models: .pdf, .blend, .gcode, .txt, .md, .f3d, .scad, and .cfg. We’re still adding more with time, too.
All that’s left now is to submit your model. Once it’s processed your model will be available for download on Thangs. After all your hard work, sit back, relax, and watch the downloads start to stack up! You deserve it.