


The Wounded Ghosts - Part II
164 downloads · 10 months ago · After the success of The Wounded Ghosts I knew I'll make another set so here are the 4 new members!
After the success of The Wounded Ghosts I knew I'll make another set so here are the 4 new members! As previously these are all multi-part models so no AMS or any other multicolor printer is needed here - Just a little glue.
Printing:
- You should enable automatic supports (tree/organic) for all ghosts - although not all of them require it.
- You should print all ghosts at 100% infill (yup) but lightning infill might also work - It will not save you more than a few grams though.
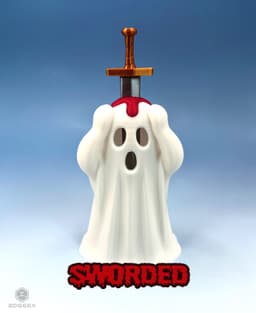
- The Medieval Axe ghost needs gentle push of the blood on the head - Don't force it just do it nice and slowly 🙂
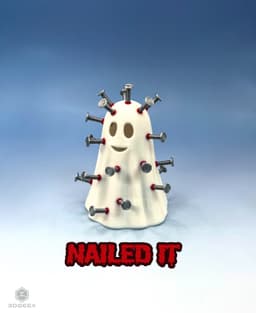
- You need to print 20 nails for "Nailed It" ghost - Pause the print where the bulge starts to color it red and then switch back to silver.
- The nails fit very lightly inside the holes - To avoid glue you might want to print them at approx. 105% but it really depends on the printer and settings.
- You will need some glue to put all the parts together but it's super easy.
Scaling up is not a problem - Scaling down you need to watch for wall thickness.
I might release more members but the next model which is almost done is something a little different.
The Wounded Ghosts - Part II
164 downloads · 10 months ago in and

Fence & Flowers - Toddler Shoe Rack & Storage Shelf

Freddy’s Ice Cream Pint Holder

Slimer Ice Cream Holder
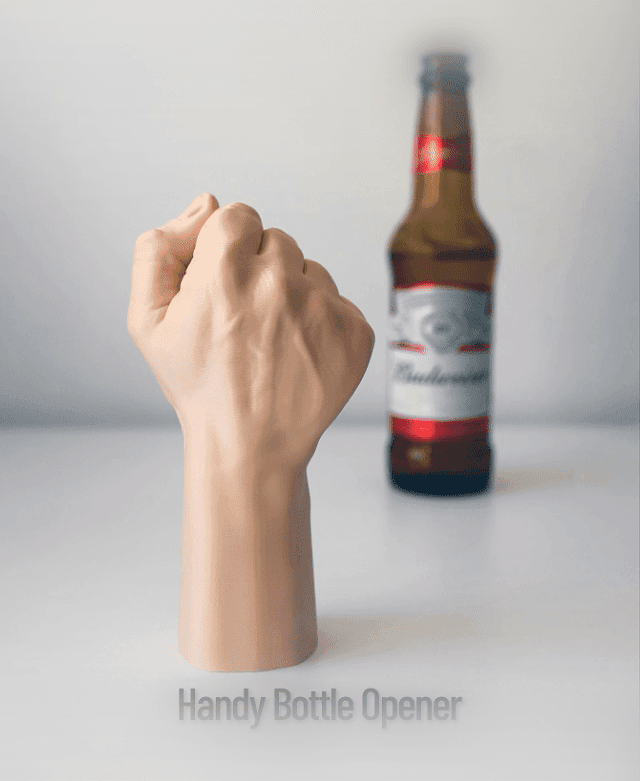
Handy Bottle Opener

Pillar Tray

E.T - the Extra Testy

Beerboard

Screaming Cactuses - Part II
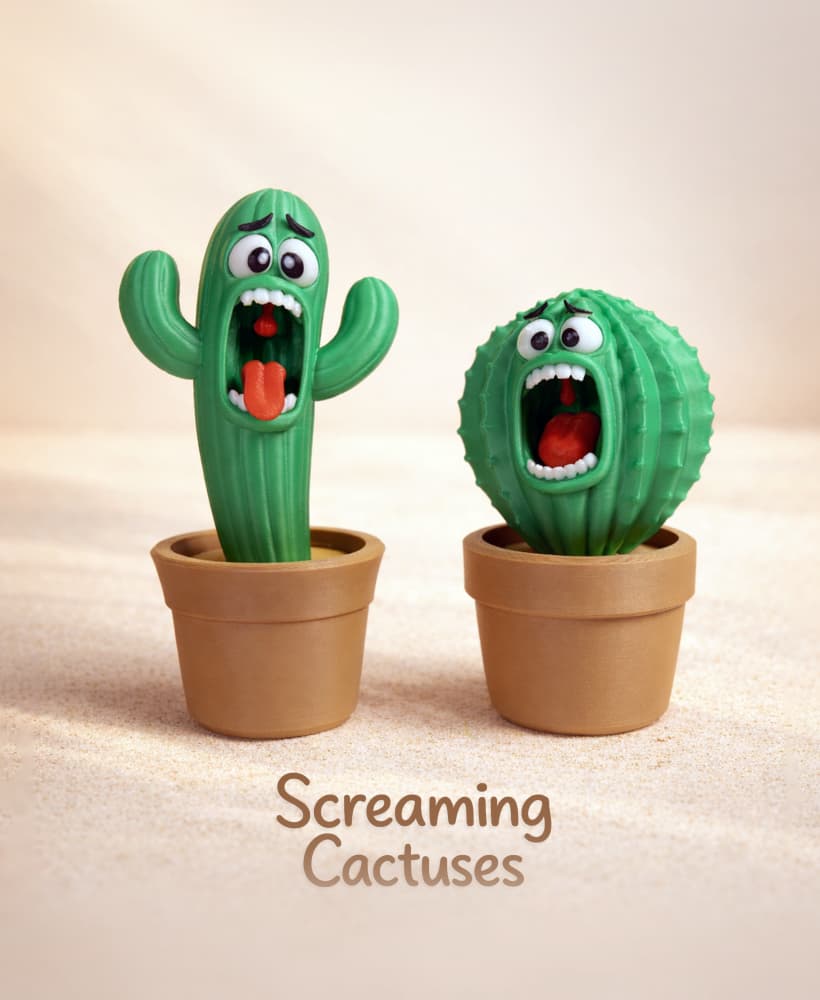
Screaming Cactuses - Part I
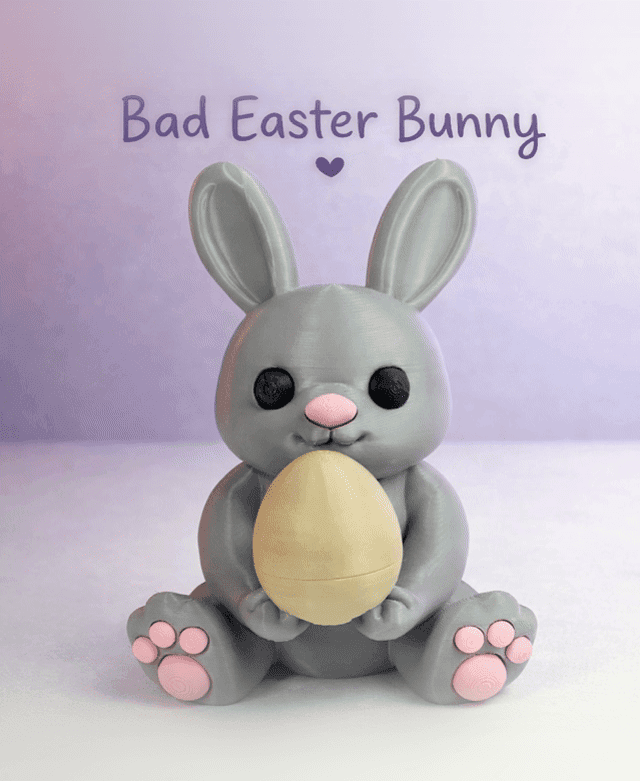
Bad Easter Bunny
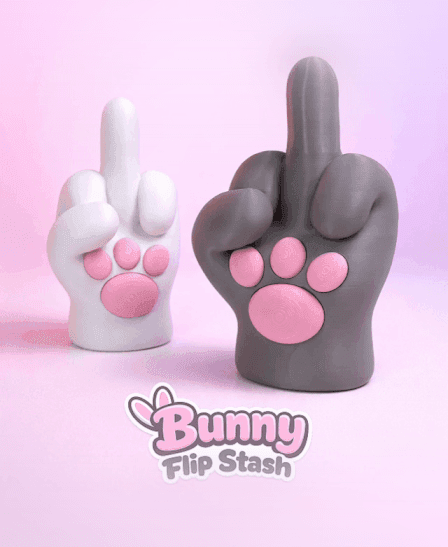
Bunny Flip Stash
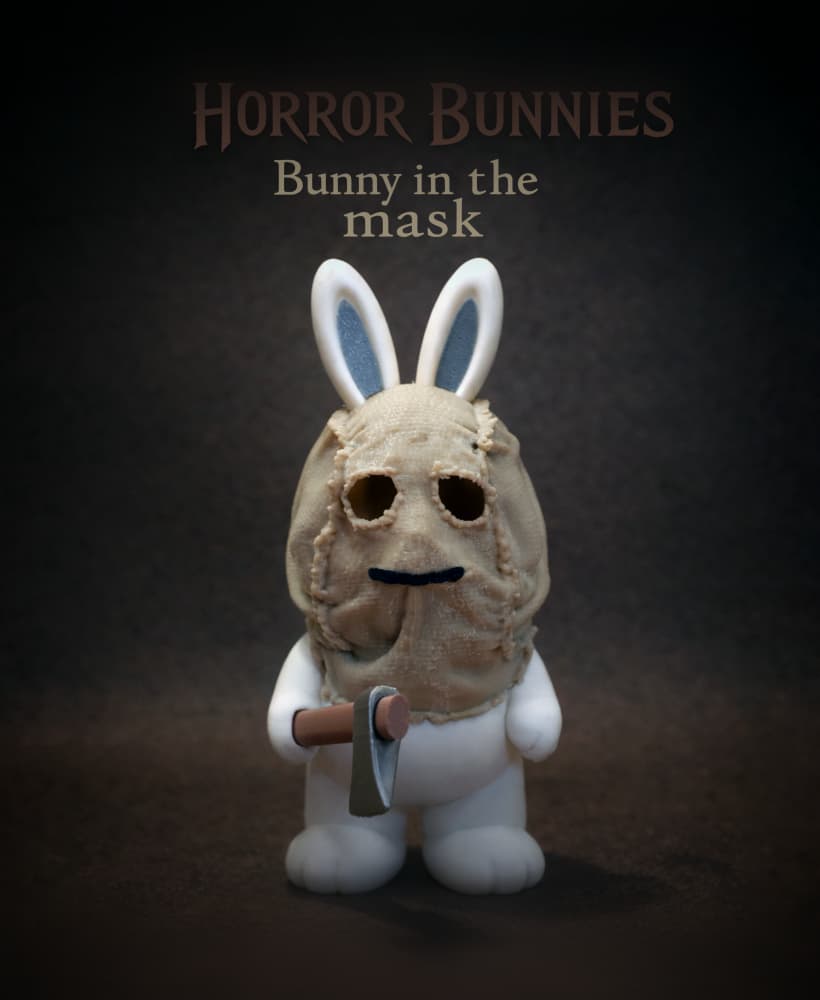
Horror Bunnies - The Bunny In The Mask

Horror Bunnies - Ghostface
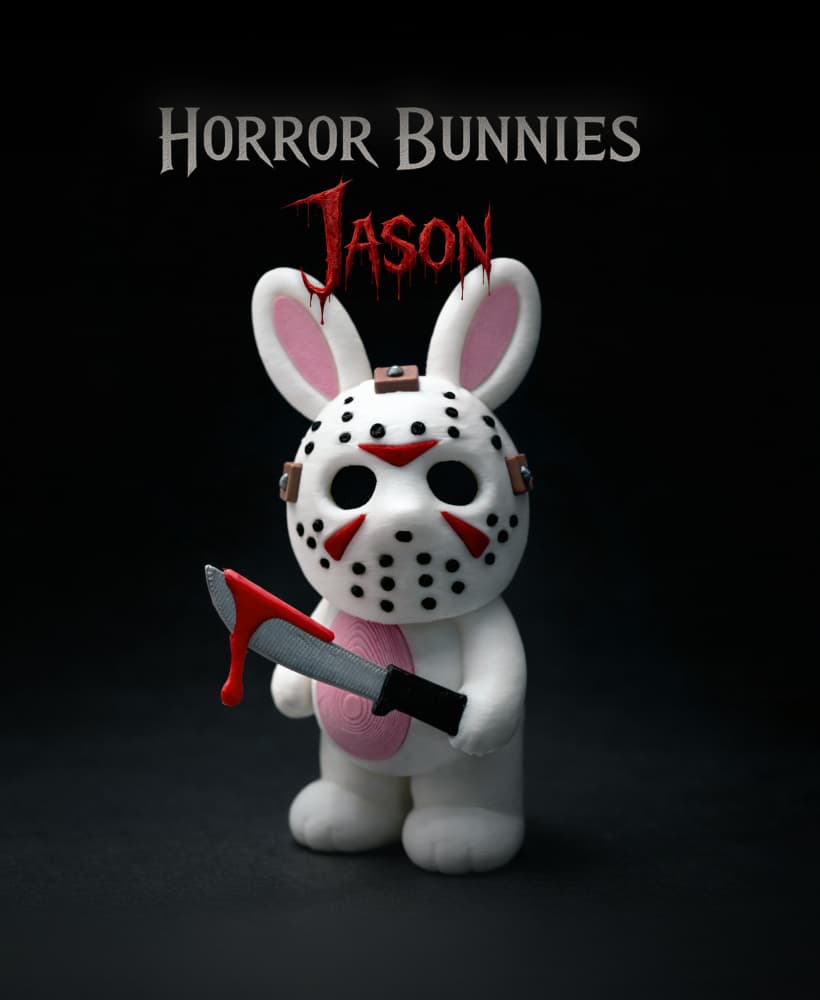
Horror Bunnies - Jason
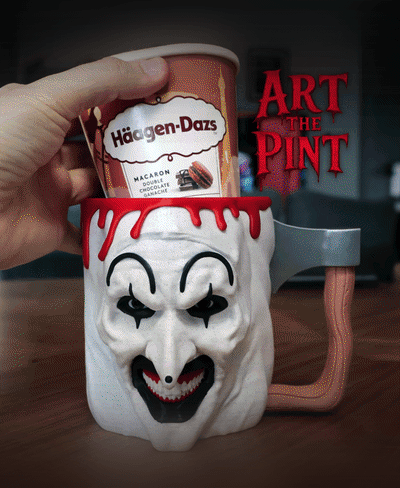
Art The Pint
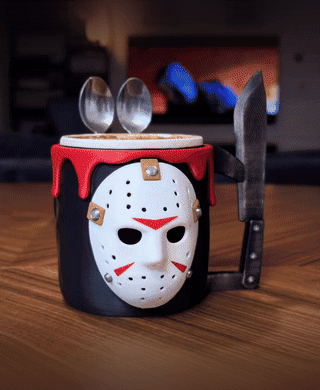
Jason Voorhees Ice Cream Pint Holder
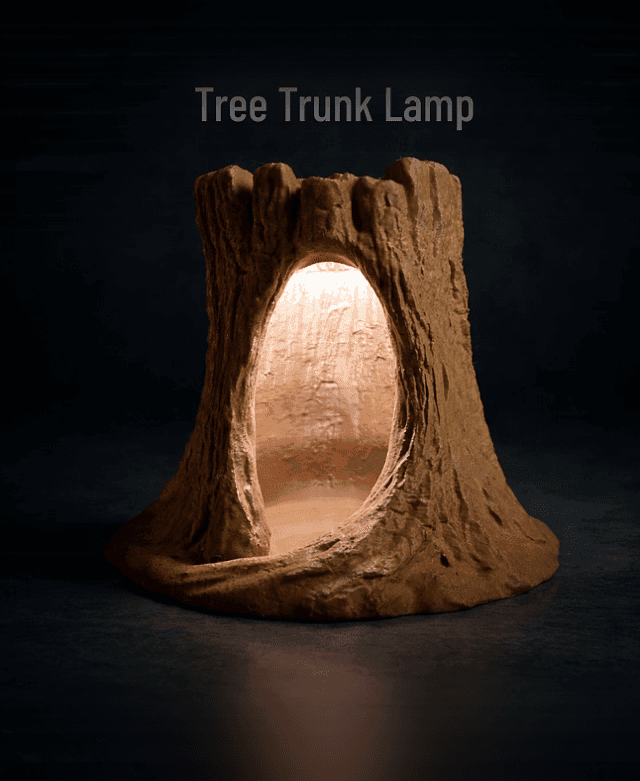
Tree Trunk Lamp
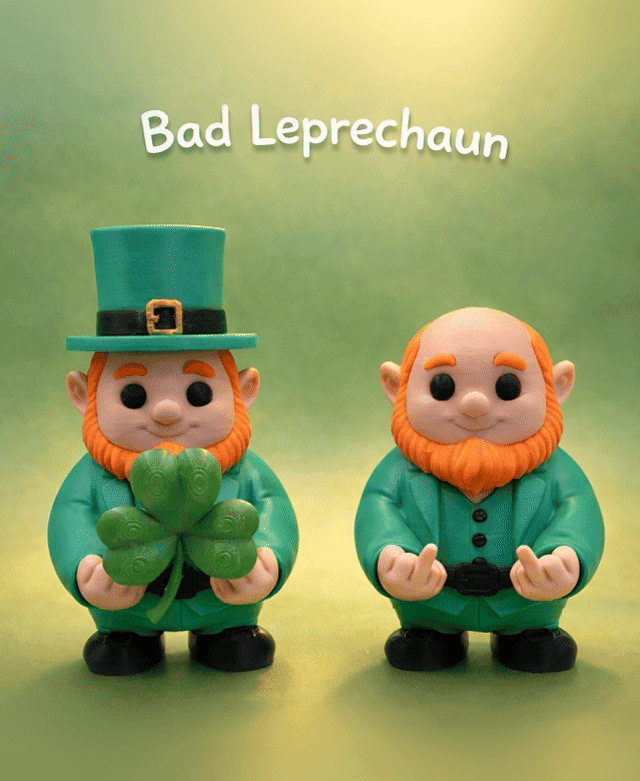
Bad Leprechaun
Armored Banana Case