


Gothic Lithophane Light
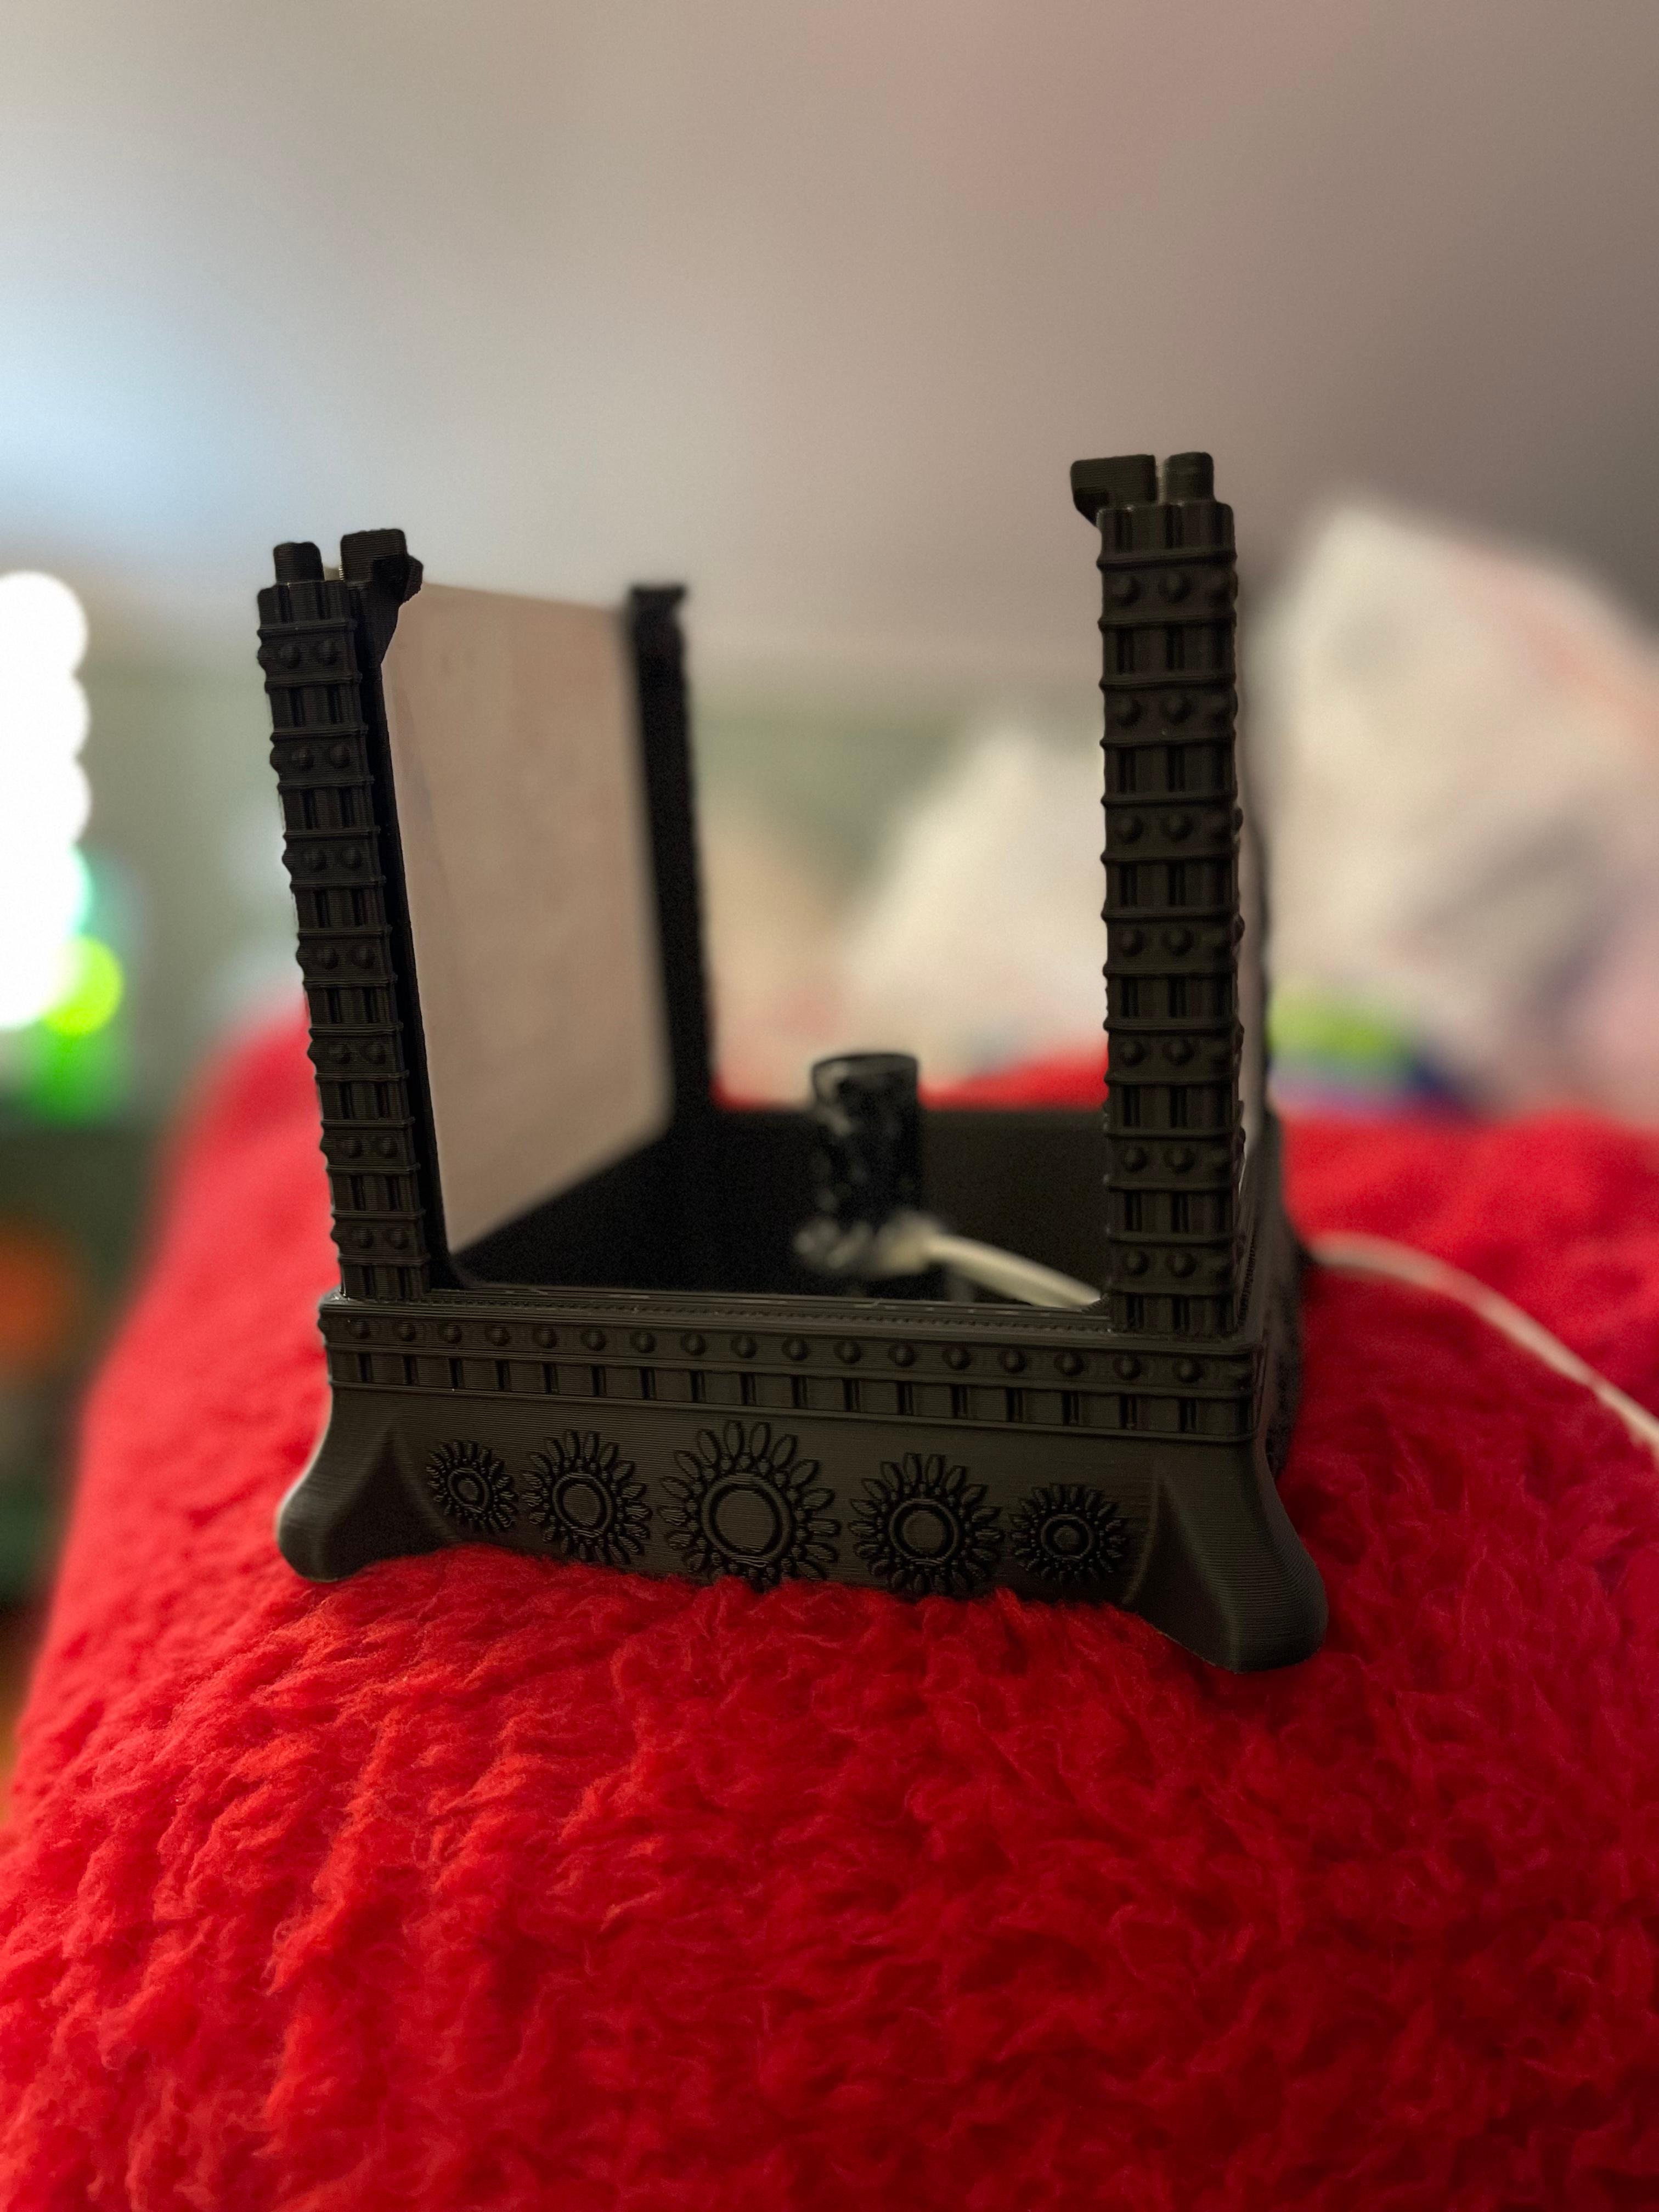
Gothic Lithophane Lamp I wanted to make my Mom a Litophane lamp for Christmas but none of them were just right so I design my own. I decided to go with a Gothic style design, something really easy to use the dry brush technique on. I designed this version to use components that can easily be purchased from Amazon. I have listed the required parts below and have provide detailed instructions on how to make your own custom Lithophane panels In the video.
Print Setting See the settings video for the instructions and settings required to make your own custom lithophane panels for this frame. Supports are not required for the base and the clamp but the top does require support for the center overhang.
Finishing There are so much detail on the model to help hide the layer lines that I do not find it necessary to do any sanding. I did spray the frame first with a flat black Rustoleum because black filament is too shinny. After that I used the dry brush technique to add highlights to the high parts using metallic gold acrylic paint.
Assembly After you have all the parts printed install the heat set thread inserts into the frame first. These will hold the bulb socket and the stain relief for the cord. One insert is used to hold the socket and two are used for the cord grip. The thread inserts are installed with a soldering iron and the tip linked below. You can get away with a standard cone shape soldering tip as well but the custom tips make it a little easier to get the insert in the hole straight.
You can use a regular plastic cord but I think the rayon cloth covered cord looks a lot nicer. If you are installing the inline switch as well put two rings of superglue around the cord where you are going to slice it to keep the cloth from fraying. This works really good, otherwise its really hard to keep the cloth from fraying.
To install the bulb socket first remove the #6 screw and bracket that comes with the socket, you won’t be using these. You can also cut the leads at this time as they only need to be 2-3” long. Use a M3 x 10mm long socket head cap screw to hold the socket into the center base of the frame. Next thread the cord through the hole in the frame and clamp it down using the 3D printed clamp and two M3 x 10mm socket head cap screws. Next connect the cord wires to the socket leads using two wire nuts.
Lastly screw in the led bulb and slide in the panels and your light should be all ready to turn on!
Filament(aff) White PLA Black PLA
Purchased Components(aff) Intermediate LED bulb Intermediate Porcelain Socket Base Rayon Covered Cord Inline Cord Switch M3 Heat Set Thread Inserts Heat Set Install Tip M3 X 10 Socket Head Cap Screws(3x)
Support and Licensing If you would like to help support more free models, or gain permission to sell physical copies of my models, consider joining my Patreon
Gothic Lithophane Light
Quinlan Vos Collapsing Lightsaber

Master Sword Horizontal Wall Mount

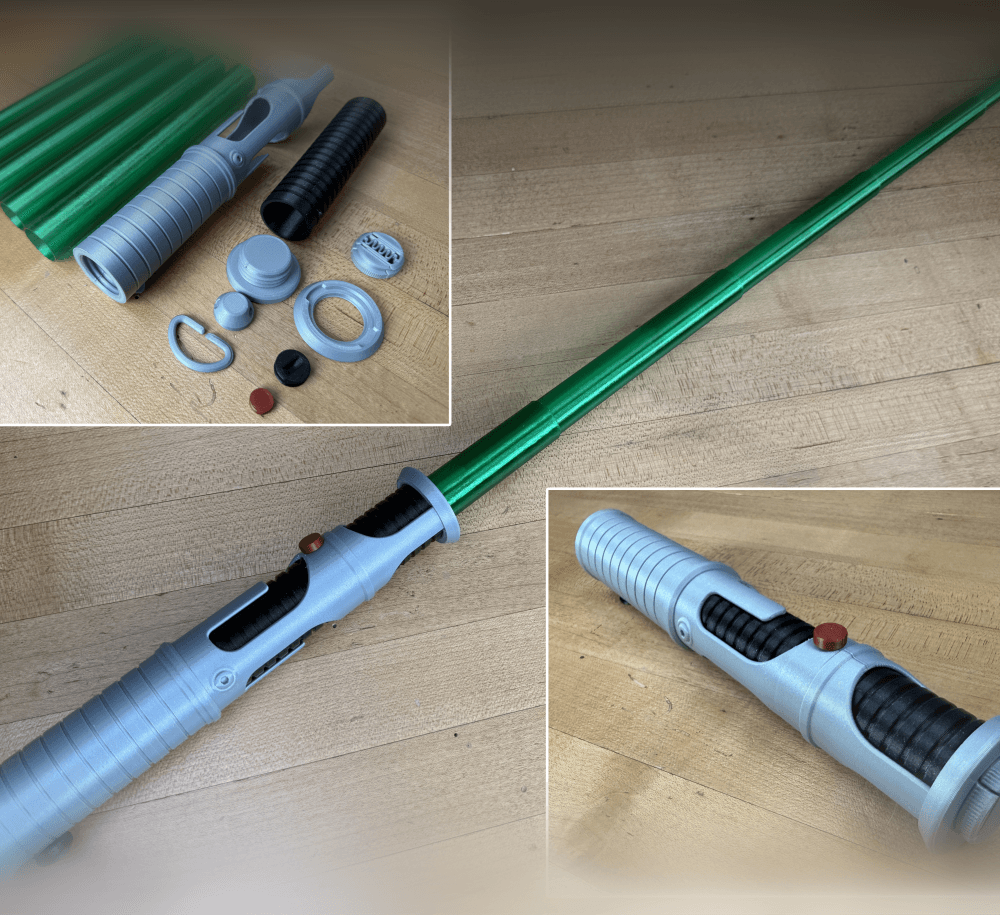
Expanding Master Sword

Lightsaber Belt Clip

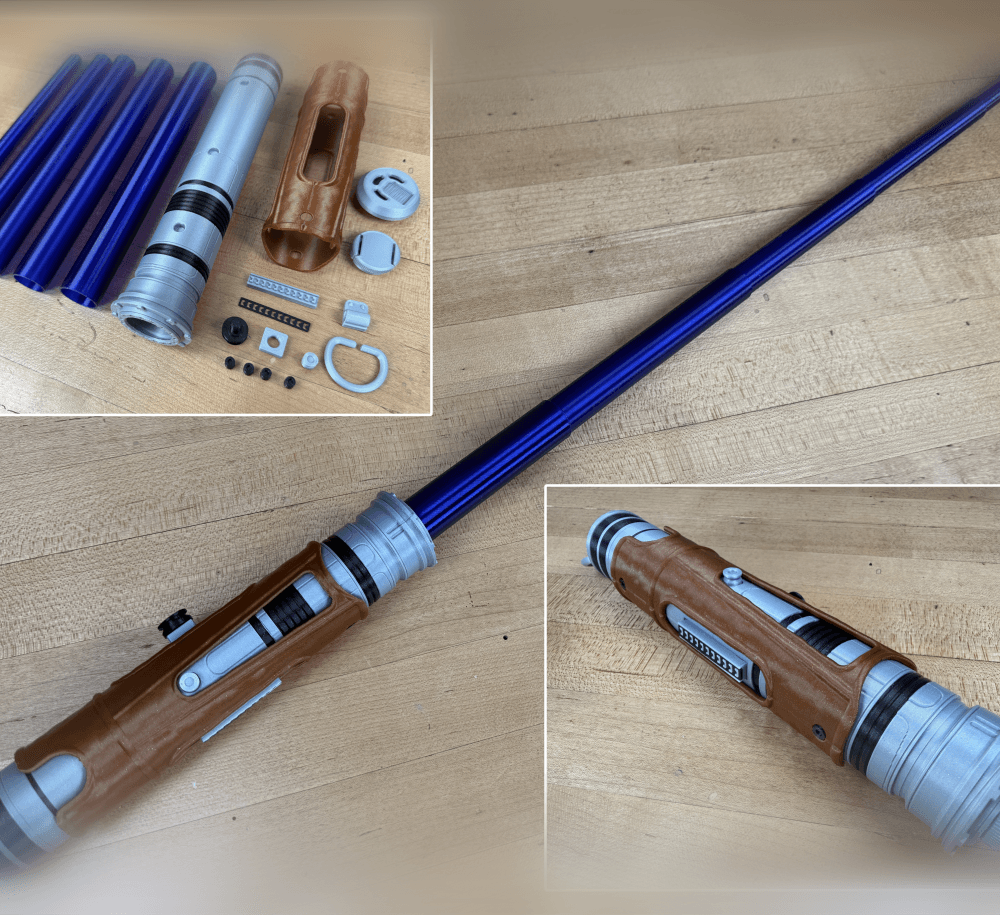
Luke’s ROTJ Multi-Part Collapsing Lightsaber

BYOK #10

Fallout Access Granted Illuminated Panel
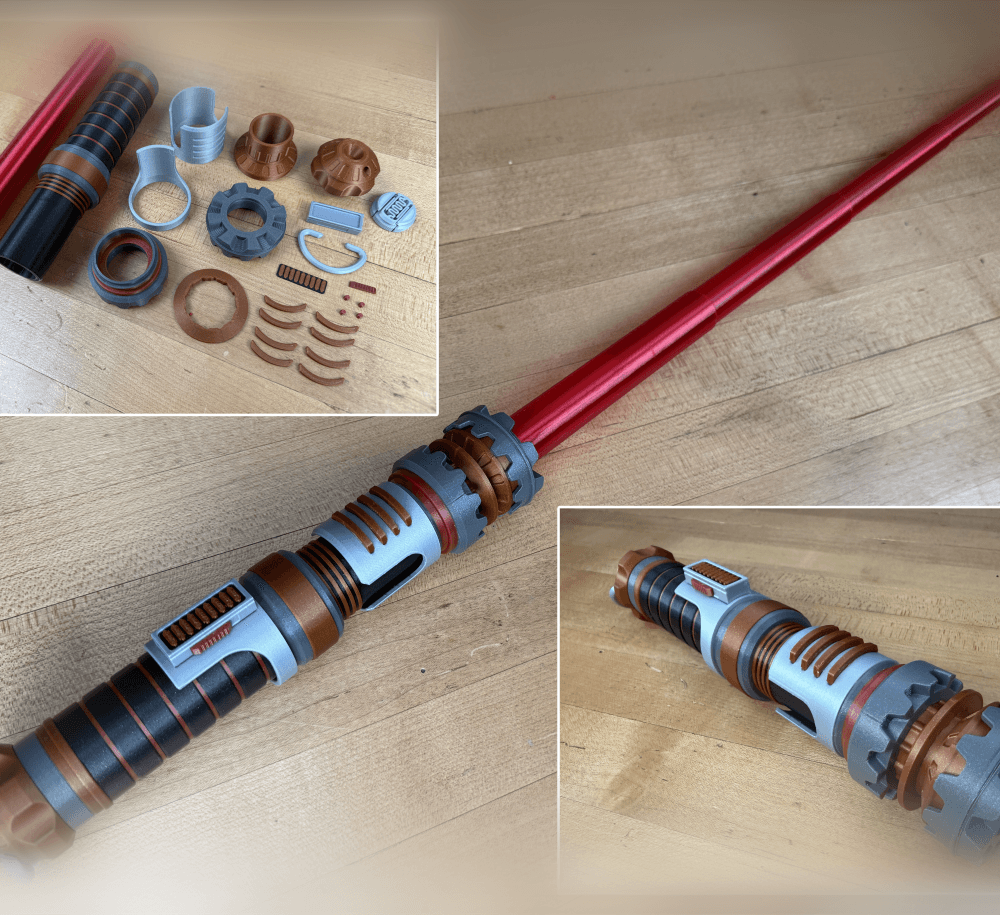
The Incinerator Multi-Color
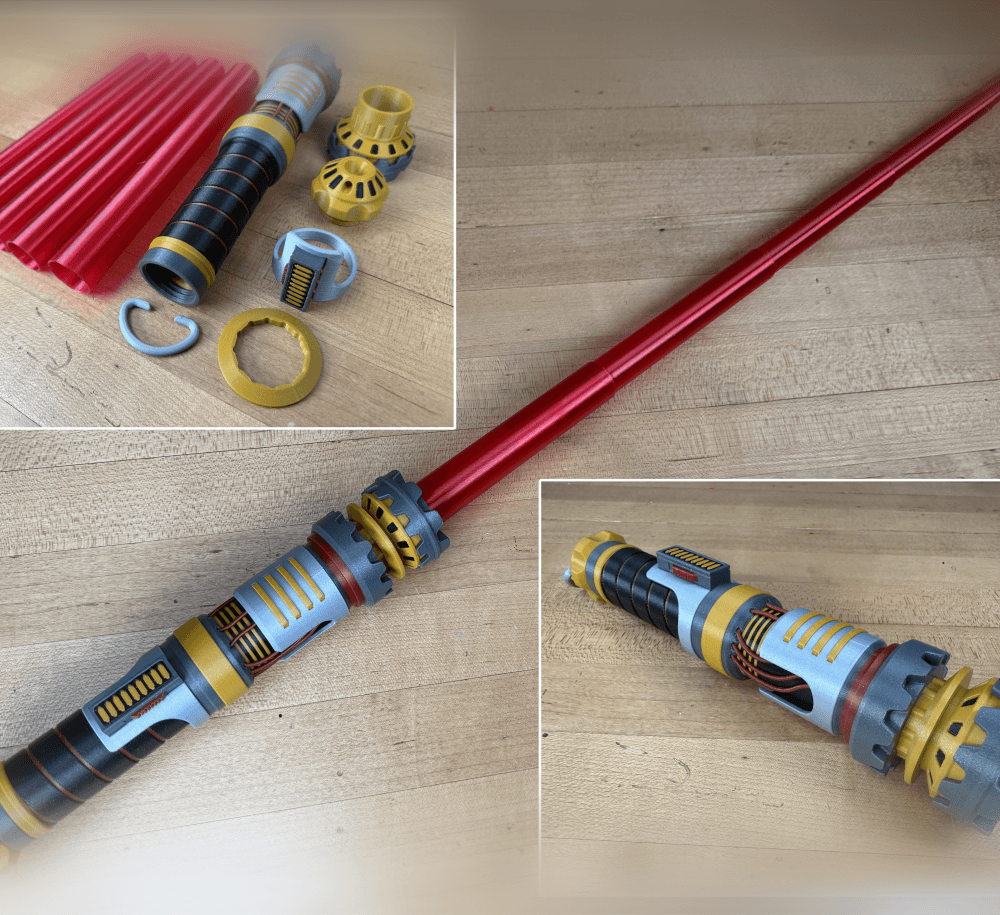
The Incinerator Collapsing Lightsaber

Fallout Access Granted Panel
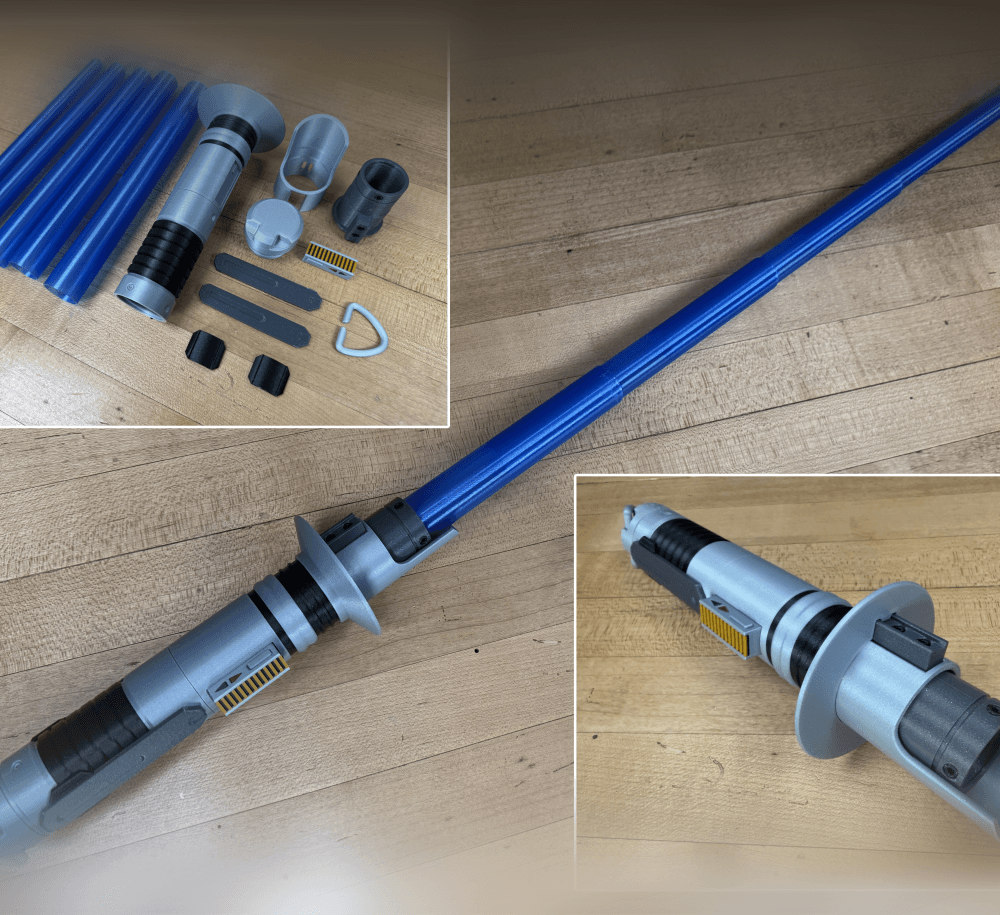
Devon Izara's Collapsing Lightsaber
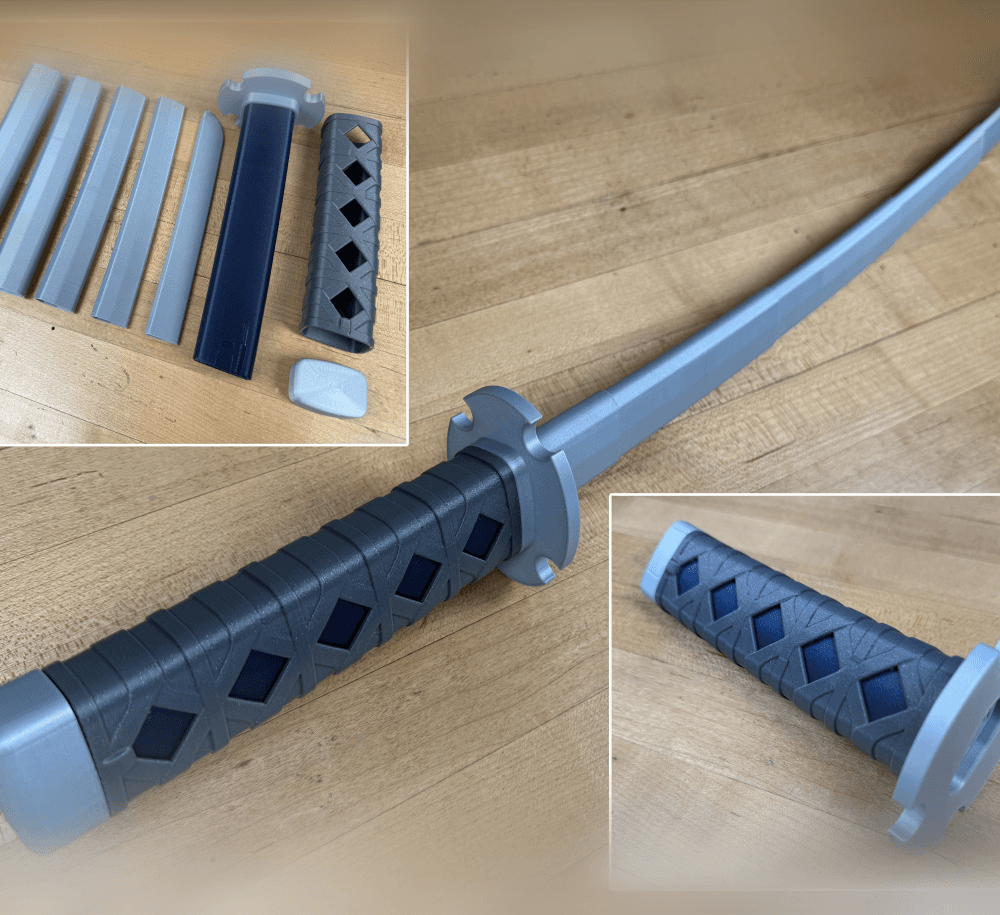
Sakonji Tomioka Katana

Master Sword Vertical Wall Mount

Collapsing Easter Basket

Buster Sword Wall Mount

Textured Planetary Egg Container
Ezra Bridger 3rd Collapsing Lightsaber

Illuminated Galaxy Edge Control Panel #2

Illuminated Galaxy Edge Control Panel #1

what size lithophane panels does this take?
its in the video, I think 100mm x 100mm.
Good afternoon! I saw the LITHOPHANE file on the THINGIVERSE website and would like to know what software you used to edit your photos. I thought he was awesome!! Thanks!! CONGRATULATIONS FOR YOUR WORK!
I used this website. https://3dp.rocks/lithophane/
Boa Tarde Amigo! vi este arquivo de LITHOPHANE no site THINGIVERSE e gostaria de saber qual o software que você usou para editar suas fotos. achei ele show!!! Obrigado!!! PARABÉNS PELO SEU TRABALHO!
Can a version be made that has a 1" hole in the center for a candelabra light bulb? This is the simplest light to add to these. The corded socket is available on amazon. Thank you. Great work.
Any way you could make this like sports themed with like footballs and stuff of it instead of the gothic themed ? Or i could try if pointed in the right direction still kinda new to this stuff
Why is it laying on its side? I assume I have to rotate it vertically to print it right? Otherwise it would need a lot of supports.
Not sure why its orientated like that but print it base down and you wont need supports.
yes