
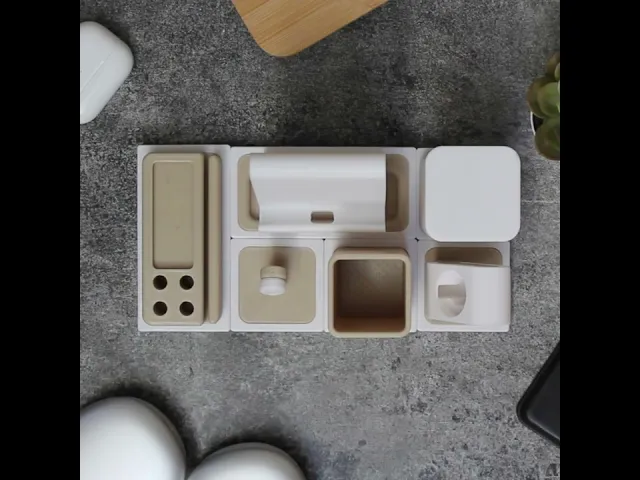


MODULAR DESK ORGANIZER XL-SET | 9 ELEMENTS | GRIDLINX | MAGNETIC DESK BOX | DESK ACCESSORIES | DESK
Demo video: https://youtube.com/shorts/DlaOIhmf3Gg?feature=share
Bring order to your desk with our modular desk organizer. The individual desk boxes are equipped with integrated magnets, allowing you to connect them flexibly and adjust them to your needs at any time. Whether you want to store small office supplies, pens, notes, or paperclips – our desk organizer ensures that everything has its place. Thanks to the modular design, you can easily expand or rearrange it whenever you want. Print out each block as many times as you like and create your optimal setup.
With our modular organizer, you not only create order but also add style to your desk. Perfect for home, the office, or the home office – this desk organizer adapts flexibly to your needs and grows with your requirements.
▪ Included files for GRIDLINX blocks: GRIDLINX small tray GRIDLINX large tray GRIDLINX flat pen holder GRIDLINX high pen holder GRIDLINX block holder GRIDLINX drawing module GRIDLINX magnetic note holder GRIDLINX box with lid GRIDLINX media holder with lid
▪ Additional materials required: You can use this set without any additional materials but if you want to, you can do so to add some more functionality. If the elements are to be securely connected with magnets, Neodymium magnets (round, 6x3mm, available on AMAZON, for example) are needed. Optionally, felt pads or rubber feet can be attached to the underside.
▪ GRIDLINX system: Use other GRIDLINX blocks to create your own personalized set. All GRIDLINX blocks are compatible with each other and can be magnetically connected. They can be arranged in any way. You can expand your set at any time with more GRIDLINX blocks.
▪ Dimensions: 1x1 block: 58mm x 58mm 2x1 block: 116mm x 58mm
▪ Printing and assembly: Assembly video: https://m.youtube.com/watch?v=L5kaCEpKWN0
Print settings: Printable with your normal print settings, no special requirements. Use supports on overhangs, except when printing the frame parts.
Assembly: Each 1x1 upper part goes together with the 1x1_frame. Each 2x1 upper part goes together with the 2x1_frame. Some upper parts consist of 2 parts, as you can see in the file name.
Files for each module: GRIDLINX small tray: 1x1_frame.stl + 1x1_filing.stl
GRIDLINX large tray: 2x1_frame.stl + 2x2_filing.stl
GRIDLINX flat pen holder: 2x1_frame.stl + 2x2_pen_holder.stl
GRIDLINX high pen holder: 1x1_frame.stl + 1x1_pen_box.stl
GRIDLINX block holder: 2x1_frame.stl + 2x1_notepad_holder.stl
GRIDLINX drawing module: 2x1_frame.stl + 2x1_tool_holder.stl
GRIDLINX magnetic note holder: 1x1_frame.stl + 1x1_notes_holder.stl + 1x1_notes_holder_part2.stl
GRIDLINX box with lid: 1x1_frame.stl + 1x1_box_part1.stl + 1x1_box_part2.stl
GRIDLINX media holder with lid: 1x1_frame.stl + 1x1_storage_media_part1.stl + 1x1_storage_media_part2.stsl
Before clipping the part together insert the magnets in the right orientation. Always switch the magnets orientation +/- from on magnet to another. When inserted, you can clip the parts simply together, no clue required. If you want, you can attach pads on the bottom for smoother rearrangement.
If you want to print the magnetic point for the notes holder, I suggest to pause the print at a certain layer height, insert the magnet and then resume the print.
If you need help during the installation please feel free to contact me.
MODULAR DESK ORGANIZER XL-SET | 9 ELEMENTS | GRIDLINX | MAGNETIC DESK BOX | DESK ACCESSORIES | DESK
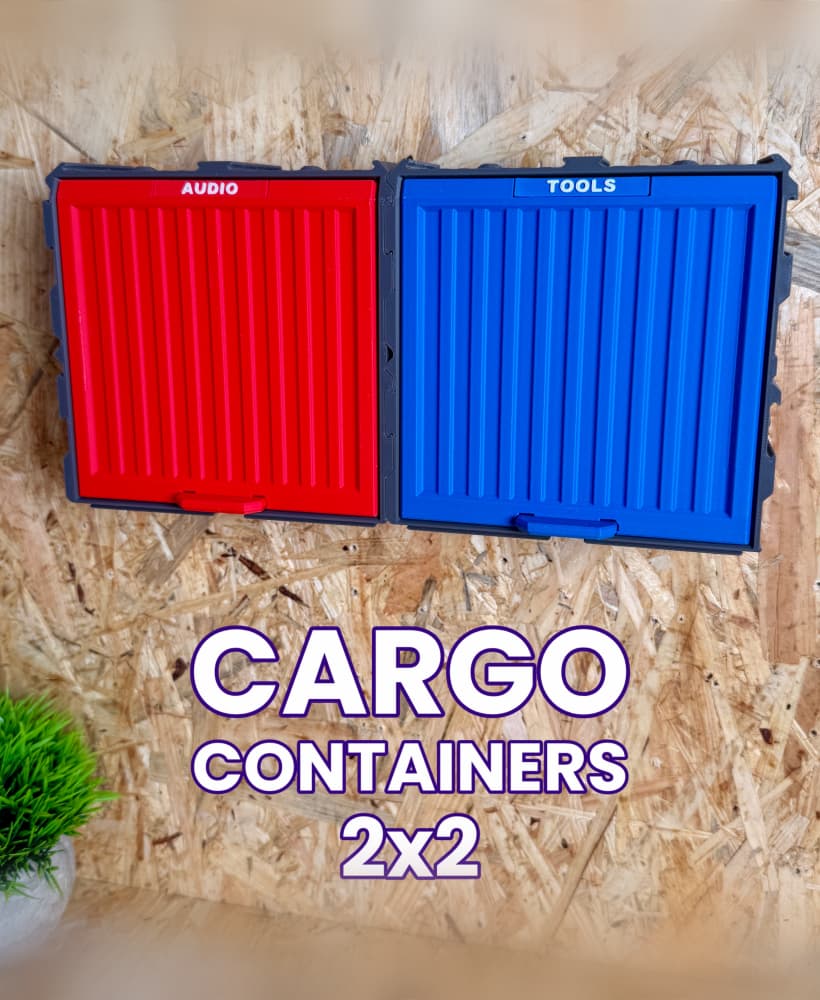
Cargo Containers - 2x2 (Medium Modular Storage)

Classic Dragon - Hatchling

FLOPPY CLICK | THE RETRO-TECH COASTER HOLDER

Apple Pie Turtle

Gaming Tower - 2nd Generation
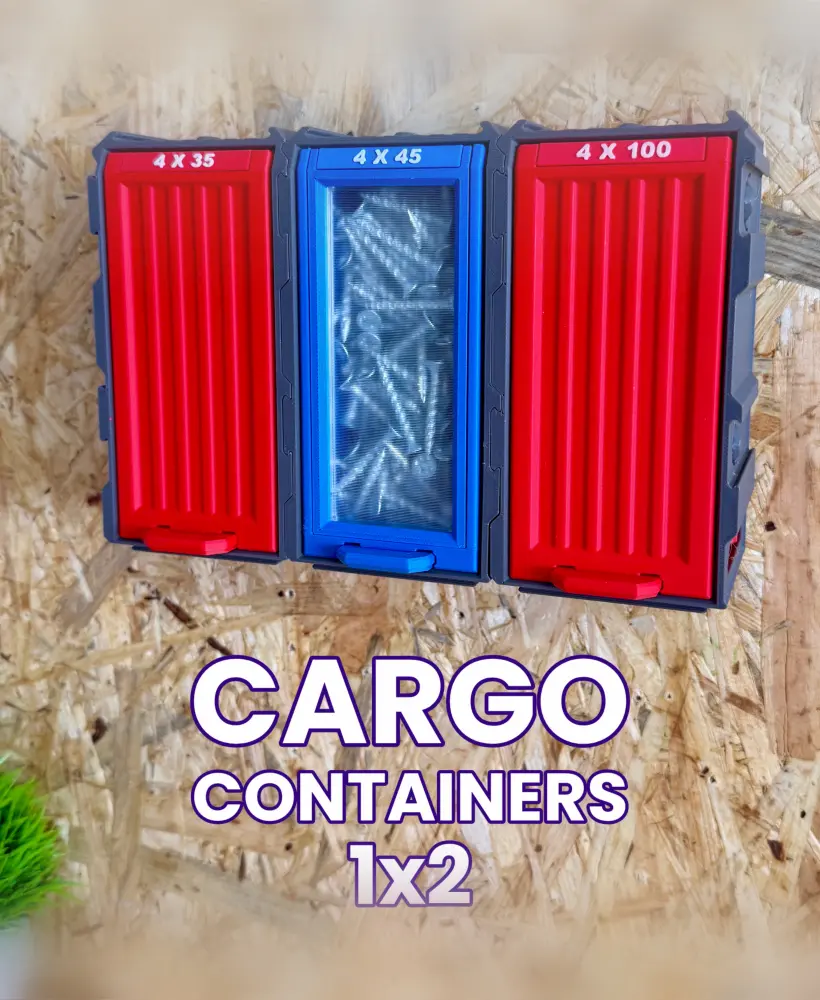
Cargo Containers - 1x2 (Medium Modular Storage)
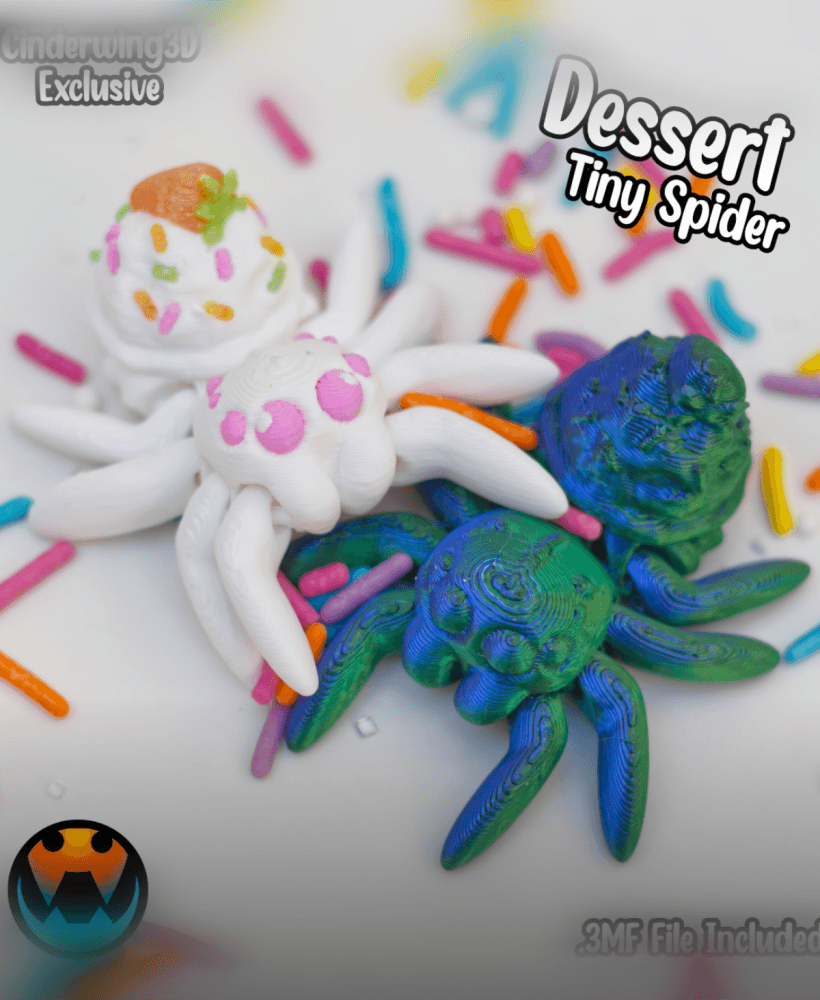
Tiny Spider Dessert

Kitsune - Hatchling

MEMORY BOOK | PHOTO ALBUM
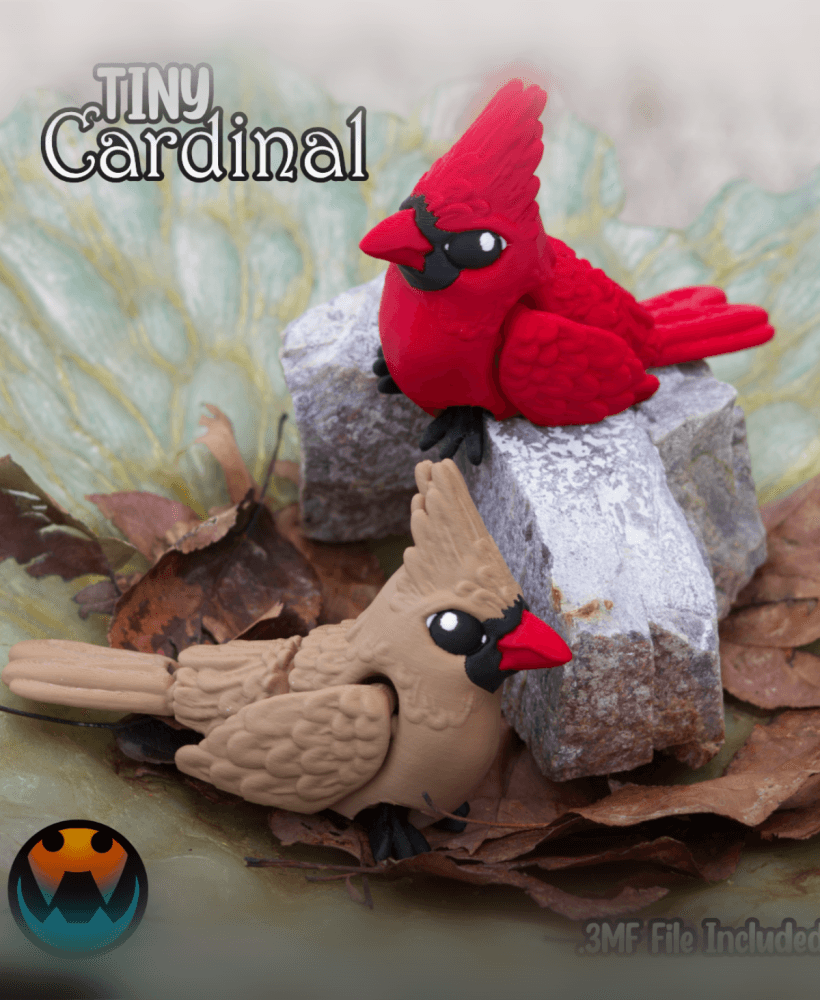
Tiny Cardinal

Tiny Moose

Baby Rose Heart Dragon
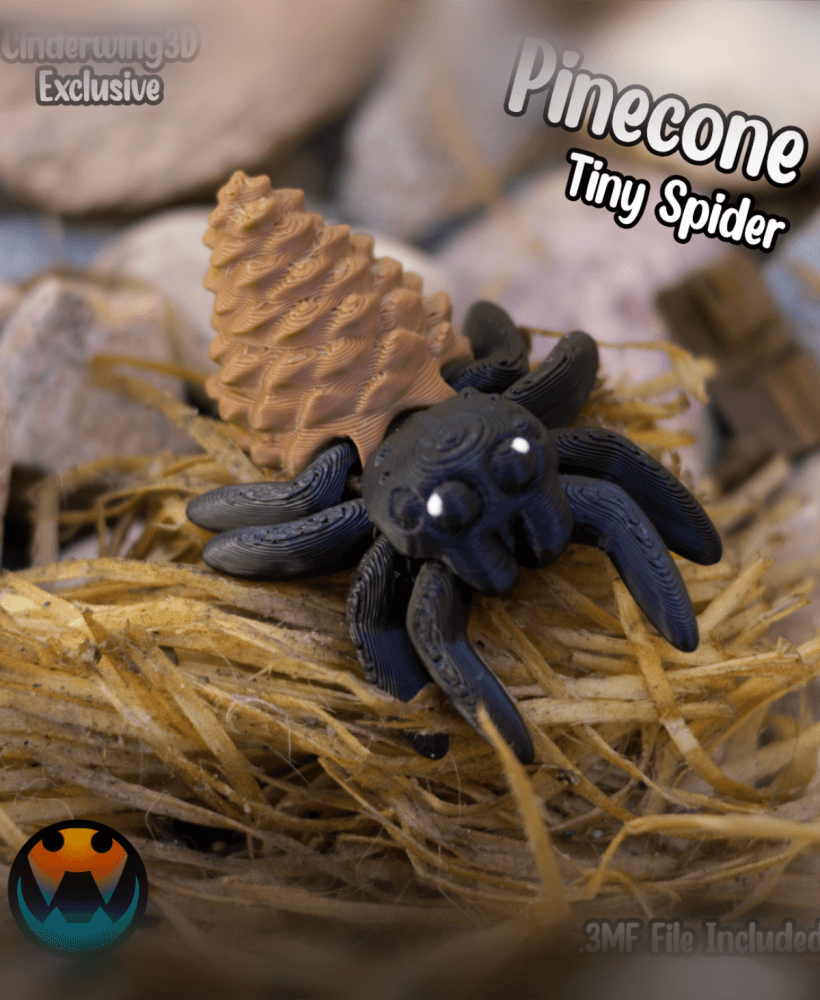
Tiny Spider Pinecone

Boston Ivy Fridge Magnet

Flamingo - Cinder Hatchling

The Rail - Storage Bins

Baby Cow Dragon

E-11 Blaster - Star Wars Cosplay Prop Kit | No Supports, No AMS, No Glue
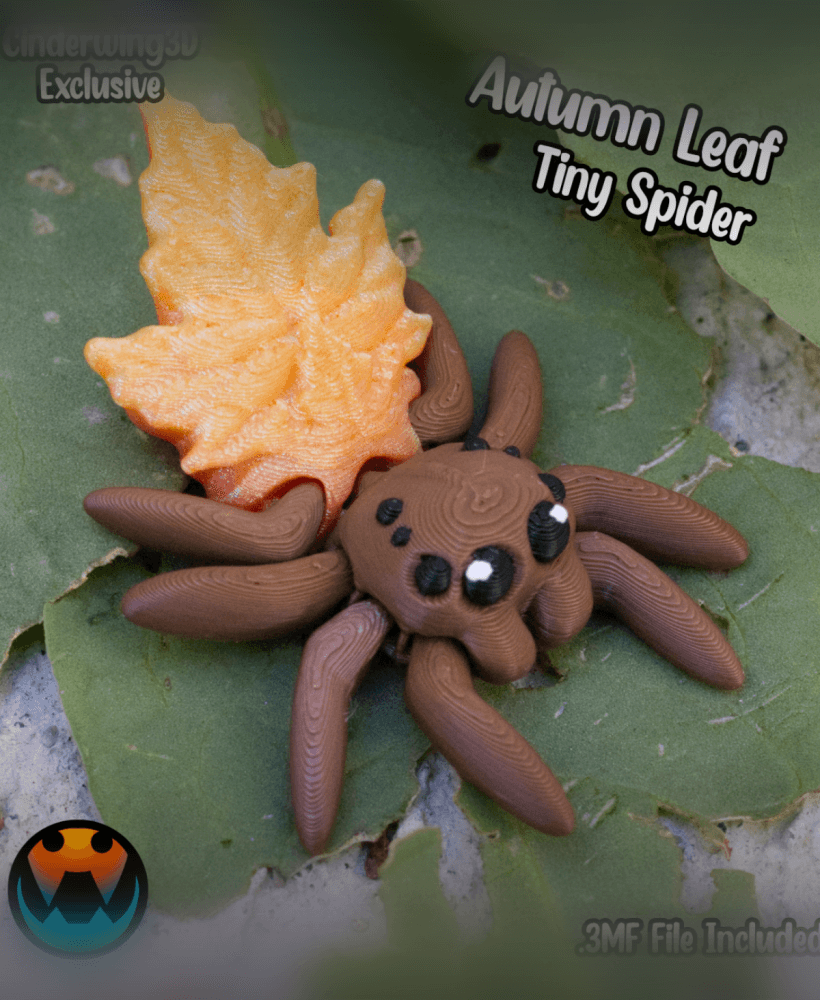
Tiny Spider Autumn Leaf
