


Medium 3D Printed Sound Panels! Bambu & Prusa Mk4 version!
Hexagons maker everything better!
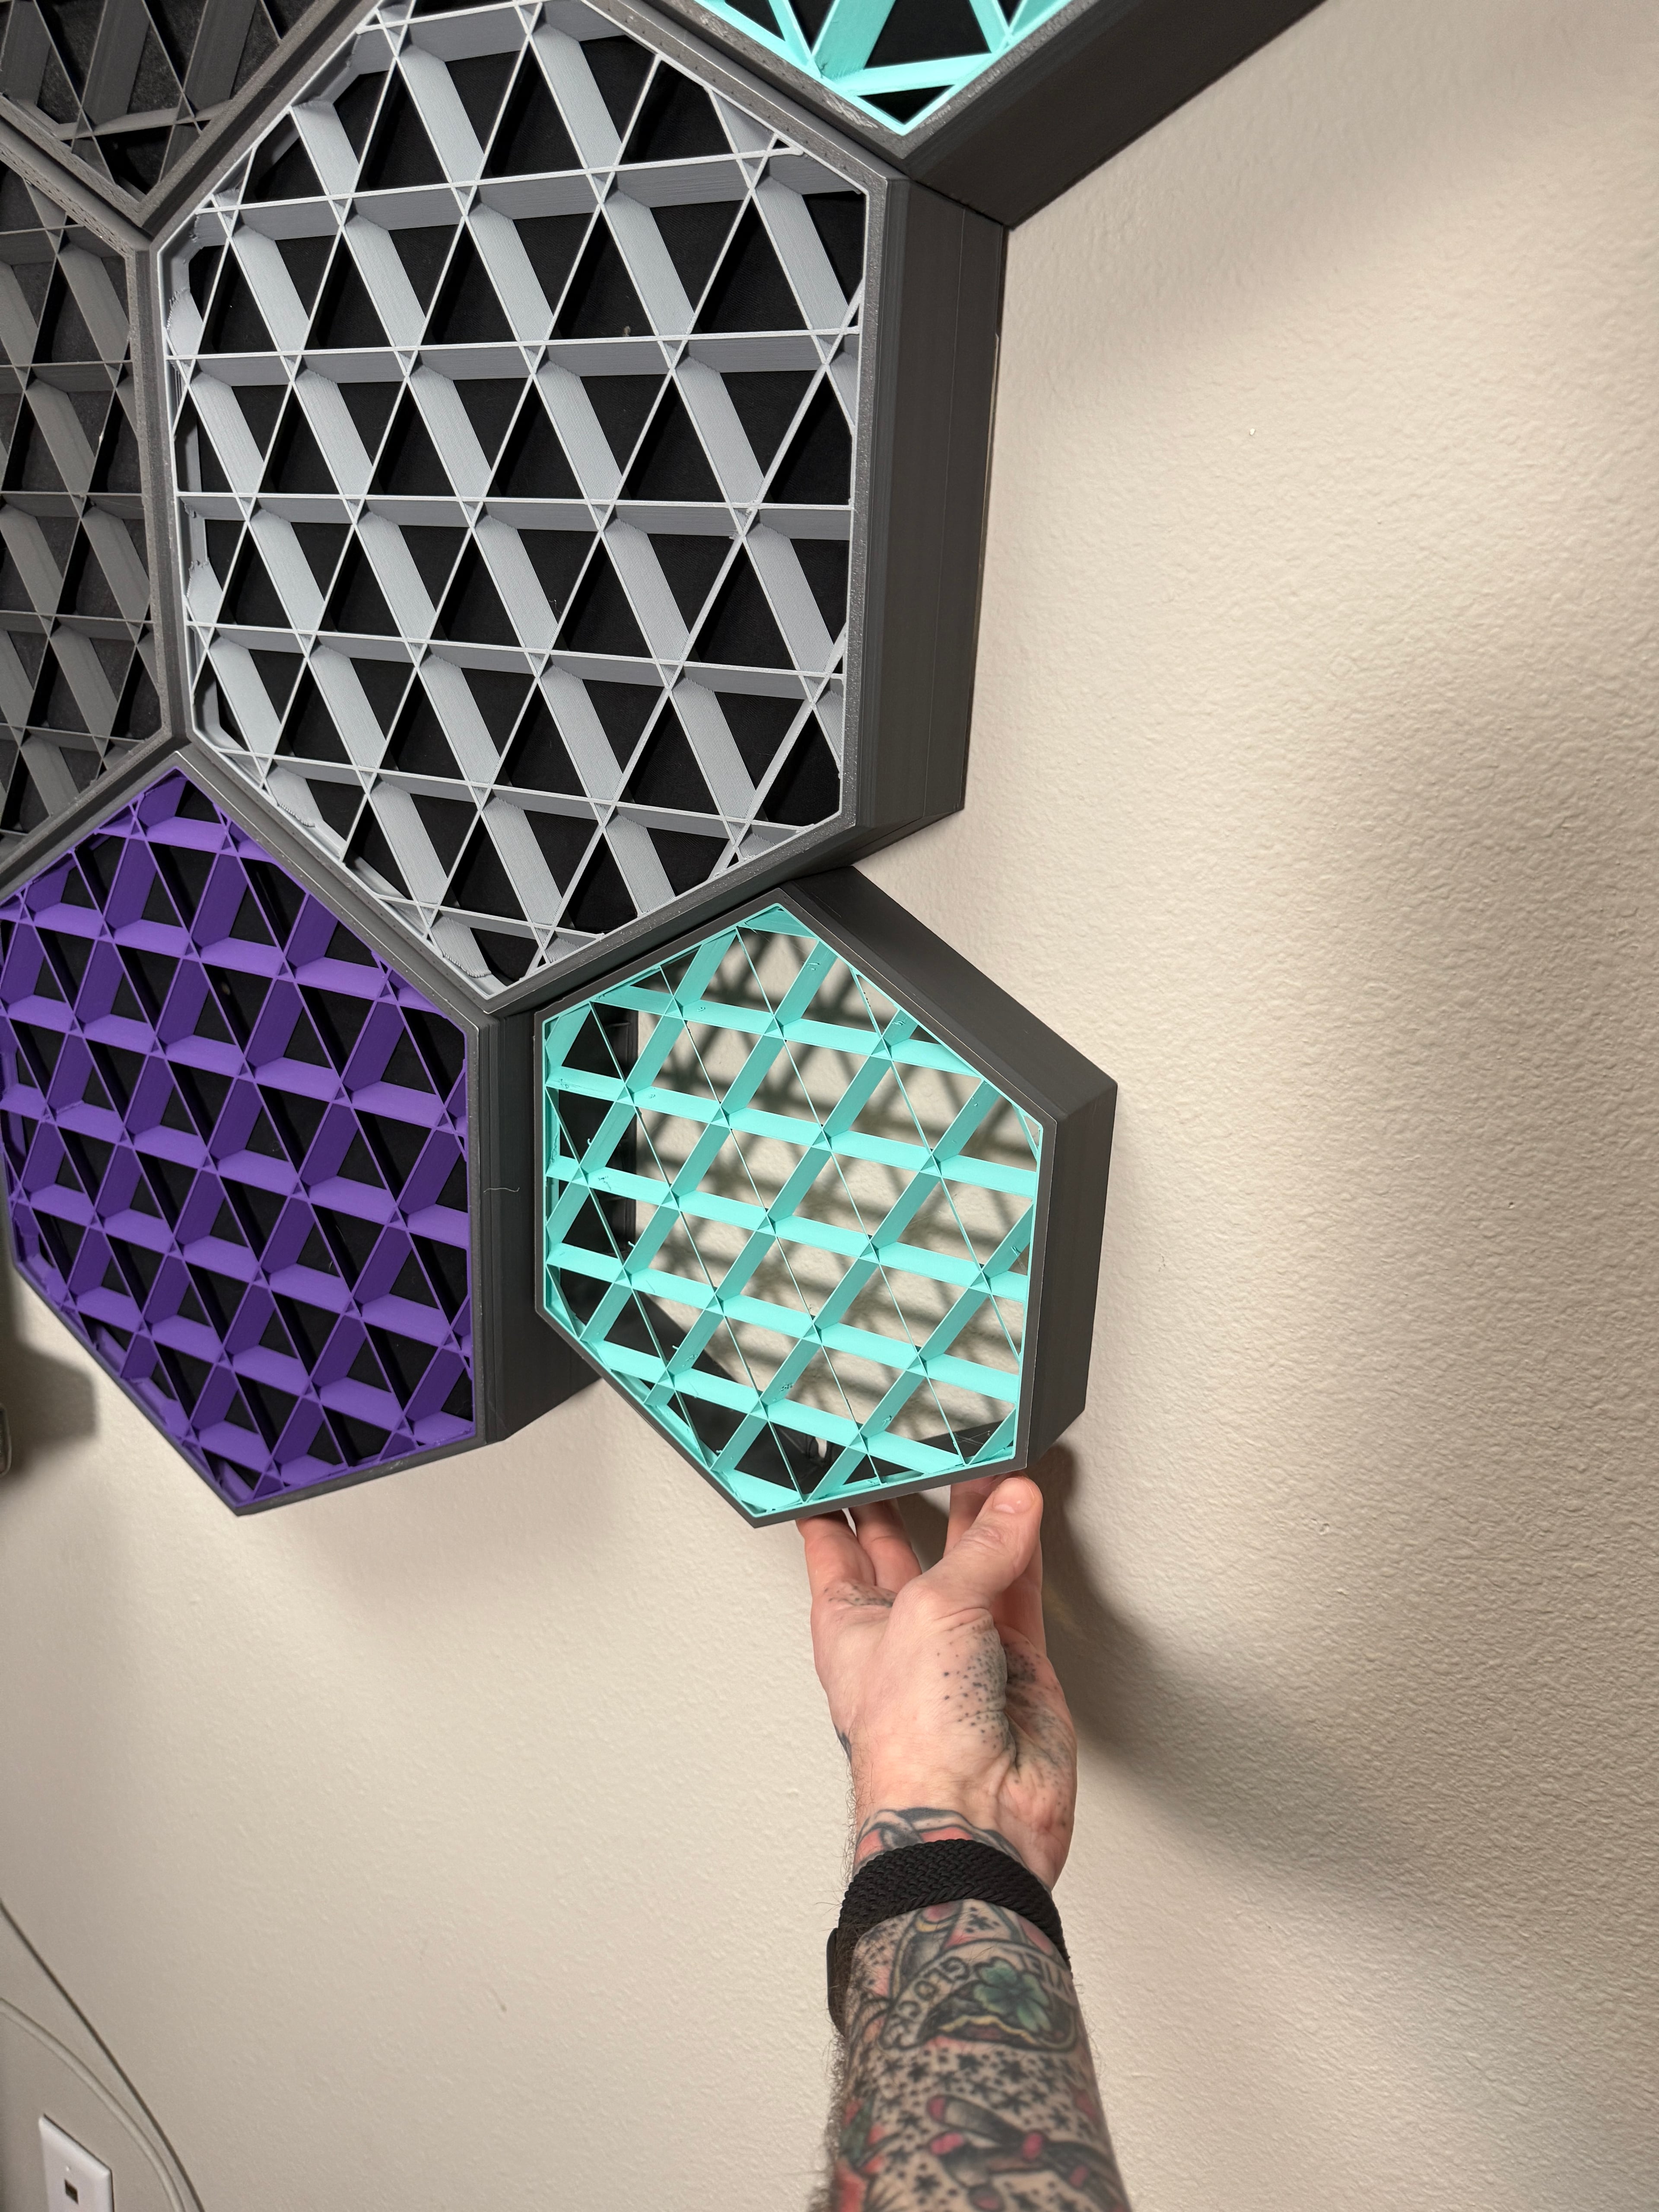
Sound matters in any space, but especially for Content Creators, Musicians, or Home Theaters. These are 3D Printable Sound Panels! You print the hexagaons, stuff them with your choice of sound damping material, and hang them on your wall. They provide a stylish looking option to reduce reverb (echo) in your environment and tone down any harsh frequencies you may have.
Mine were hung with "Command Strips" on the side flanges, but I've also added a keystone hole to the top point for those who wish to use a screw for hanging. Intended to be stuffed with cloth wrapped 1.5 Inch thick sound insulation (38.1mm).
See the full design in action and how it goes together in this video: https://youtu.be/8E0u-5AyEE4
This design REQUIRES VERY SPECIFIC PRINT PARAMETERS! Please pay attention to the "Recommended Print Settings" section below!
Design fits a 210 mm build volume.This is a REMIX of my larger Prusa XL version that is intended to fit on the Prusa i3 Printers or the Bambu X1/P1/A1 (full size not Mini). Multicolor will require that capability of the machine as well. 3MF files are included with the Required slicer settings for both Prusa Mk4S & Bambu X1 Printers. You should be able to dial in your machine off of those settings. The Prusa 3MF is intended to be opened in PrusaSlicer, the Bambu 3MF in BambuStudio or OrcaSlicer. Multicolor on the Prusa i3 version is with the MMU3, I don't own one of these so I cannot test it unfortunately, as such that is an untested file and purge tower size may be an issue.Parts To Make (Affiliate Links):
- Command Strips
- Prusa Mk4S
- Bambu P1S
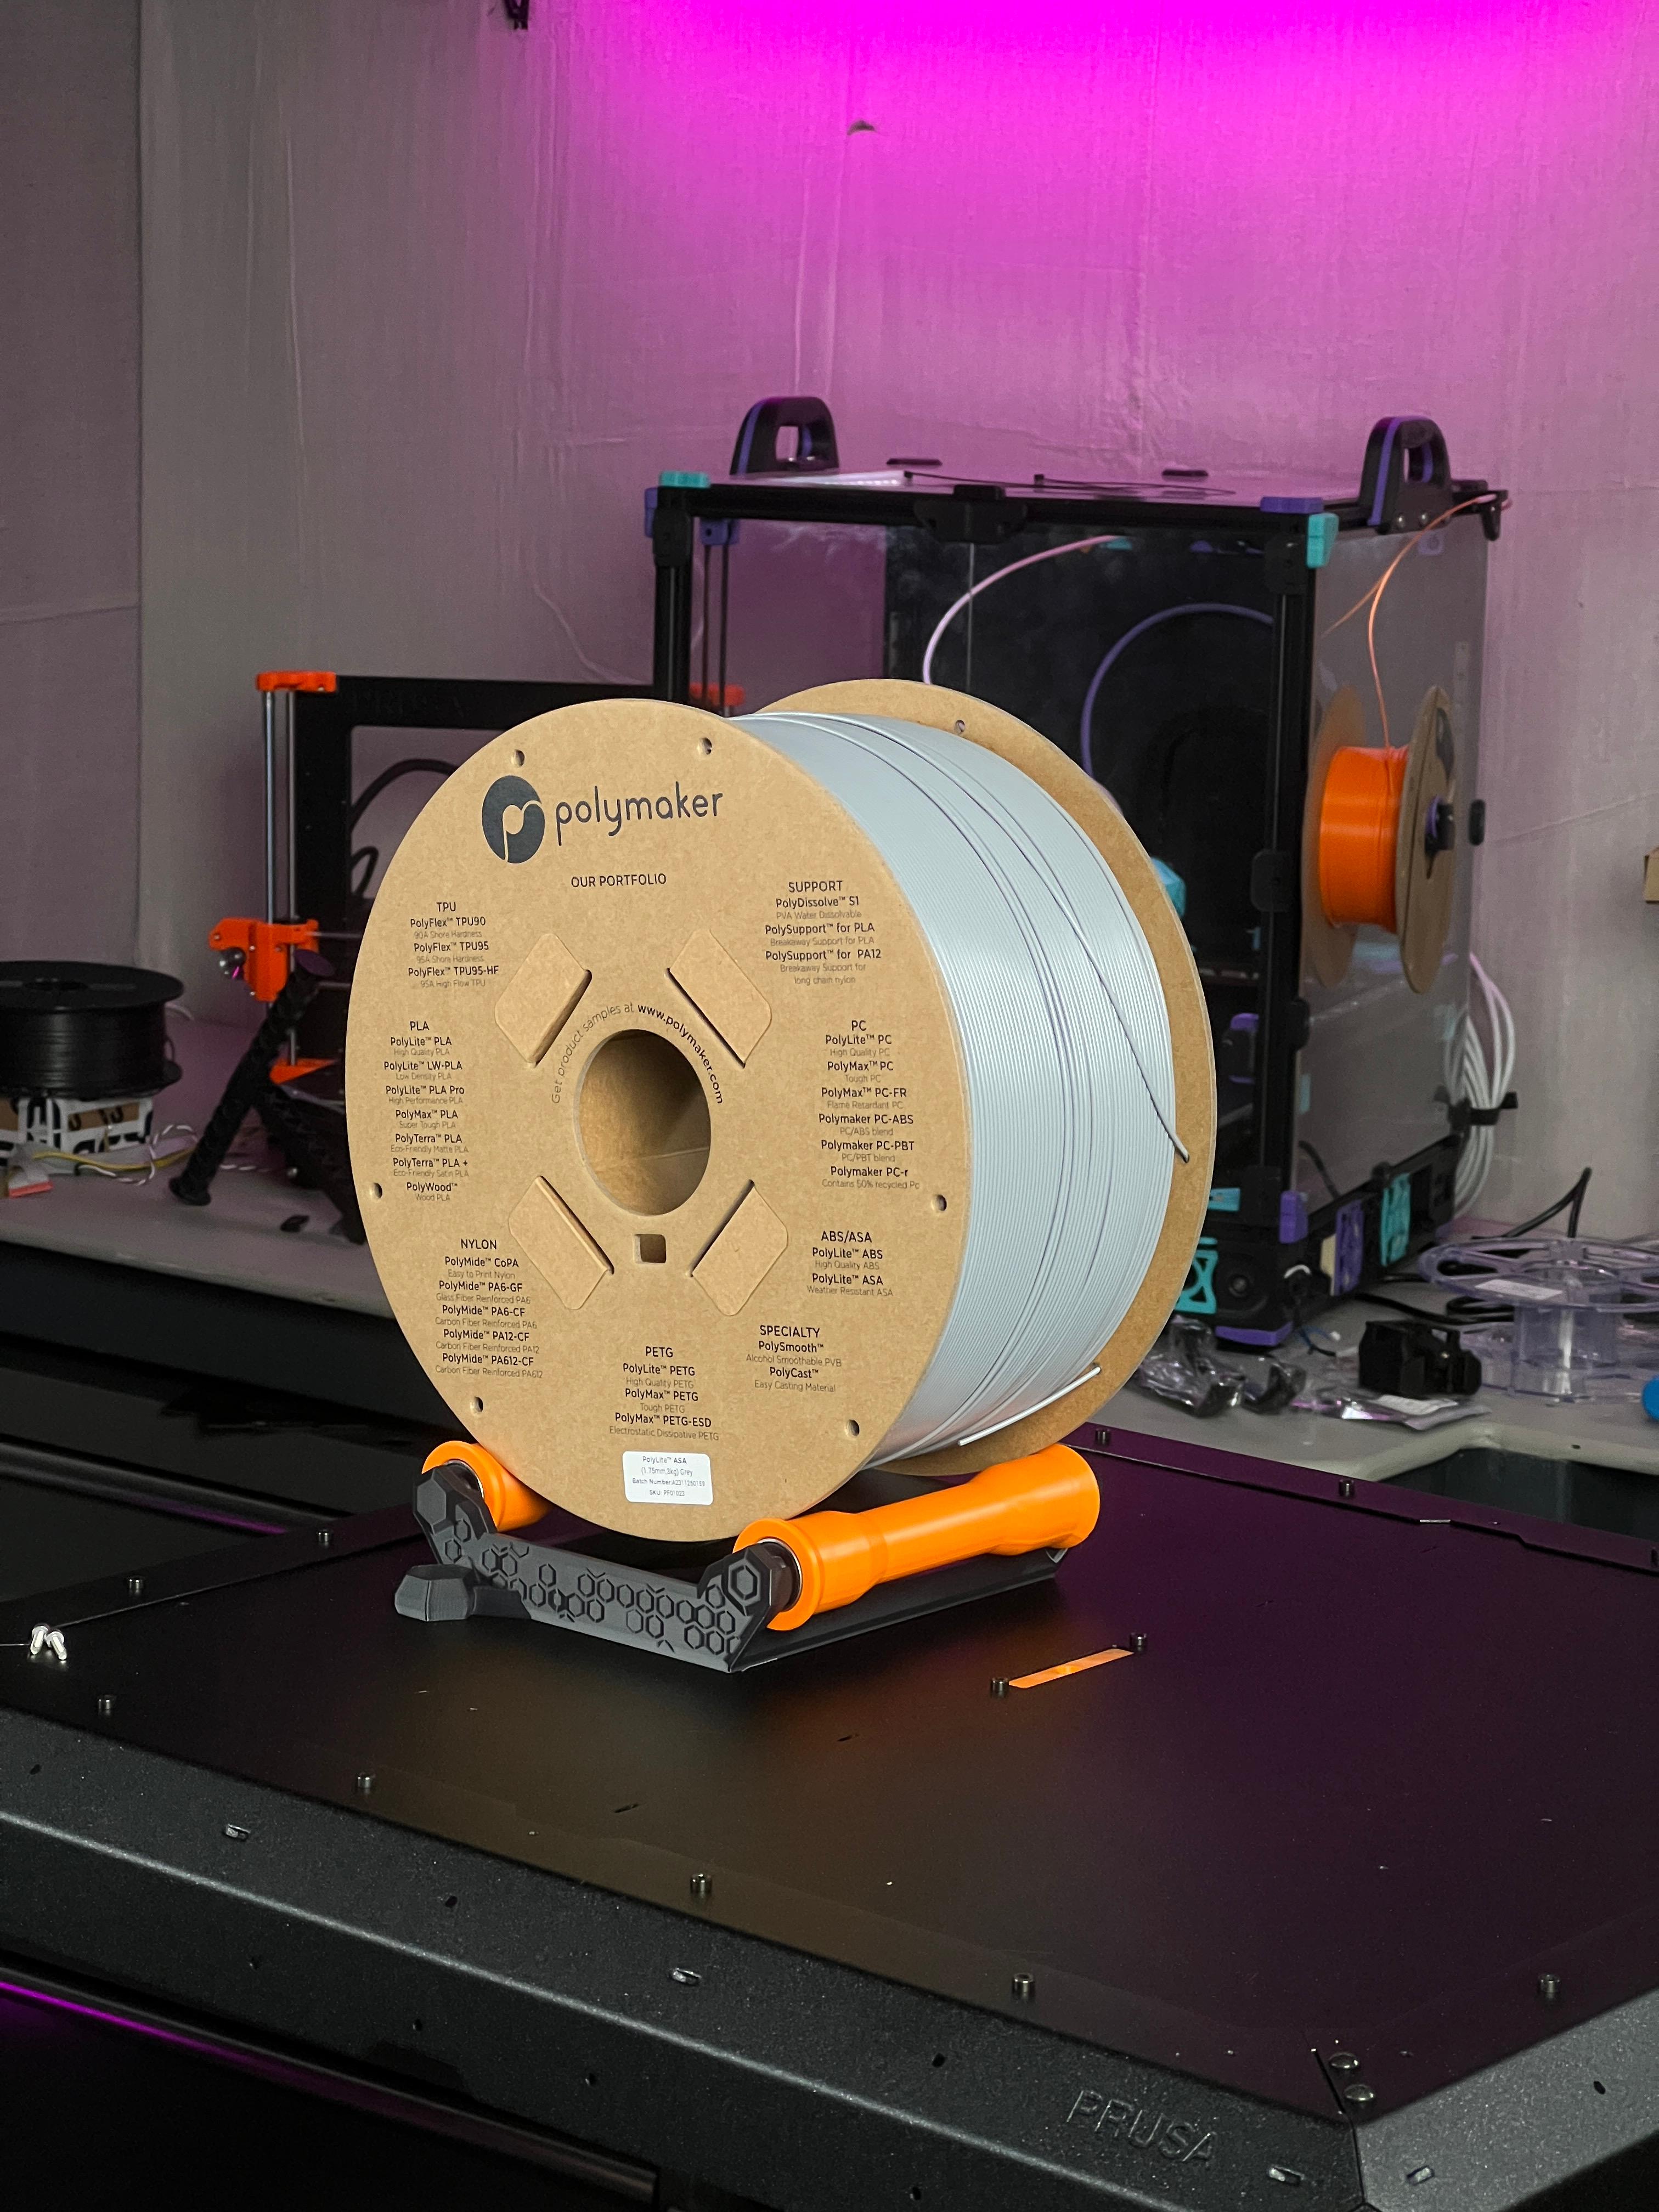
- Polymaker Filament
- 1.5" Thick Sound Insulation (Far easier to source locally.)
Files Included:
- 205mm Hexagon Sound Panel STL (Multibody for "splitting" in slicer.)
- 205mm Hexagon Sound Panel STEP File (For Remixing, Attribution Required!)
- Multi-Color 3MF file for Prusa Mk4S w/ MMU3 (Open in PrusaSlicer)
- Single-Color 3MF for Prusa Mk4s (Open in PrusaSlicer)
- Multi-color 3MF for Bambu X1/P1/A1 (Open in OrcaSlicer)
- Single-Color 3MF for Bambu X1/P1/A1 (Open in OrcaSlicer)
Recommended Print Settings: Hex Panel Frame:
- .2 Layer Height
- 3 Perimeters
- .4mm Nozzle
- .6mm Extrusion Width for Infill (IMPORTANT for inner panel strength)
- 5% Adaptive Cubic Infill (15% above 48.2mm for better top surface finish)
- NO Supports Required (Design has in-built supports.)
Inner "Infill" Panel:
- "Split to Objects" in Slicer
- Set inner Panel to 5% Adaptive Cubic Infill (Gyroid MAY work)
- 2 Perimeters
- 0 Top/Bottom Layers (so only Perimeters & Infill print)
Want to Support what I do? Check out my social medias please!
Link Tree: http://www.MandicReally.com/linksWant to more directly support my work? Please consider checking out Patreon!: https://www.Patreon.com/MandicReally
Medium 3D Printed Sound Panels! Bambu & Prusa Mk4 version!

Modular 10" Mini Server Rack! - Mod10

DropEffect NeXt-G UHF Voron StealthBurner Mount

3D Printed Sound Panels!
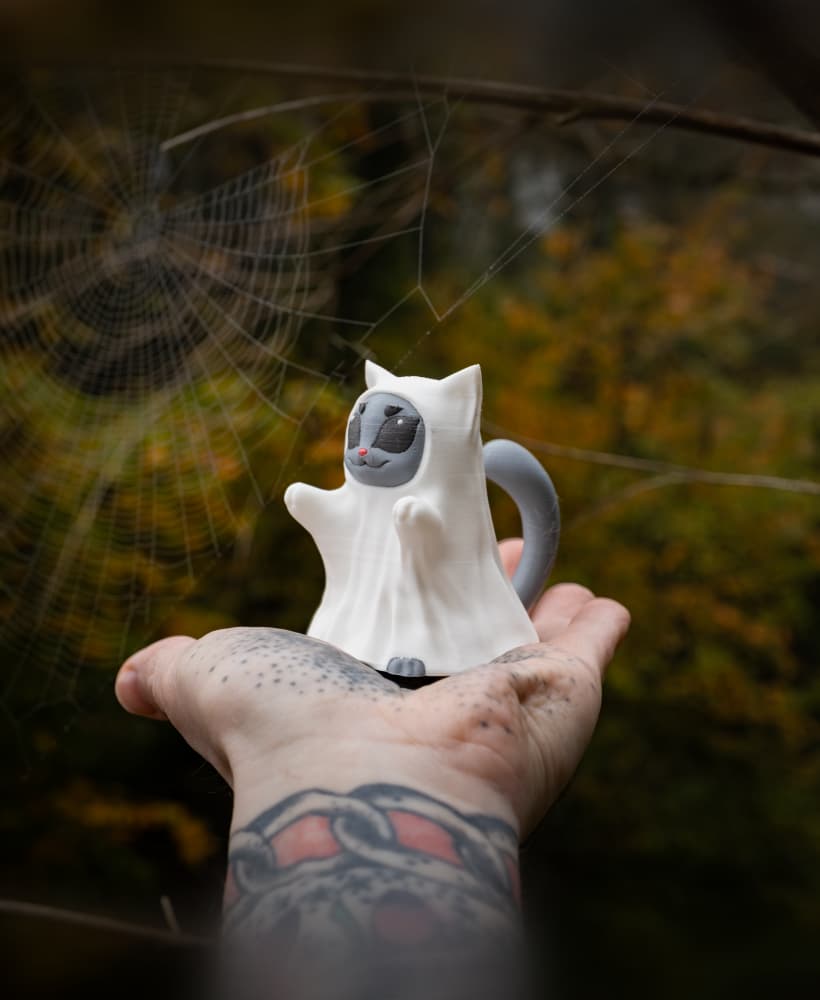
Trick or Meow! Cat Sheet Ghost Costume for Halloween!
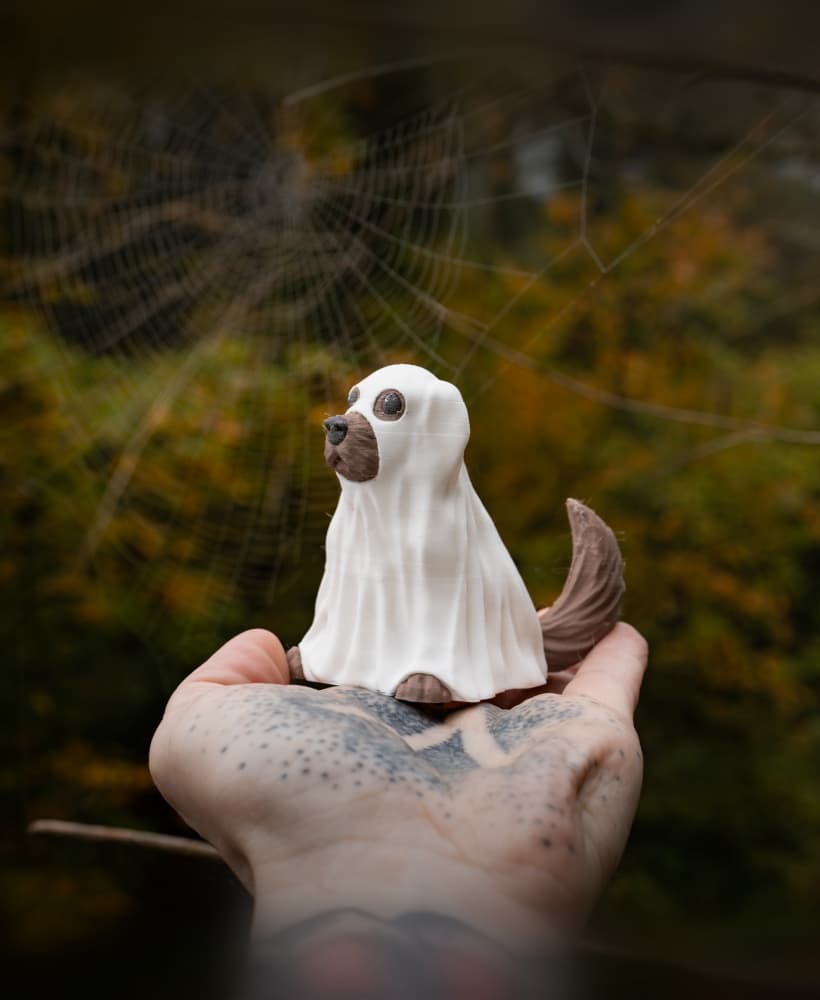
CUTE Halloween Dog Ghost Costume! Such a good boi!
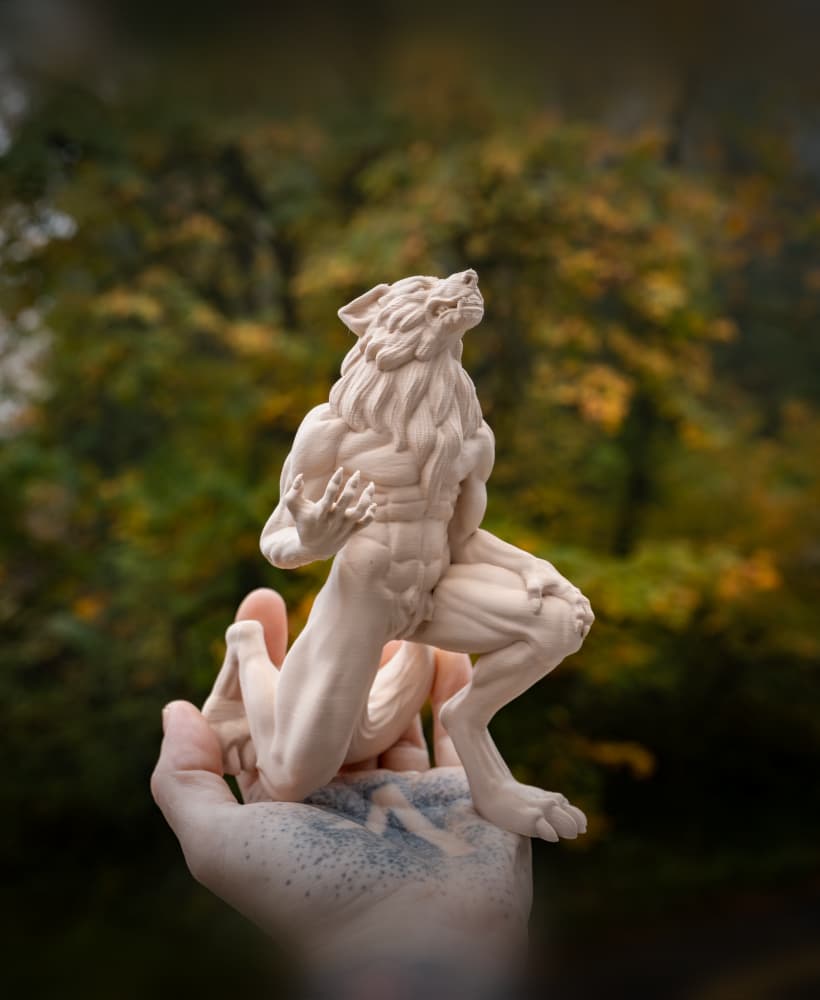
Howling Werewolf - Halloween 2024 Fabled Creatures Release!

REPRAP 3D Printer Belting Tools - EASILY Belt your Core-XY 3D Printer!

MOTHMAN - Fabled Creatures Desk Statue for Halloween!

Cthulhu RISES for Halloween! Old gods, new technology! Fabled Creatures 02
Gargoyle Door Knocker - Print In Place Halloween Door Decoration!
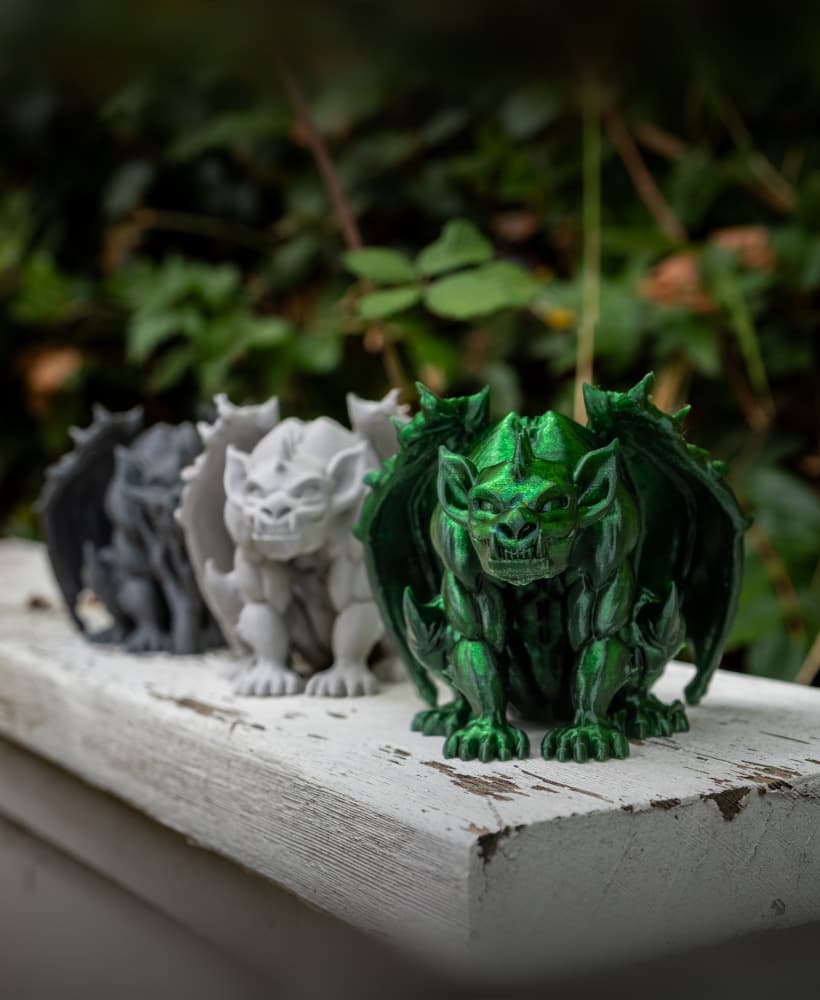
Gregor the Gargoyle Statue - Fable Creatures Collection

Tavern Tankard - Fantasy themed 12oz Can Cup!
PolyMaker PolyDry Reverse Bowden Retainer
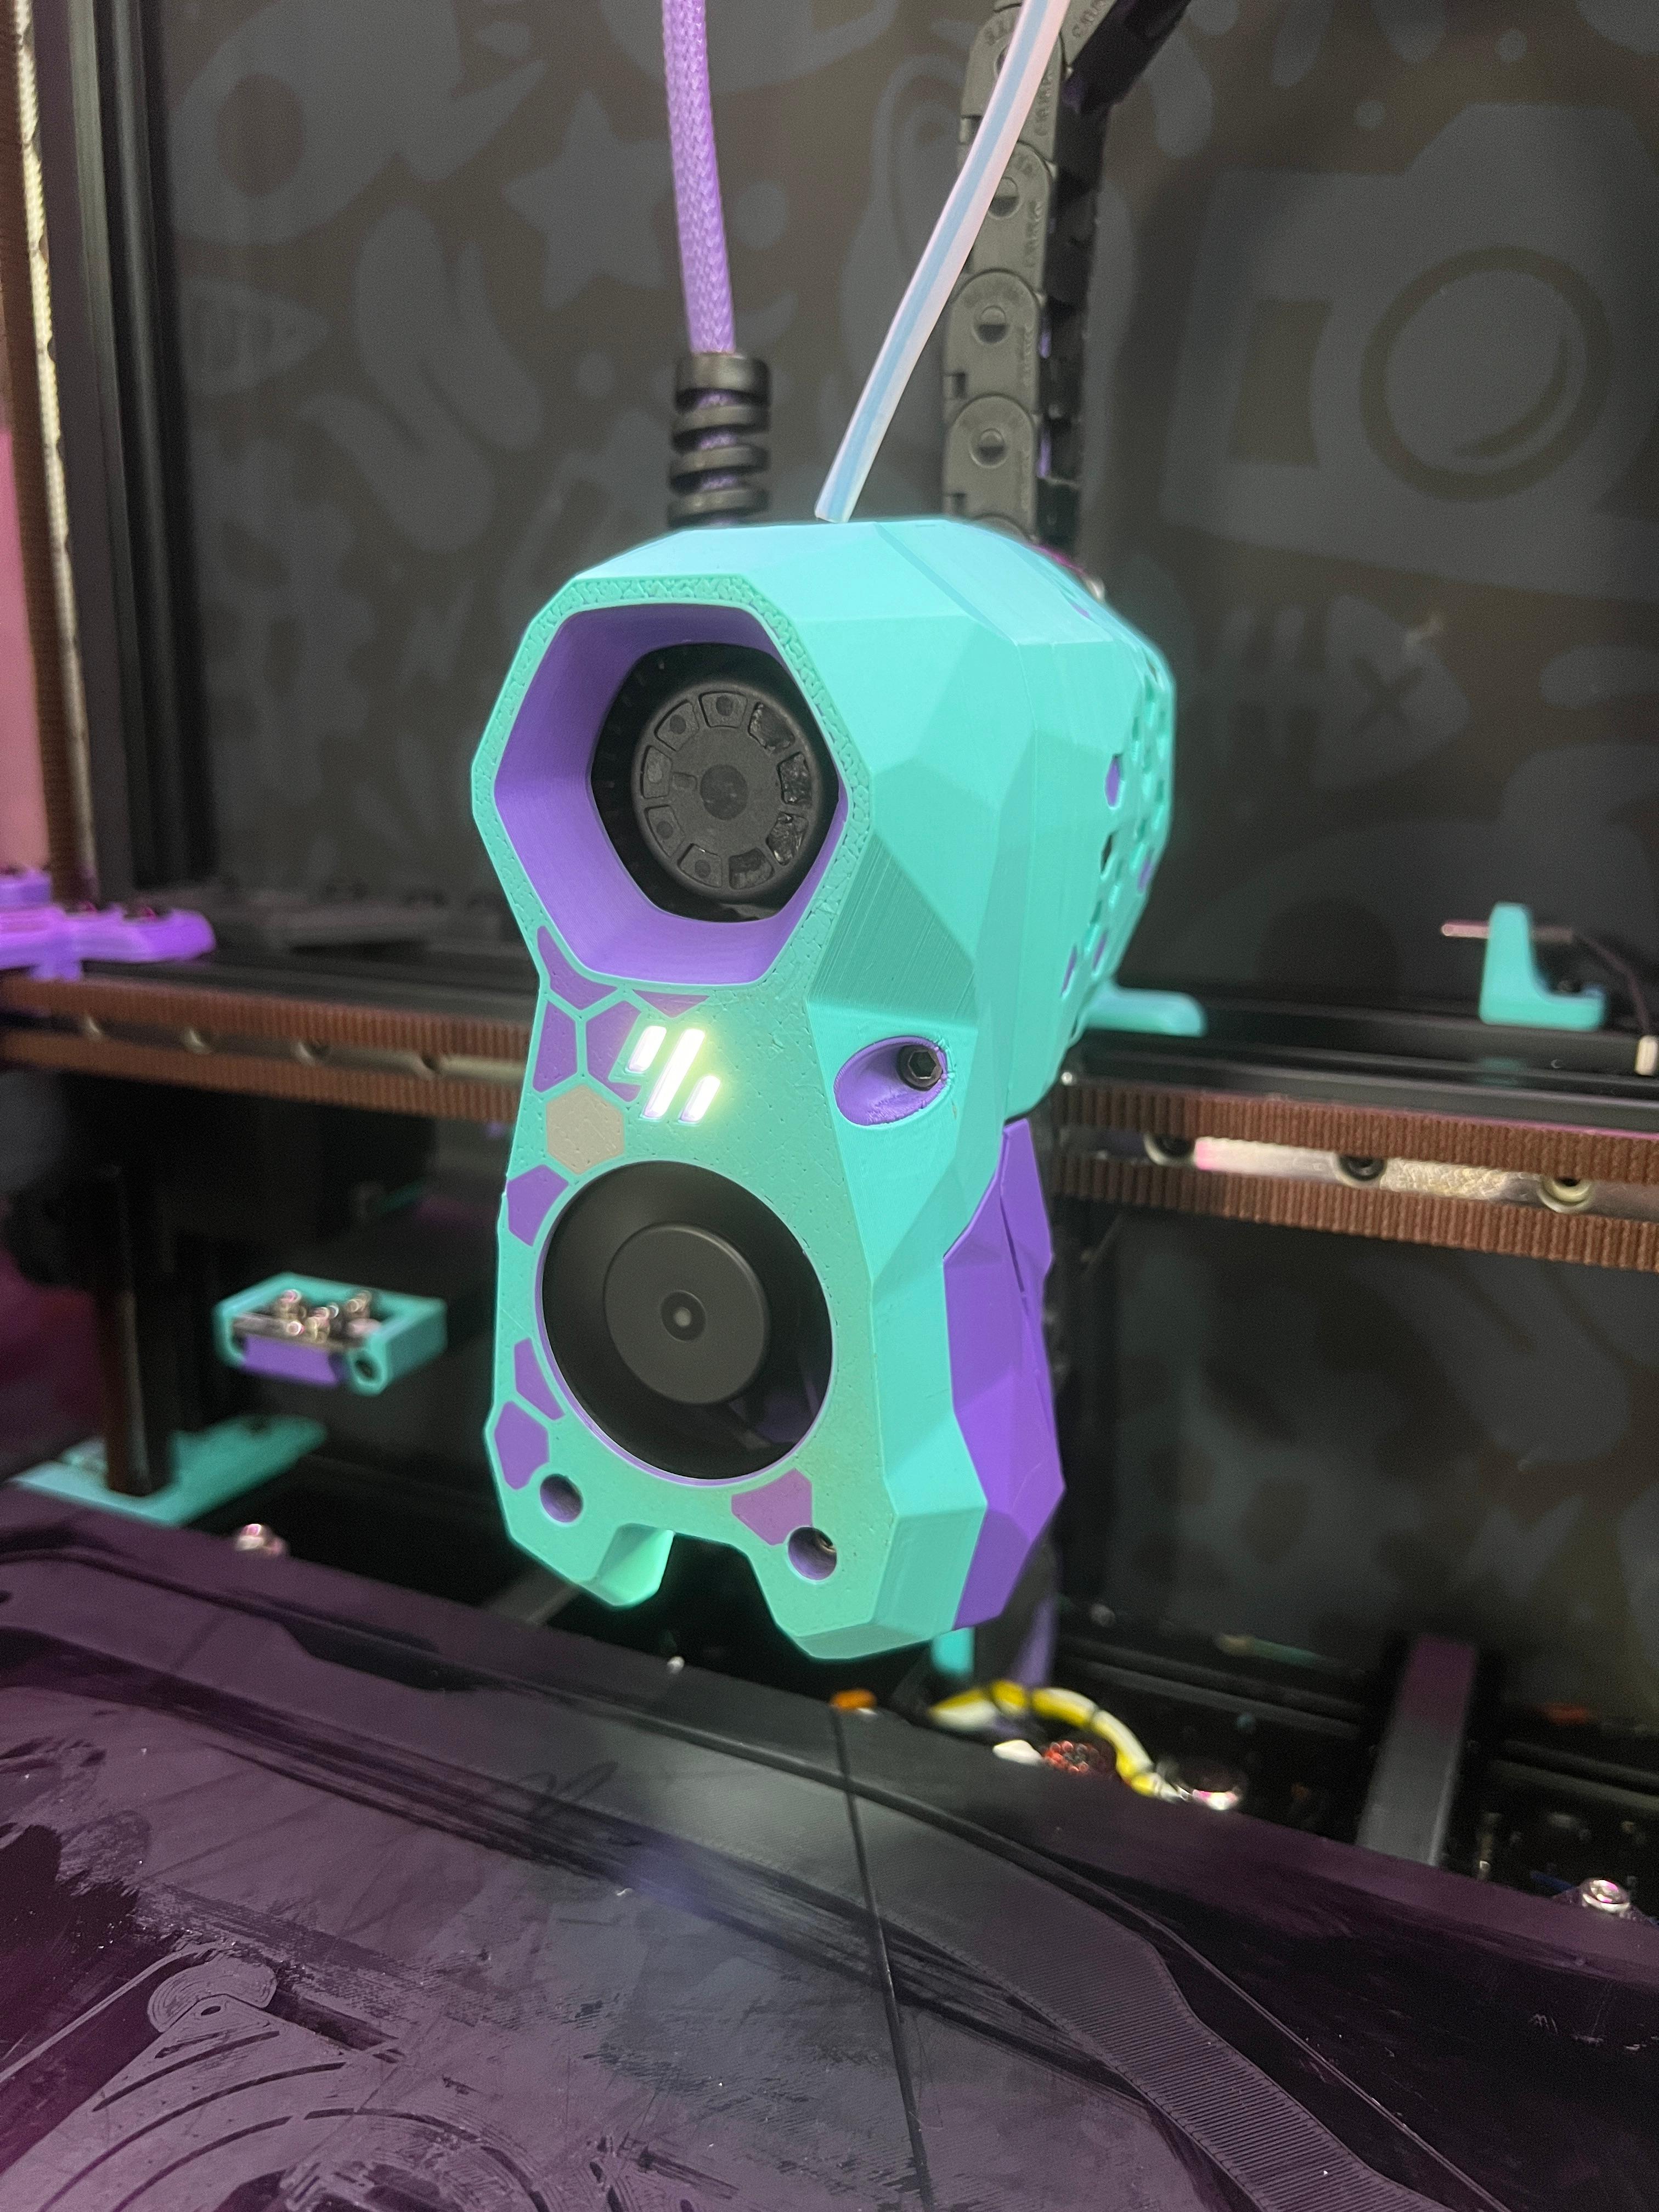
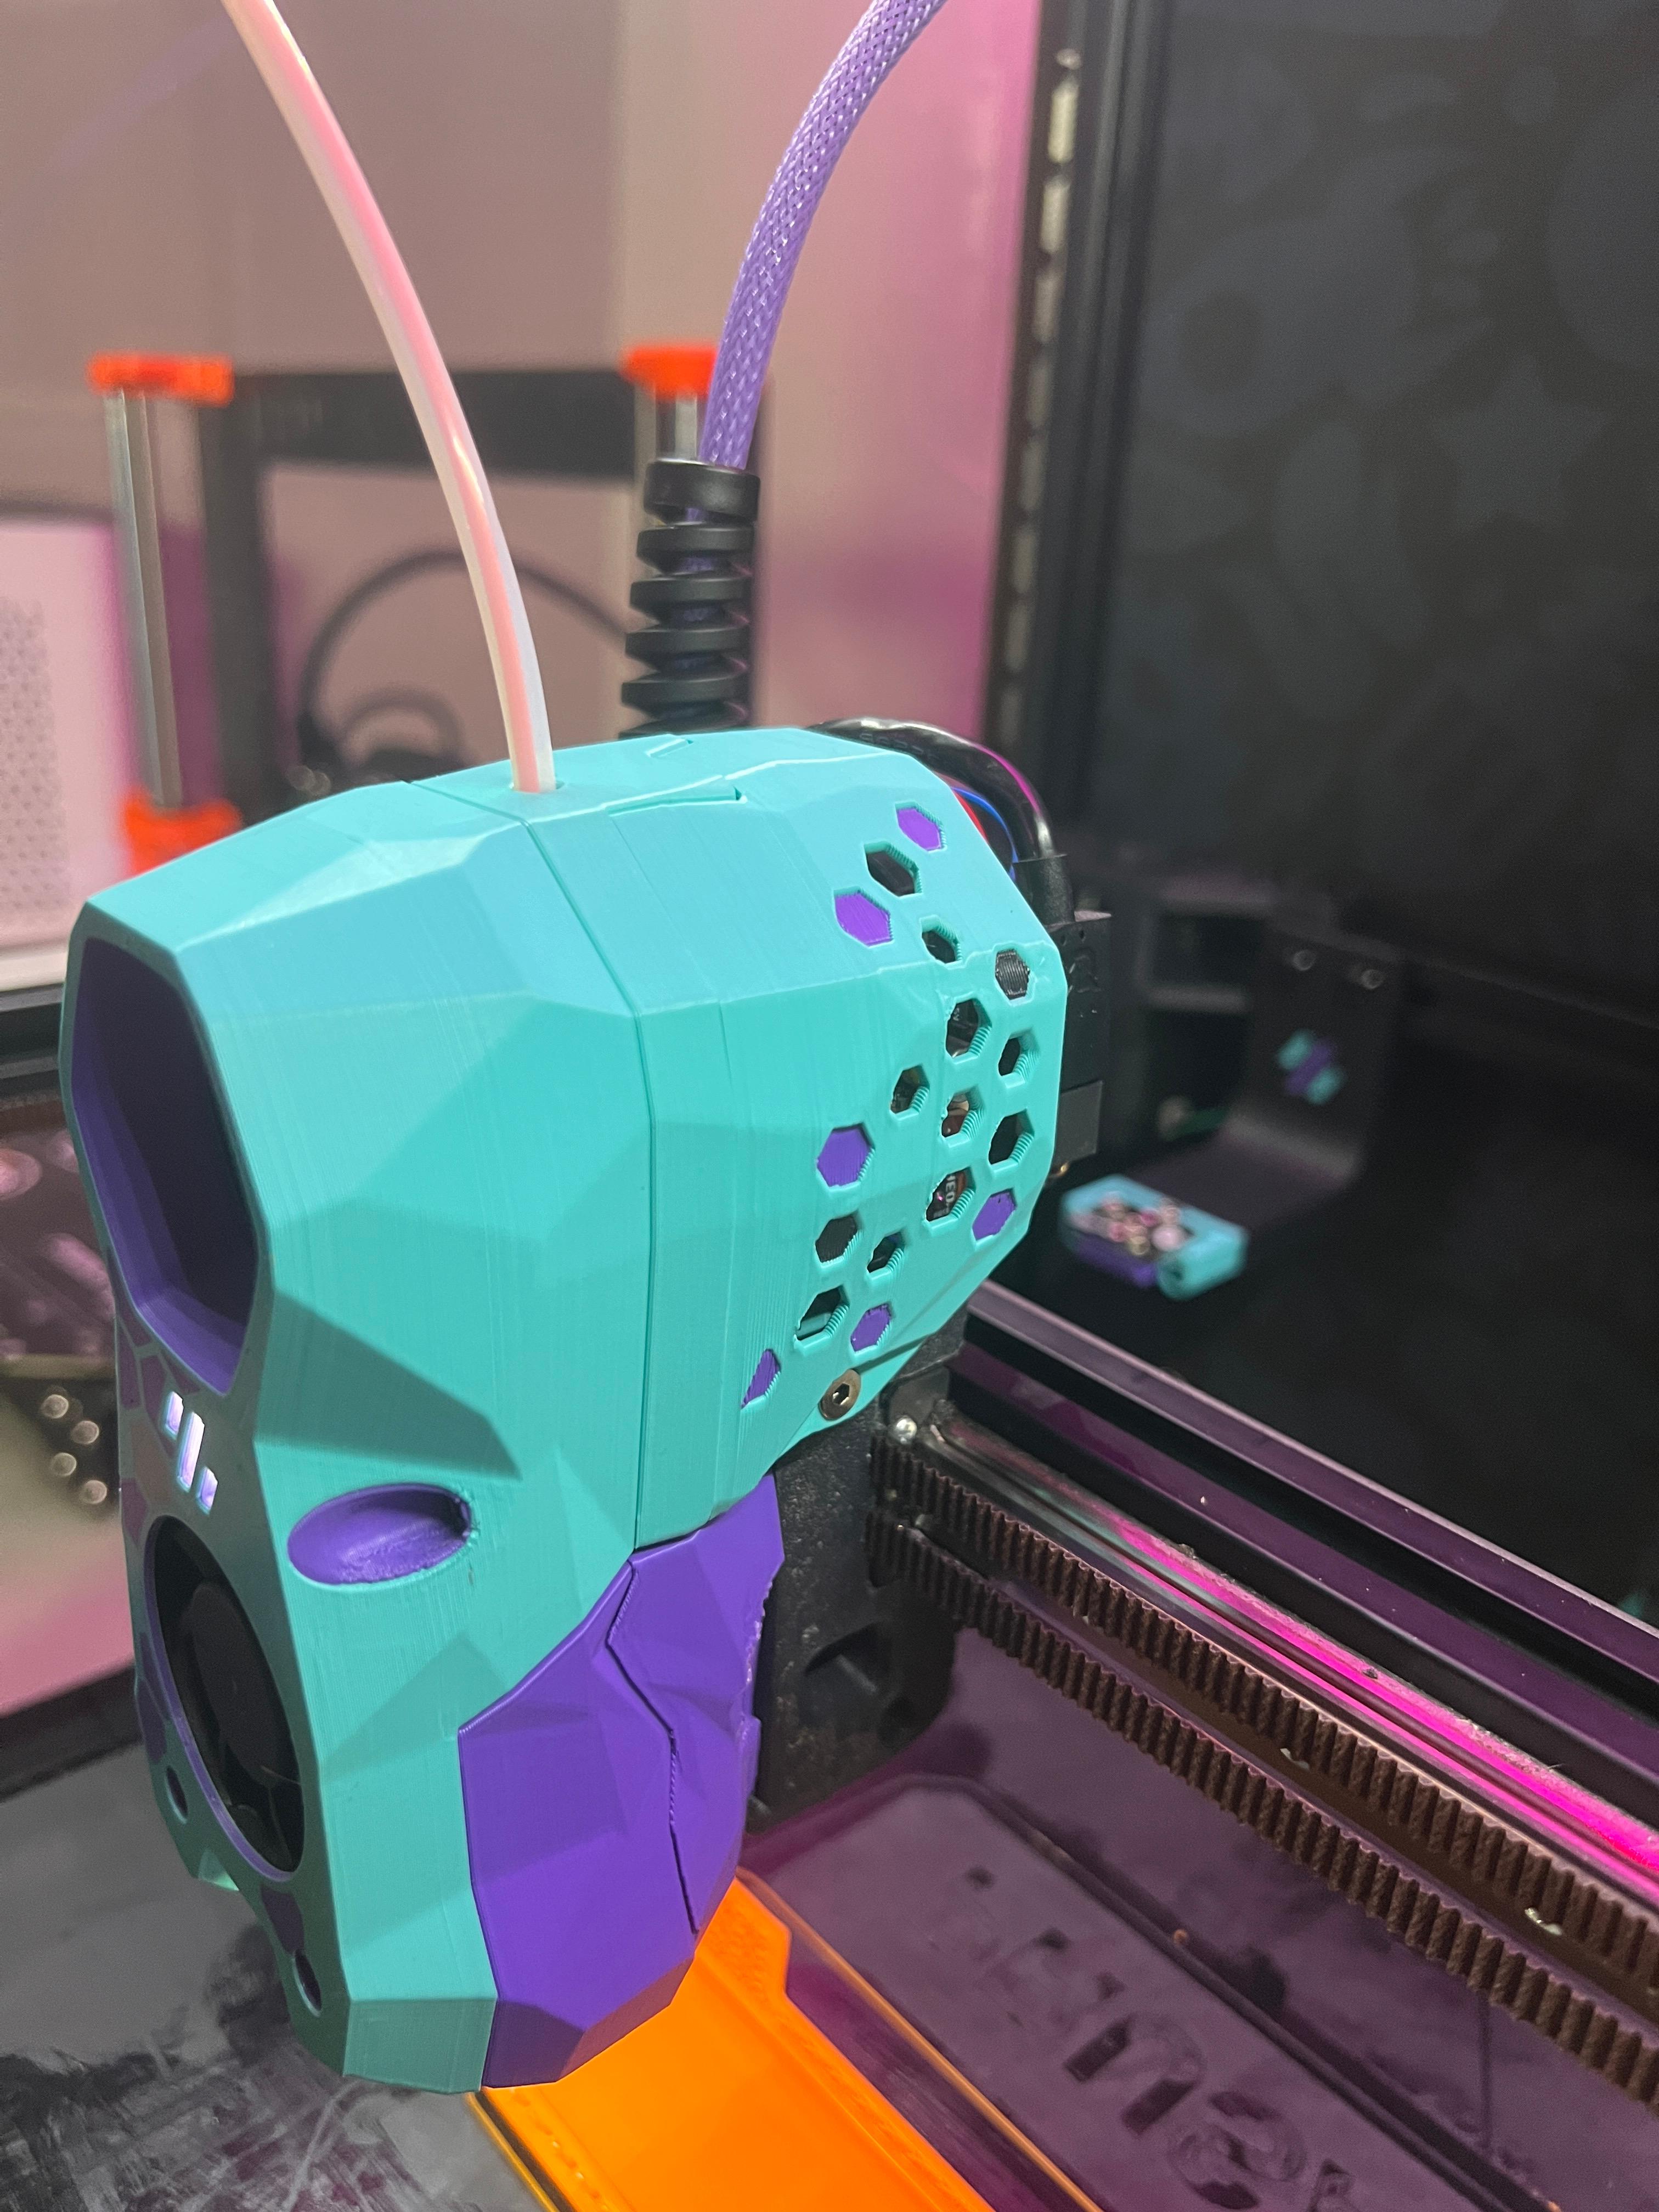
Voron Hex Pattern StealthBurner Toolhead
Prusa Enclosure 3kg Spool Holder
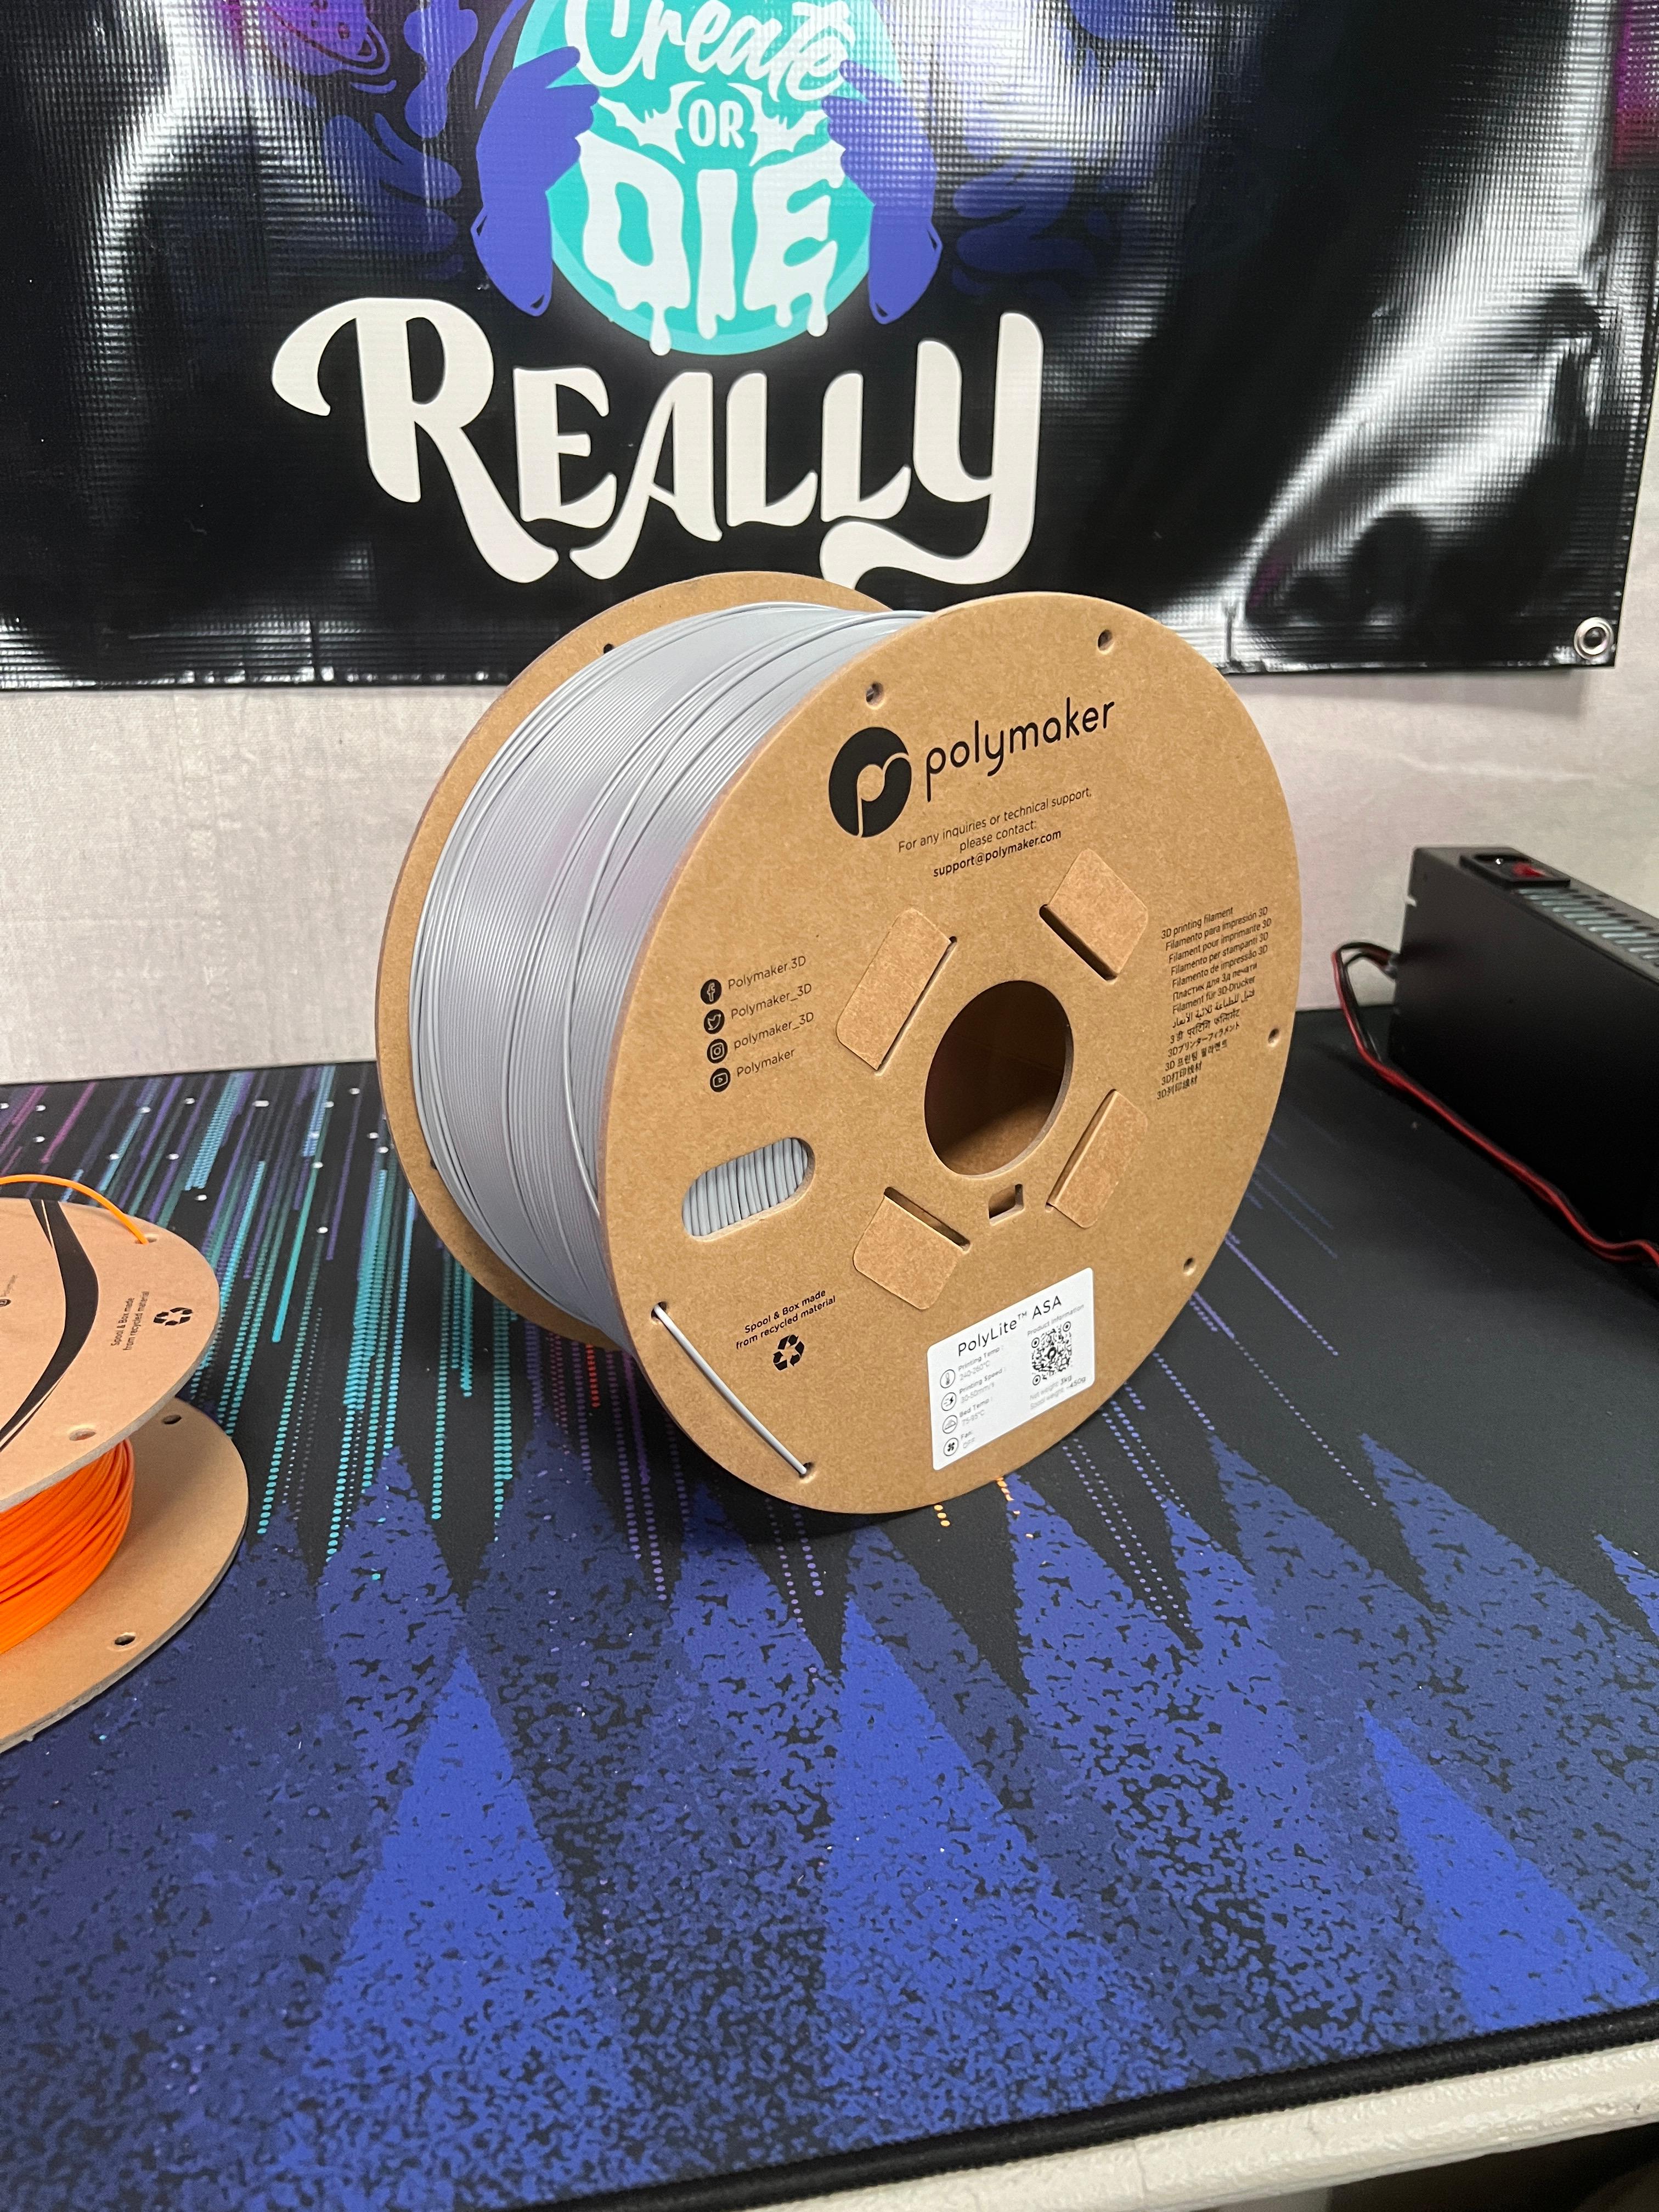
Polymaker 3kg Cardboard Spool
Galileo 2 Hex Door for StealthBurner - BigTreeTech SB2209 SB2240
Ender 5 Plus Z Cable Chain Mod - Manage your Bed wires on the Z-Axis!
Corner Caps for 3D Printer Frame Extrusions

Did anyone else have issues printing the grill insert part? I have some split layers here and there. Not sure if it’s how thin it is or maybe I need to slow printing or change cooling. I’m using a Bambu H2
Glue stick. Once your pei board gets white and cruddy looking it's the best sticking surface. Little bit of glue runs and parts off it turns White you never have to clean it everything sticks.
Also don't start messing with the settings. A clean pei board with Bambu Lab glue stick thin film is all you need
also, nothing I see says anything about where I change the "EXTRUSION to .6mm"
ok, the only place I see anything about "TOP SHELL/BOTTOM SHELL" is under the STRENGTH tab. I still don't see where I'd change "PERIMETERS" at.
Other things are about setting the "Top/Bottom Layers to 0", bambu studio won't let me, I tried using Orca, but it wouldn't let me set it to 0 either....plz help.
Ok, so I watched your video on these, and I'm extremely new to 3d printing, I tried to follow your instructions to no avail, I have a Bambu Lab X1-c using Bambu Studio,(only slicer I know). Where you say about "Perimeters" I had a hard time finding out what you're meaning, but now I know you meant "walls", but I do not see and could not find info on where in Bambu Studio to set new parameters on that. Then, there's other things too, so I'm unable to print these, any help?
Here is a breakdown of how to do it in Bambu Studio (I just followed these steps and it worked fine for me on the latest BS.)
Import the model. Right click on it and select "Split to Objects". Then head to the menu on the left and select the "Objects" tab. Go to the 2nd body on the list, selecting it should highlight the inner body. Then adjust the settings for that body. You need to go to "Quality" and set the "Top Shell" and "Bottom Shell" to 0 each. That should achieve the goal here.
Ok, I finally got it figured out and it's printing the first one, I am however having a couple of the corners pulling up off the plate, I raised the bed temp to 65 for 1st layer and 60 for the rest, but it's still doing it, any suggestions?
Turn on "Brim". In the "Others" tab change the "Auto" setting for Brim Type to "Outer Brim Only". This will extrude a bit of extra material around the edge for the first layer to help adhesion. You can then peel away that extra material from the edge of the print when it is done. The contact patch of this design is relatively small so there isn't a ton holding the print down to the bed unfortunately, the brim gives it a bigger footprint.