


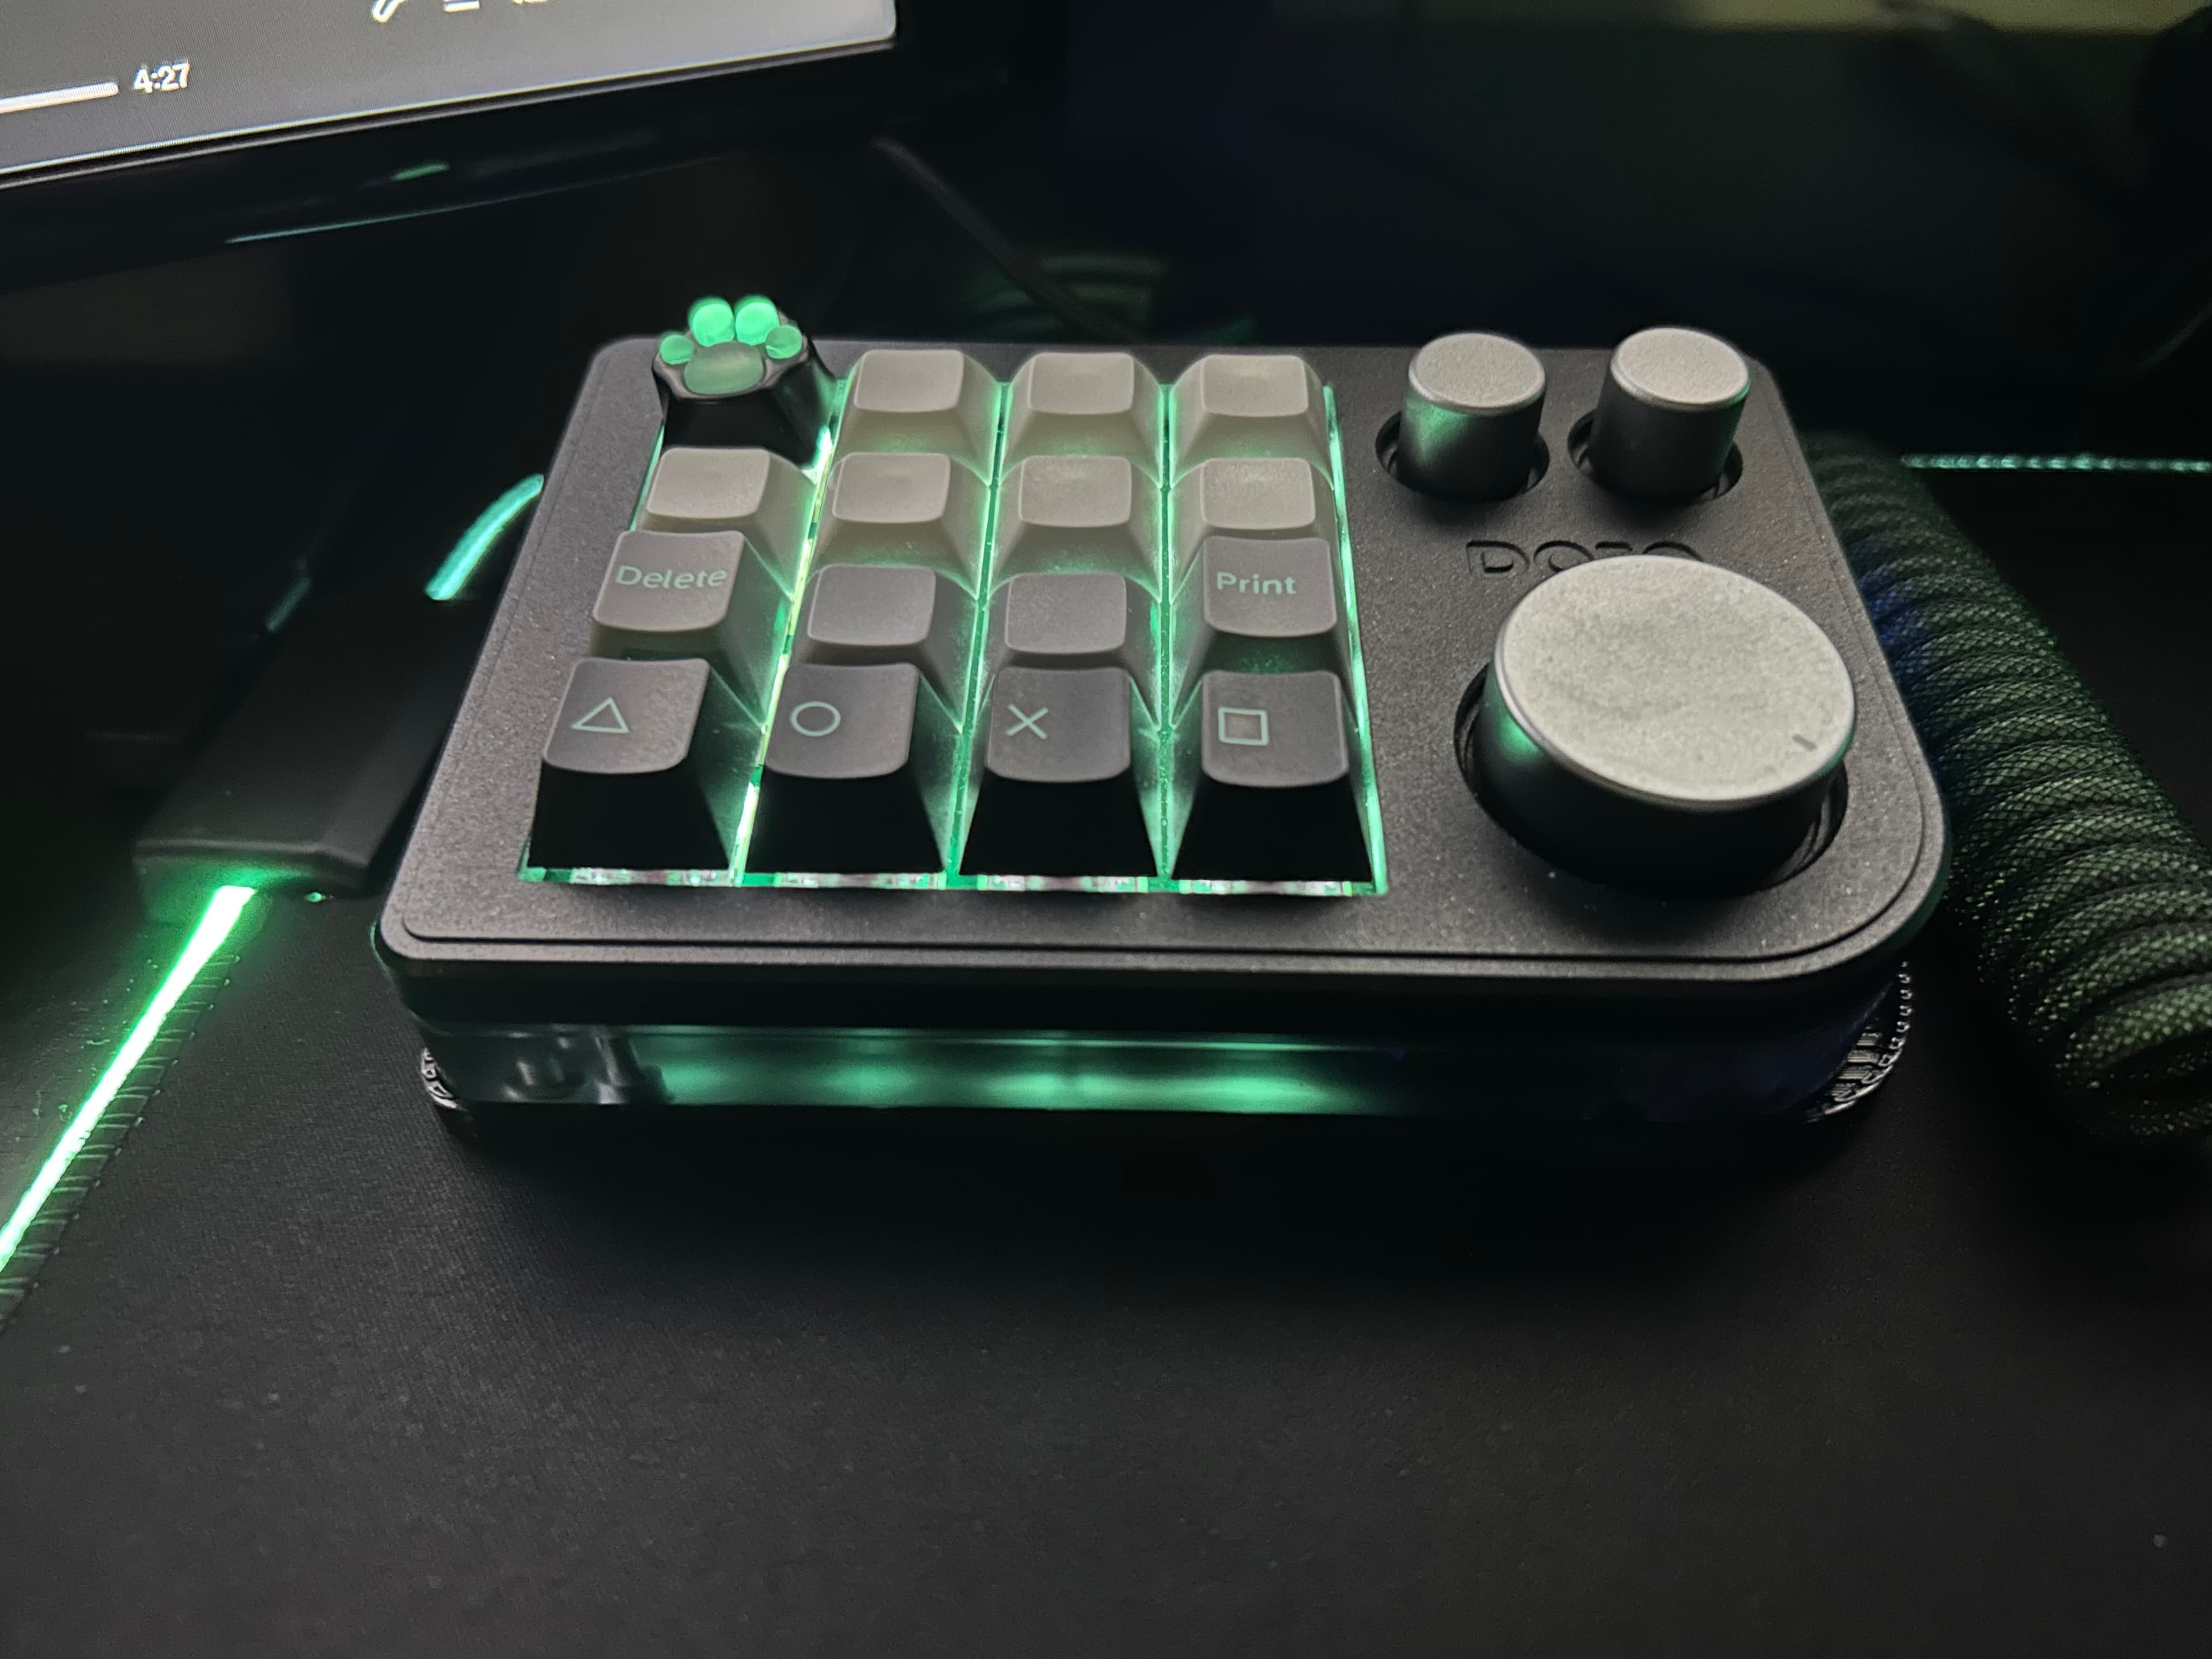
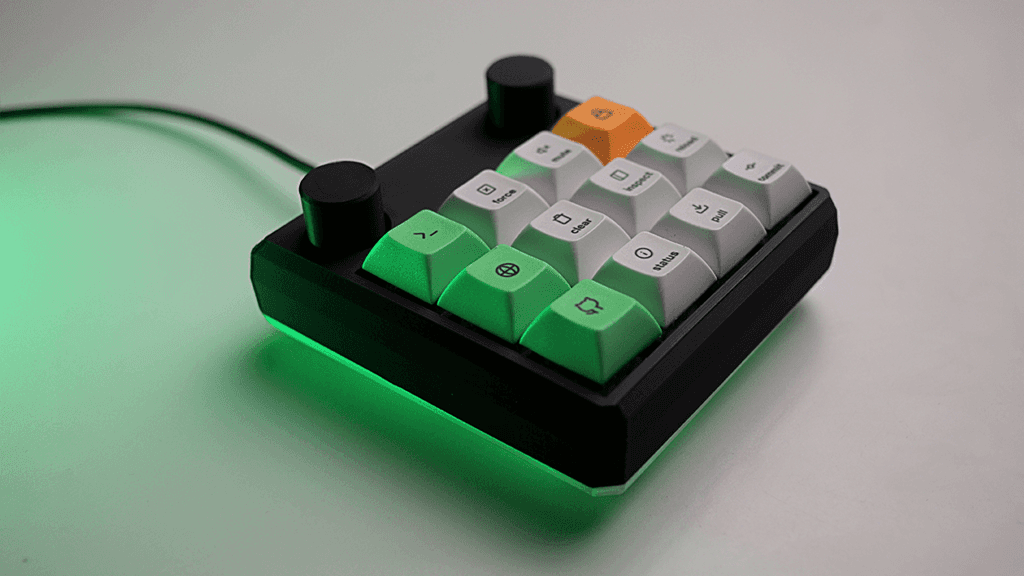
Macropad for photoshop
**Update I have removed the schematic file, it's now only available if you purchase the guide and code. This adds value to my product and is fair to the people who actually purchase the kit. **
Summary
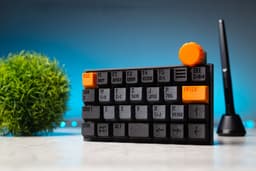
The purpose of making this was to eliminate remembering all the important shortcuts and complex key combinations. Each shortcut can be mapped to an individual key and can be activated with a single keystroke.
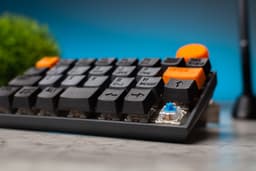
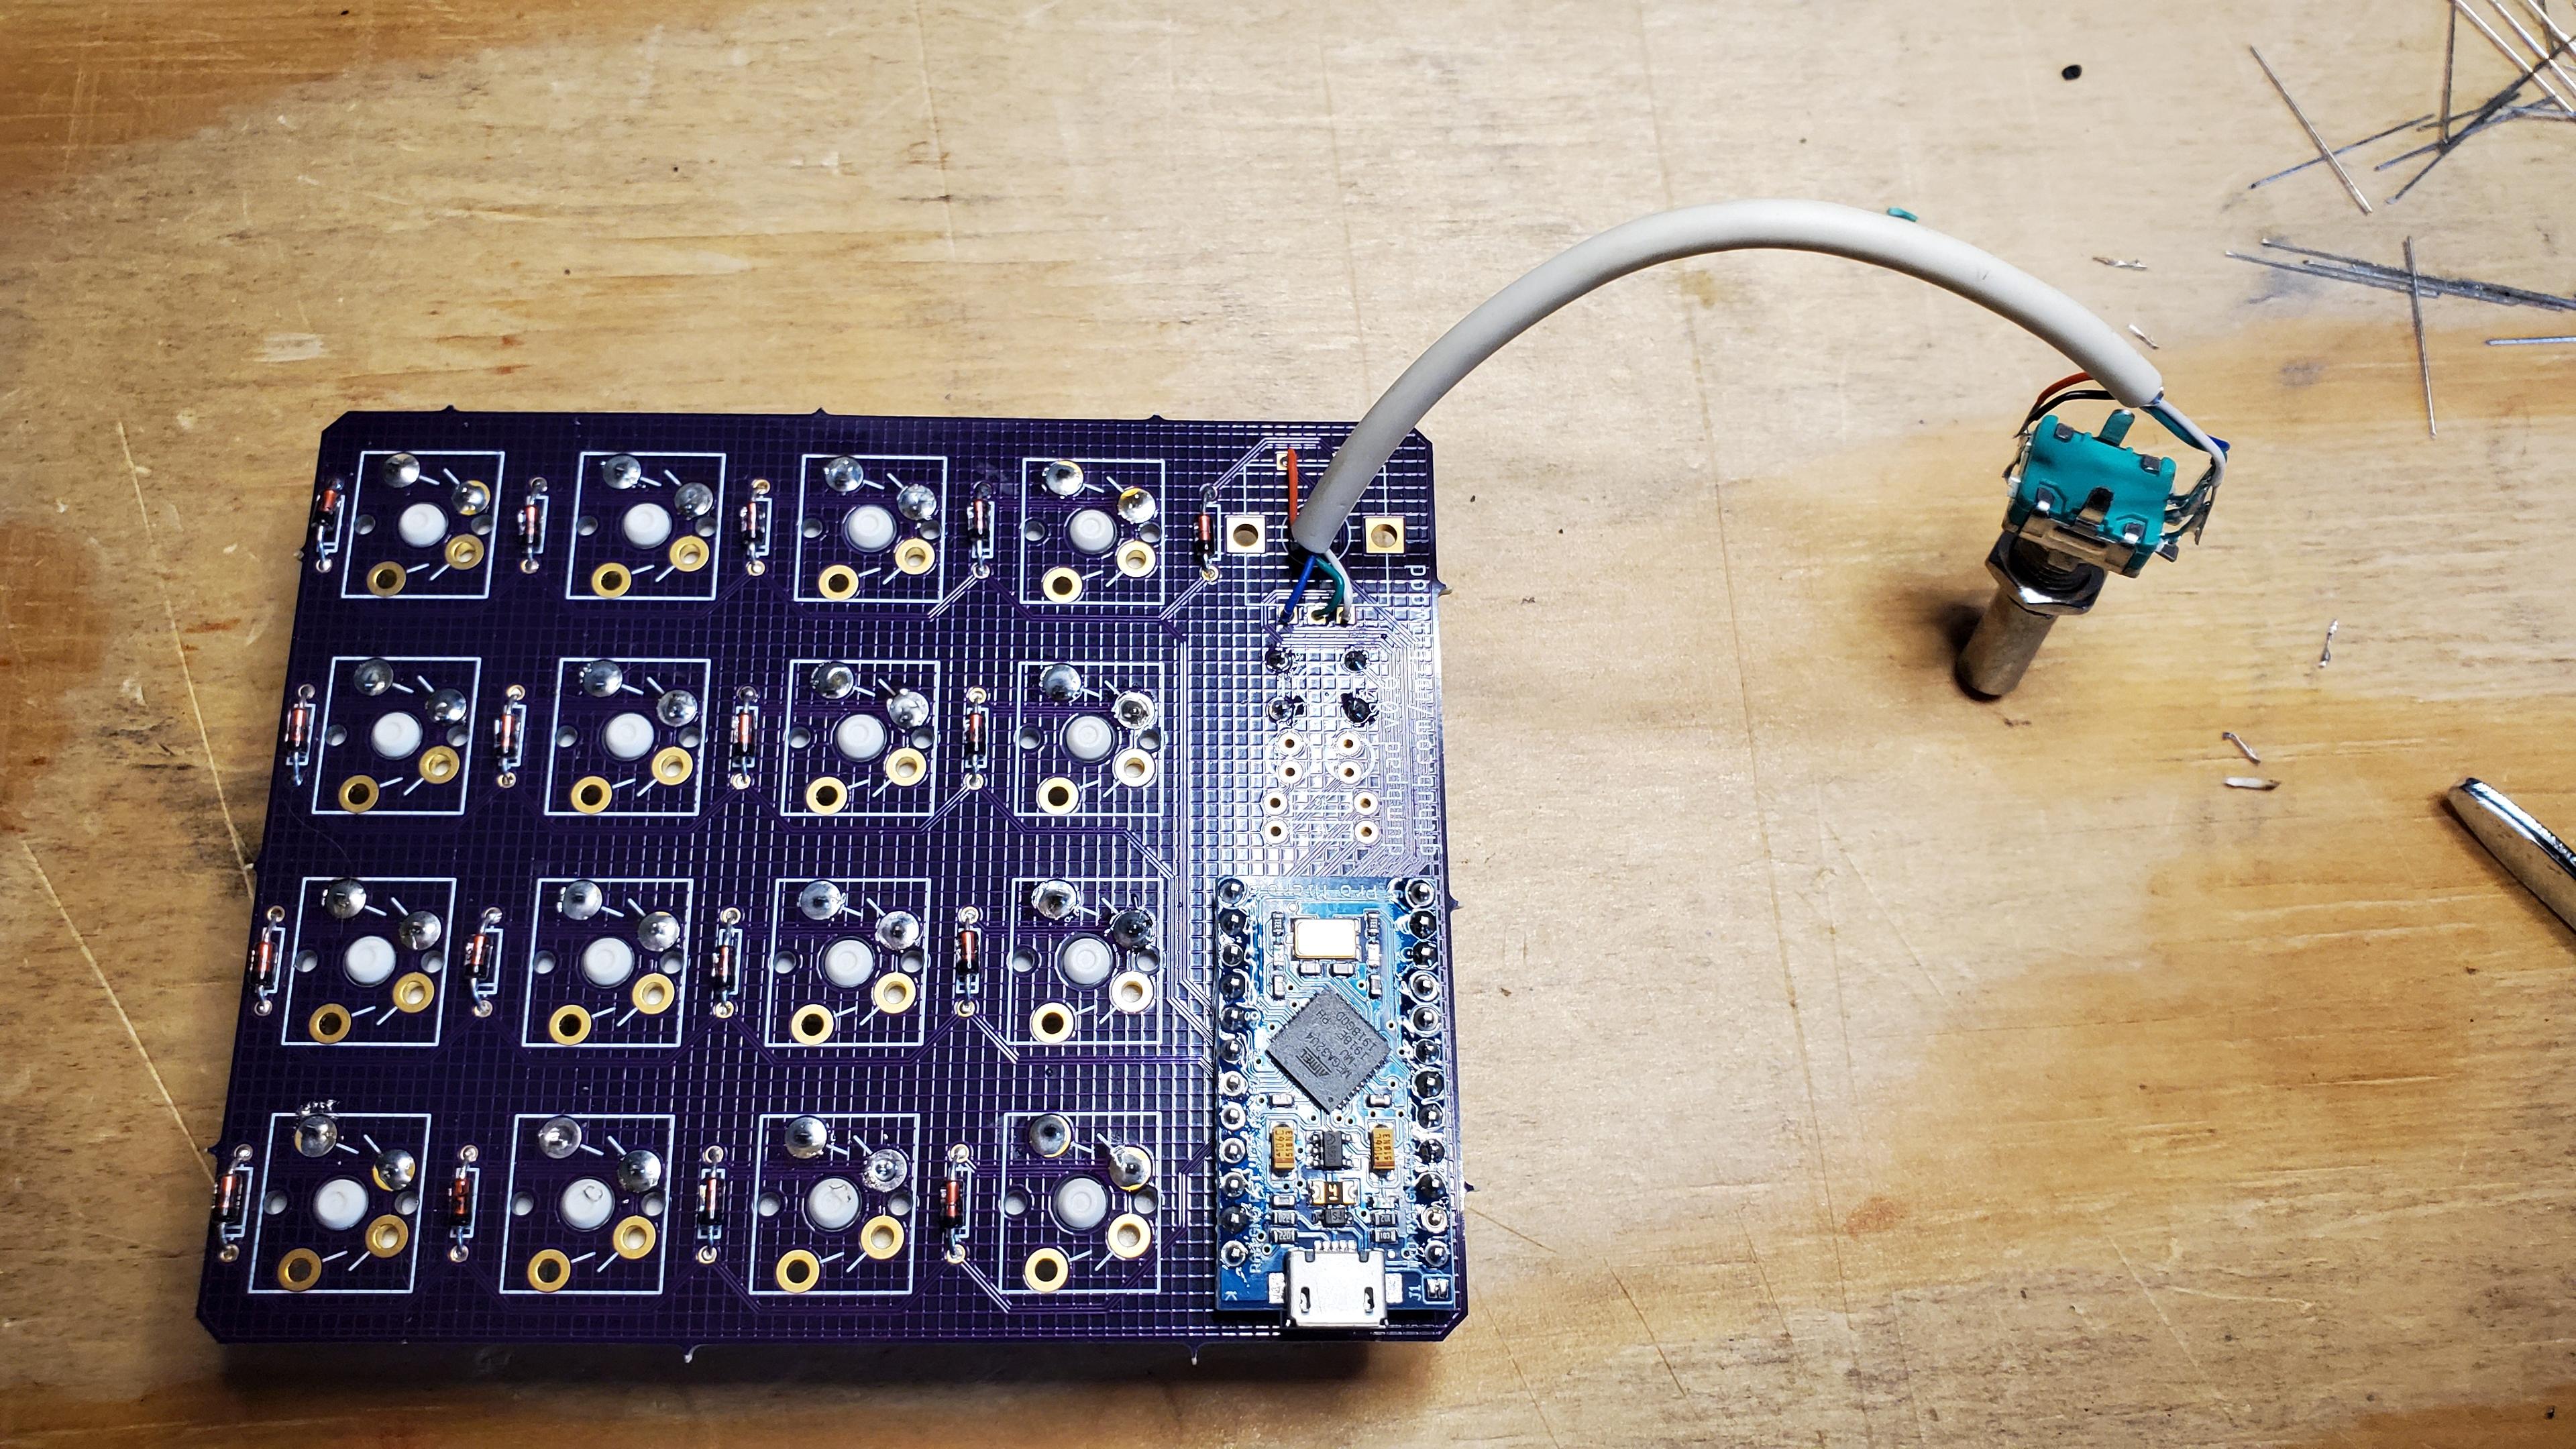
It uses an Arduino pro micro as the brain 29 mechanical switches and some basic parts like diode and RGB led
**Print instructions **
Print the key caps with 0.12mm layer height. We can print you everything else at 0.2 mm.
We do not need supports for anything I have everything is optimized for. support less printing and better bed adhesion. You can still use rafts and z-hop for keys.
Build Instructions (steps 5,6,7,10 is optional)
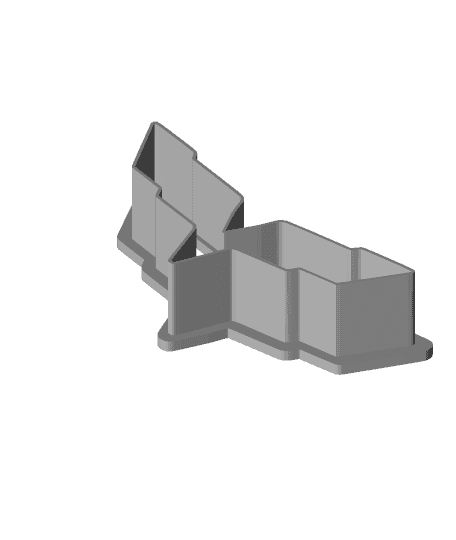
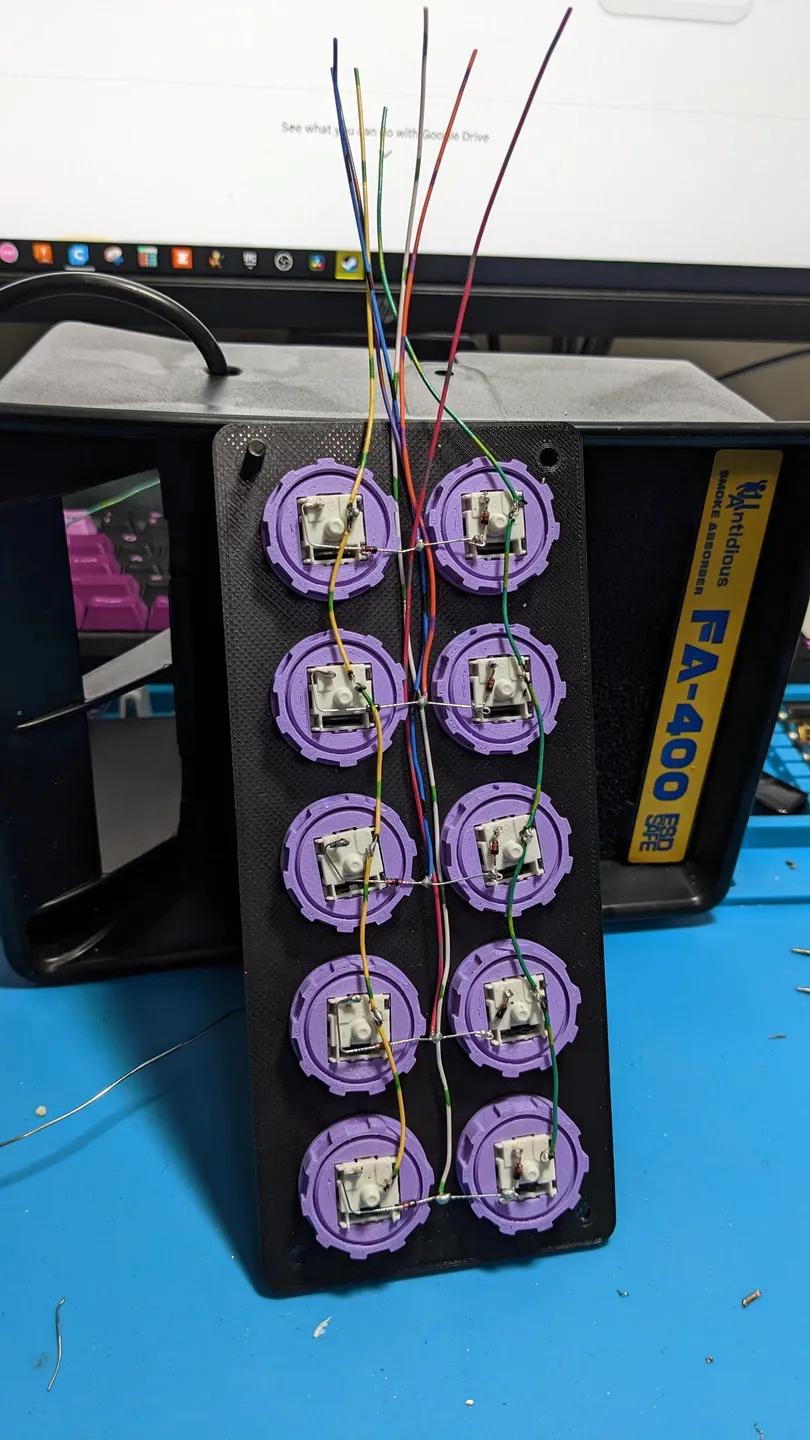
Print out all parts which include faceplate, base, and keycaps a total of 34 (cover for the rotary encoder and knob is optional). faceplate and keycaps need some cleanup. Insert the switches into the faceplate and wire them up like the schematic. You can also add the diodes using single strand wire helps keep everything clean. Solder everything to the Arduino (I have used male and female header pins for easy access) and stick the Arduino to the bottom with double-sided tape make sure to keep the wires small so that everything fits. connect the ws2812b led strip to the Arduino as shown in schematic and stick the strip at the bottom If you are using the rotary encoder, solder the wires to the pin header and glue it in place. Assemble the rotary encoder parts and solder the header pins using some wire refer photos if needed, use super glue to fix it in place. check everything and push the wires in screw the faceplate to the body using the 2.4mm screws. Firmly press the keycaps onto the switch stems. Add some self-adhesive anti-skid pads at the bottom Upload the firmware and make actions in Photoshop done ** Required parts:**
5V Arduino Pro Micro 29 Cherry MX Switches 1 tack switch (for reset) rotary encoder (optional) ws2812b Led Strip (optional) 8 2.4mm-8mm plastic screw 2 M3-10mm screw 1.5-2mm screws for rotary encoder can use super glue self-adhesive anti-skid pads
You will also need a USB cable, wire, solder, and a piece of double-sided tape.
Optional:
2x12 Pin Male and Female Connector 1x4 Pin Male and Female Connector
If you like what I'm doing, consider supporting me https://paypal.me/Jimit5
I also do freelance work email: jimit.patel.jp@gmail.com
Macropad for photoshop

Universal Macropad with Display
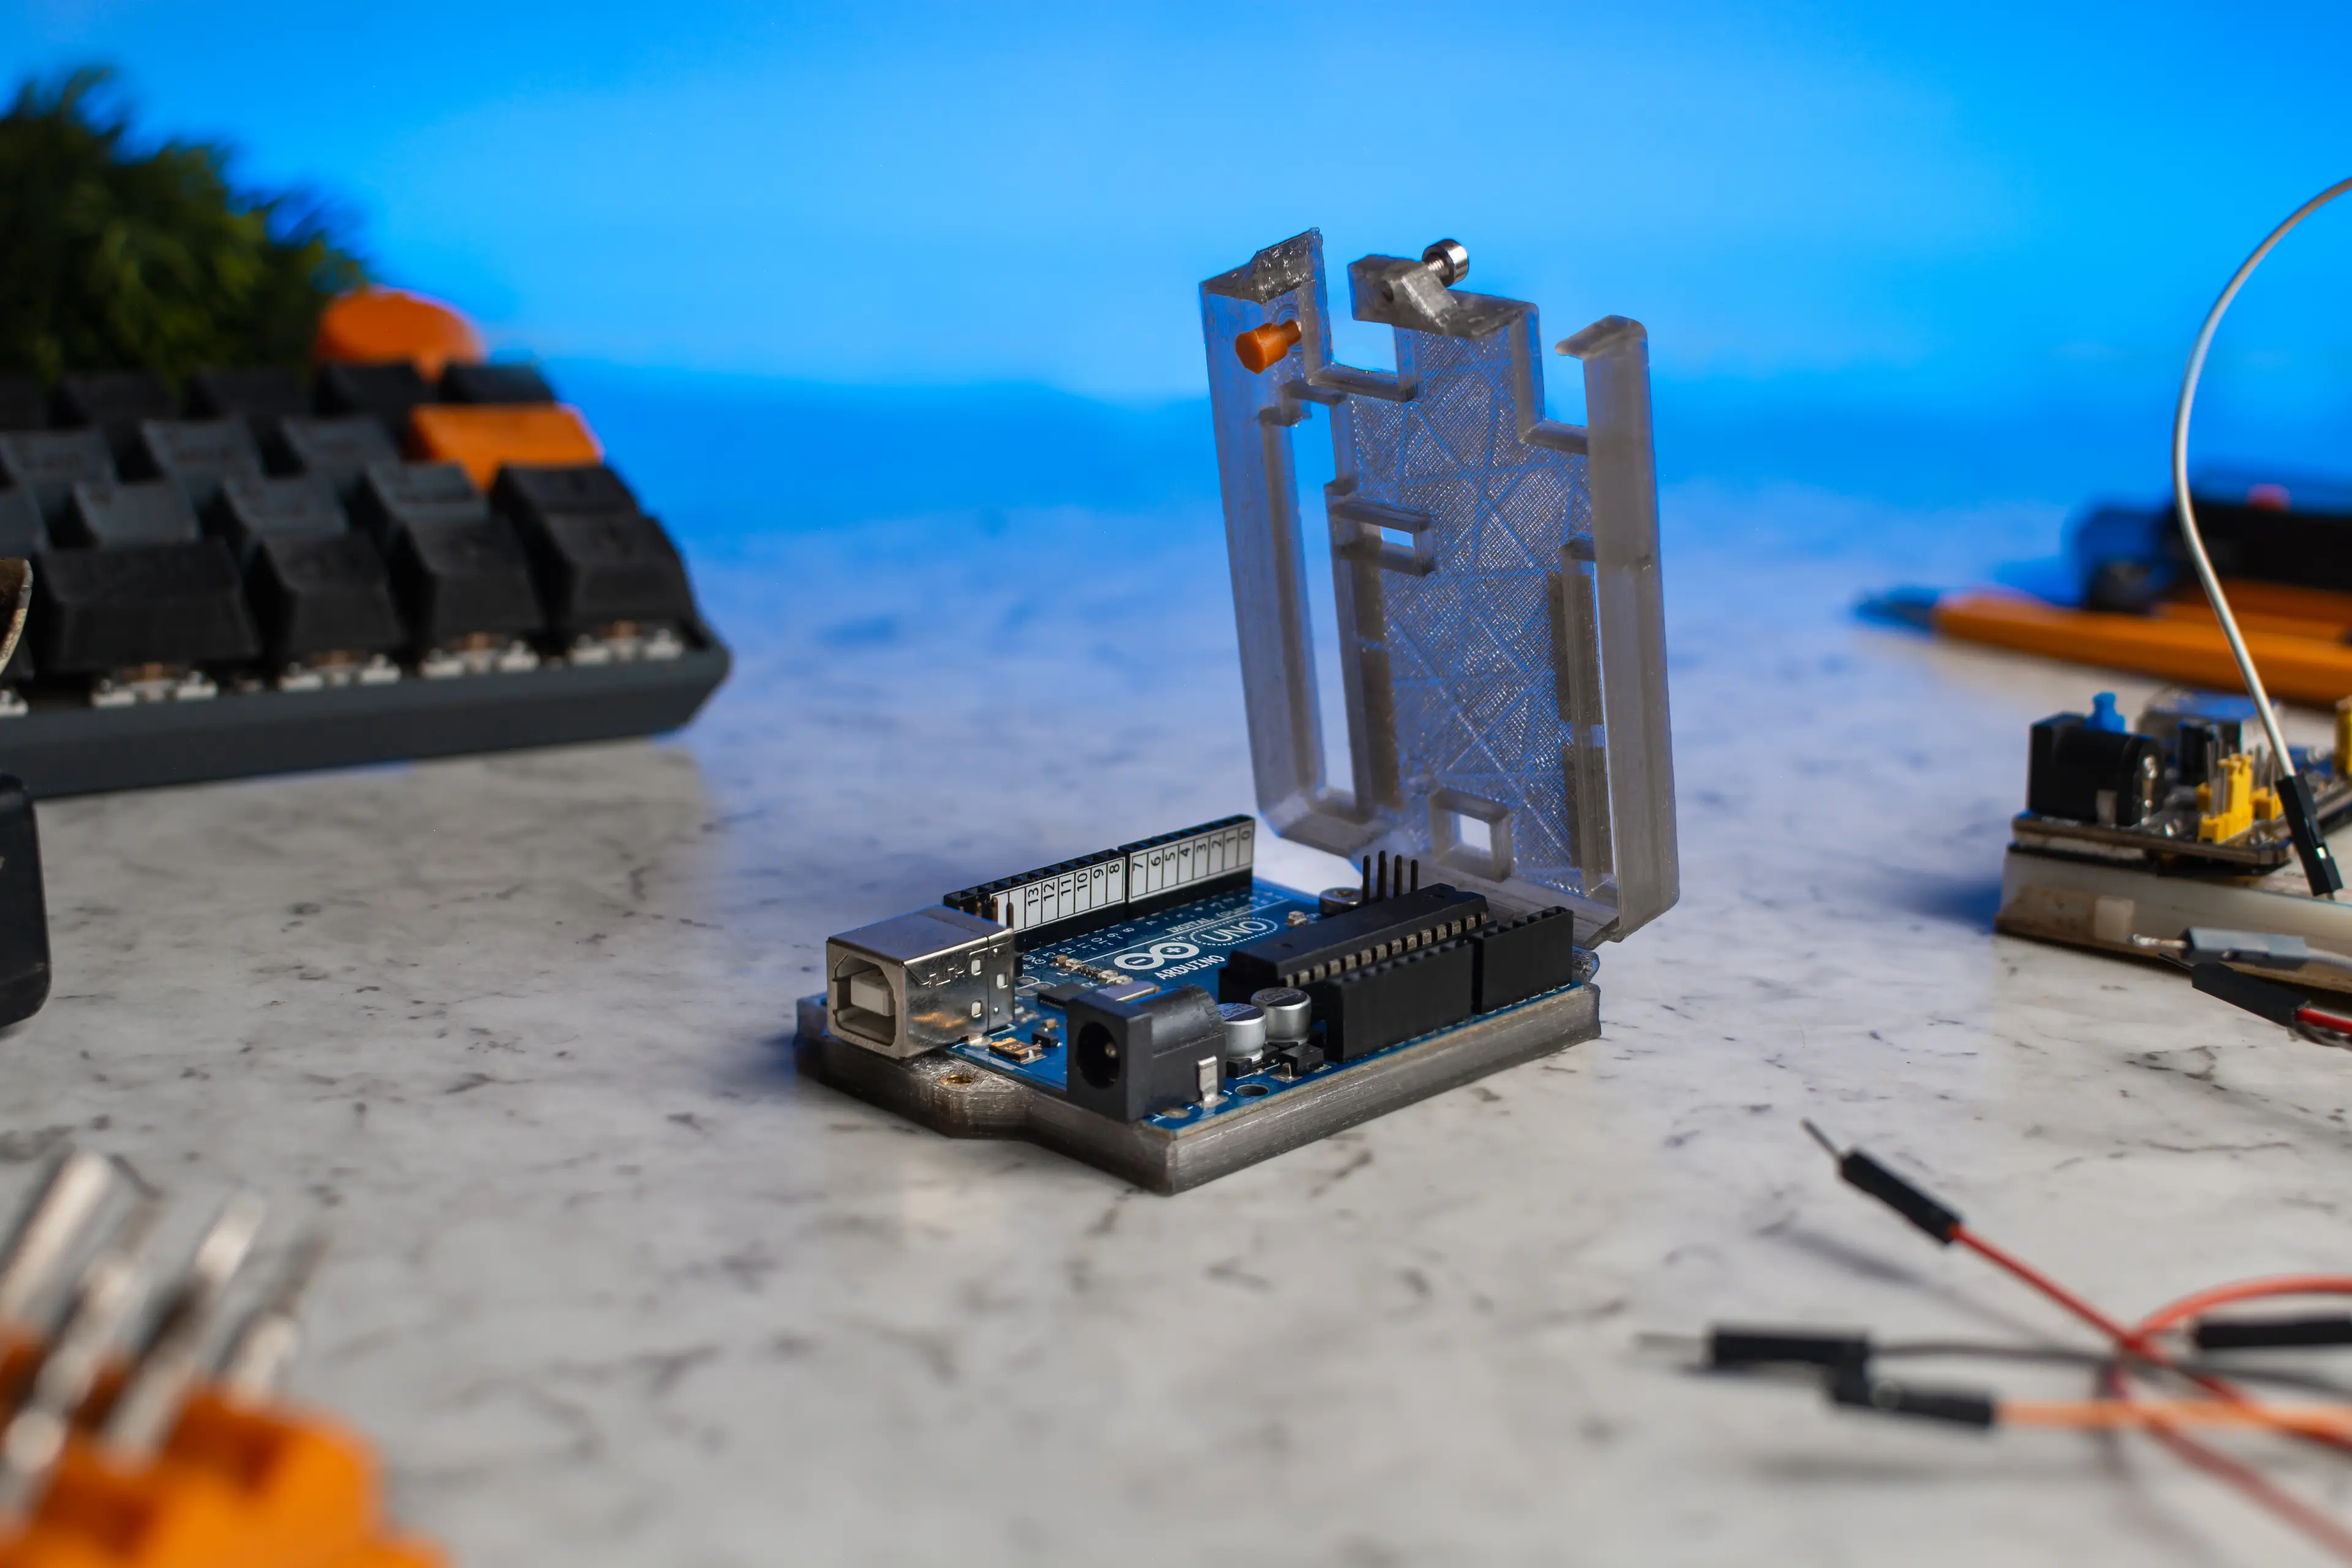
Arduino Uno case
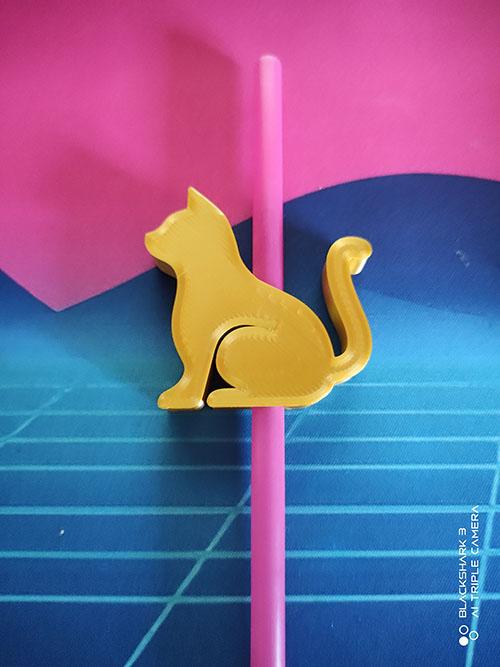
Cat Straw topper

PHOTOSHOP AND ILLUSTRATOR - KEYCHAIN
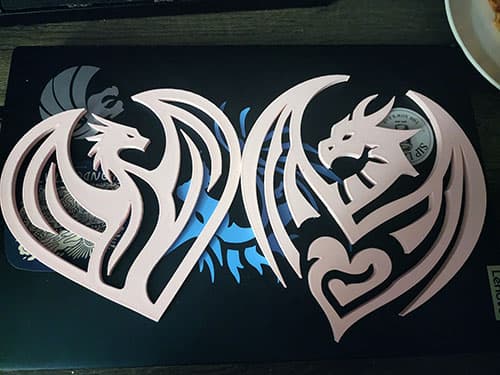
Dragon hearts (Wall decor)

"Bala" the Border Collie wallart
9° DOIO Megalodon KB16 stand
DIY Mechanical Macro Keypad ― Ocreeb
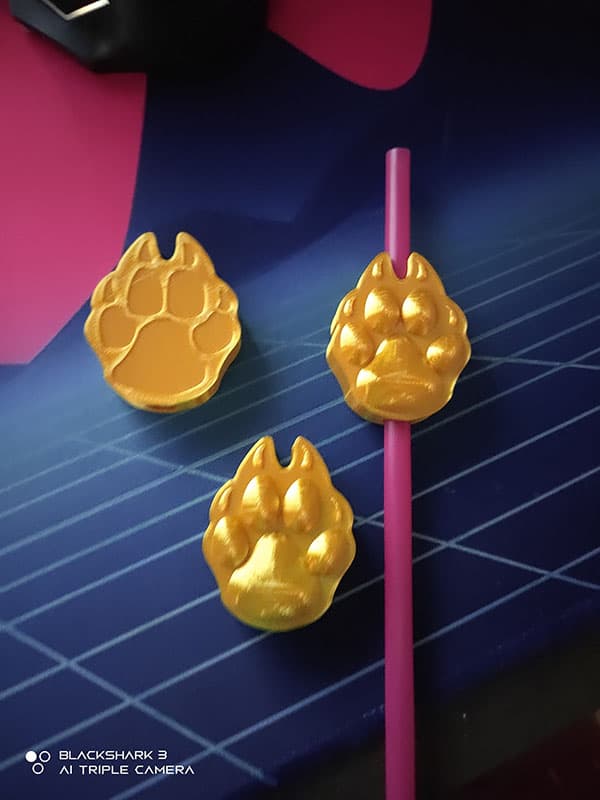
Wolfpaw straw toppers
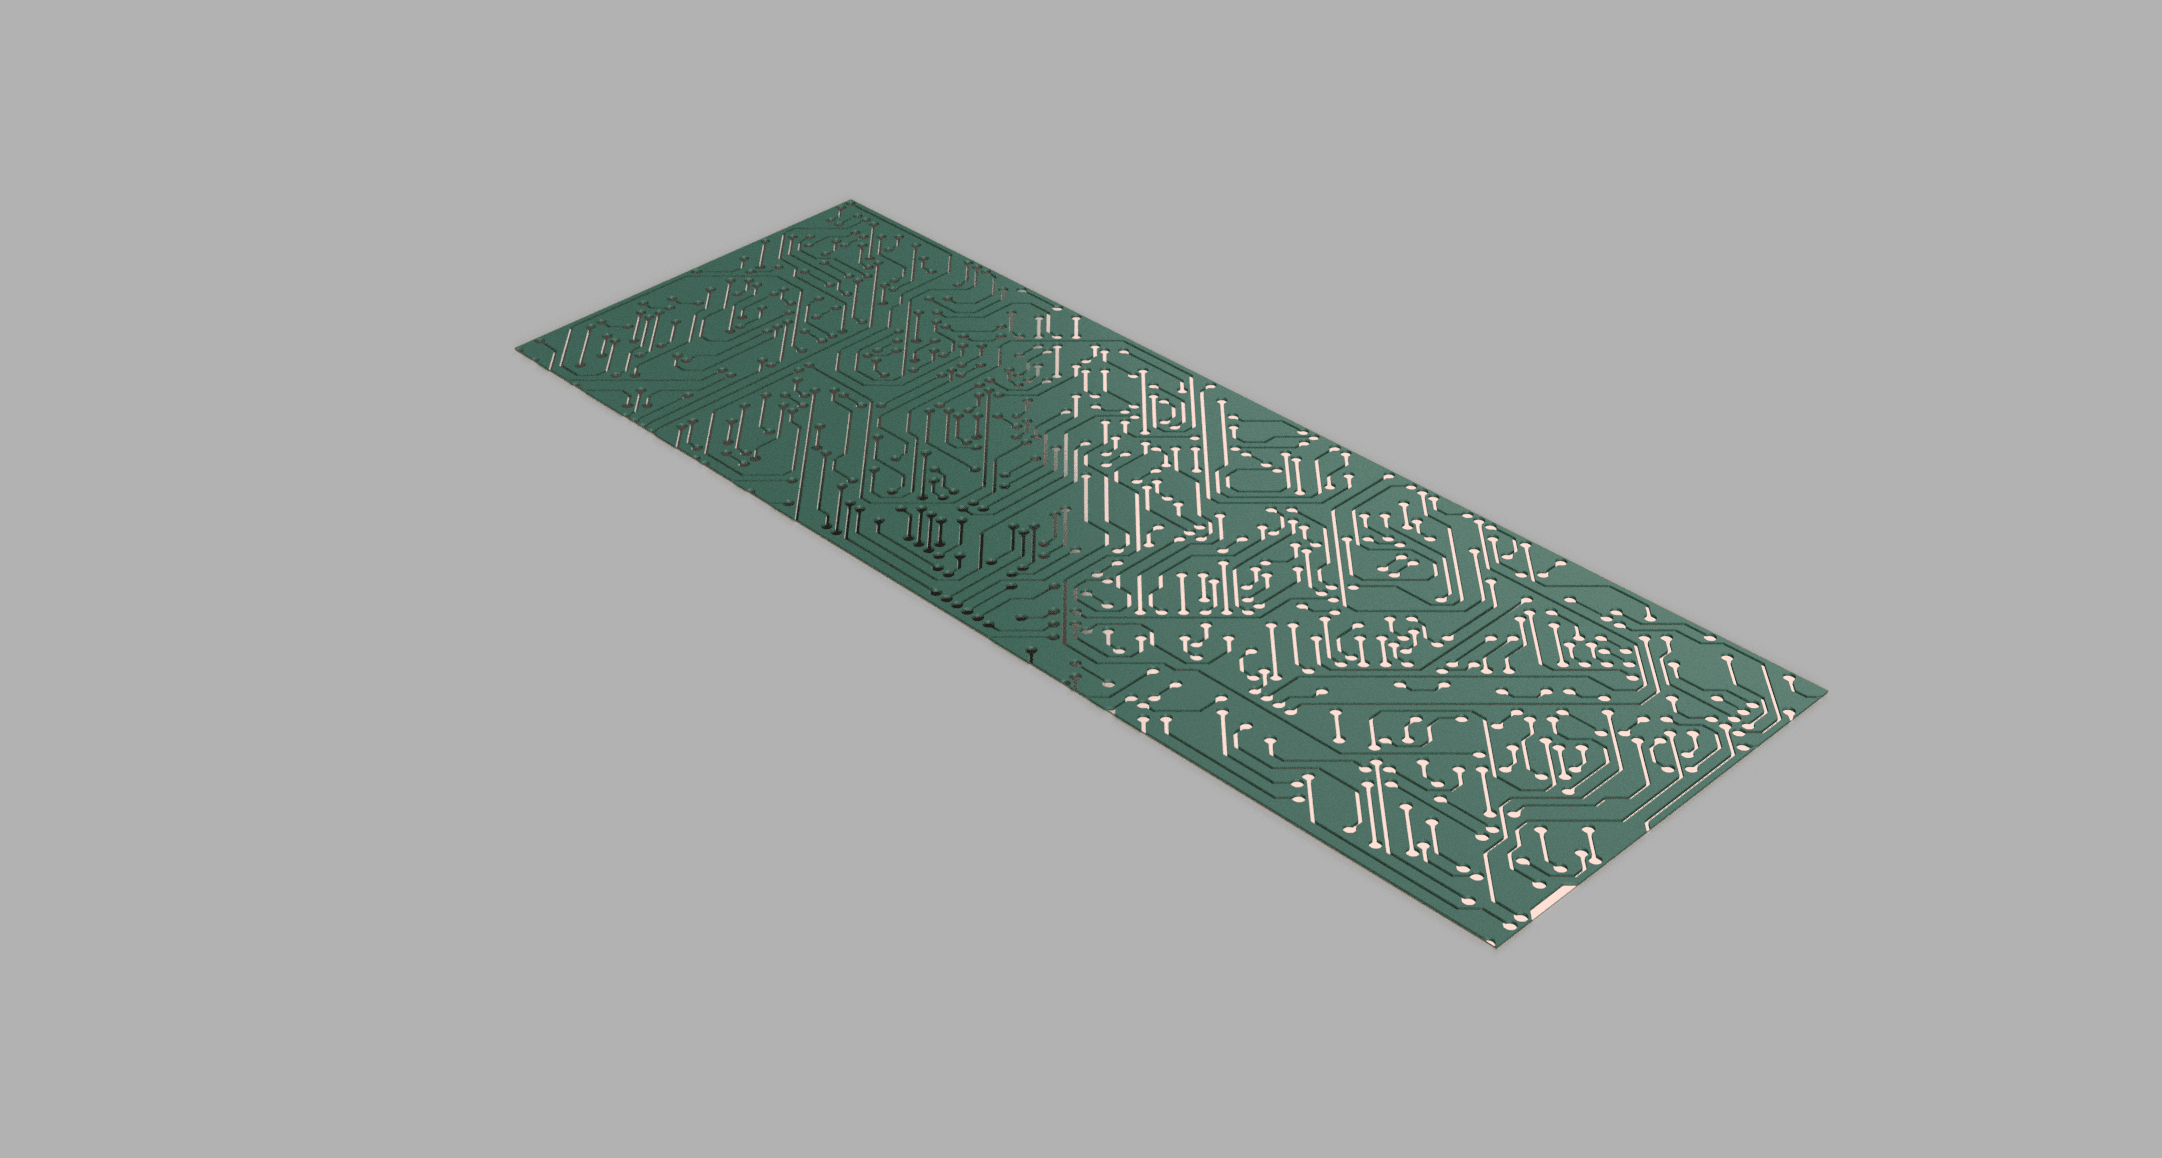
Circuit Board v1.stl
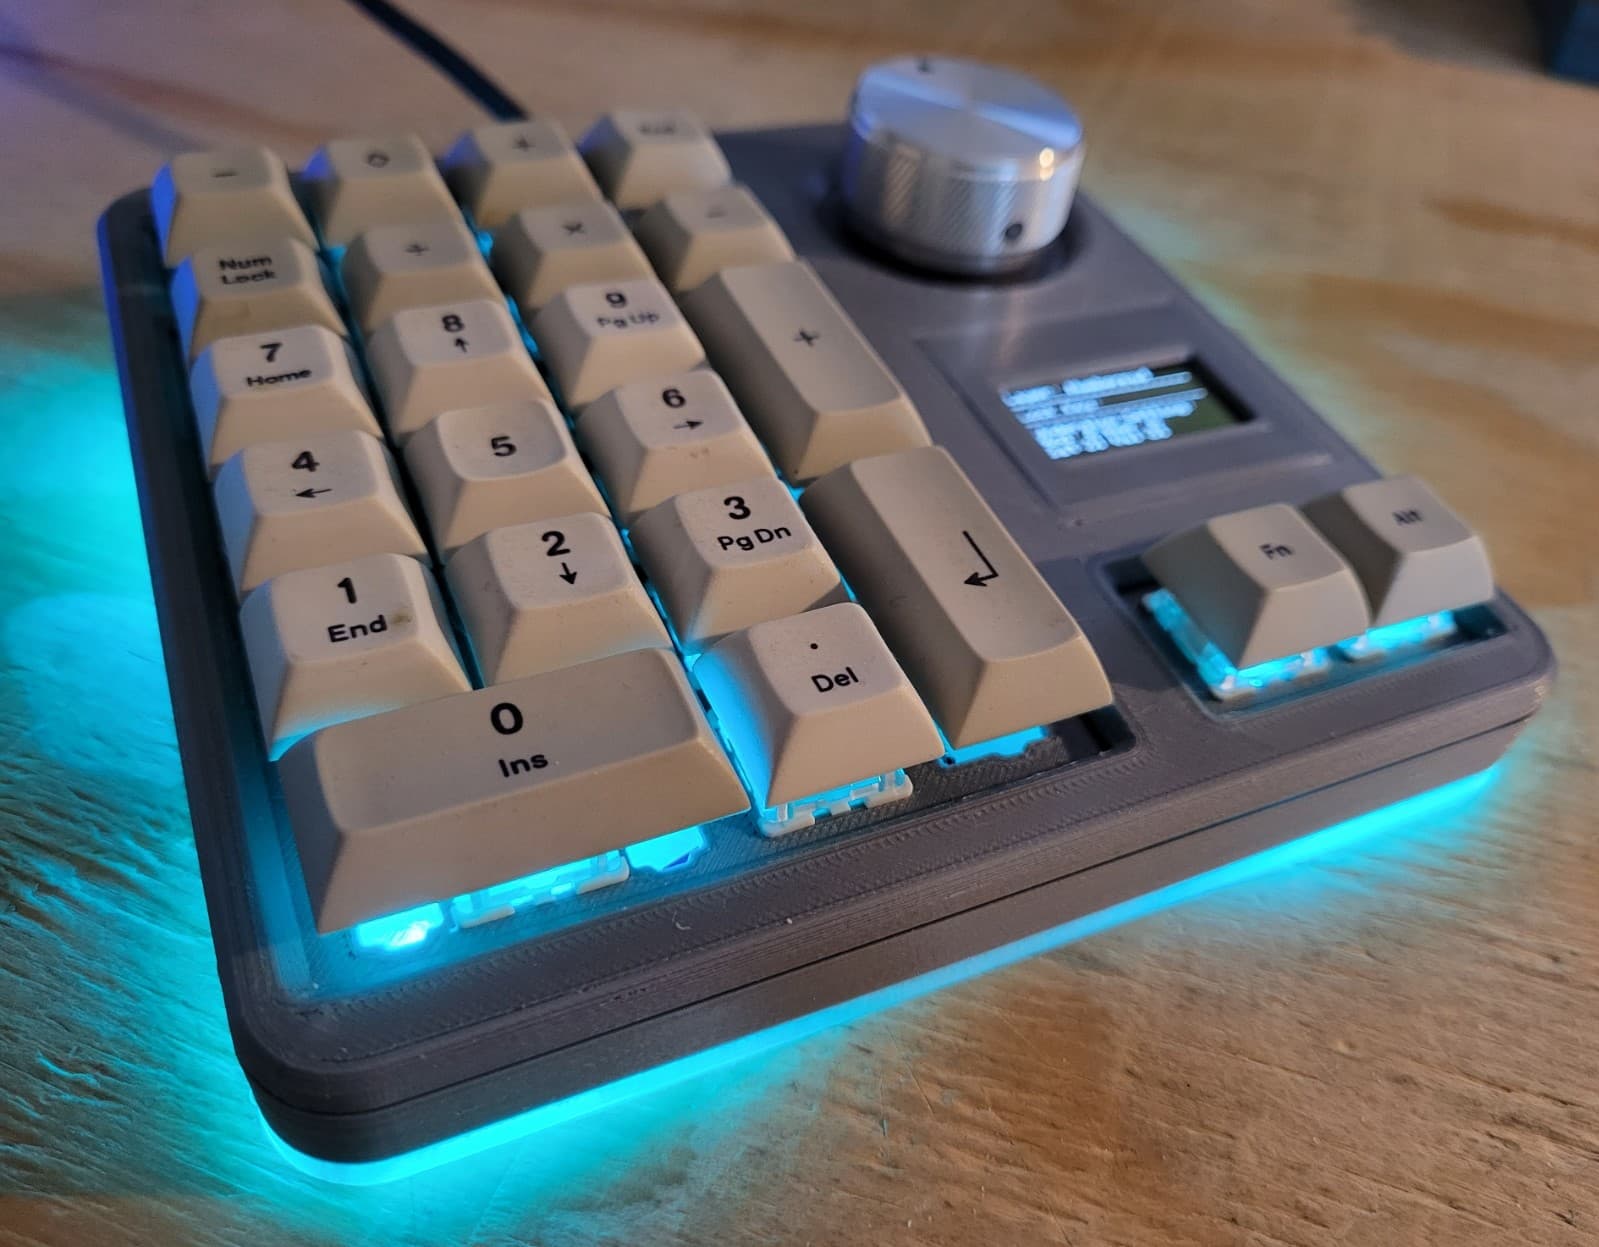
TheUltiPad MK2 - Now with OLED Display and RGB
Wolfpaw_Raisedprint.stl
Button Box Arcade Button Macro Pad
Gilmore Girls - Luke's Cookie Cutter

The Stack Overflow Keyboard RGB LED Riser

Adobe Creative Cloud Icon Coasters

VOID9 Macropad
Dumbpad - 4x4 Macro Keypad with Rotary Encoder

MathKeeb case