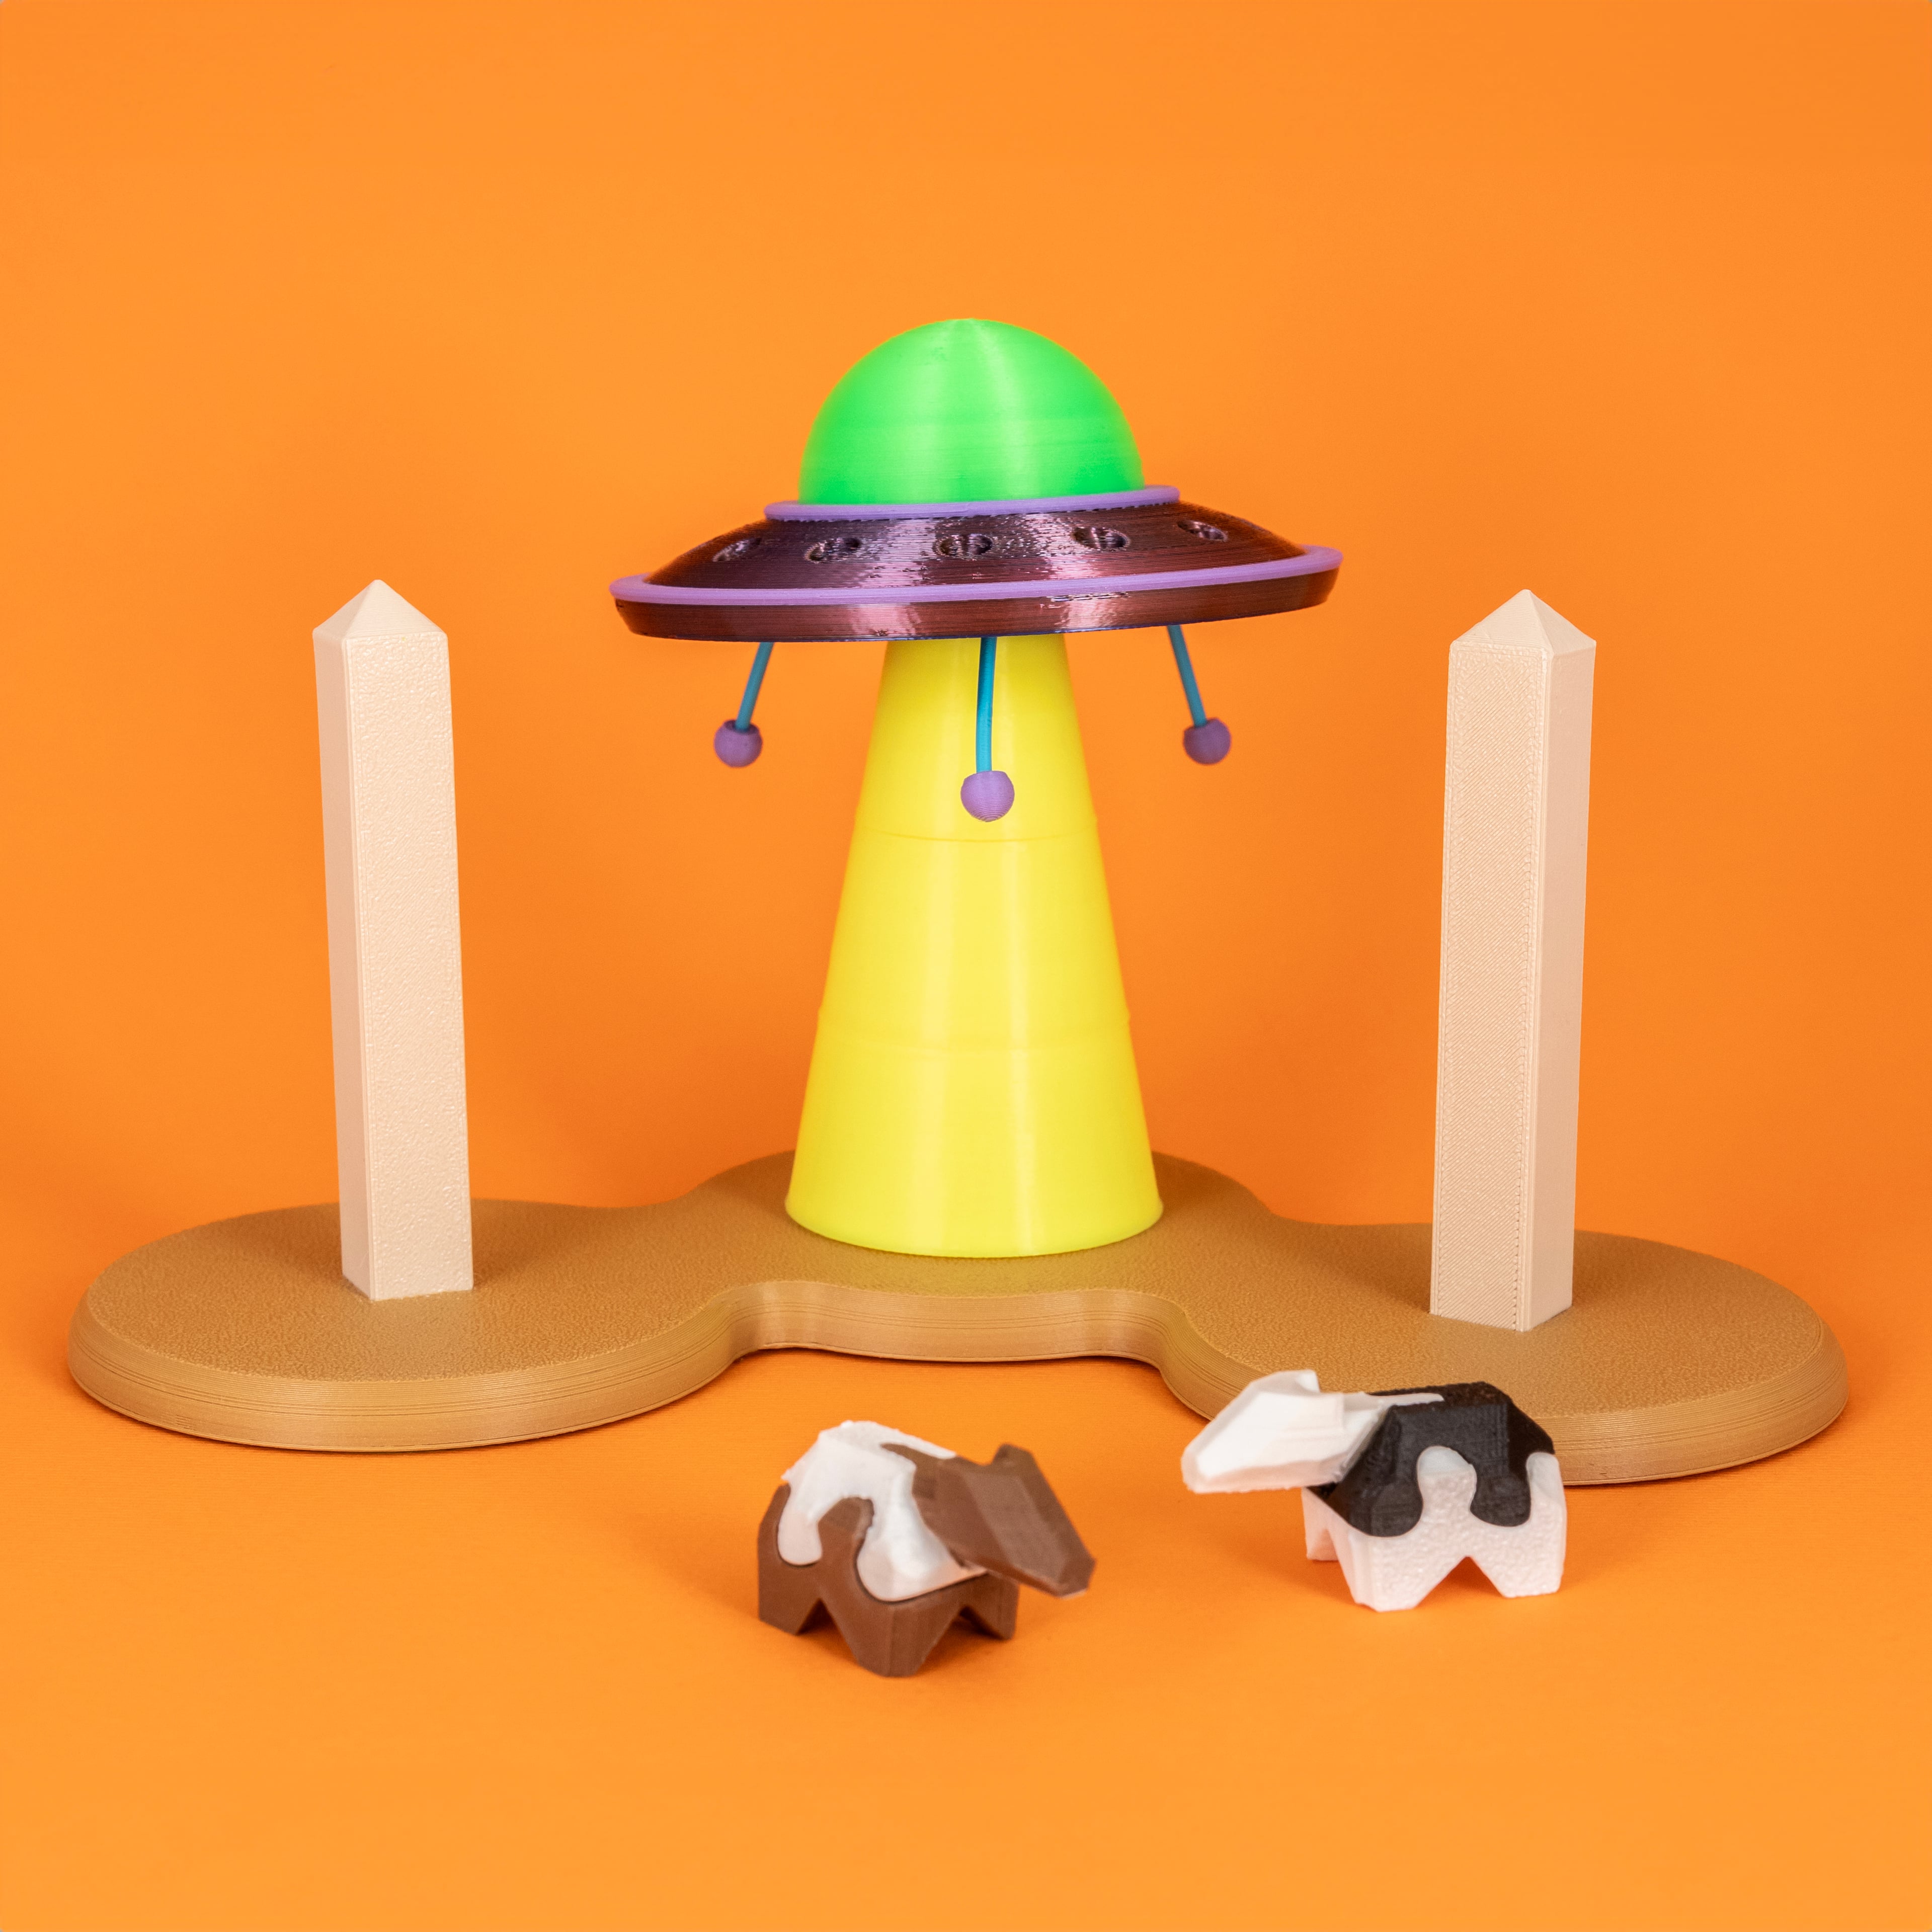


UFO of BABYLON Puzzle
Get the UFO across the desert in this alien-themed version of the classic Tower of Hanoi puzzle! This simple challenge has 3 rules:
- Move one piece at a time
- You may only move the top piece of a stack
- Do not place a larger ring above a smaller one (and nothing above the UFO)
Start with the parts assembled in order on the left obelisk, and try to get to the opposing side in the fewest moves possible.
There are some fun aspects when it comes to printing this puzzle as well:
For the multicolor look, swap filaments at (or just above) the following layer heights:
- 4mm
- 5.6mm
- 12mm
- 13.6mm
Prusa Slicer is great for inserting filament swaps and previewing the result
Print 3 of the tiny 'foot' pieces. These are connected to the UFO with a piece of 1.75mm filament. I cut the ends at an angle with my filament clippers to stick them on more easily.
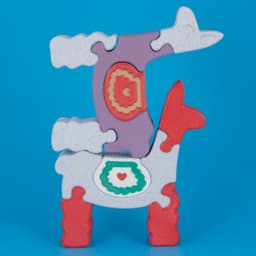
To challenge your printing skills, print out the bonus tiny cows! They print in 3 pieces, all in different orientations, without supports. Assemble carefully and in the correct order!
Filaments used in pictured model are:
- MatterHackers Ecto Green PRO PLA
- Polymaker Lavender Purple PolyTerra Matte PLA (US direct link)
- Tecsonar Tri-Color Filament Silk Red, Silk Blue, Silk Green
- Fillamentum Extrafill Luminous Yellow PLA
- Other various colors of Polymaker PolyTerra Matte PLA (US direct)
Print Base_v2.stl to use with the Pad_v2, which is meant to be printed in TPU for grip on the bottom of the base. If you don't want the TPU bottom you can print the original Base.stl (works in the included orientation or upside down). I also kept the original Pad.stl, which is also meant to print in TPU and is thinner, but a bit trickier to glue to the bottom of the base in a clean way.
I used E6000 adhesive to glue the obelisks to the base (even though they should snap into place), as well as for the pad on the bottom of the base.
All parts print with default settings and no supports required.
That's all there is to it. Leave a comment if you have any questions. Enjoy, and keep your eyes on the skies! :)

30mm to 40mm Pendant Light Adaptor

30-60-90 Drafting Triangle // 6 inch + 150mm Version

Drafting Triangle Collection

JUMBO Stacking Sieves // Supersized Stackable Sift Collection

Gutter Guard // Rain Gutter Debris Filter

EZPZ Screwdriver Bit Clip

IKEA FLISAT Bench TPU Feet // Floor Protector + Grip
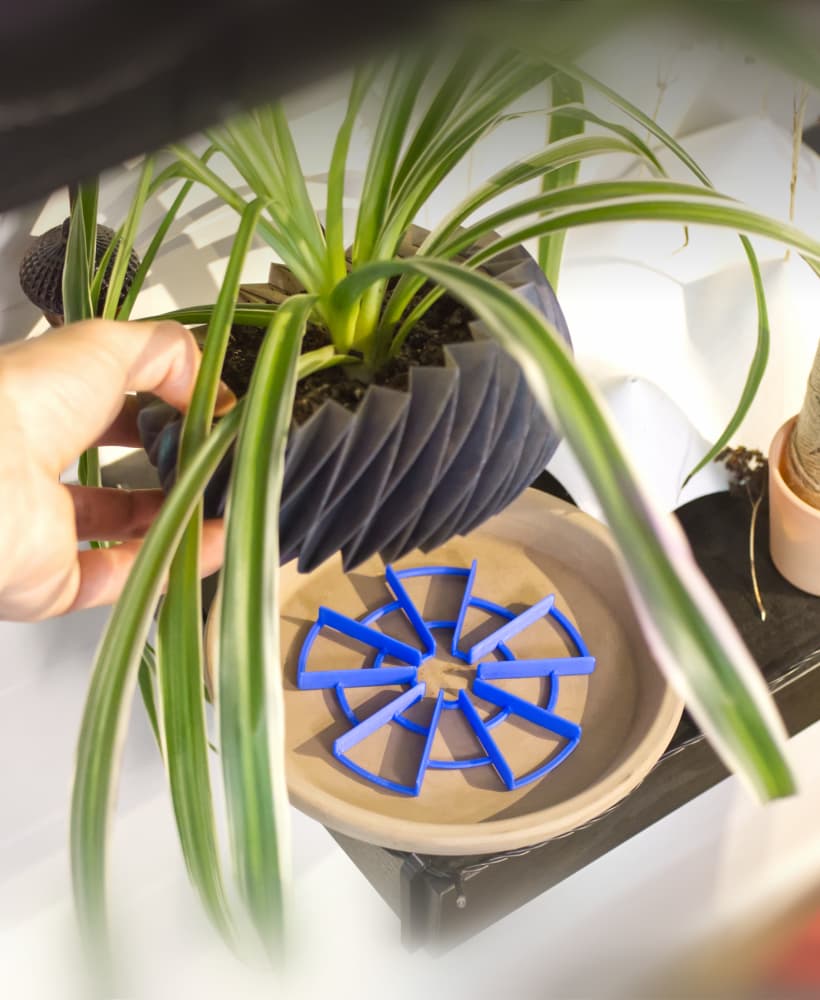
EZPZ Pot Spacers // Airflow and Drainage for Plants

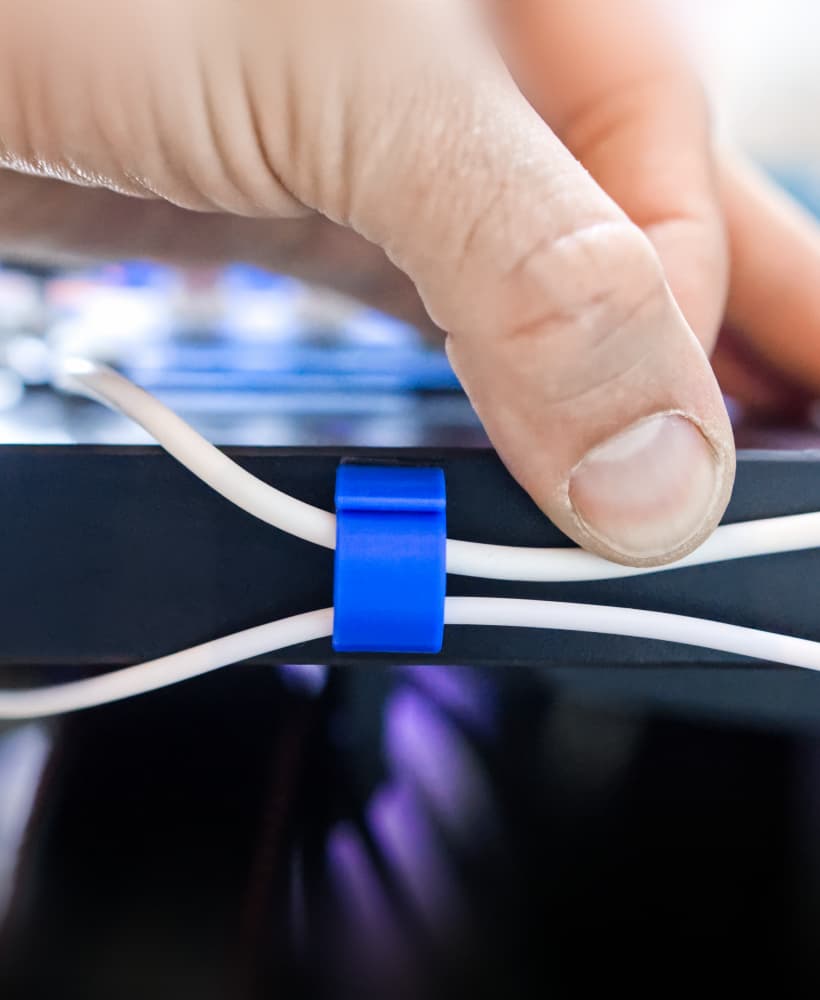
EZPZ TPU Cable Clip Collection // Quick, Flexible, Cable Clips

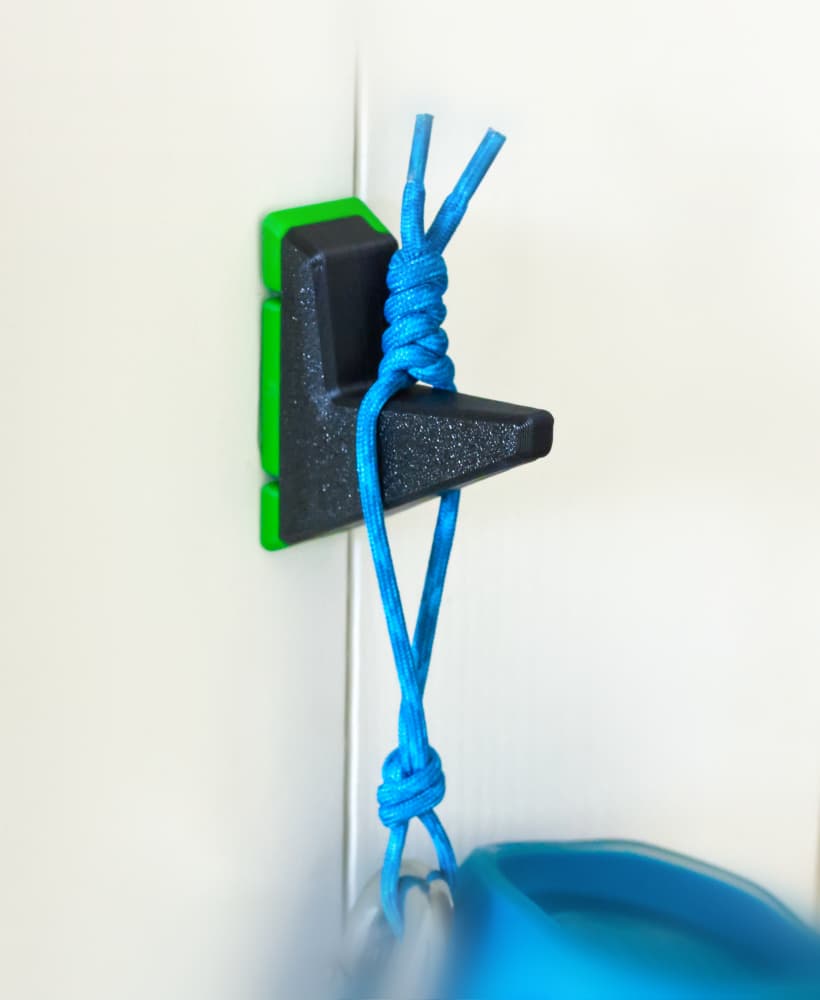
EZPZ Dummy Nail // Damage Free Wall Hanger Collection

EZPZ Wall Hooks Collection // 17 Variations (and counting!)
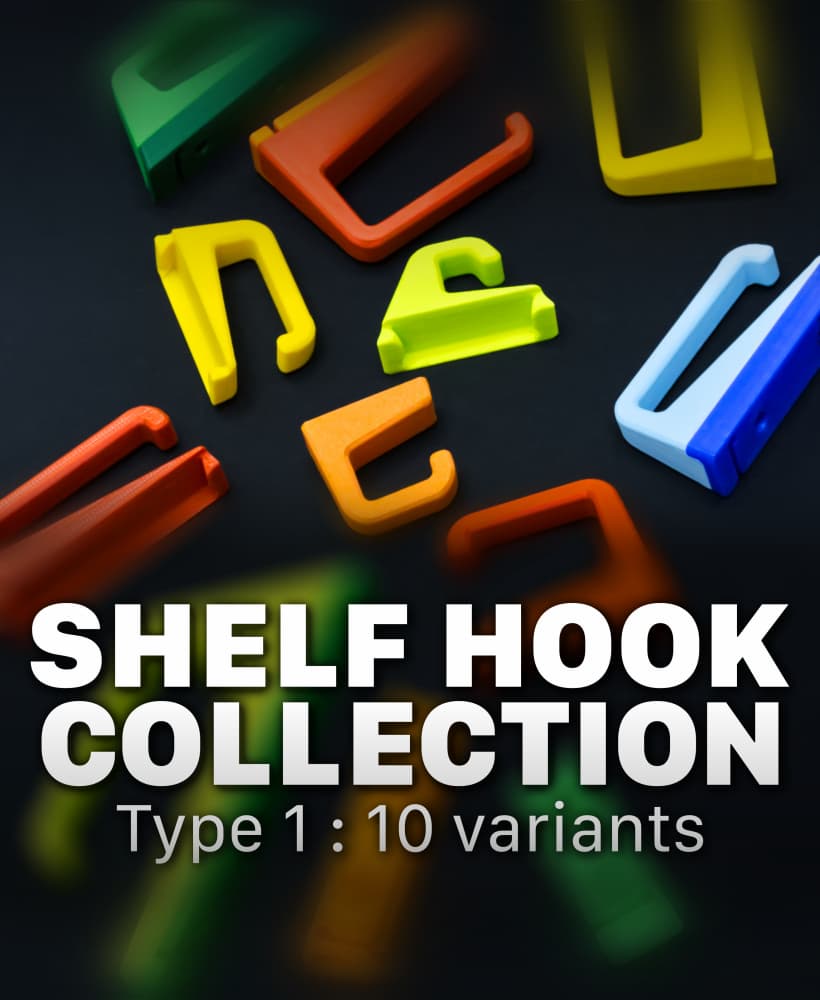
EZPZ Shelf Hook Collection // Type 1
EZPZ TPU Cable Clip (4mm)

Caliper Undercut Gauge Adaptors
EZPZ Wall Hook // Type A 36mm
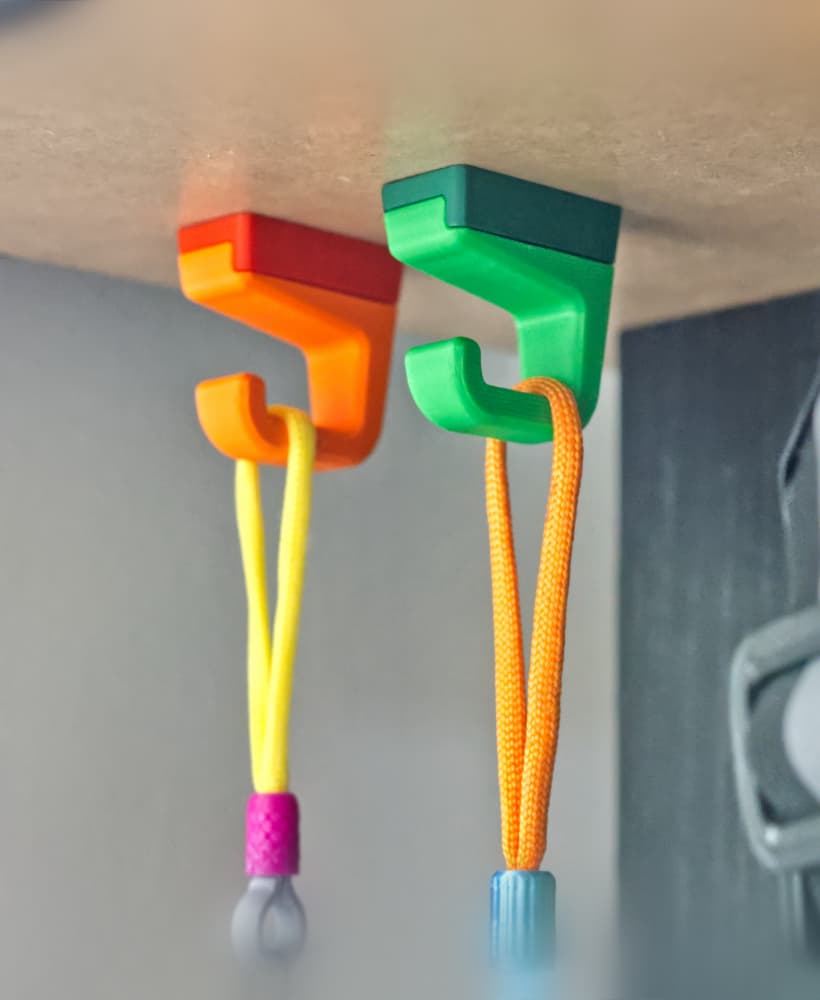
EZPZ Small Shelf Hook // Type1

EZPZ Tube to Wall Mount
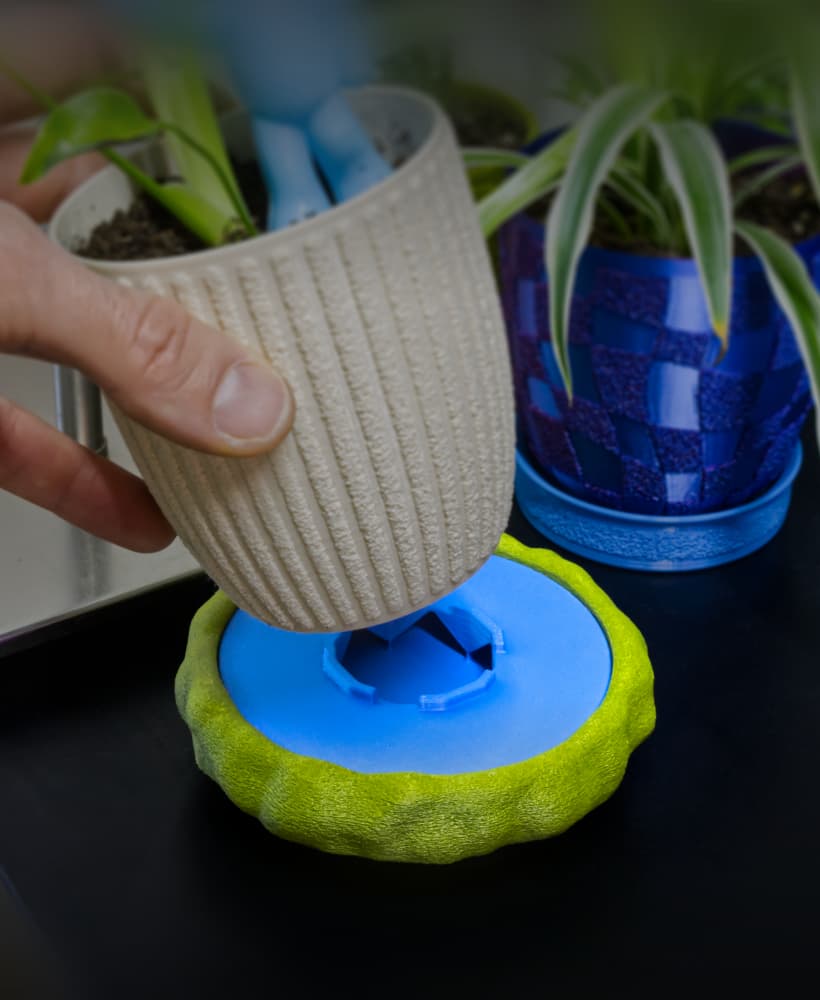
Moss Dish/Frame for 100mm Chunky Puck Drip Tray
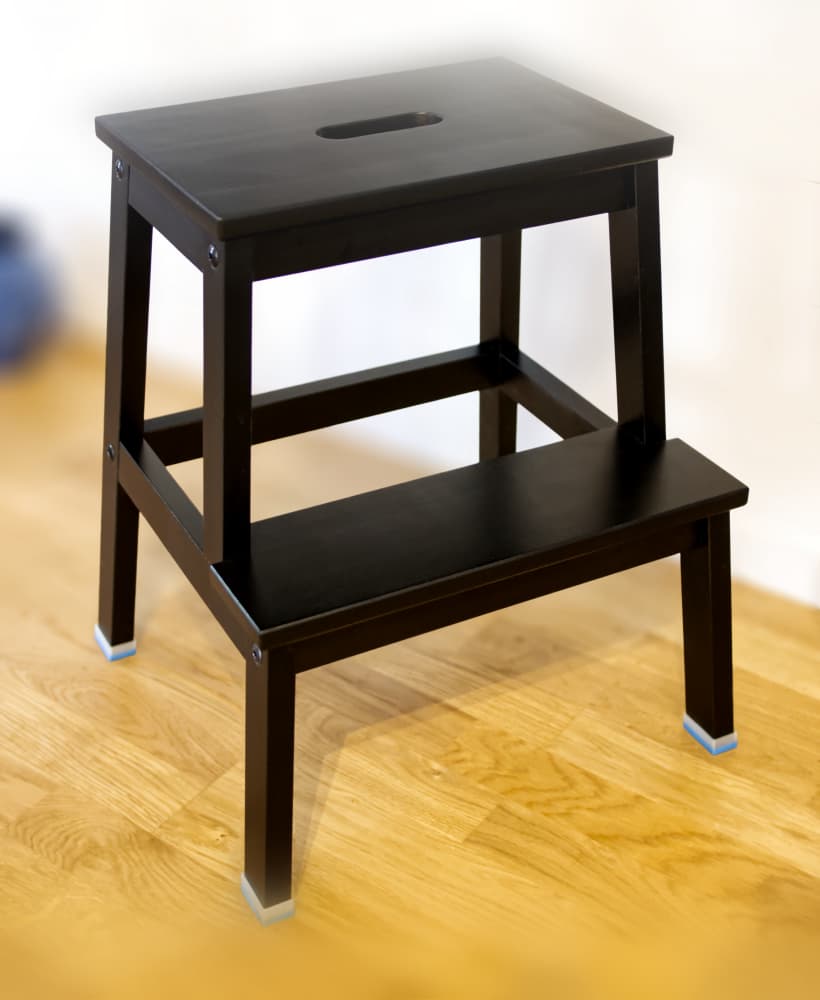
IKEA Bekväm TPU Feet // Floor Protector + Grip