


EZPZ Hanger Lite
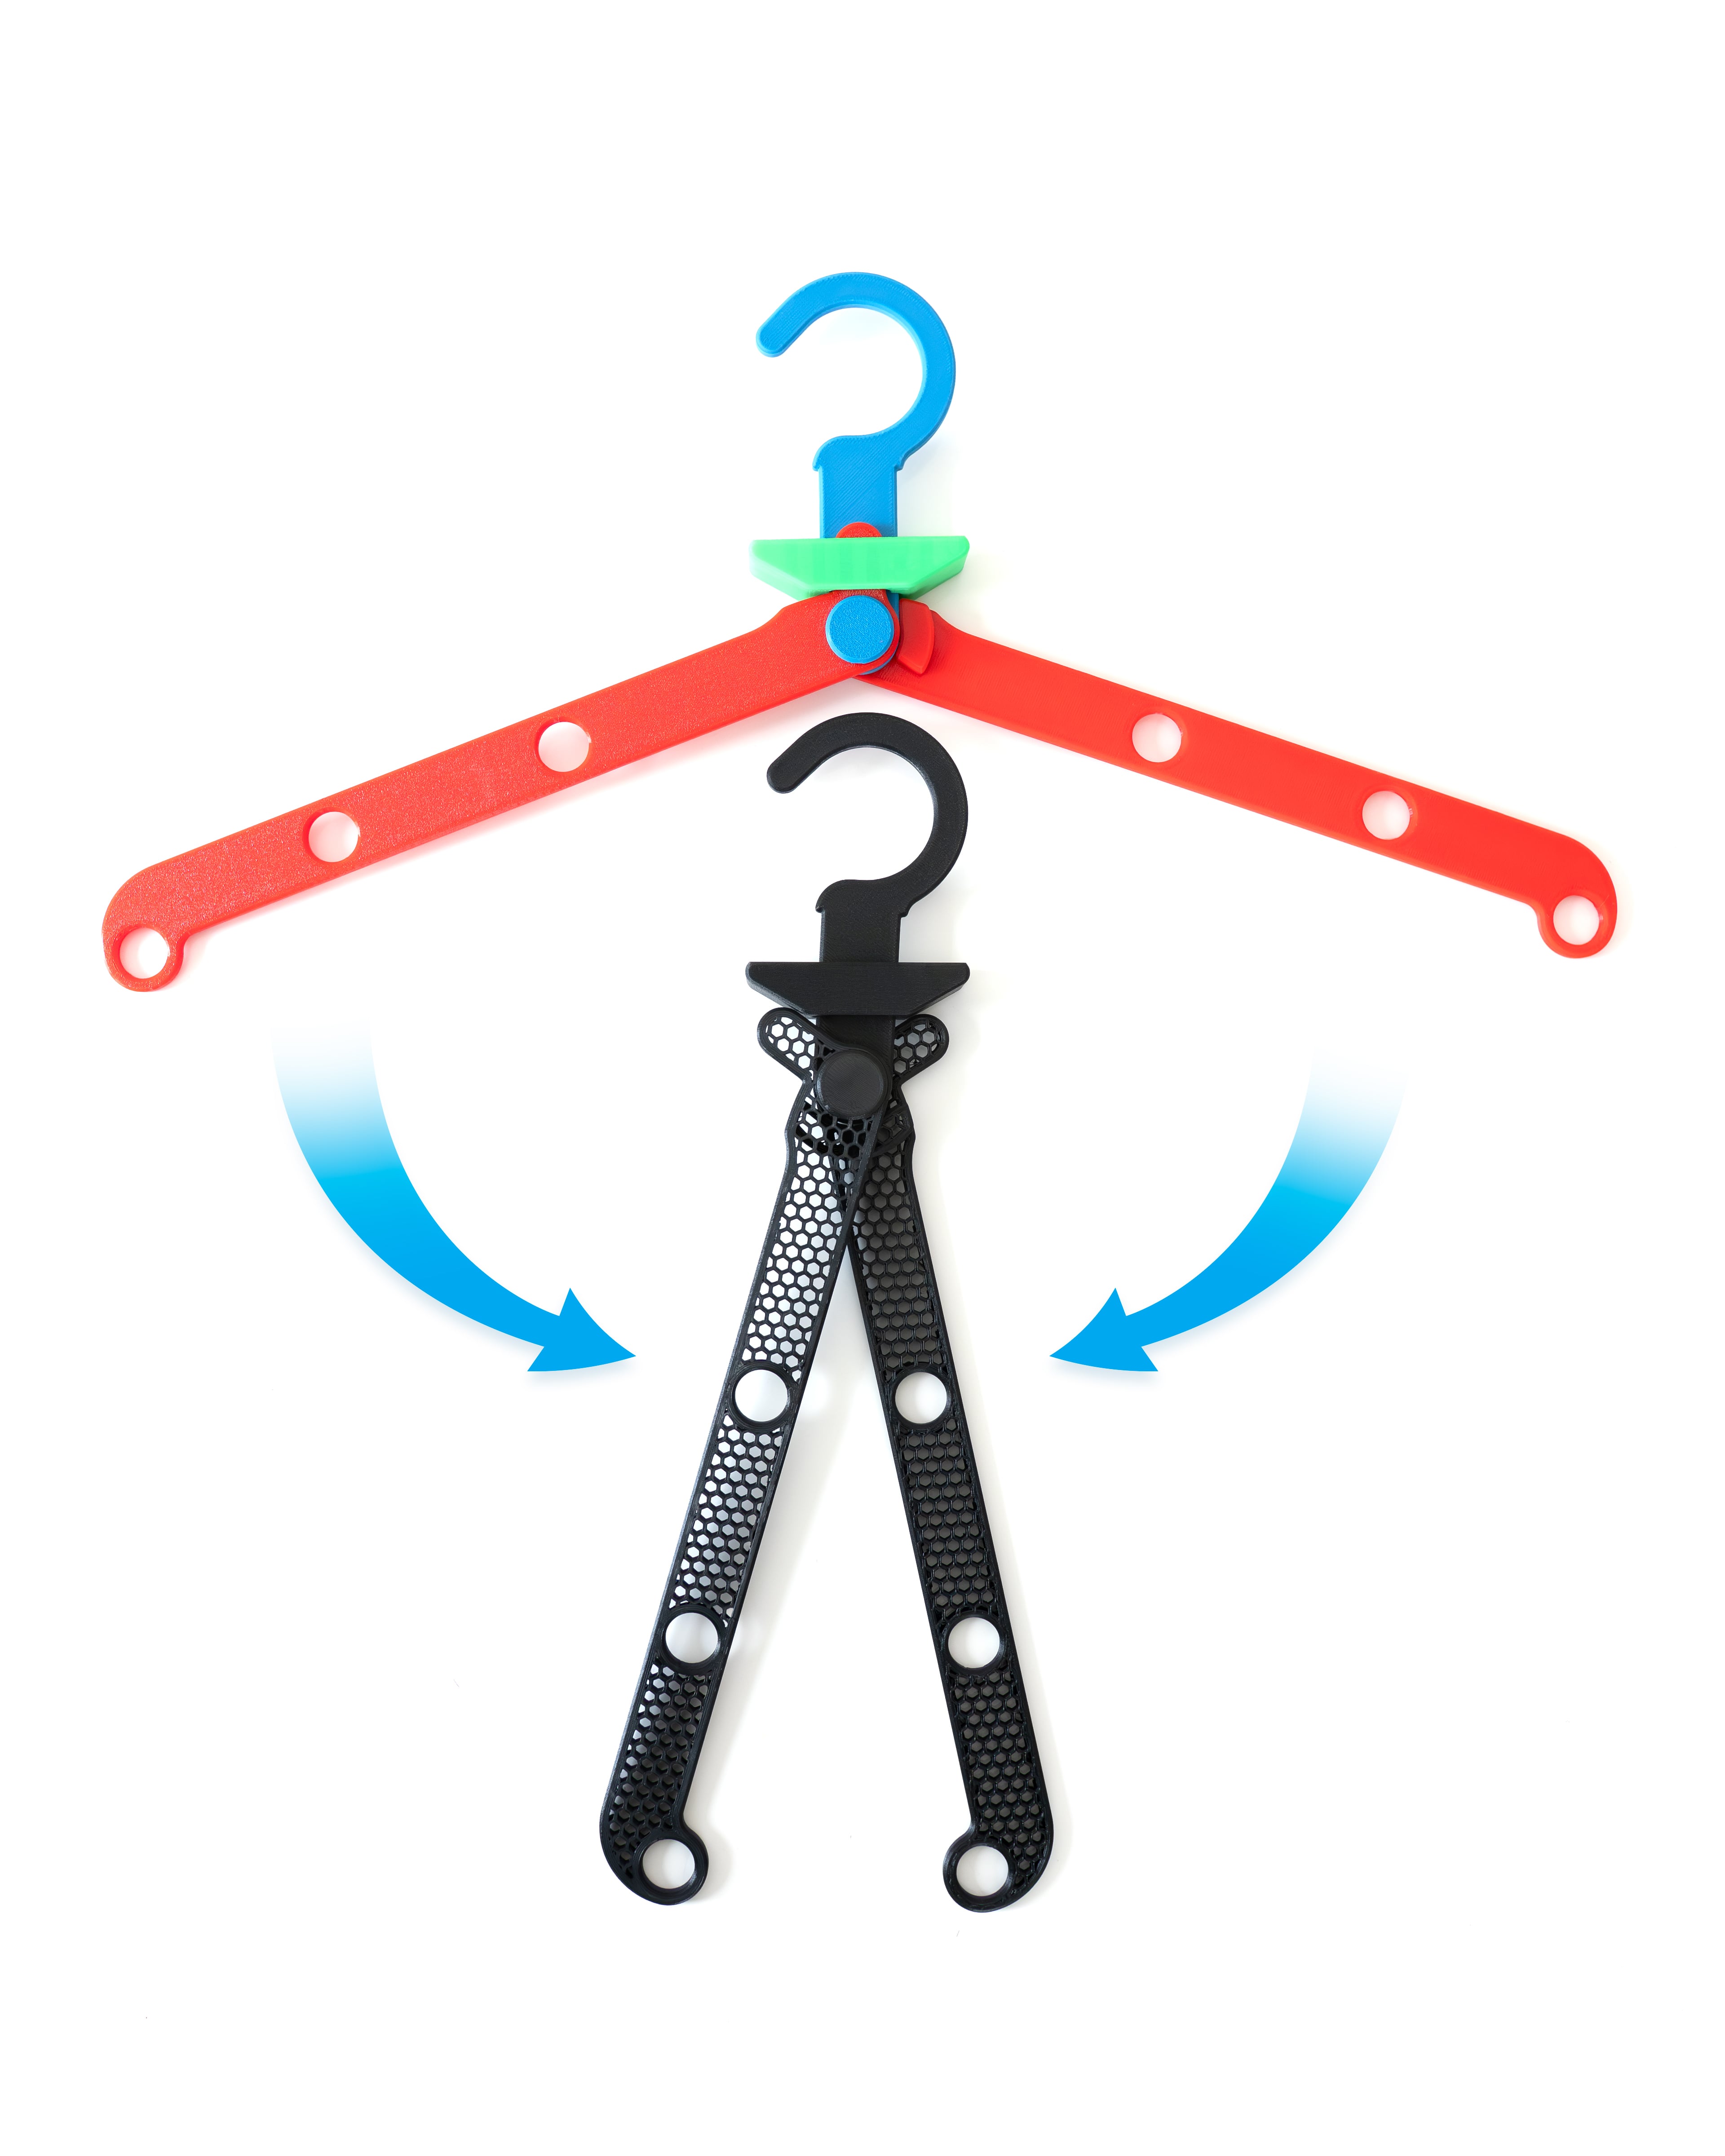
It's the COOLEST coat hanger you've ever seen! The EZPZ Hanger features a quick locking system that allows you to fold the arms down to hang up clothes in a more gentle manner.
This download includes the basic parts for a simple EZPZ Hanger. Click here for the full set of modular parts.
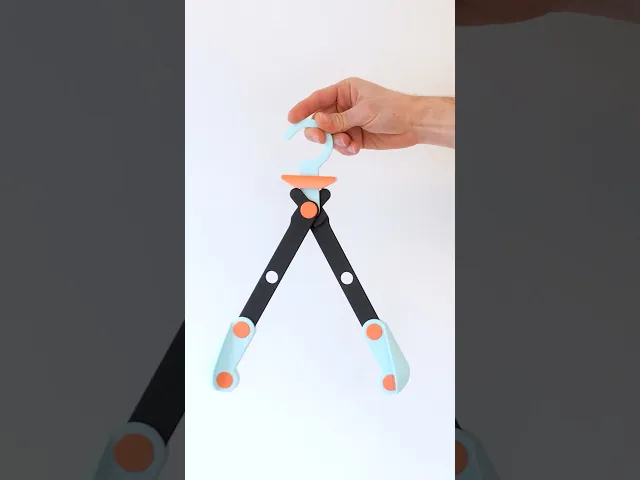
The simple gravity-powered lock automatically keeps the arms in place when opened up, and can be easily released by lifting the lock. The modular multi-part design lets you customize each hanger to your needs and aesthetic.
"Happy clothes, happy life!"
Printing Guidelines
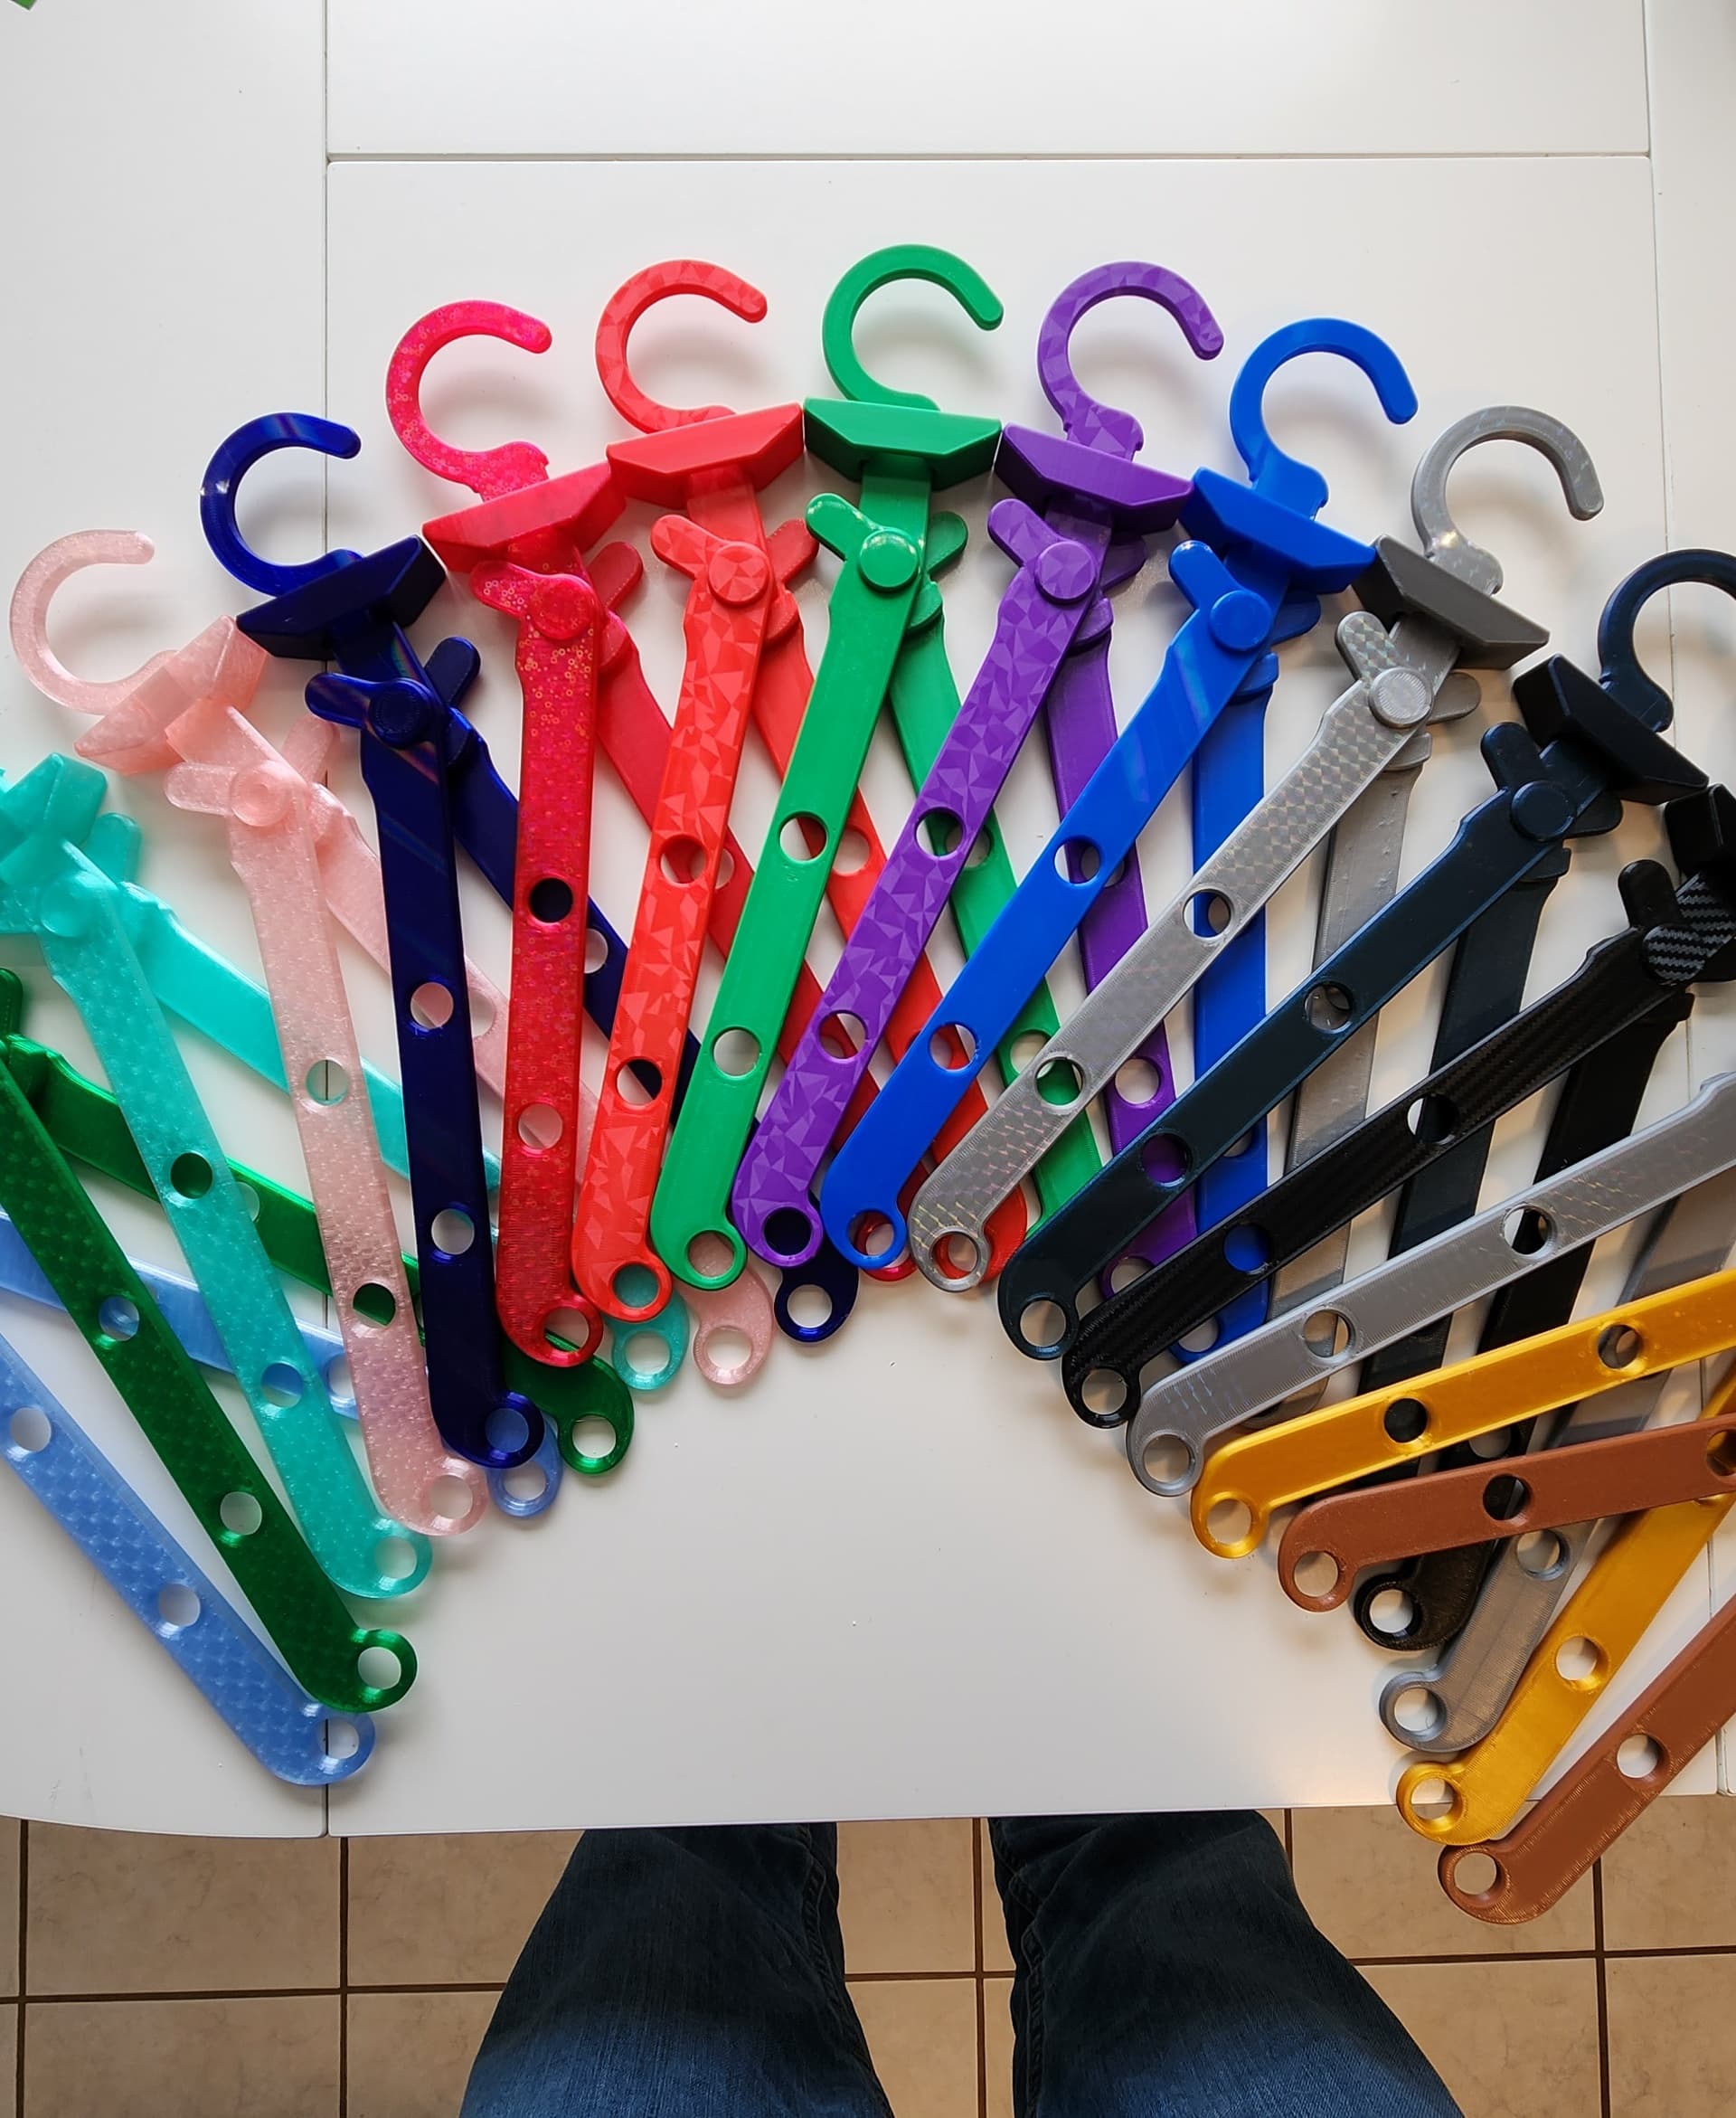
All parts are quite simple and will generally work with your default print settings. You may want to increase wall/shell count to 3 or 4 for the arms and hook if you plan on hanging heavy garments, but I've found just 2 shells and 15% infill works well for general use. I did use 3 shells for the pins, and since they're so small you may even want to print them solid for longevity.
Print the 'Arm' part twice. Both arms are identical, just rotated (do not mirror).
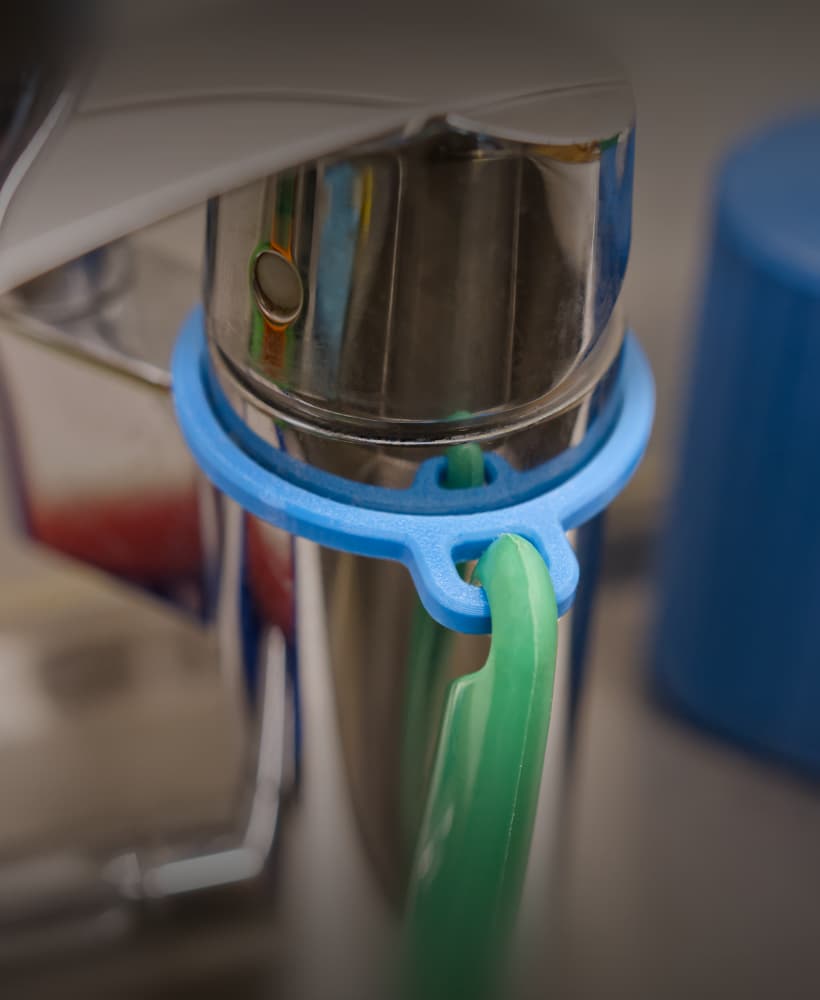
To assemble, first slip the Lock onto the Hanger, then connect the arms using a Pin.
Photographed models were printed on the Bambu Lab X1-Carbon 3D Printer using Bambu Lab PLA and PETG filaments.* *These affiliate links give me a commission on sales at no additional cost to you. Thanks for supporting Make Anything!
*24-14-06 UPDATE: Added Hanger_Larger.stl to accomodate more dowels


EZPZ Hanger Lite

30mm to 40mm Pendant Light Adaptor

30-60-90 Drafting Triangle // 6 inch + 150mm Version

Drafting Triangle Collection
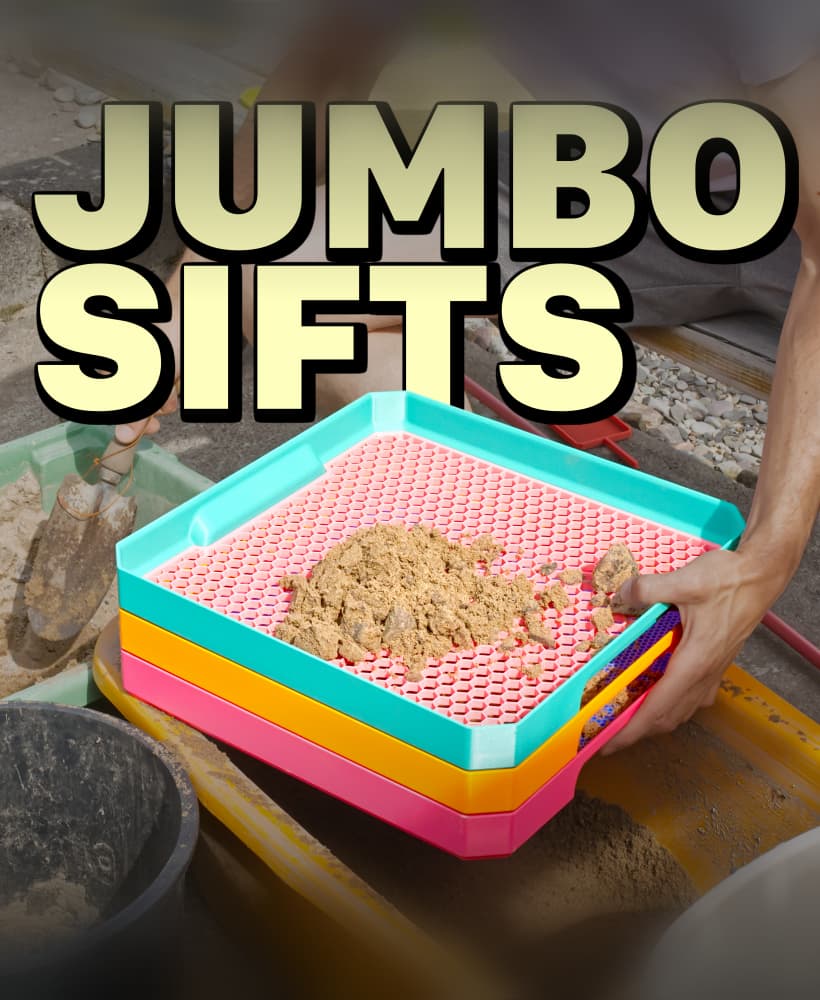
JUMBO Stacking Sieves // Supersized Stackable Sift Collection

Gutter Guard // Rain Gutter Debris Filter

EZPZ Screwdriver Bit Clip

IKEA FLISAT Bench TPU Feet // Floor Protector + Grip
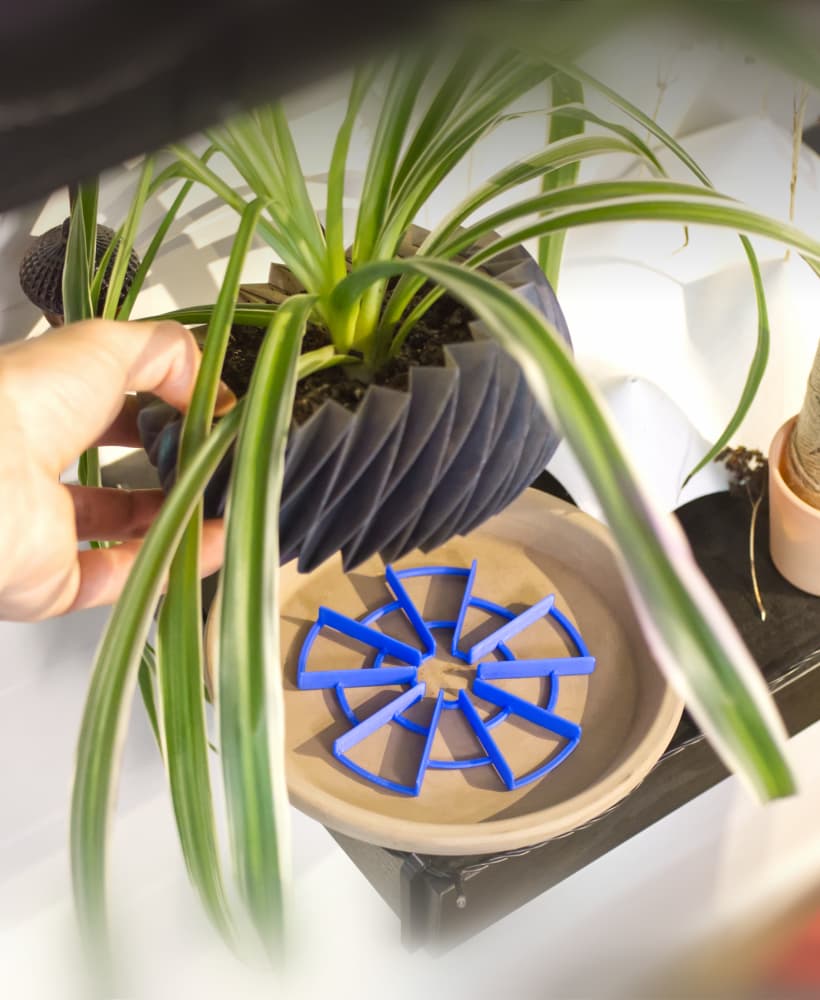
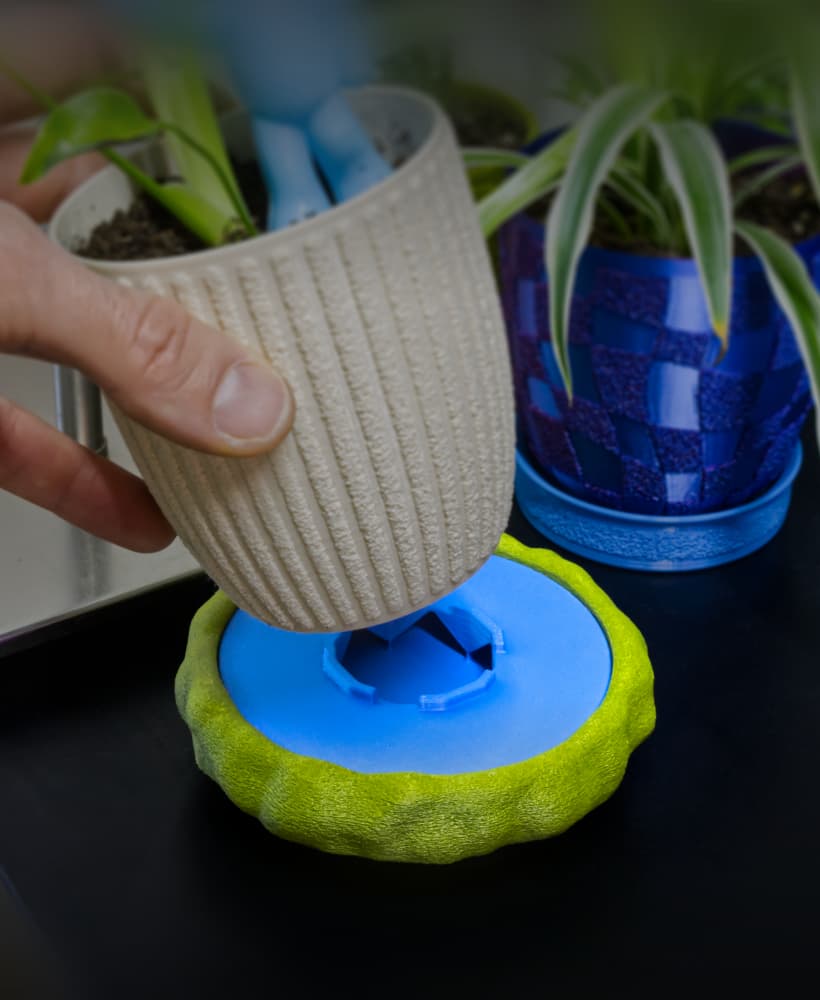
EZPZ Pot Spacers // Airflow and Drainage for Plants

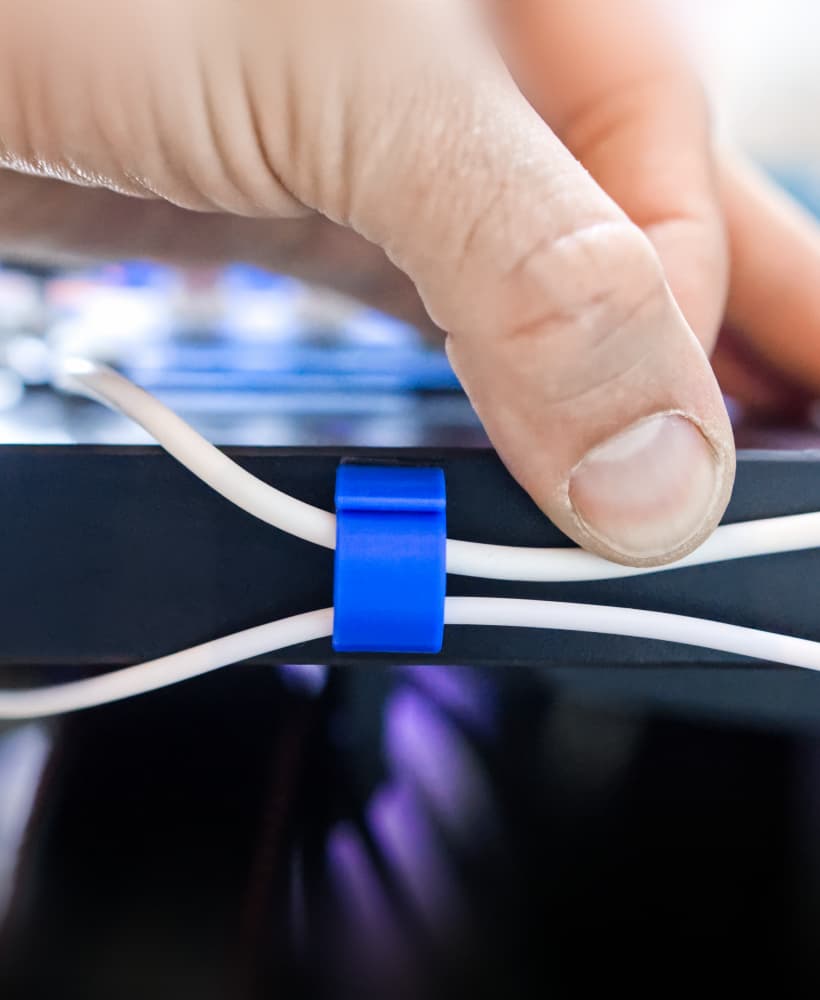
EZPZ TPU Cable Clip Collection // Quick, Flexible, Cable Clips

EZPZ Dummy Nail // Damage Free Wall Hanger Collection

EZPZ Wall Hooks Collection // 17 Variations (and counting!)
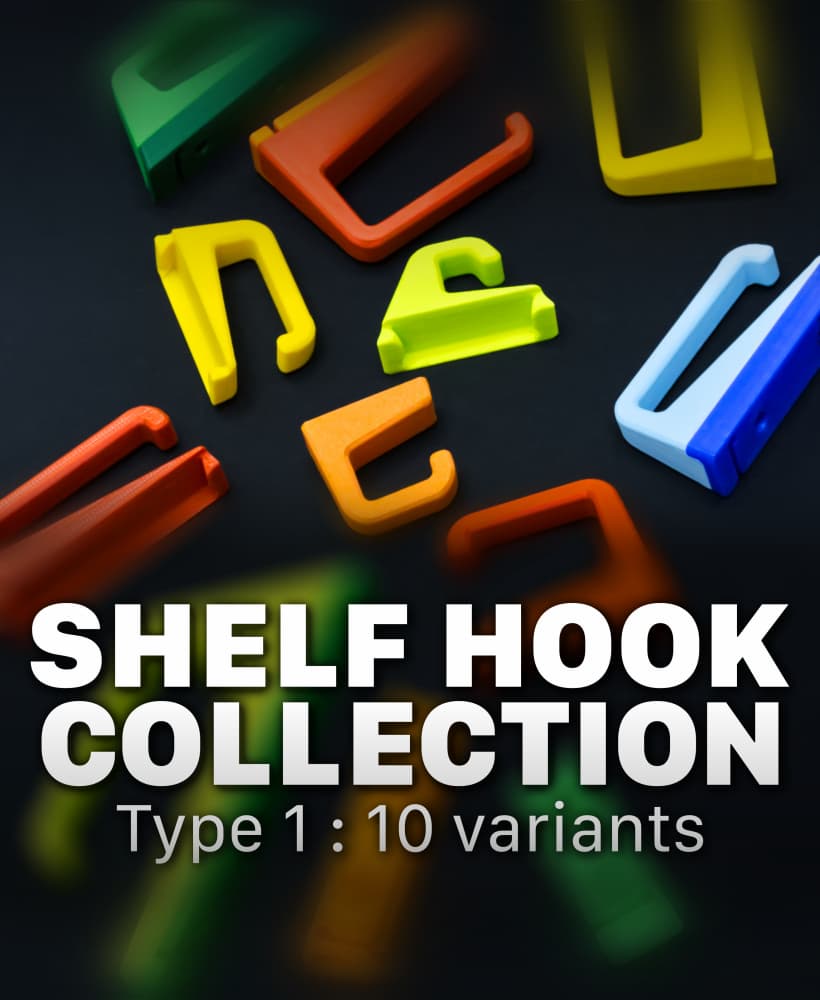
EZPZ Shelf Hook Collection // Type 1
EZPZ TPU Cable Clip (4mm)

Caliper Undercut Gauge Adaptors
EZPZ Wall Hook // Type A 36mm
EZPZ Small Shelf Hook // Type1

EZPZ Tube to Wall Mount
Moss Dish/Frame for 100mm Chunky Puck Drip Tray
IKEA Bekväm TPU Feet // Floor Protector + Grip
WOW, that is satisfying :D
I cant tell what is the diffences between the free one and the paid one? Can anyone tell me please? @MakeAnything can you tell me please?
Paid includes variations of the arms for hanging straps (eg. tank tops, dresses), as well as parts for the end to round out the shoulder (more gentle on light fabric or heavy garments).
Why does it need the little protrusions that prevent it from folding completely flat/straight? I'm probably going to print a set without those to see if they behave undesirably, but I'd love to hear your thought process on those as well. I ask because this would be a mostly stackable print without them.
I think it's mainly so you don't lift up the arms on the wrong side, it keeps them each on their side, but I may be wrong
I see there is a dollar amount on the non-free version of this model, and some of the other recent models you uploaded, but I'm curious if I become a member if the non-free version of this model is included under that membership. I see other models under your name that say point blank you have to become a member to download them, but it is not clear if I would still have to pay a dollar amount for the non-free version of this model if I become a paid member. I hope that made sense.
The basic membership lets you download 6 of the 'paid' models per month, including some that are only available to members. You don't pay on top of the membership cost.
can we also get the file with the holes in the arms?
I believe that is just printed with no top or bottom layers. Its a setting in the slicer