


Starship
352 downloads · 3 years ago · **Description**
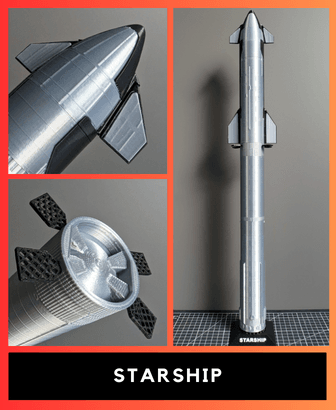
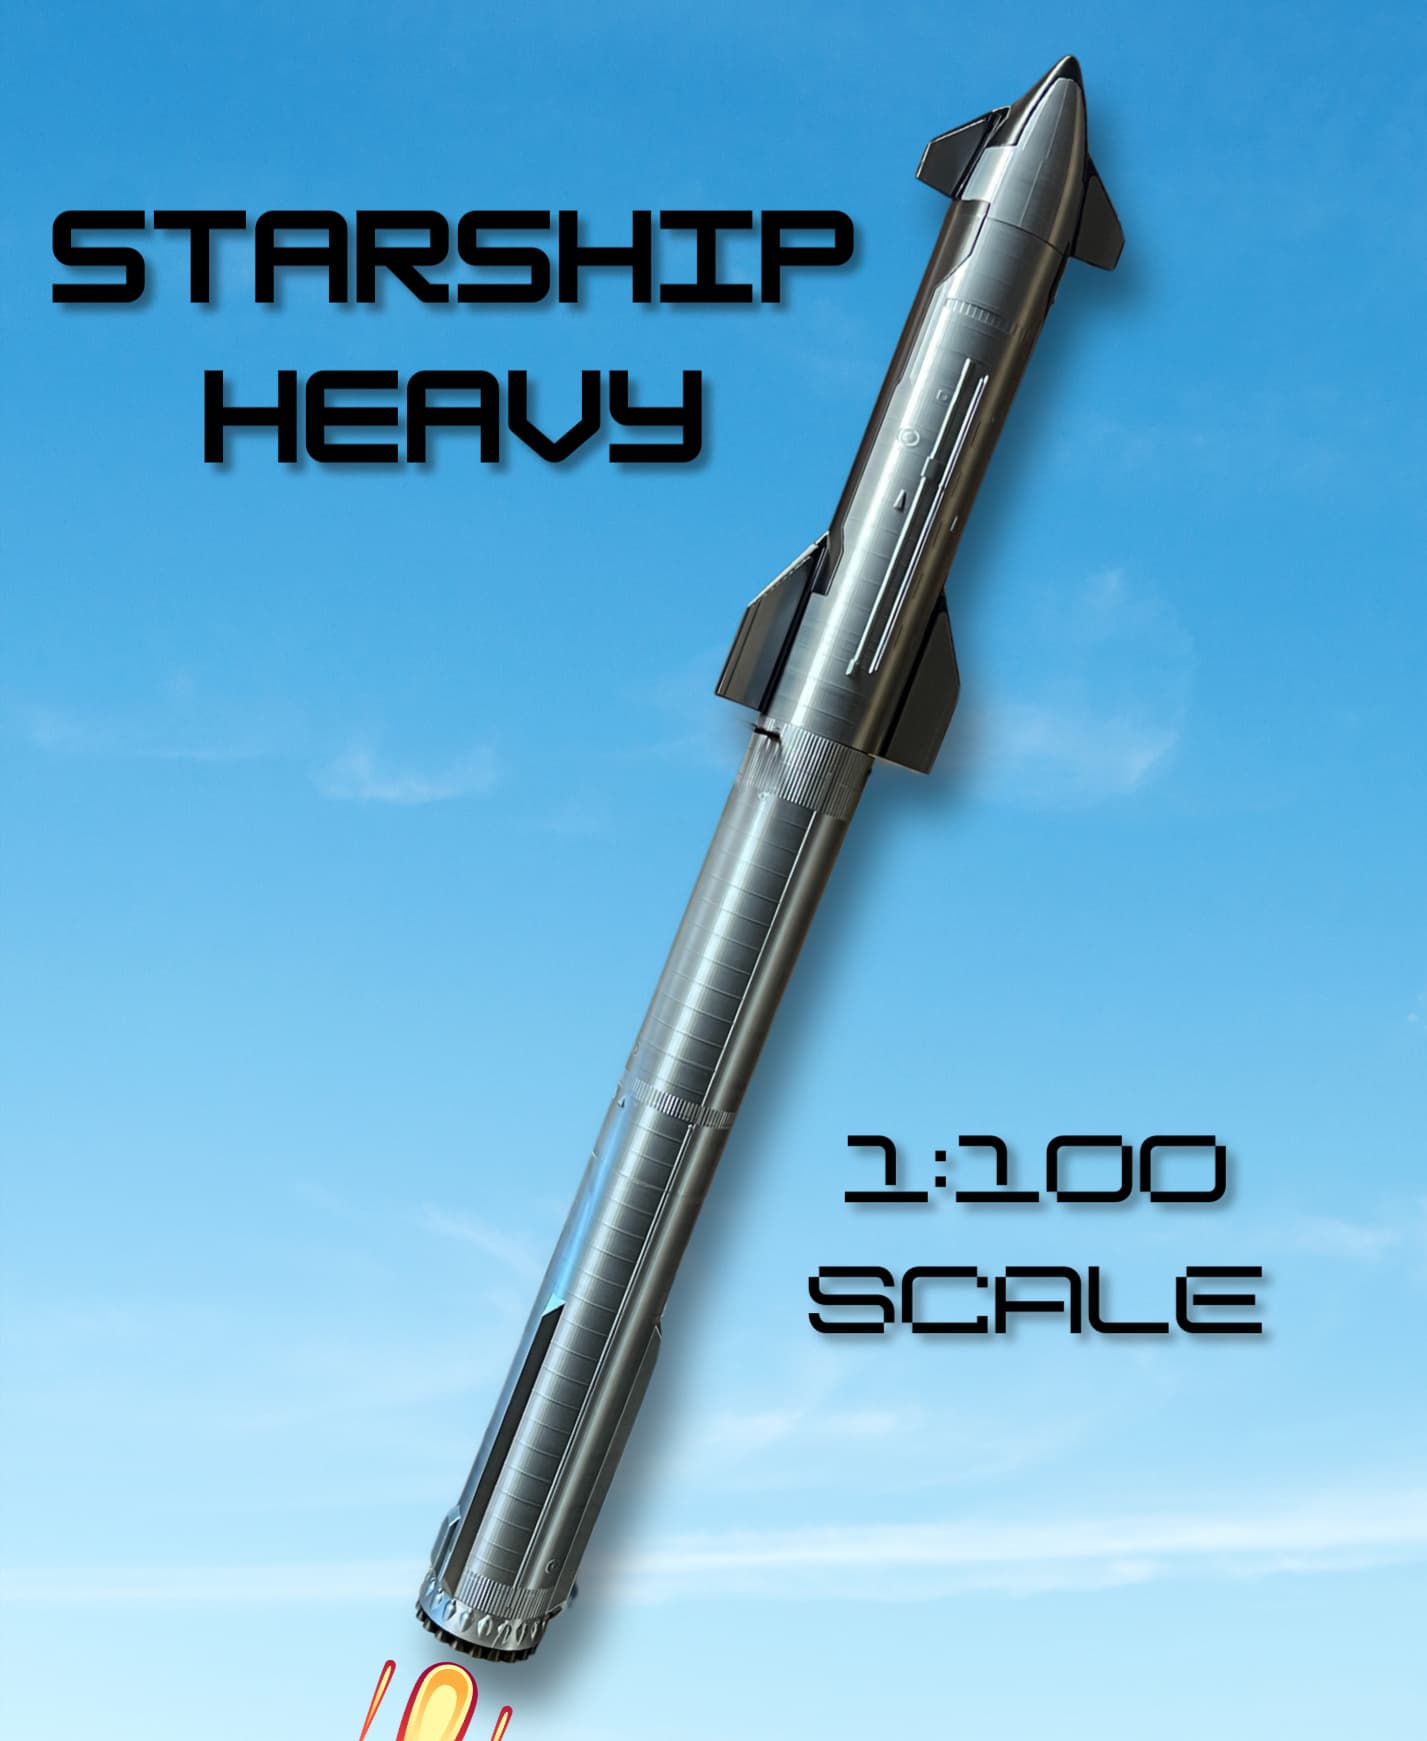
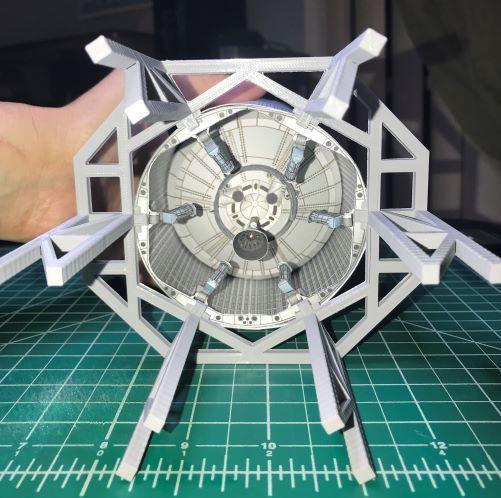
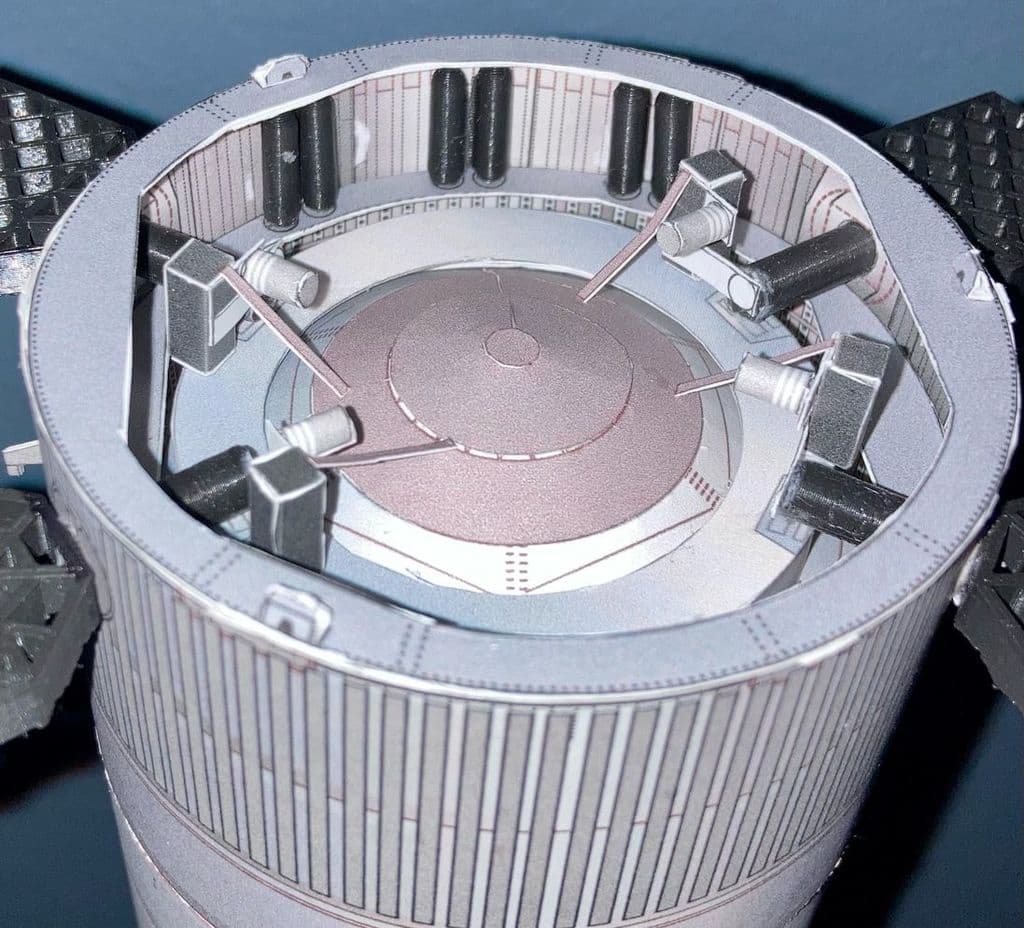
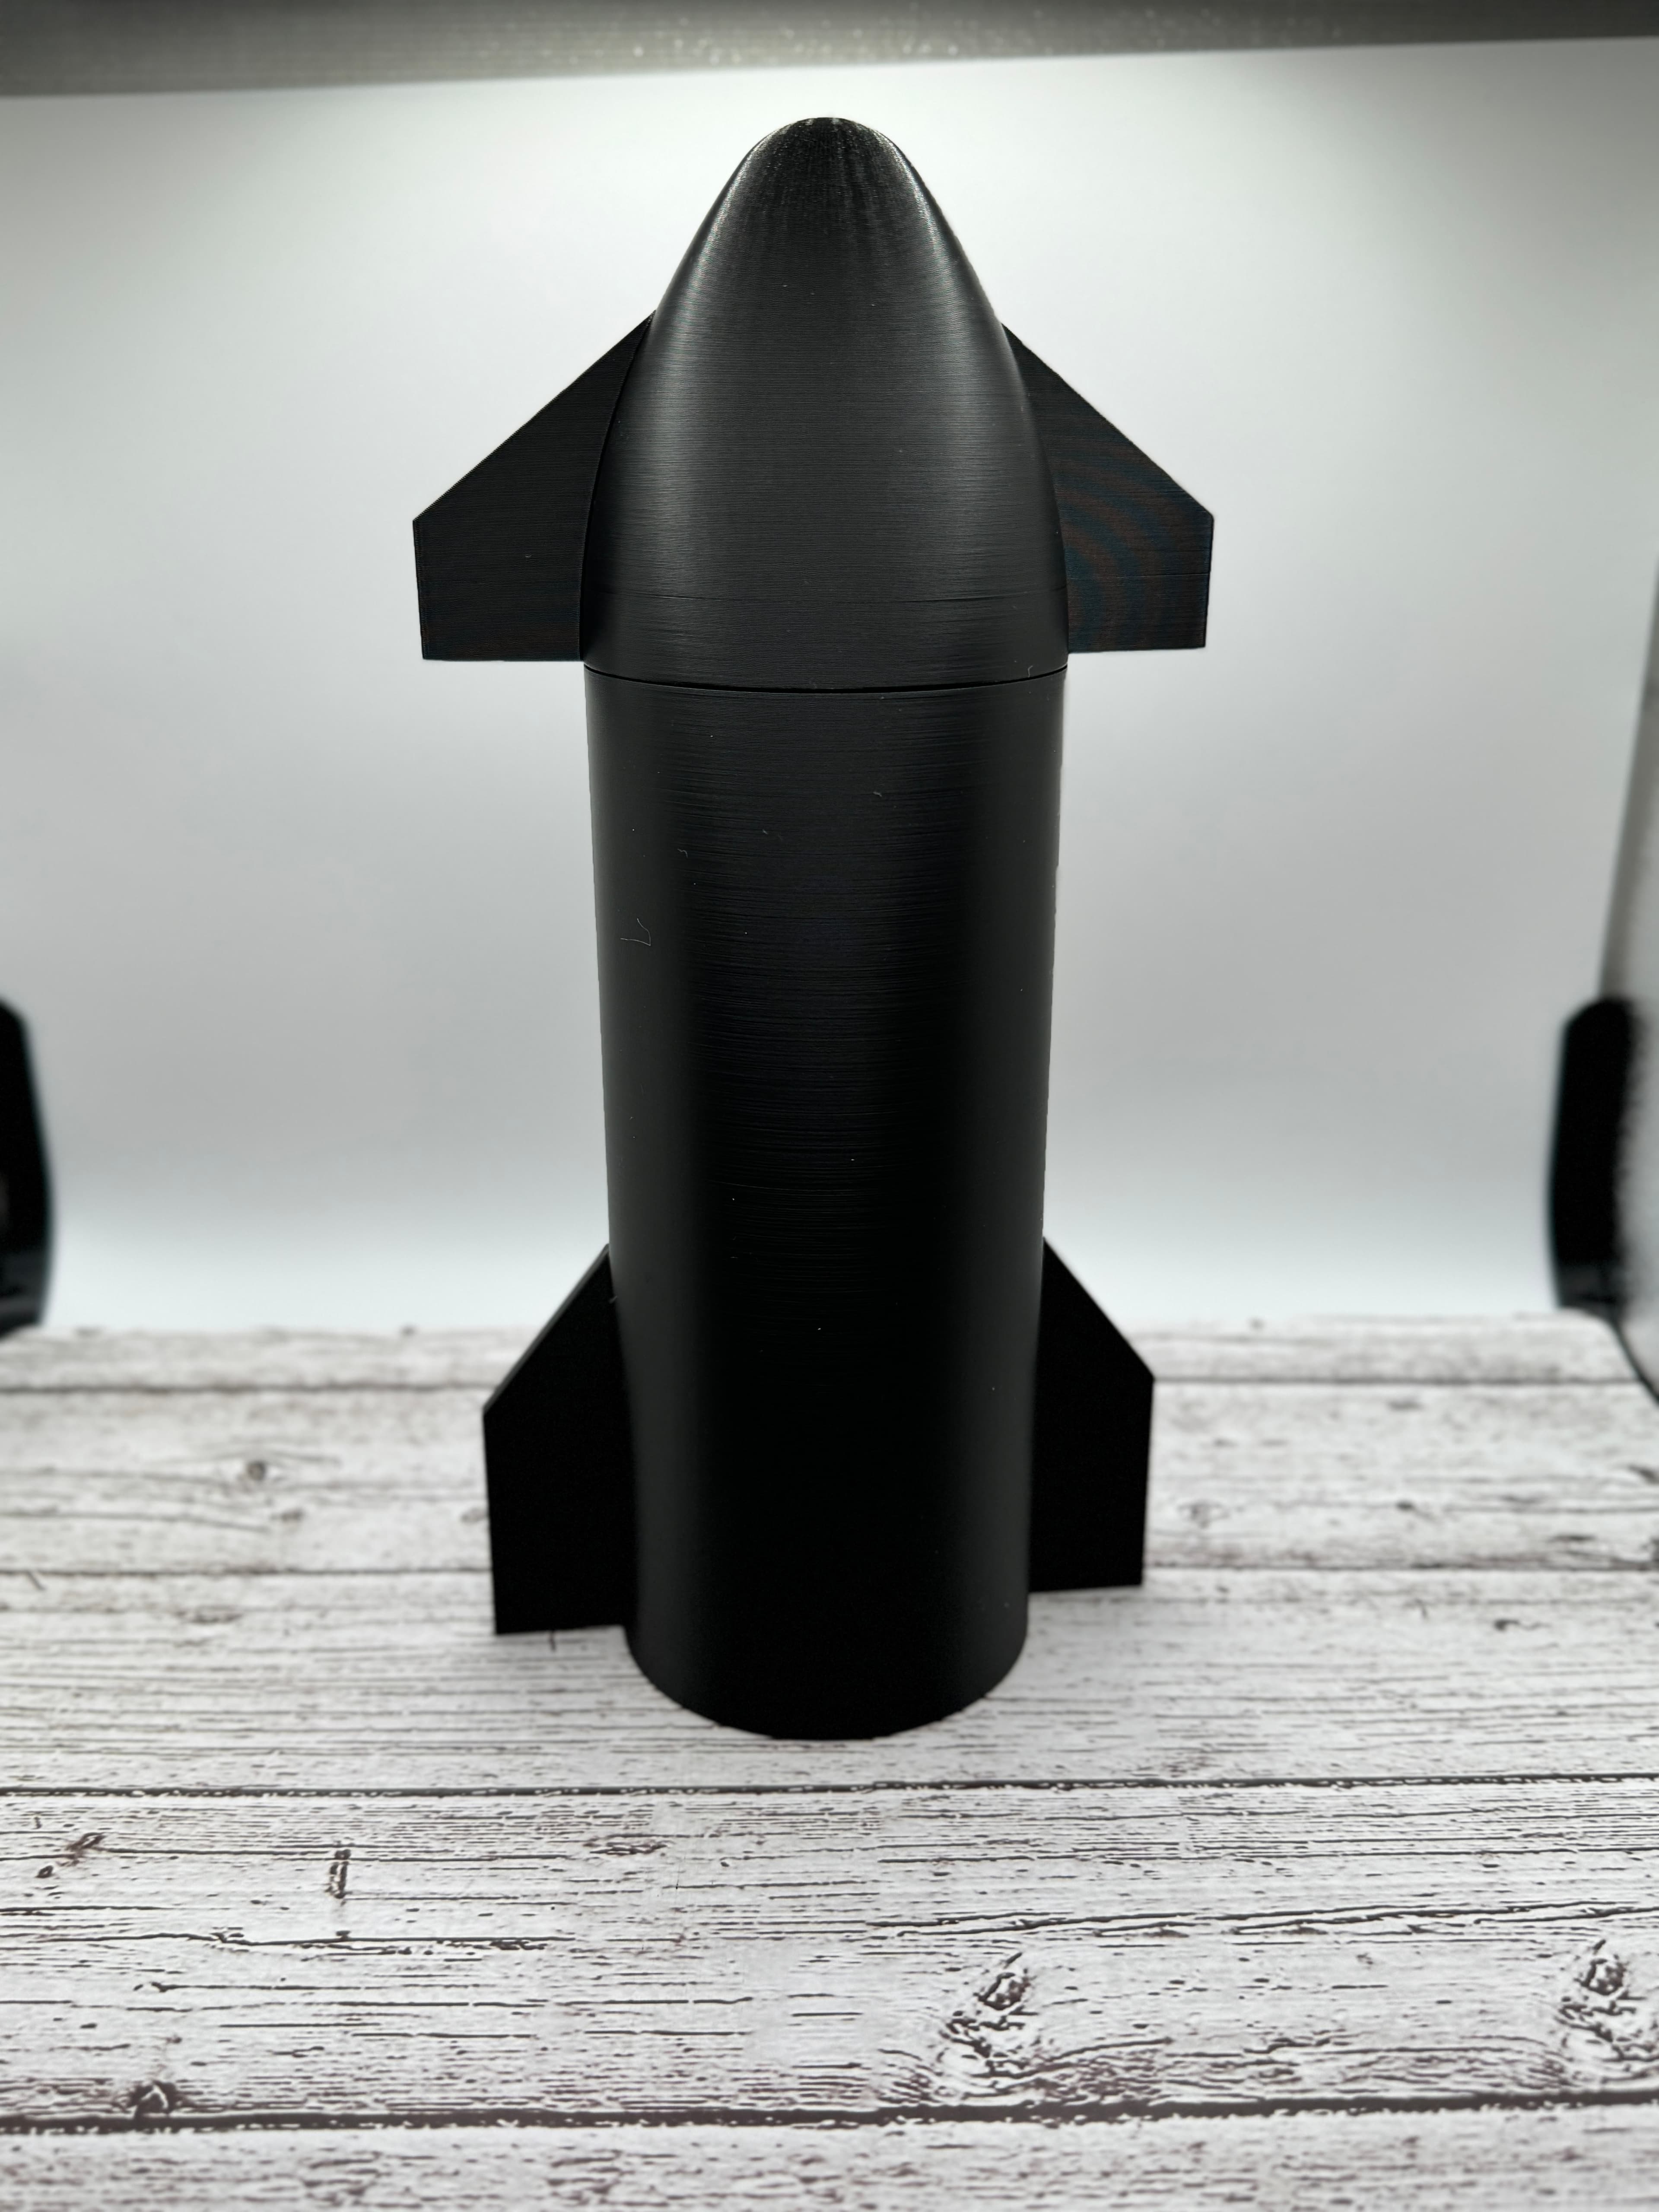
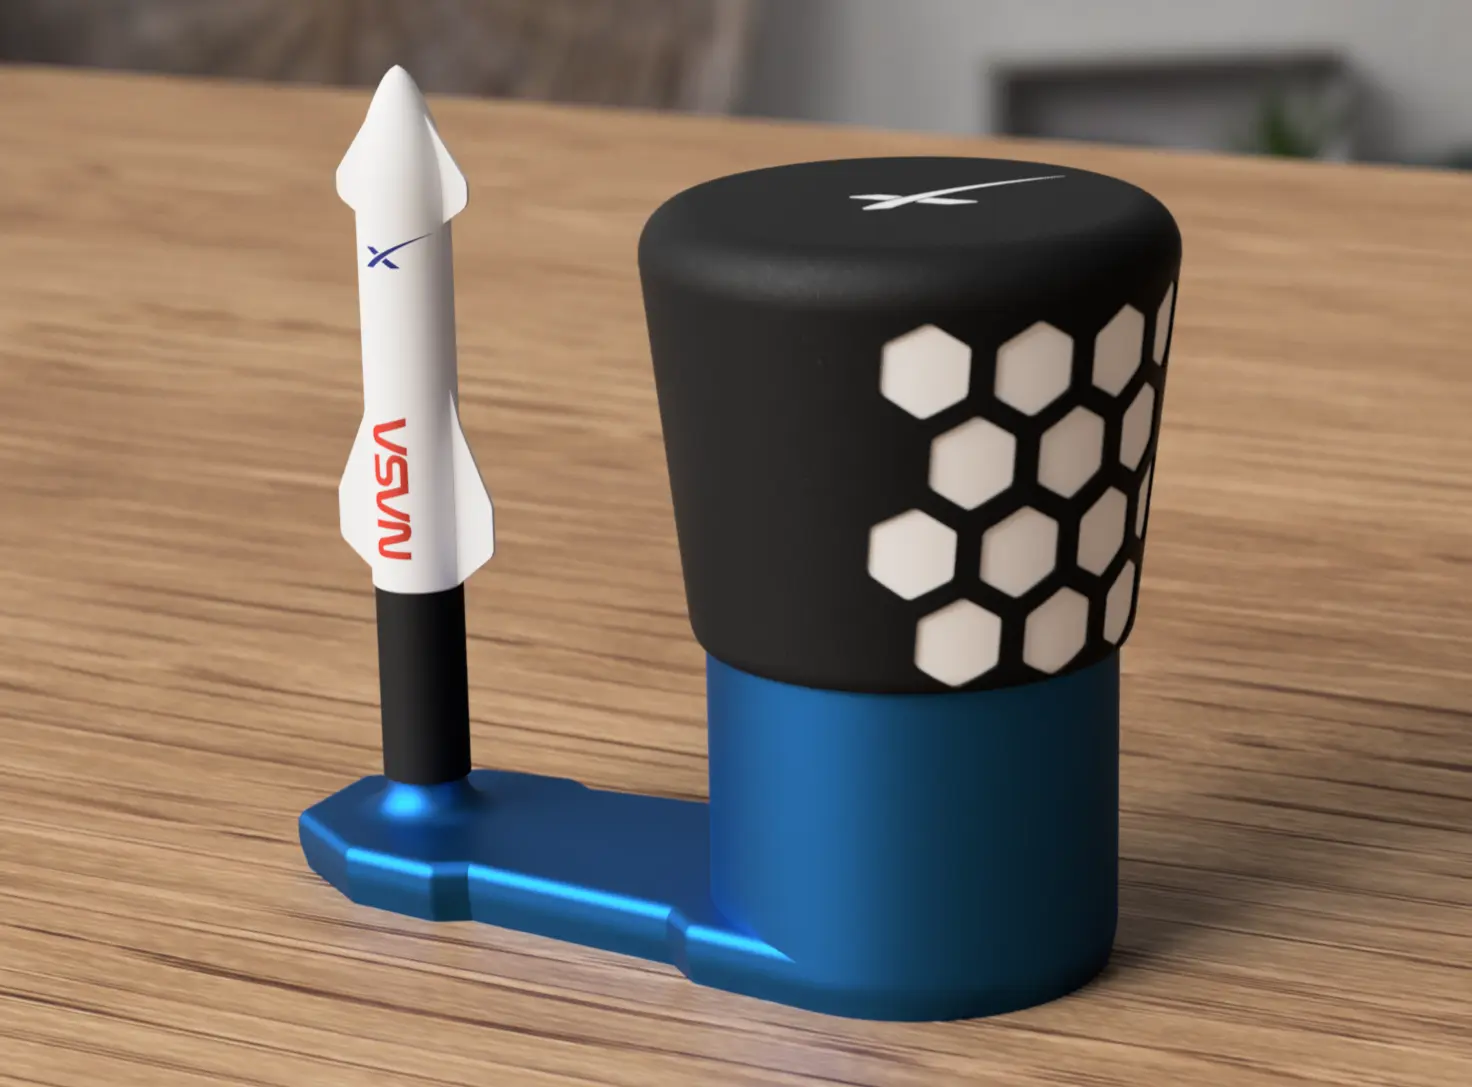
The SpaceX Ship “Starship S24" and Booster **“SuperHeavy B7"** model is a highl
Description The SpaceX Ship “Starship S24" and Booster “SuperHeavy B7" model is a highly detailed 1:200 scale reproduction of the rocket currently under development for SpaceX's space transportation missions. The model consists of several pieces printed separately, which are easy to print and assemble.
Dimensions The finished model dimensions are approximately 25cm high and 9cm wide for the Starship S24, and 35cm high and 8cm wide for the Booster B7.
Printing
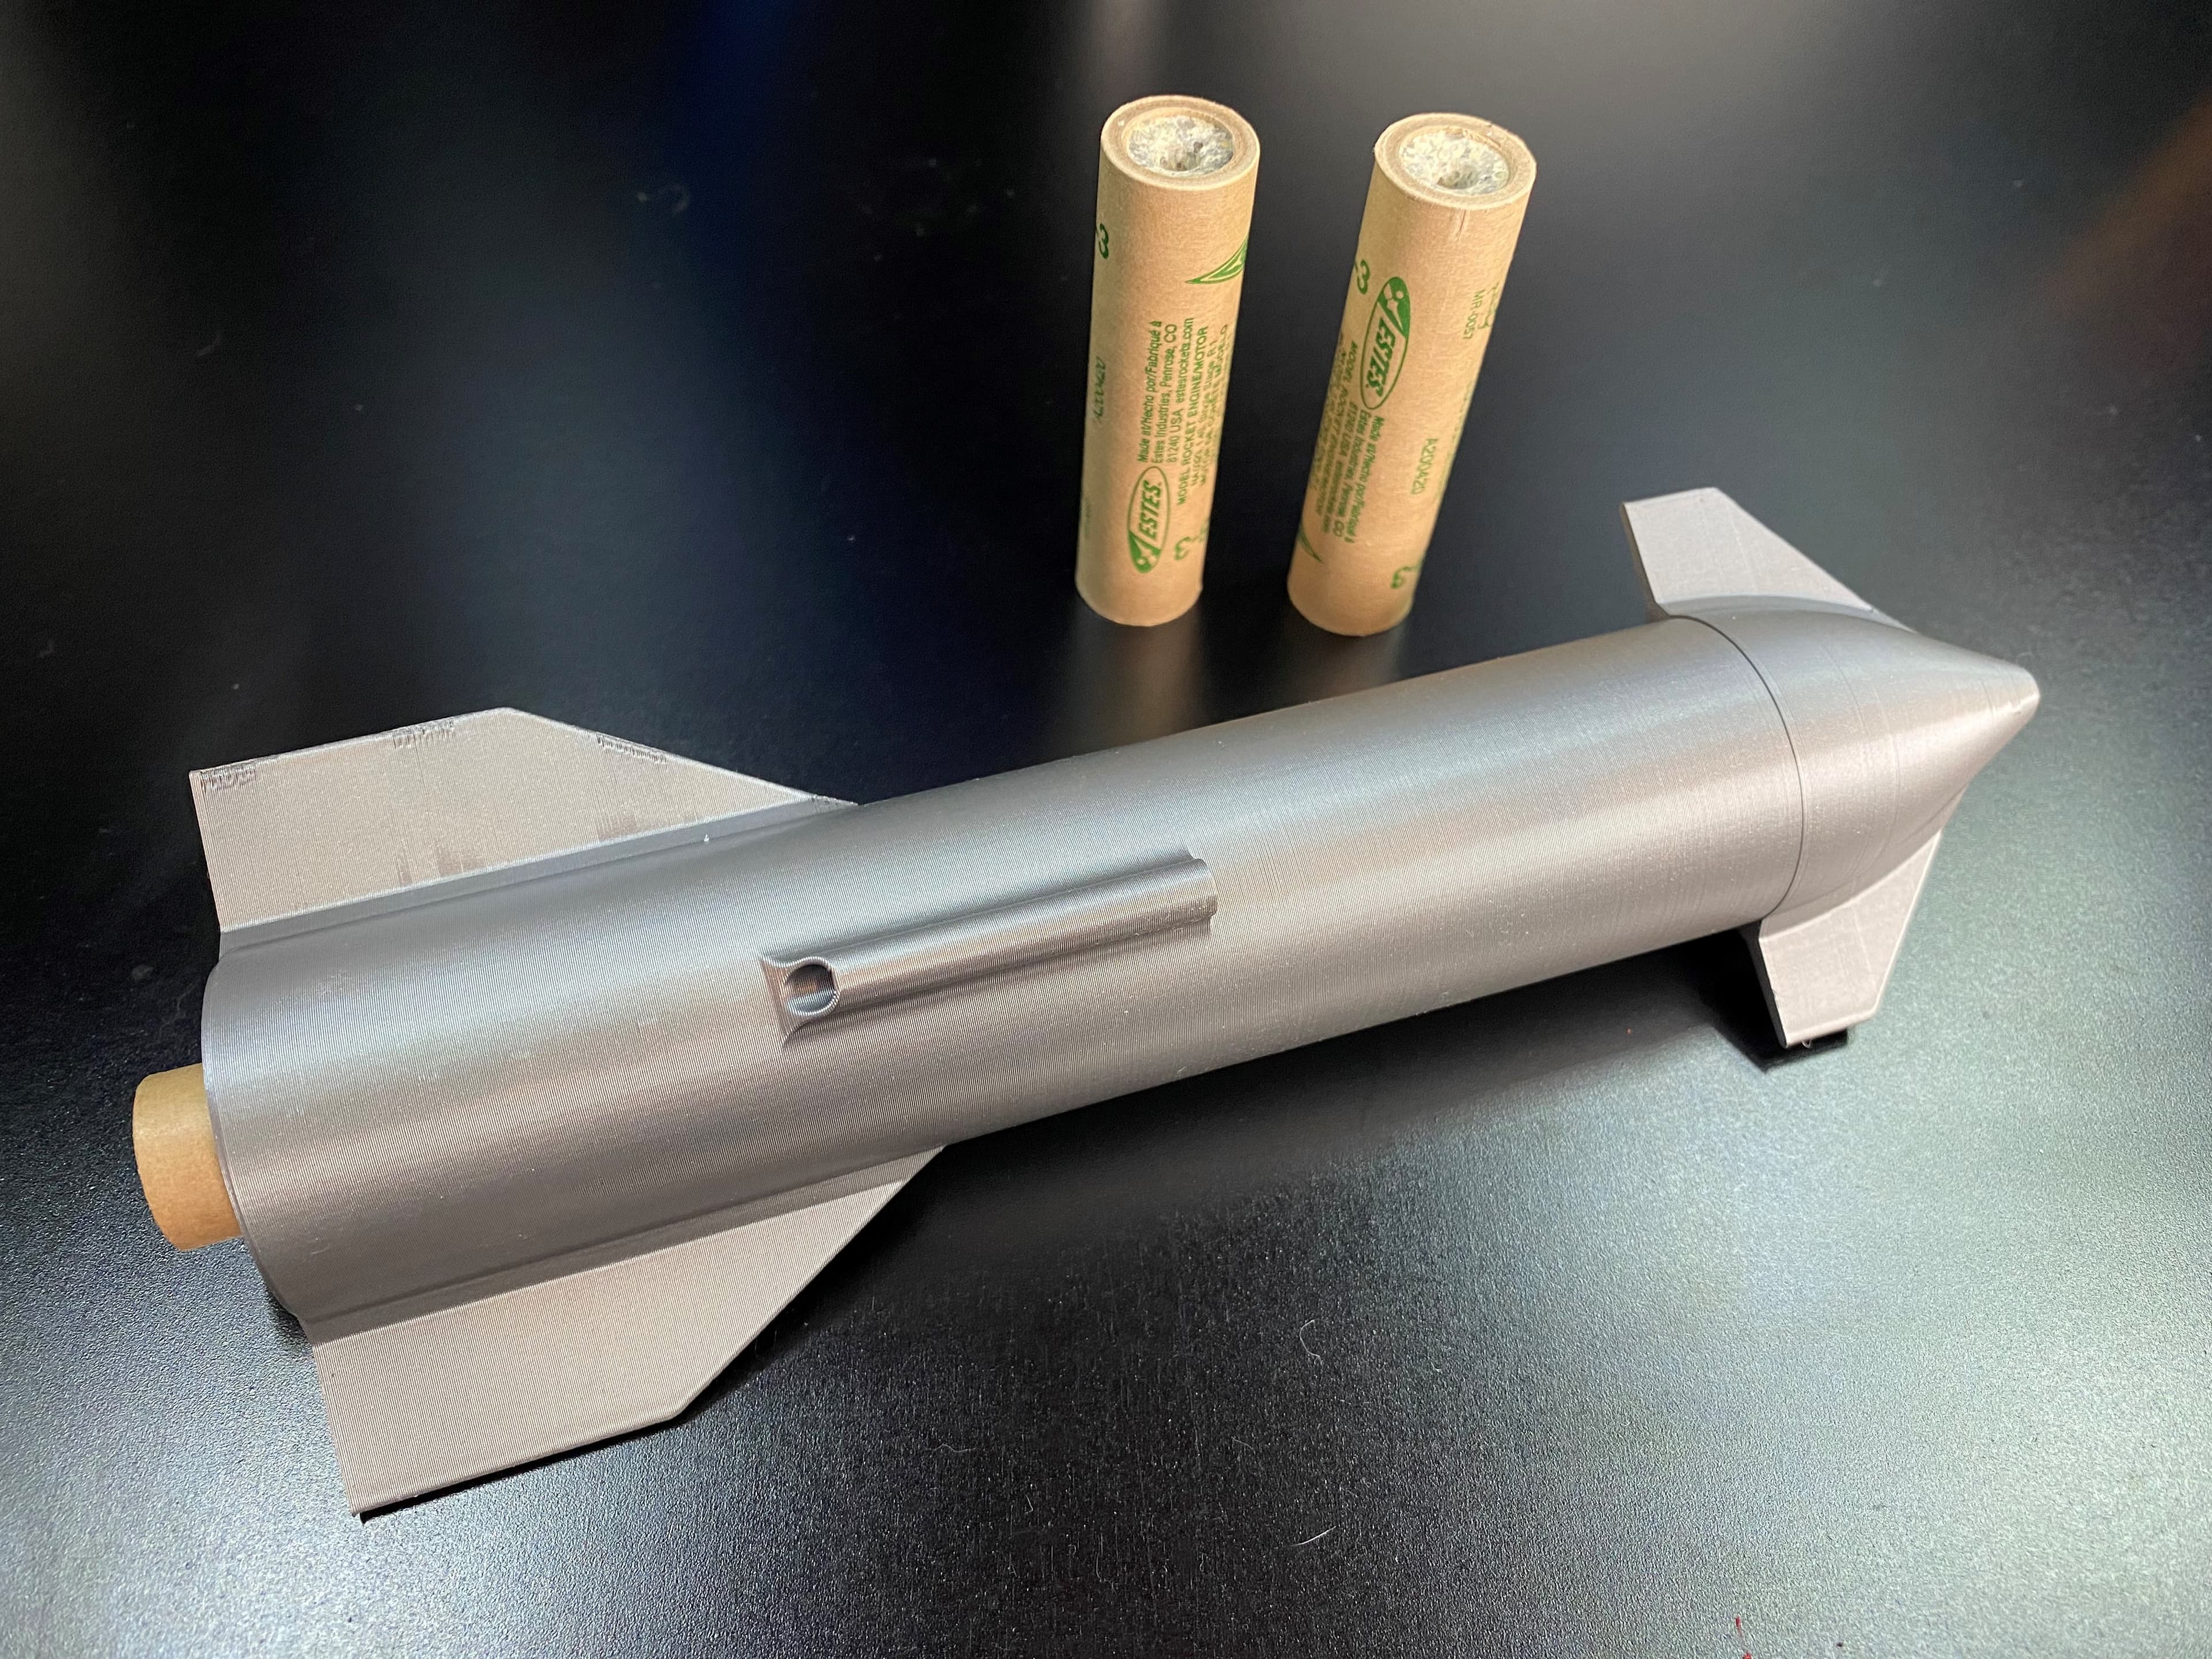
- There are 31 pieces to print, including 13 pieces for the Starship S24 and 8 pieces for the SuperHeavy B7 booster.
- The total printing time for the entire model is approximately 30 hours.
Choosing your base configuration There are multiple configuration options available for this model, depending on your printing and assembly preferences. More help in the assembly and printing guide.
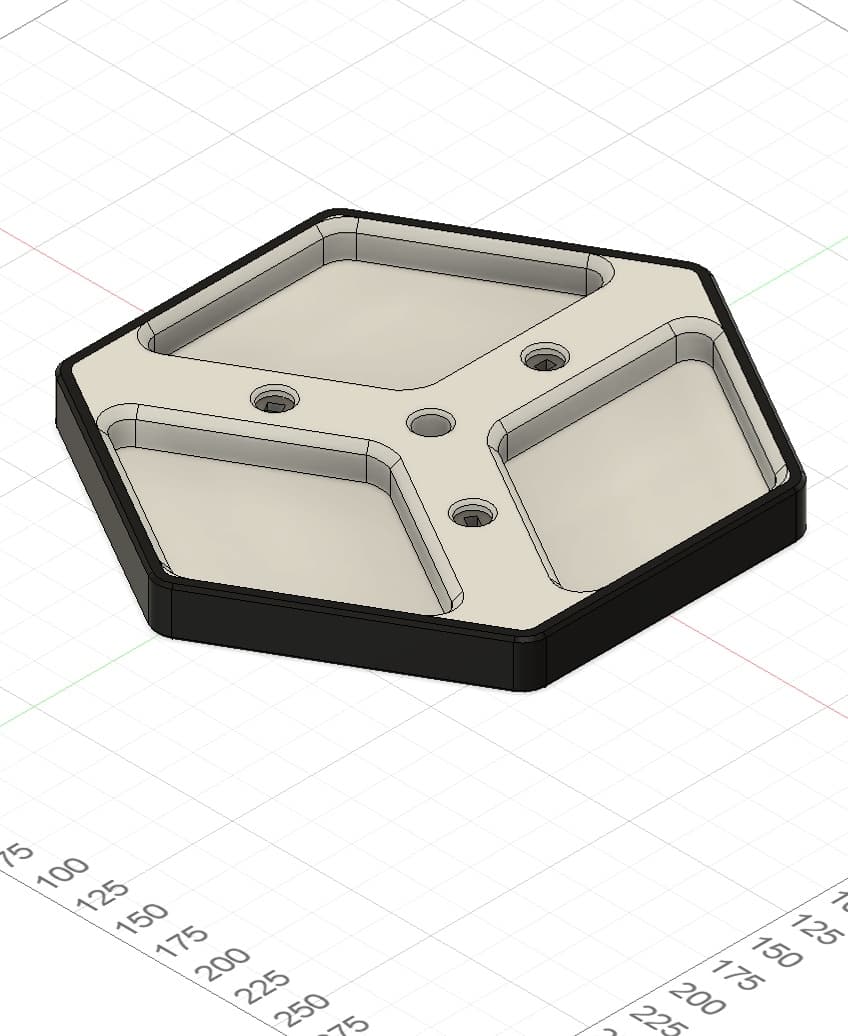
Assembly configurations- Complete assembly of the model with the "Base_Stack_Black" stand
- Two-part assembly with the Starship on the "Base_V_SS_Black" stand and the SuperHeavy on the "Base_V_SH_Black" stand for a more dynamic display. Whatever your choice, the model is easy to print and assemble.
Settings
- For infill, 10% is sufficient for a decorative object, and you can also use PrusaSlicer's "Lightning" infill settings.
- For some parts, supports will be necessary.
Printing
- For a better final result, I recommend printing the Jonction_Block last so that you can adjust their size according to your print and have a better fit during assembly. If some parts are loose or don't fit, you can change the scale by +/- 1% in the slicer to get a better fit.
- The parts are positioned in the optimal direction for printing.
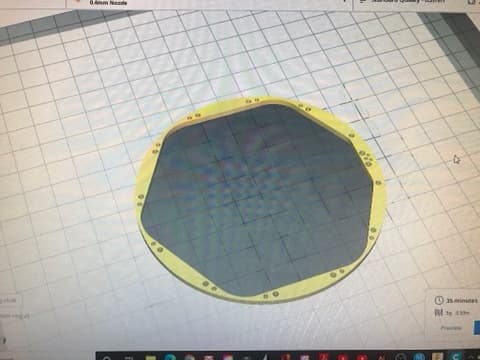
- For the base, it is recommended to print with 4 perimeters to avoid visible infill.
Post Printing
- You may need to sand the junction areas between the parts for a smoother finish. Additionally, I recommend using glue for better strength and durability.
- Use the assembly guide for assembly and printing advice.

Starship super heavy booster 4
Starship coasters set
Starship Model Rocket with Heavy Booster Stage

SpaceX- Starship Cargo

SpaceX Starship Launch
Starship SN stand
Starship SN5 engine bottom ring
Starship COPVs
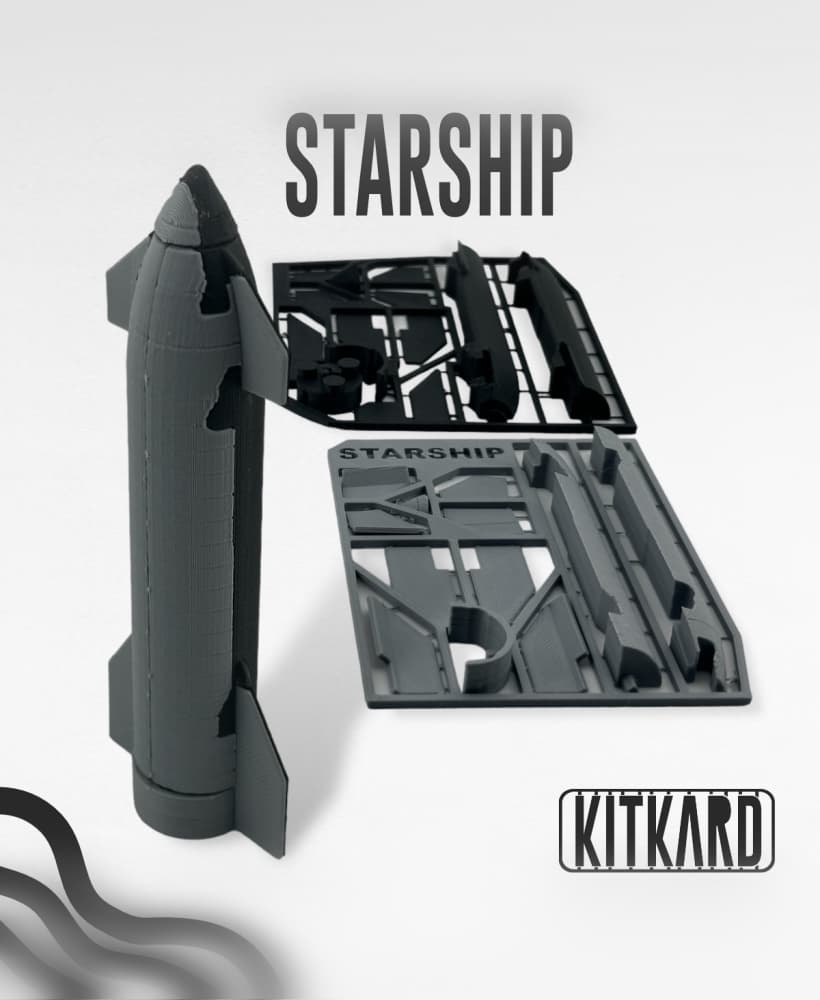
Starship rocket Kit card
Starship Container
SpaceX Starship Heat Tile

SpaceX Starship Crew

J-Type 327 Nubian Royal Starship - Star Wars
Starship Model Rocket
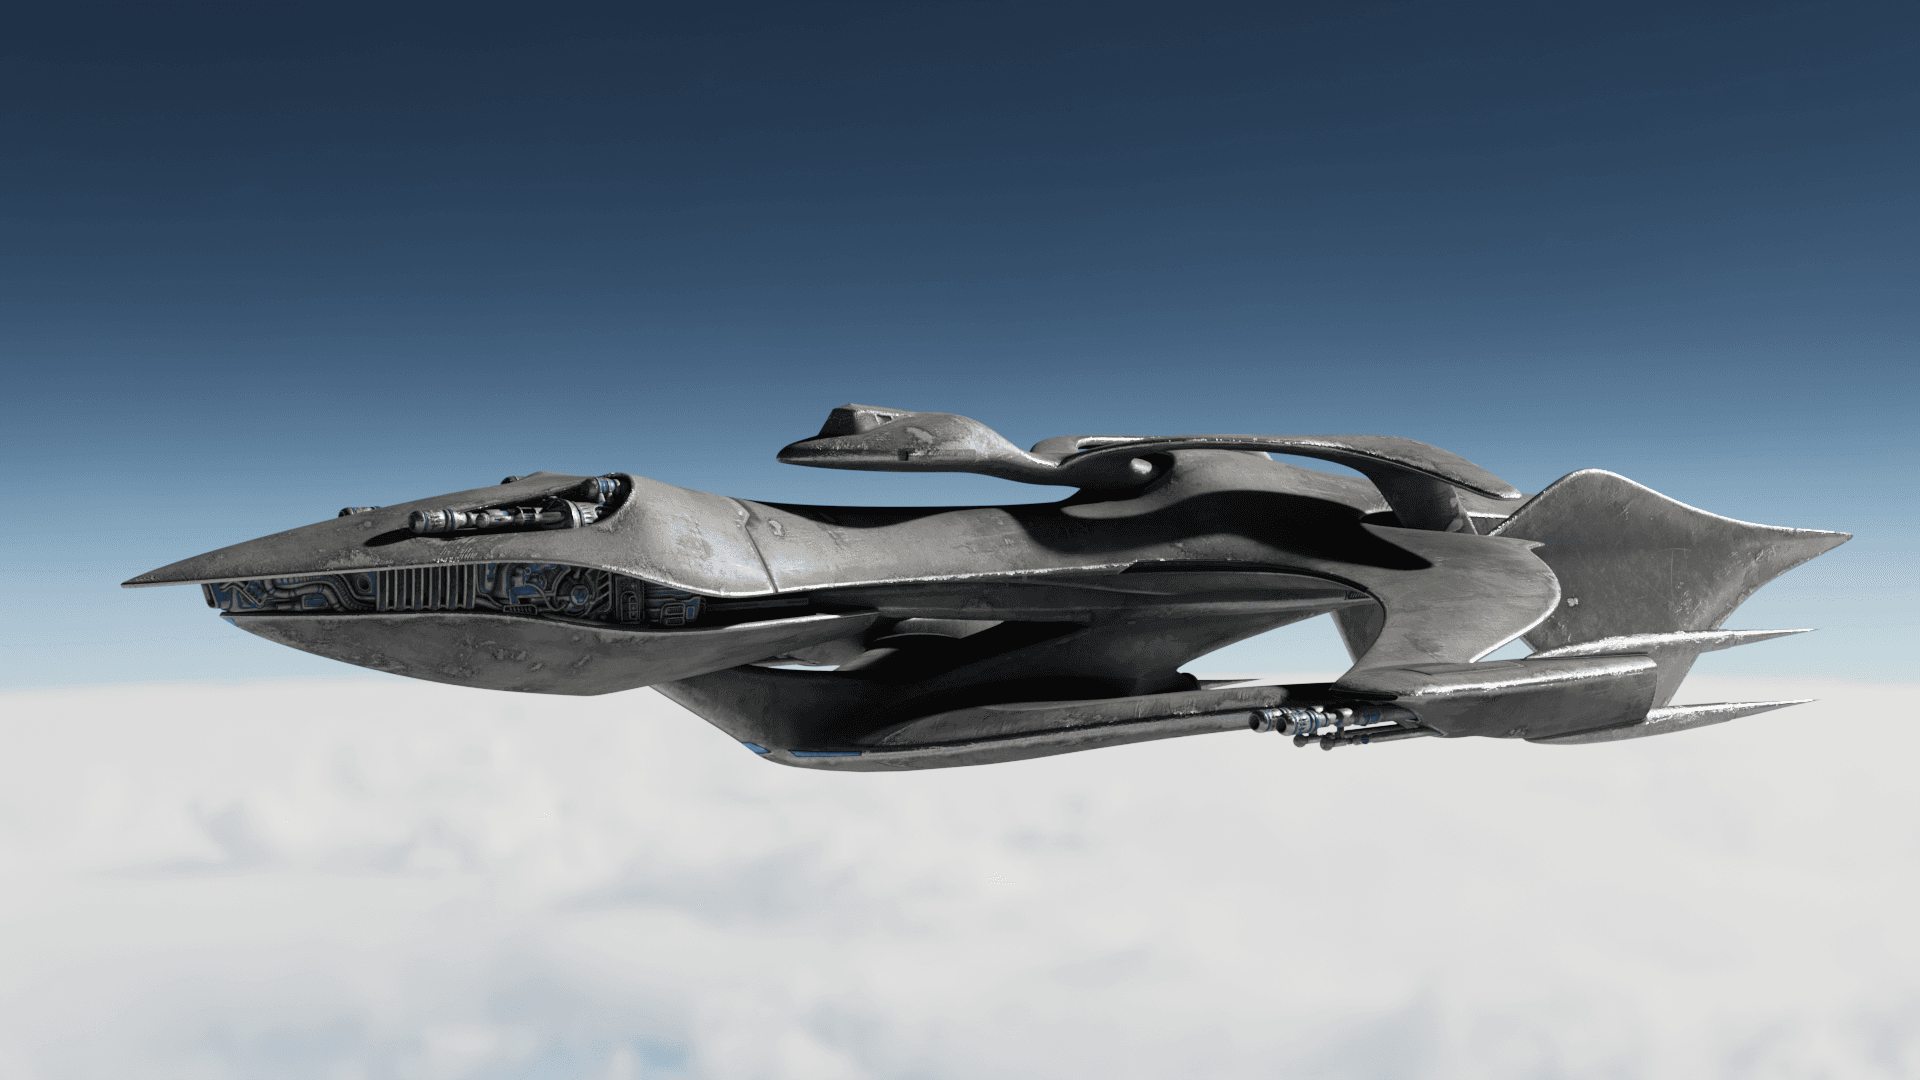
PROJECT MANTARAY STARSHIP FOR 3D PRINT

Starship Pilot

Space X Starship! (No Need for AMS, Supports!)

Starship EnterPies
Starship Stomp Rocket Launcher SpaceX
This is an awesome model. Thank you for sharing!
You do really awesome work .Thanks