
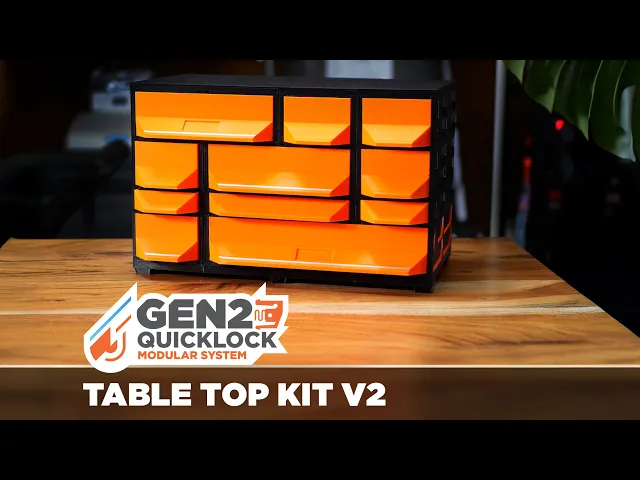
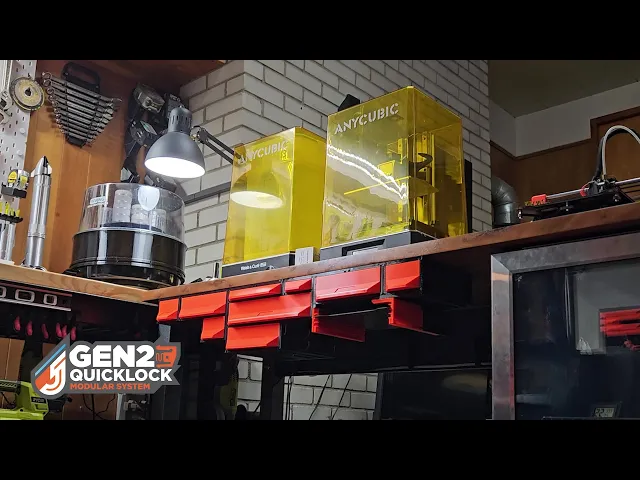


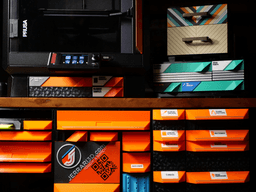

GEN2 115 Tabletop Starter Kit
Building your GEN2 115 Tabletop Starter Kit
Pick your build
Two layouts share the same parts, only the quantities change. Print the 3-drawer build to get started, or go straight to the 5-drawer.
2W-2H · 3 drawers · 39 printed parts · 11 assembly steps
176 × 140 × 144 mm
Open the 3D build guide →
3W-2H · 5 drawers · 63 printed parts · 13 assembly steps
264 × 140 × 144 mm
Open the 3D build guide →
The 3W-2H build staggers its covers and foot rails brick-style. Slightly more advanced, and it shows you exactly how runs extend sideways without limit · pens, cables, tape and small tins across three columns.
Each guide opens in your browser · rotate the build, step through the assembly, change filament colours to match what you have loaded, and export the parts list as CSV. No sign-up, nothing to install.
Before you start
Print your cases and drawers first. The table top kit is the base and lid that go around them, so it helps to have the stack itself ready.
For a 115 build you will need, per column width:
- 1x Foot Rail Lower and 1x Foot Rail Upper
- 1x Cover Lower and 1x Cover Upper
- 4x TPU feet per 1W
Step 1 - lay out the base
Set the Foot Rail Lower pieces end to end, matching the width of your bottom row. Two 1W rails cover the same span as one 2W.
Step 2 - lock the base
Press the Foot Rail Upper pieces on top. If your run is wider than 2W, offset the seams so they do not line up with the seams below. That stagger is what makes the base rigid.
Why there are two layers. On a 1W or 2W build both pieces look like the same part, so this is the question that comes up most. The lower piece is the working half: it carries the dovetails that grip the cases, and on the cover it also holds the slots your drawer stoppers drop into. The upper piece locks everything in place and takes the load.
On a run wider than 2W the two layers stagger like brickwork, so the seams never line up and the base and lid each become one connected piece instead of separate tiles sitting side by side. That is what stops a wide build from flexing at the joints.
Step 3 - fit the feet
Snap the TPU feet into the underside, four per 1W. Store-bought adhesive rubber feet work too if you would rather not print them.
Step 4 - build your stack
Slide your bottom row of cases onto the dovetails on the base, then stack upward as normal.
Step 5 - cap the top
Slide the Cover Lower onto the dovetails on top of your highest row. Drop in drawer stoppers now if you want them, the slots are in this layer.
Step 6 - finish it
Press the Cover Upper on, staggering the seams the same way you did on the base. The top is now a flat finished surface you can set things on.
Optional - make it permanent
One M3 x 12mm screw and nut per 1W fixes the foot rails to the case nut slots. One M3 x 6mm screw and nut per 1W does the same for the covers. Neither is required.
Print settings
- Filament - PETG or PCTG, or PLA for a stiffer build
- Feet - TPU, printed slow
- Supports - none
- Walls - 3 to 4
- Nozzle - 0.4mm
- Layer height - 0.2mm
If something does not fit
Nearly always warping. These are wide flat parts and a lifted corner stops the dovetail sliding. Clean the plate, use adhesive or a glue stick, and keep the printer out of a draft. Brim ears at the corners help.
GEN2 115 Tabletop Starter Kit

GEN2 Wall Mount Brackets

GEN2 240 Foot Rails

GEN2 270 Foot Rails

GEN2 185 Foot Rails

GEN2 165 Foot Rails

GEN2 115 Foot Rails

GEN2 185 Cover

GEN2 59 Cover

GEN2 270 Cover

GEN2 240 Cover

GEN2 115 Cover

GEN2 165 Covers
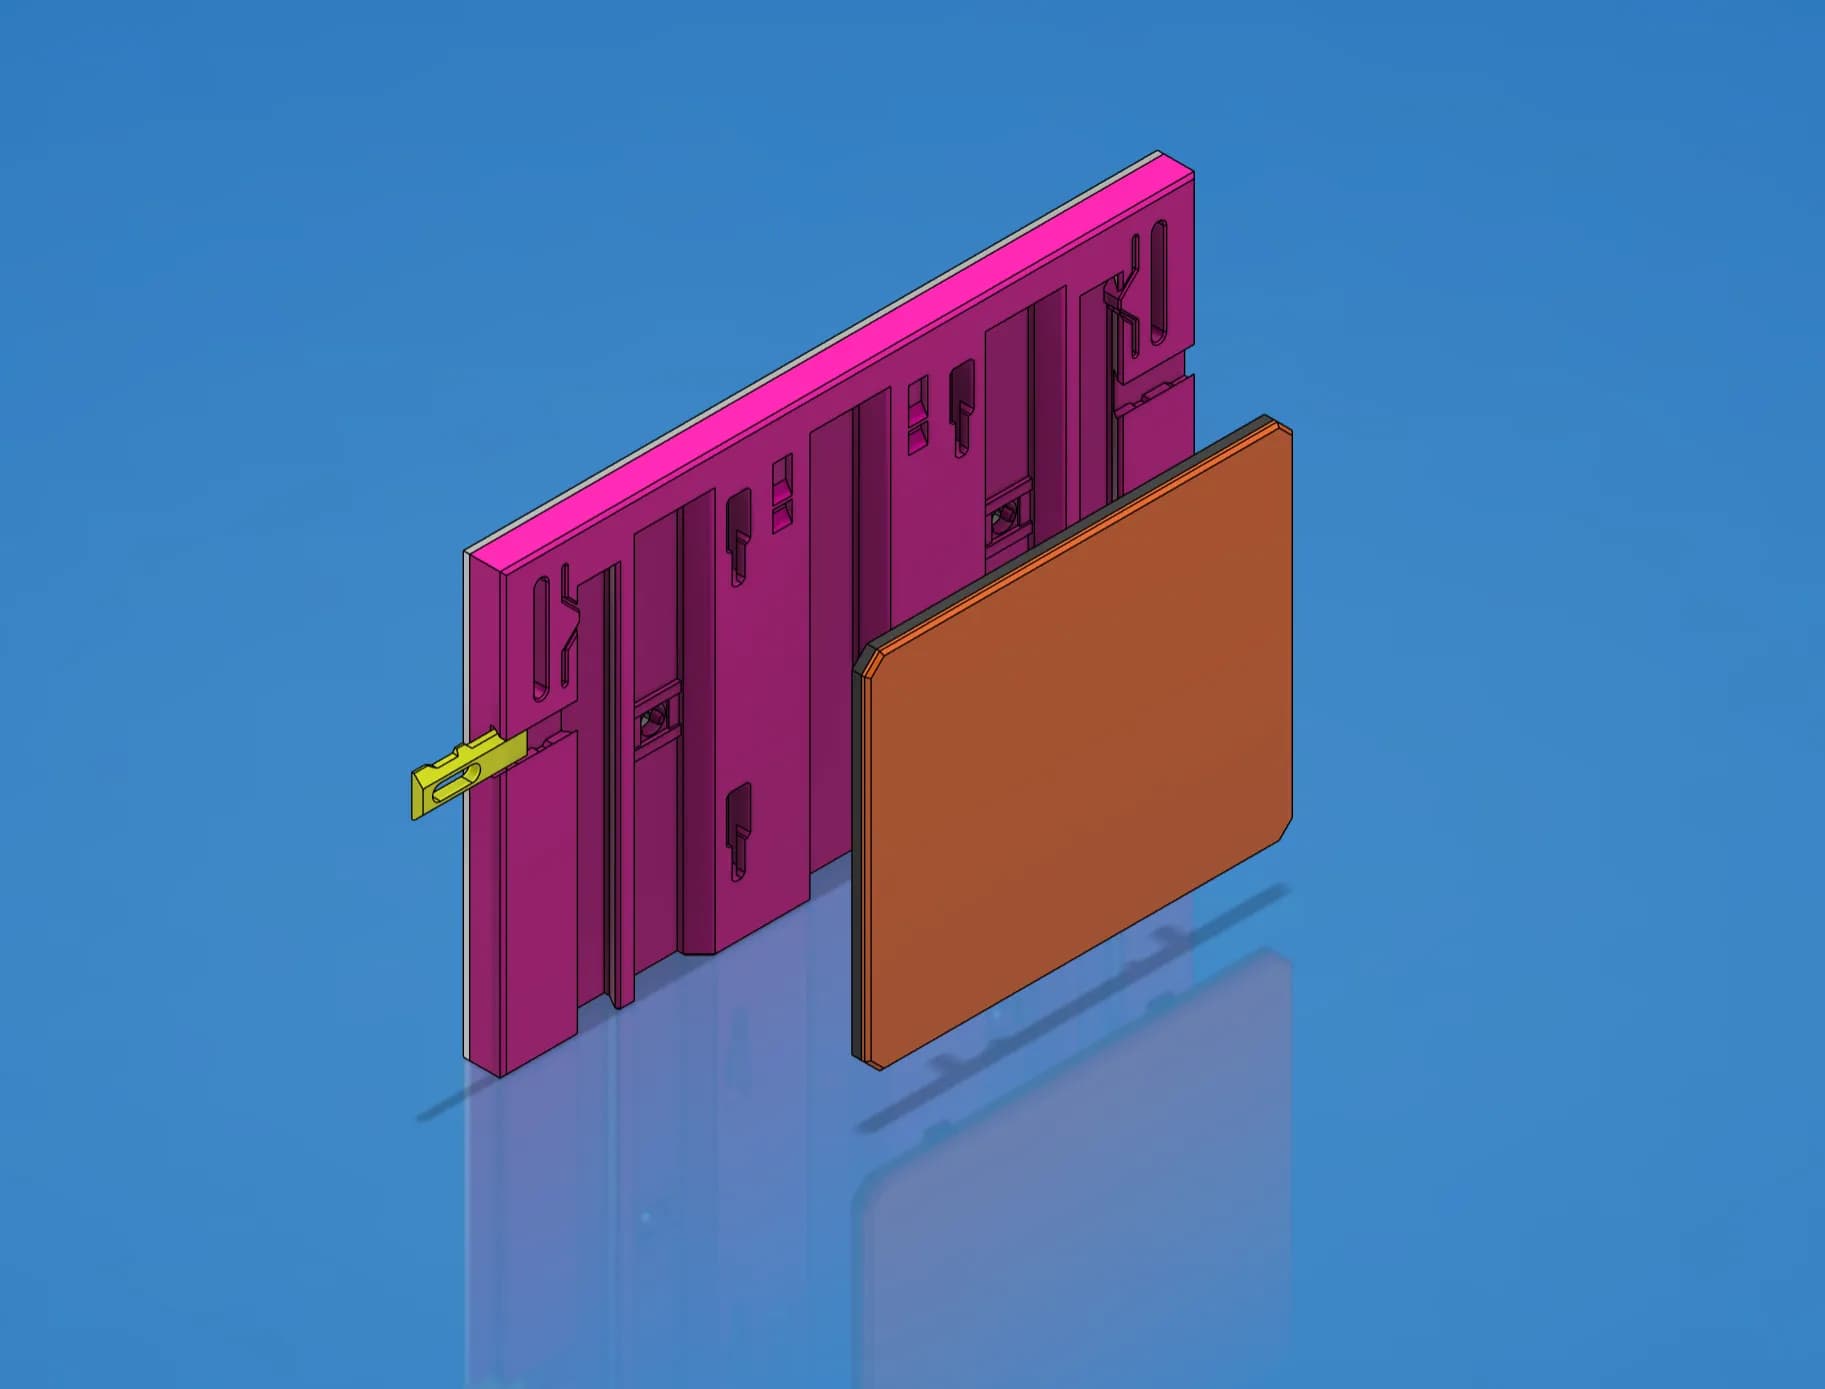
Faceplate Template - STEP/CAD Files (Essential Series)

GEN2 Cabinet Preview - Early Access

GEN2 59 Cases - All

GEN2 165 Cases - All

GEN2 185 Cases - All

GEN2 270 Cases - All

GEN2 240 Cases - All

this is smaller than the MINI is that intended?
Correct, and I agree the nomenclature can clash a little because of it. Mini was originally designed as "GEN2 Mini Edition" designed specifically to fit the bed size of the Prusa Mini and Bambu A1 Mini. As more drawer sizes were added it ended up where it is today, possibly in need of a revamped name.