


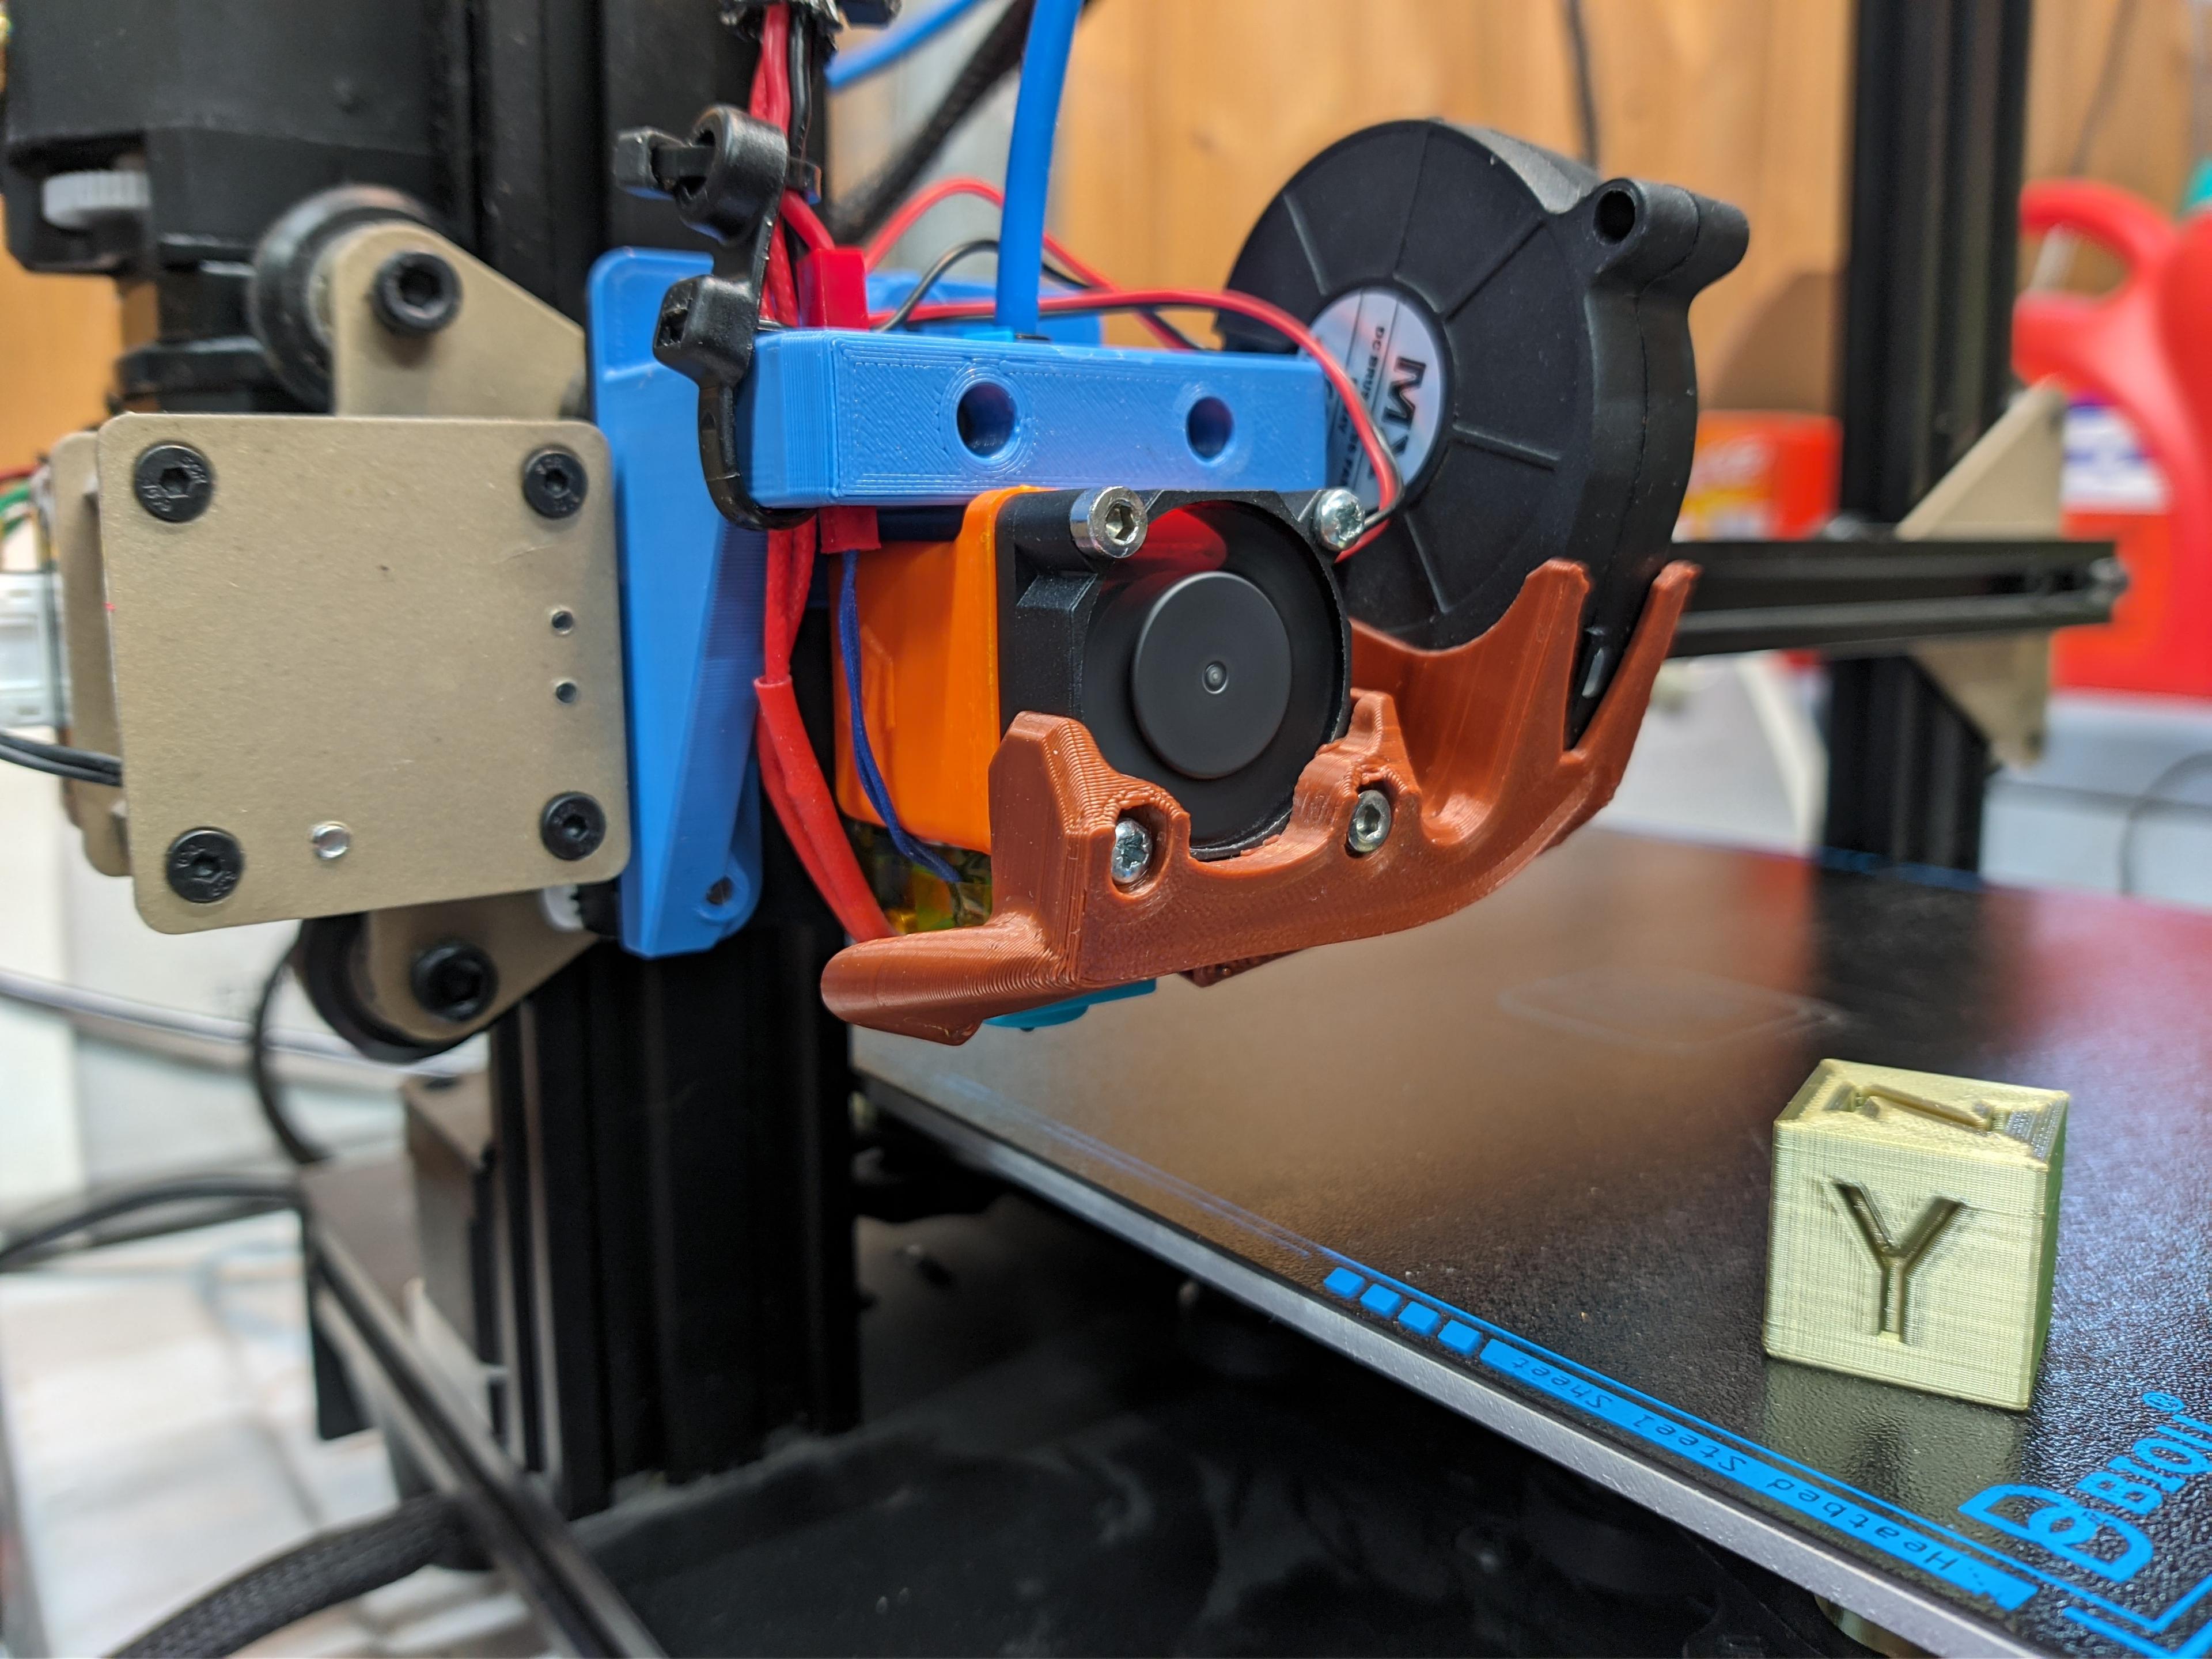
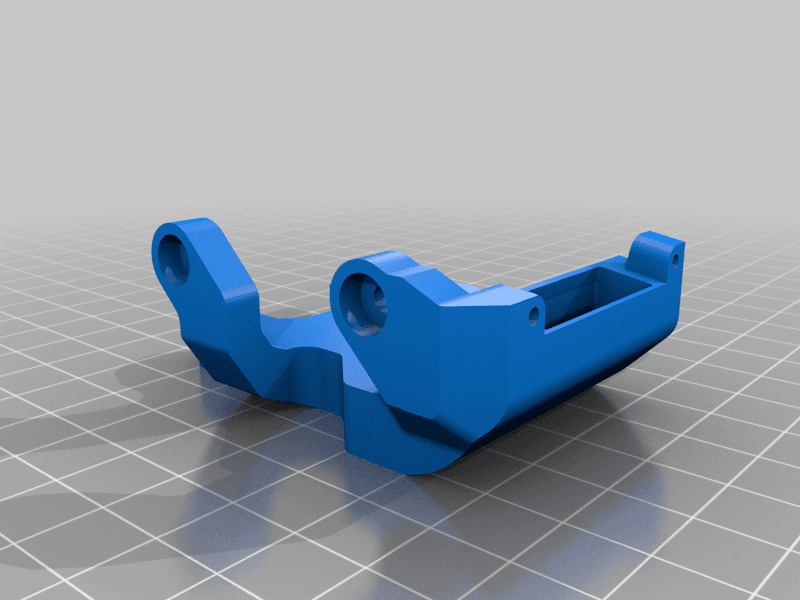
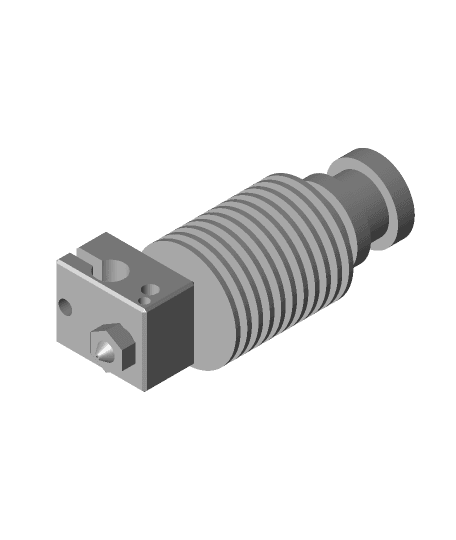
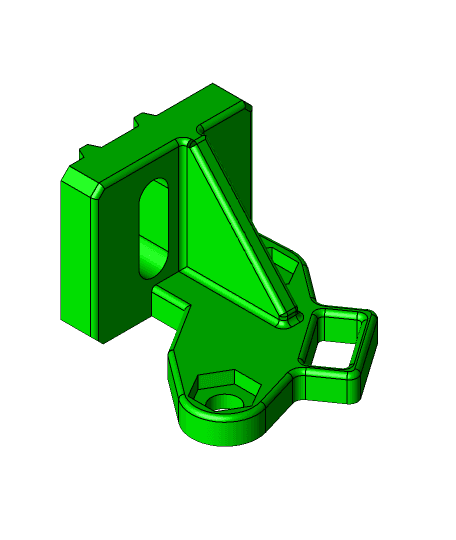
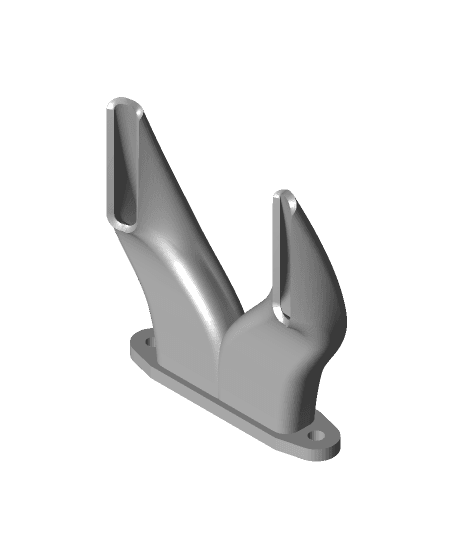
Simax3D IronM1 E3D Mount & Fan Shroud
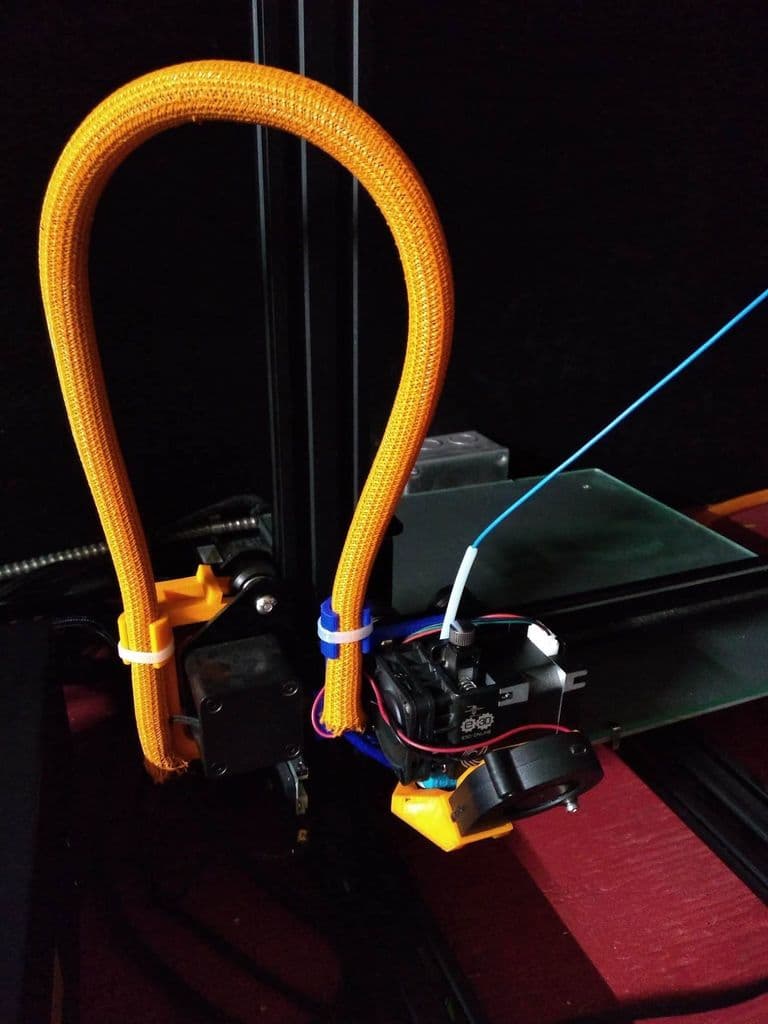
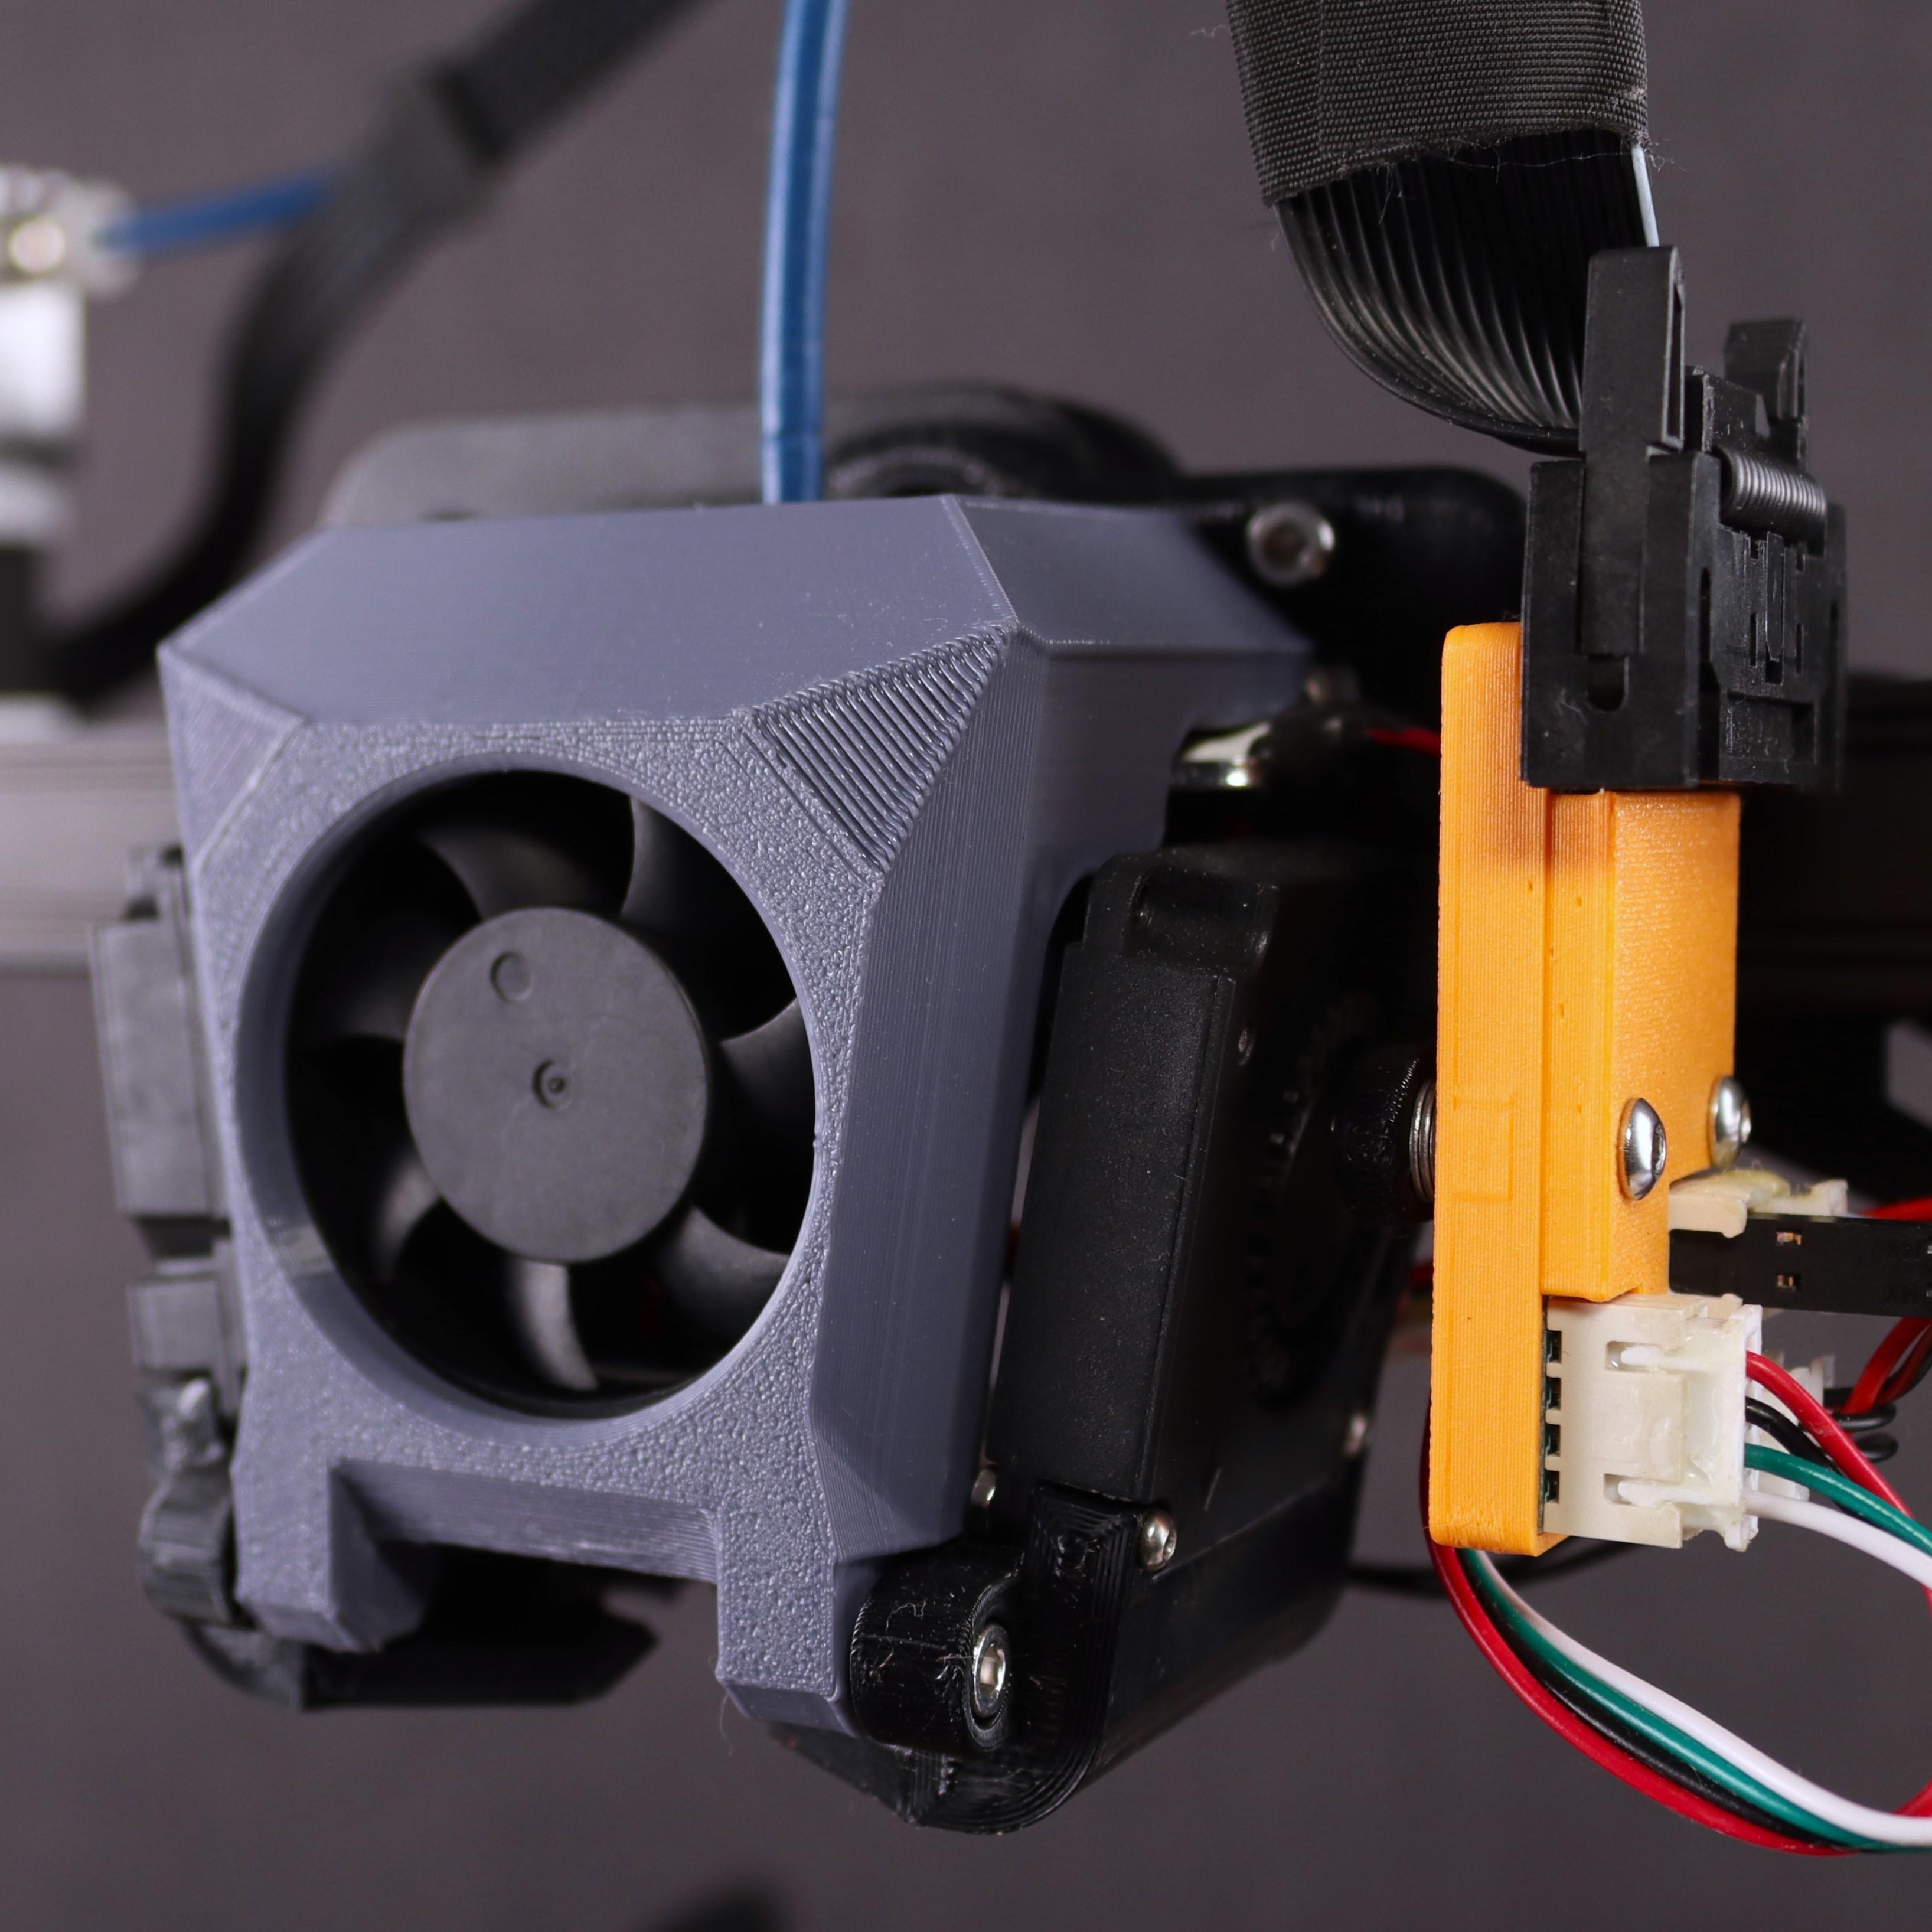
I've been printing ABS with my Iron M1, and having lots of problems with the draft caused by the E3D heat sink cooler. This new mount and shroud takes care of that, with a duct that directs the airflow to the side away from the heaterblock. I recommend using this part cooler: https://www.thingiverse.com/thing:2469775
Specifically the right hand 5015 blower model, which will fit perfectly.
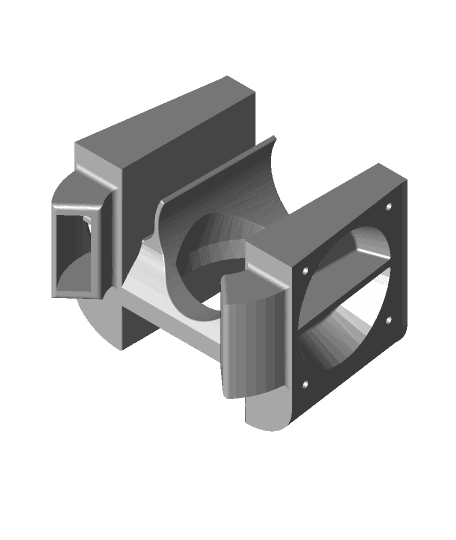
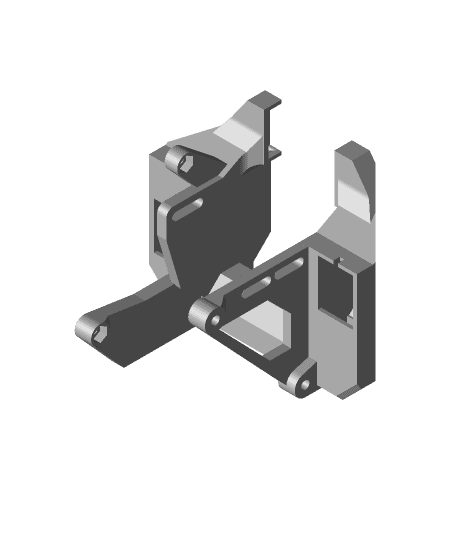
The "b" part needs to be printed front down, with support touching the bed. I recommend you don't support the holes, just the ears, and the slopes on the sides. The "a" part needs no supports.
This is designed for heat set M3 threaded inserts, up to 6mm long. You will need 7 of them to assemble.
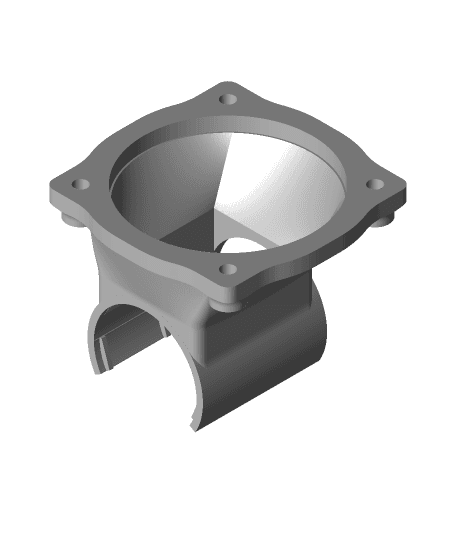
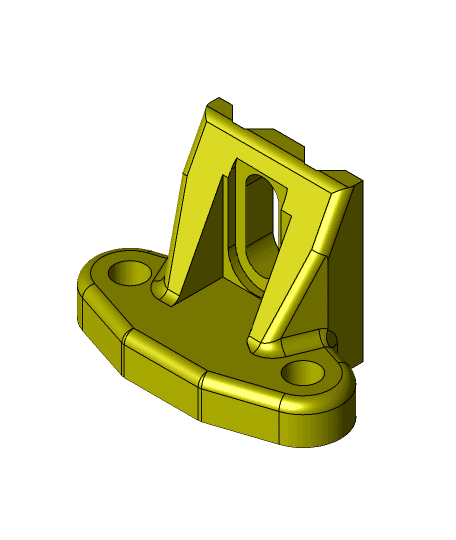
To ensure a better seal of the heat sink cooling chamber, you can wrap a layer or 2 of narrow kapton tape around the very bottom of the heatsink where it interfaces with the bottom of the shroud.
I recommend test fitting the heatsink and hotend before assembly. Ensure when assembled there is no wiggle of the heatsink at the mount. If there is, gently sand the mating surfaces, test fitting while you do this, until you have a snug fit, and reasonable seal of the heatsink chamber.
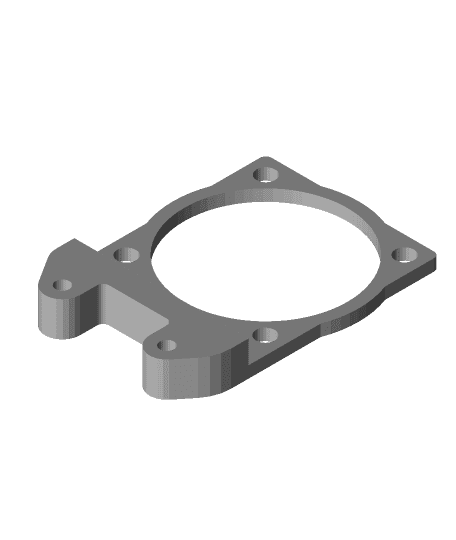
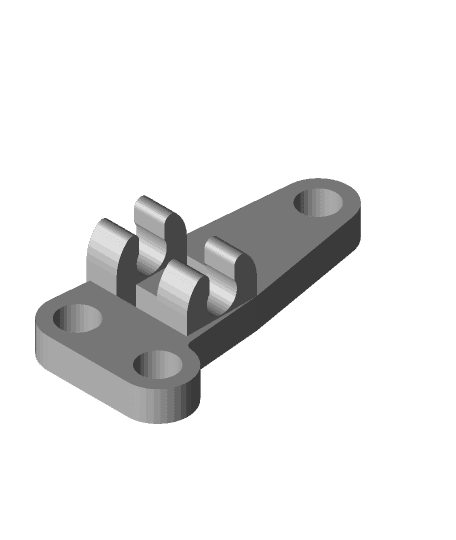
Print in ABS, 40% infill. You can print it with whatever you want, but if you're going to print ABS, you want this part printed in ABS. PLA or PETG will deform over time at ABS printing temps.
Simax3D IronM1 E3D Mount & Fan Shroud
Simax3D Iron M1 E3D V6 Mount
CR-10 E3D Hemera fan shroud no support
E3D ToolChanger Hemera Fan Shroud Tilted (Fail)
.png&w=3840&q=75)
Fan duct for Ender 3 or CR10 (for Revo Micro upgrade)
Simax 3D X Axis Linear Rail Conversion
Fan Shroud for Print Cooling
HE3D K200 HotEnd Assembly
DC42 IR Sensor mount for E3D Volcano
E3D Heatsink 40mm fan assembly
Nimble V1 print head for Creality type.
Nimble and Sidewinder V2 mounts for the Creality type print heads
Nimble V1 Direct drive solution for Chimera/Hypercube Evo
Some basic accessories for the Zesty Kryo
E3D Revo CR Hotend Mod for Creality CR-6 SE
CR-10 mount for the Nimble Sidewinder V1.1
E3D Heatsink 40mm fan assembly (model3)
Sidewinder 4020 Vortex Fan Shroud Remix
Partcooler for FT5 Aero setup with E3D V6
Dual Part Cooling Fan Mount / Shroud for Prusa i3 MK3S (Reinforced) (Extended)
