Pinball Customizable Desktop Toy
Here is Customizable Pinball, This awesome Desktop toy comes in multi-part so its easy to print on most any printer and prints much quicker. The game Board can be easily customised to suit any play style I've included a photo of my favourite way to play by using the spinners two rubber band holders up the back of the board you can use the spinners as goalies and the rubber band as the goal. Assemble, To assemble the board first check all the female sides of the connectors are clear of support material it can be hard to see the holes once their filled, Next Ive added Numbers and letters to follow, Follow the Part numbers first P2 - attaches to P1 and so on, Look for the A to Match With another A to make sure you've aligned the board correctly, Then just push and wiggle the parts until they connect. Before adding P7 Or P8 make sure to slide P6 Side ramp into place and the Main playboard, you may need to hold these in place while attaching p7 and p8. Next attach the trigger Right and left then the Launching trigger this part can be tricky and I recommend using a flat screw driver as pushing them in by hand will damage the middle of the springs, See photo's for reference, just be careful doing this step as slipping with a screw driver can cause injury. Print settings, Nozzle Size 0.4mm, Layer Height 0.2mm, Print speed 100mms, Infill 15%, Supports needed, For the court piece's use Supports normal, Support placement Everywhere for the Bumpers, Spinners and the triggers, Use support placement touching build plate only,
Pinball Customizable Desktop Toy

Spyro Toy

Creator 5 Enclosure Door
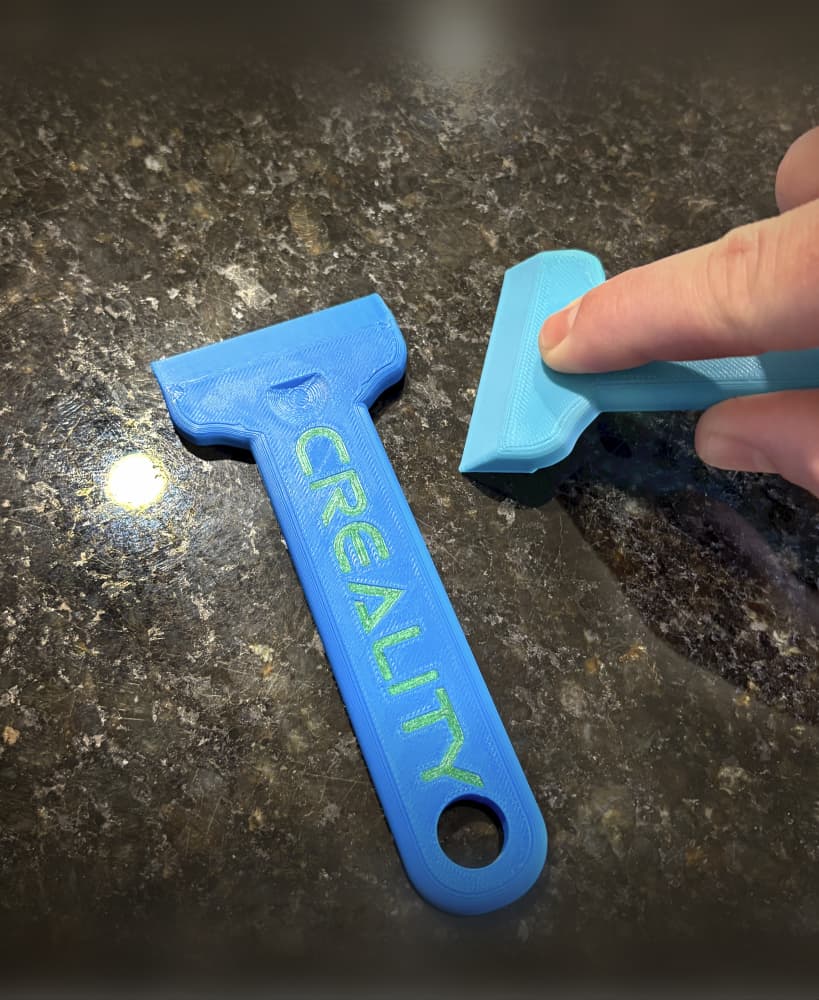
Bed Scraper
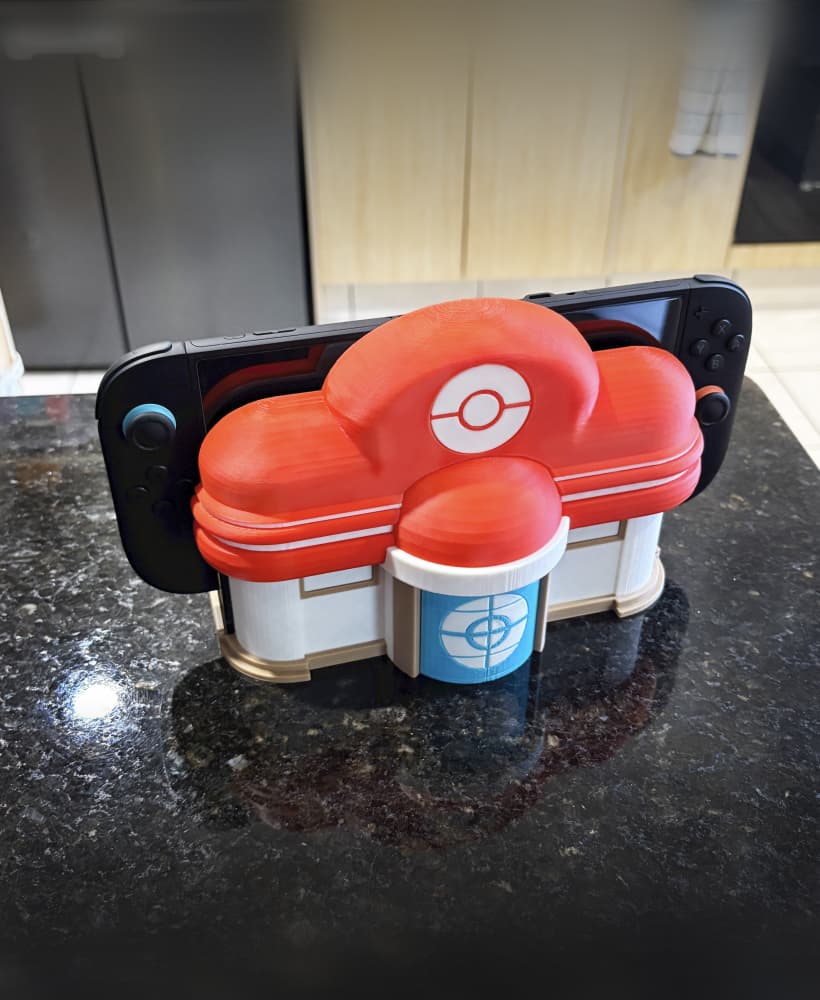
Pokemon Centre Nintendo switch dock multi-part
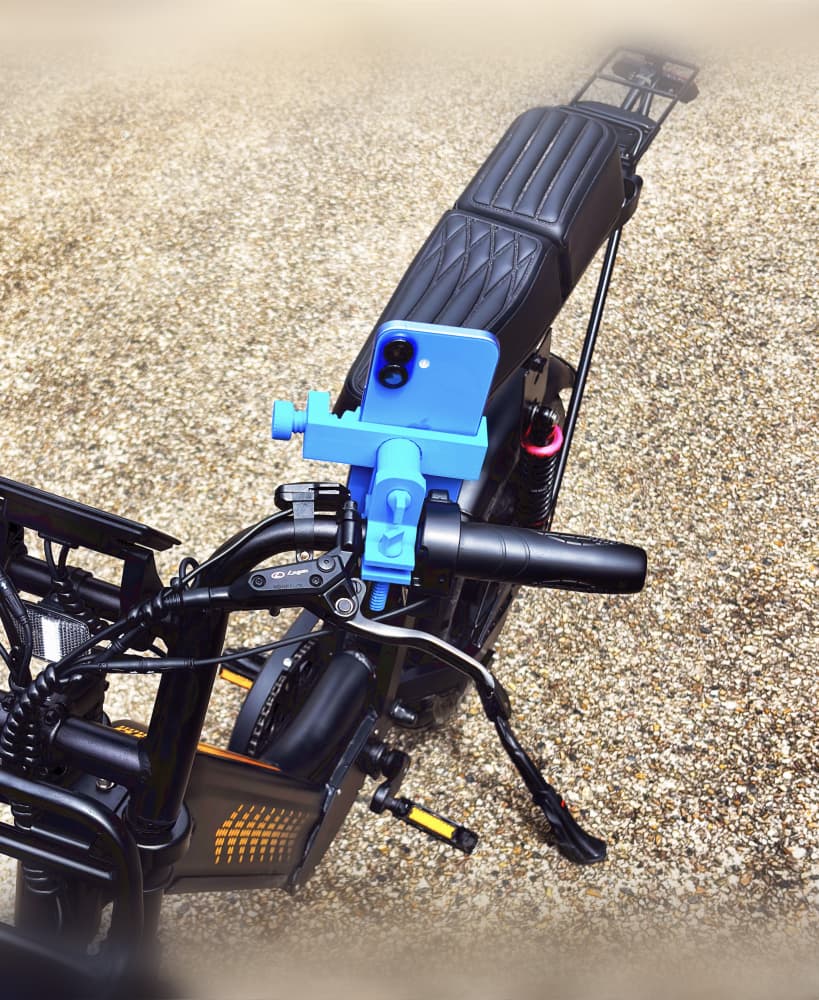
Bike Phone Holder Mount

Filament Spool with silica Beads storage
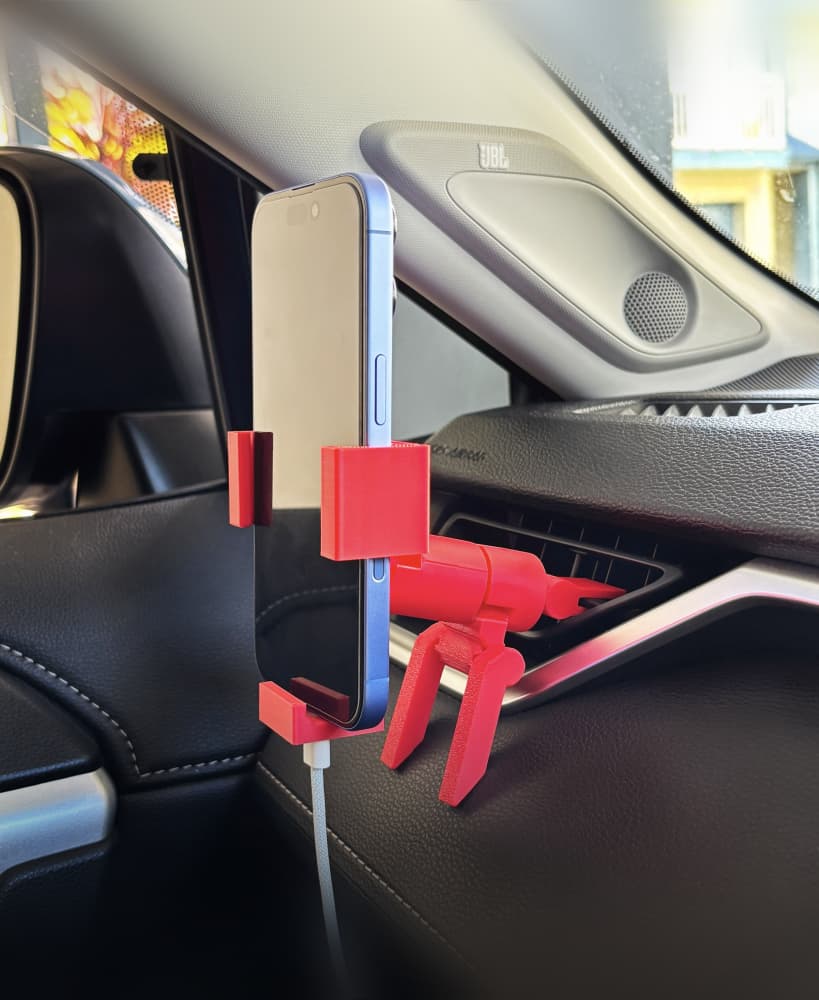
Phone Clamp Car holder V2
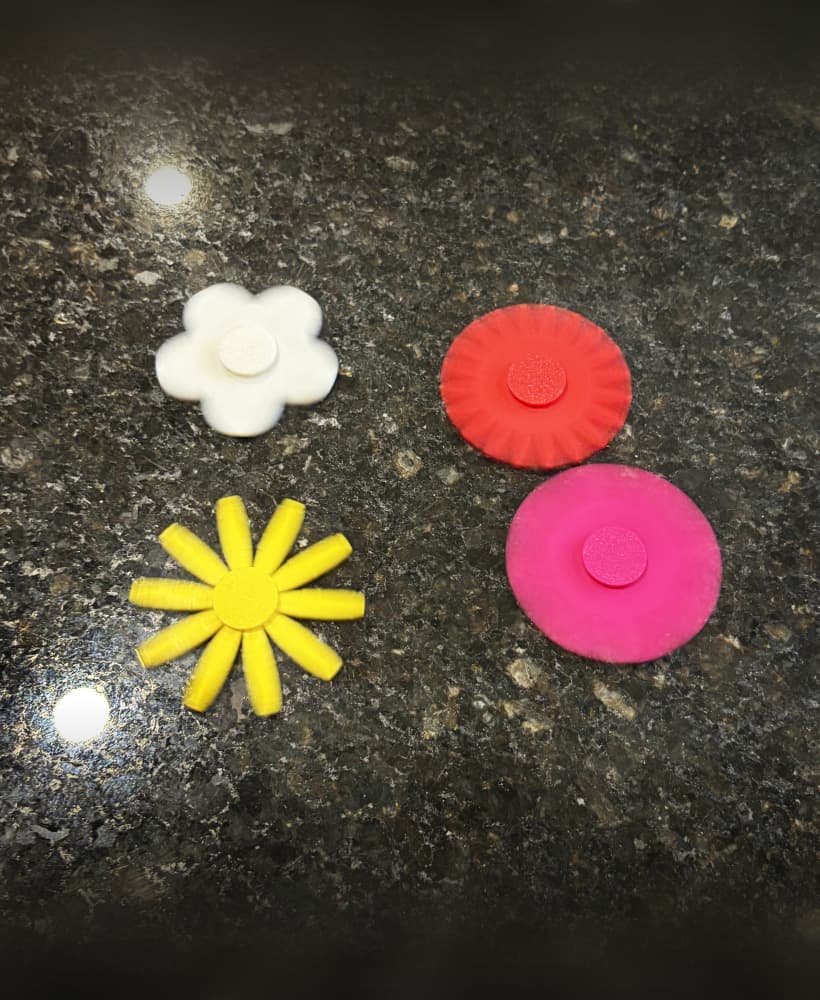
Flower's Fidget Spinner Pack 001
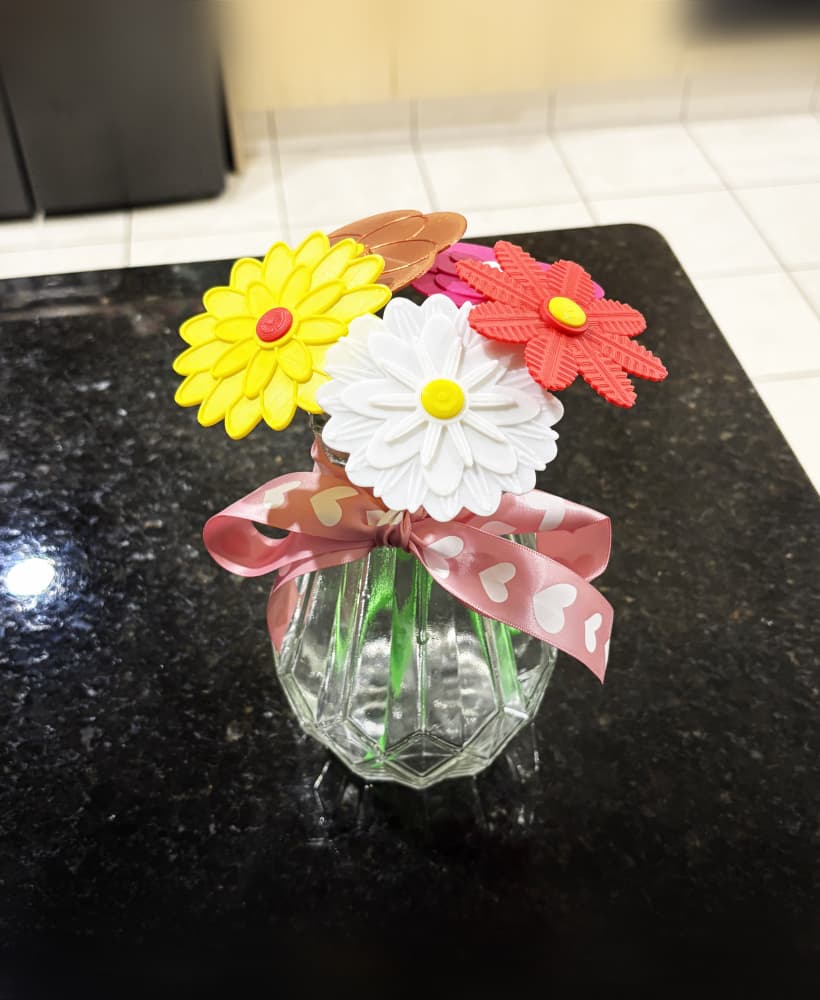
Flower Pack 003

Car Phone Holder MagSafe Swivel mount

Twisted Full Band Bypass Court half Ct circle cut Ring
Piglin fully articulated
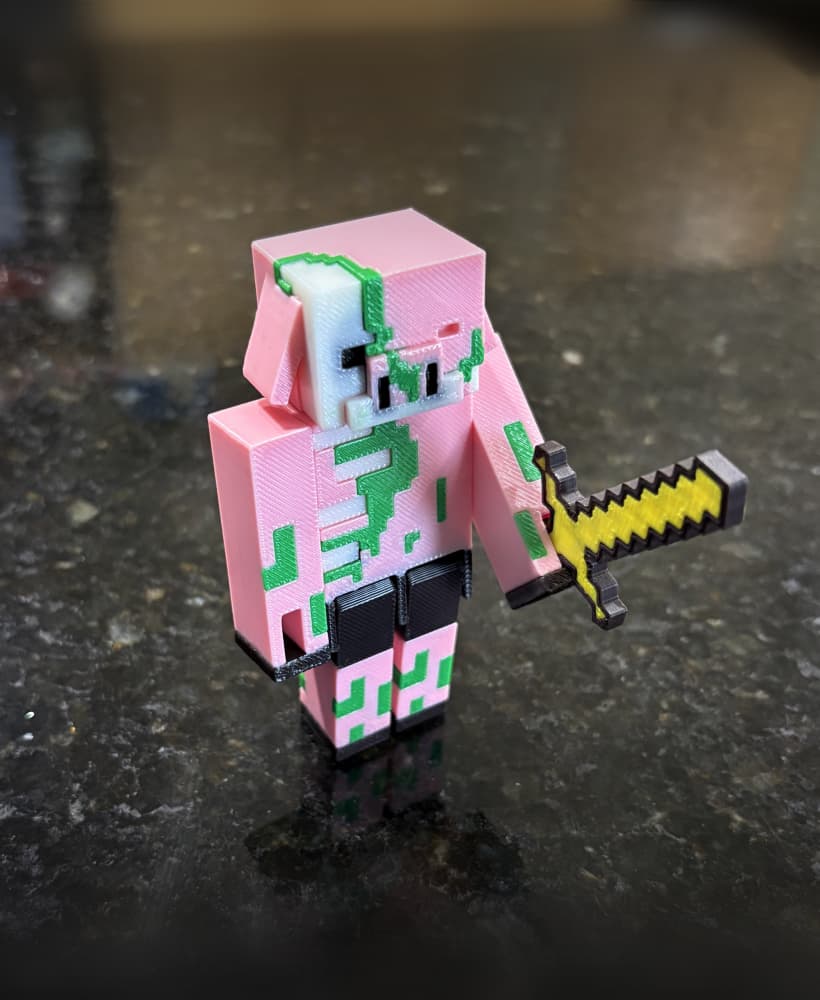
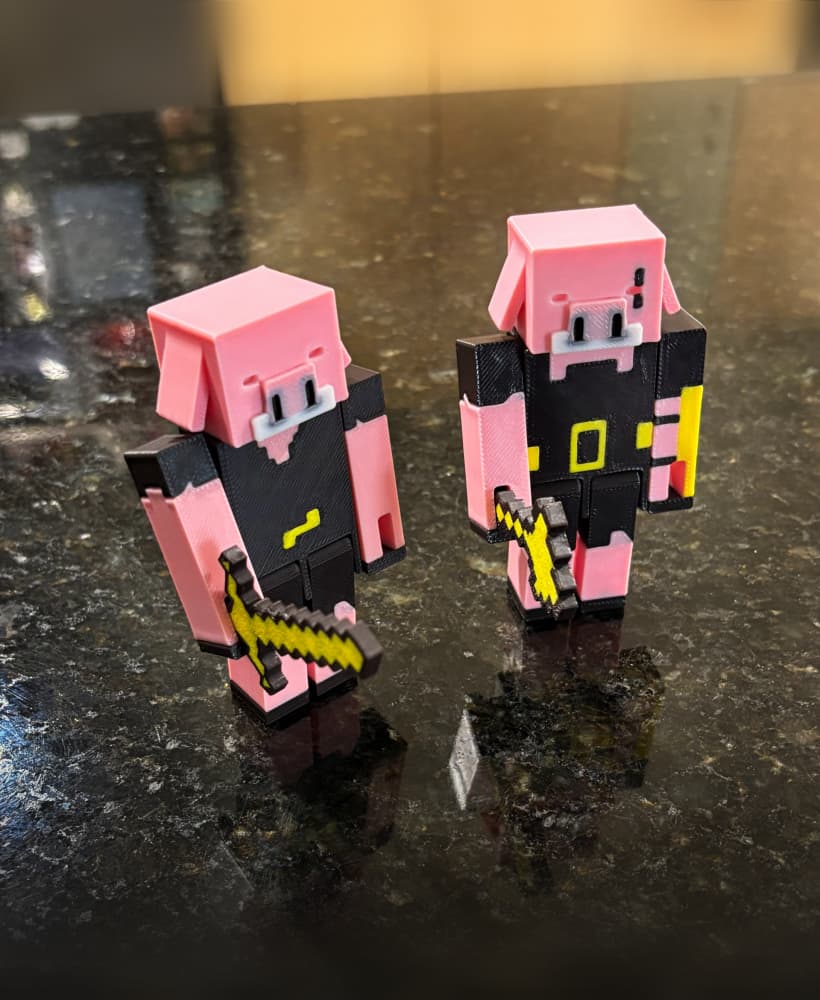
Zombified Piglin fully articulated

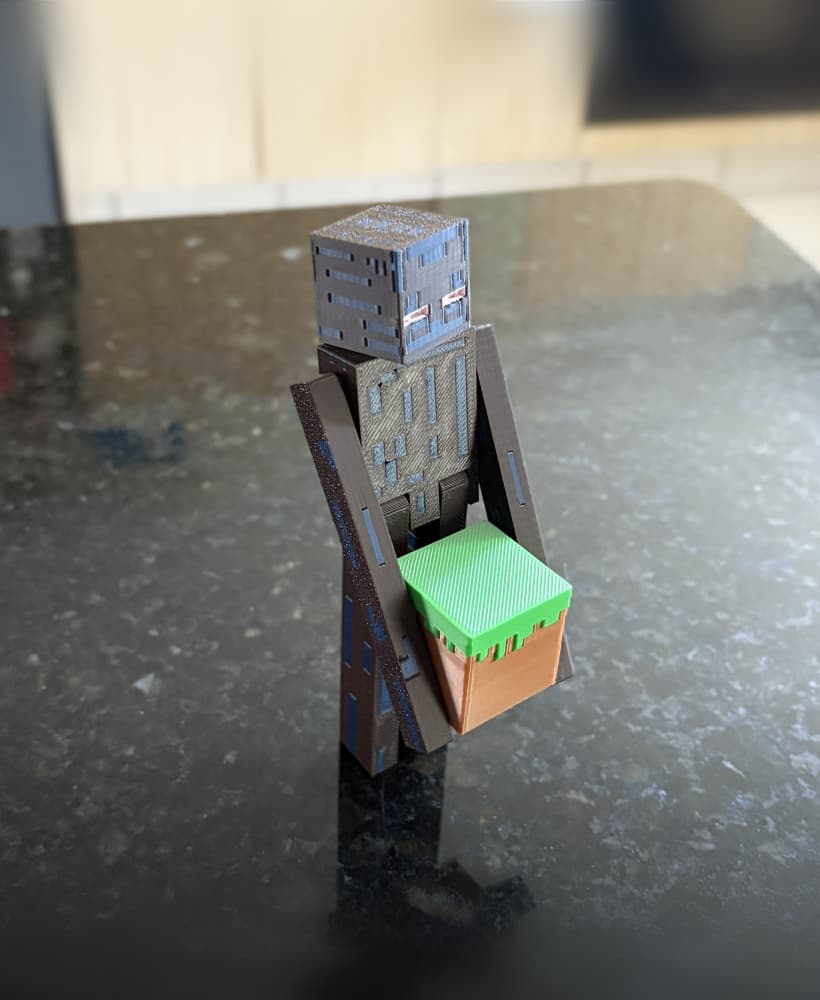
Drowned fully articulated
Enderman fully articulated
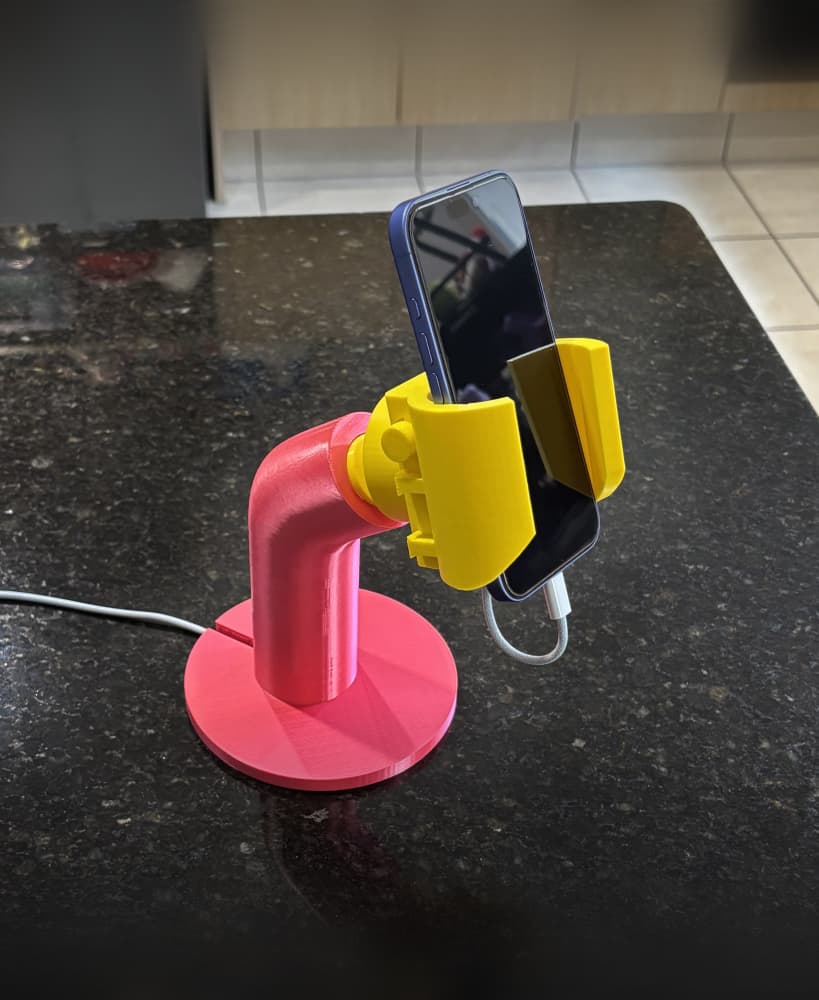
Lego hand phone holder

Filament spool adapter
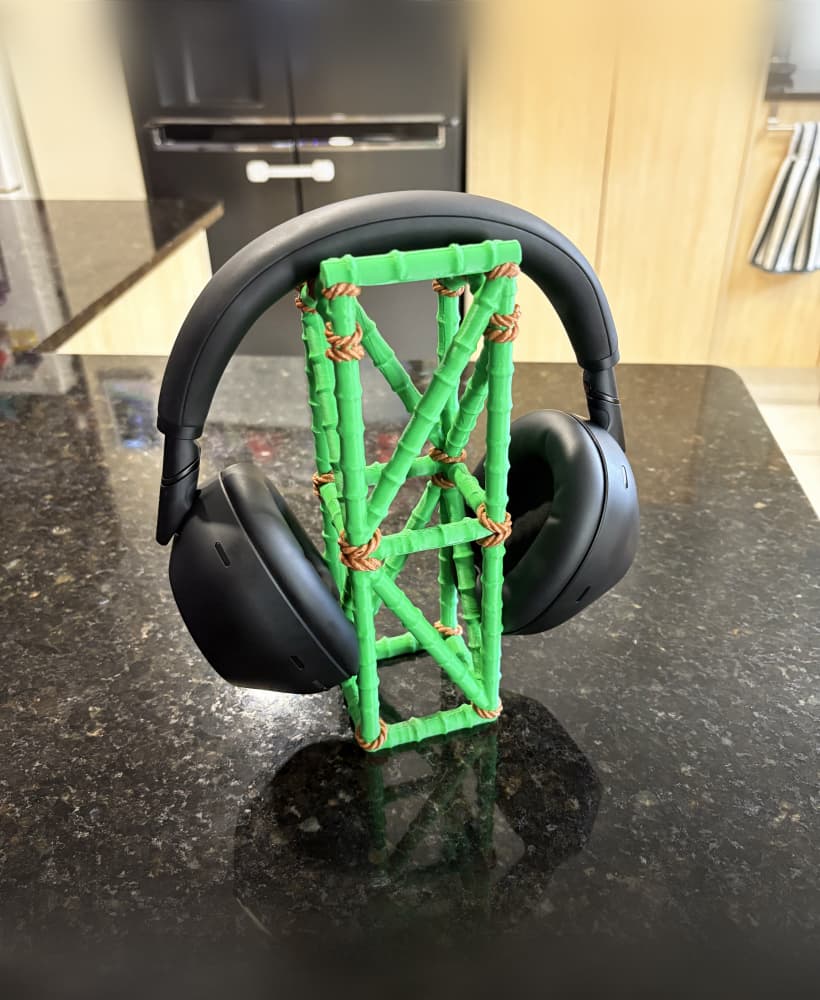
Jungle headphone stand
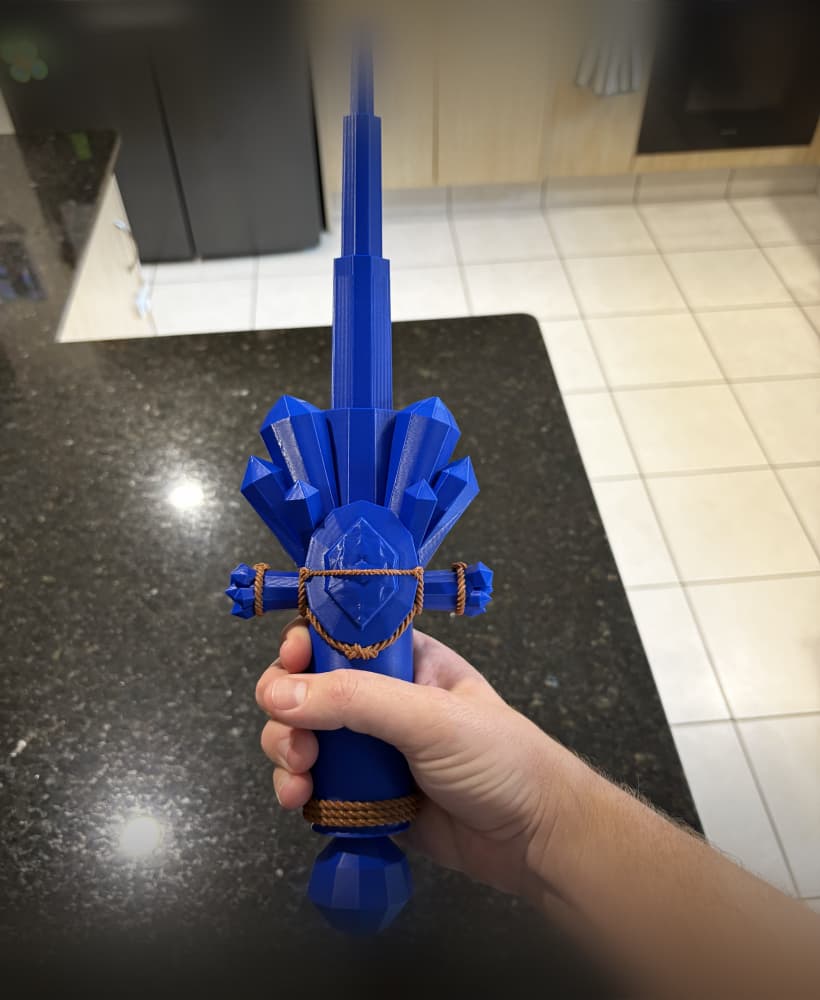
Crystal Sword Collapsible