Creator 5 Enclosure Door
Here is Creator 5 Enclosure Door, This awesome design was made to fit the FlashForge creator 5 as many people like myself have children or want to improve the safety and performance of their machines. In this design I've included all the parts to make the front door and hinges, eventually I'd like to make a full enclosure but for now this design only includes everything to make the front door. Parts you will need to Buy: eight M4 bolts 20mm or longer, eight M4 Nuts, four 8mm Magnets (strong) and a sheet of 3mm clear acrylic, at least 331mm wide by 366mm High. Note when cutting to size, cut in the middle of your marked lines, use a permanent marker or sharpie if your not confident in your cutting skills please cut on the inside of your marked lines. To assemble the door print all parts remove any supports, glue or tape the top and bottom halves of the cut-out templates together, The Left side template is for the hinges and should be placed on the front of the acrylic panel with the symbols facing out and the template evenly spaced from top to bottom while lined up on the left side. If the template overhangs that's ok just try and centre the template as best you can, The template is designed to show the maximum size you can have for the acrylic panel. Now mark your holes using a permanent marker, do the same with the right side cut-out but this time swap the cut-out onto the back side of the acrylic panel making it line up the the now left side of the back following the arrows, If your unsure check images for reference, Drill the holes slowly with a 4.5mm drill bit you may need to enlarge the holes later to adjust for small errors when assembling. Now attach the hinges and door components for a test fit, when your happy remove the side trim panels from the front of your creator 5 using a small screw driver. Next push the correct trim pieces you printed into the small locking clips until they sit flat or clip in, Then screw the hinges without the acrylic attached into the sides of the machine, next do the same for the magnet mounts screwing them into the trim instead of clipping in. Now screw and mount the acrylic to the hinges, the screws will be tight so push in as you screw this is to help hold the screws in place making it easier to install, if your screws are too tight remove then clean the holes in the hinges with a drill and drill bit, now check for the correct fitting but only installing the nuts and bolts loosely checking all points and adjust the holes if needed, Finally tightening the nuts and bolts finger tight. Print settings, supports needed for the hinges, cut-outs, and handle, Support type normal, support overhang angle 35%, Nozzle size 0.4mm, Layer Height 0.2mm, Print speed 100mms, Infill 15%, wall count 3,
Creator 5 Enclosure Door

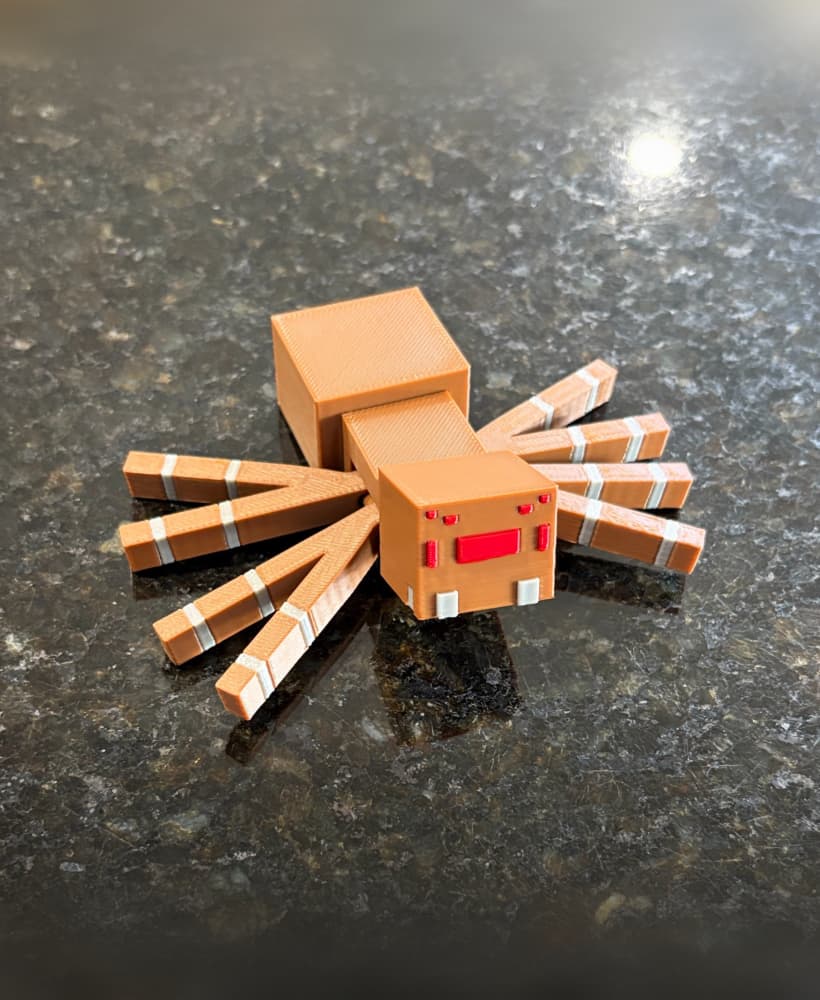
Spyro Toy
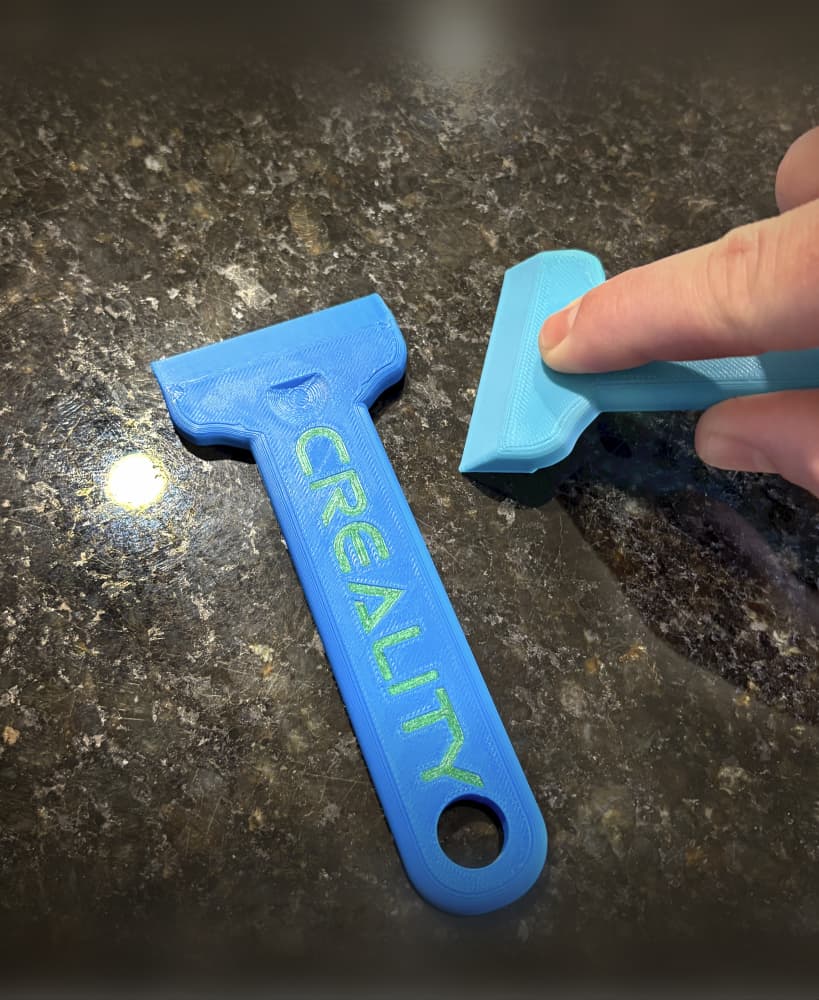
Bed Scraper
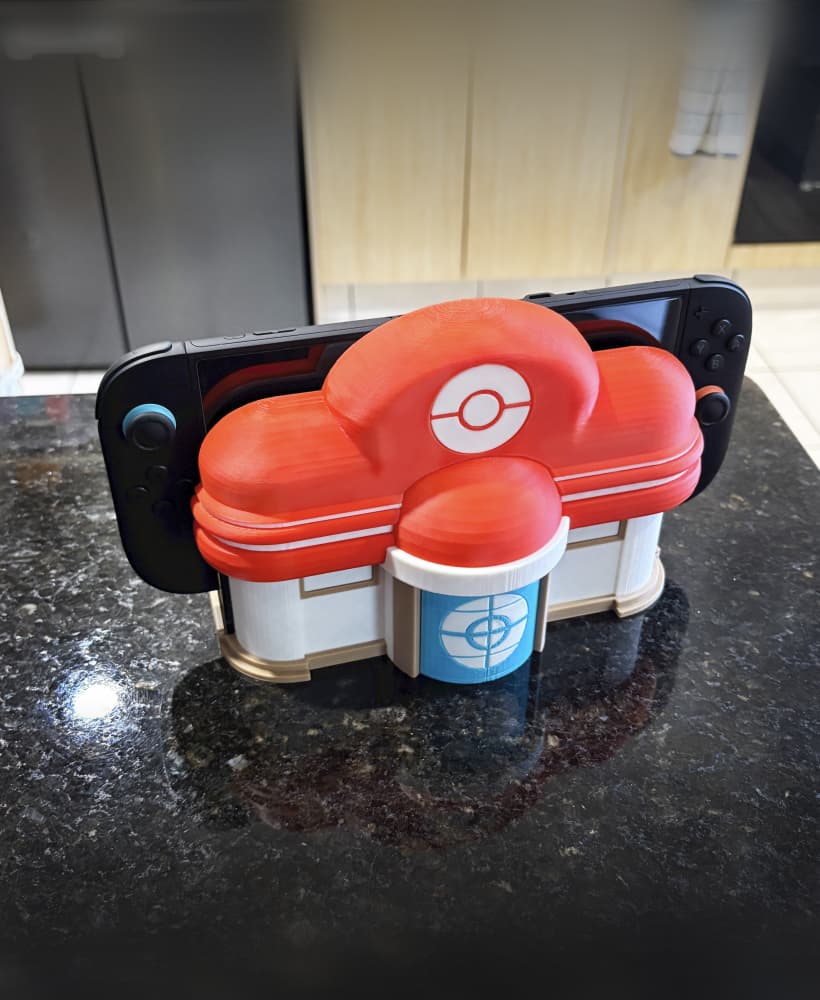
Pokemon Centre Nintendo switch dock multi-part
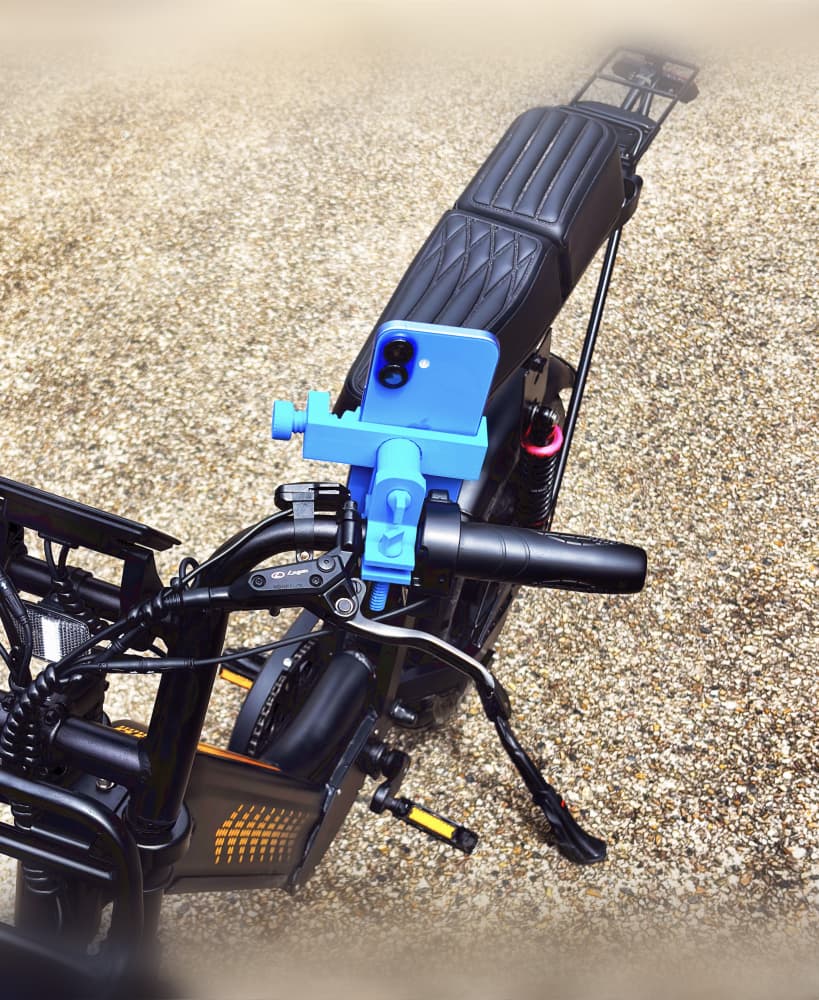
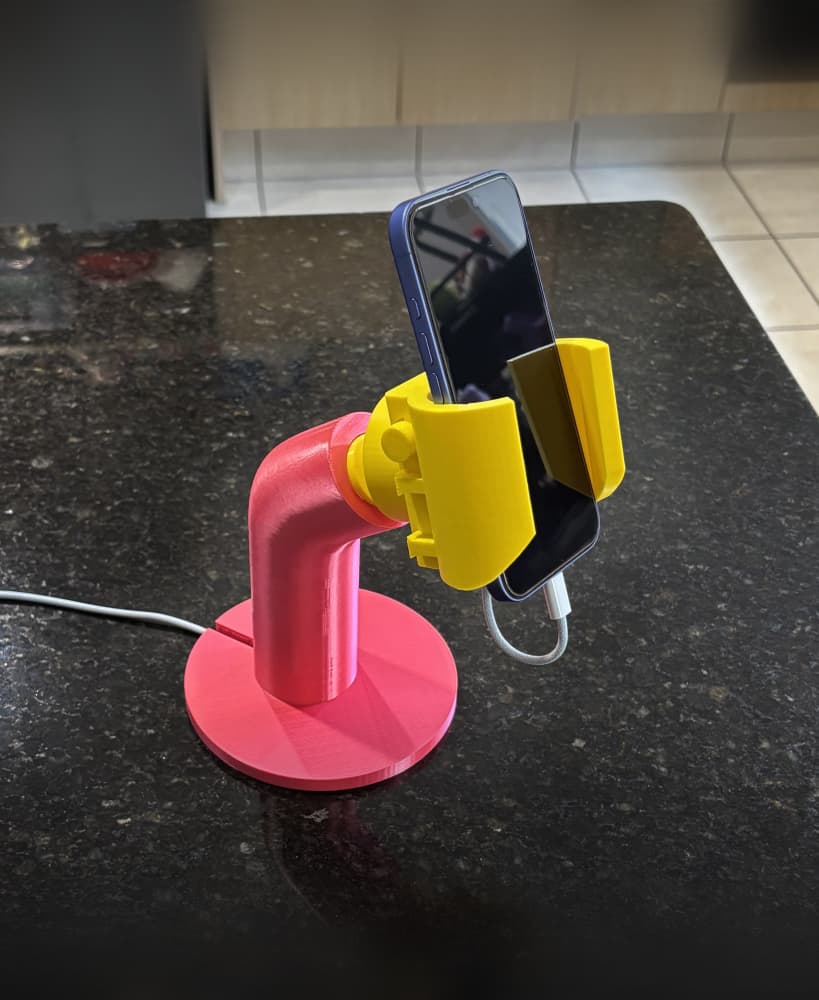
Bike Phone Holder Mount

Filament Spool with silica Beads storage
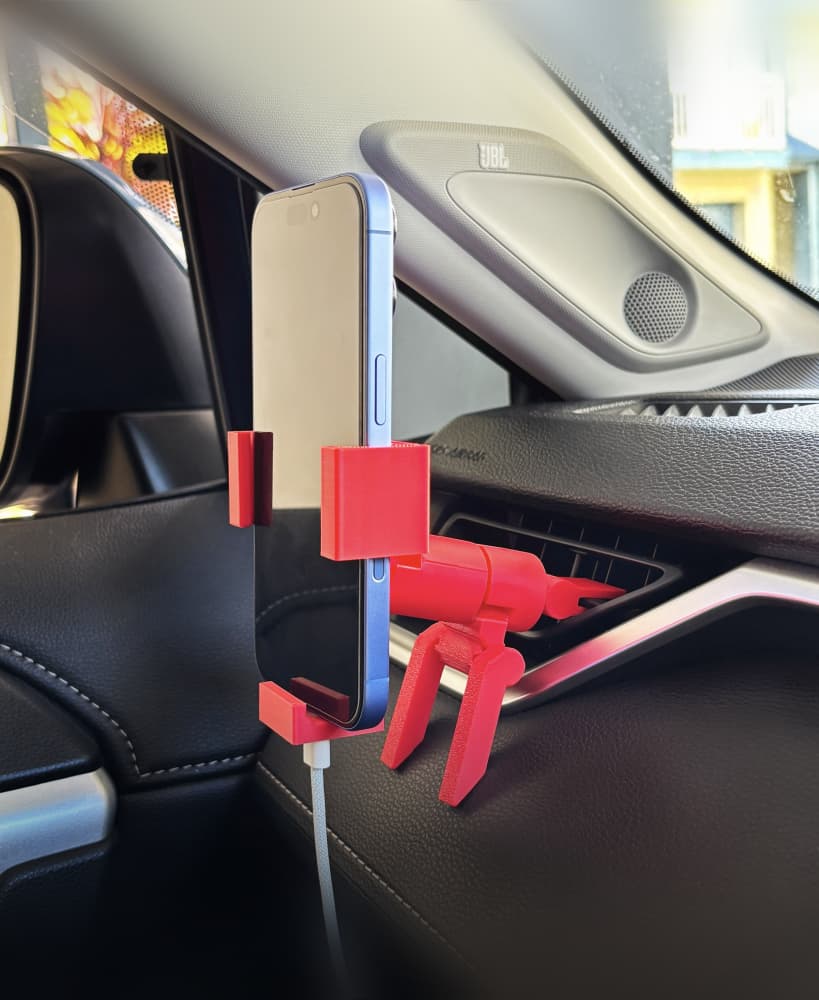
Phone Clamp Car holder V2
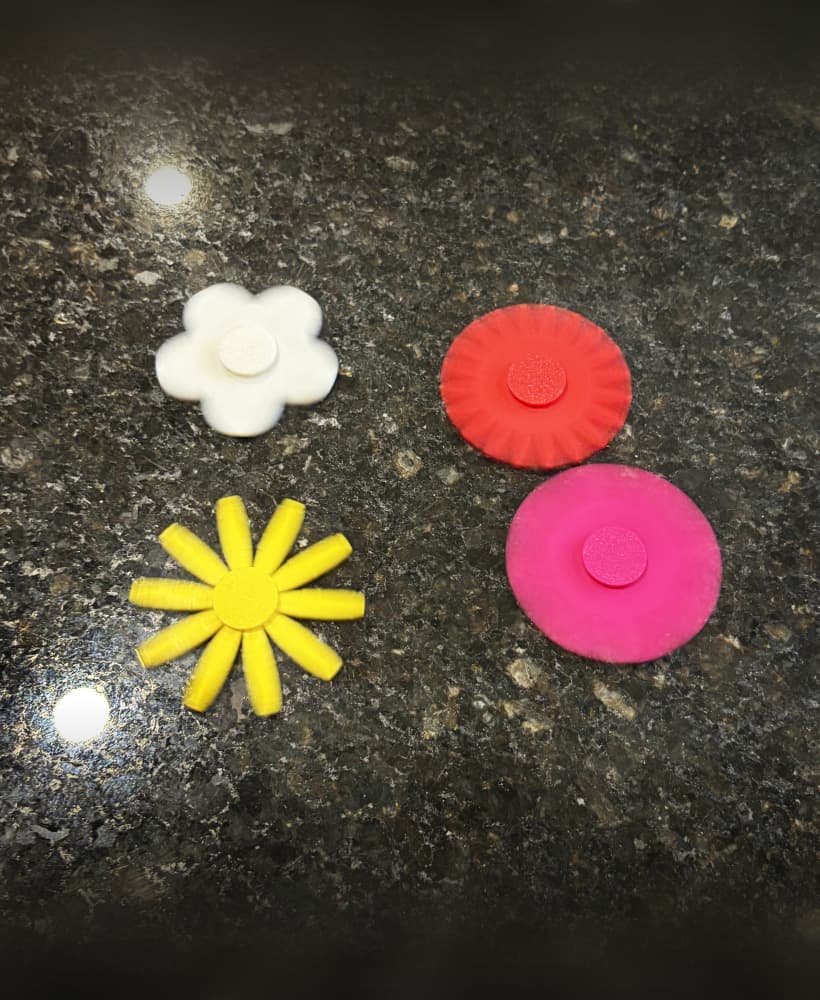
Flower's Fidget Spinner Pack 001
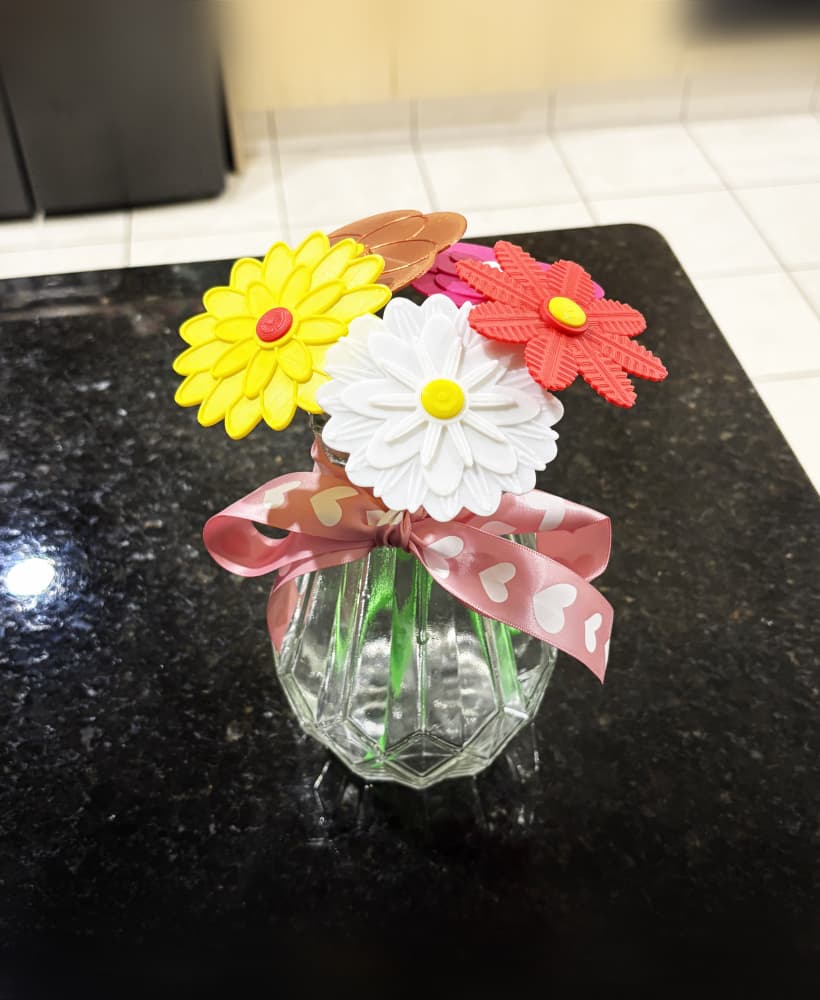
Flower Pack 003

Car Phone Holder MagSafe Swivel mount

Twisted Full Band Bypass Court half Ct circle cut Ring
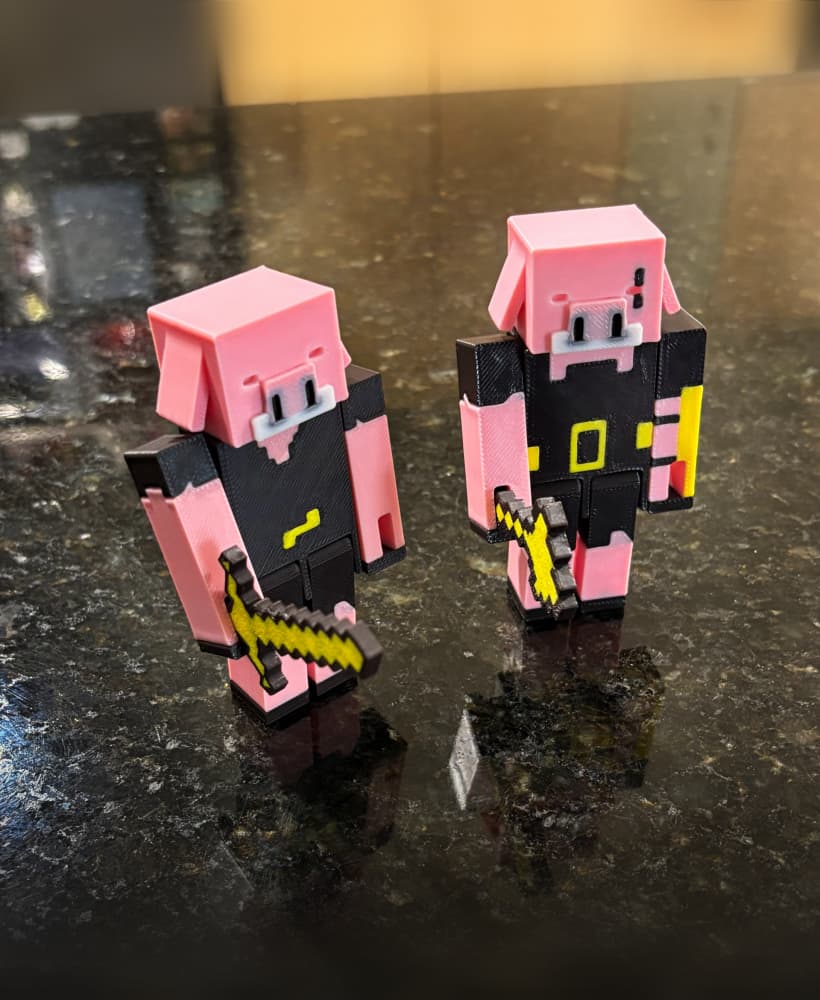
Piglin fully articulated
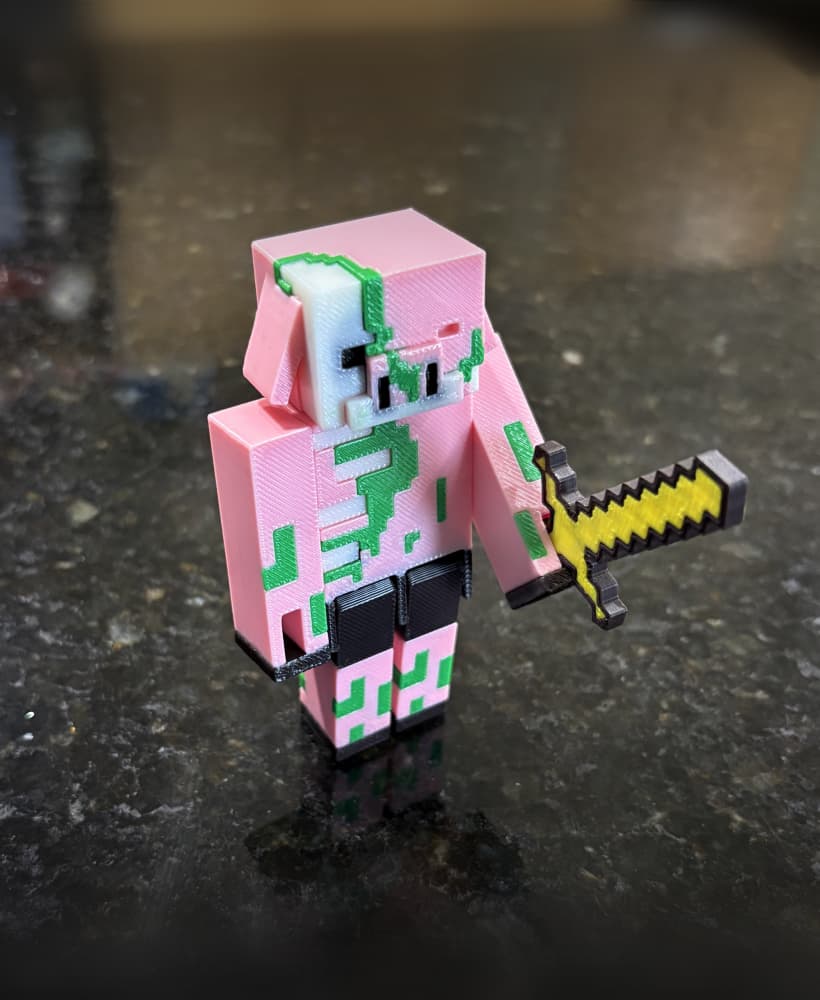
Zombified Piglin fully articulated

Drowned fully articulated
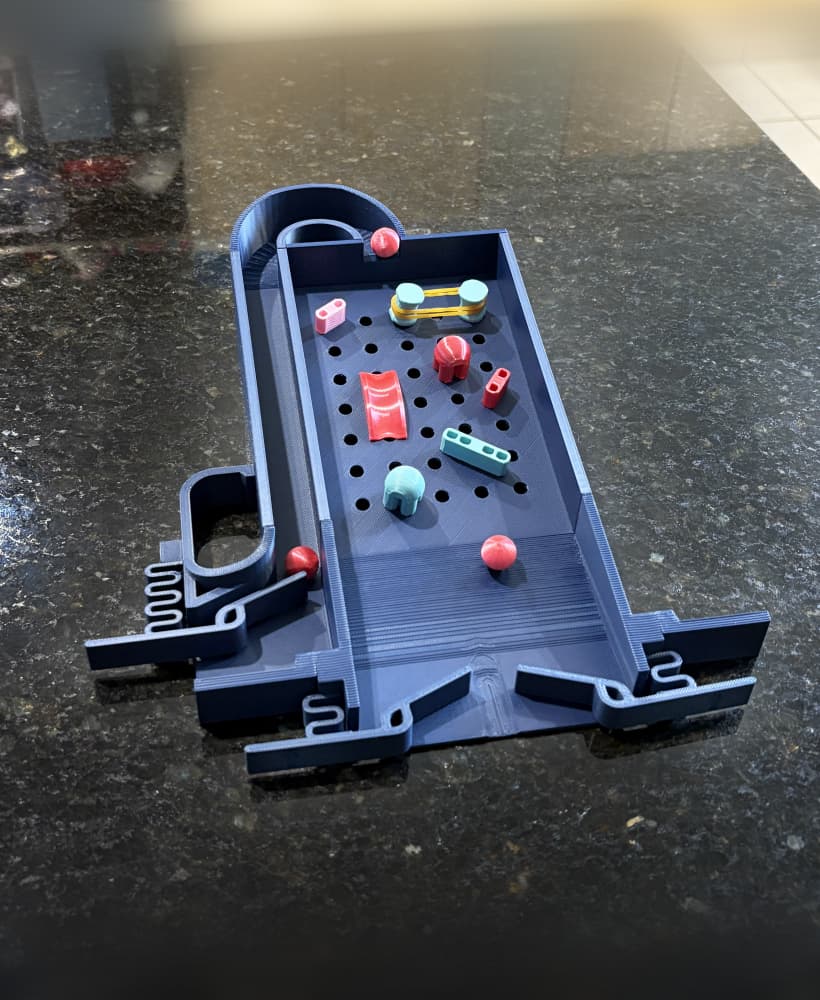
Pinball Customizable Desktop Toy
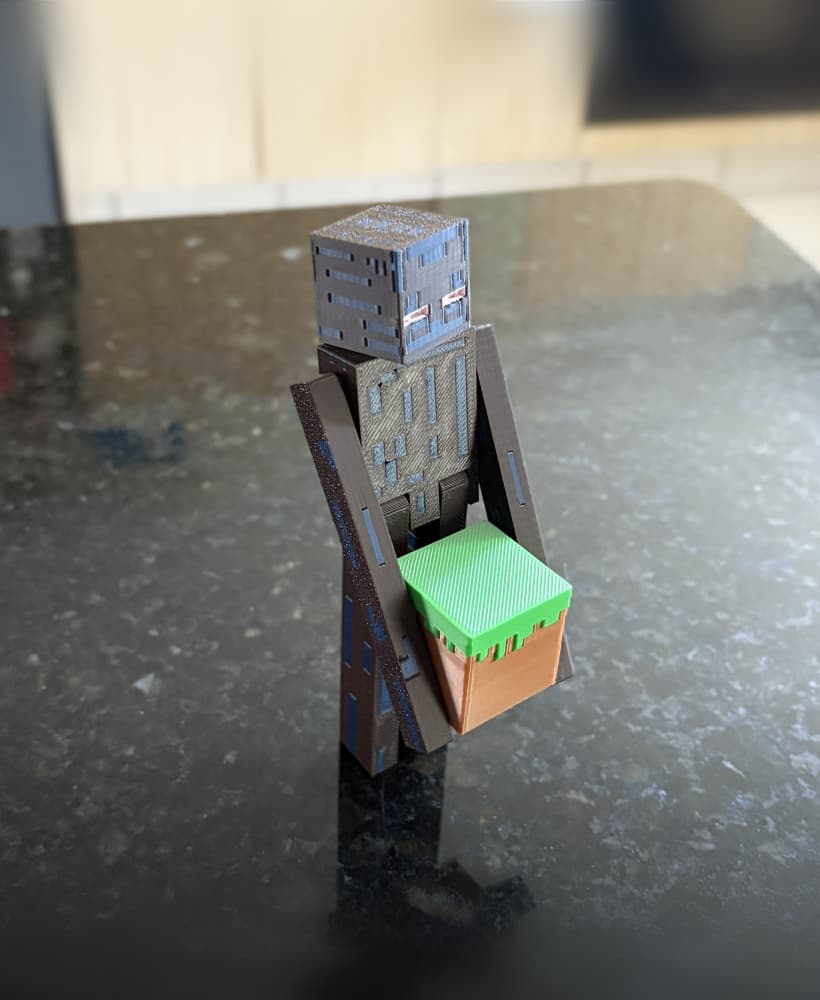
Enderman fully articulated
Lego hand phone holder

Filament spool adapter
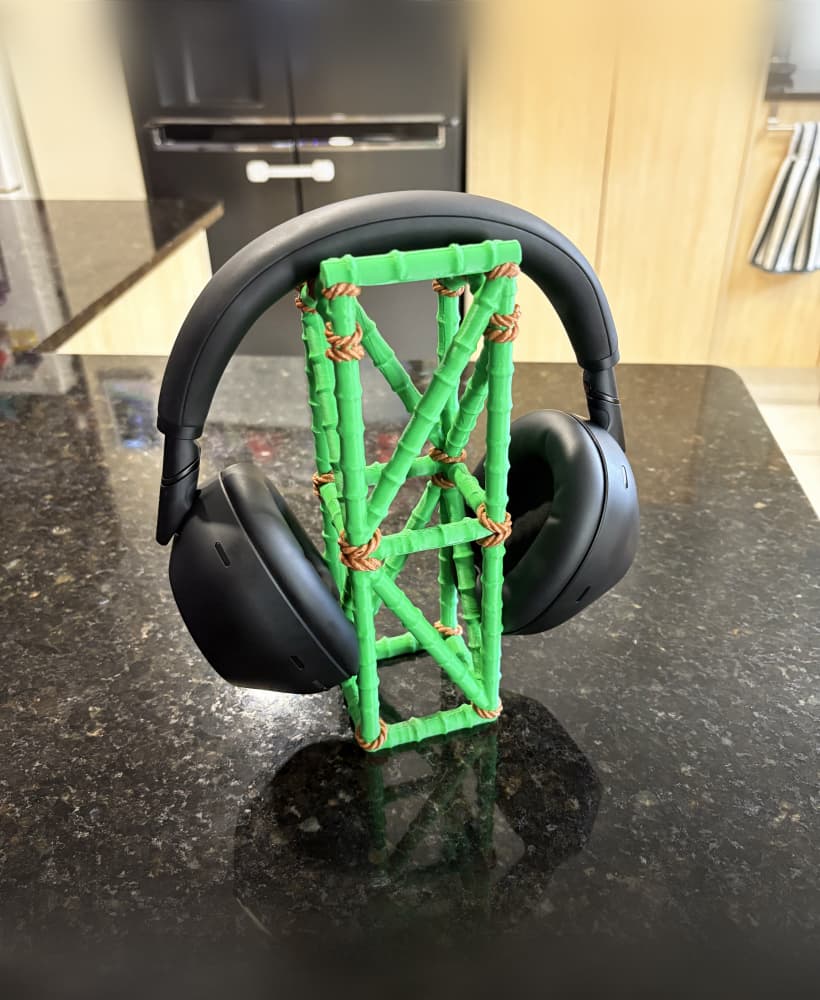
Jungle headphone stand
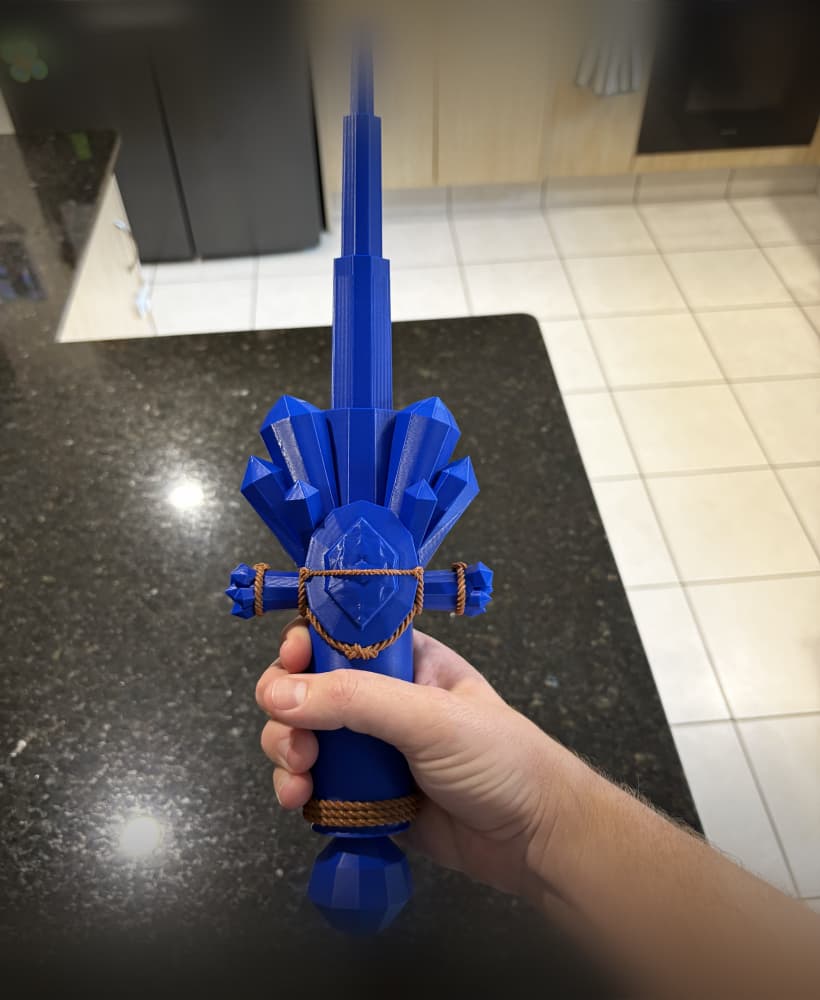
Crystal Sword Collapsible