
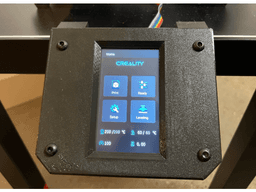


Ender Touch LCD Mount (Customizable)
3 different mounts for the Ender Touch LCD screen with customizable values to fit your spare nuts/bolts/screws
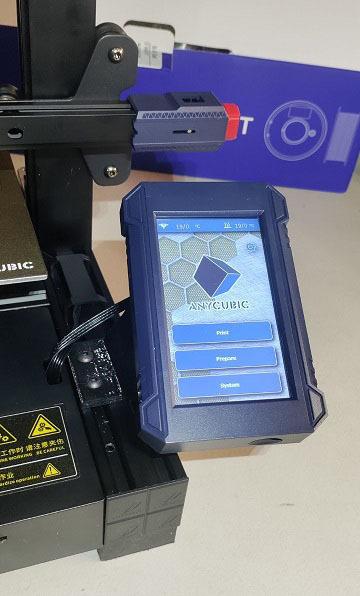
NOTE - THIS IS FOR THE 4.3 INCH TOUCH SCREEN
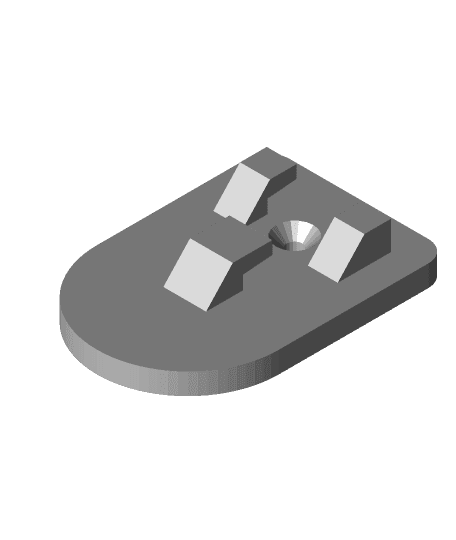
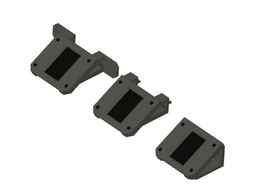
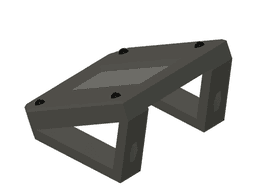
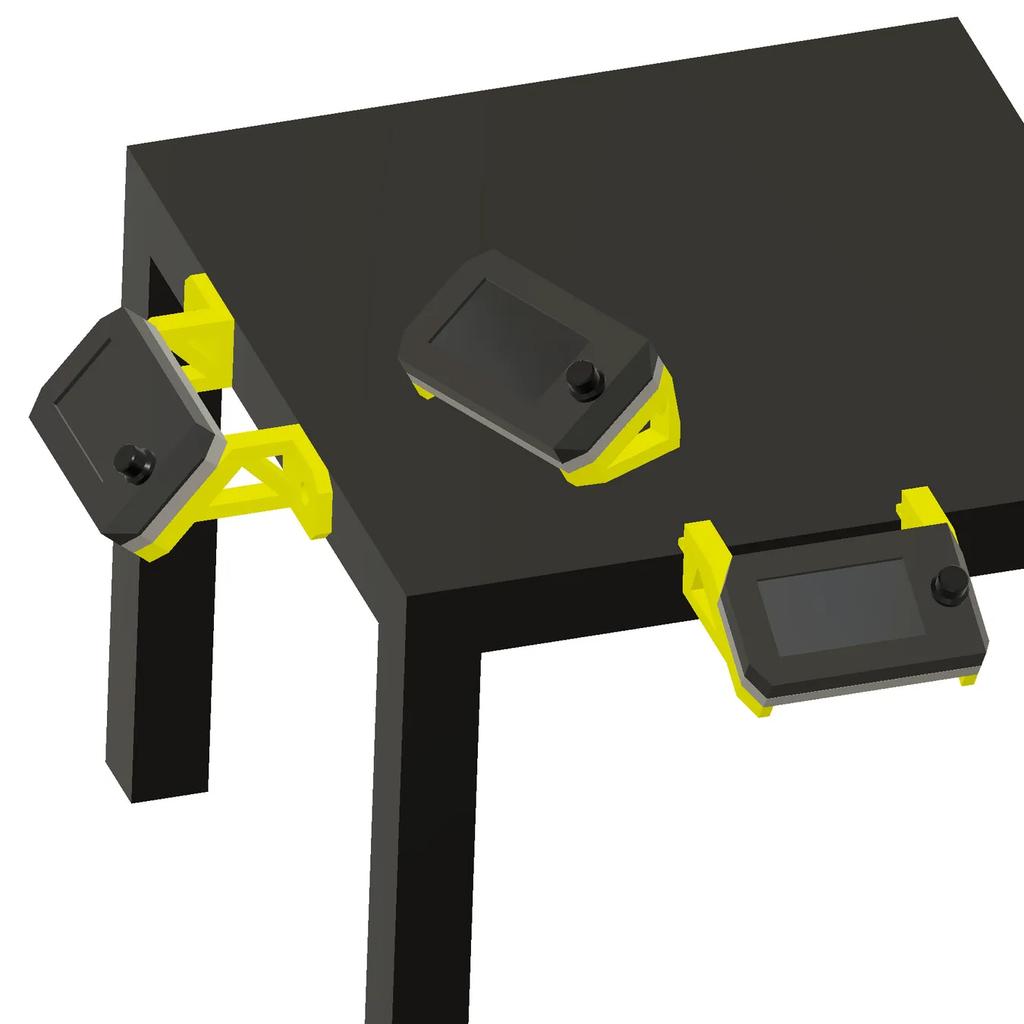
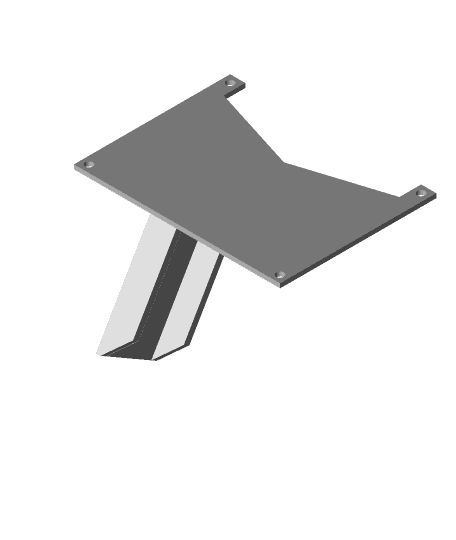
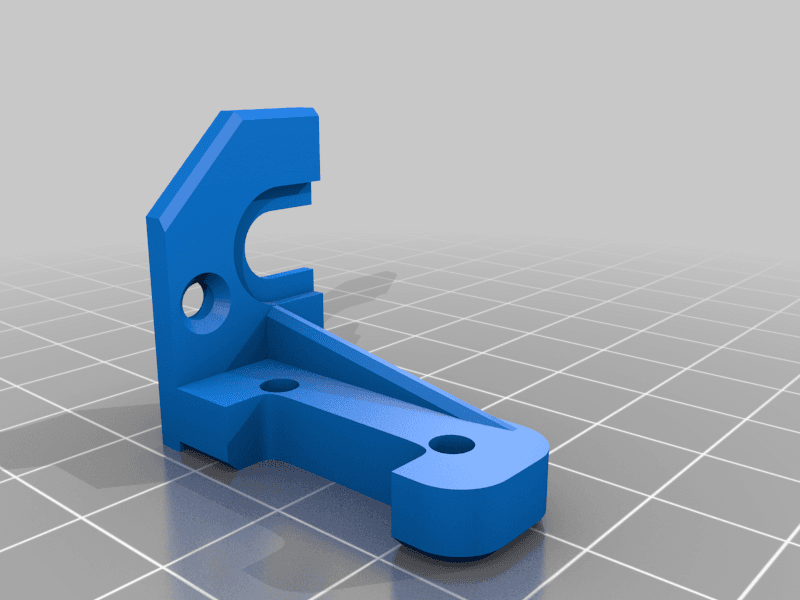
There are 3 different options for the mounting arms - be sure to print both the A and B arm (they are not the same). The faceplate should be interchangeable between designs if you use the same nuts/bolts/screws (see below).
You must remove the LCD completely from the original faceplate - there is adhesive and 4 screws that hold the LCD to the original faceplate.
The default STL size is for the Universal 3D Printer Enclosure spare nuts/bolts/screws (but see below for how to customize the files to fit your own spare nuts/bolts/screws):
x4 20mm M6 bolts
x4 20mm M6 nuts
x2 #6x25 Phillips head screw (for Screw In Mount only)
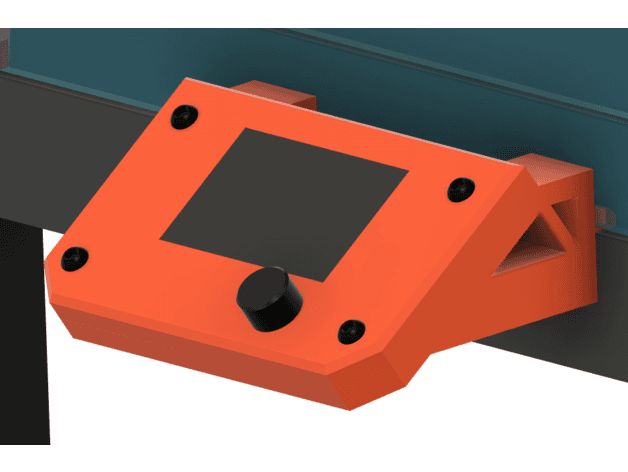
Universal Enclosure Mount
- This mount is intended for the owners of the Universal 3D Printer Enclosure
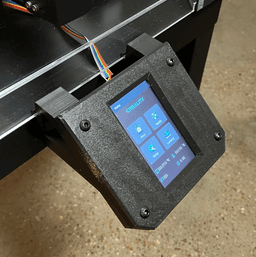
Screw In Mount
- This is a mount intended to be screwed either to the side or the top of the table that the Ender 3 sits on
Stand Mount
- This is a stand that can be set on any flat surface
HOW TO CUSTOMIZE
Using the Fusion 360 files, you can customize the size of the holes using the parameters. Navigate to the top menu and select MODIFY → Change Parameters. A table will appear with various parameters that can be altered. Click in the Expression column to change the value. I recommend inputting the actual measurements (without tolerance) as we have a default tolerance already set for simplicity.
Please review the downloadable PDF below for more details regarding the parameters.
For more information, please watch the YouTube video below: https://youtu.be/S6RgXjEo6hw
Follow us on:
YouTube: https://www.youtube.com/@3dsourcerer Website: https://3dsourcerer.com/ Facebook: https://www.facebook.com/3DSourcerer/ TikTok: https://www.tiktok.com/@3dsourcerer Instagram: https://www.instagram.com/3dsourcerer Twitter: https://twitter.com/3DSourceNews LinkedIn: https://www.linkedin.com/showcase/3d-sourcerer
Ender Touch LCD Mount (Customizable)
Ender 3 S1 & Ender 3 V2 Stock LCD Screen Mount (Customizable)
Side Rail Mount for Ender 3 Stock LCD Case
Satsana CR Touch Ender 3 V2 Mount
Ender 3 V2 BL Touch Mount and Pen Plotter

Creality Ender 7 - Waveshare 4.3" LCD Mount
Creality CR-10 Ender 3 BL-Touch mount with strain relief.
Ender 3 v2 LCD Landscape Case and Mount
Ender 3 Pro Left Side LCD Mount
Sidewinder X2 and Genius Pro BL-Touch-CR-Touch Mount
Creality Ender 3/Ender 3 Pro (V1) External LCD Mount for the Universal 3D Printer Enclosure by 3D Sourcerer
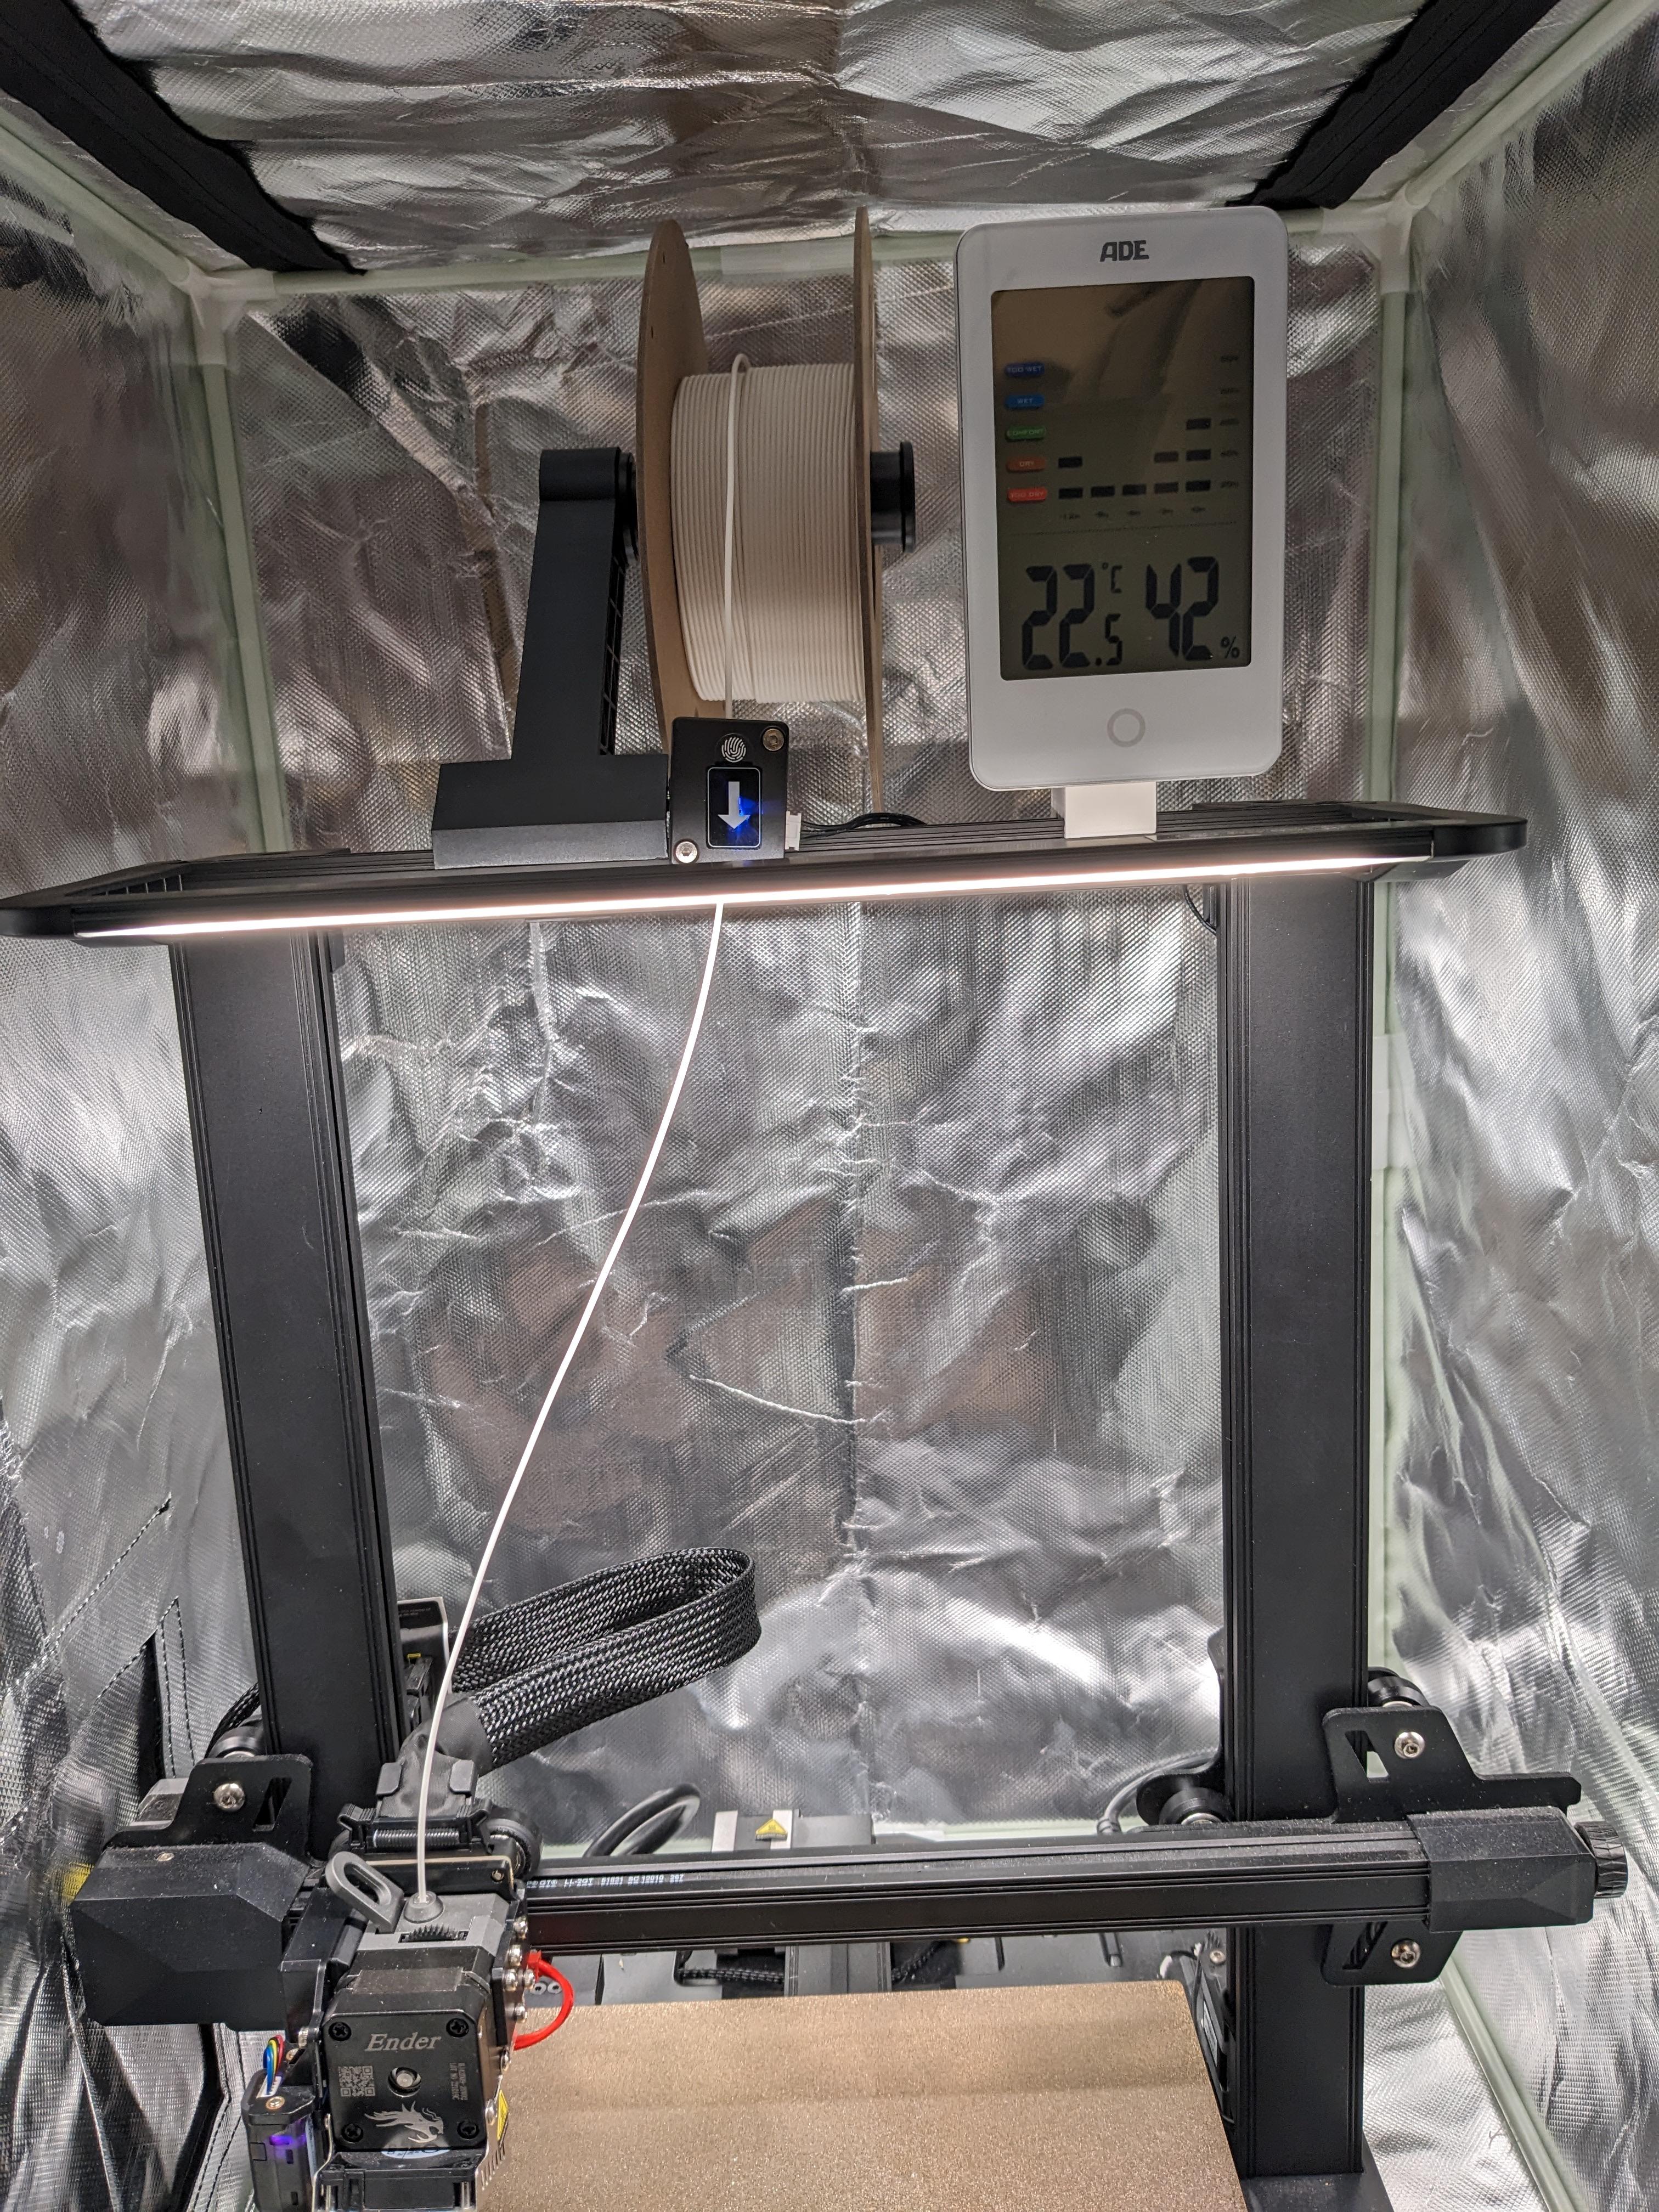
Thermometer/Hygrometer Mount Ender 3 S1 / Ender 3 S1 Pro
Simplistic Ender 3 fan mount with endoscope mount.
Biqu H2 BL Touch Mount - Direct Drive Extruder

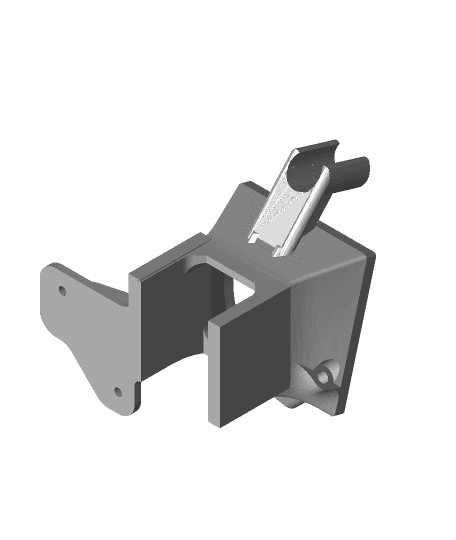
Customizable Mounting Arm
Printermods MDD v1.3 mount for E3D Hemera for Ender 5/Linear Bearing Wheel Mount

Tonex One Controller Enclosure for ESP32-S3 4.3" Touch LCD
Neptune 2 BL Touch Mount - Elegoo
SWX1 BL-Touch Mount (Small Holes)
AnyCubic Kobra Max Printer LCD Mount