Godox SL150 Rosette Hirth Joint Replacement
Studio lighting typically utilizes a Rosette or Hirth joint mechanism to enable tilting and secure the angle in place. On the Godox SL150, this mechanism relies on two plastic pins that bear the majority of the light's weight when angled. This often leads to material fatigue, causing the pins to fail prematurely especially if the joint is overtightened.
This improved design replaces the plastic pins with two M5 10mm countersunk screws. By shifting the load onto metal hardware, the weight is distributed more evenly across the 3D-printed component, significantly increasing durability.
I also included a version of the original design with the two plastic pins exactly like what Godox use, though I do not recommend using it. 3D printed parts are generally weaker than their injection-molded counterparts and will likely fail in the same manner as the original factory part. Only use the original version if you perhaps use advanced materials and/or do plastic annealing.
Instructions:
- Use a filament with a heat deflection temperature of at least 70C, as studio lights generate significant heat. (The example in the photo uses eSUN Nylon Carbon Fiber).
- For FDM printing, use the default orientation with supports enabled.
- Install the two M5 10mm countersunk screws. It is highly recommended to apply an adhesive or Threadlocker (e.g., Loctite) between the screw head and the printed part.
- If using non-countersunk screws, ensure the screw heads does not protrude, or else the joint will not be able to lock properly.
Designed by Diystrument Follow my socials IG, FB, Youtube, etc.. @Diystrument for more of our projects! https://www.instagram.com/diystrument/ Please carefully read the licensing section to see the appropriate usage of this design, thank you.
Godox SL150 Rosette Hirth Joint Replacement
_V1.1_-_A.png&w=3840&q=75)
ToolGrid - Small Pliers Holder
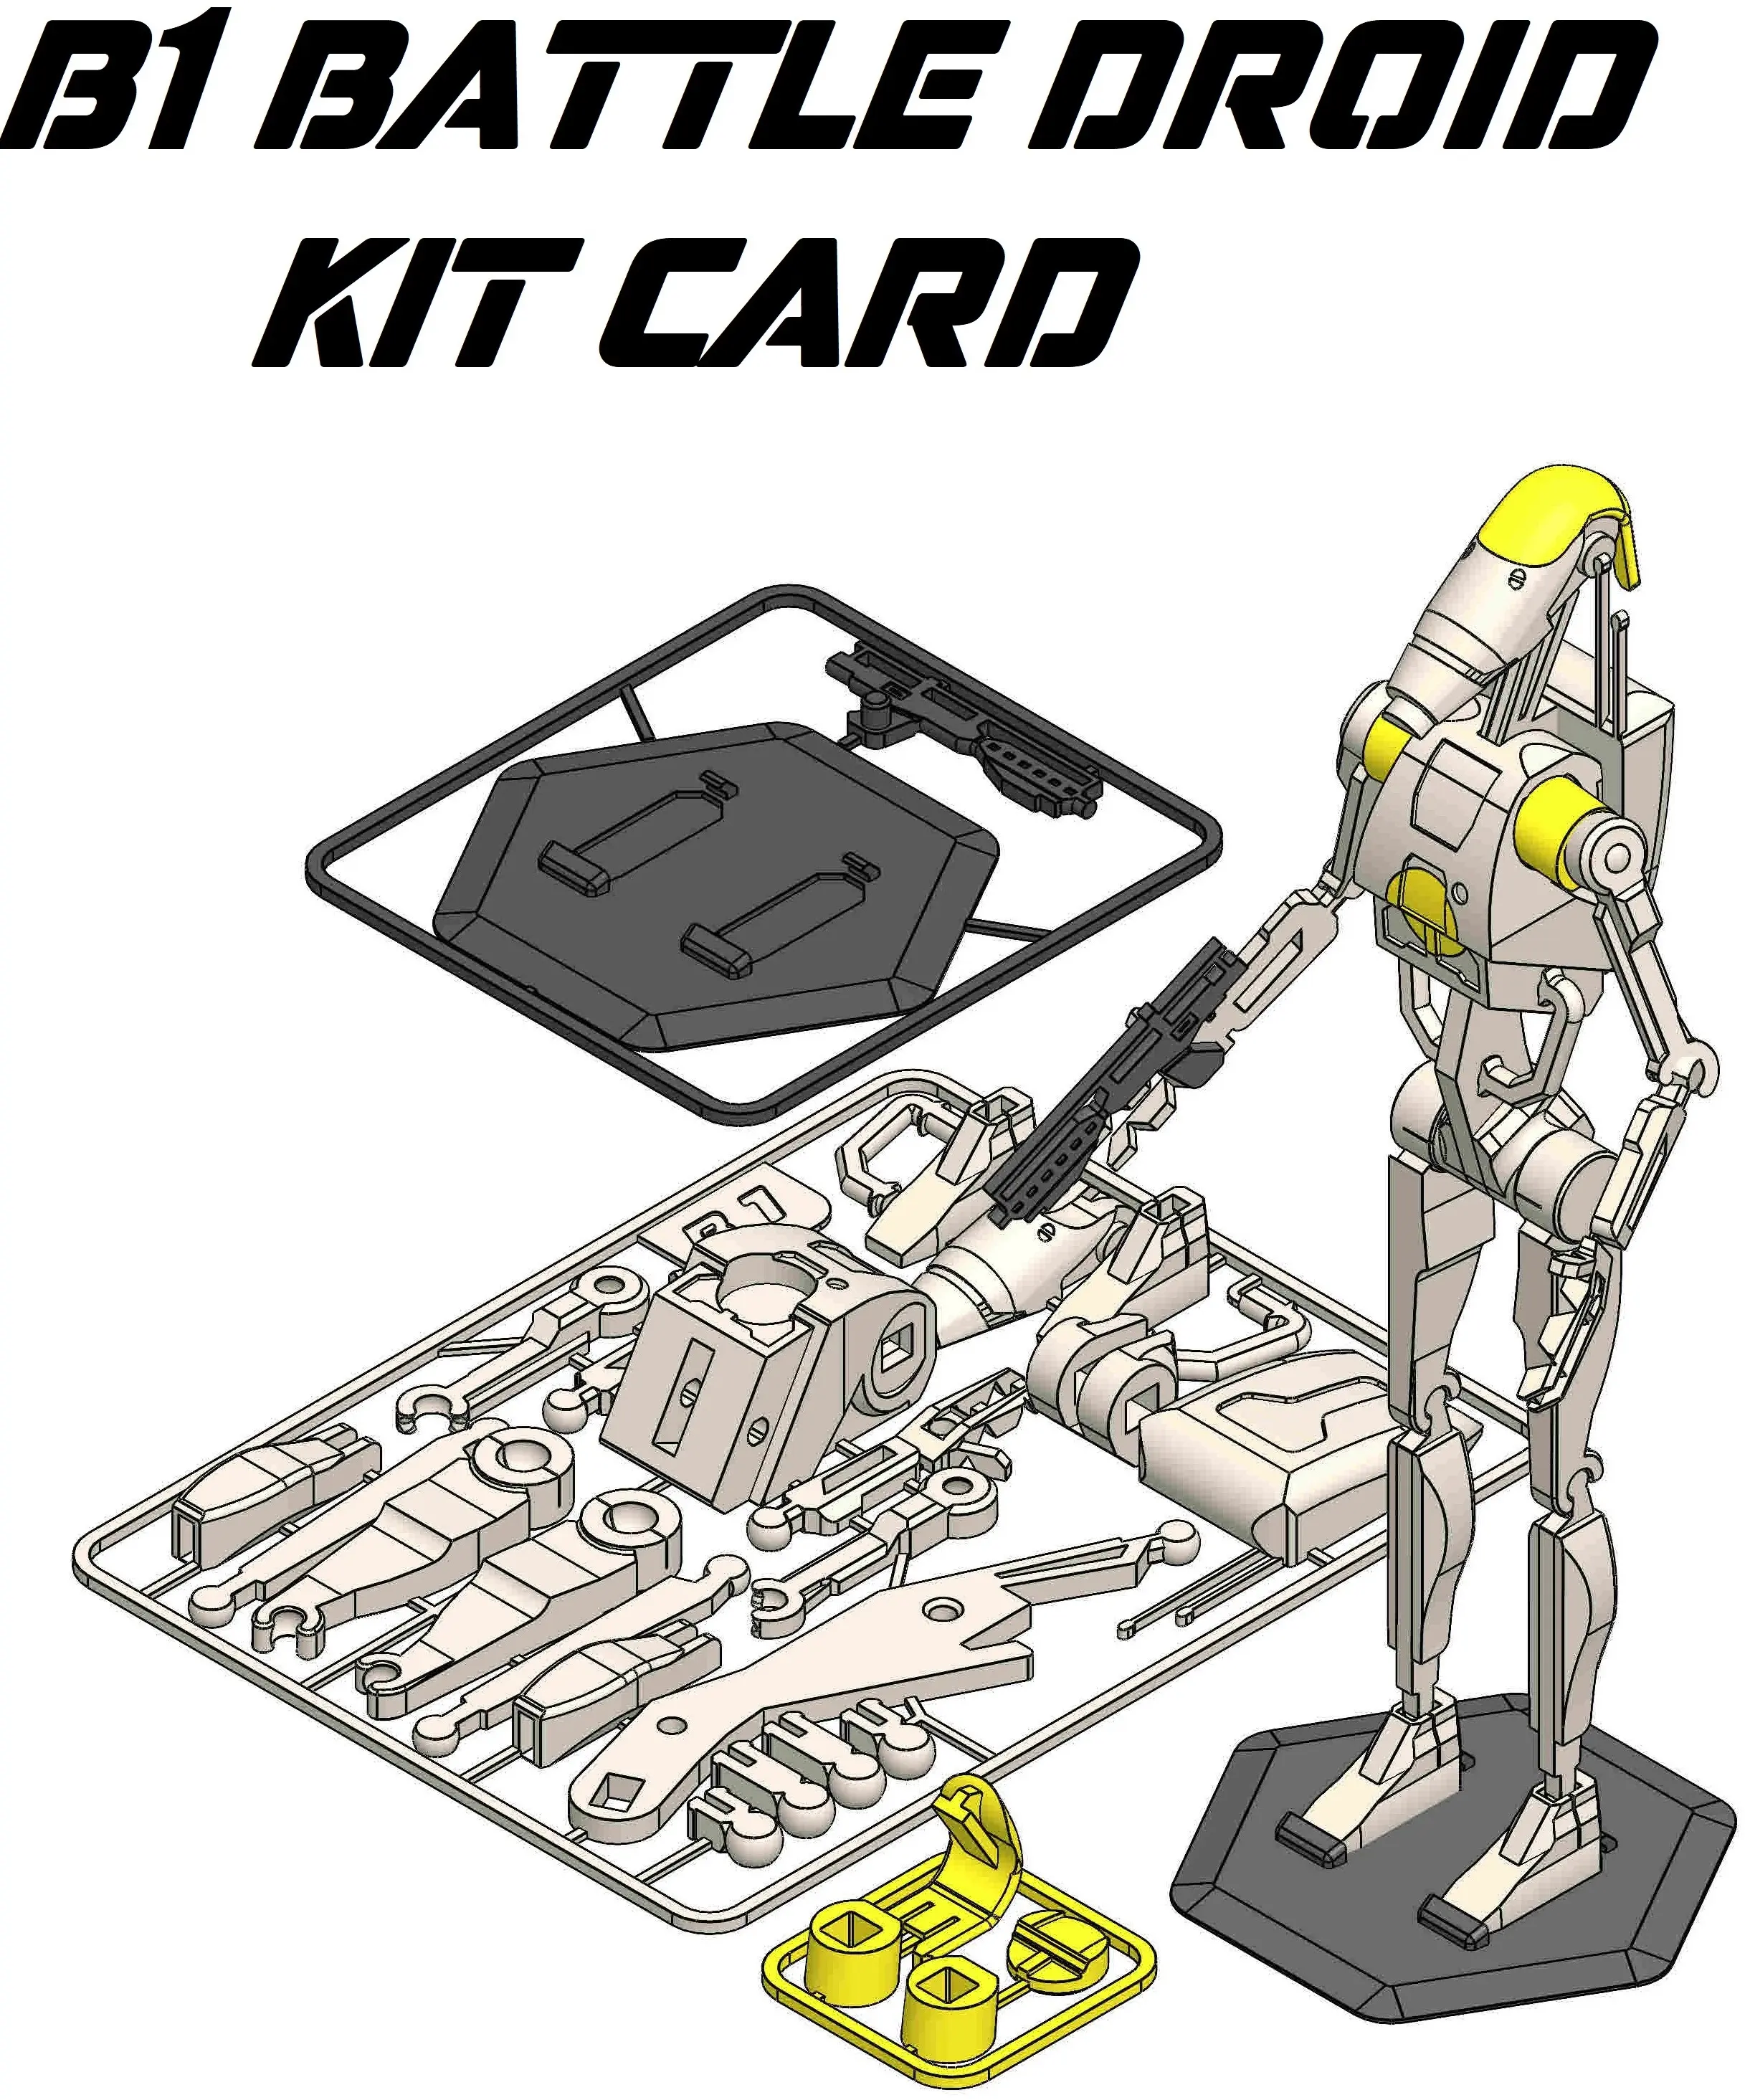
Star Wars B1 Battle Droid 2.0 Kit Card
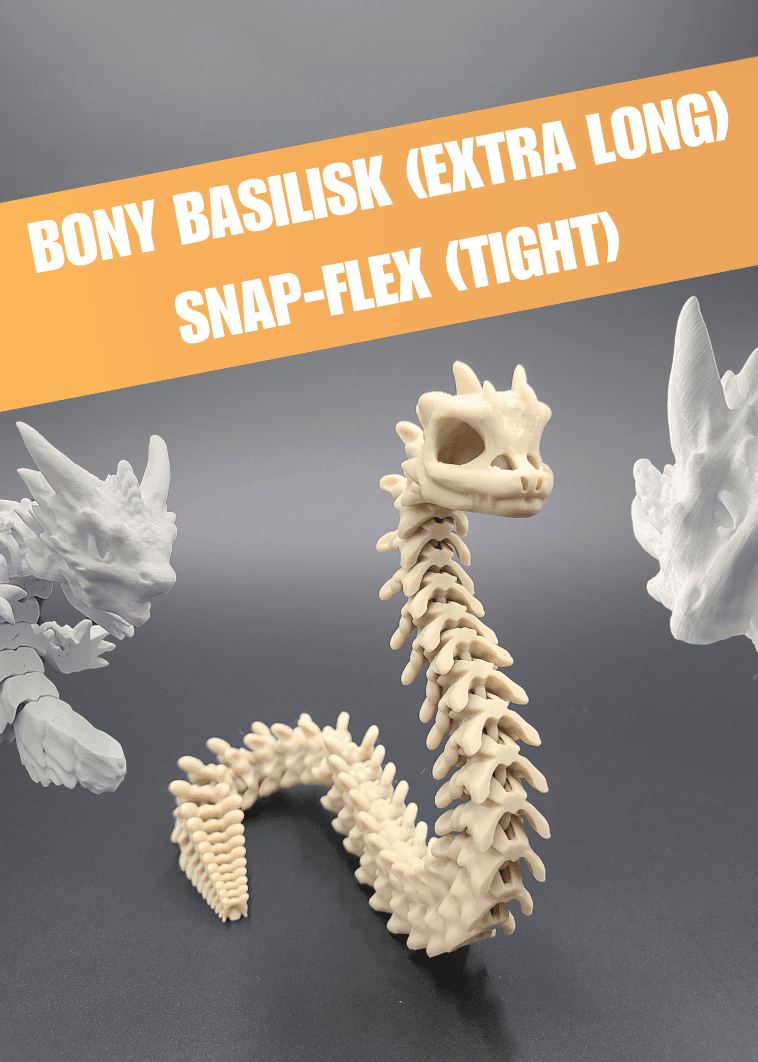
Extra Long Bony Basilisk - Articulated Snap-Flex Fidget (Tight Joints)
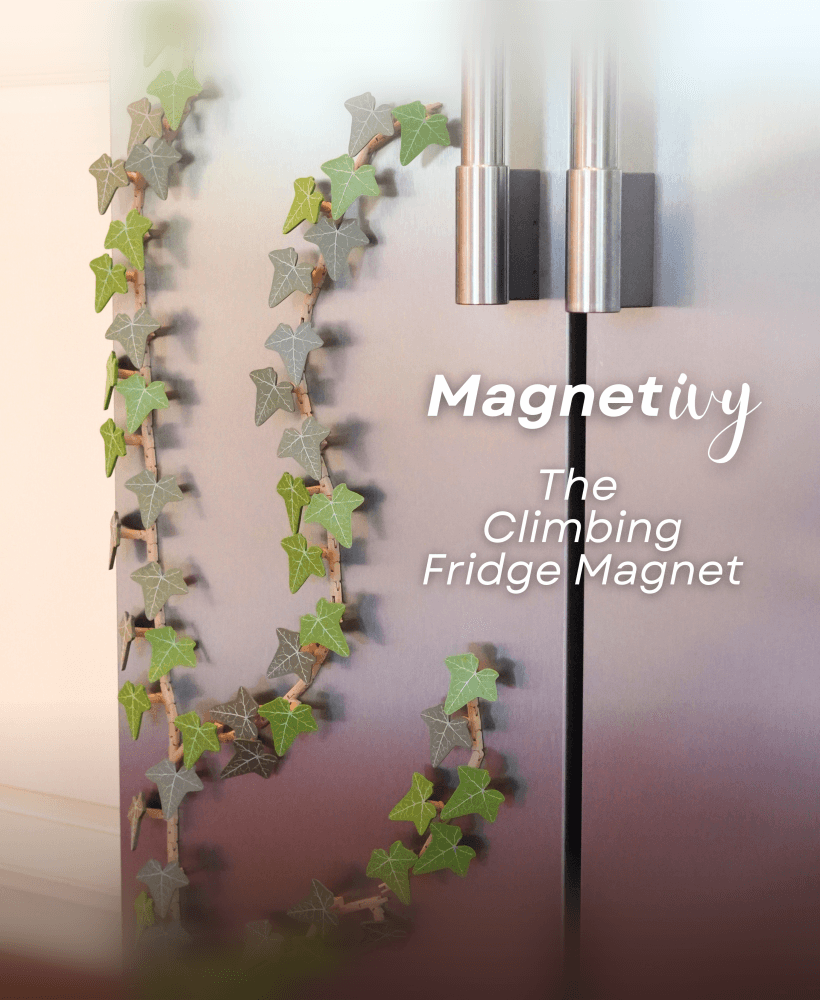
Magnetivy - English Ivy Fridge Magnet with Articulating Stems - Print in Place Hinges
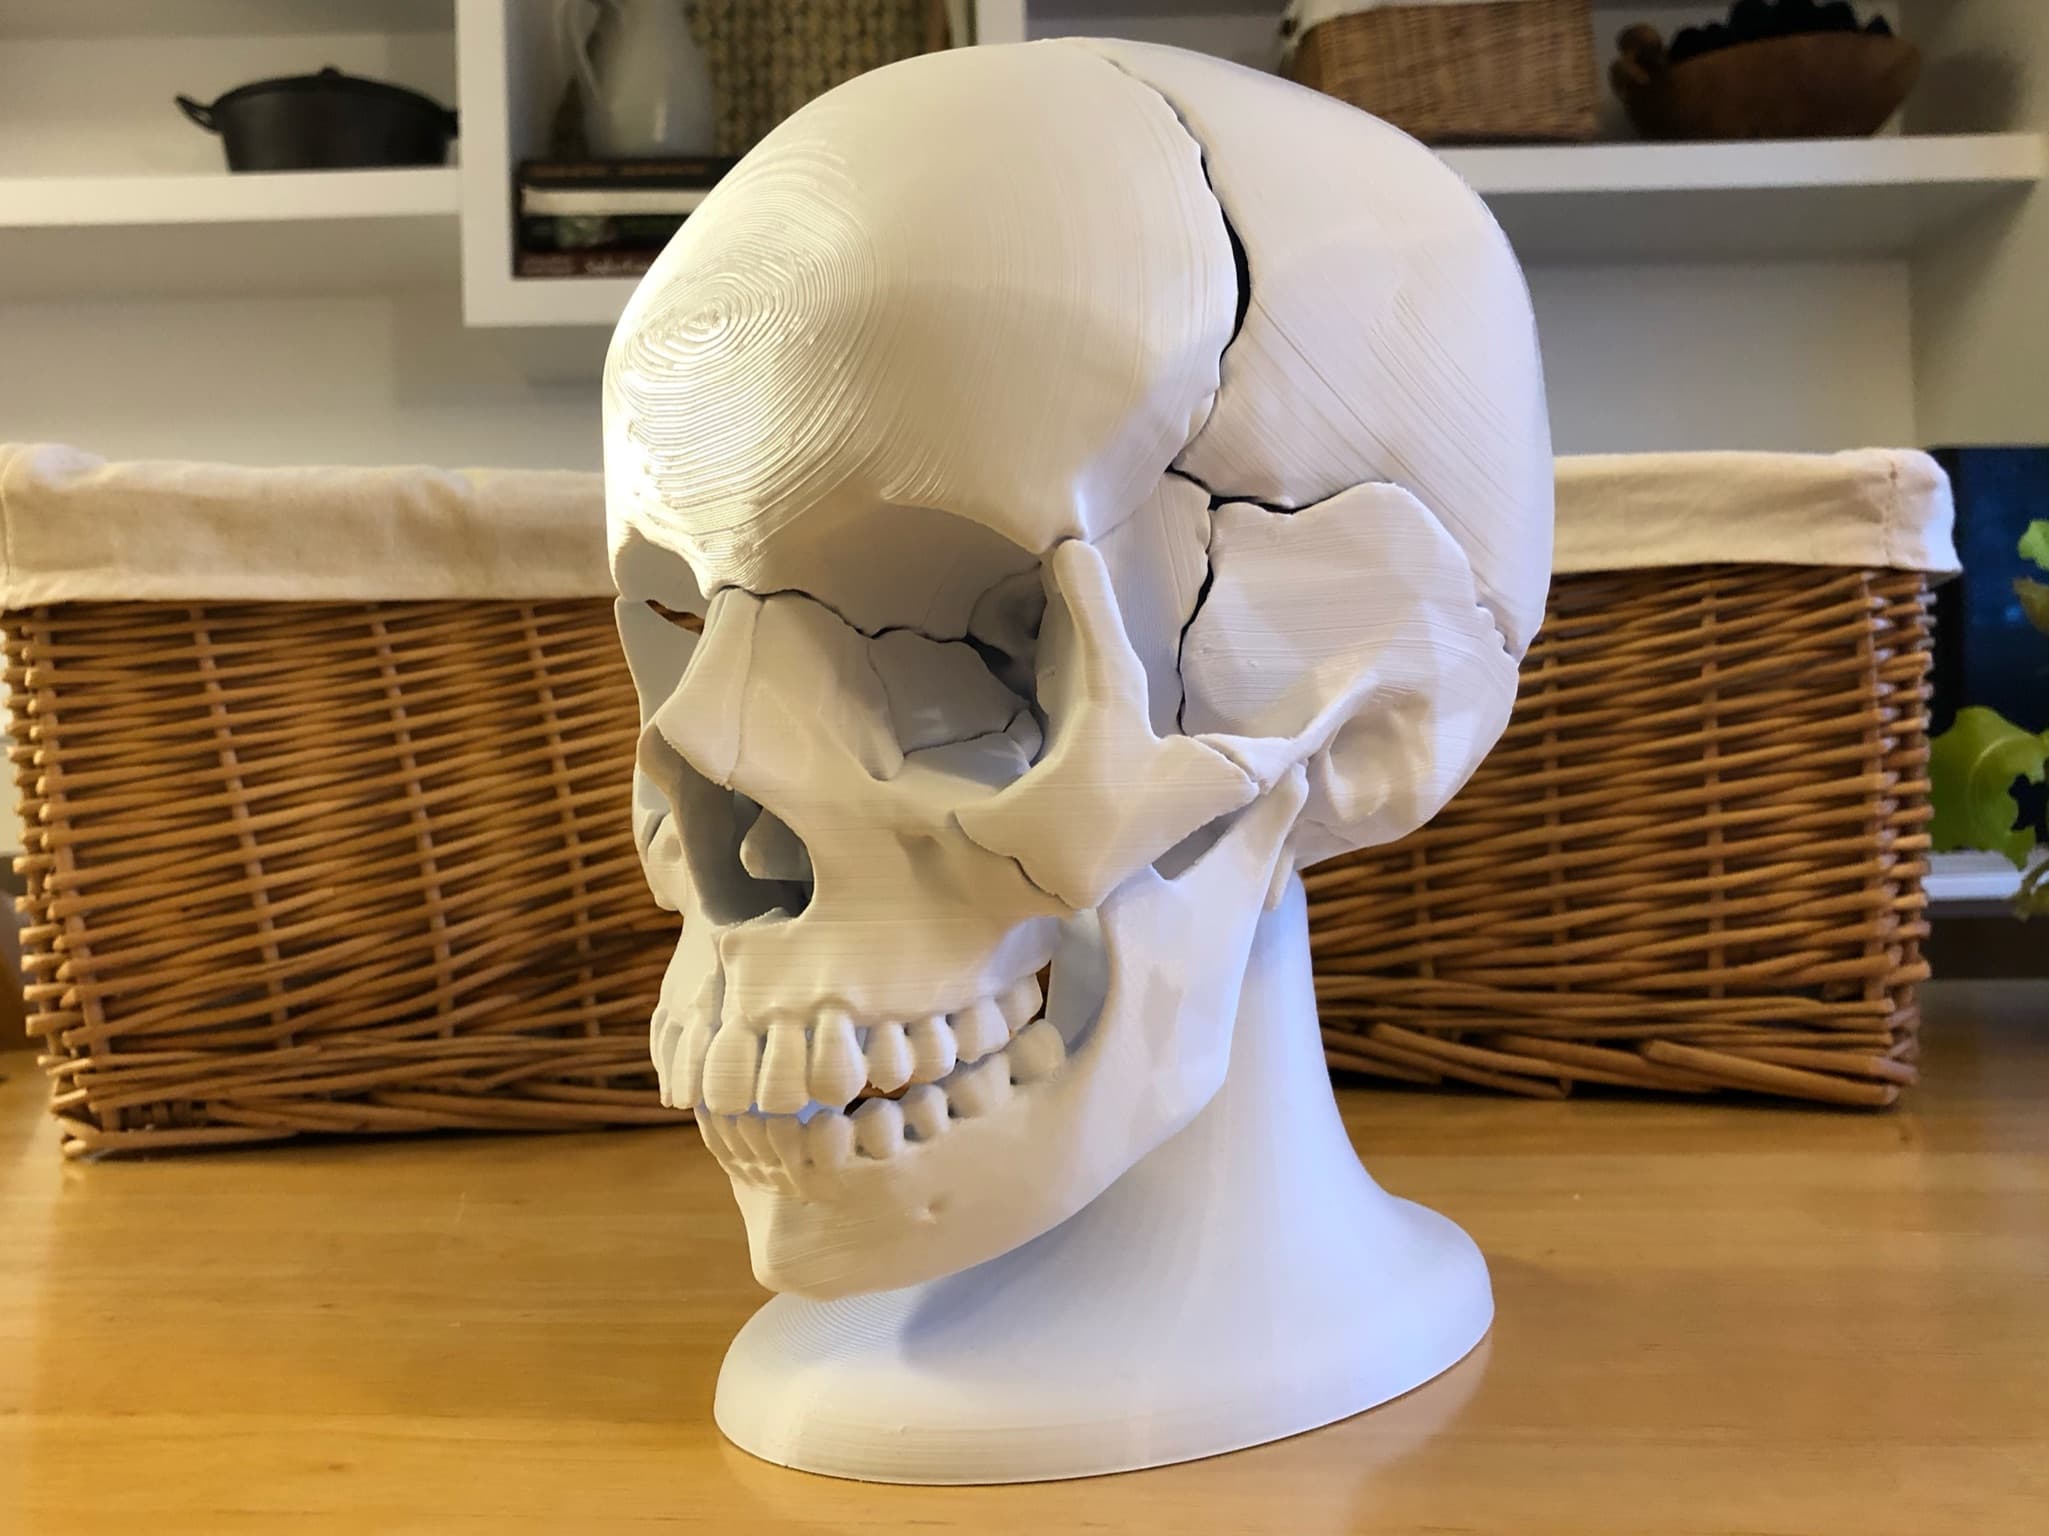
Full Size Anatomically-Correct 18-Piece Magnetic Human Skull Model

3D Flexi Baby Dragon Keychain
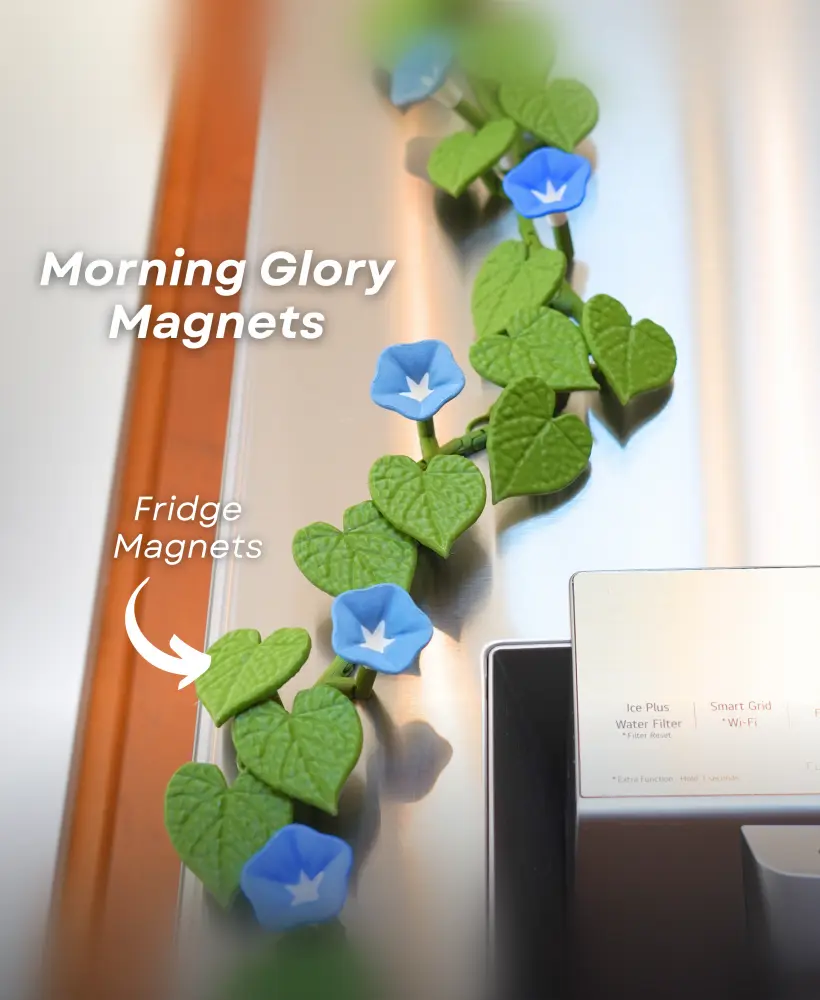
Morning Glory Magnets - Ivy Fridge Magnet - Flower Magnets

Crabby Crab - Articulated Fidget crab - Ludo 3D Printed Flexy Fidget
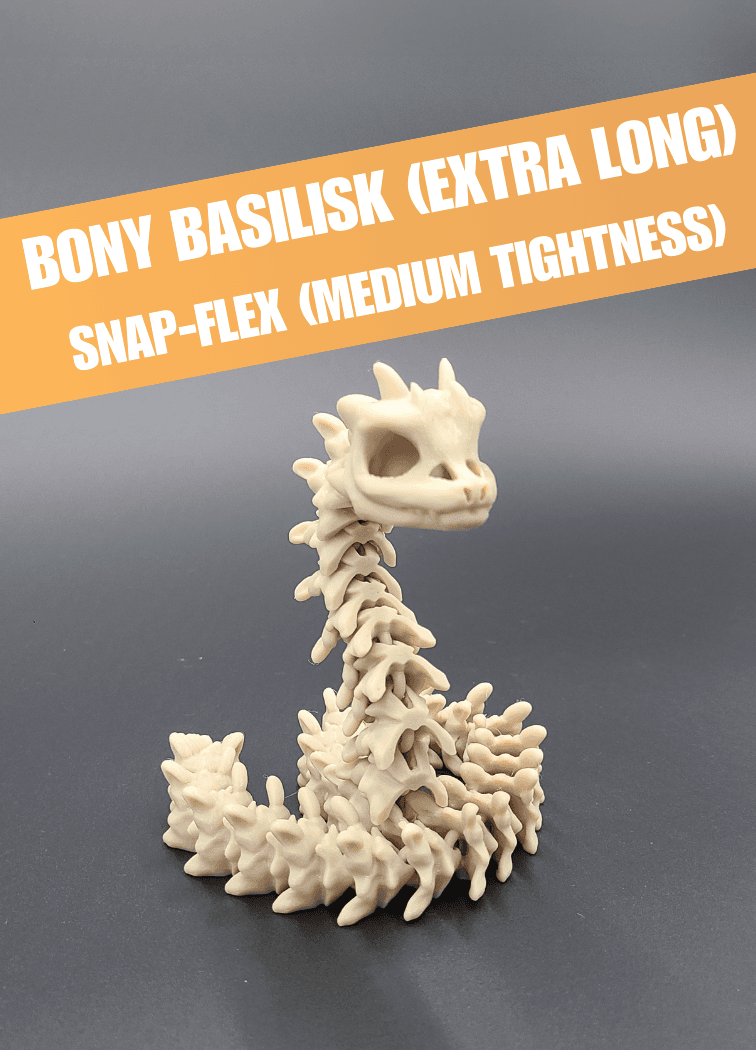
Extra Long Bony Basilisk - Articulated Snap-Flex Fidget (Medium Tightness Joints)
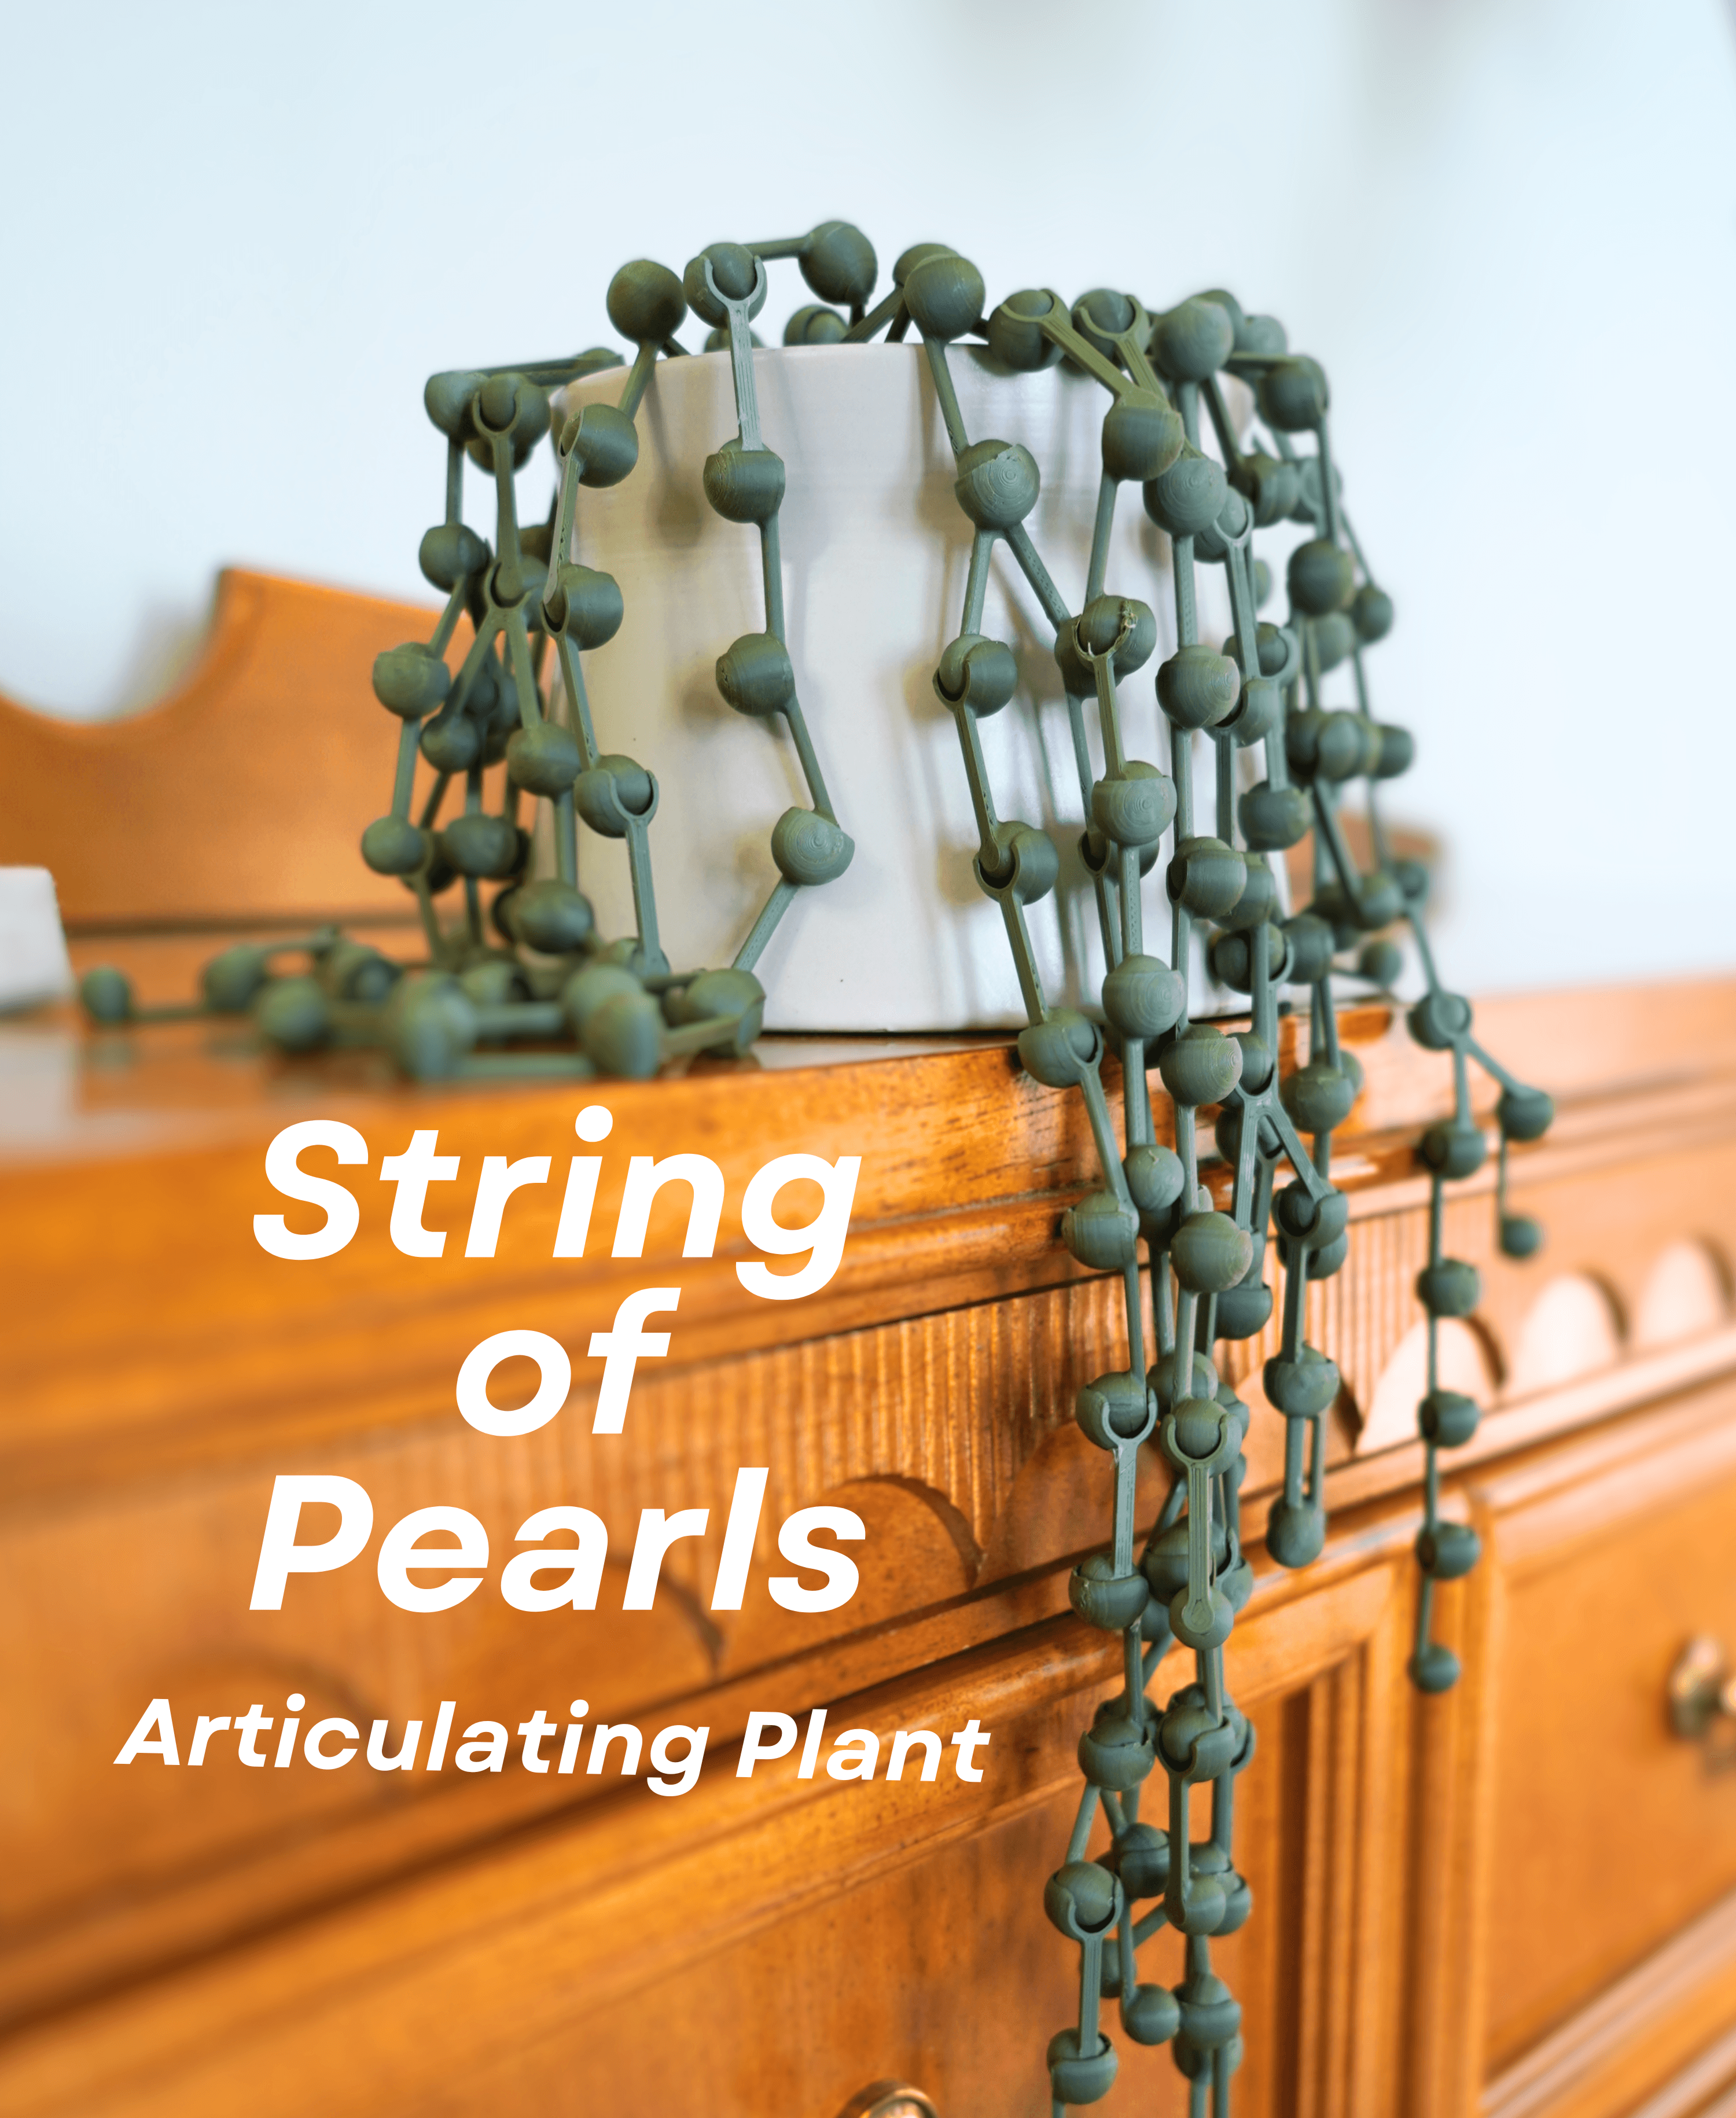
String of Pearls Articulating Plant

Long Bony Basilisk - Articulated Snap-Flex Fidget (Medium Joints)

Articulating Axolotl - Articulating fidget Axolotl - Ludo 3D Printed Flexy Fidget
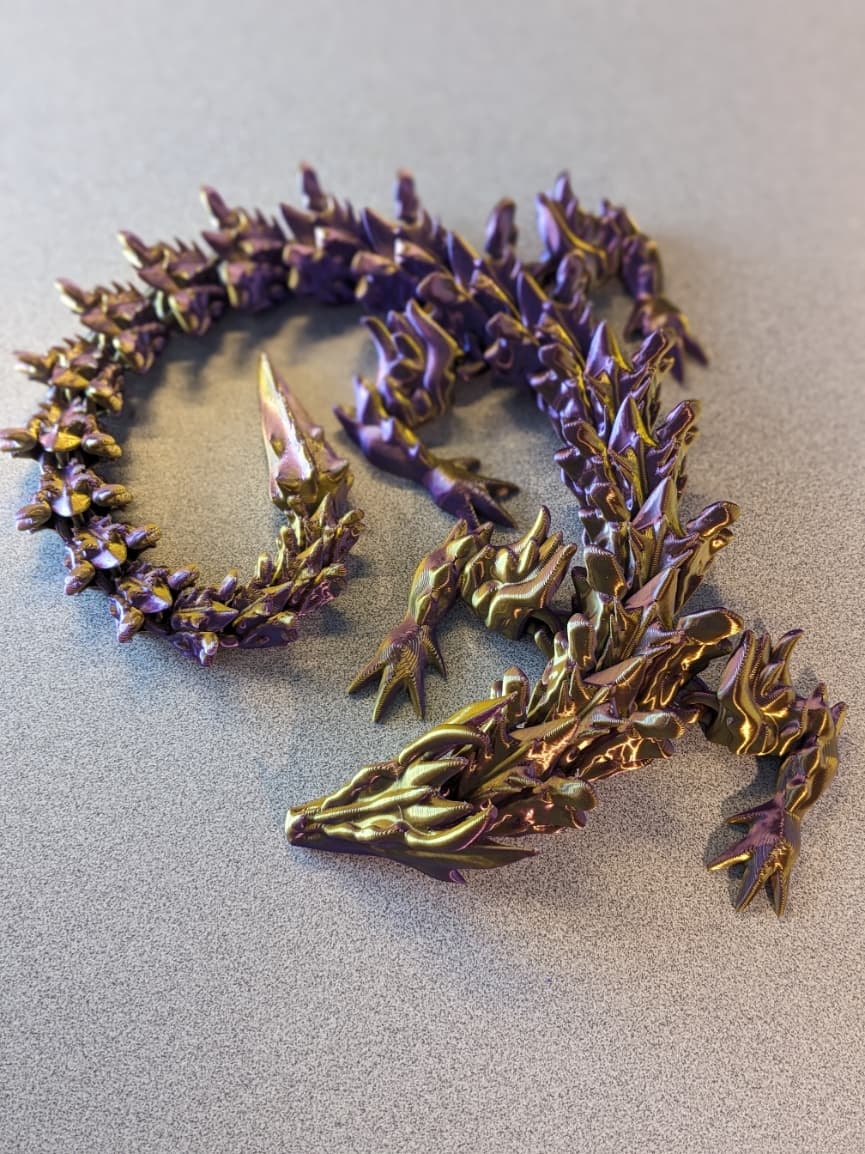
Bone Dragon - Articulated dragon
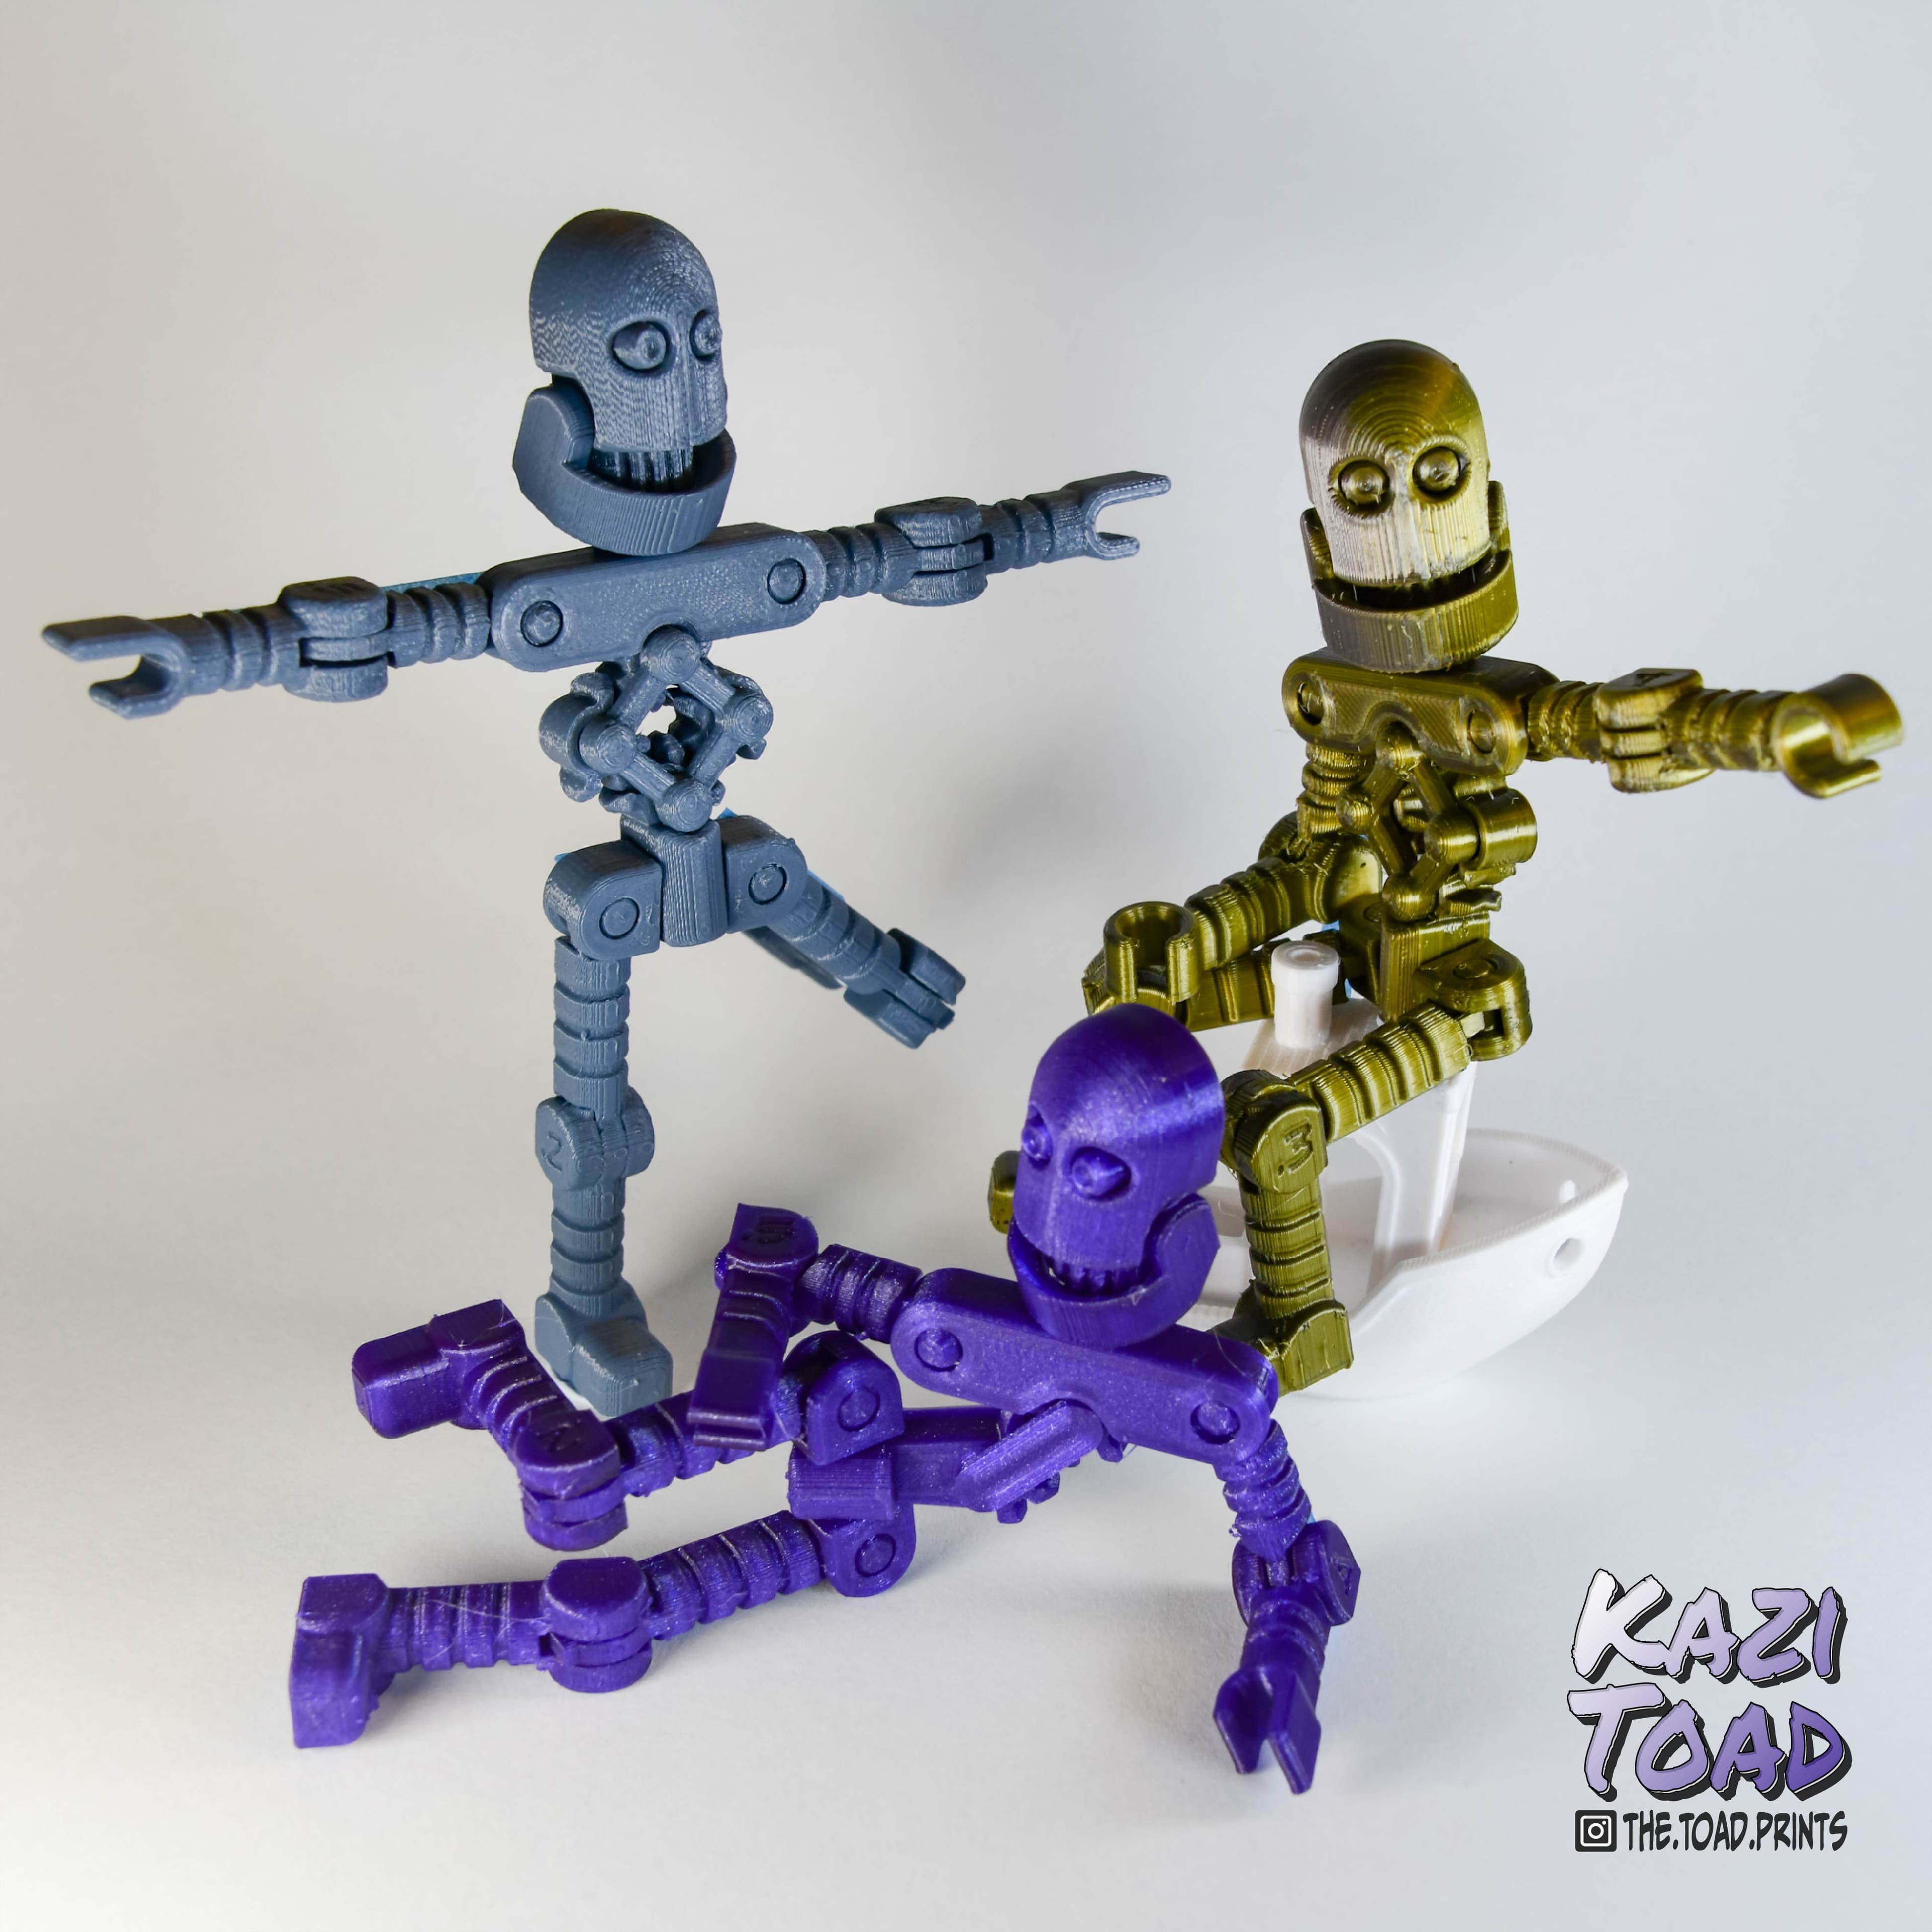
Benchmark Bot

Ultra articulated Snake - Updated joints
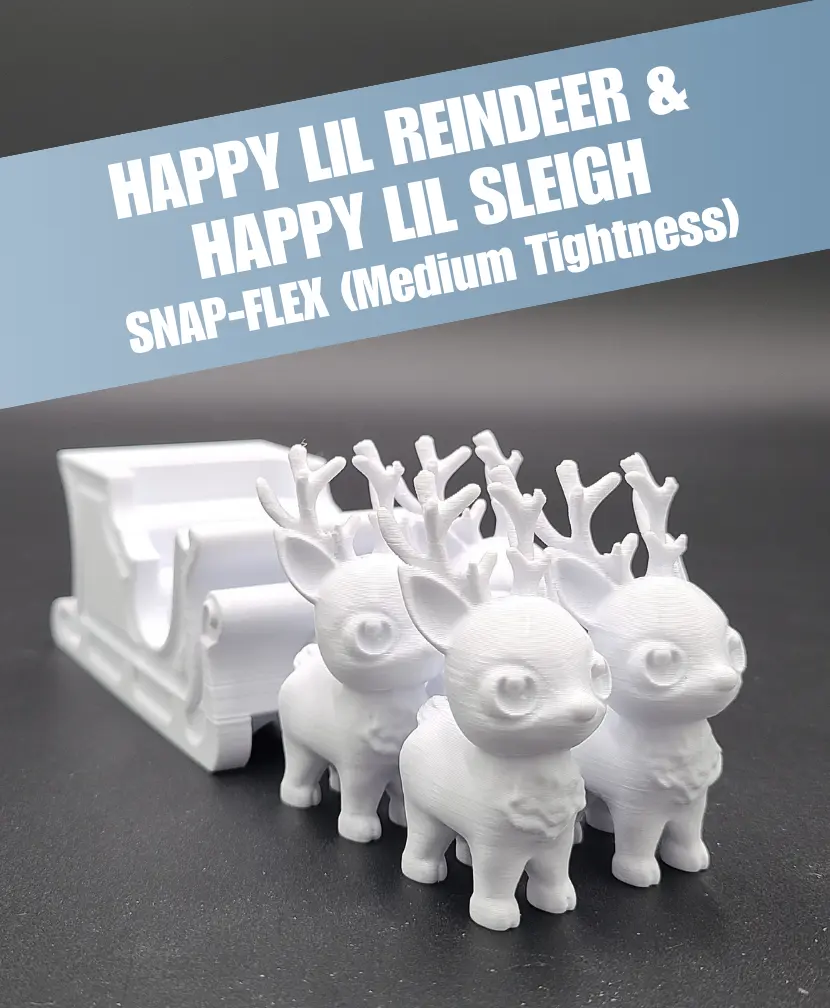
Happy Lil Reindeer & Sleigh - Articulated Snap-Flex Fidget (Medium Tightness Joints)
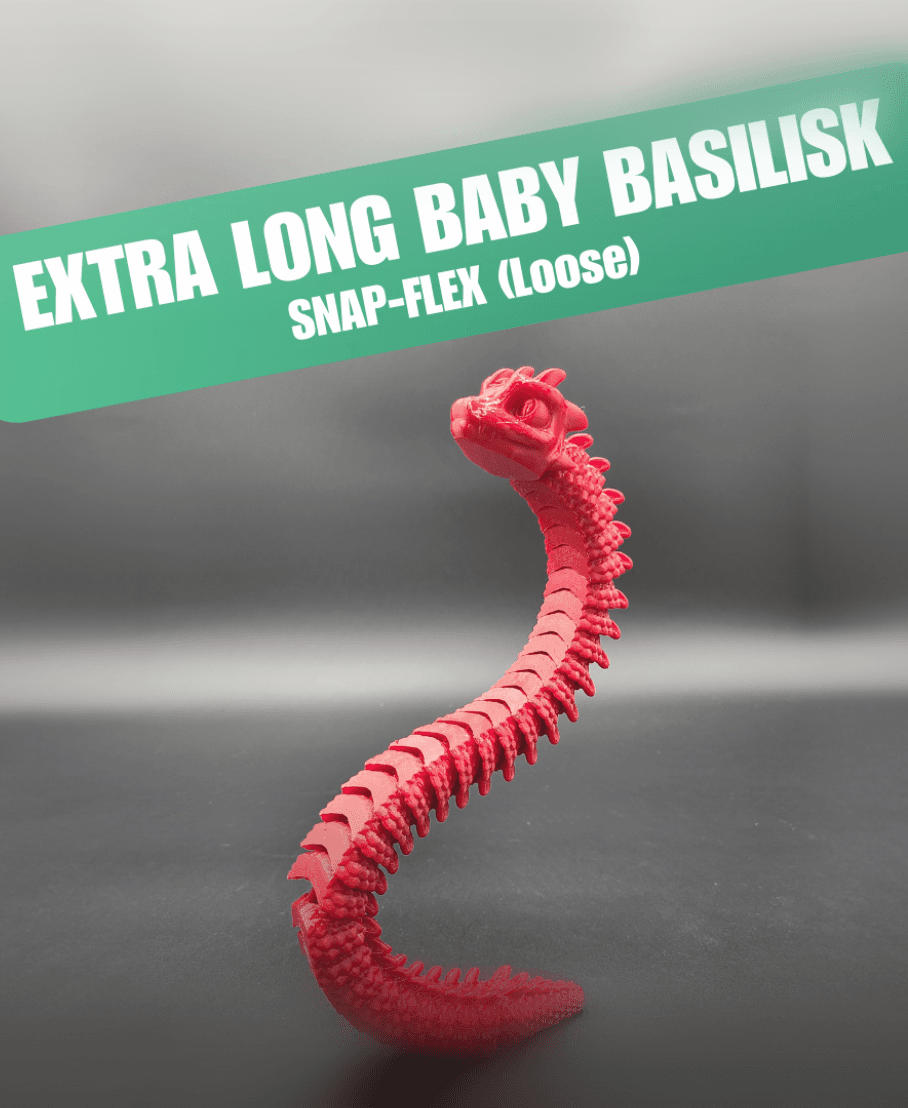
Baby Basilisk (Extra Long) - Articulated Snap-Flex Fidget (Loose Joints)

Articulated Highland Cow – A Moo-ving Print
.gif&w=3840&q=75)
Charlie the Comfort Crab