


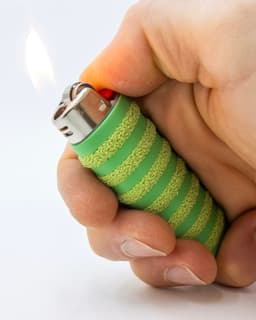

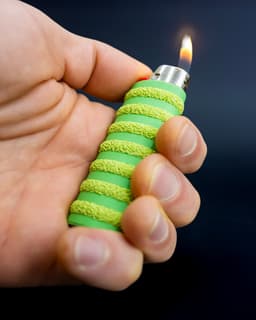


BIC Lighter Cover // WALDO
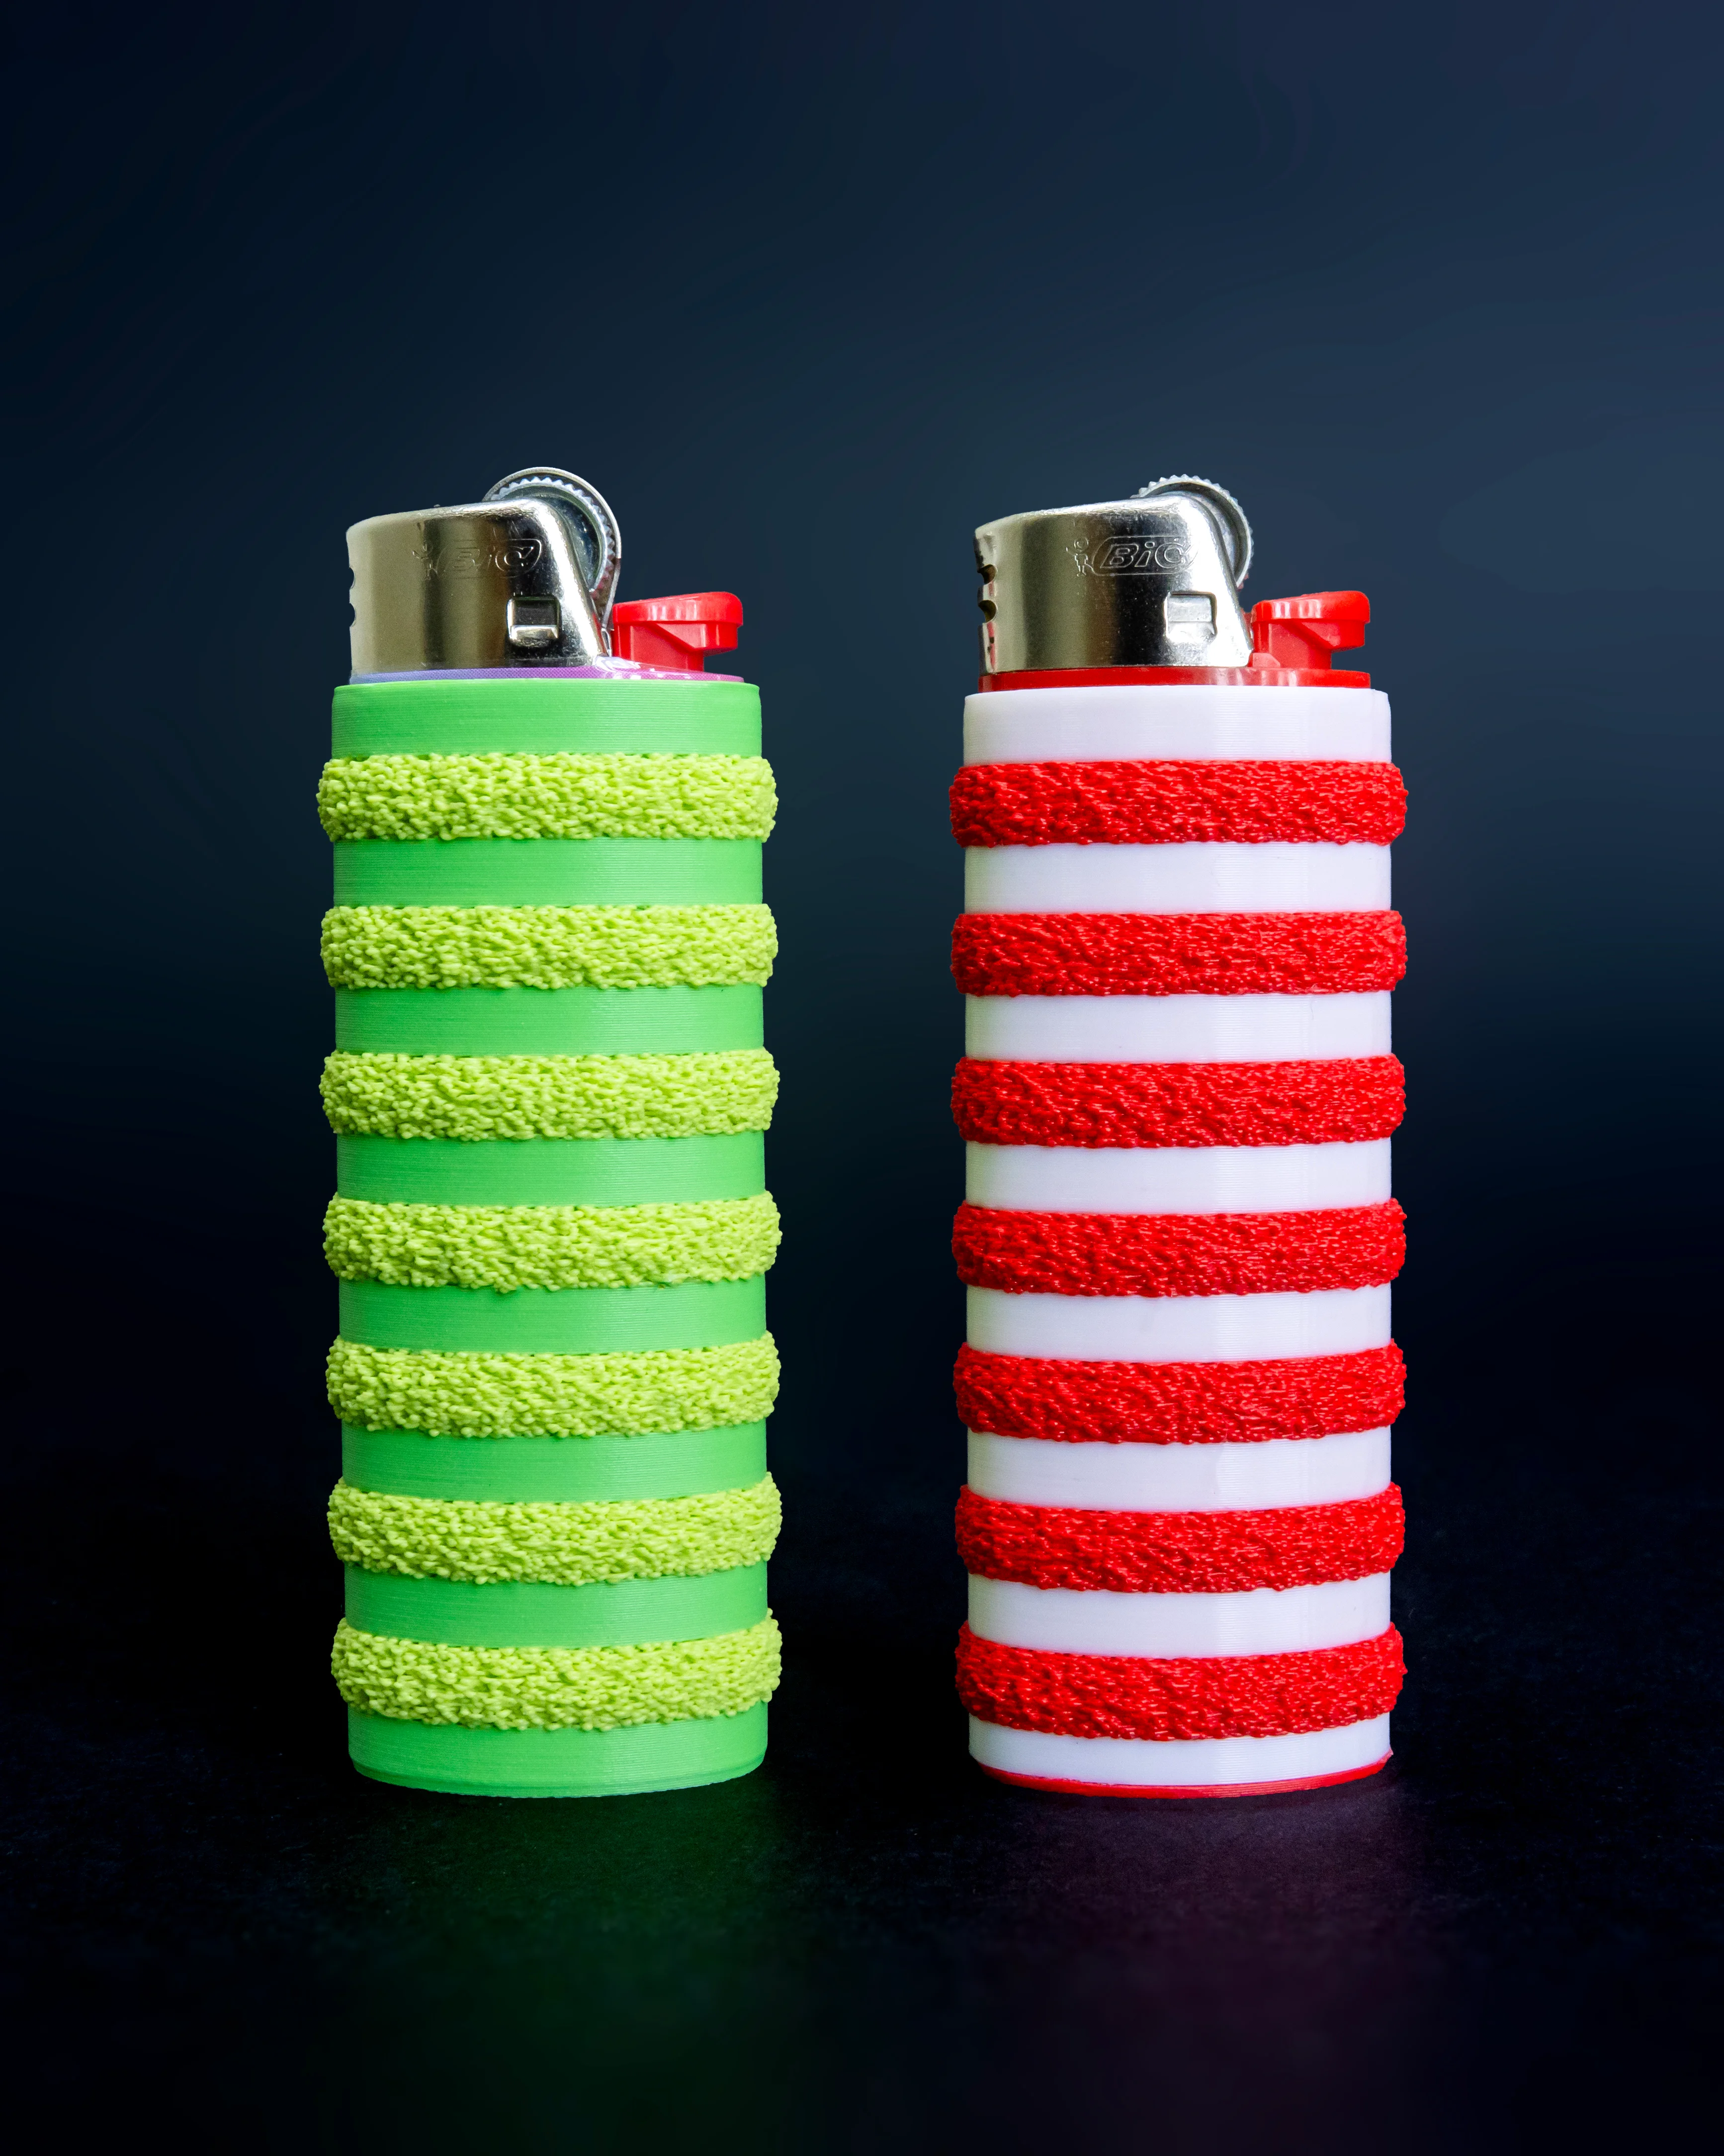
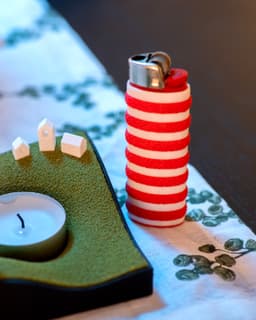
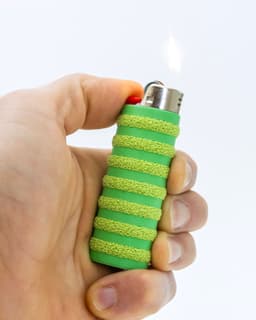
This WALDO Lighter Cover combines simple filament swaps and multi-texture printing, making a fun and grippy case for your standard BIC Classic Maxi Lighter.
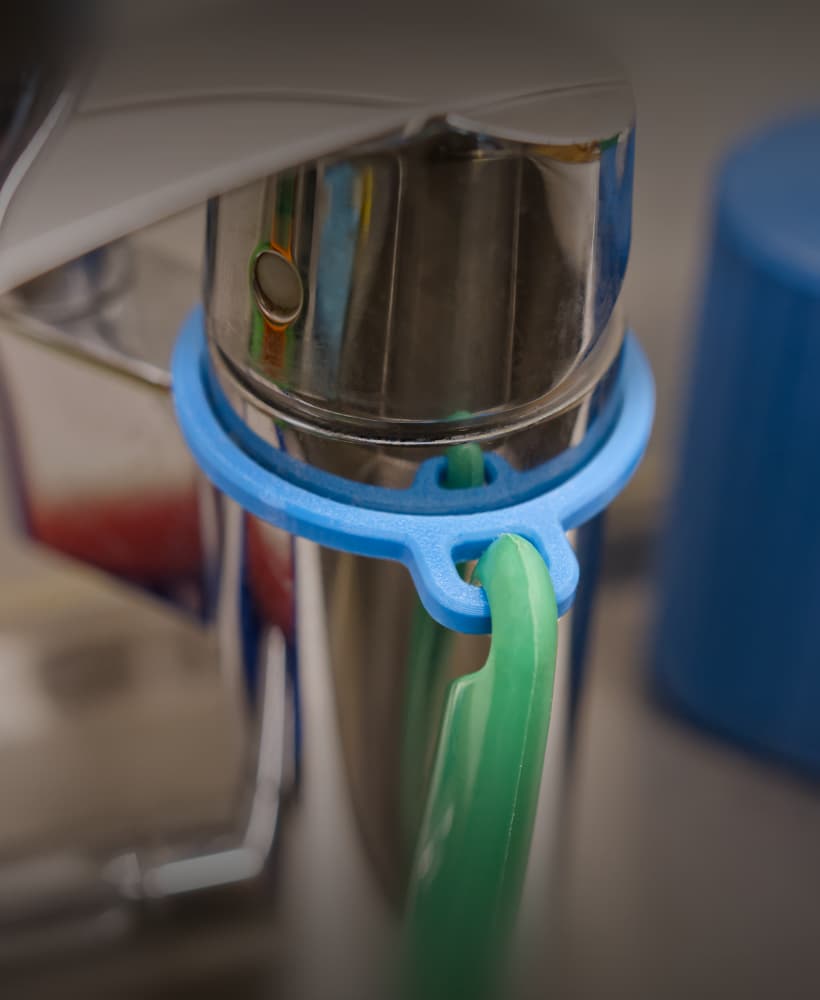
This download includes two parts per model. The standard version has a 0.8mm wall for minimal bulk, and the 'thicker' version has 1.2mm walls if you want something a bit more robust. Combine the A and B parts, with B being the fuzzy part. I've also included pre-sliced versions for Orca/Bambu Studio.
Printing Guidelines
-
3MF files for Bambu Studio/Orca are included with the multi-texture settings already applied, but I still suggest you review the settings and slicer preview to make sure everything looks right for your setup.
-
Combine 'A' and 'B' parts to print together. Global slicer settings should be 0.16mm layer height, 3 perimeters, 6 top layers, 4 bottom layers. An optional 5mm outer brim can help with bed adhesion. For the 'B' part enable Fuzzy Skin on 'Contours/Outer Walls only' with point distance of '0.3mm' and thickness of '0.6mm' (or as you prefer), 1 wall and 0% infill.
Importing STLs as multipart models
-
For Bambu Studio/Orca Slicer, drag both files into the slicer together and select 'Yes' to the prompt 'Load these files as a single object with multiple parts?' Now you can individually modify parameters under the 'Objects' setting tab.
-
For Prusa Slicer, ensure that you are in 'Expert Mode'. First, import the 'A' body, then right click on the name in the lefthand parts list, and click 'Add Part>Load' to add the 'B' body. Now you can right click that part in the same list and go to 'Add Settings' to add 'Layers and Perimeters > Perimeters' + 'Infill > Fill density' + 'Fuzzy Skin > Fuzzy Skin + Fuzzy skin point distance + Fuzzy skin thickness'. That will add the ability to adjust those settings individually.
I also made a video about the process
Multicolor on Single Color Printers
In addition to the multi-texture effect, you can add a pause between each stripe within your slicer for a color change. This can be done with an AMS/multi-color filament system, or manually (filament swap/pause option available within most slicers). The 'Orca' 3MF files are set up for use with Bambu AMS. No Prime tower required!
Photographed model was printed on the Bambu Lab X1-Carbon 3D Printer*
These affiliate links give me a commission on sales at no additional cost to you. Thanks for supporting Make Anything!.
BIC Lighter Cover // WALDO

30mm to 40mm Pendant Light Adaptor

30-60-90 Drafting Triangle // 6 inch + 150mm Version

Drafting Triangle Collection
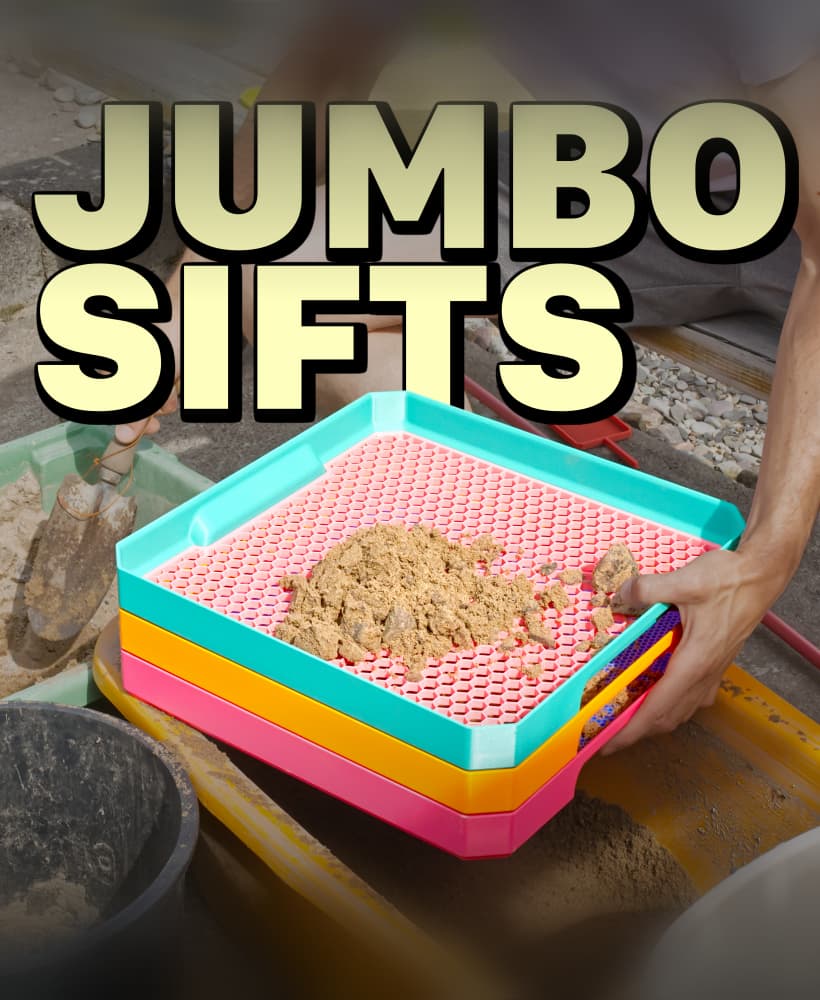
JUMBO Stacking Sieves // Supersized Stackable Sift Collection

Gutter Guard // Rain Gutter Debris Filter

EZPZ Screwdriver Bit Clip

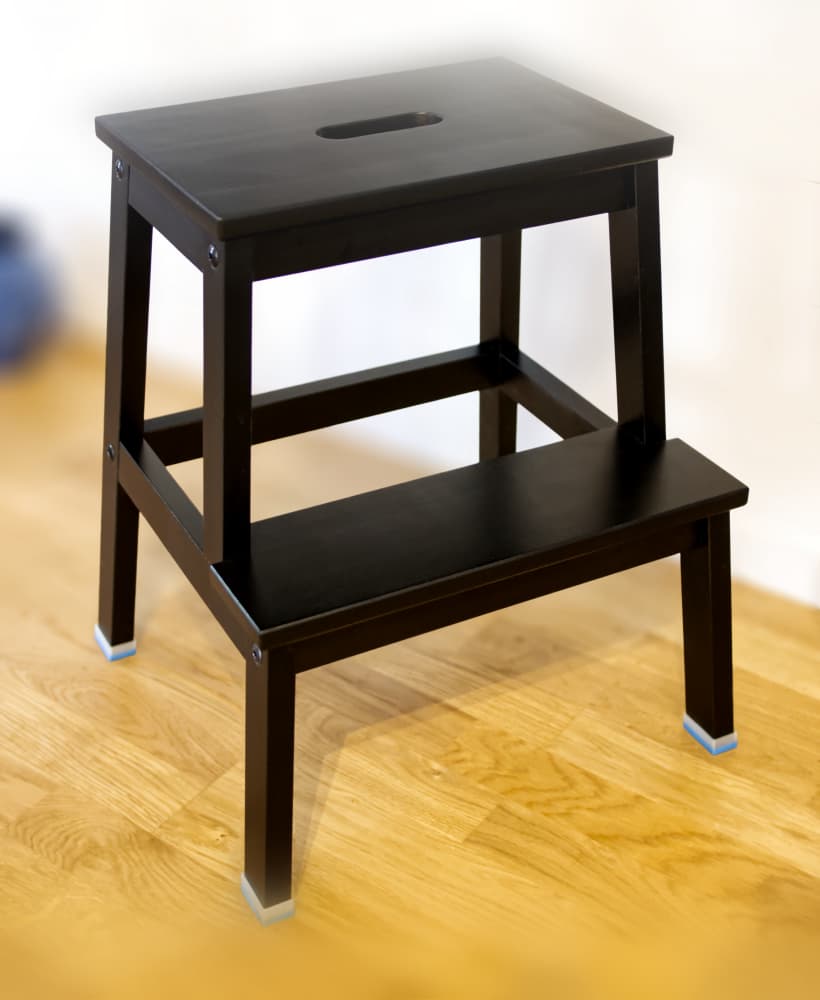
IKEA FLISAT Bench TPU Feet // Floor Protector + Grip
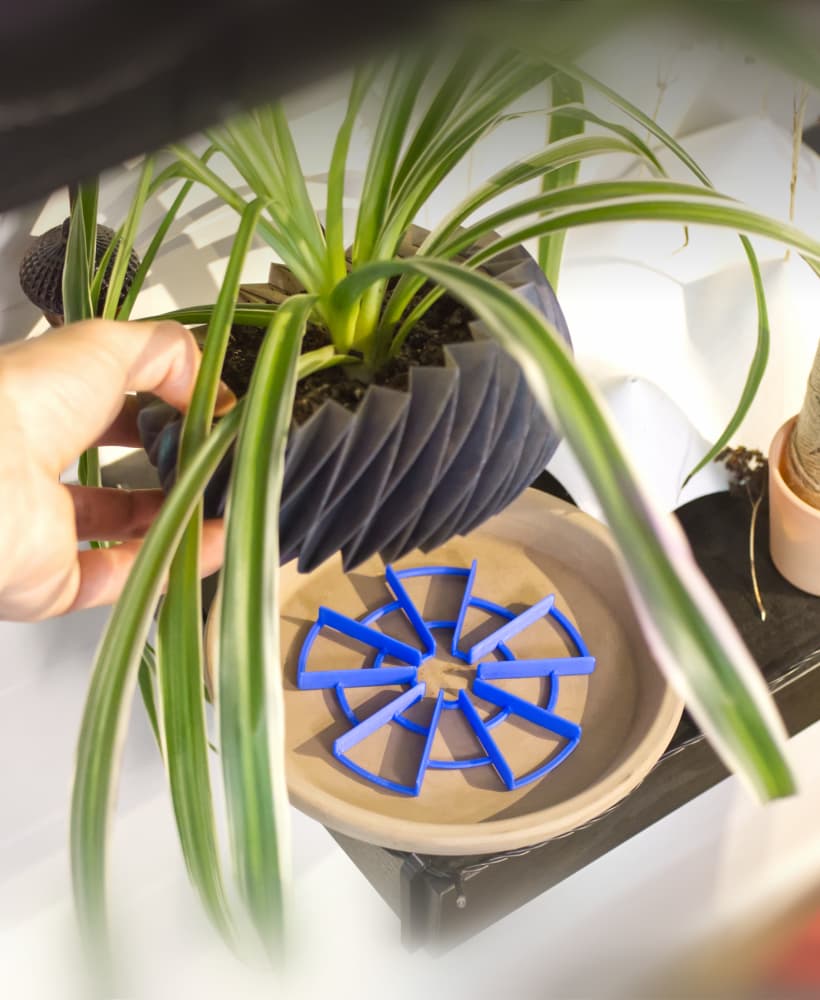
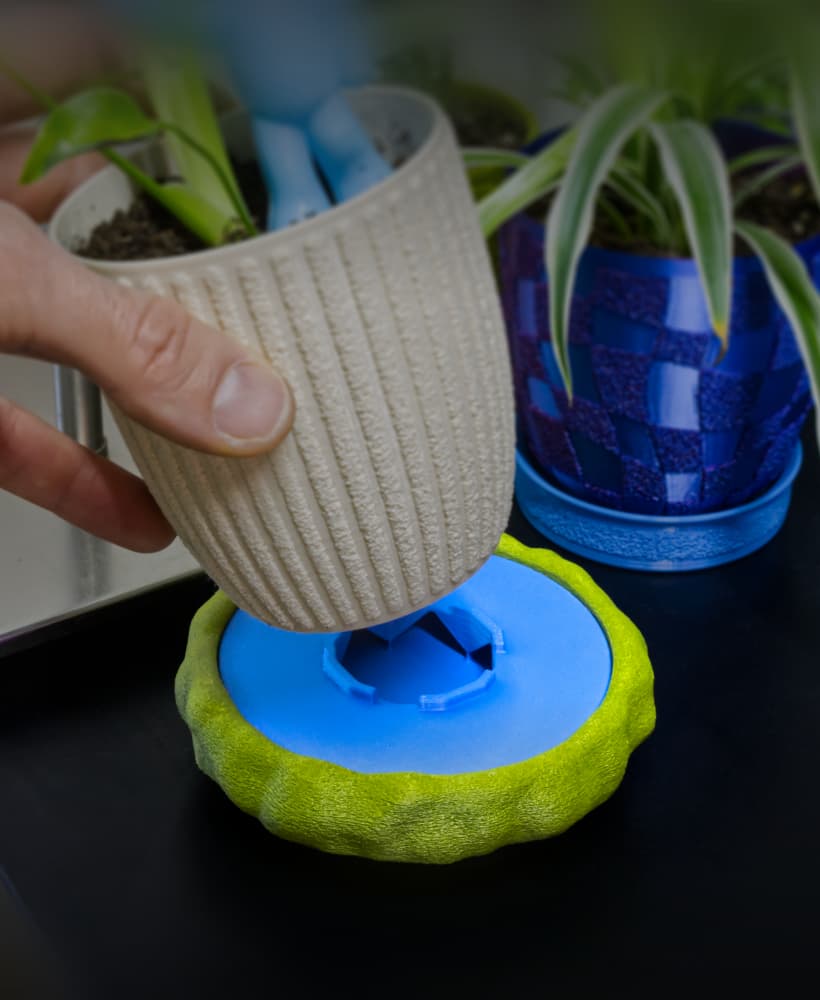
EZPZ Pot Spacers // Airflow and Drainage for Plants

EZPZ TPU Cable Clip Collection // Quick, Flexible, Cable Clips

EZPZ Dummy Nail // Damage Free Wall Hanger Collection

EZPZ Wall Hooks Collection // 17 Variations (and counting!)
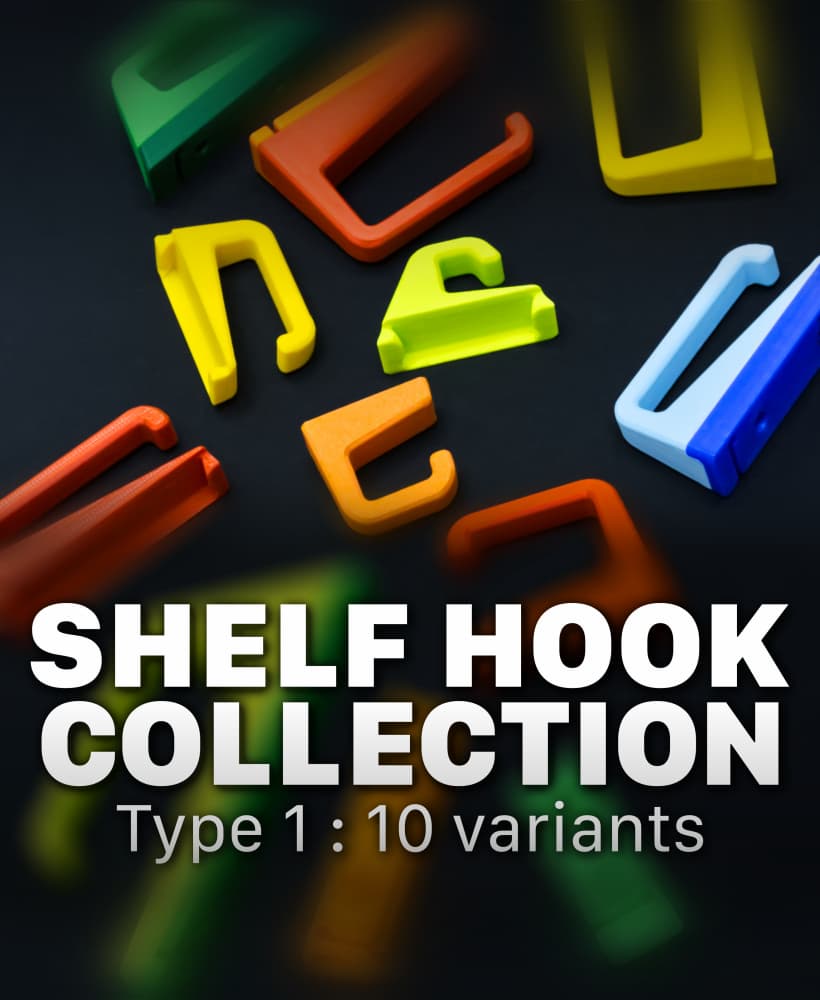
EZPZ Shelf Hook Collection // Type 1
EZPZ TPU Cable Clip (4mm)

Caliper Undercut Gauge Adaptors
EZPZ Wall Hook // Type A 36mm
EZPZ Small Shelf Hook // Type1

EZPZ Tube to Wall Mount
Moss Dish/Frame for 100mm Chunky Puck Drip Tray
IKEA Bekväm TPU Feet // Floor Protector + Grip