


Piano Pedal Box - Kurzweil Mark 5 Digital Piano
Model originally uploaded to Thingiverse at: https://www.thingiverse.com/thing:7211615
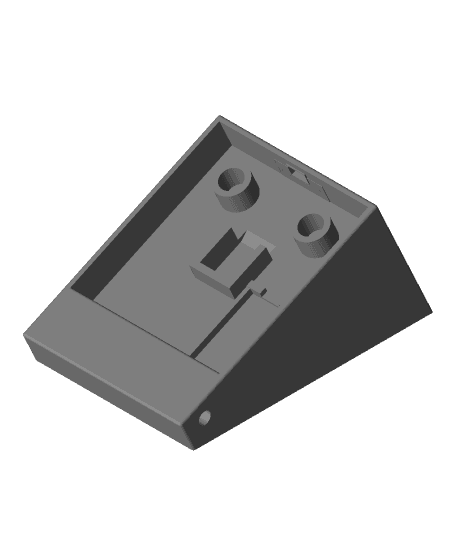
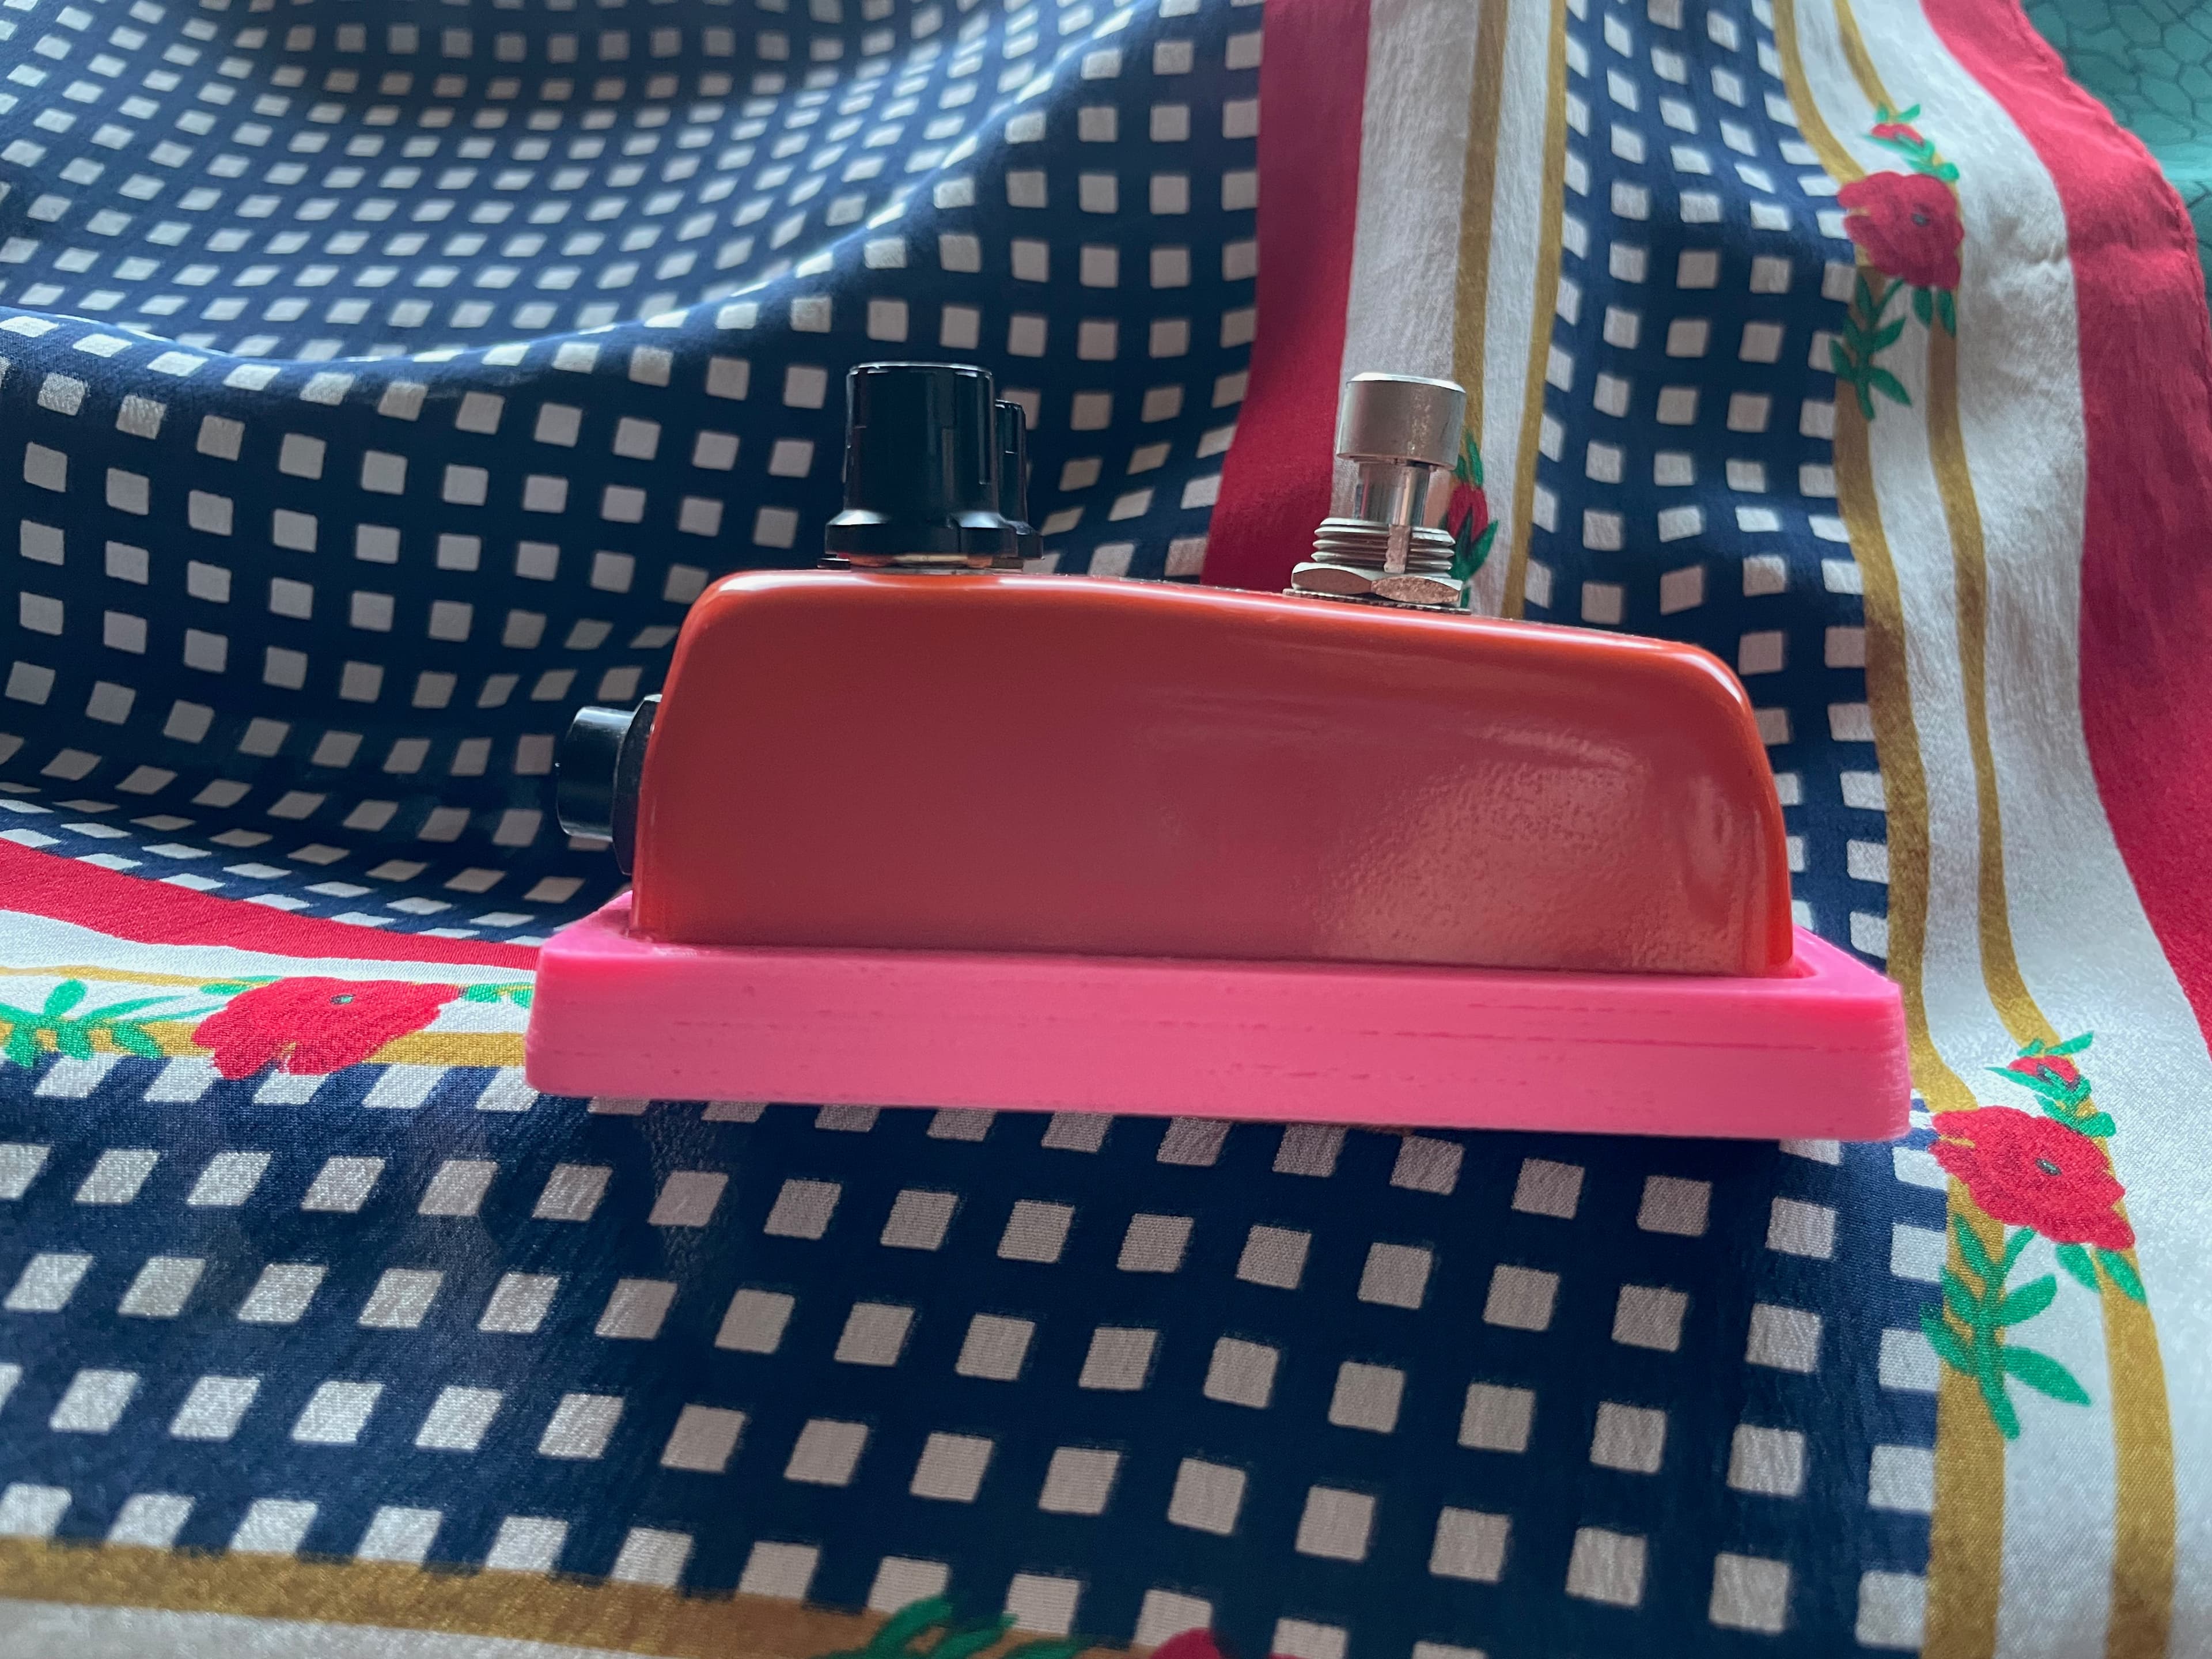
Summary This is a nearly drop-in replacement housing for the pedals on a Kurzweil Mark 5 Ensemble Grand Digital Piano (version 1.0). The printable parts are the main housing and the top plate that holds the pedals in place. Original part number: Pedal Box - 32021501 Pedal Cover - 32021504
Required Hardware
- QTY 5 - M5 by 20mm Flat Heads screws
- QTY 5 - #8 by 2in long wood screws. Note: re-using original holes may tear out after use. You may need to through-bolt the entire housing through the bottom support bar if this happens.
- QTY 5 - M5 Heatset inserts - I used 9mm long ones
- QTY 1 - M8 Heatset insert - the longer the better, I used a 12.7mm long one
- Not required but recommended - stick-on cleats for cable management.
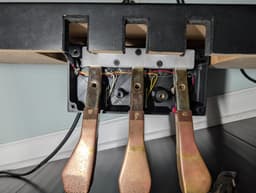
You will need to salvage the pedals, springs, magnets, felt pads, leveling foot, and all electronics from the original housing. The magnets are very brittle, be patient when extracting. Acetone can help dissolve the plastic as well as the adhesive holding the magnets in place. I have not tested to see what equivalent magnets will work.
Print Recommendations These parts will see a fair bit abuse. Printing with several walls as well as top/bottom layers is strongly recommended. Ideally, at least 5 perimeters, and 5 top/bottom layers.
Assembly
-
Install 5x M5 heat set inserts into 5 holes surrounding where the pedals will be held around their hinges.
-
Install 1x M8 heatset insert into large hole for the leveling foot. NOTE: this should be installed from the UNDERSIDE of the housing if possible. If you install from the topside and are not able to force it down far enough, the foot will have to be seated very far into the housing before it engages on the threads, this may not work for all situations.
-
Glue-in salvaged magnets
-
Glue in salvaged (or new) felt
-
Place stick-on cleats where needed to effectively cable manage wires
-
Install PCBs Note: hot glue is recommended to secure PCBs while still being removable incase adjustment is needed in the future.
-
Install Pedals and secure with top plate using M5 screws Note: check functionality before installing assembly onto piano
-
Install assembly into piano using #8 screws
Photos are of slightly older design that was missing a cutout to pass the wires into the box, models have been updated to add this hole.
Piano Pedal Box - Kurzweil Mark 5 Digital Piano
Piano Foot Pedal Extension
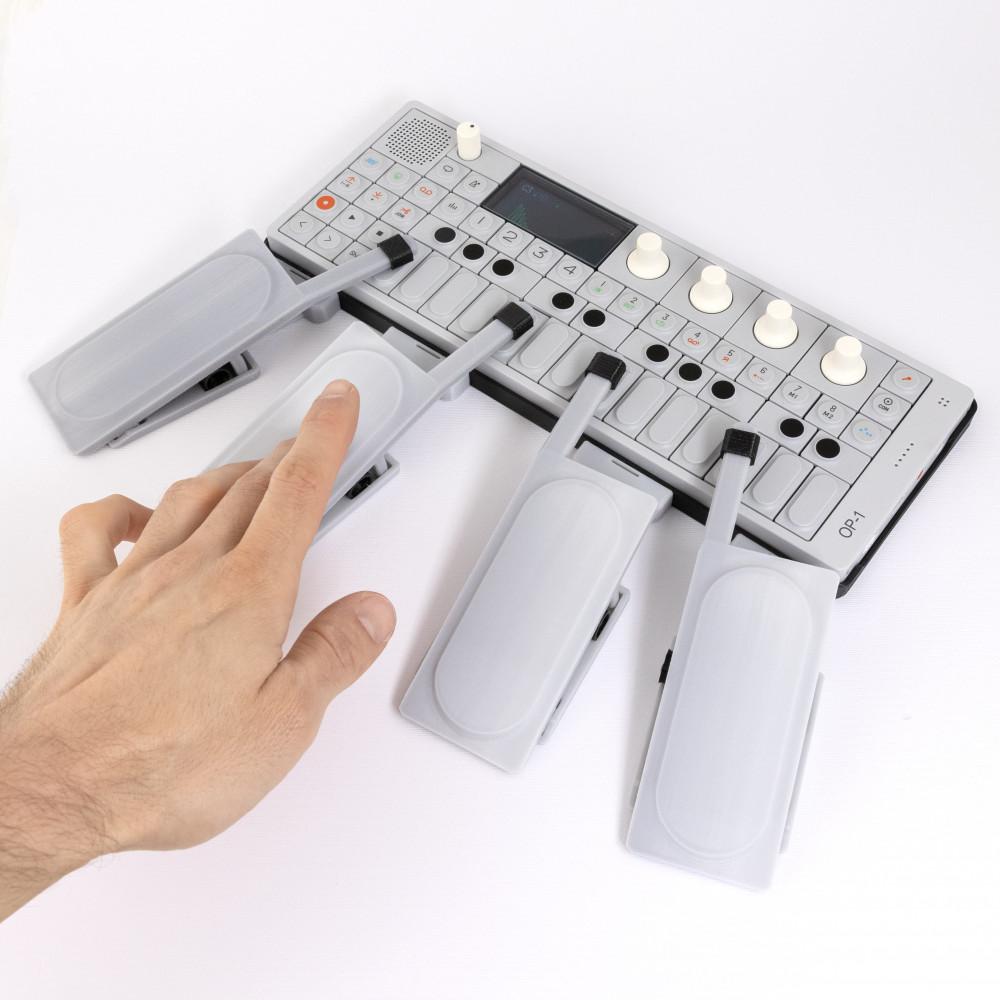
OP-1 4 Pedal Kit
PC Compatible Foot Pedal

look Keo cleat adjustment plate.stl

Piano keys and music are worn in beauty and style - Set of bookmarks

The glass domed prison of natures beauty the Rose - Set of bookmarks
Guyatone Micro Effects Rubber Ring
DBS 3D Printed Carbon Fiber Bicycle Frame
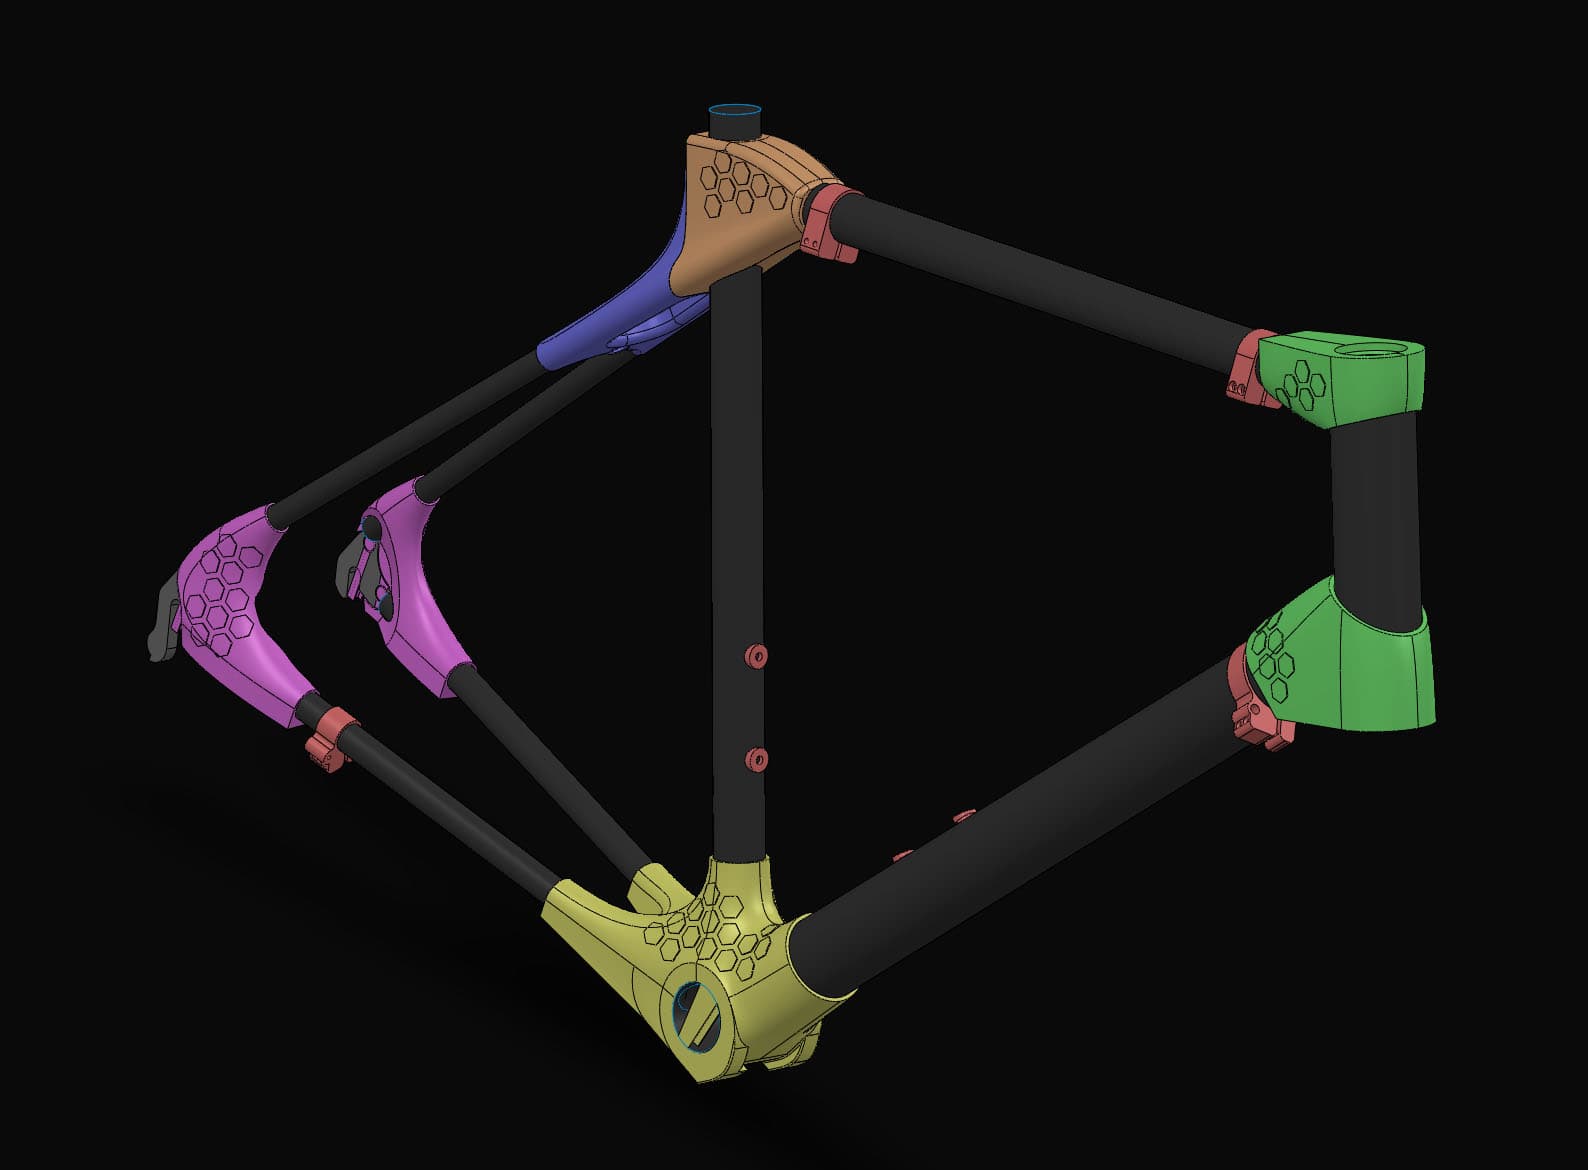
DBS 3D Printed Carbon Fiber Bicycle Frame - Medium
.png&w=3840&q=75)
Sushi Supplements - Weekly Pill container and Keychains
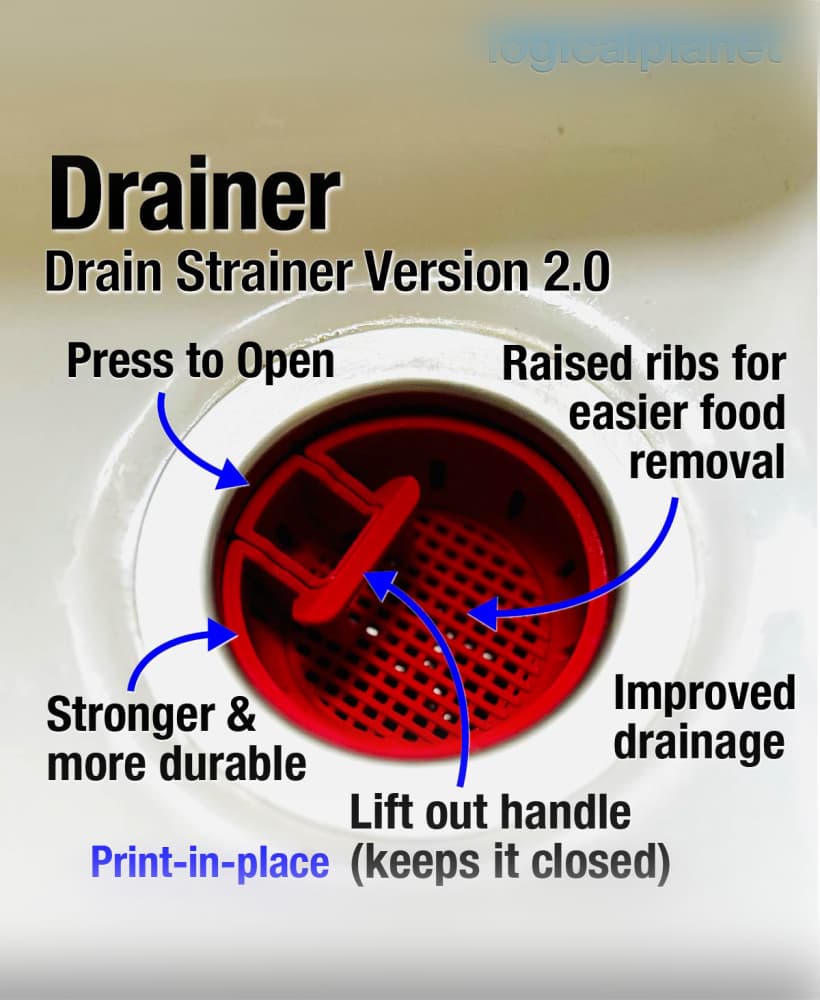
Drainer – Pop-Open Drain Strainer Version 2.0
.png&w=3840&q=75)
Trellis Storage System - Base Bundle | Pegboard Alternative
.png&w=3840&q=75)
Hextraction Secret Tiles
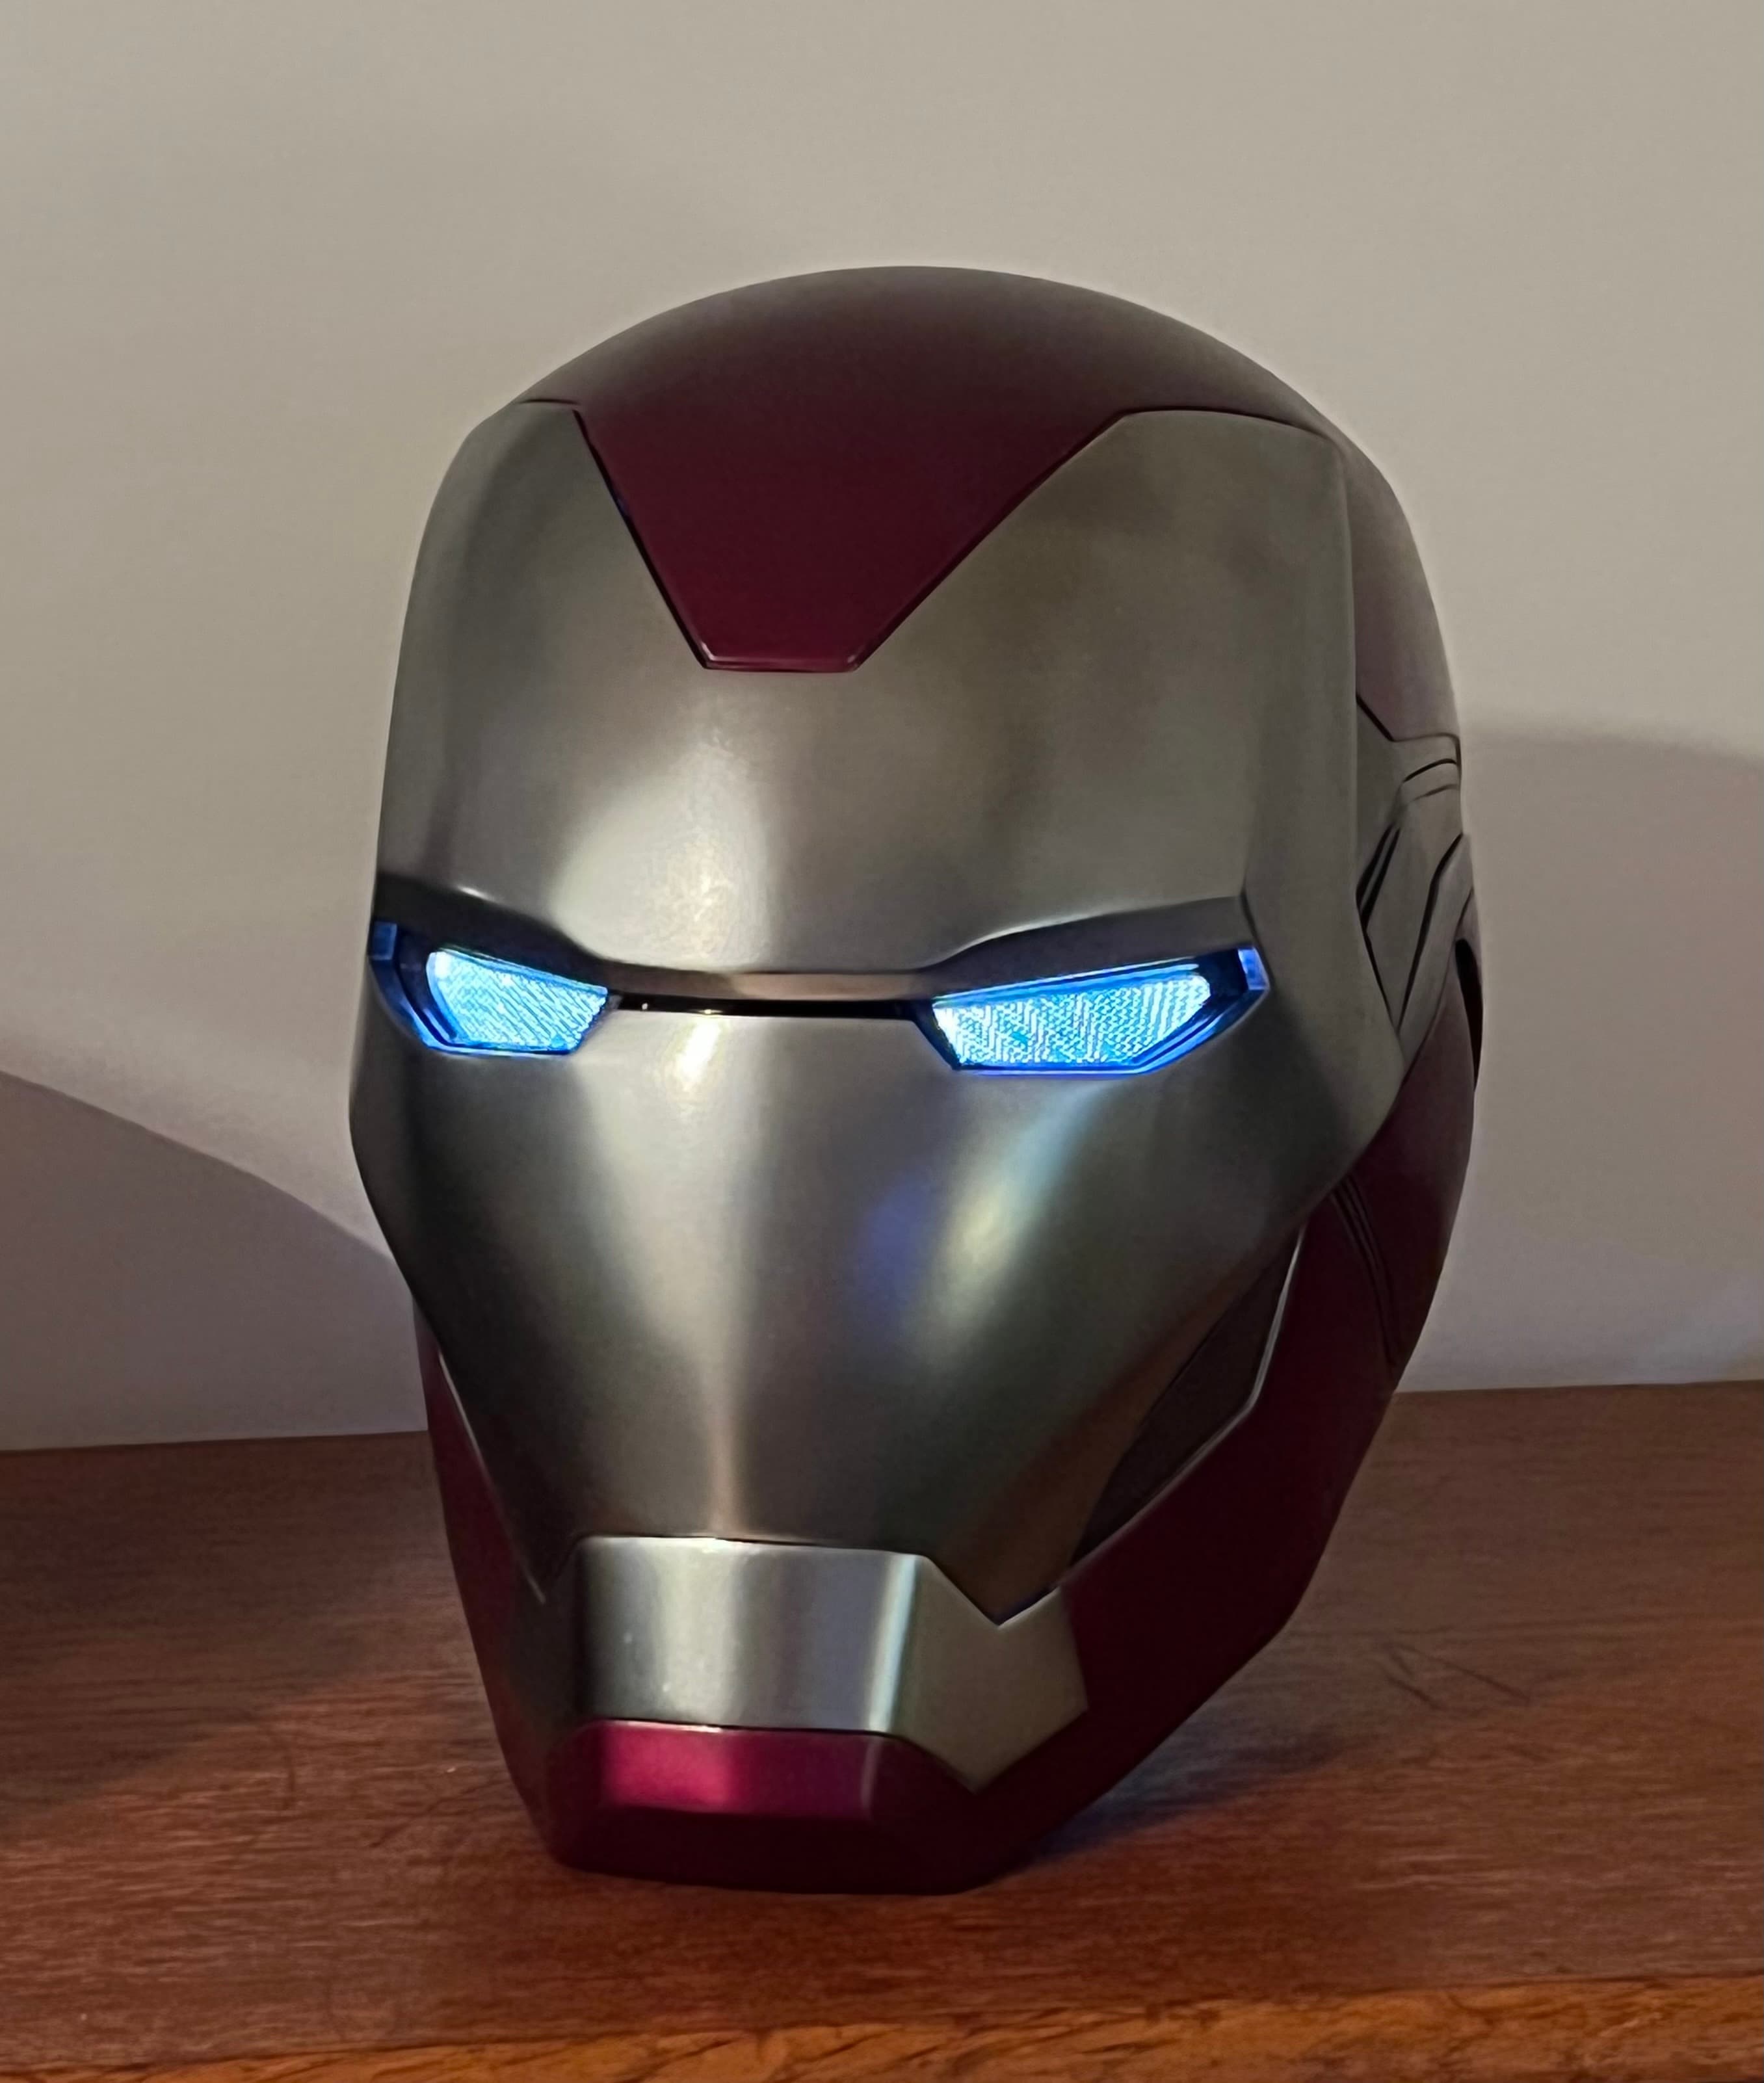
Iron Man Helmet
Darth Vader bust (fan art)
Lying baby dragon - compatible with Amazon Dot

Mystery Egg, Two Versions
.png&w=3840&q=75)
Bendy Beast Print in Place Articulated Dragon
Tickler SA-6 — Fully 3D-printable semi-automatic airsoft pistol
