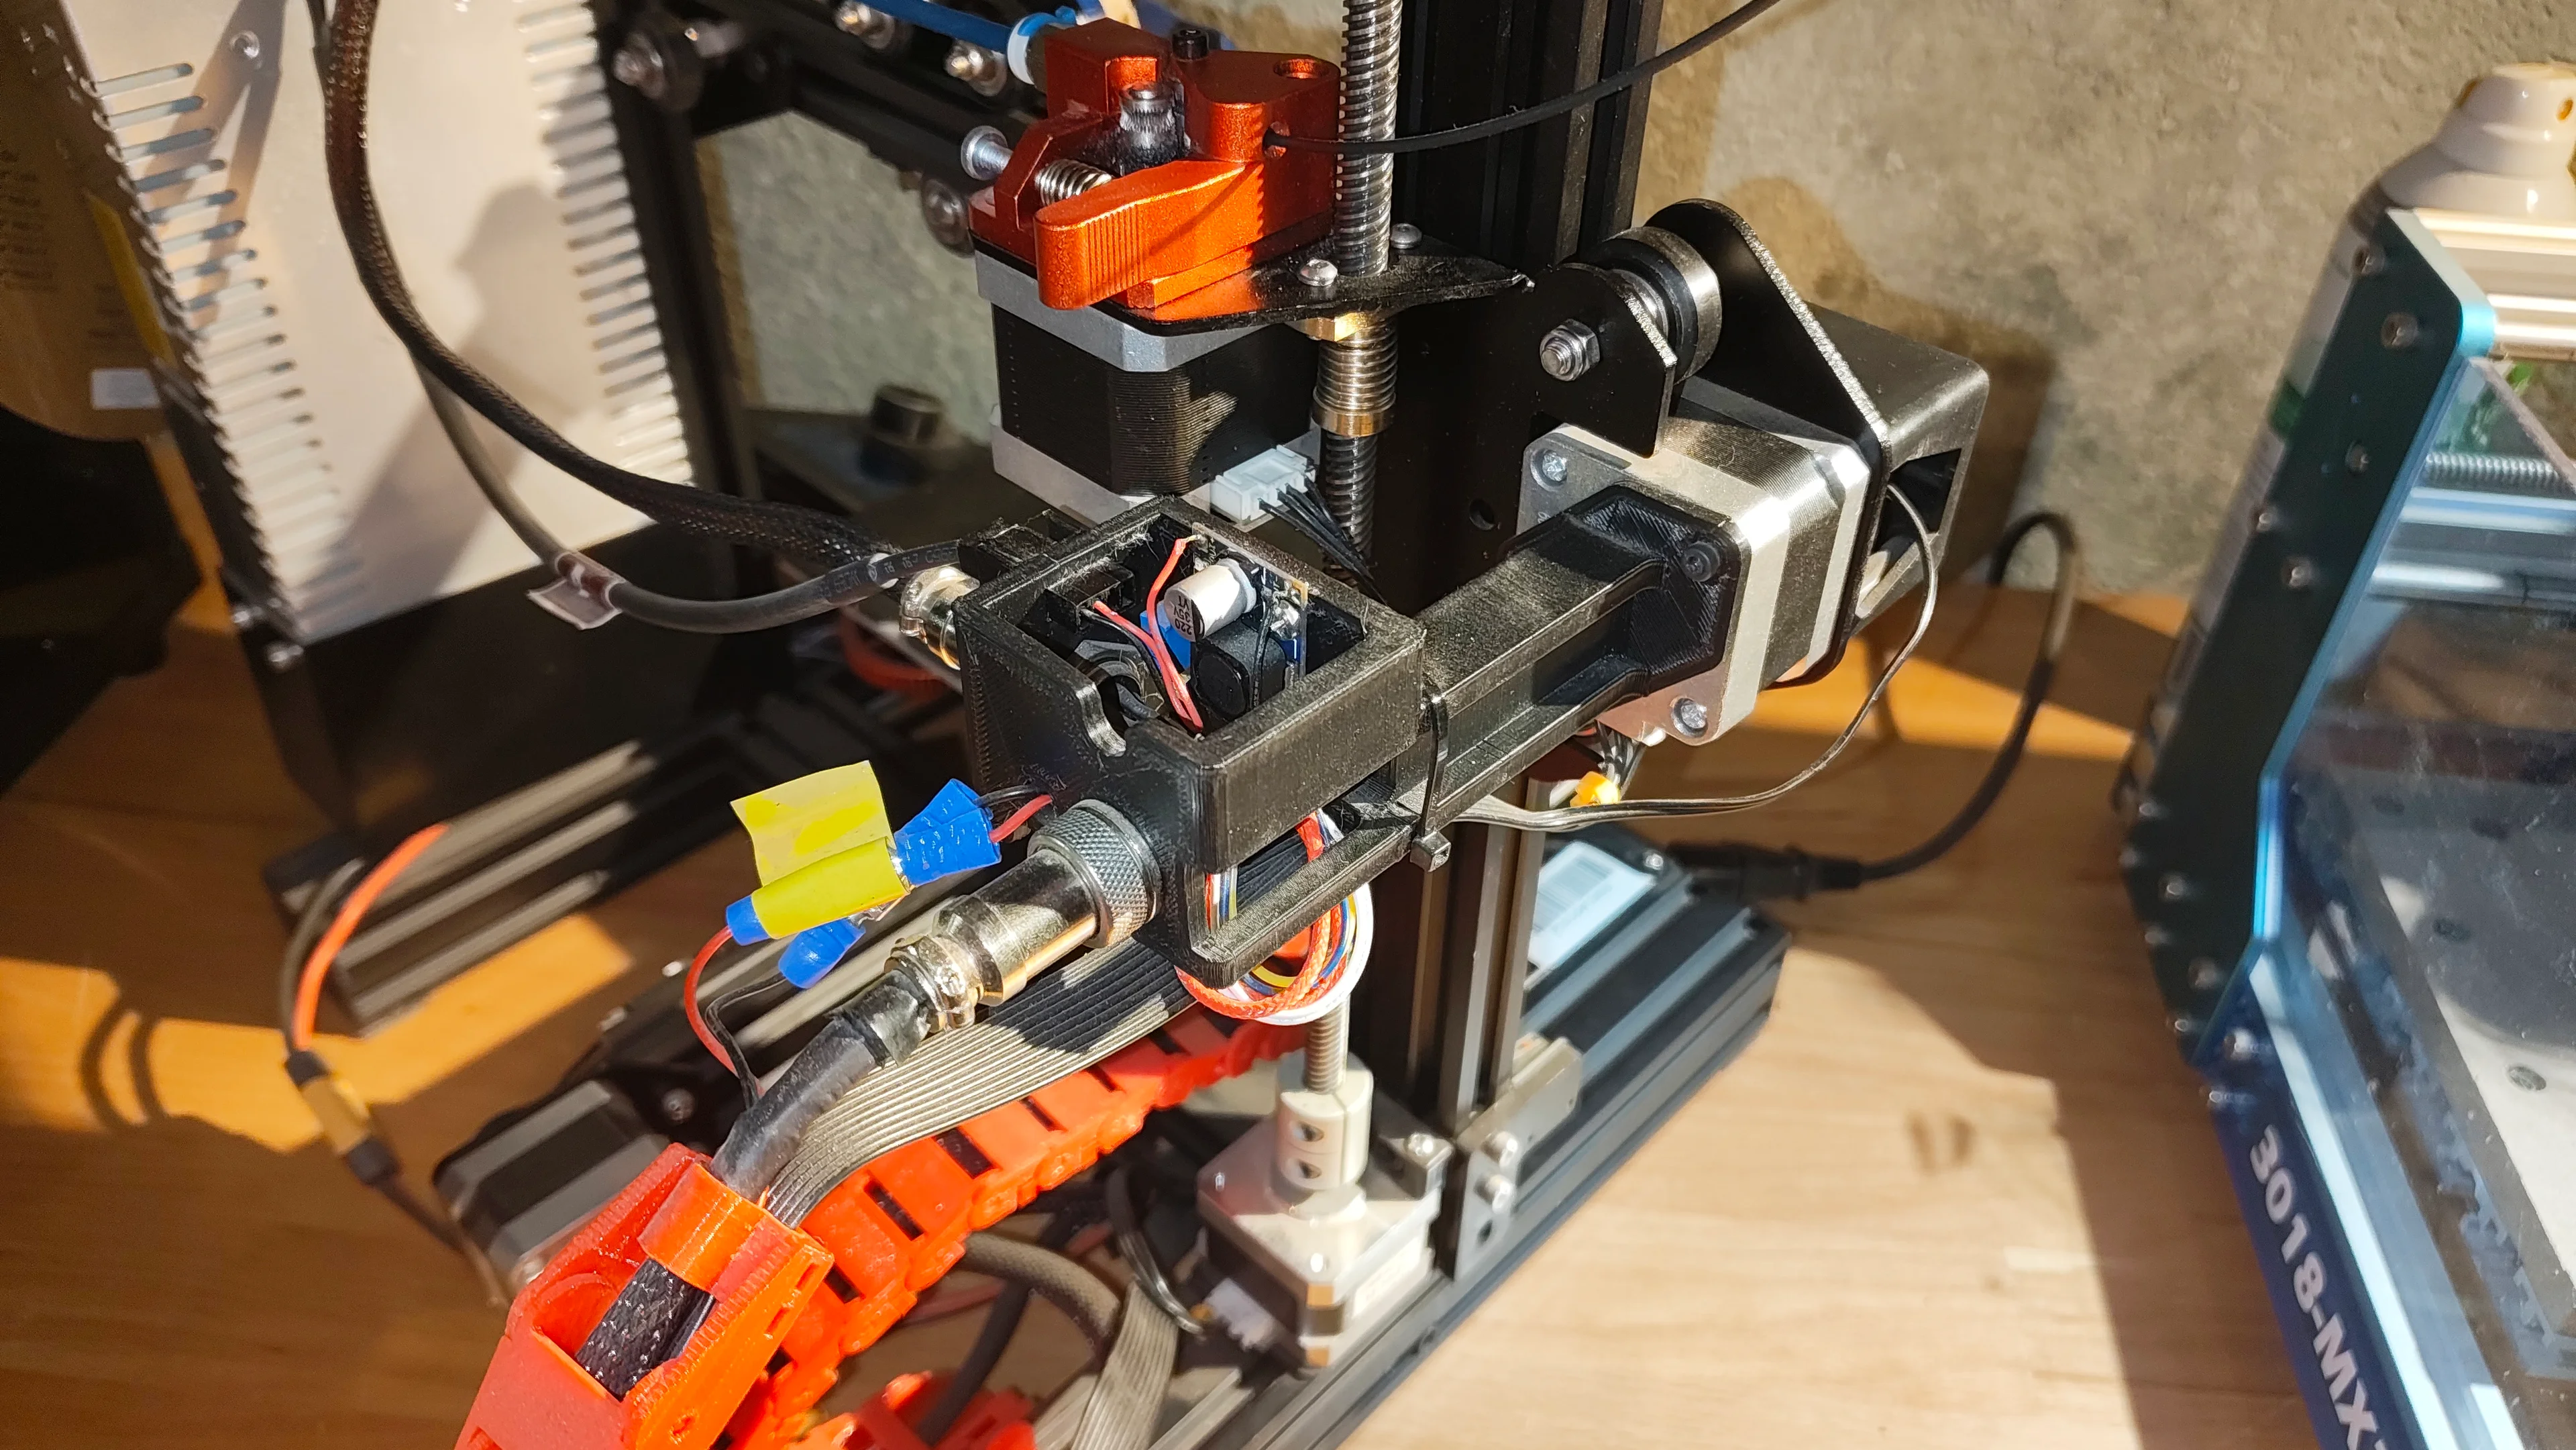


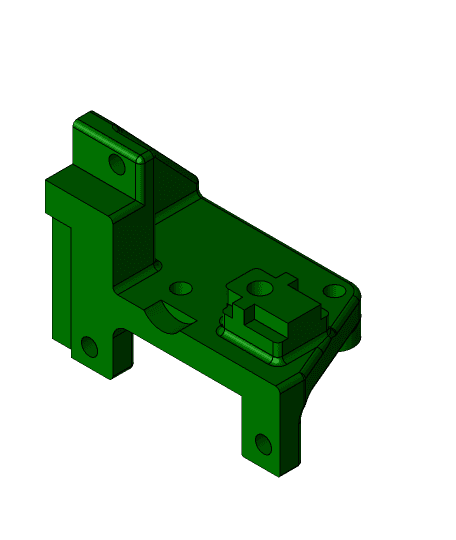
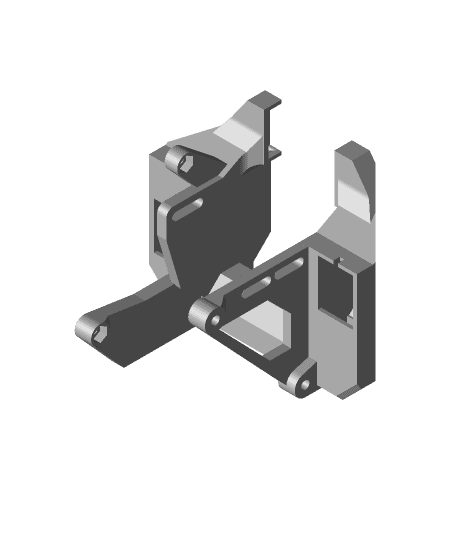
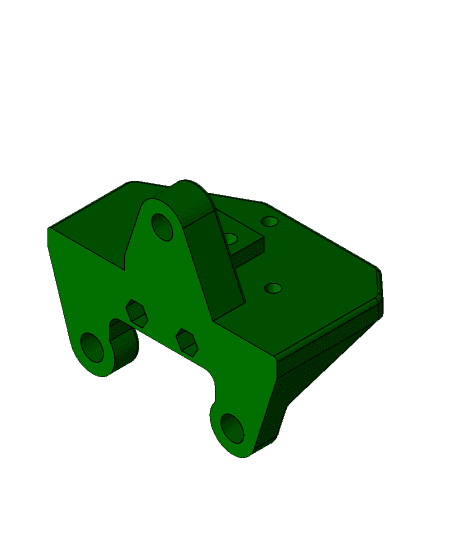
Ender3 Hot-Swap Hot-End Mount
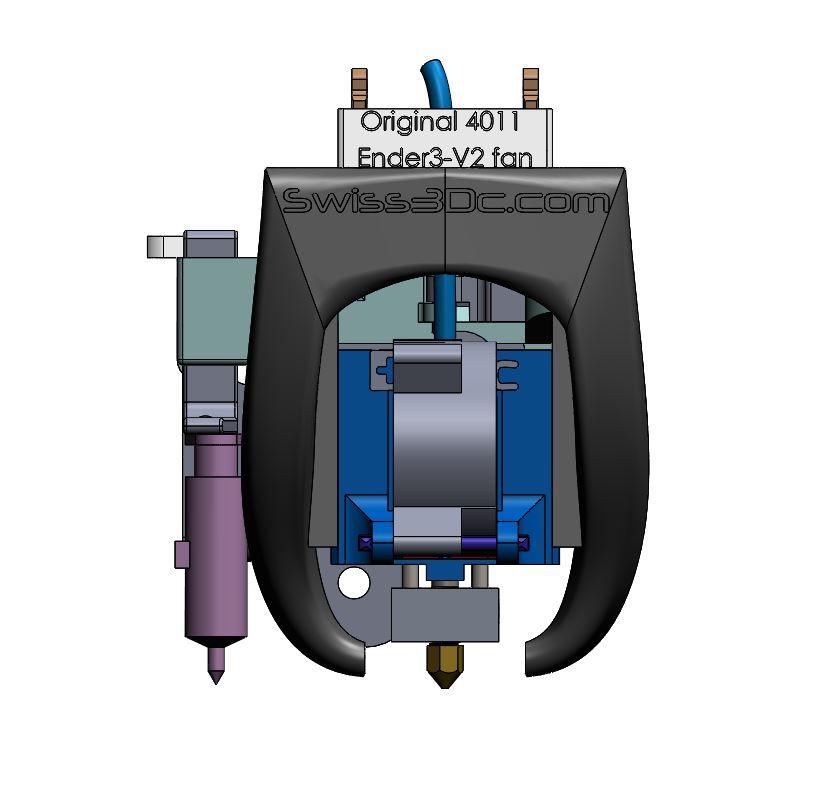
A hot-swap hot-end mount for Ender 3 or Ender 3 clones. This should make it easier to replace or swap your hot-end. Mount also features a buck converter for replacing the hot-end fan with a Noctua fan. I suggest printing this part out of ABS, ASA, or PETG, as the stepper motors can get quite hot. It will need tree support.
-Tools needed- -Soldering iron -Solder -Flux -Wire Cutter / Stripper -Heat shrink
-You also need- -Noctua NF-A4x10 FLX https://www.amazon.com/dp/B009NQLT0M?ref_=ppx_hzsearch_conn_dt_b_fed_asin_title_1 -DC-DC Buck Converter https://www.amazon.com/dp/B07MKQXNWG?ref_=ppx_hzsearch_conn_dt_b_fed_asin_title_9 -GX16 6 Pins Connector https://www.amazon.com/DIYhz-Circular-Aviation-Connector-Adapter/dp/B07D3CKYTM/ref=pd_ybh_a_sccl_14/133-6214391-0882304 -Spare Hot-end -M3x30mm x2 -M3x6mm x2
You will need to measure the distance between the hot end and the X-axis stepper motor. It would be a good idea to give a few extra inches for slack. Measure out the cables on your spare hot end and cut them to the required length. You can then add a male or female GX16 connector.
- For the male connector, you will need to connect two female connectors with some more wires from your spare hot-end. Ensure your wire type is consistent throughout the entire run. You do not want to accidentally put the heater core wires to your fan or thermocouple. You will also like to connect the heat sink fan wires to the buck converter if you're using a Noctua fan.
- For the female connector, it will be easier to ensure all the wires are the same all the way through. You will also like to connect the heat sink fan wires to the buck converter if you're using a Noctua fan.
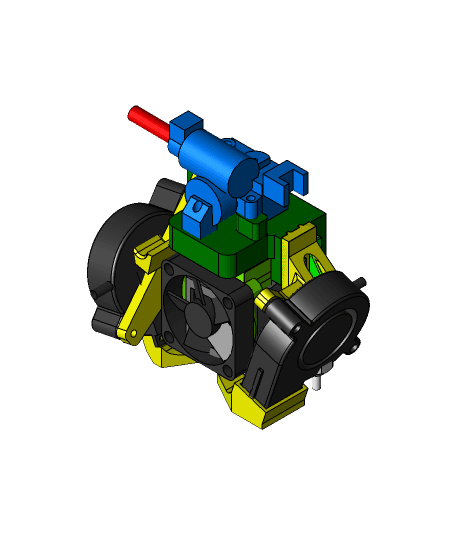
Any hot-end assembly you would like to use will also require a GX16 connector. Make a few of these at a time, so you don't forget the order in which you put the wires in. I would also keep a diagram of how you wired up your connections. The Noctua fan should come with spare connectors and wires. Make sure you heat-shrink your solder connection to prevent shorts. The buck converter can be mounted to the assembly with the M3x6mm bolts.
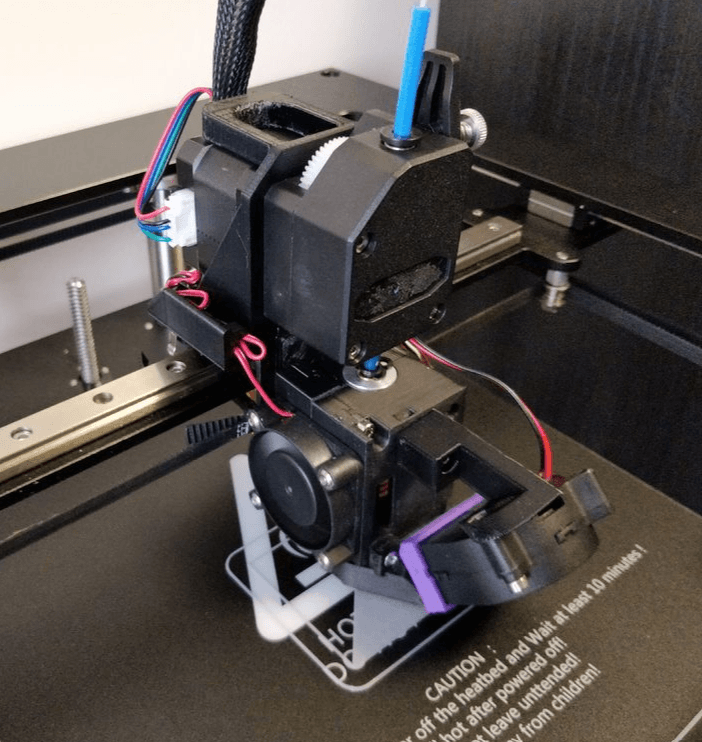
You also need to remove two of the M3 bolts on the back side of your X-axis stepper motor and use new M3x30mm bolts to mount the assembly directly to the stepper motor.
Ender3 Hot-Swap Hot-End Mount

QMB Ender 3 hot-end and part cooler
Two Trees Sapphire S Direct Drive & E3D V6 Hot End Mount (Prusa R3 Remix)
QMB Ender 3 Microswiss (clone) hot-end and part cooler

BIQU B1 Hot-end Fix — IMPROVED INSERT

CR-10S Pro X Gantry, Hot-end, and ABL sensor
Hiding a Nimble V1 behind an E3D Aero hot-end
BIQU B1 Hot-end PTFE 35.5mm CUTTER

Creality Ender 3 V2 Hot End Chain Mount Remix
Cartesian mount system for the Nimble Flex.
Nimble Flex for Creality

Nimble Flex mount for the Creality type printheads
Nimble and Sidewinder V2 mounts for the Creality type print heads
Mount for a Nimble V1 and MicroSwiss hot end.
Prototype: 3D Printed HOT SWAP Mechanical keyboard.
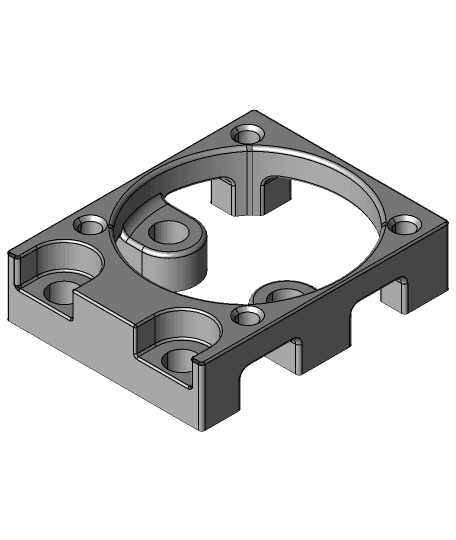
30mm Fan Adapter for Flying Bear Dual Nozzle Hot End
Prusa MK2.5S mods for Wham Bam Mutant V2

Prusa MK2.5S mods for Wham Bam Mutant V2
Swiss3DC Dual Duct No Screw, No Tool

Caution Hot Mounting clips
