


IKEA VAPPEBY GRID Kit // Cover, Volume Dial, and Handle
Give your IKEA VAPPEBY Gen3 Speaker a sophisticated transformation with this GRID kit. This download includes the pictured Cover, Volume Dial (+ Bonus Studio Dial), and Grid Handle. (The power button can be downloaded seperately here)
Printing Guidelines
Handle:
- 0.16 mm layer height
- 4+ walls, 15%+ infill (use your discretion to make a strong part depending on the filament you use)
- No supports required
Volume Dial and Cover:
-
0.16mm layer height
-
2 walls, 15% infill
-
No supports required
-
For the Volume Dial, start with an opaque filament, and swap to a transparent filament above 2.4mm if you want the sides to light up (I also did a few layers of Black between the white and green to block more light from the front)*
*For the Studio Dial, start with an opaque filament, and swap to a transparent filament above 8mm (at Z height 11mm if you want it to line up with the cover)
Assembly
Handle:
- Use the original screws for the stock VAPPEBY handle to connect this part
- Do not overtighten the 3D printed screw. That will cause the layers to be ripped apart.
Cover:
- Print four of the cover pins. Connect them to the back corners of the cover with a 1/4 twist clockwise (You can use pliers if the fit is tight).
- Cover should press fit into the existing rubber holes on the speaker.
Studio Dial:
- Optionally print the 'Studio Dial_Indicator' in another color and glue it into the divot on the Dial for an orbiting indicator (the orange dot shown in the photos).
Feel free to leave a comment if you have any questions!
Filaments Used in Photos:
Printer Used:
- Qidi Plus4 3D Printer (Also on Amazon)
These affiliate links give me a commission on sales at no additional cost to you. Thanks for supporting Make Anything!.
IKEA VAPPEBY GRID Kit // Cover, Volume Dial, and Handle

30mm to 40mm Pendant Light Adaptor

30-60-90 Drafting Triangle // 6 inch + 150mm Version

Drafting Triangle Collection

JUMBO Stacking Sieves // Supersized Stackable Sift Collection

Gutter Guard // Rain Gutter Debris Filter

EZPZ Screwdriver Bit Clip

IKEA FLISAT Bench TPU Feet // Floor Protector + Grip
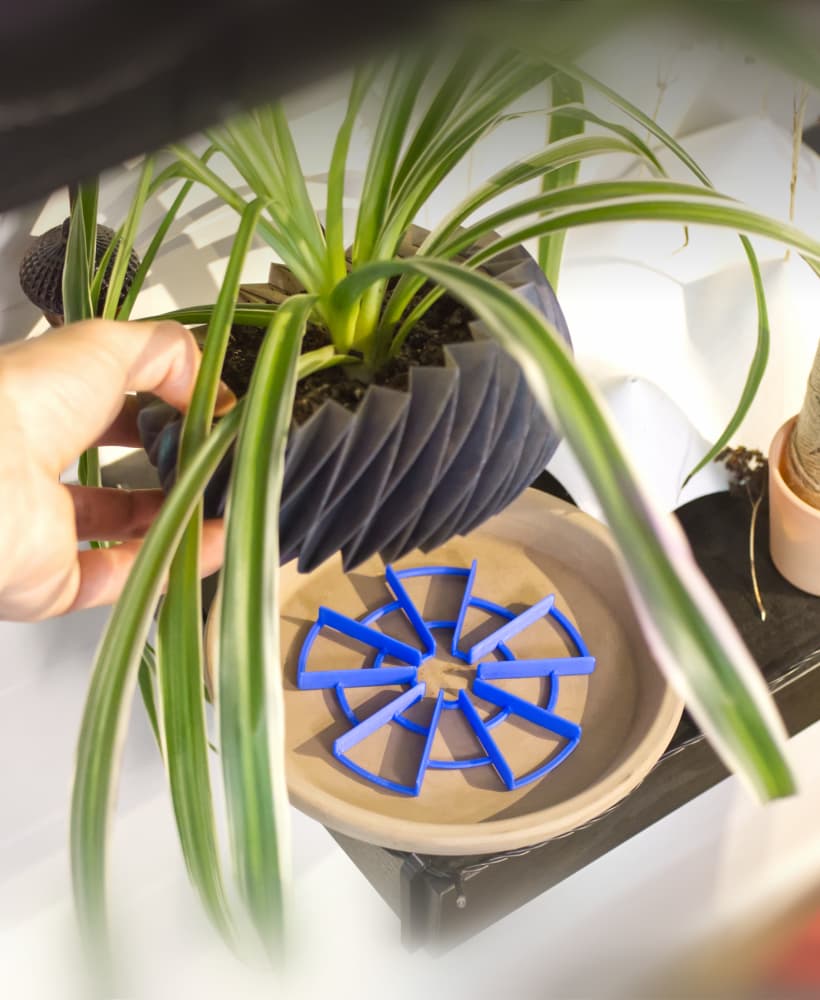
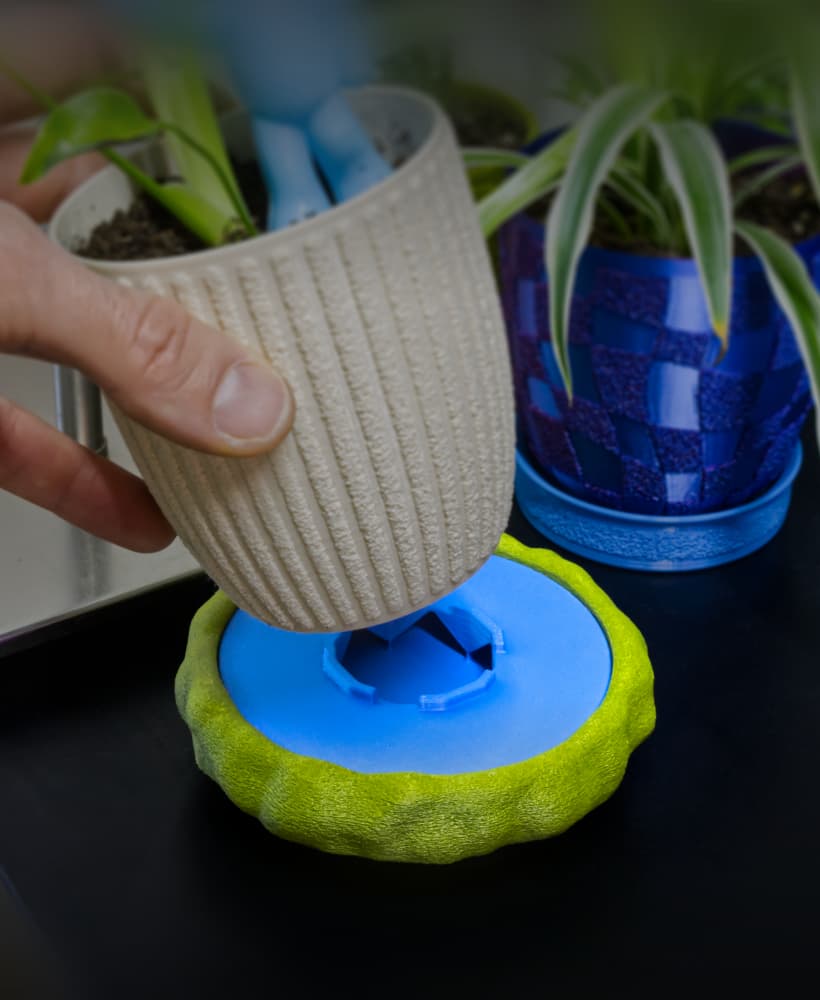
EZPZ Pot Spacers // Airflow and Drainage for Plants

EZPZ TPU Cable Clip Collection // Quick, Flexible, Cable Clips

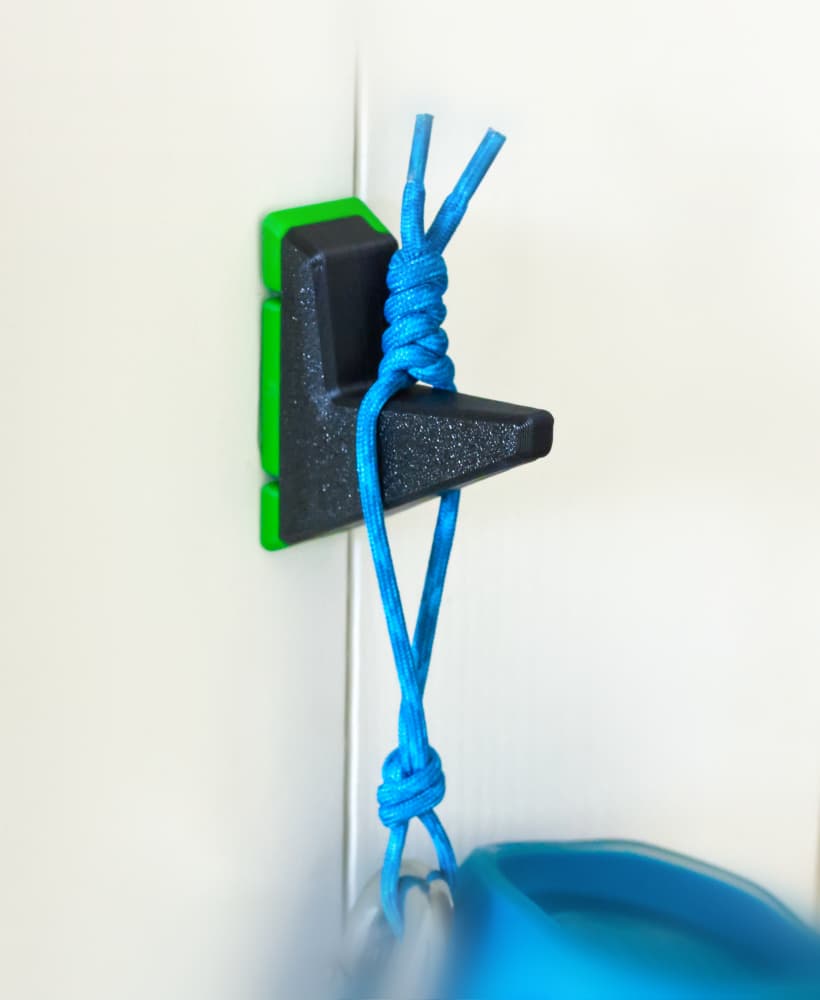
EZPZ Dummy Nail // Damage Free Wall Hanger Collection

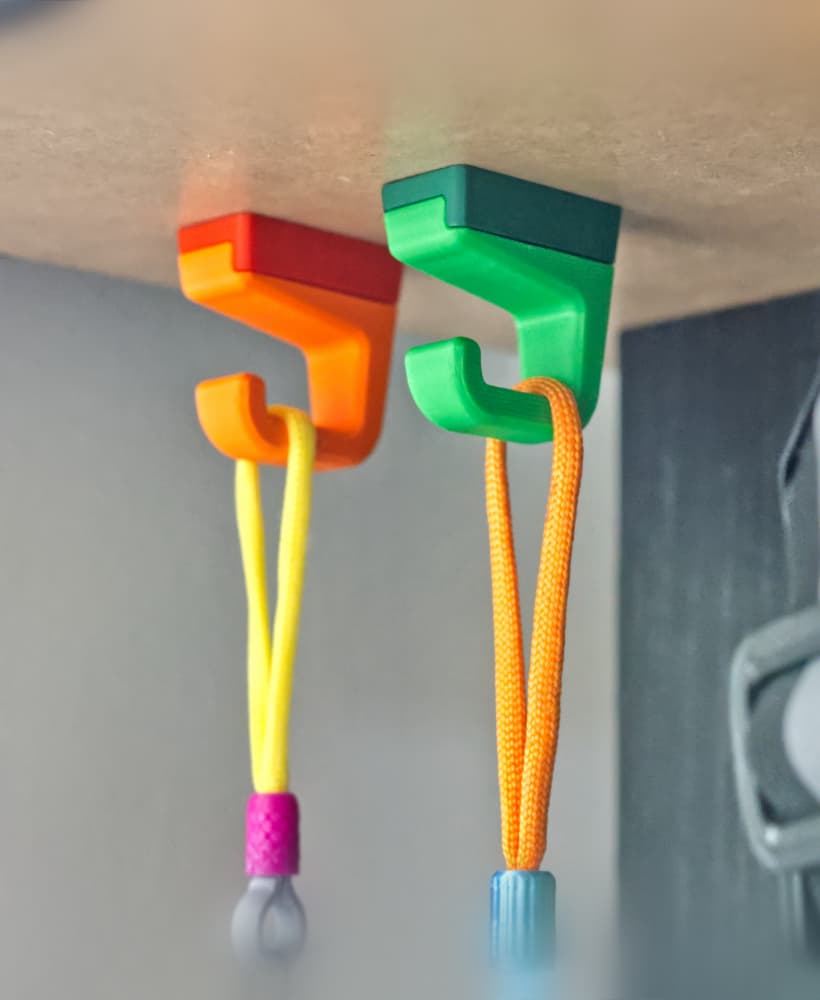
EZPZ Wall Hooks Collection // 17 Variations (and counting!)

EZPZ Shelf Hook Collection // Type 1
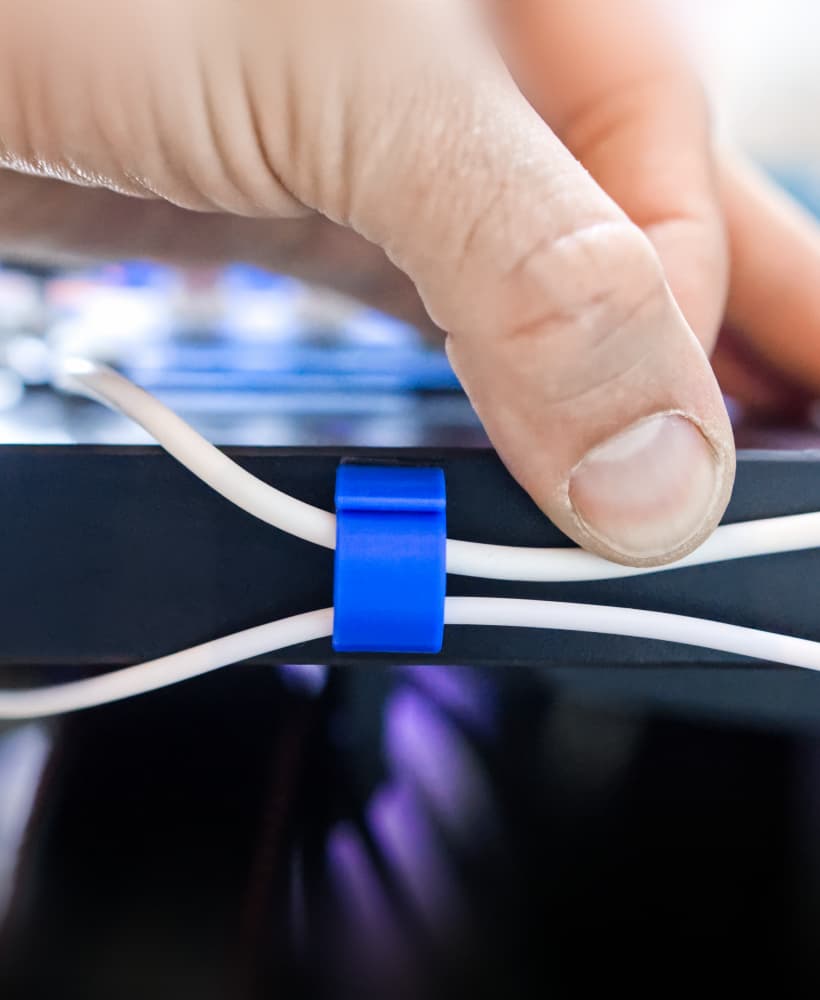
EZPZ TPU Cable Clip (4mm)

Caliper Undercut Gauge Adaptors
EZPZ Wall Hook // Type A 36mm
EZPZ Small Shelf Hook // Type1

EZPZ Tube to Wall Mount
Moss Dish/Frame for 100mm Chunky Puck Drip Tray
IKEA Bekväm TPU Feet // Floor Protector + Grip

will the speaker grill also fit gen 2?
EDIT: It does!
Oh, great to know thanks for trying! Does that mean all the parts are compatible?