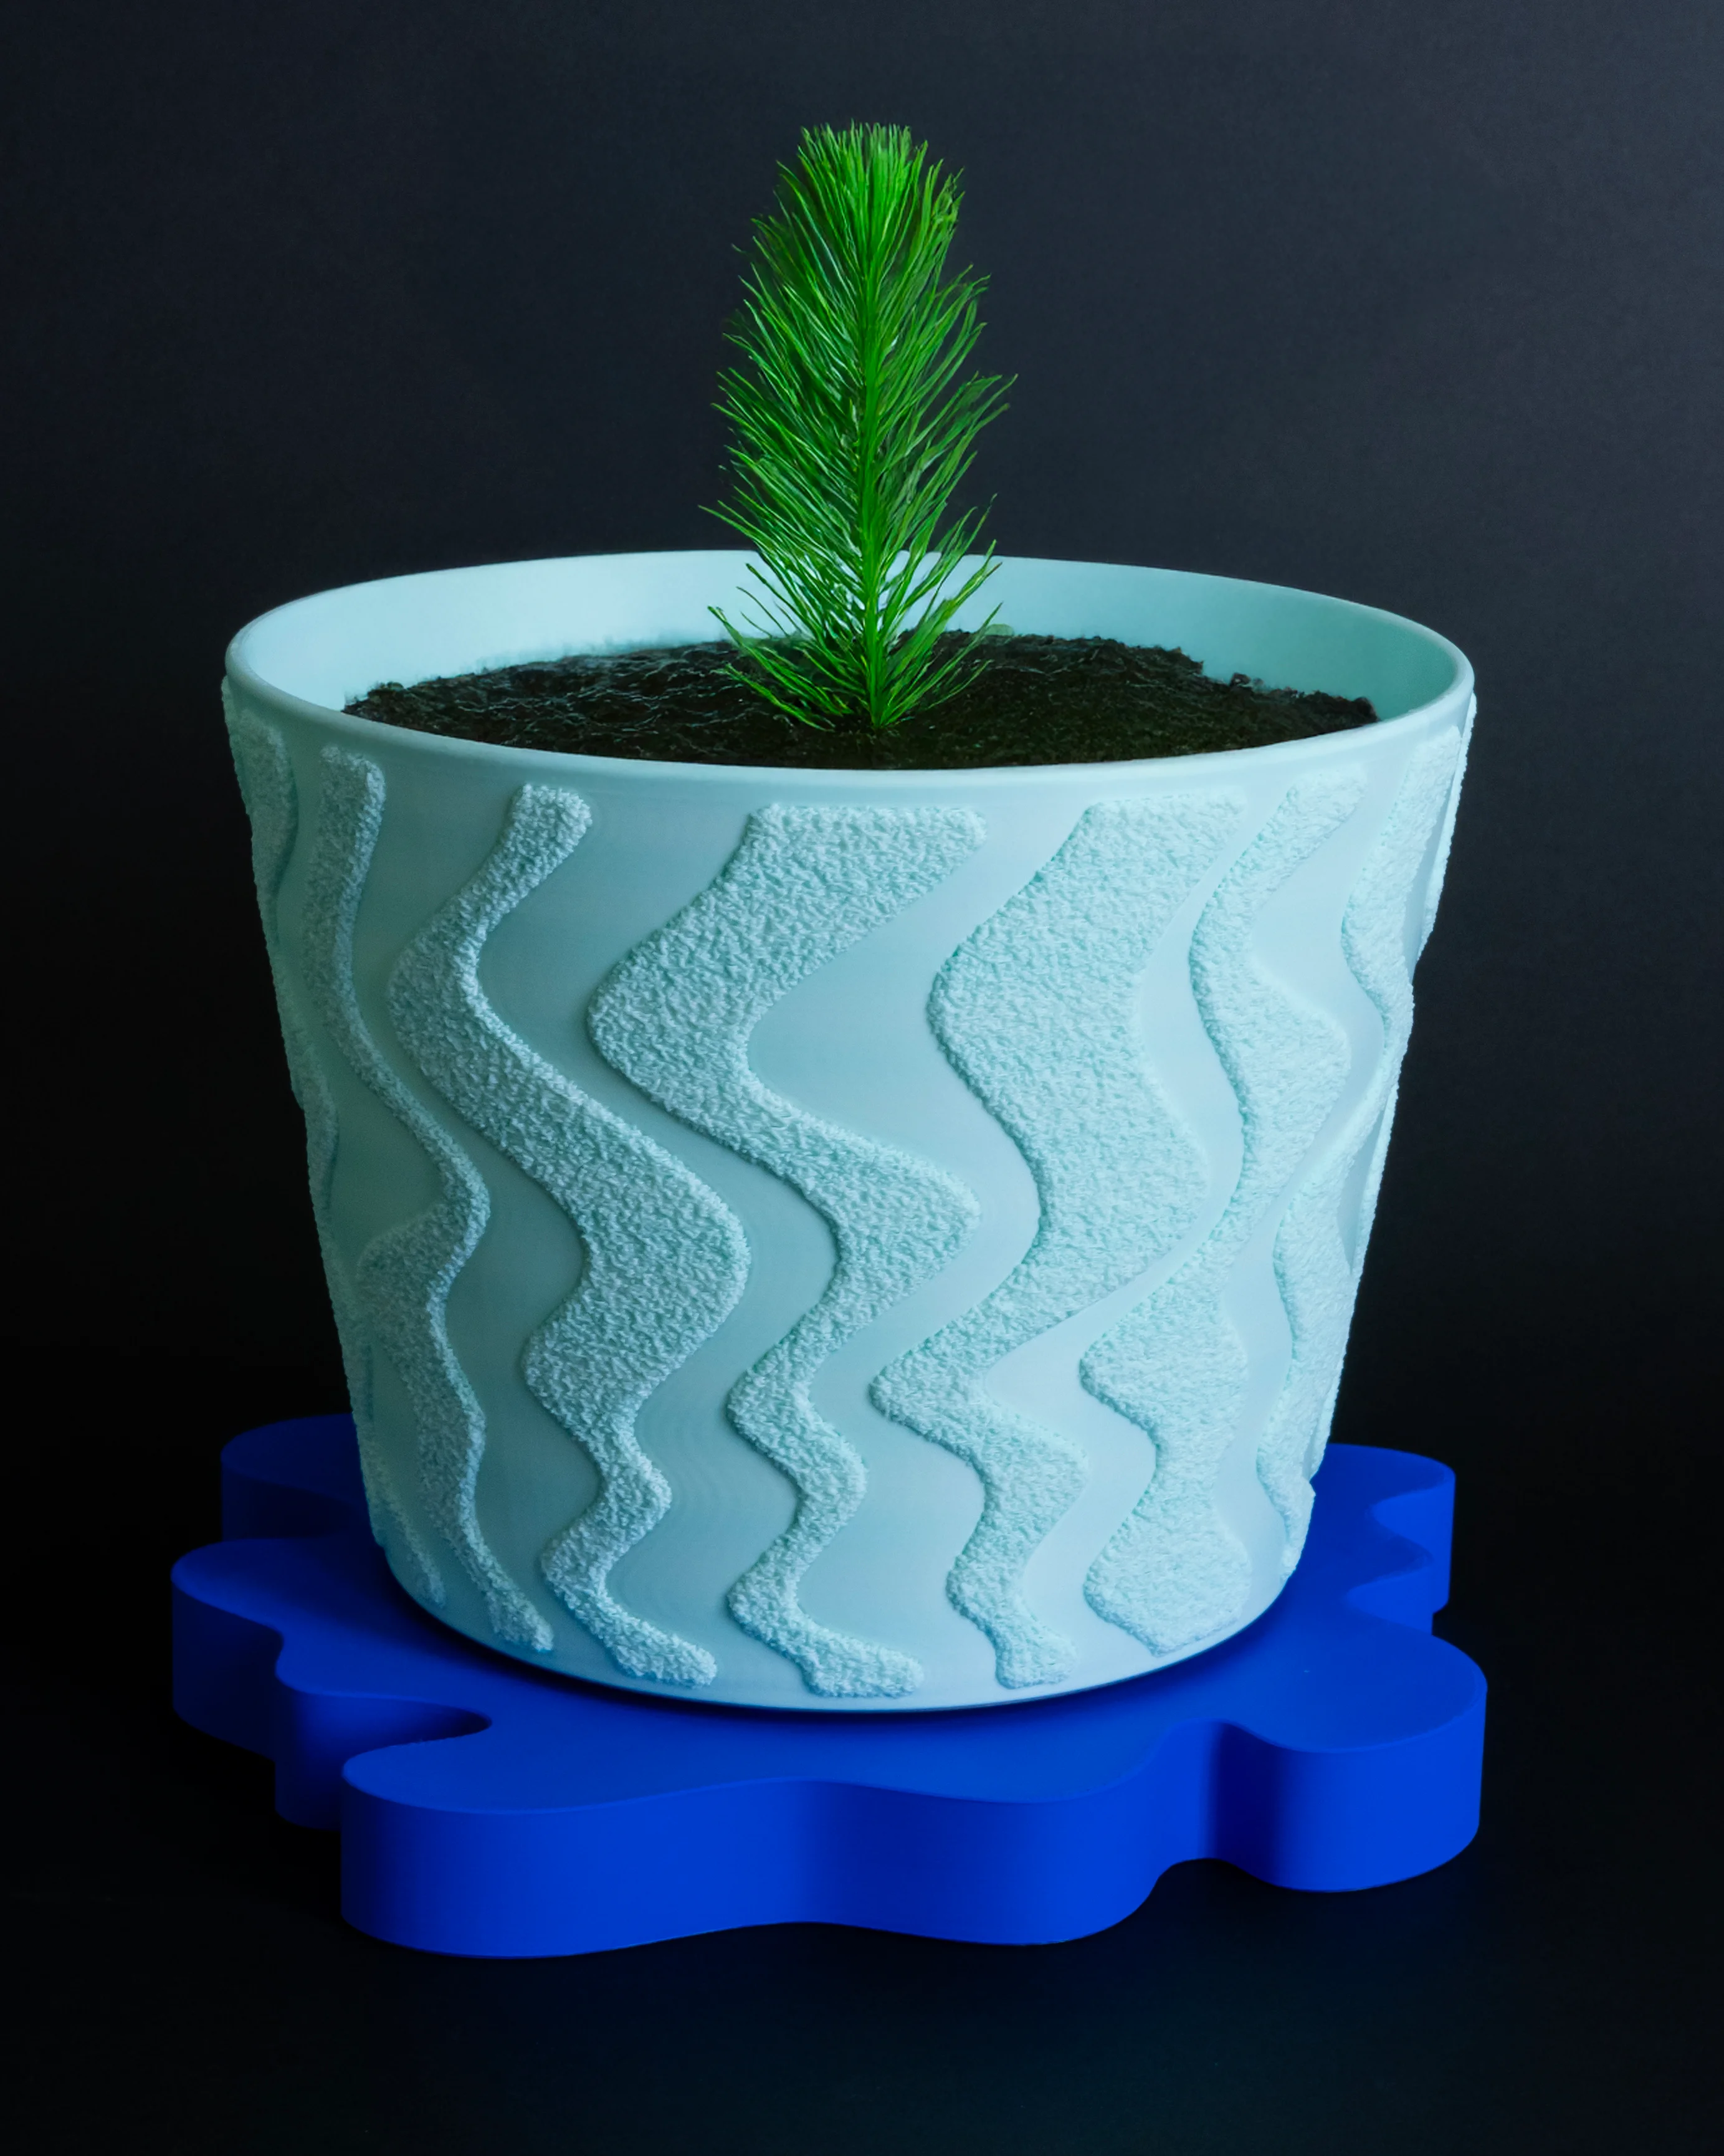


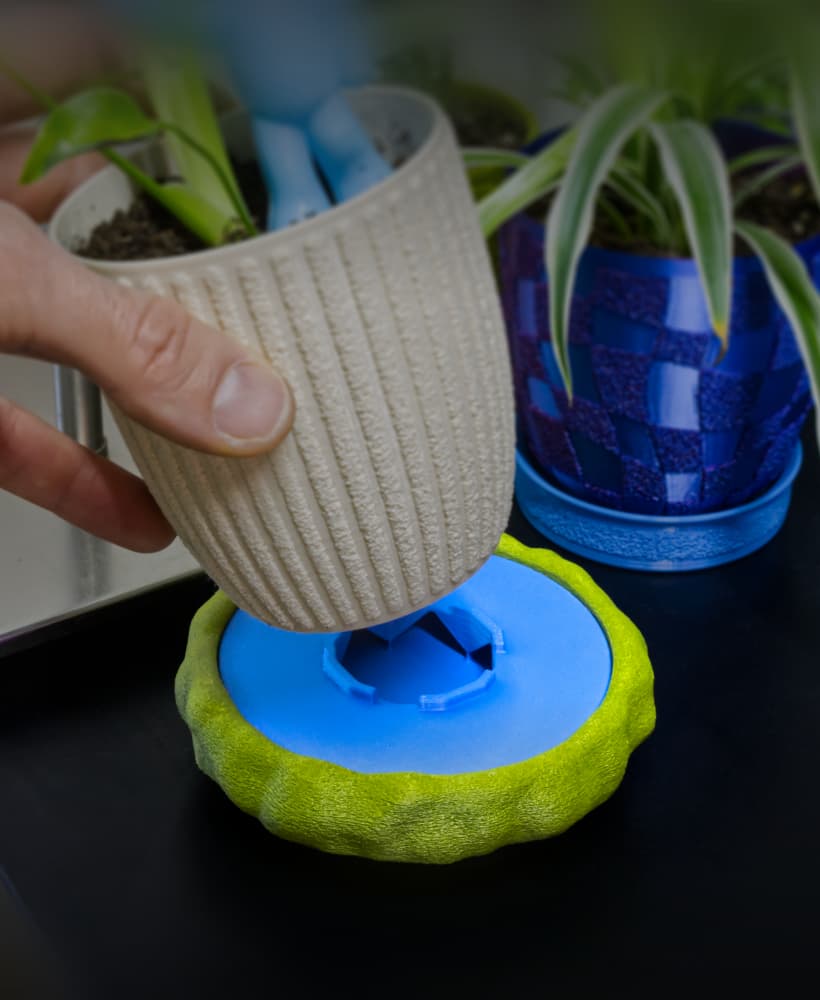
Warped Stripes Big Planter // Multi-Texture Fuzzy Print
Here's yet another satisfying multi-texture fuzzy planter with a wicked warped stripe pattern!
This print combines standard and 'Fuzzy Skin' printing for a unique appearance. Download includes variations with and without drainage holes, so you can use it as a planter or bin. Follow the printing guidelines below for a successful result!
Pictured with the 190mm Chunky Puddle Drip Tray available here as well as the 190mm Chunky Block Drip tray available here.
Printing Guidelines
-
3MF files for Bambu Studio and Prusa Slicer are included with the multi-texture settings already applied, but I still suggest you review the settings and slicer preview to make sure everything looks right for your setup
-
Combine 'Main' and 'Fuzzy' parts to print together. 'Main' prints with standard settings (0.16mm-0.2mm layer height, 1-2 perimeters, 5 top layers, 5 bottom layers, 0.4mm outer wall width, Lightning Infill). For the 'Fuzzy' part, set perimeters to 1, infill to 0%, and enable Fuzzy Skin on 'All walls' with point distance of '0.5mm' and thickness of '1mm'.
-
I also turned off 'Detect narrow internal solid infill' and 'Ensure vertical shell thickness', as well as setting Minimum sparse infill threshold to 0mm³, to reduce unecessary infill (and any such other settings!)
Importing STLs as multipart models
-
For Bambu Studio/Orca Slicer, drag both files into the slicer together and select 'Yes' to the prompt 'Load these files as a single object with multiple parts?' Now you can individually modify parameters under the 'Objects' setting tab.
-
For Prusa Slicer, ensure that you are in 'Expert Mode'. First, import the 'Main' body, then right click on the name in the lefthand parts list, and click 'Add Part>Load' to add the 'Fuzzy' body. Now you can right click that part in the same list and go to 'Add Settings' to add 'Layers and Perimeters > Perimeters' + 'Infill > Fill density' + 'Fuzzy Skin > Fuzzy Skin + Fuzzy skin point distance + Fuzzy skin thickness'. That will add the ability to adjust those settings individually.
I also made a video about the process
Photographed model was printed on the QIDI Plus4 3D Printer (Also on Amazon) using Bambu Lab PLA Basic Gradient (Arctic Whisper)*
These affiliate links give me a commission on sales at no additional cost to you. Thanks for supporting Make Anything!.
Warped Stripes Big Planter // Multi-Texture Fuzzy Print

30mm to 40mm Pendant Light Adaptor

30-60-90 Drafting Triangle // 6 inch + 150mm Version

Drafting Triangle Collection

JUMBO Stacking Sieves // Supersized Stackable Sift Collection

Gutter Guard // Rain Gutter Debris Filter

EZPZ Screwdriver Bit Clip

IKEA FLISAT Bench TPU Feet // Floor Protector + Grip
EZPZ Pot Spacers // Airflow and Drainage for Plants

EZPZ TPU Cable Clip Collection // Quick, Flexible, Cable Clips

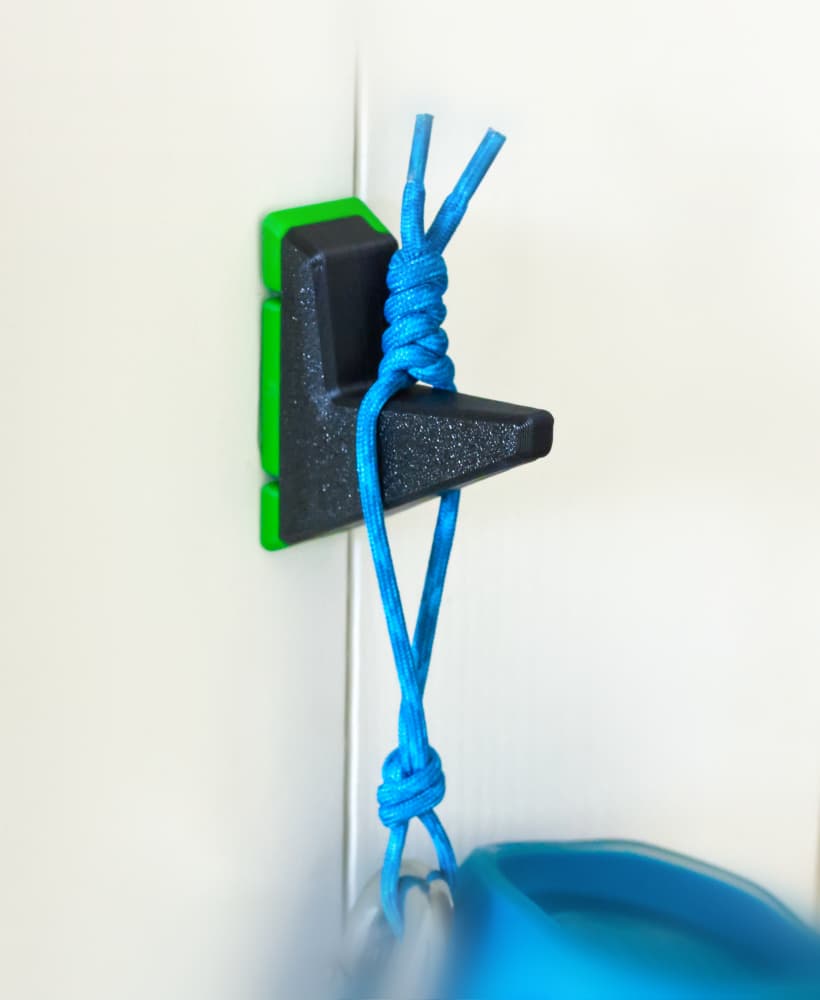
EZPZ Dummy Nail // Damage Free Wall Hanger Collection

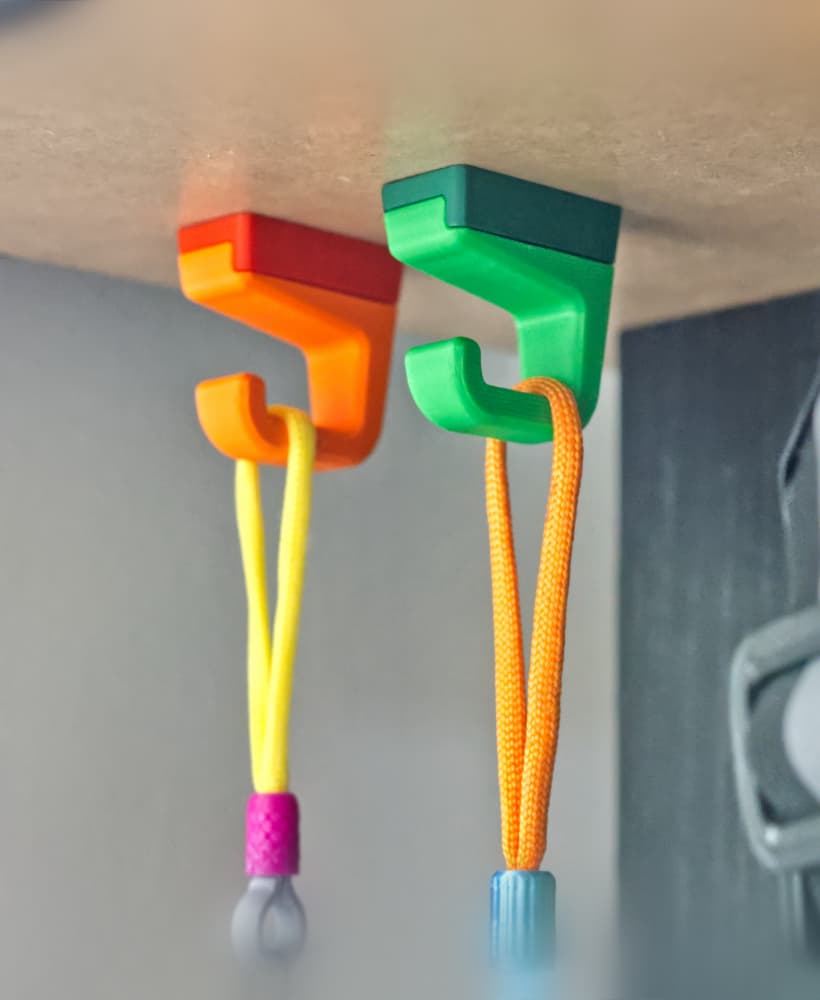
EZPZ Wall Hooks Collection // 17 Variations (and counting!)
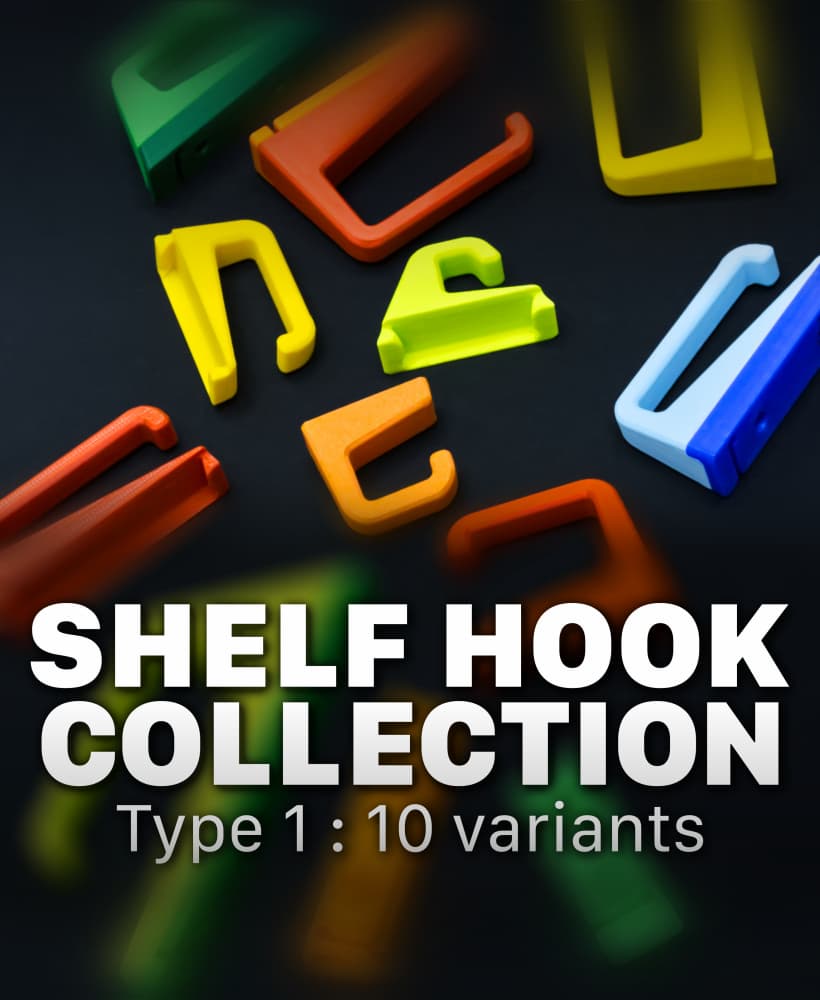
EZPZ Shelf Hook Collection // Type 1
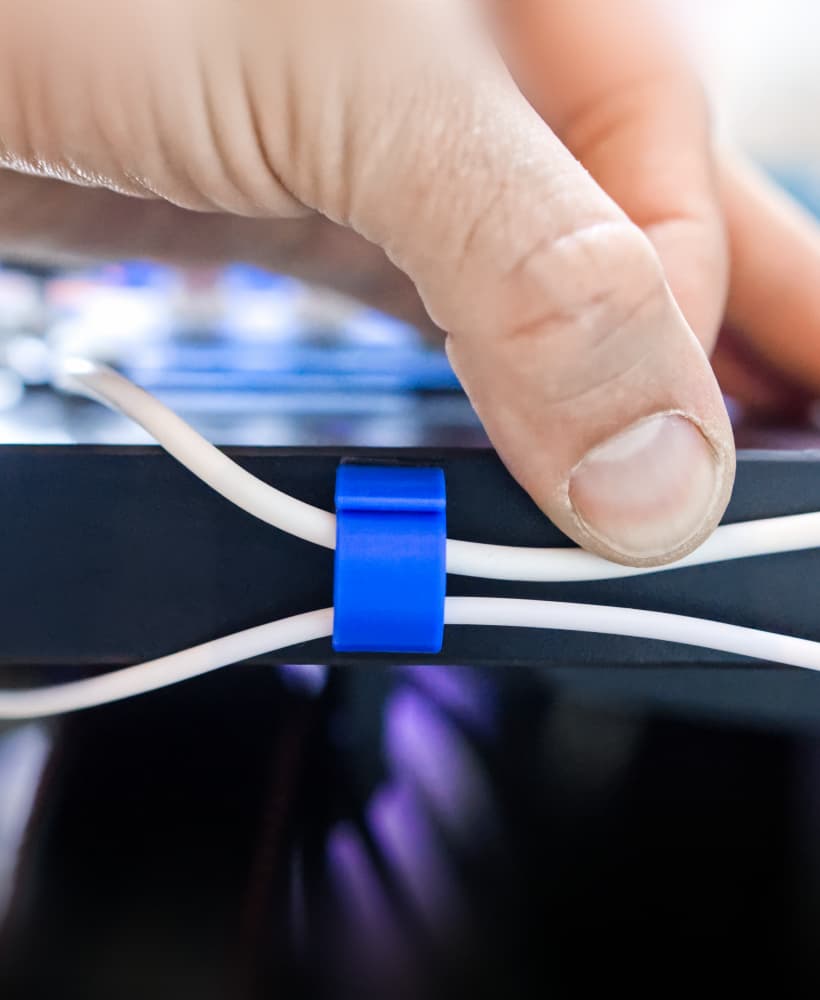
EZPZ TPU Cable Clip (4mm)

Caliper Undercut Gauge Adaptors
EZPZ Wall Hook // Type A 36mm
EZPZ Small Shelf Hook // Type1

EZPZ Tube to Wall Mount
Moss Dish/Frame for 100mm Chunky Puck Drip Tray
IKEA Bekväm TPU Feet // Floor Protector + Grip