.png&w=256&q=75)
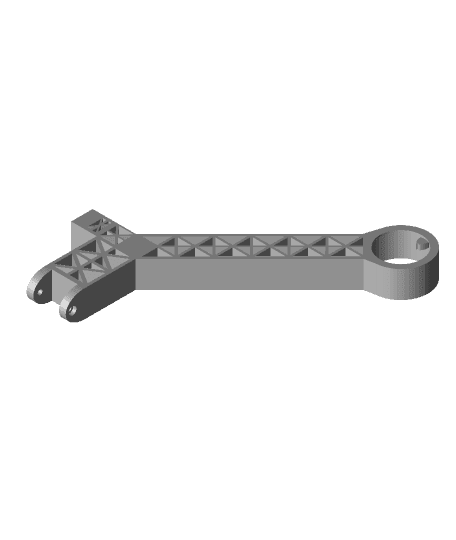
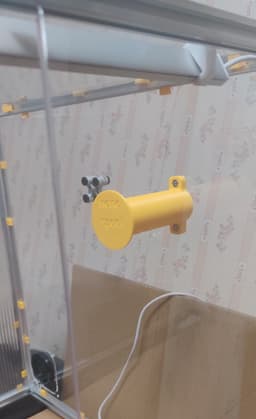
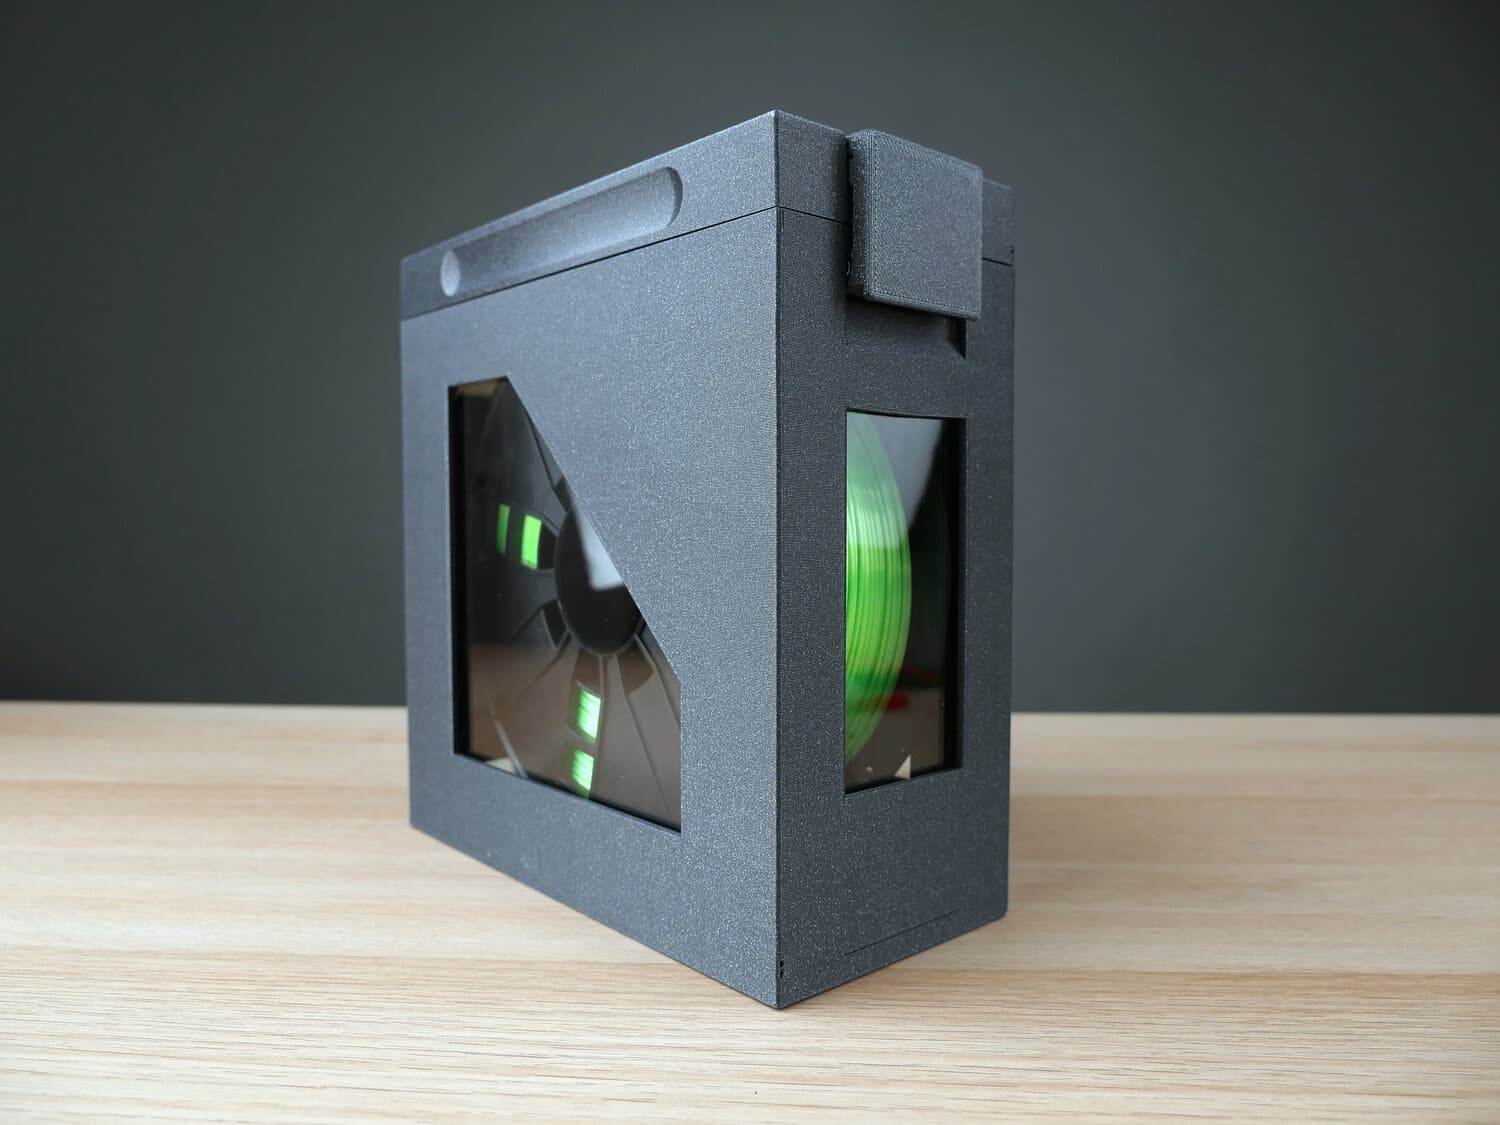
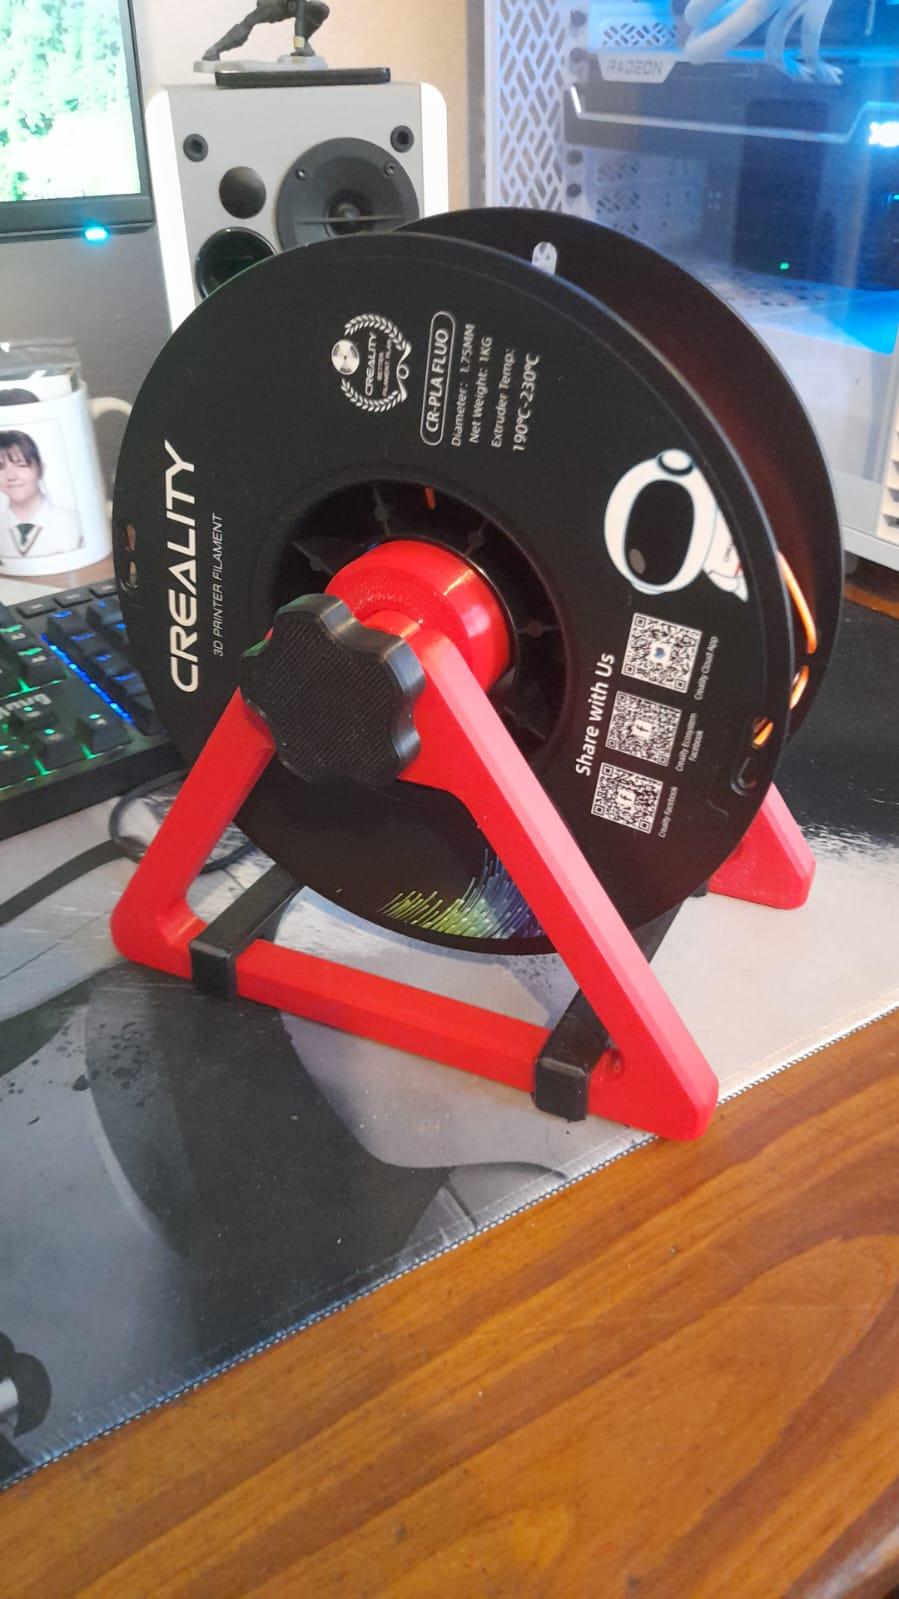
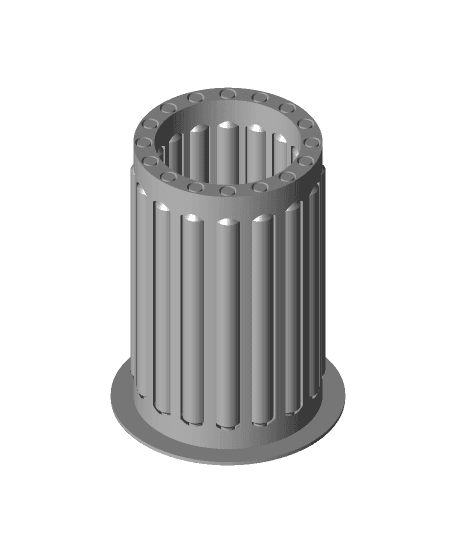
Better Spool Holder for YOOPAI Enclosure
------- OVERVIEW -------- There are two versions.
- The "Normal" version tightens counter-clockwise. This is so the pressure from the rotating spool doesn't loosen the end cap over time and potentially make it fall off. (At least when this is used in the original spool holder position of the enclosure it was designed for).
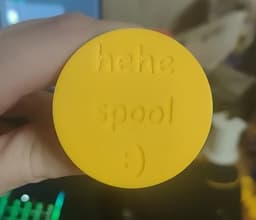
- I've included a "Reverse" version that tightens clockwise if you'd like to use this for another enclosure, in another position, or something else entirely. “I can just mirror the original model though” Yeah yeah I hear you. But then the dumb text I added would be reversed as well. (In all honesty, I put it there as a placeholder to test the engraving location, but decided it was funny enough to just keep it.)
-------- PRINT SETTINGS -------- The print settings are pretty important to get the most out of these files. So if you can't or don't want to use my 3mf files due to security concerns, here's the gist of the settings.
!!! PLEASE ENABLE: "Detect Thin Walls". !!! Without this setting, the build-in supports for the locking mechanism may not print correctly, or at all.
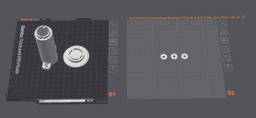
I recommend the following settings: ------ ALL PARTS ------ — Orient the text face down on the build plate for both main parts --- Arachne wall generation --- 0.2mm Layer Height --- Outer/Inner printing order --- Enable "Avoid Crossing Walls"
------ BASE ONLY ------ --- 18 Bottom shell layers on Base to make sure the part compressed by the screws are solid --- 7 top shell layers on Base to make sure the locking mechanism prints correctly --- 3-4 Wall Loops for Base
The seams should be painted to avoid the interlocking mechanism in the cap. And although it's not 100% necessary, I personally recommend also orienting the seam on the base to the bottom for smoother rolling.(The included 3mf file includes custom painted seams to line up the cap and base so that the seam can be used to align the cap to make putting it on easier. It took a lot of trial and error. You're free to attempt the same.)
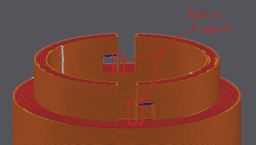
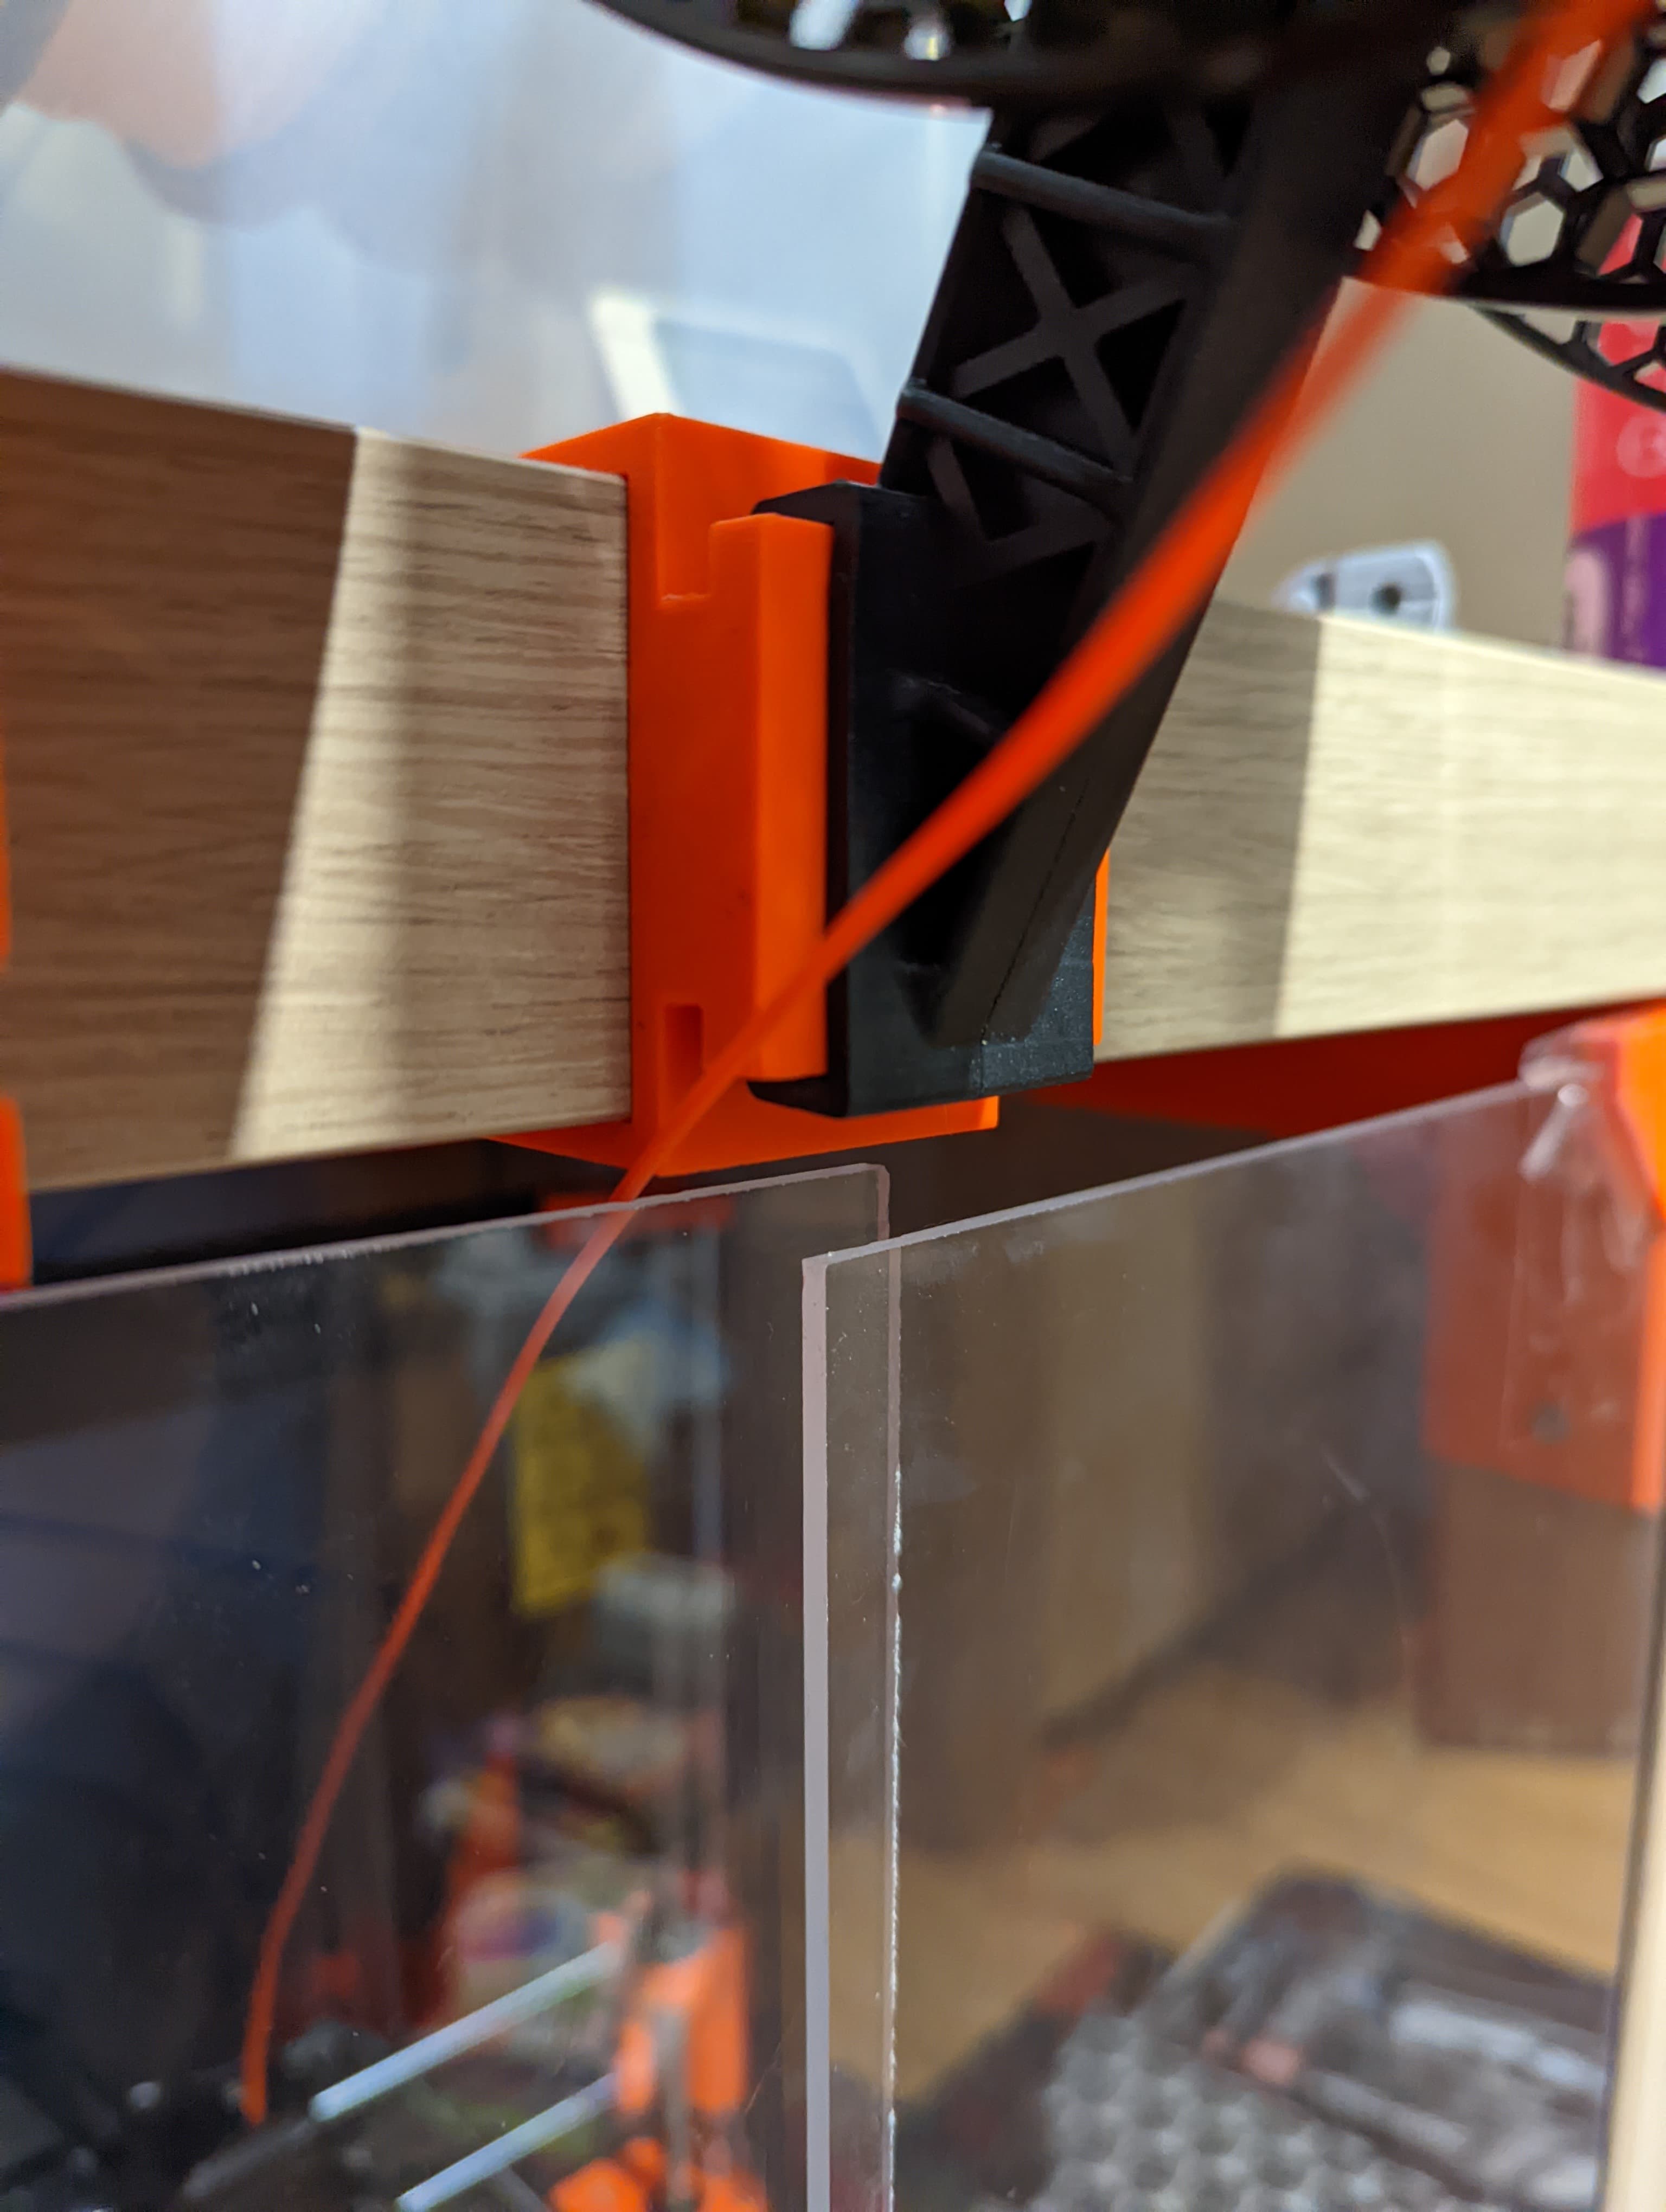
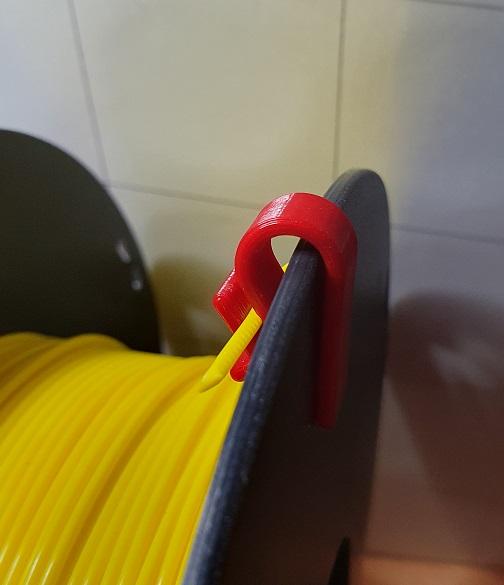
-------- AFTER PRINTING -------- When printing is complete, please use tweezers or small needle nose pliers to remove the built-in supports from the base that support the overhangs in the locking mechanism. They're the little vertical tabs that give the overhangs on the connection point something to bridge to (see photo).
Also, the space inside the holder can be used to store a filament spool clip while it's not being used :) ...just make sure not to push it too far in there or you'll need pliers to get it out. lol
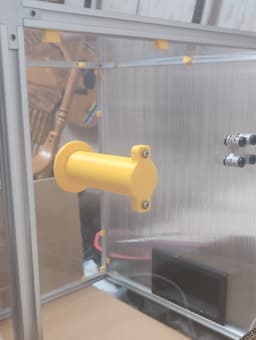
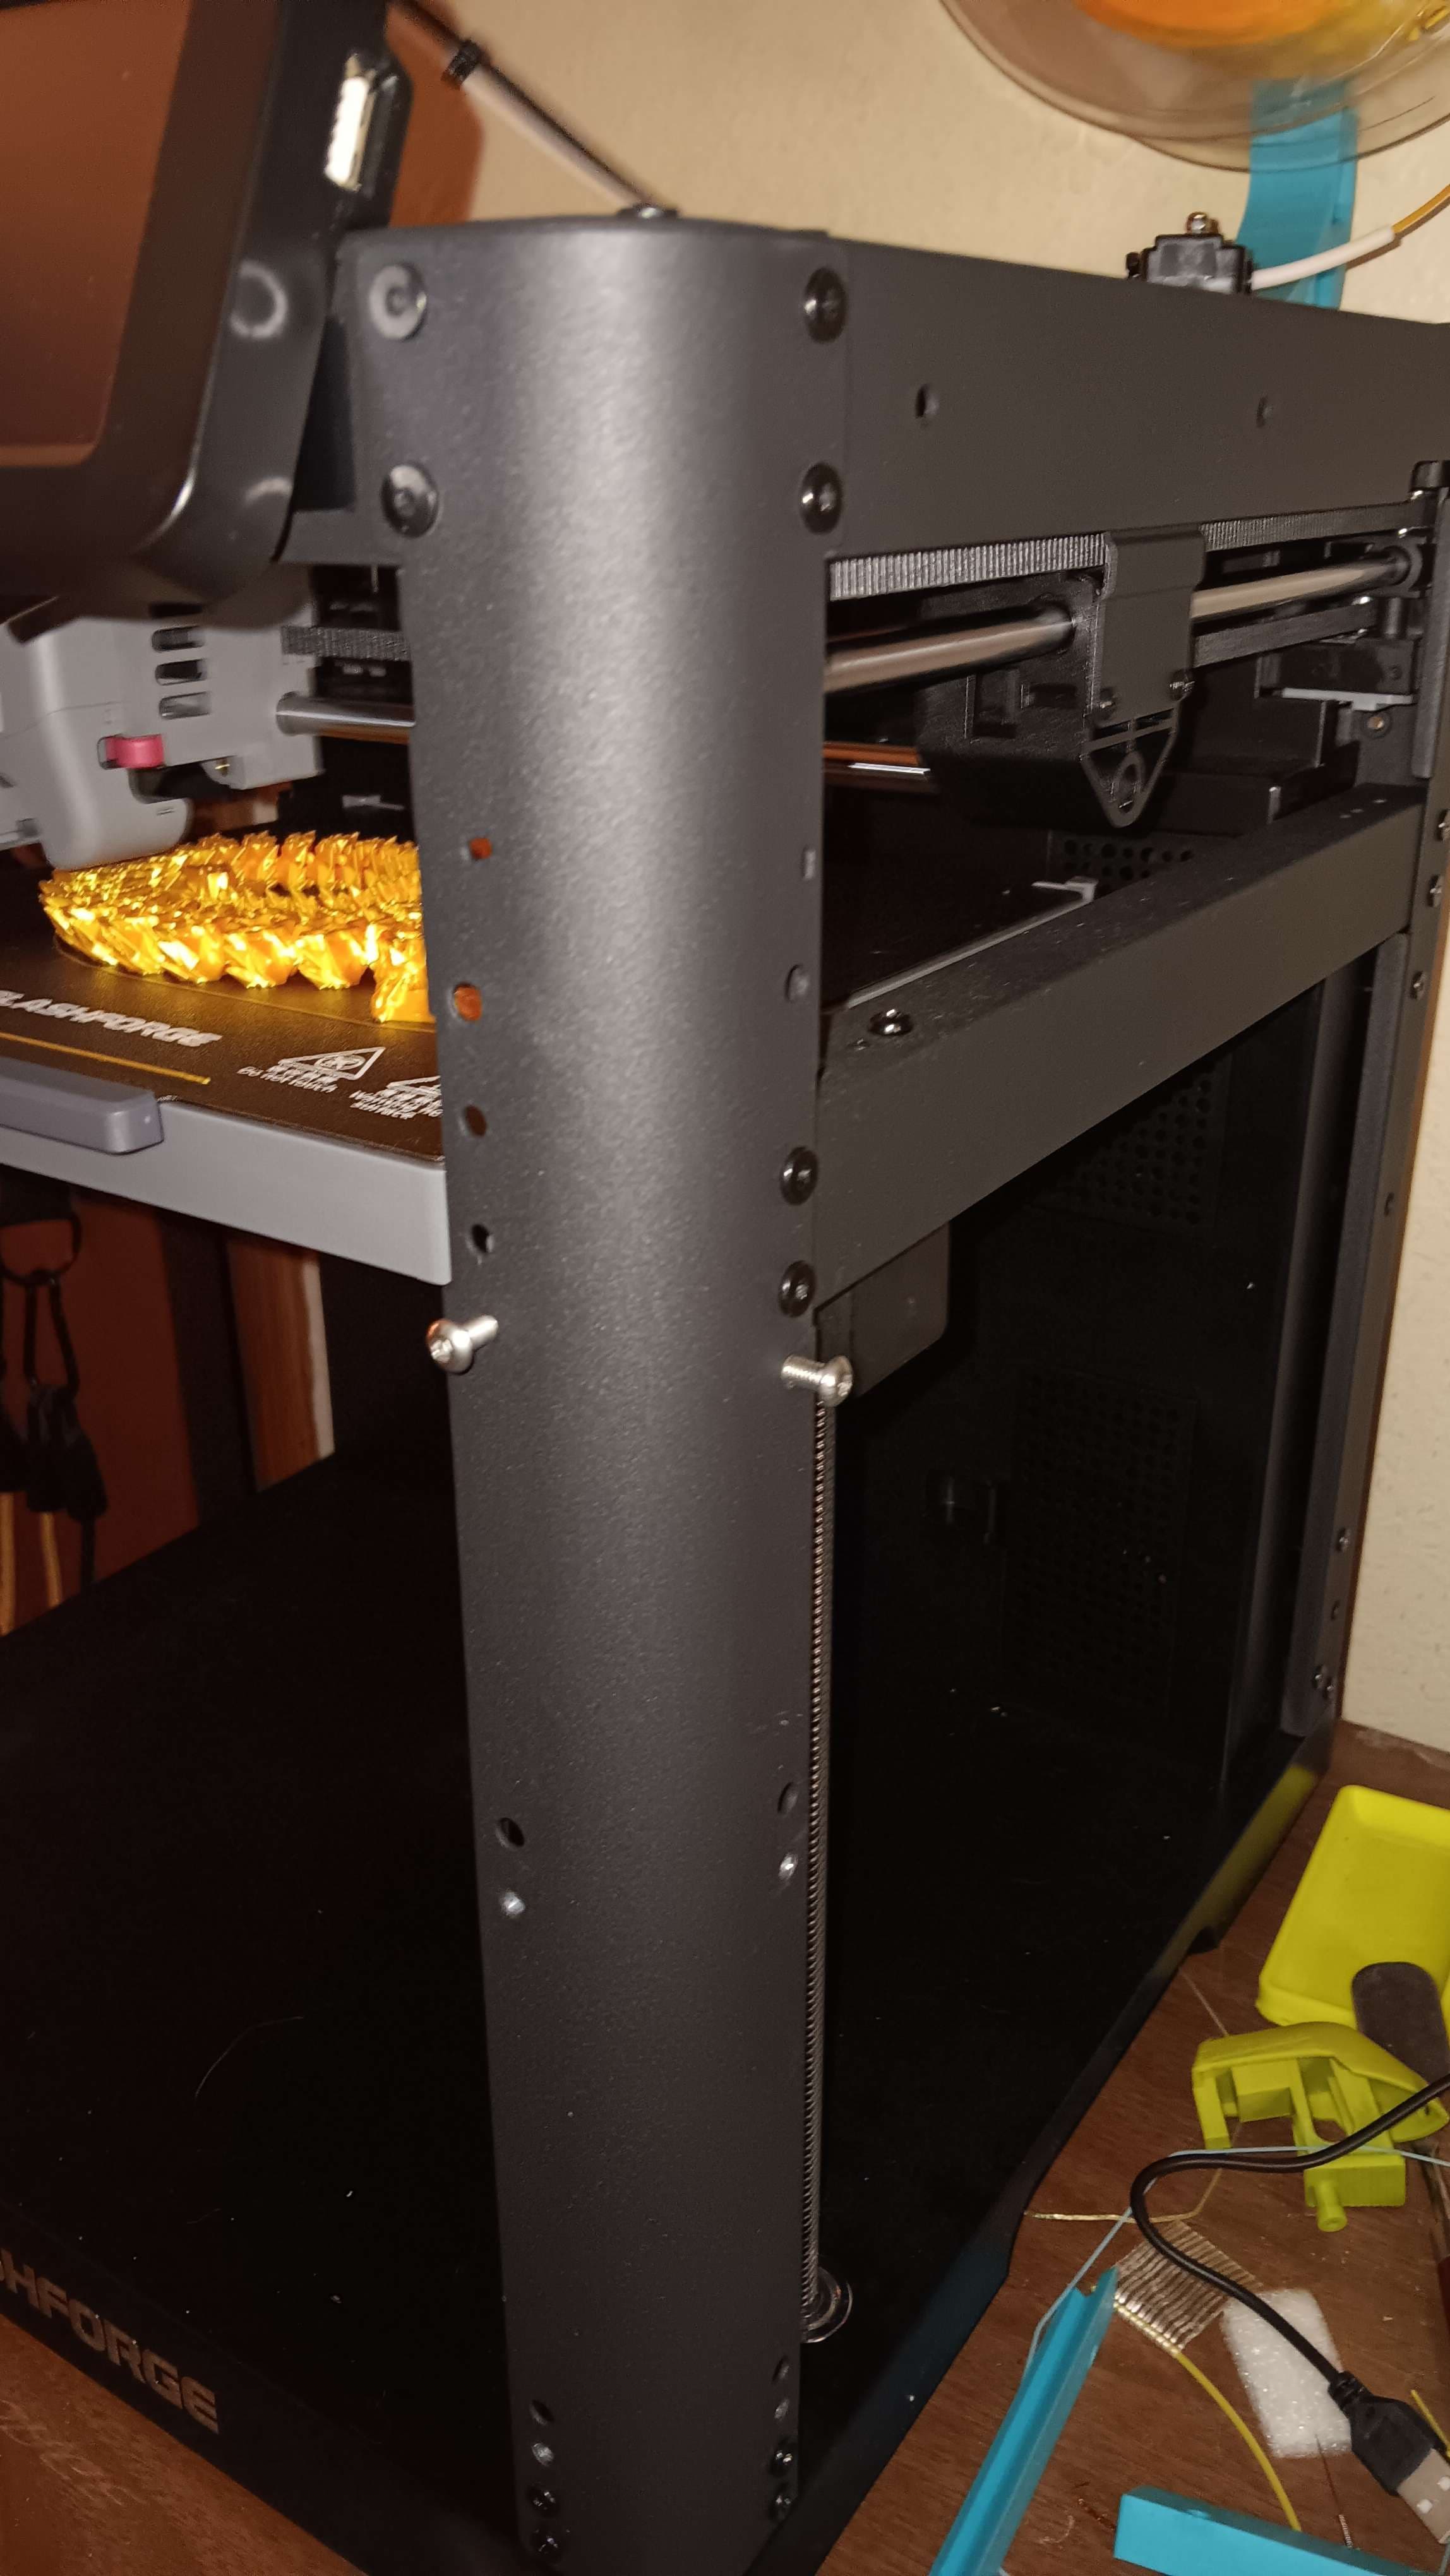
-------- OPTIONAL EXTRAS -------- If your acrylic panels are loose, the spool holder will likely sag, so I've included an optional washer in 3 different sizes (1mm, 1.25mm, and 1.5mm) to insert behind the spool holder. They are designed to be put on the bottom screw inside the case between the spool holder and the acrylic wall. You only need one of them (probably).
If you want the thickness of the washers to be accurate, you'll want to use the "Precise Z height" setting (Already turned on in my 3mf files) or you can fool around with the layer height settings if you don't have access to that feature in your slicer. If you need custom sized washers for any reason, you can always scale them bigger on the z axis. I just figured I'd make it easy and provide the range I found to be reasonable. I needed a 1.25 mm washer, for reference.
[As a side-note, I recently designed some custom spacers the acrylic panels to fit snugly in the t-slot rails and now I don't even need a washer to keep it level. I may upload those spacers too once I'm satisfied with the design and I design a test print to measure your tolerances before printing. I needed 5 separate sizes just for my enclosure because the thickness of the acrylic panels isn't very consistent. There are two more variations with cable clips for light bar and another for the plastic board so the total possible combination of sizes and configurations makes it really difficult to settle on set of models and presets that are reasonable useful, but not overwhelming. Give me some time and I'm sure I'll have it ready to upload.]
Better Spool Holder for YOOPAI Enclosure
Prusa Enclosure 3kg Spool Holder
Fan intake for YOOPAI printer enclosure
Spool Holder Adapter for Lack Enclosure
Modular Spool Rack -Remixed! with feet for better stability
Sculpfun S6 Pro Electronics Case with Fan
Mihai's DryBox

Wall Planter with Sliding Dovetail - The Poppy

Magic Ball Fidget Toy
Improved Awesome Filament Clips
Simple Spool Holder

Gear Star

usb cable spool holder organizer
FlashForge 5M Cam Mount. ( Not Pro Model )
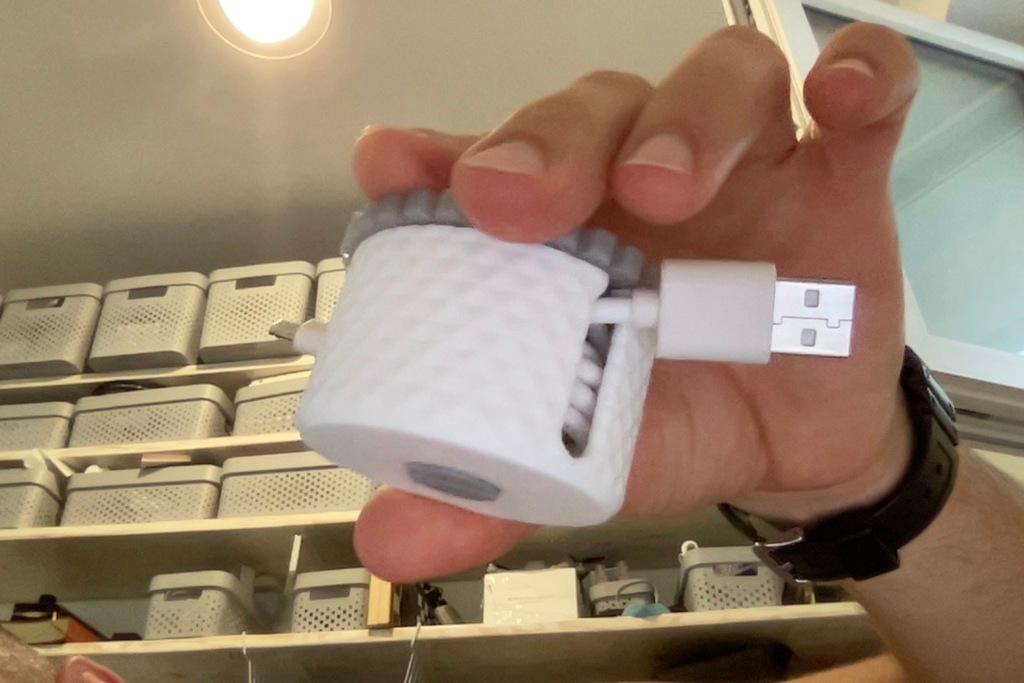
usb cable spool holder organizer
Ender 3 Filament Spool Roller Bearing
Gear Blob Fidget Toy

Ender 3 V2 Filament Spool 100% 3d Printed
Eryone Cardboard Spool Rim for Bambu Lab AMS

Filament Dry Box