

Ultimate Bag Clip (with Lid - easy access!)
468 downloads · 2 years ago · With this simple little print, you can make your bags a lot easier to use in the kitchen! It’s easy
This model is restricted by licensing terms.
View license.
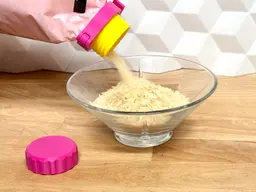
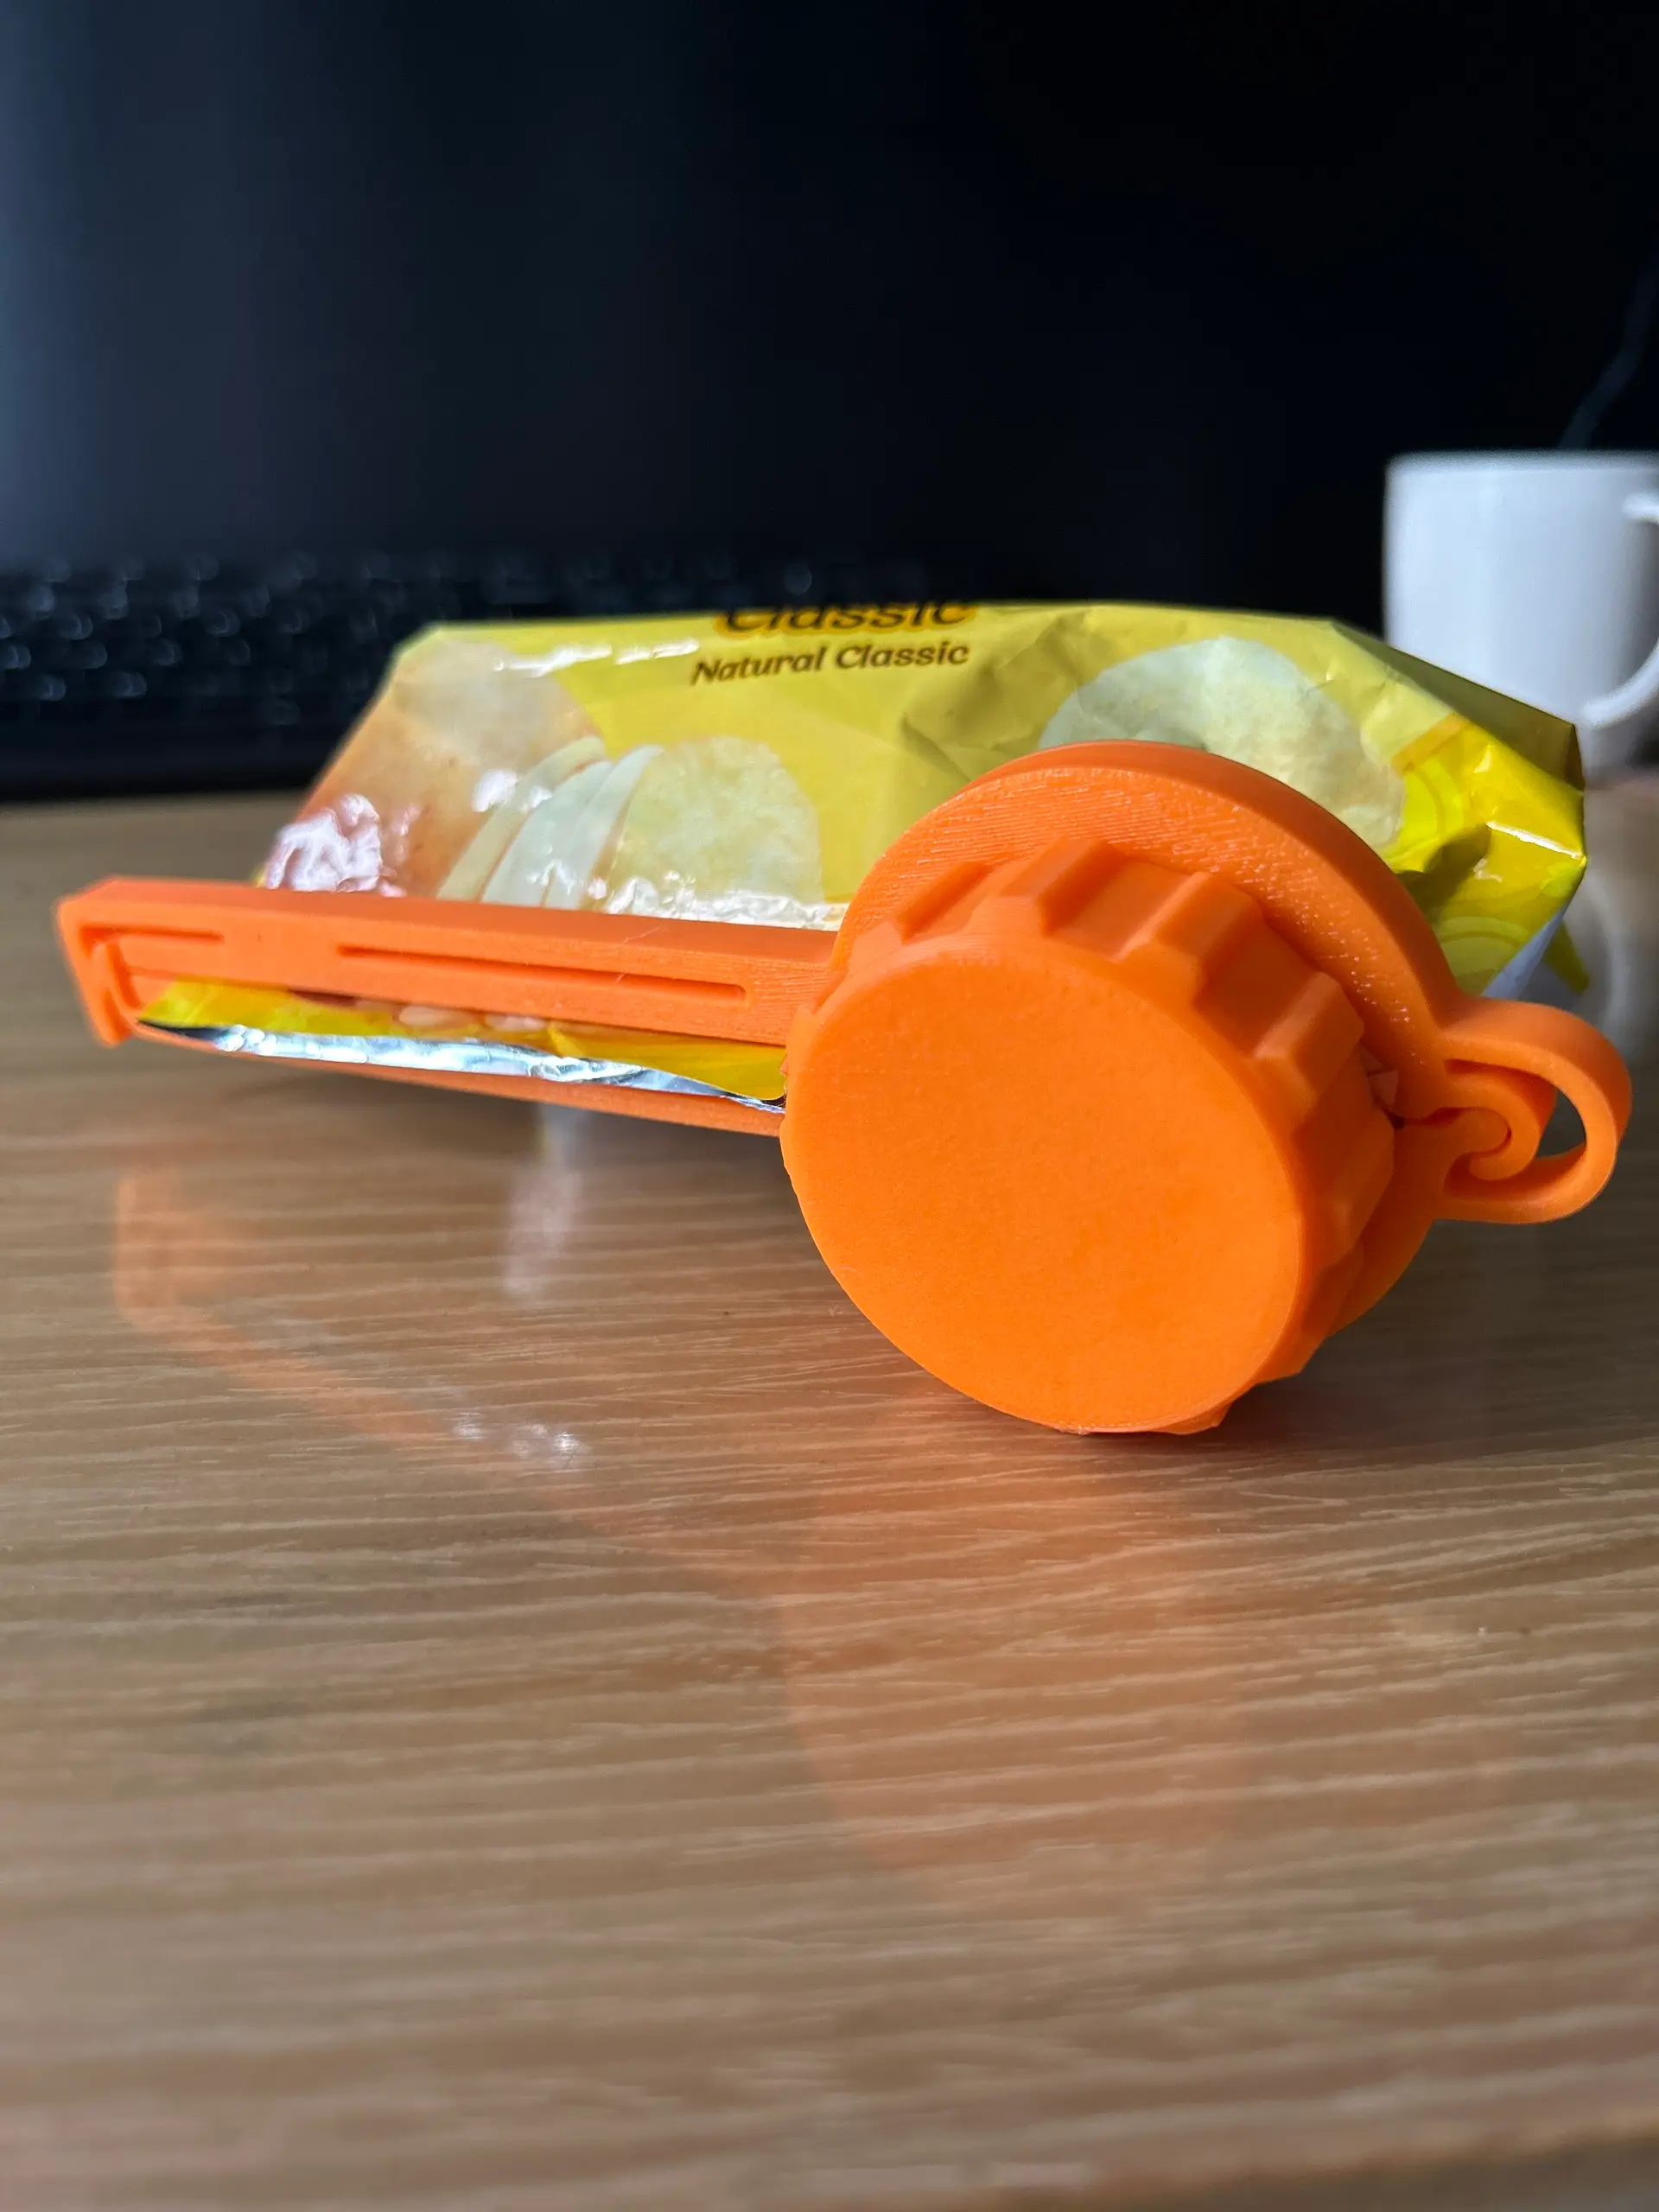
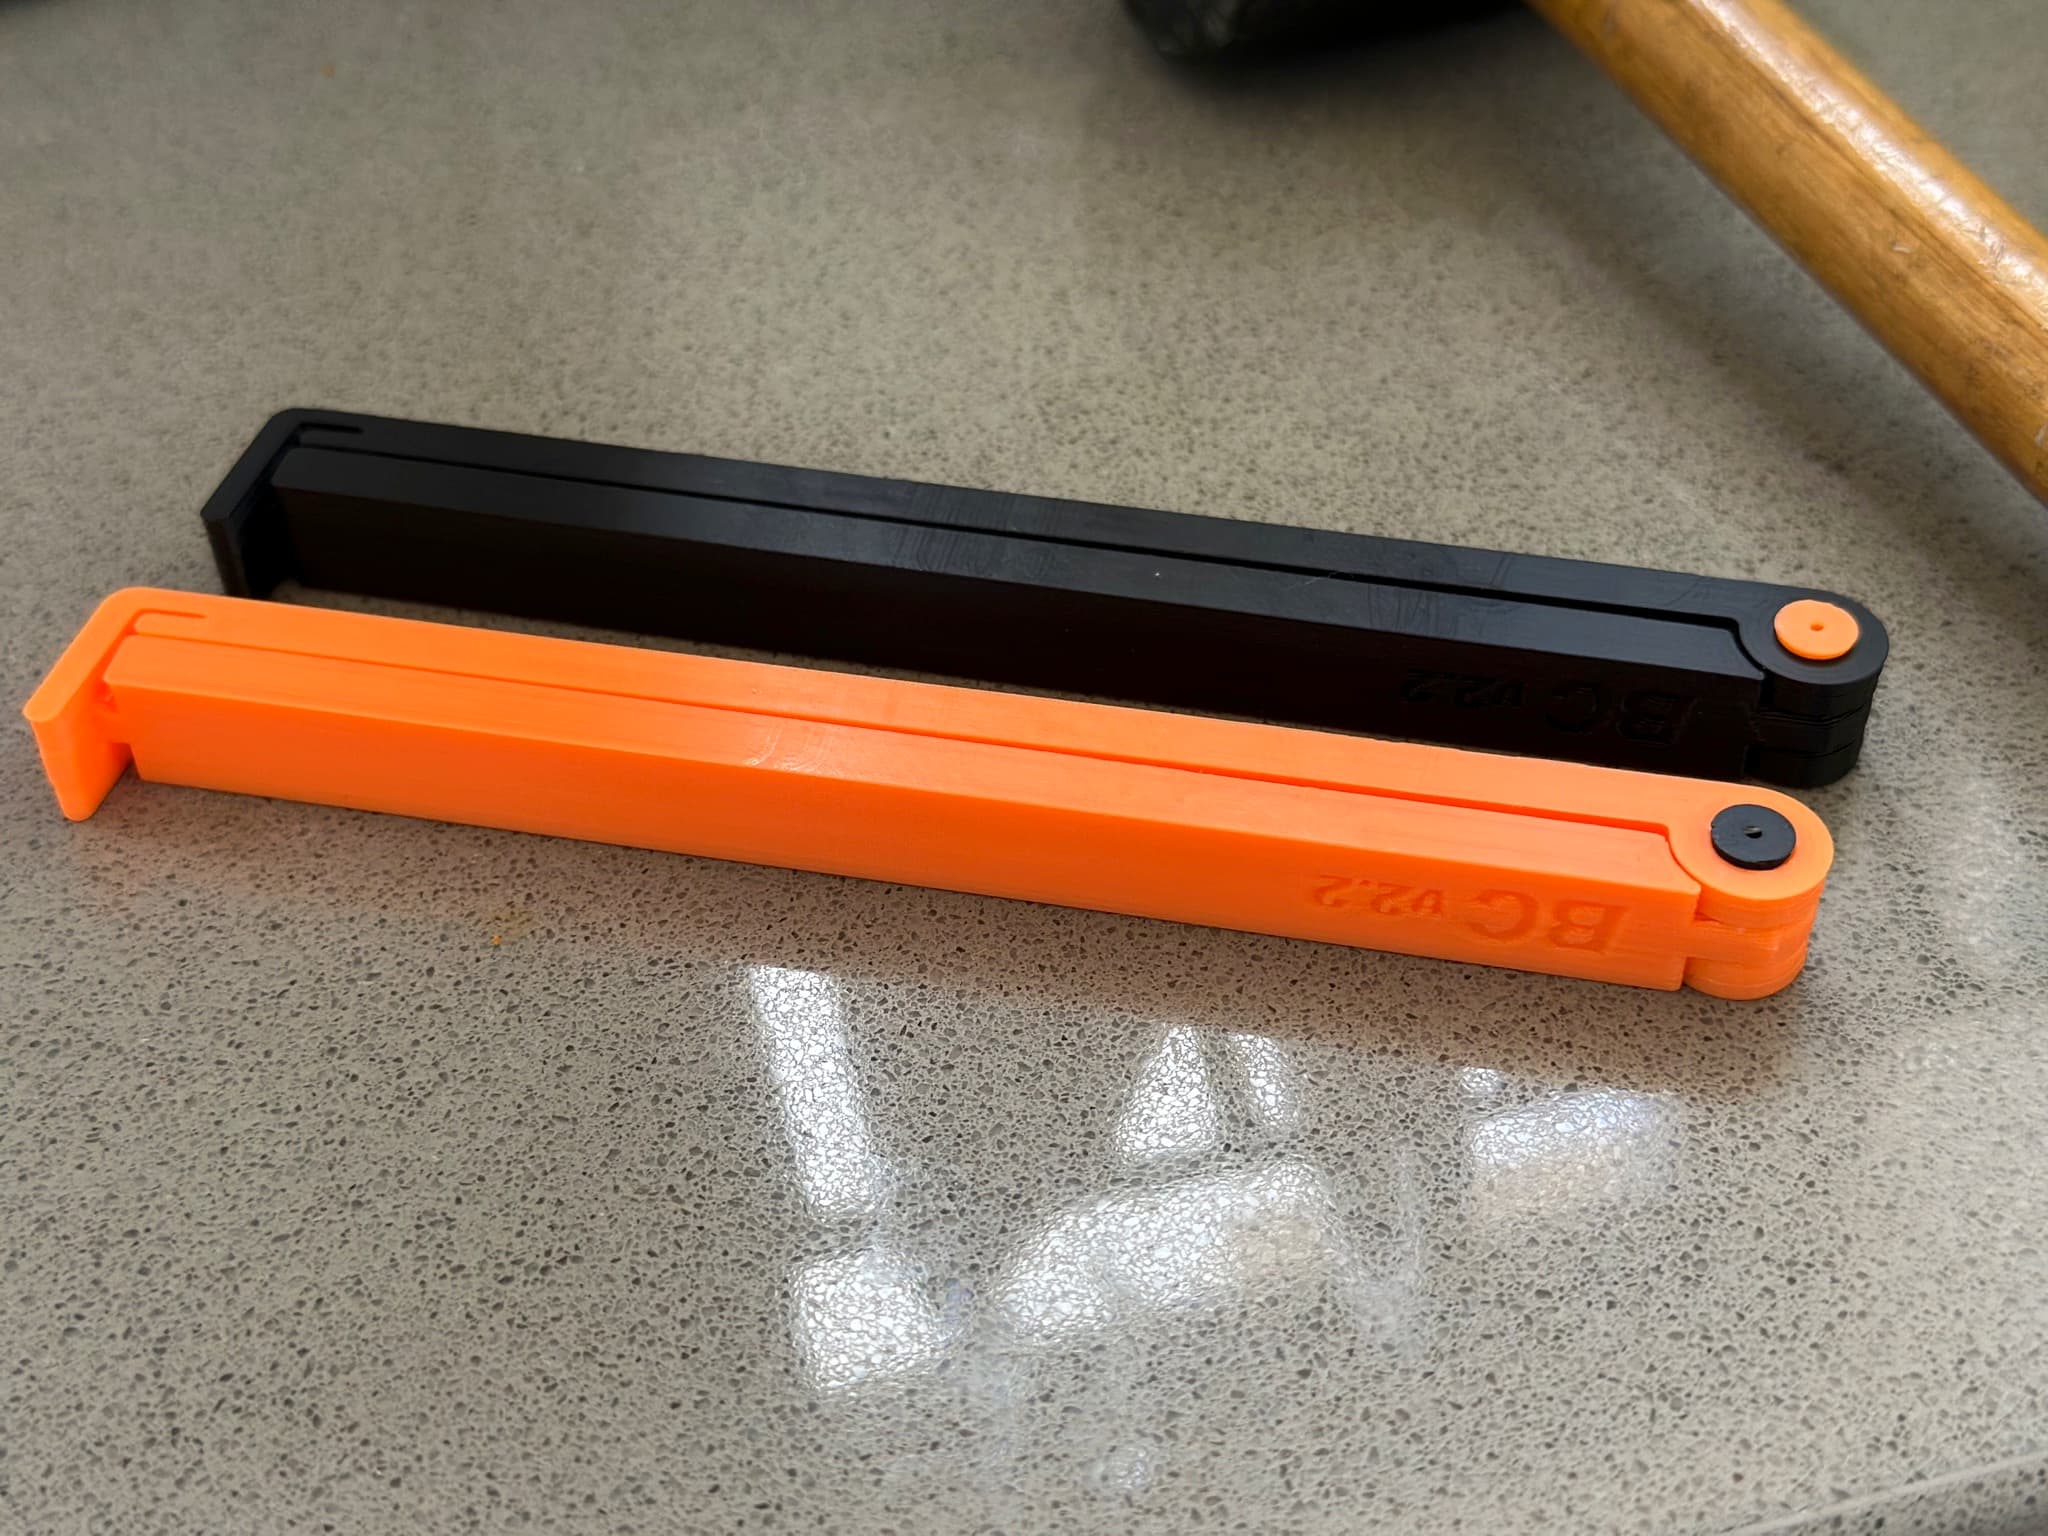
With this simple little print, you can make your bags a lot easier to use in the kitchen! It’s easy to open, pour and close again. Just print and mount on the bag and you are ready to go! No extra hardware needed - all 3D printed.
Overview The model comes in 18 sizes for now! It's based on the diameter of the lid/opening and the length of the clip. The diameter comes in 3 sizes:
- 30 mm
- 40 mm
- 50 mm All lengths of the clips in a particular diameter size, uses the same Cylinder and Lid.
The clip comes in 6 lengths (currently from XS to XXL). The total length of the different sizes is approx.:
- XS: 55, 65, 75 mm (depending on the diameter of the lid/openening)
- S: 90 mm
- M: 120 mm
- L: 150 mm
- XL: 180 mm
- XXL: 210 mm
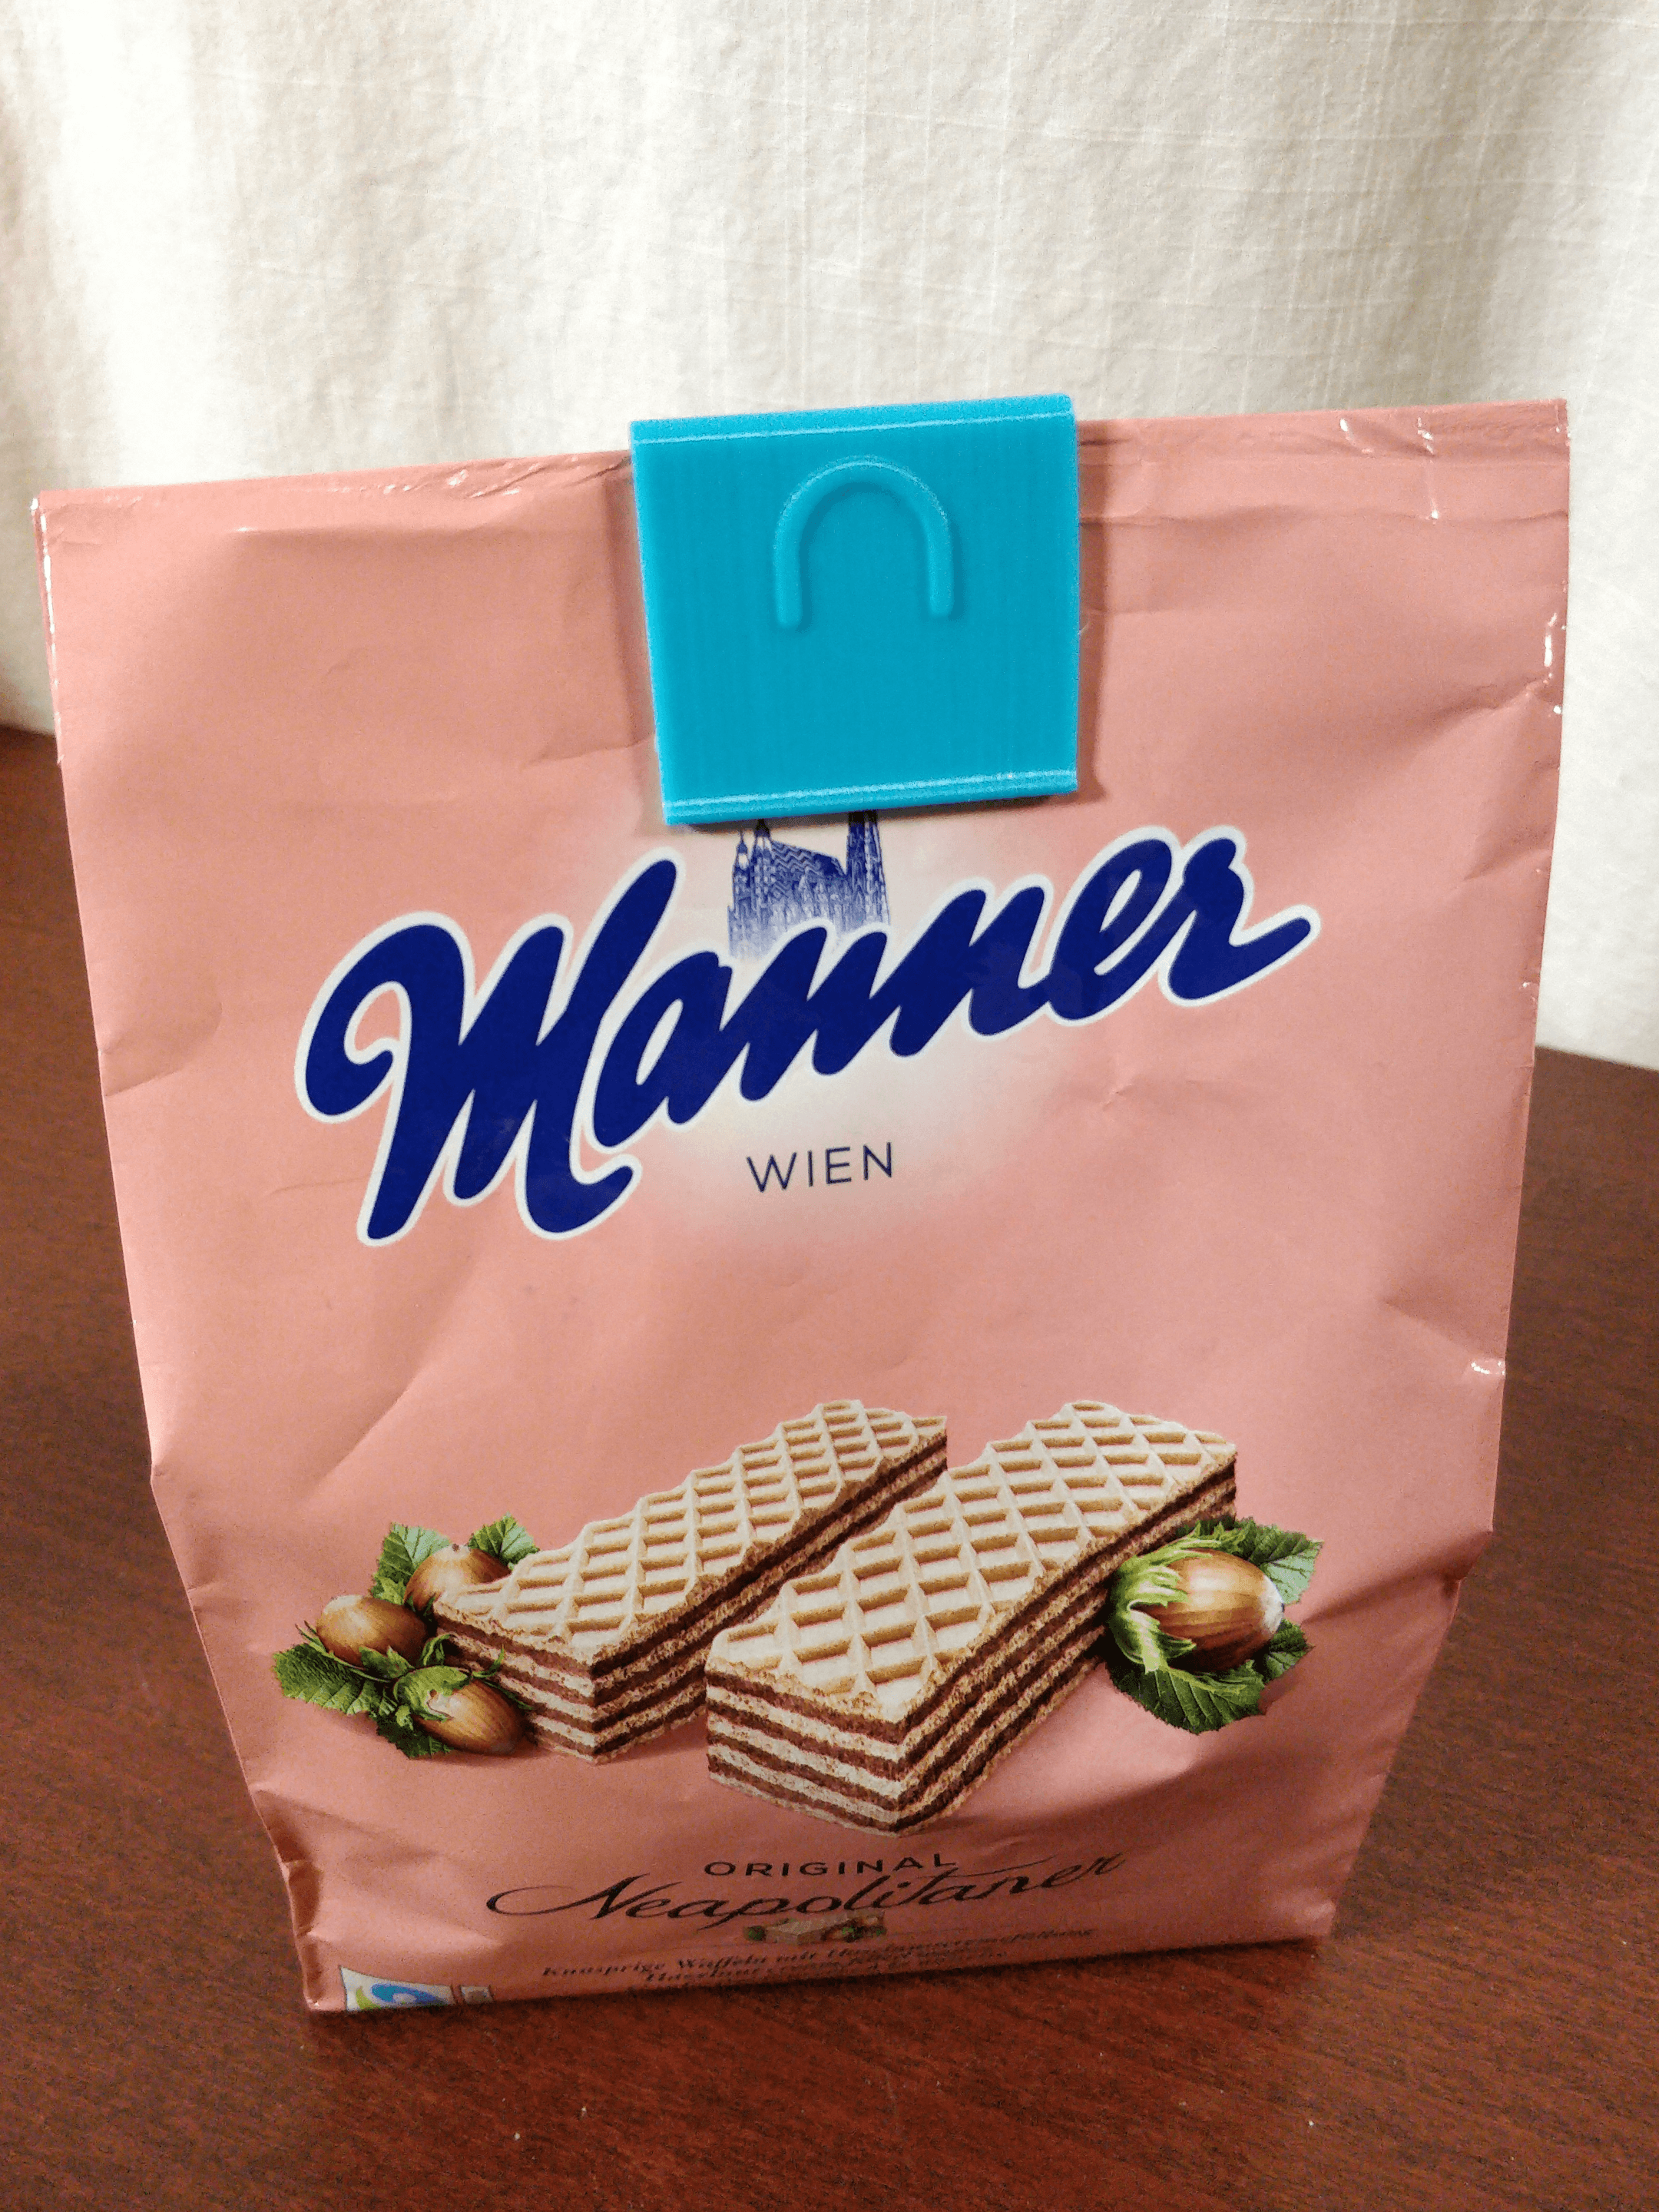
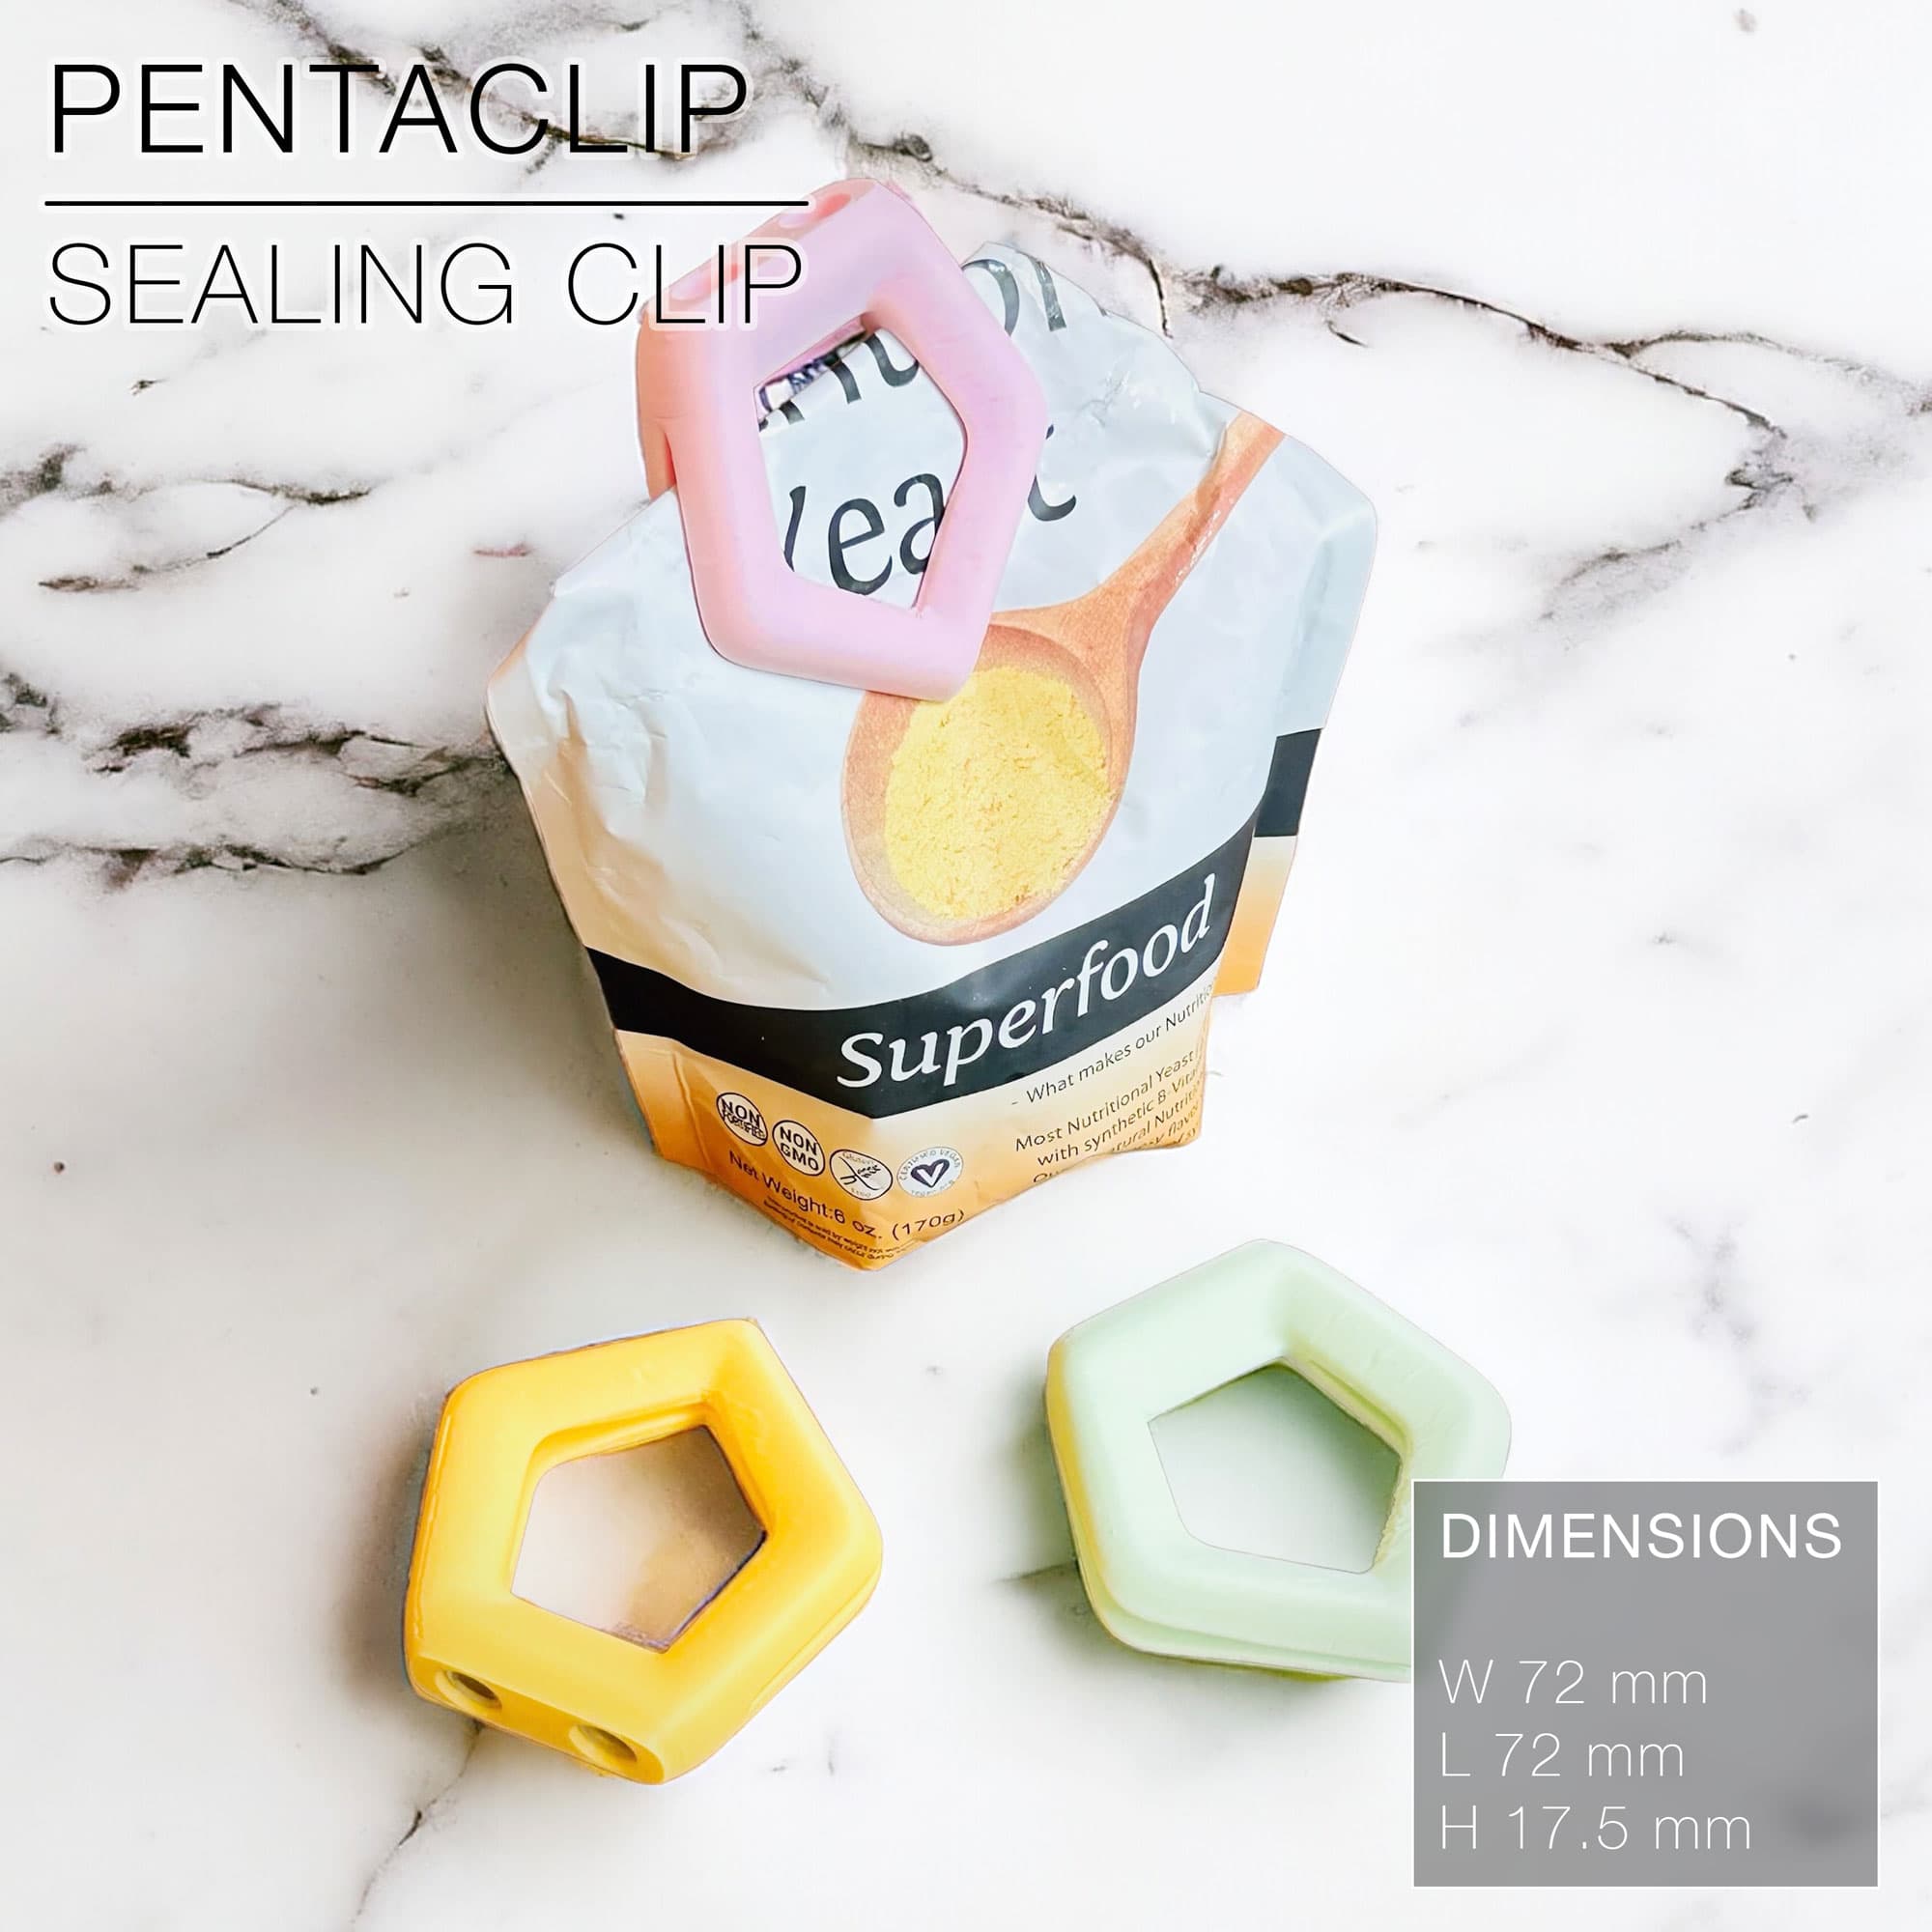
For your information, the sizes used on the images are:
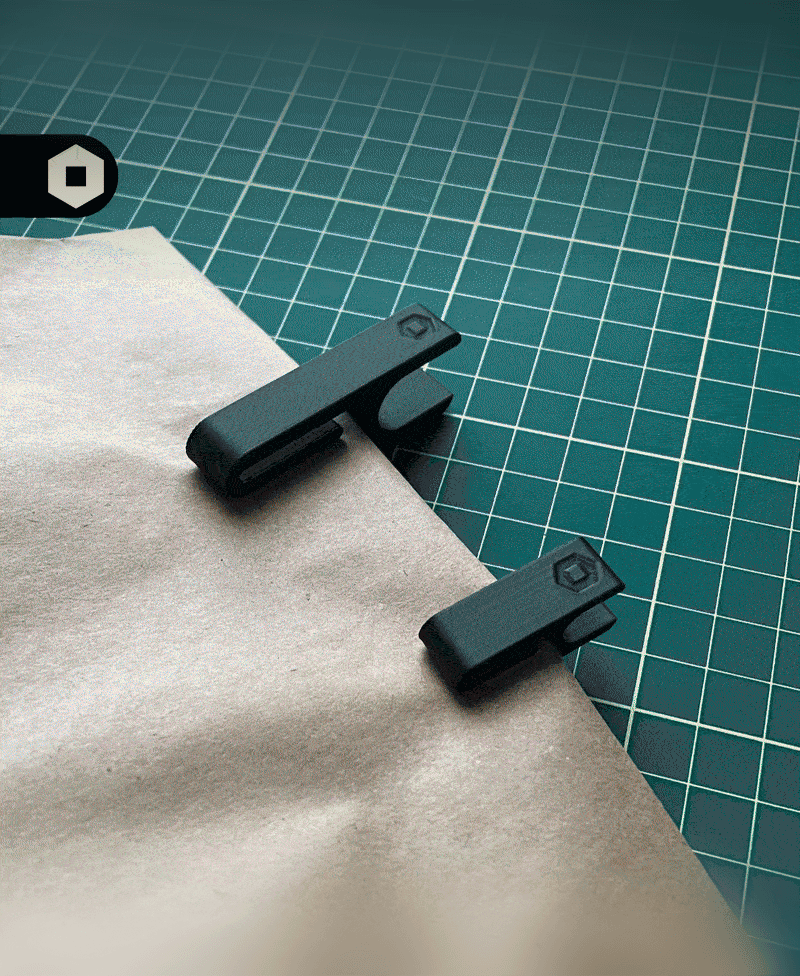
- Pink: 40 - XS
- Yellow: 40 - XL
- Blue: 30 - XS If you have a request for more sizes or other ideas that would make this clip even better, please leave a comment and I’ll get back to you!
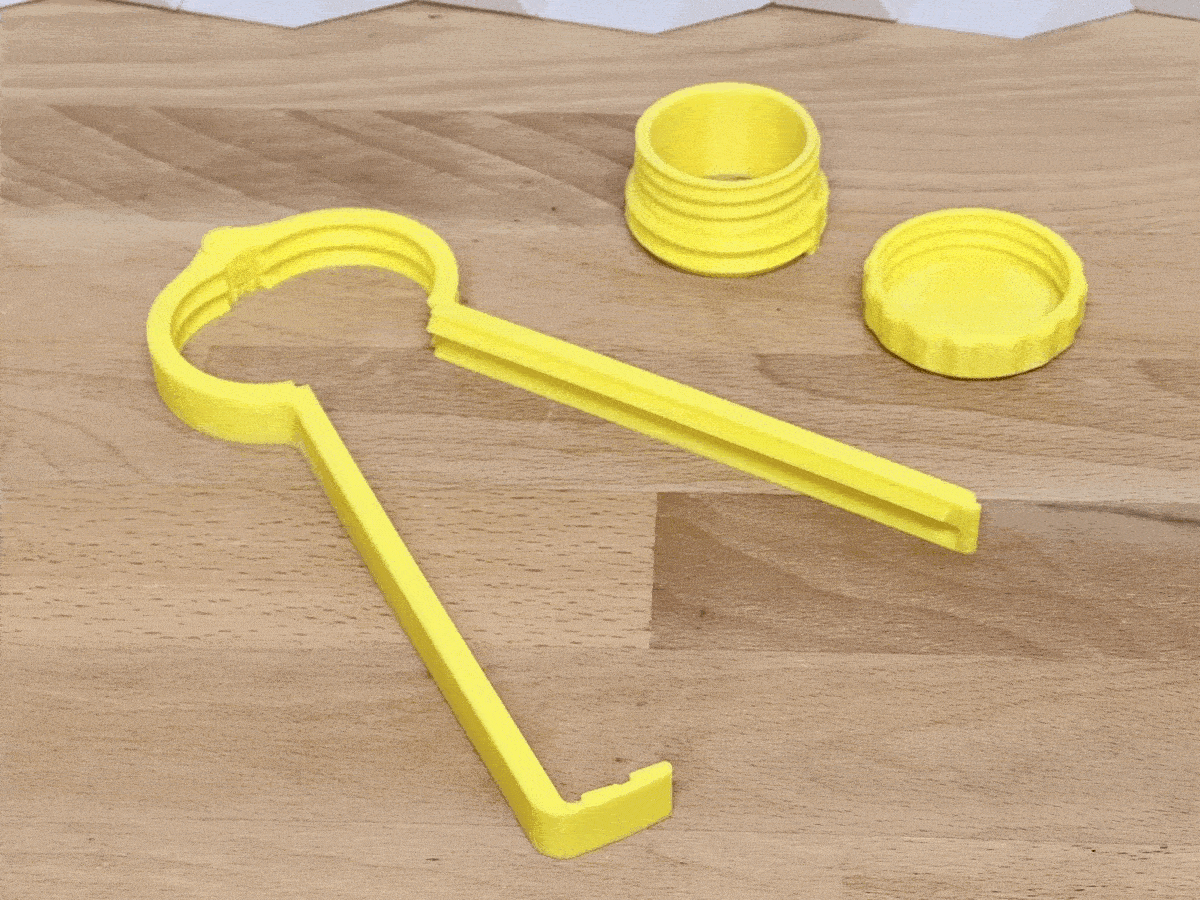
Assembly
- Cut a hole in the bag (fx. a hole in the corner just big enough to fit the cylinder)
- Hold the Cylinder in the hole with the thread sticking out.
- Mount the Clip around the bag and Cylinder base
- Screw the Lid on
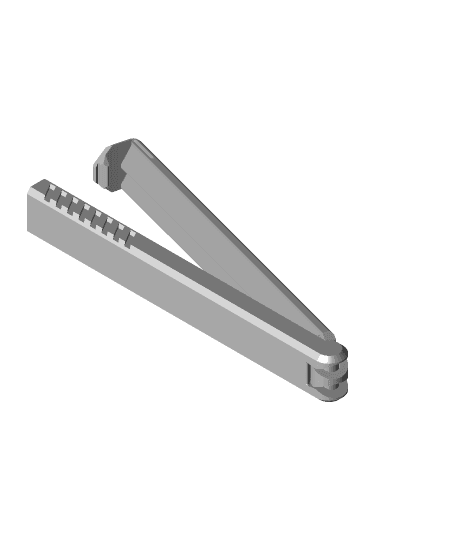
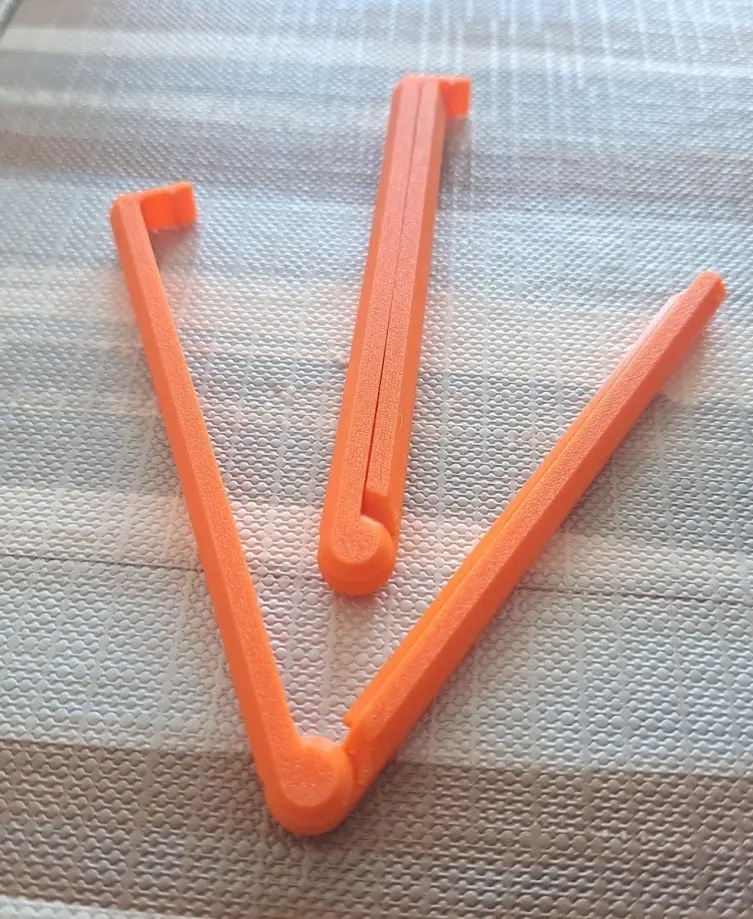
Print instructions It prints easy and can print with default values. There are some tips though to make it better.
- Supports: No - the print-in-place hinge prints without supports!
- Walls/perimeters: 3-5 - the more walls, the stronger but more filament is used - so test a see what you find the best.
- Infill: The more infil, the stronger it will be. Mostly needed on the longer Clip versions. Happy printing!

slackpj1 year ago
Amazing model. have printed a few already
The cylinder didn't stick first time, so added an inner brim not sure if it was absolutely necessary, but printed find with the inner brim
Layer height0.2 mm
Infill density15 %
SupportsNone
BrimYes
Ultimate Bag Clip (with Lid - easy access!)
468 downloads · 2 years ago in and
This model is restricted by licensing terms.
View license.

Tiny Cheese Clip (quick and cute bag clip for the kitchen)
Bullshit Briefcase Clicker Toy / Easy to Print / 3MF Included

Magnetic CASE for CLIP-ONS (Magnetic Attachment LENSES for Glasses)

Strong Bag Clip, Food Bag Clip
Ultimate Bag Clip
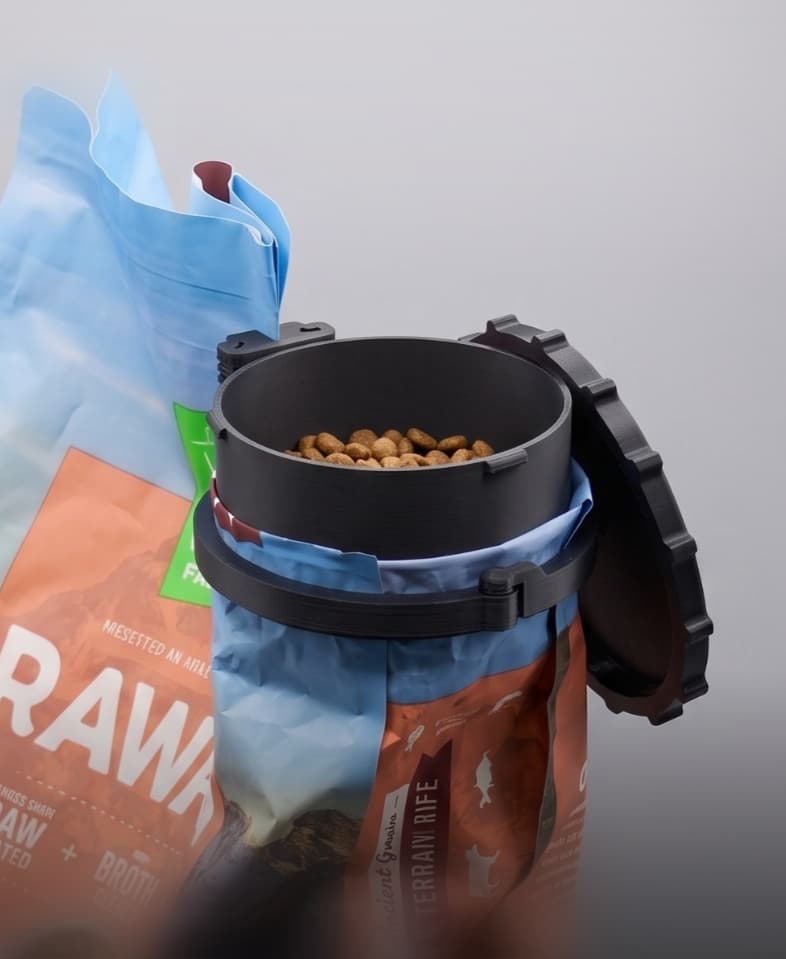
Pet Food Bag Clip with Lid
.png&w=3840&q=75)
Venus Flytrap Snack Clips - Bag Clips
Remix of Bag Clip / Sealing Clips without overhang & support

Food Bag Sealing Clips, Various Sizes, Chip Bag Closer, Airtight Seal Design - 3D Printable STL File

Layered Bag Clips
Medium Bag Clip
Chip Bag Clip
.jpg&w=3840&q=75)
Trash Bag Clips for Square trash Can
PENTACLIP | bag sealing clip
Print-in-Place Bag Clip

Simple Lid Clip
Bag Clip - Fast Print
Bag Clip
.JPG&w=3840&q=75)
Golf Ball Bag Clip