


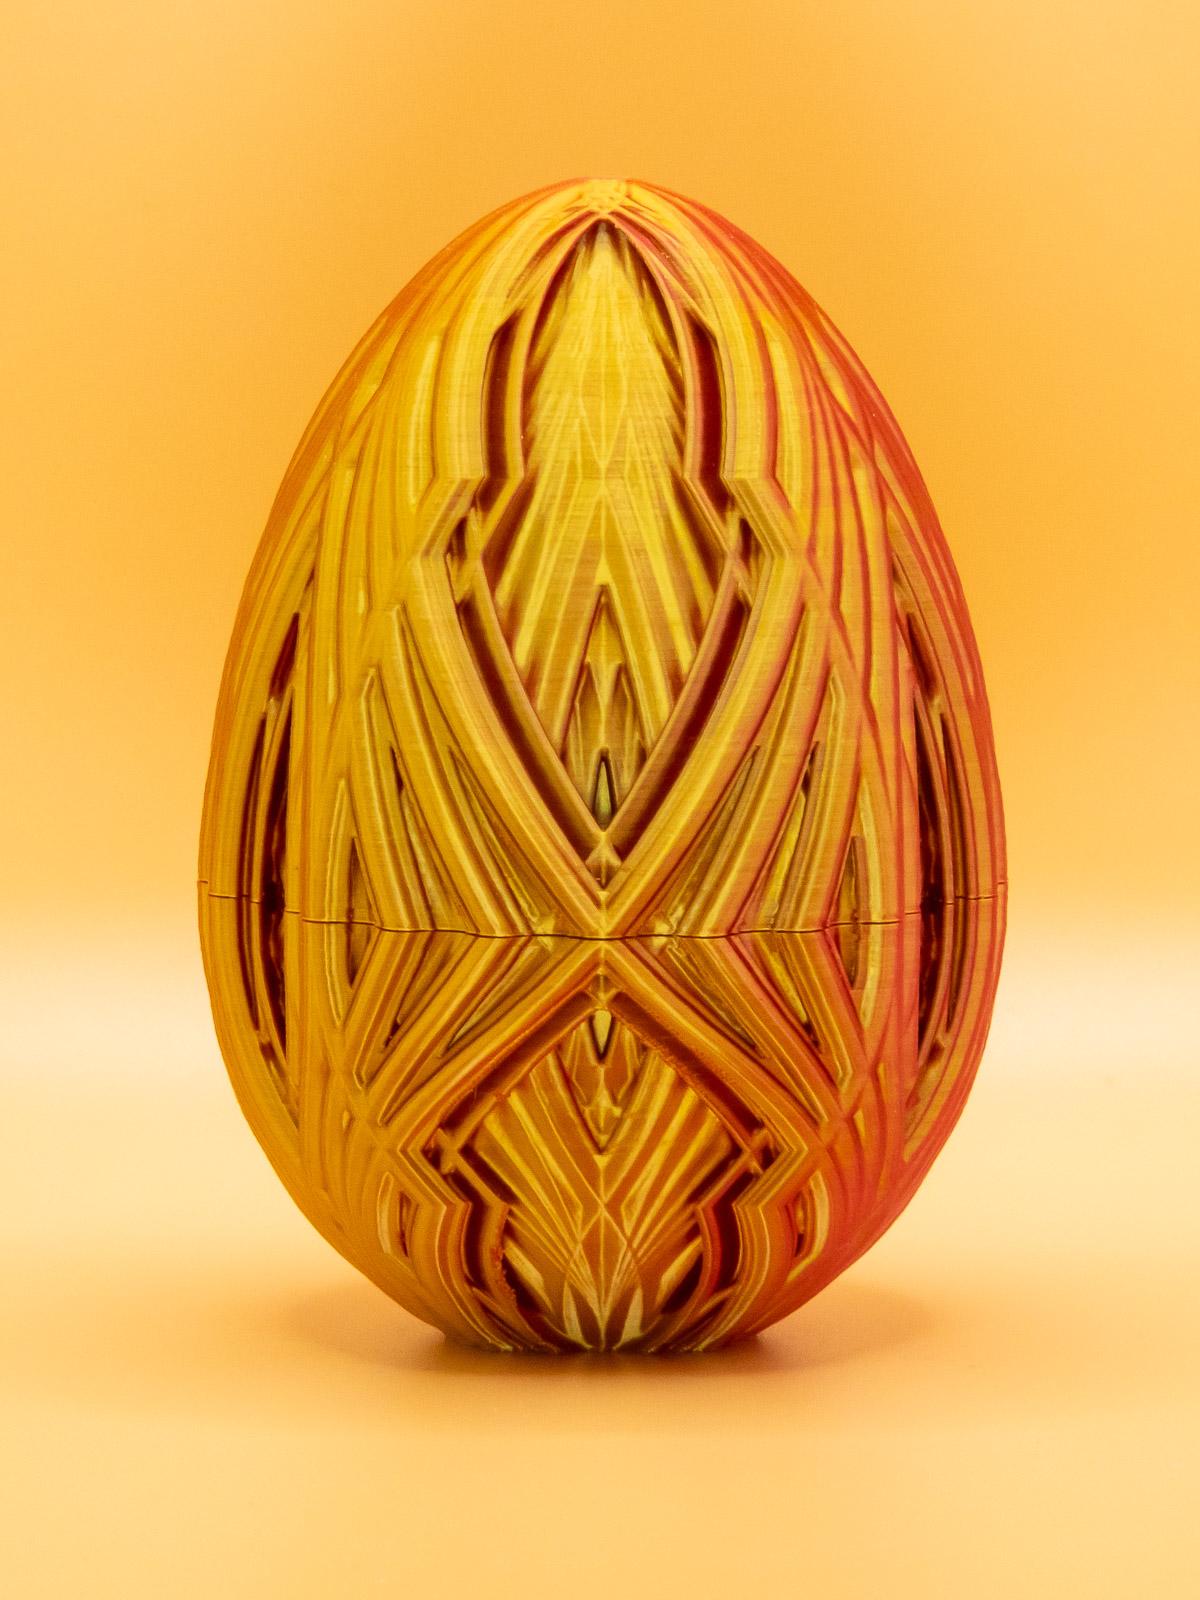
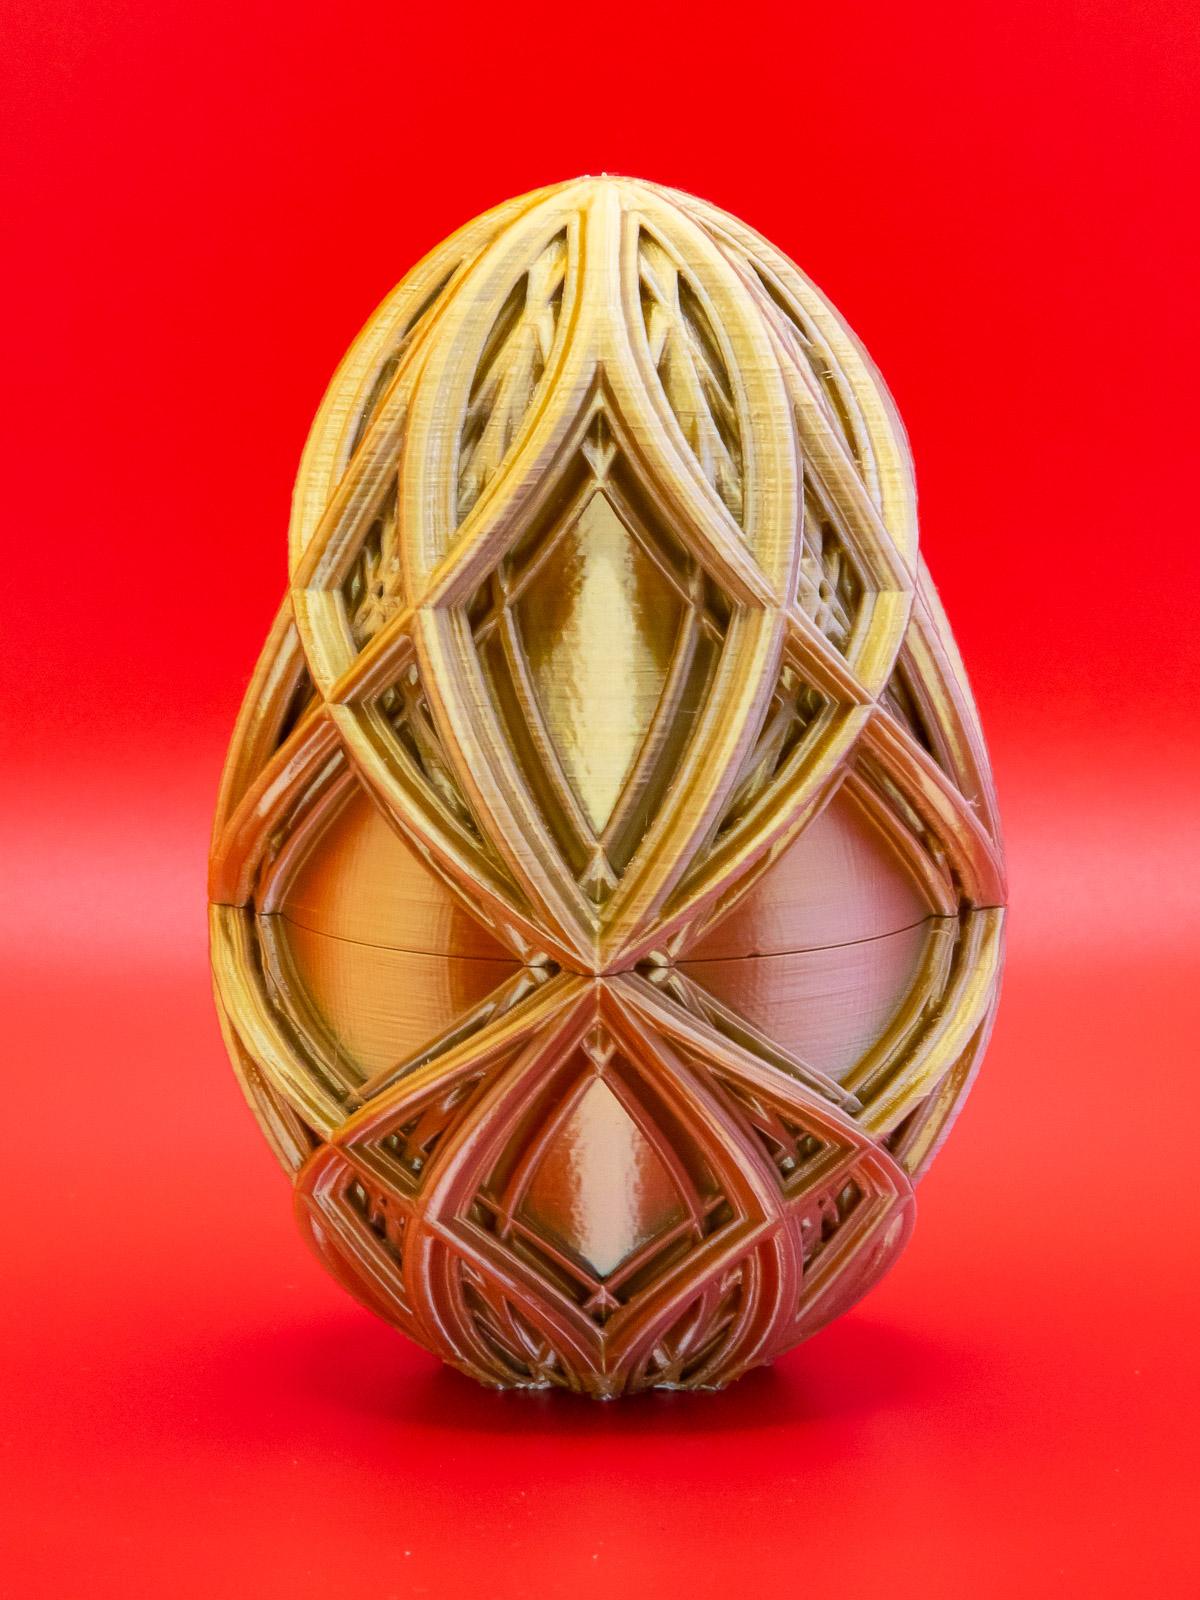
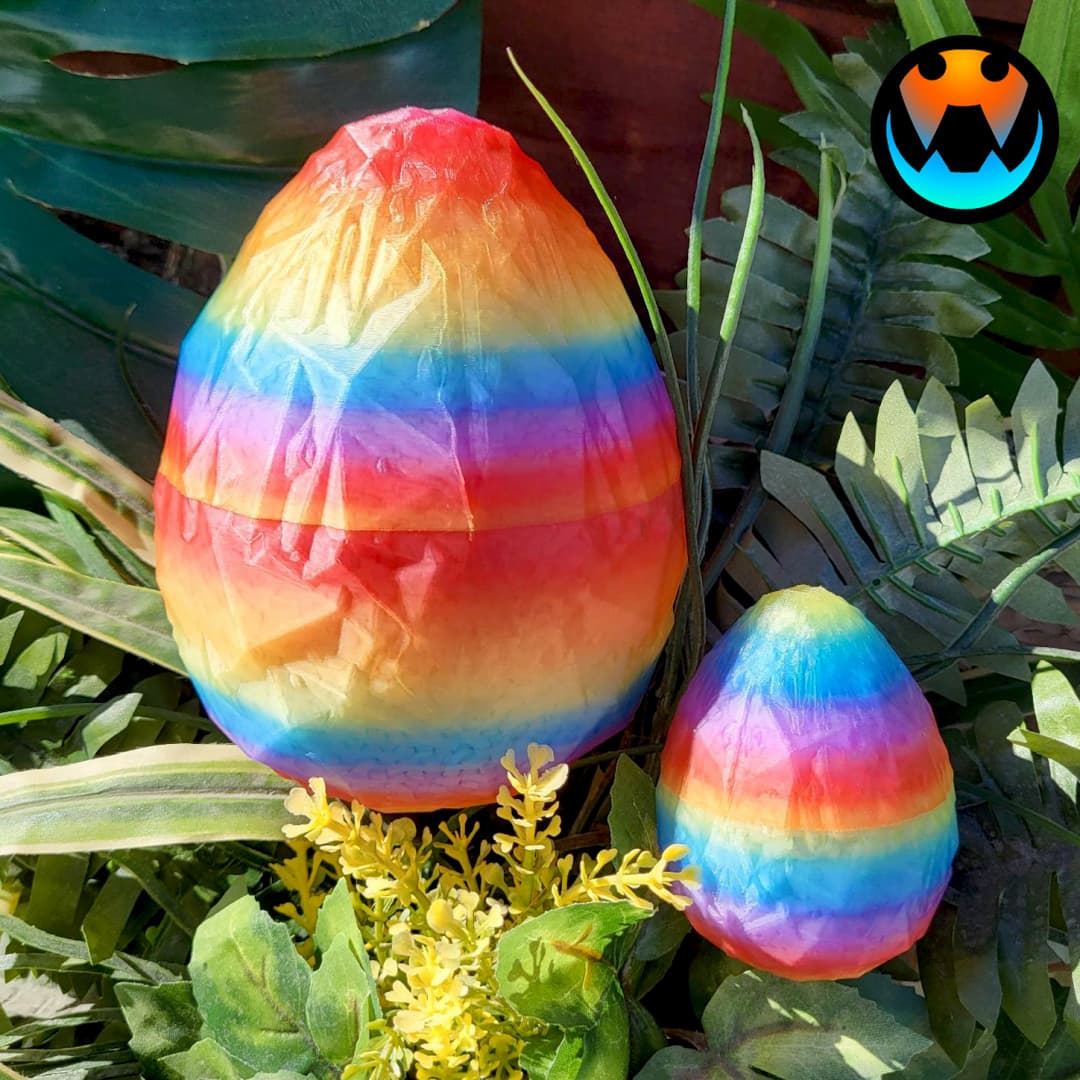
Curvy Kaleidoscope Egg
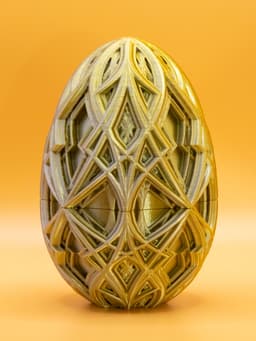
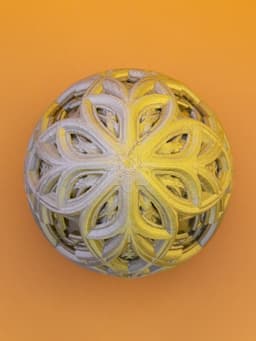
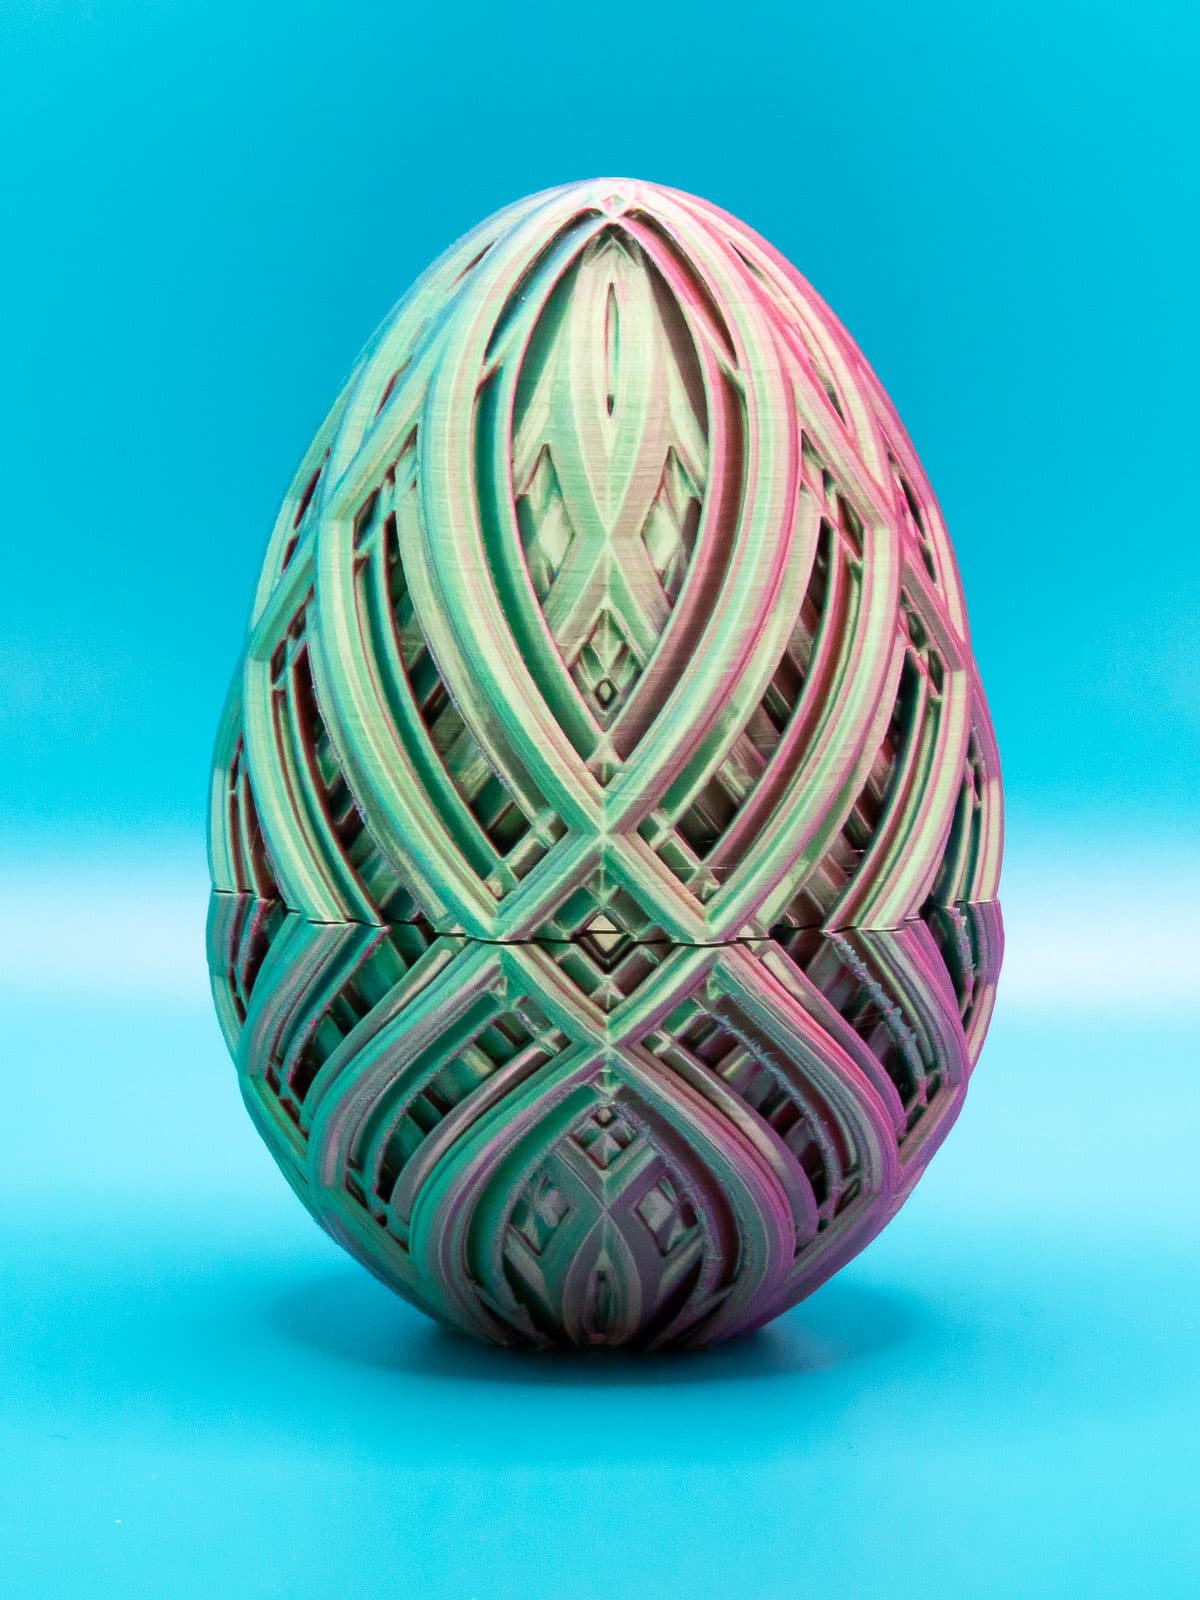
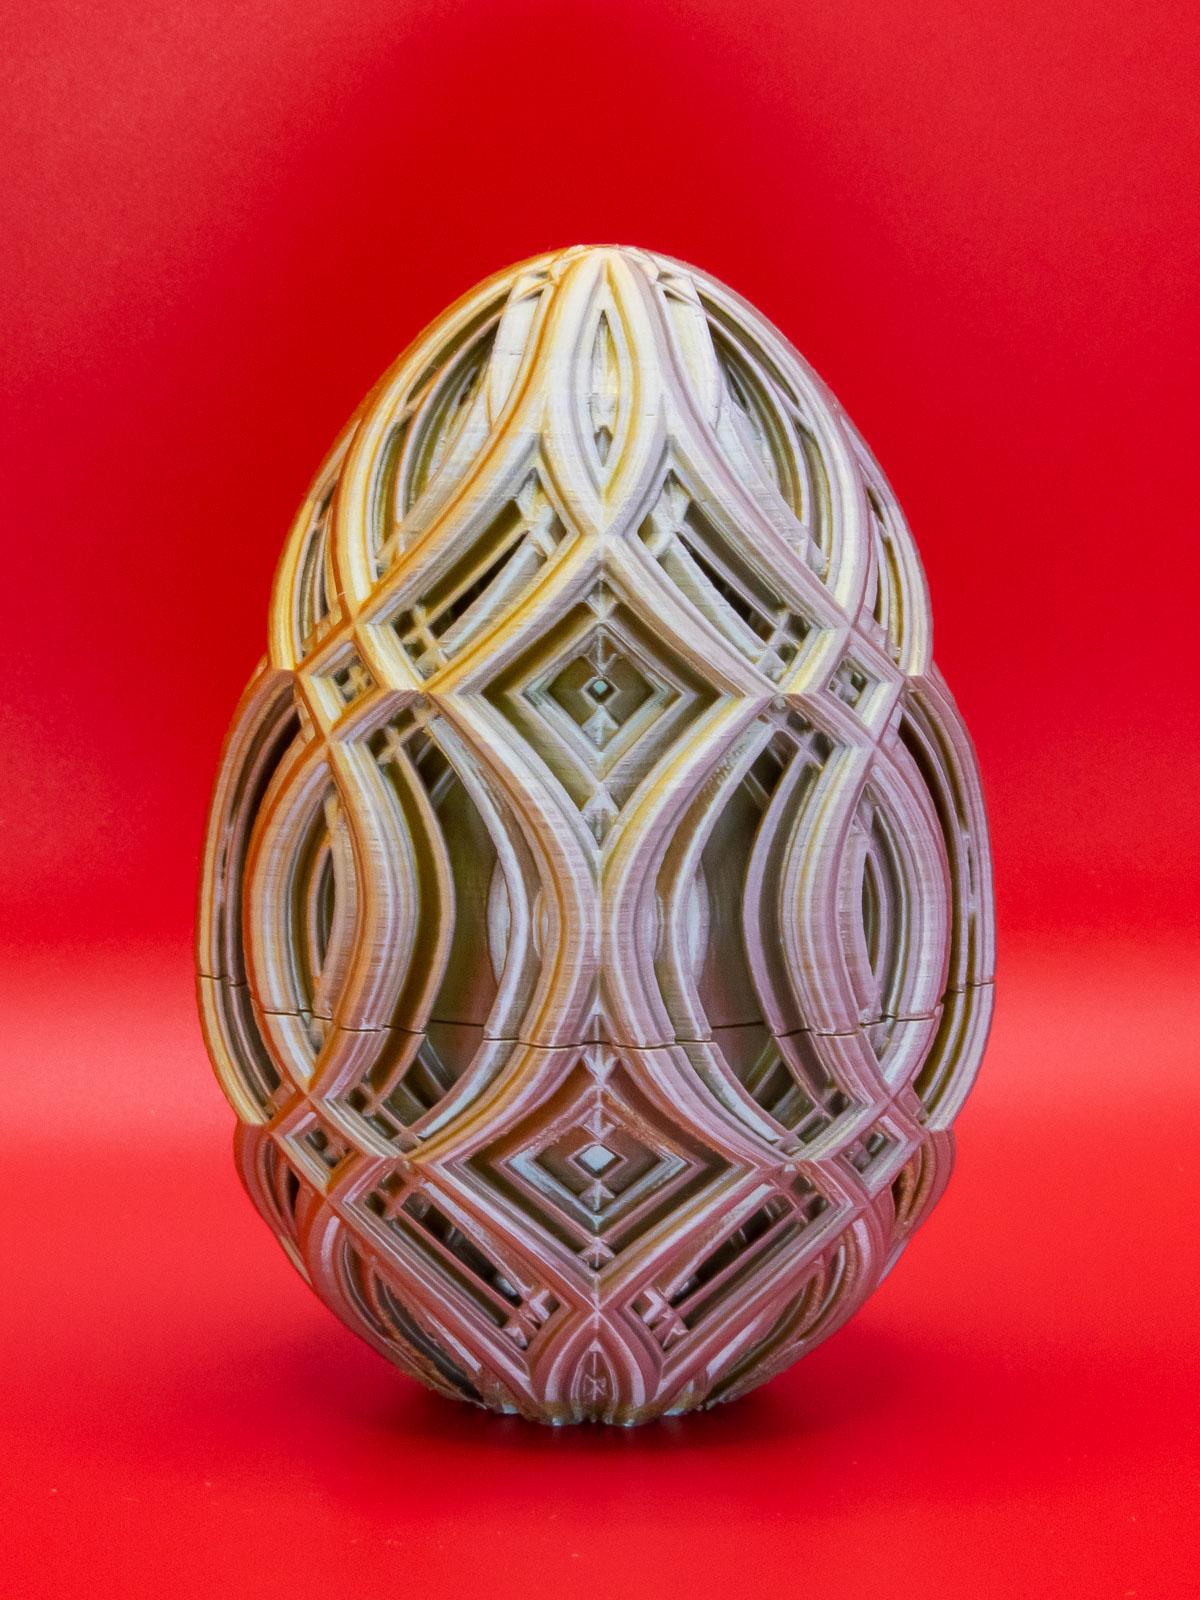
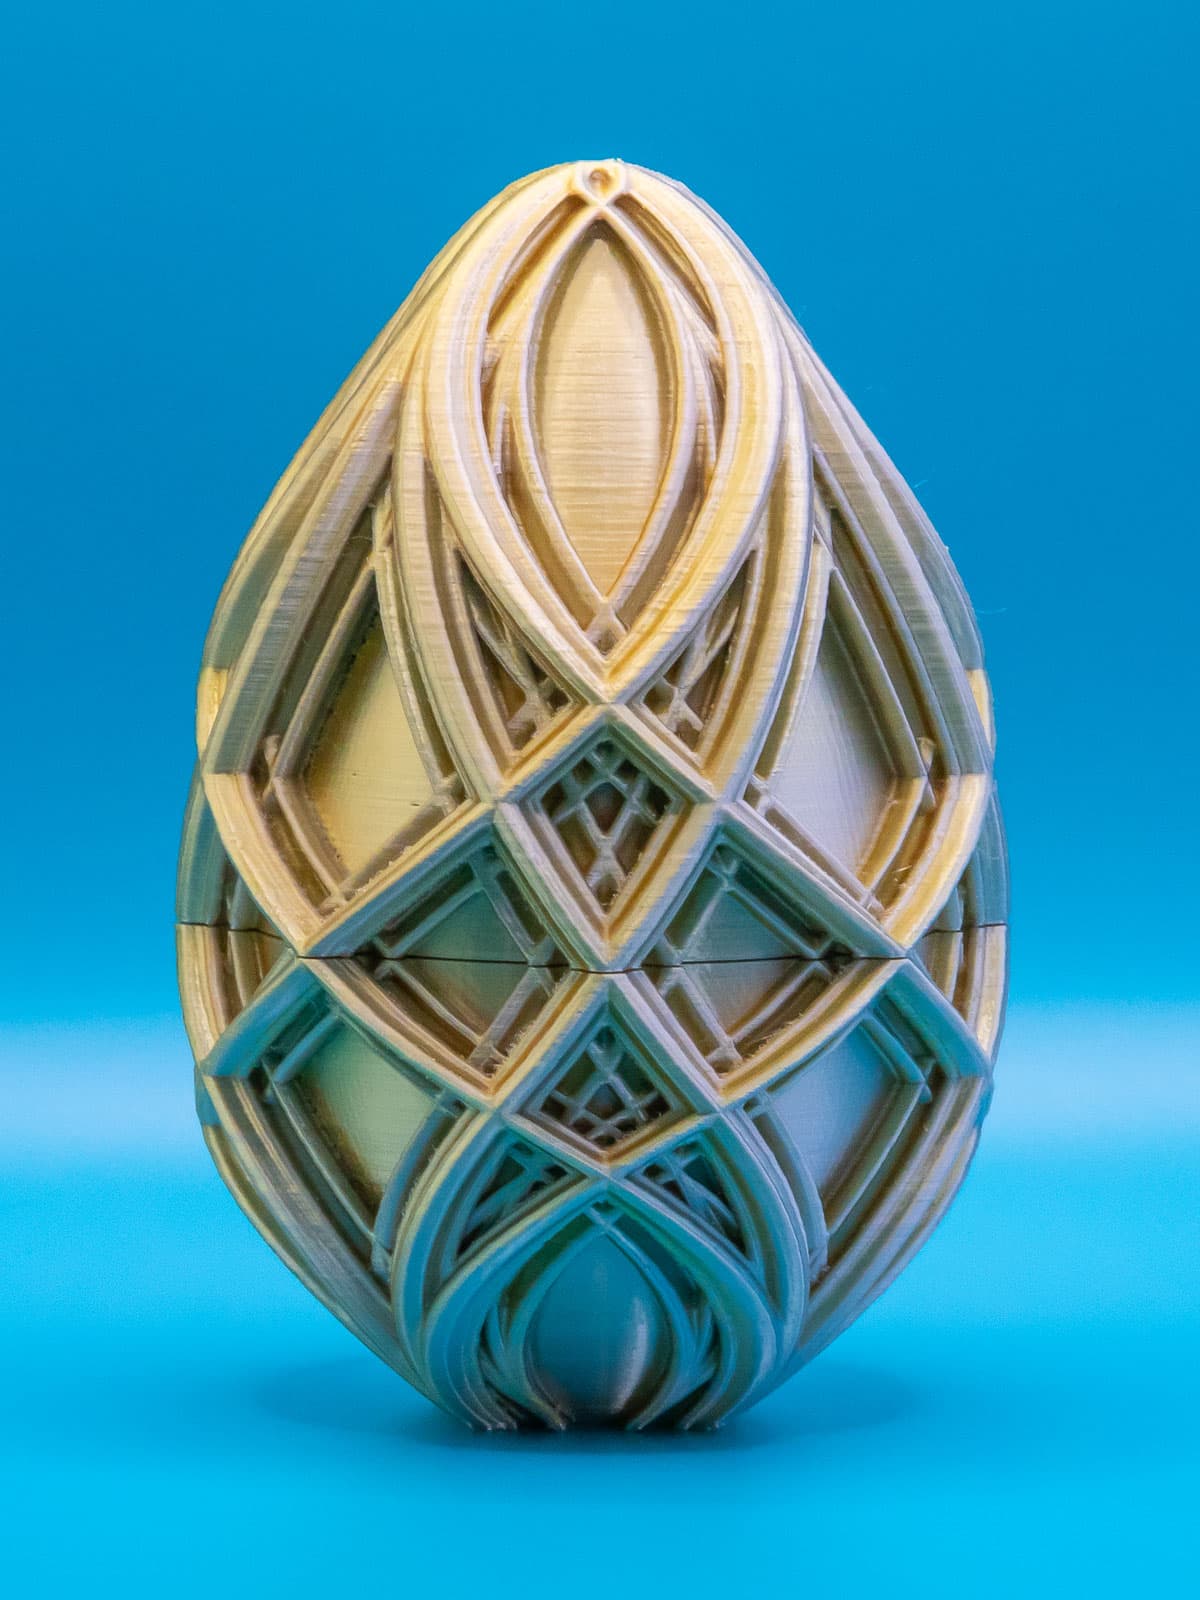
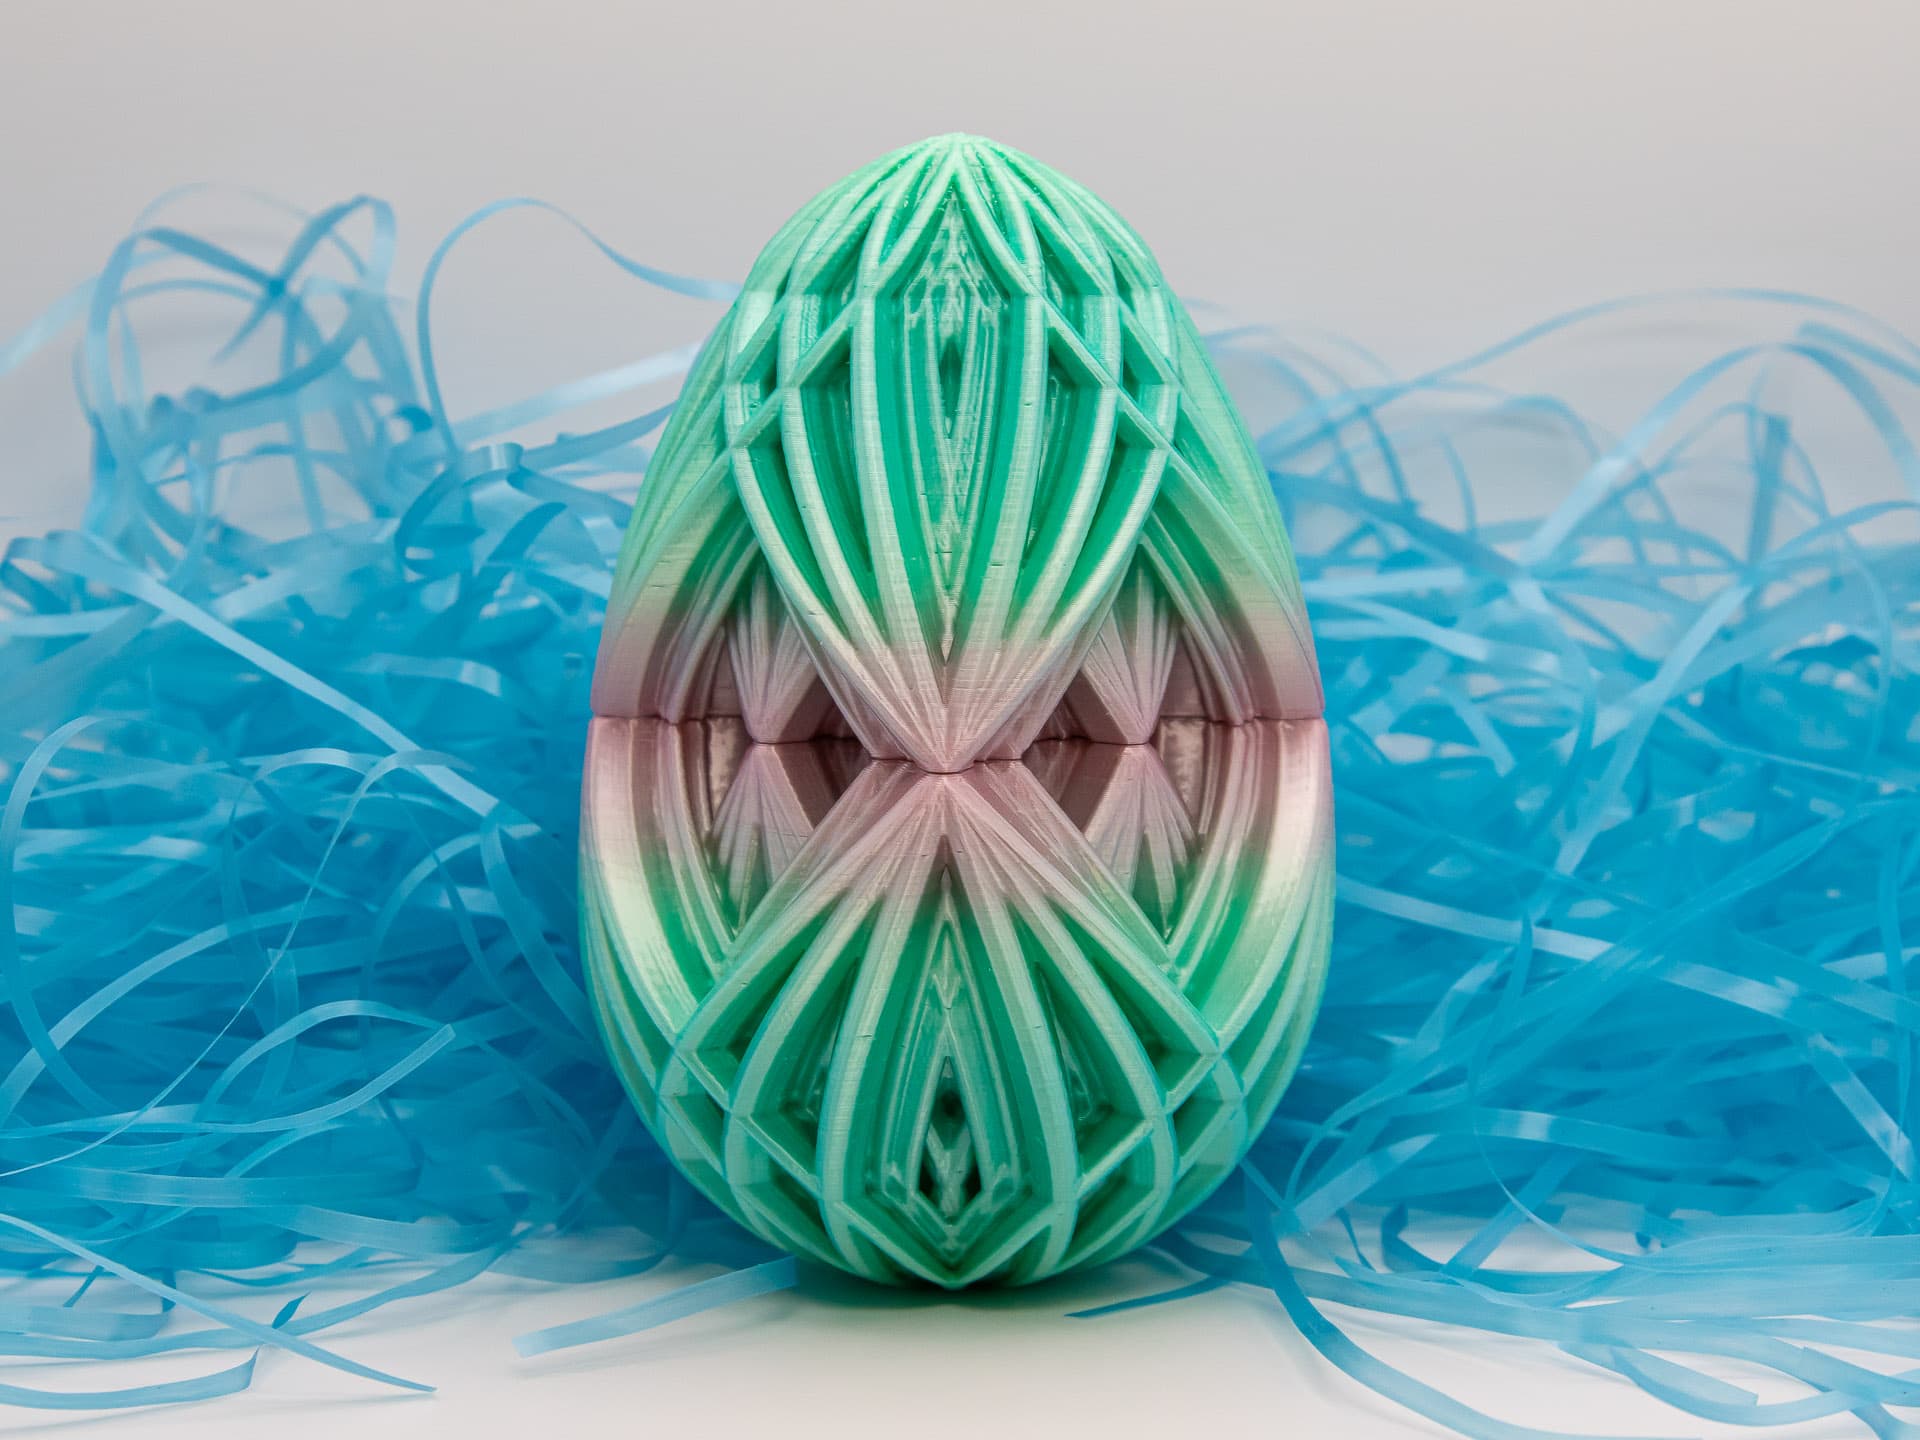
A delightful Easter egg design that looks different from every angle. Rotate the two pieces and the patterns change.
Not for commercial use. Please see license agreement.
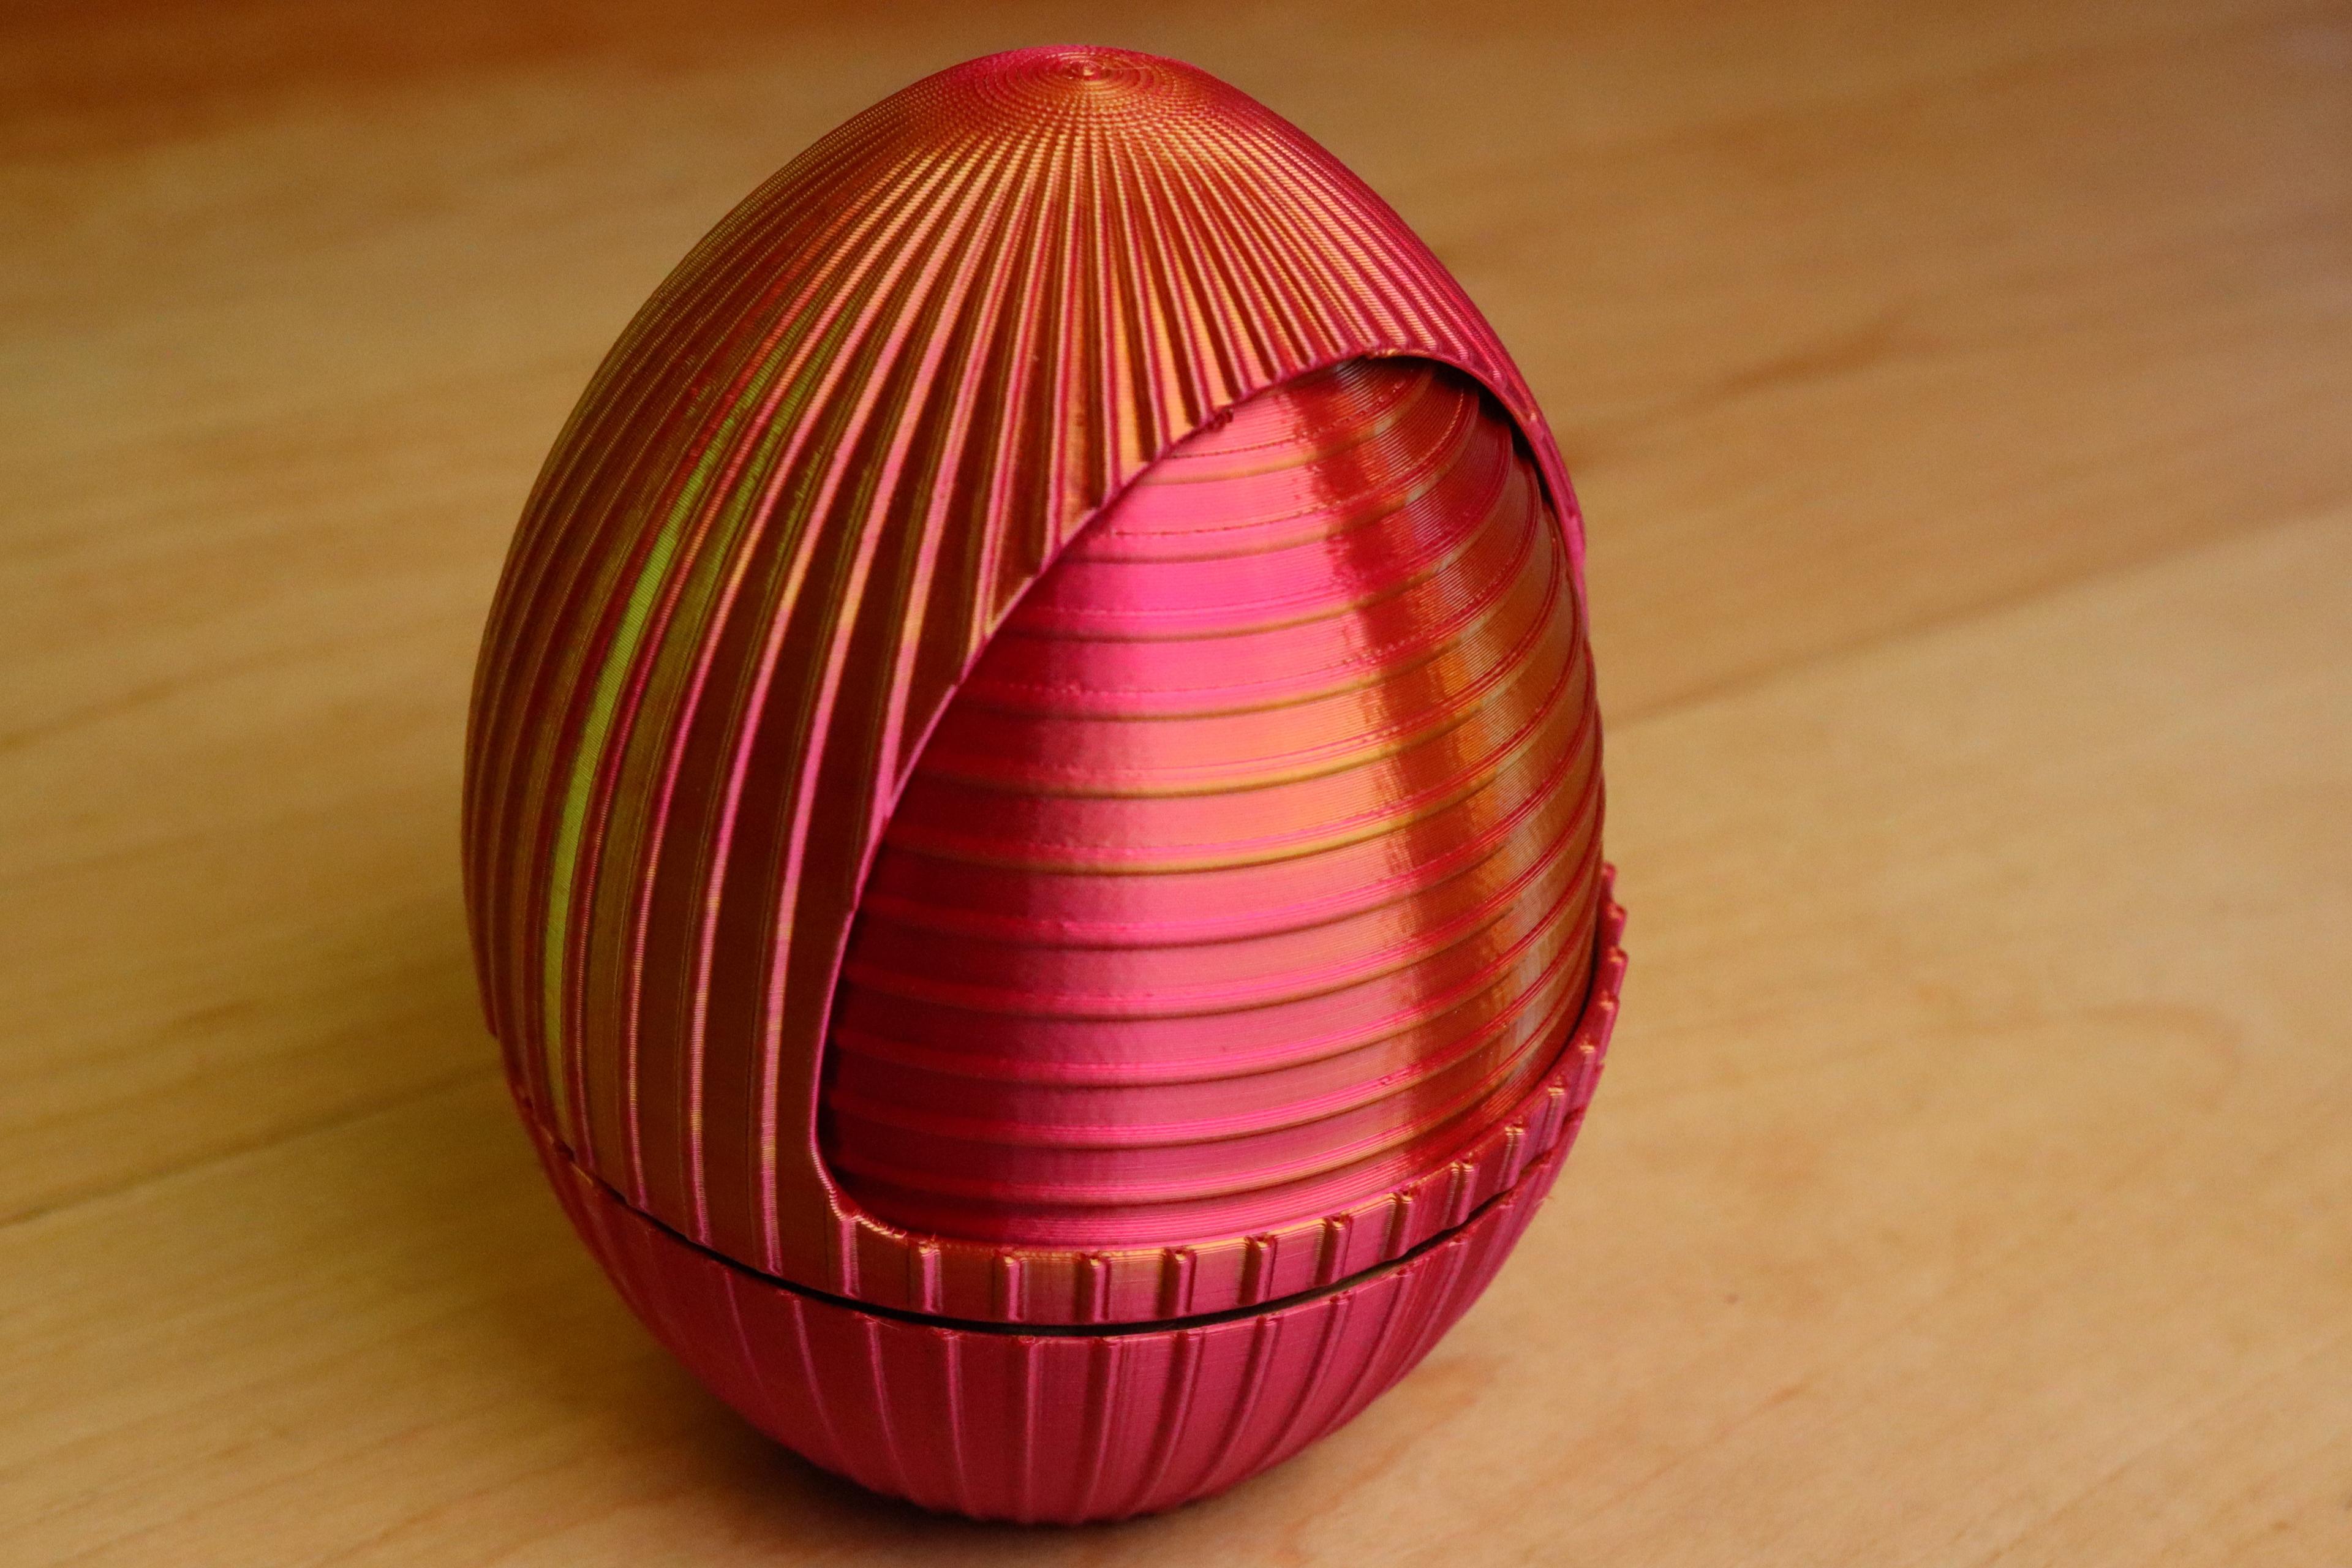
To open the egg, grab both halves, wiggle & pull apart. The bottom half has a slight ridge on 2 sides that clicks into a groove in the top. Because of that, it's easier to separate them wiggling in one direction than another. If wiggling one way doesn't work, try the other. It does get easier to open with use. When the pieces are together, hold one side and twist the other 360 degrees a few times and it will loosen up dramatically. You can also encourage it a little (if necessary) with a little sand paper.
This is relatively easy to print. Both pieces can be printed “right side up” so you can use 3-color filament or rainbow filament and have the colors match up.
For settings, you can give it 2 perimeters, 15% infill, and default top and bottom thickness. The top prints best with supports for the inner dome (I used paint-on supports) and the bottom works best with a brim or supports with a 30 degree overhang threshold.
If you want it to print lighter and faster, you can use the settings I've provided in my PrusaSlicer 3MF files and MKS3+ GCODE. There, I've used layer height adjustments to vary infill and top/bottom thickness to reduce weight and improve print time.
If you want to print eggs that fit inside each other like Matryoshka dolls, I recommend scaling to 100%, 70%, and 50%. To print below 50%, you'll need to use a 0.25mm nozzle.
Tightness of the pieces will vary based on a lot of factors, including scale. If you find the pieces are too tight, you could sand the rim of the bottom piece a little. If that doesn't work, consider reprinting with less flow, lower temperature, more elephant foot compensation, but first make sure you have the printer calibrated so the first layer prints well.
Curvy Kaleidoscope Egg

Another Kaleidoscope Easter Egg 2025

Kaleidoscope Easter Egg 2025
Diamond Kaleidoscope Easter Egg
Grand Kaleidoscope Easter Egg
Wavy Kaleidoscope Easter Egg
Kaleidoscope Easter Egg 2024
Kaleidoscope Easter Egg (4 Sizes)
Kaleidoscope Cross Easter Egg
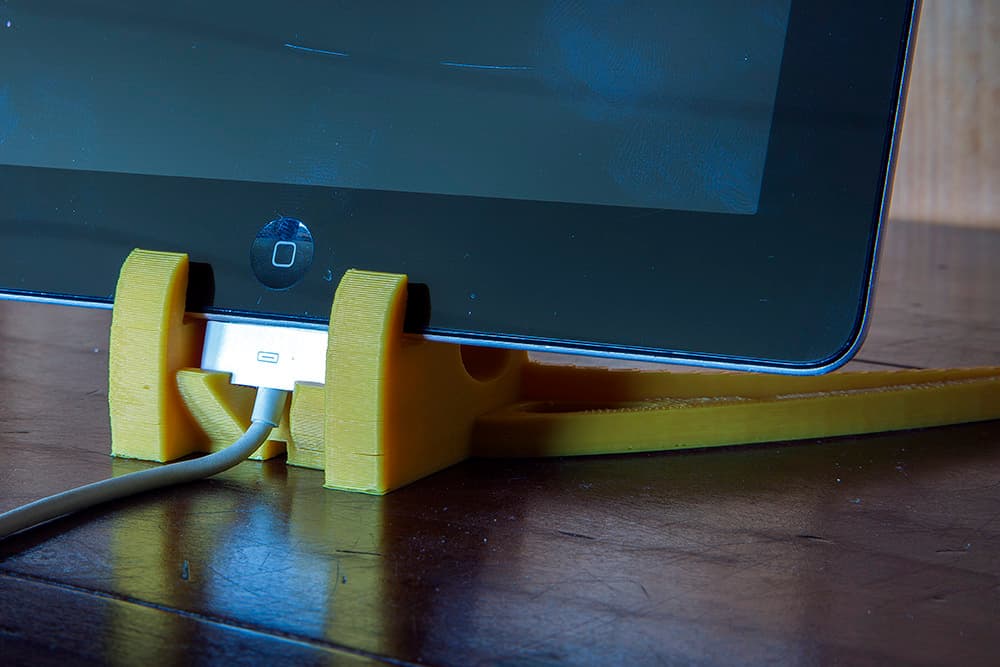
Art deco dock for Ipad in the universal way one fits all with or without a case and connector for charging!
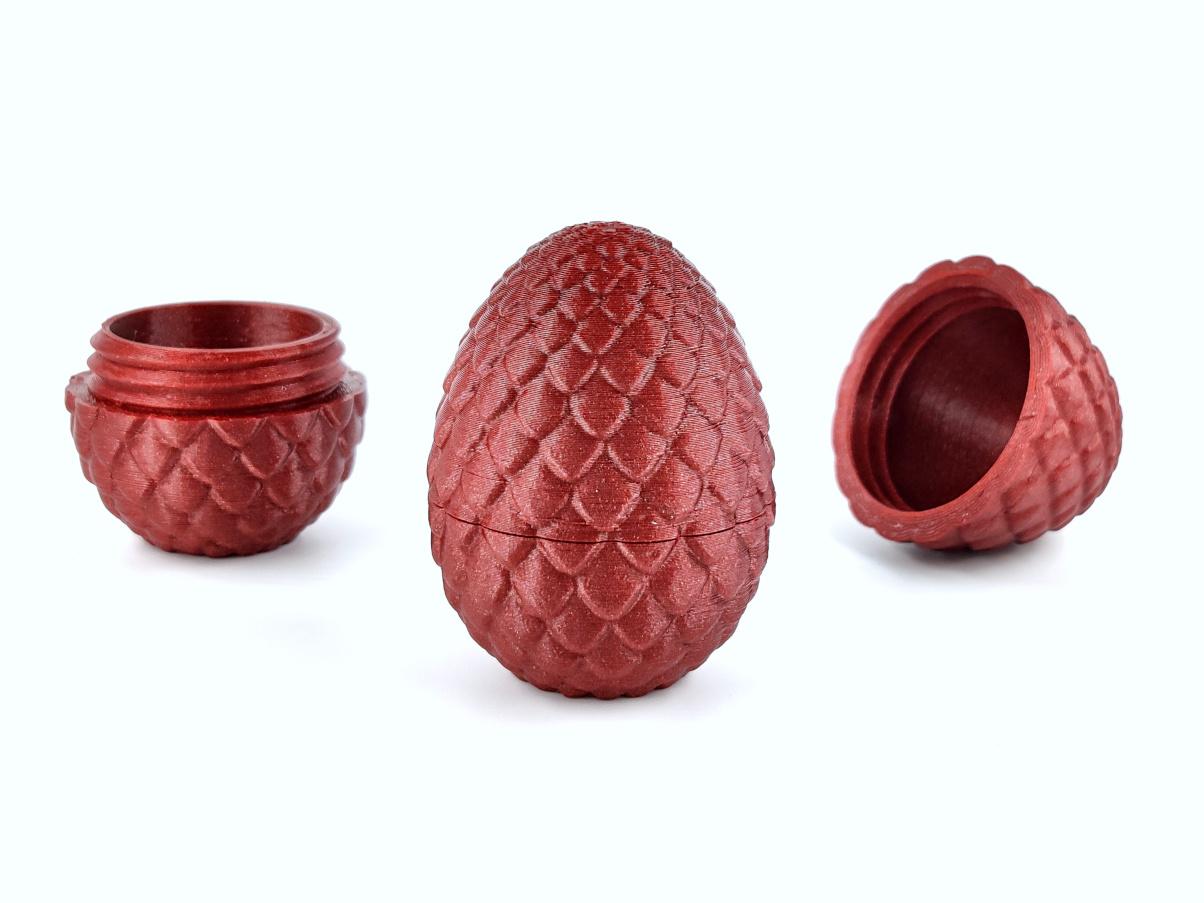
Threaded Dragon Egg, Great for Easter and Gifts

Easter Egg Capsule Collection 2025
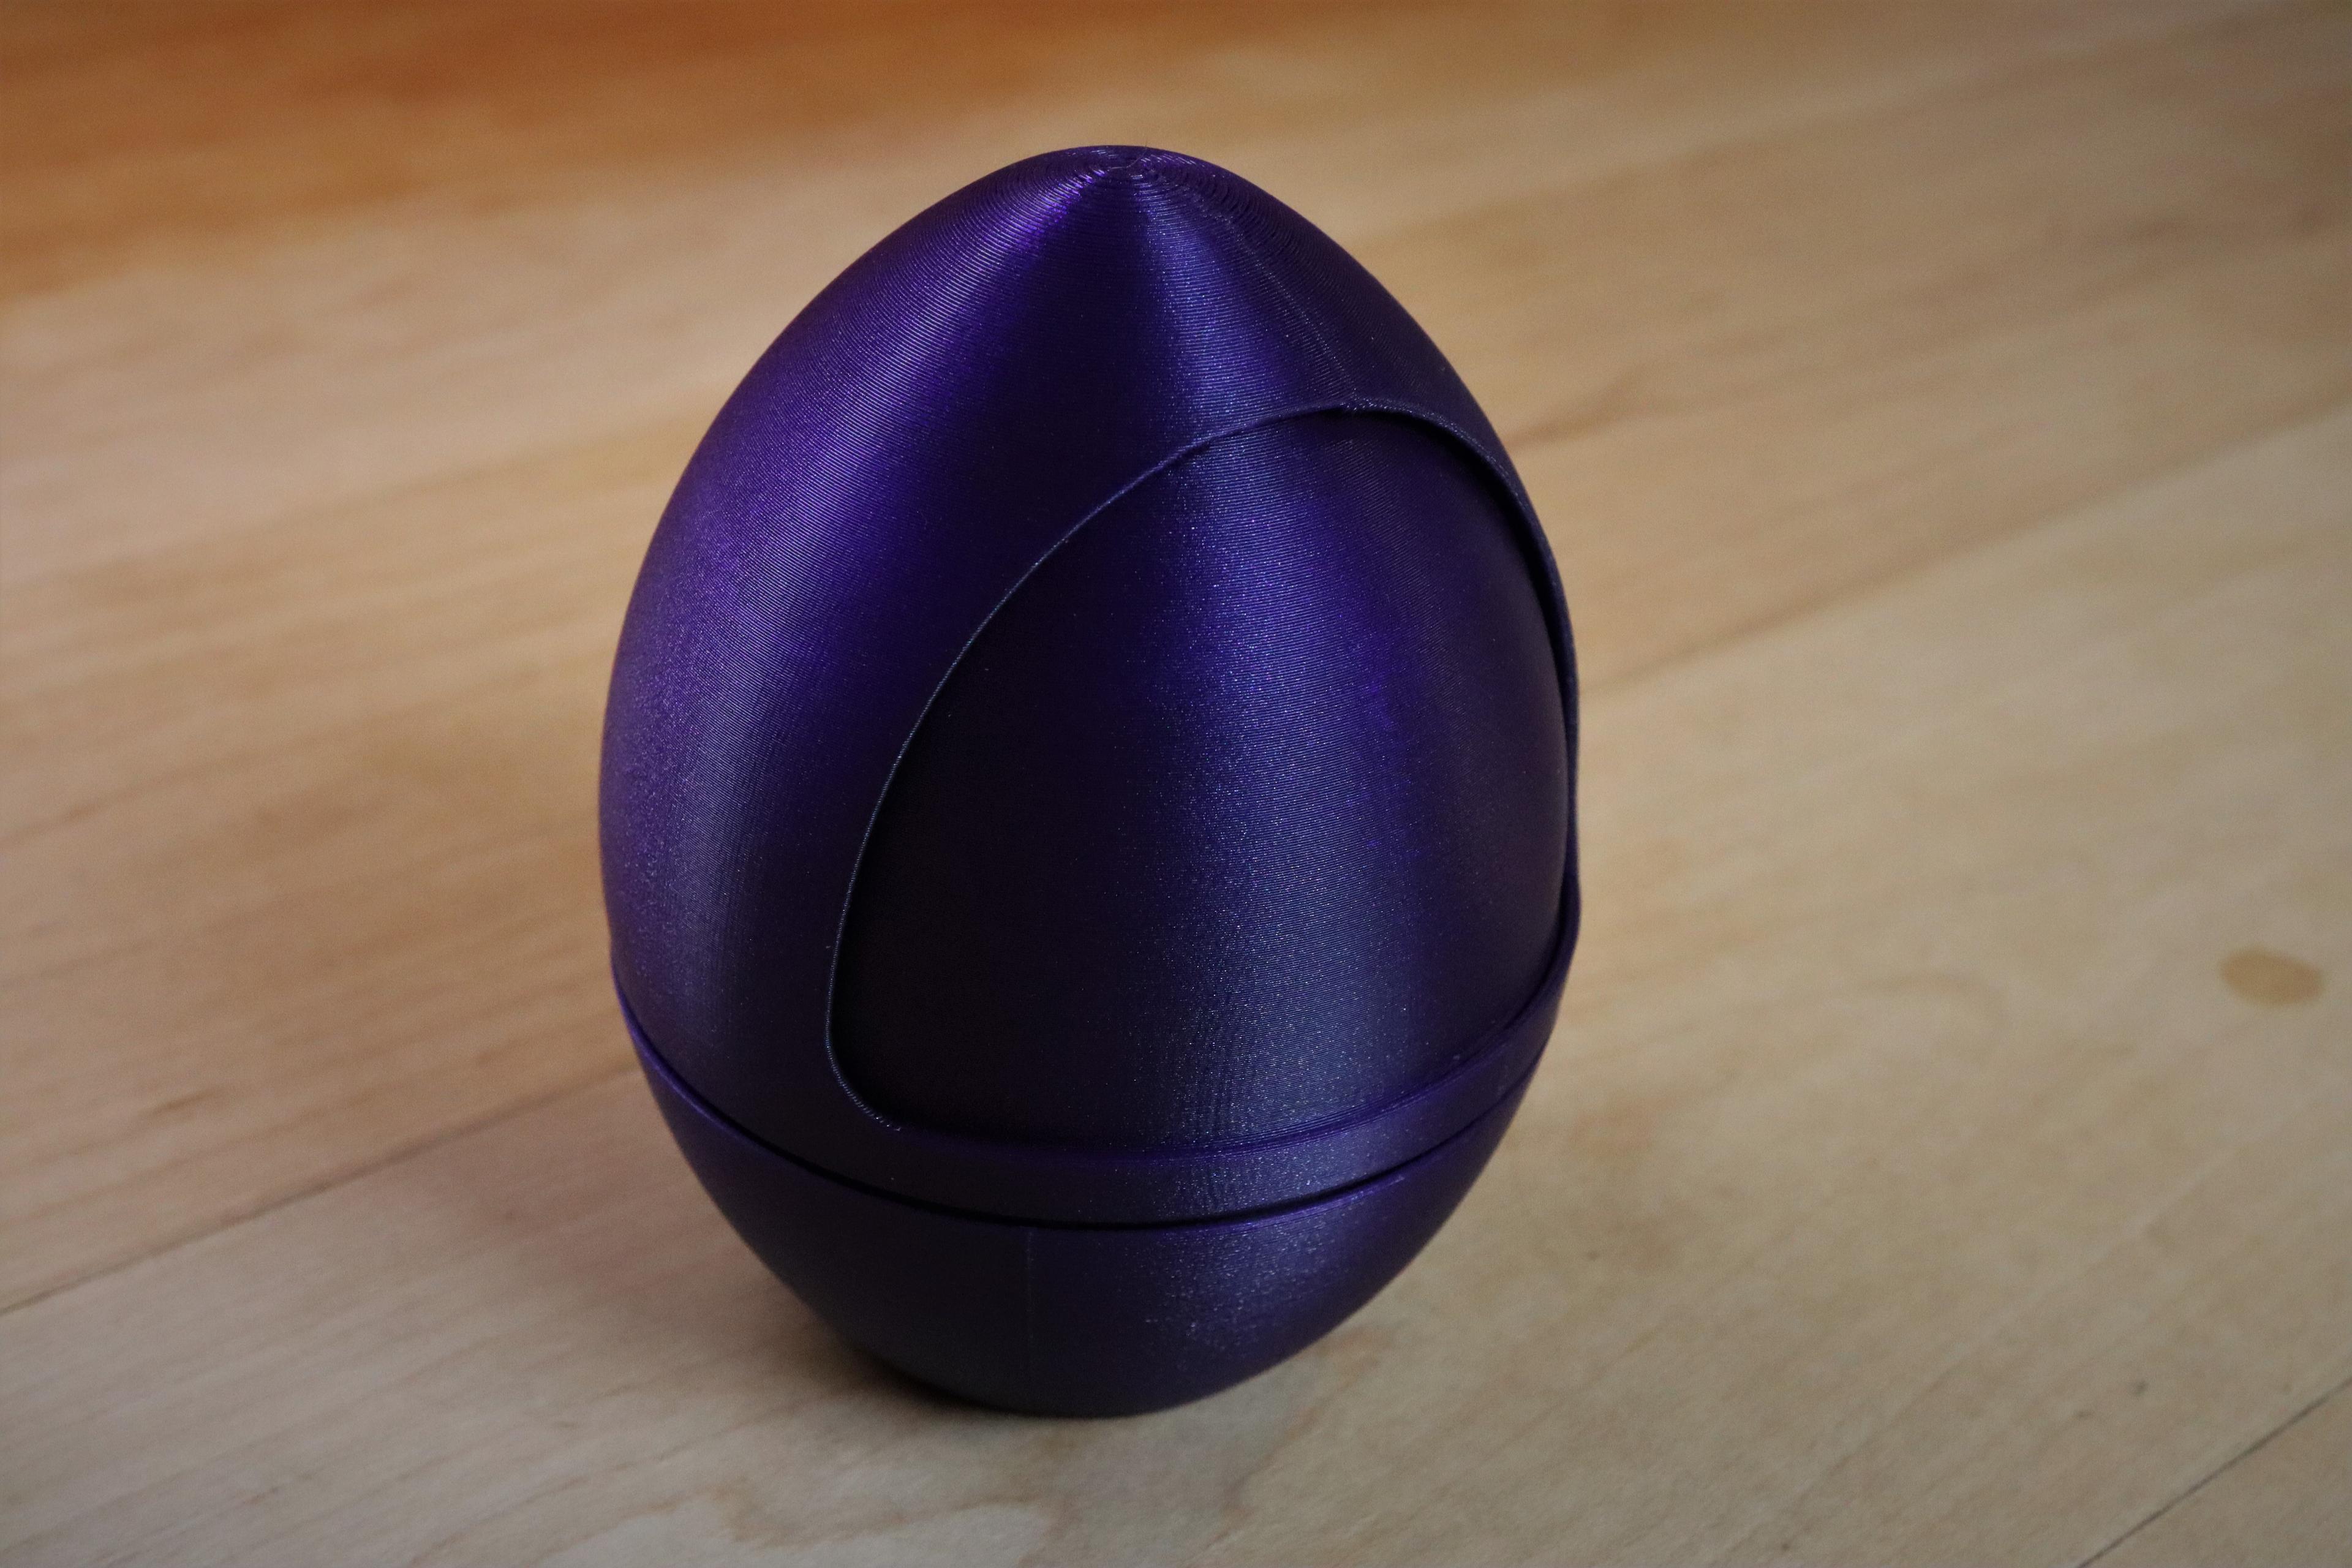
Planetary Egg Container

Flexi Baby Dino Brachiosaurus
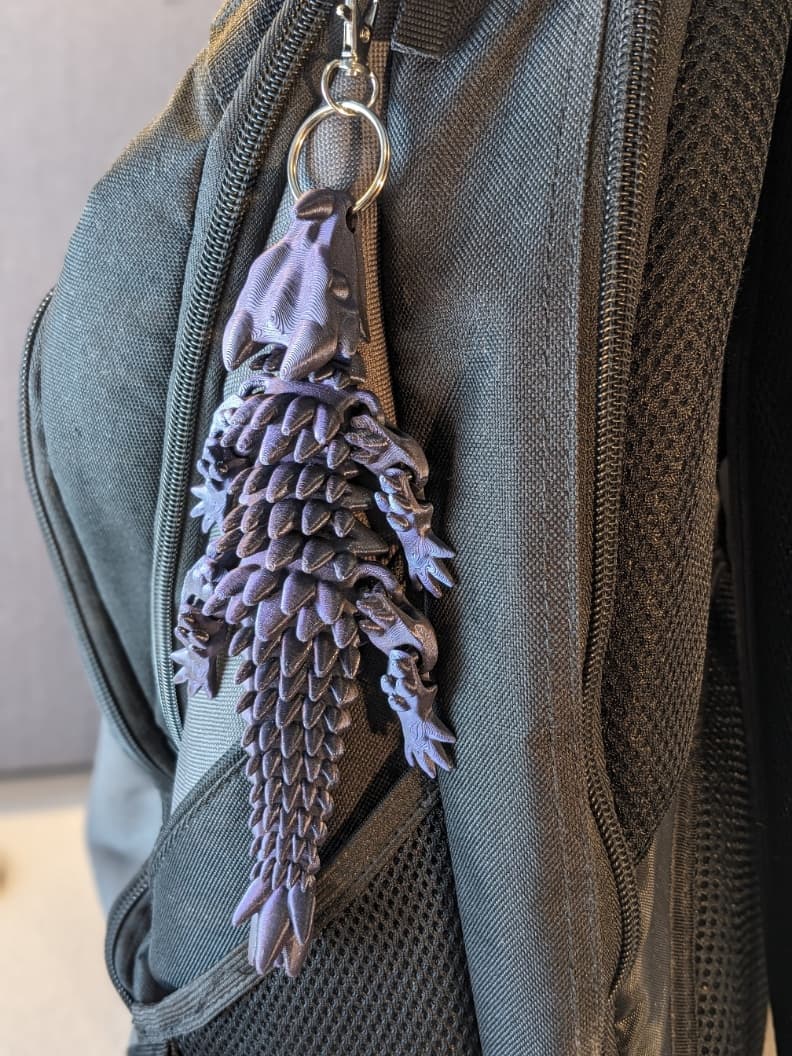
Small Baby Dragon - Articulated Dragon

Togepi - Pokemon - Fan Art

Mini Articulated Dragon 01
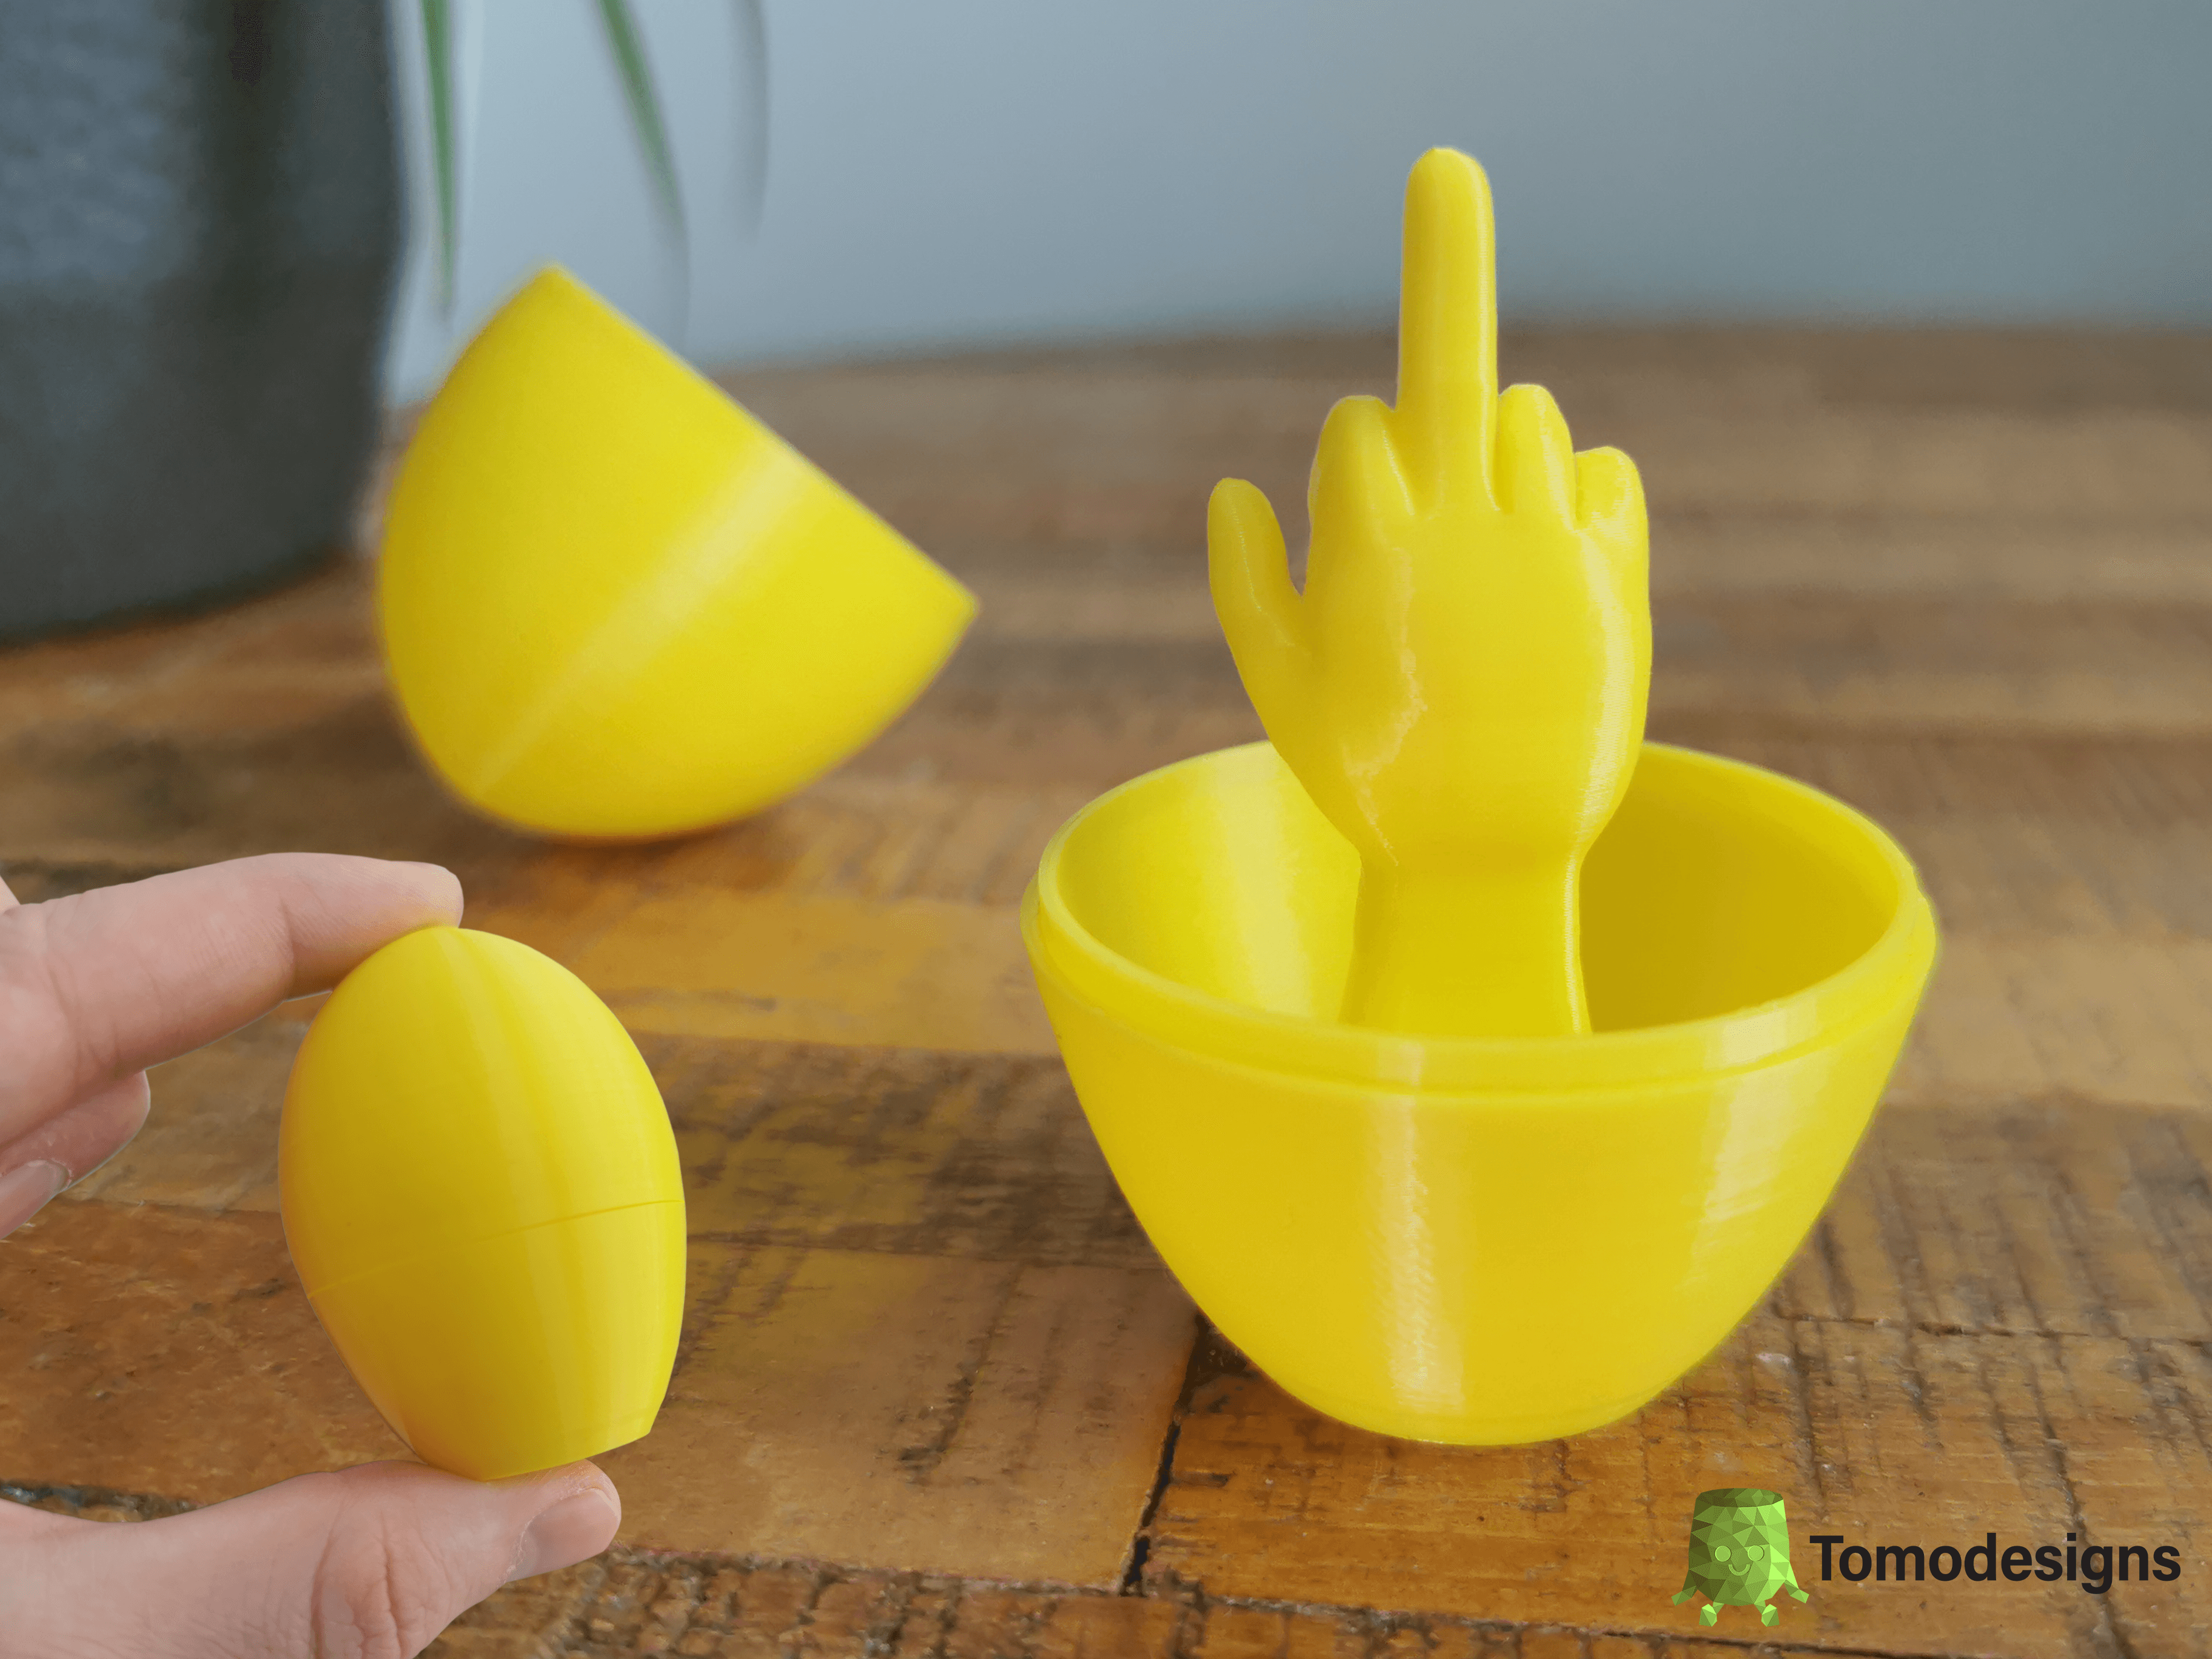
Middle Finger Easter Egg
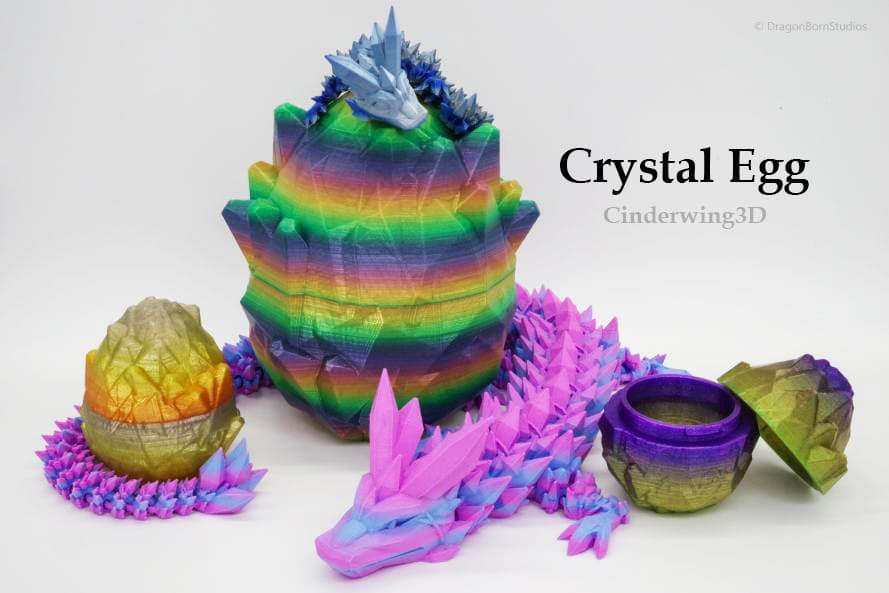
Crystal Egg
Crystalized Egg