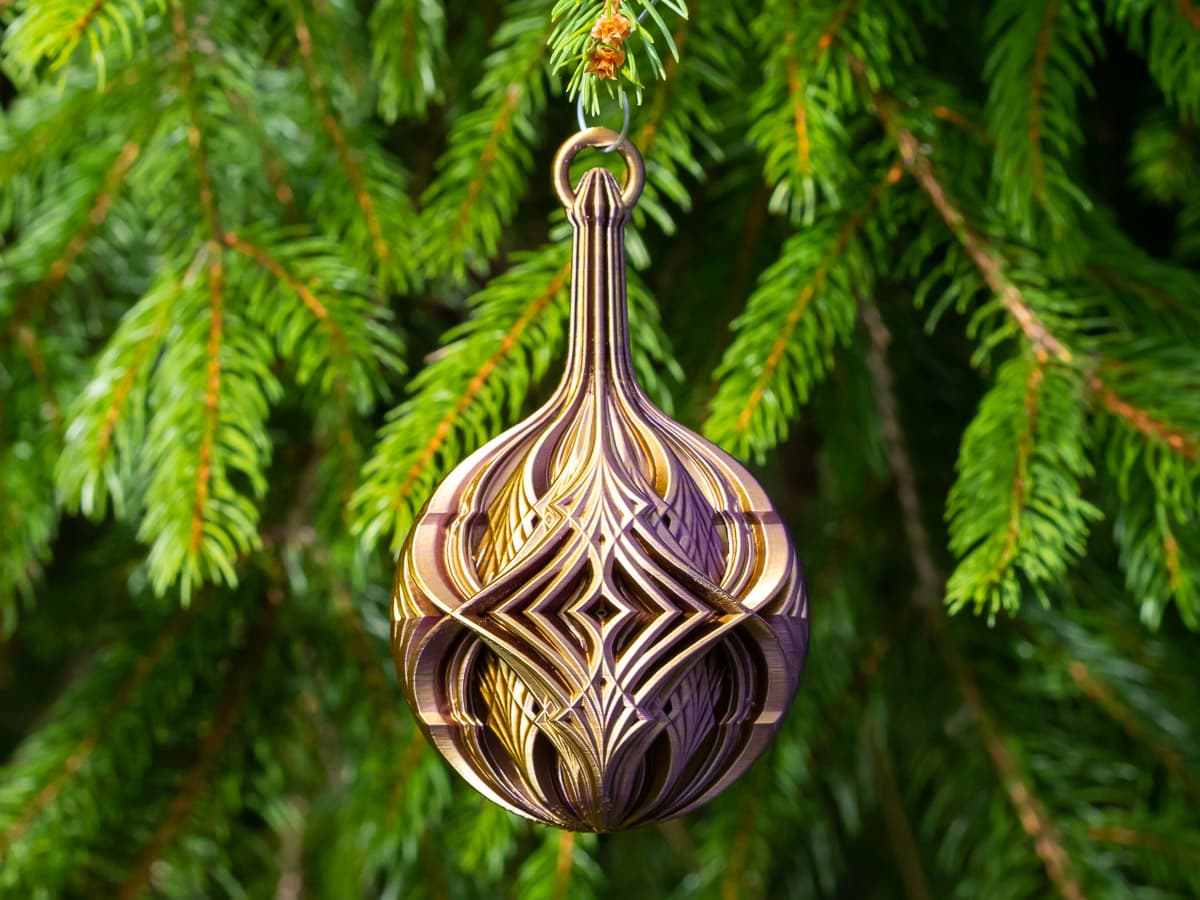


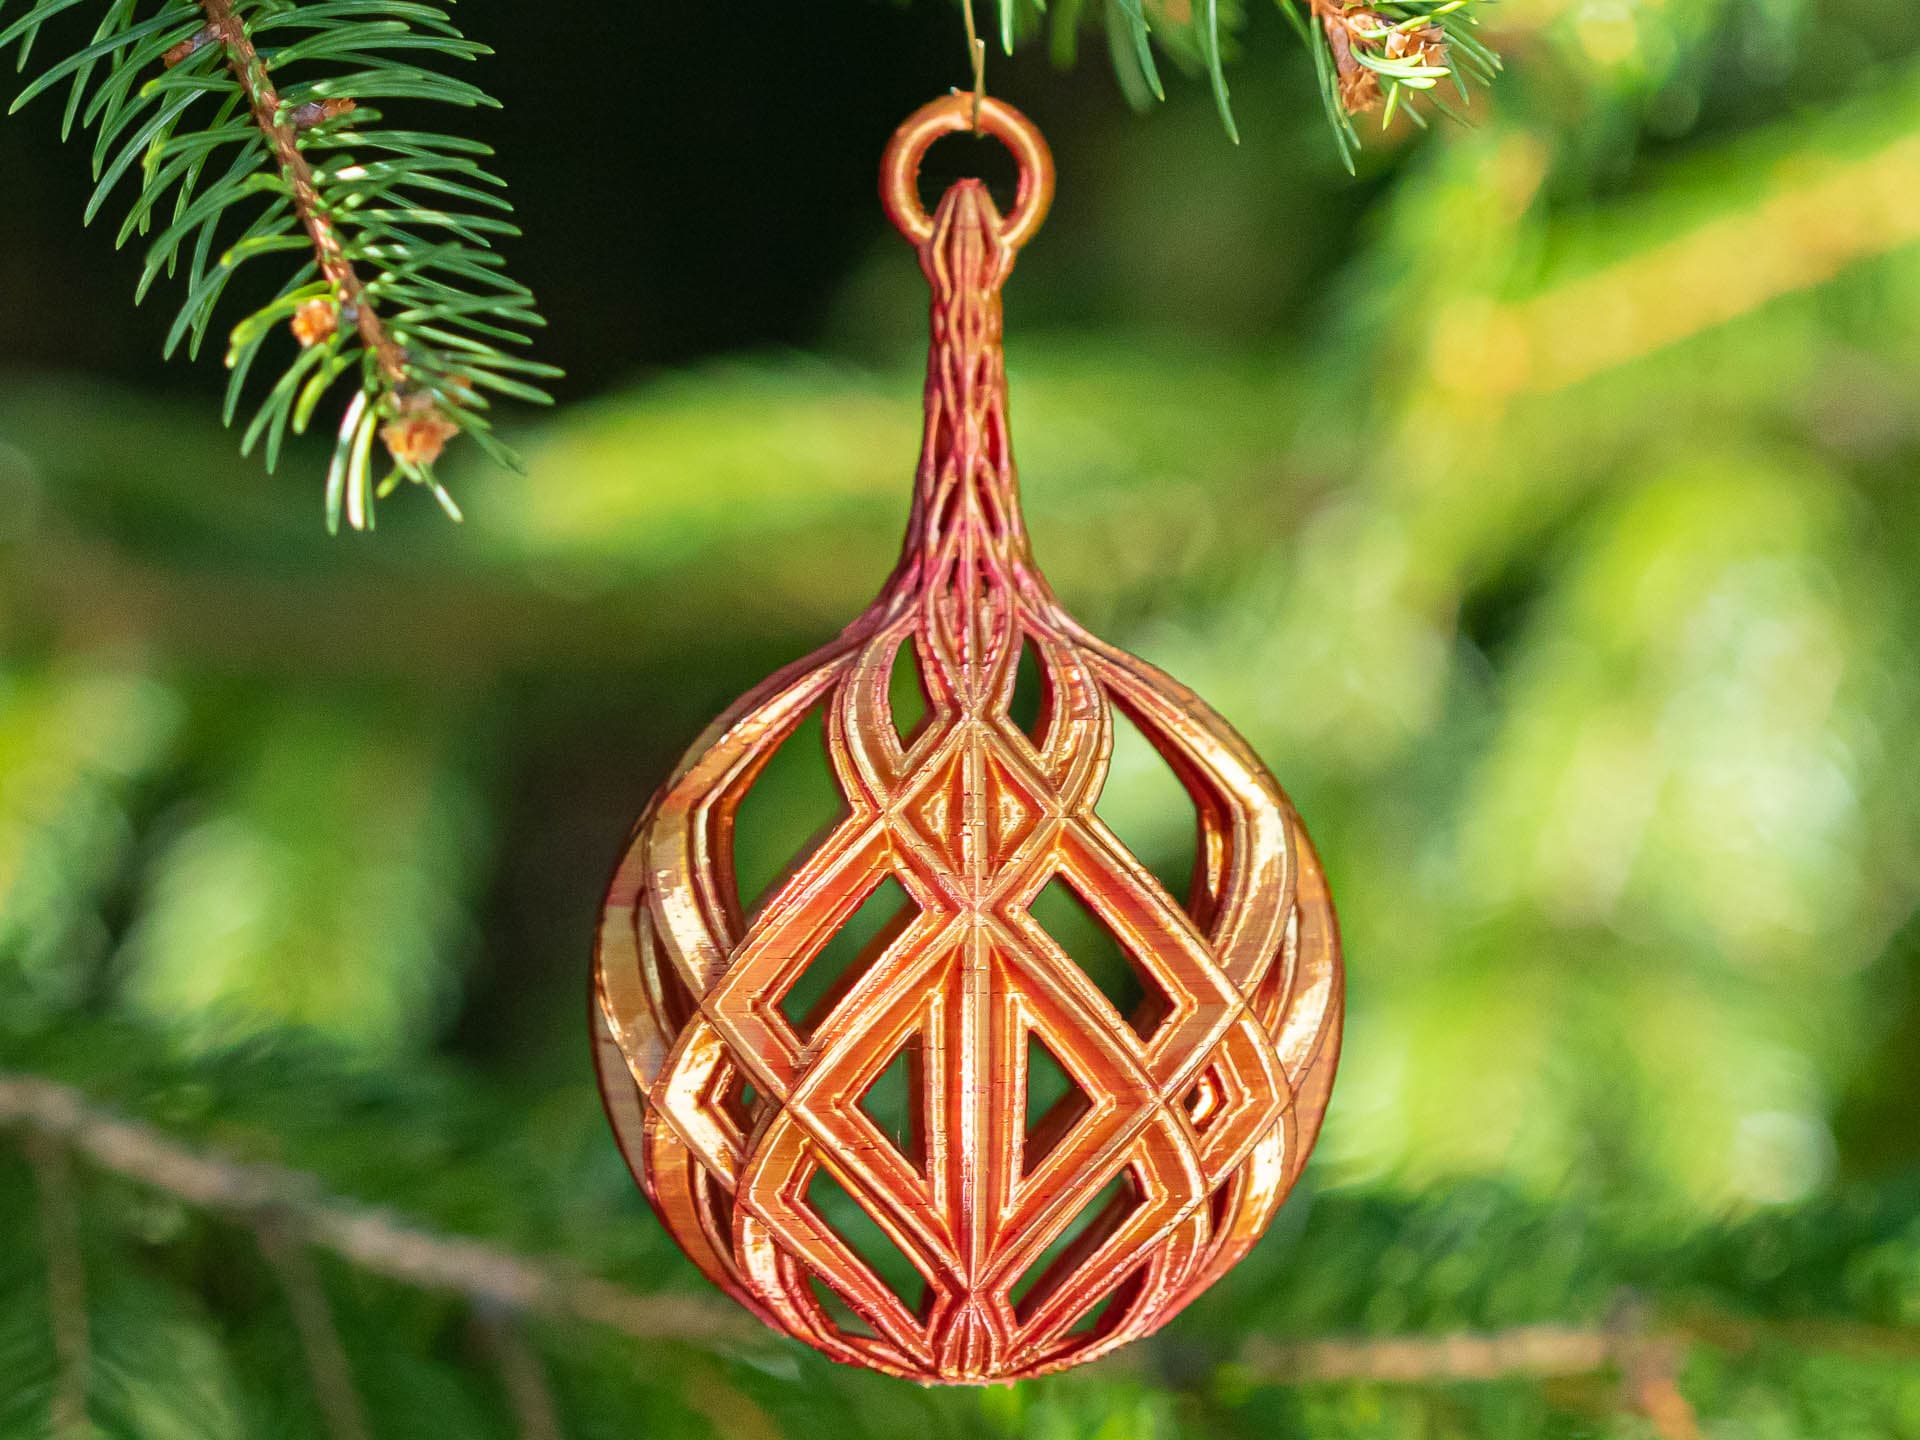
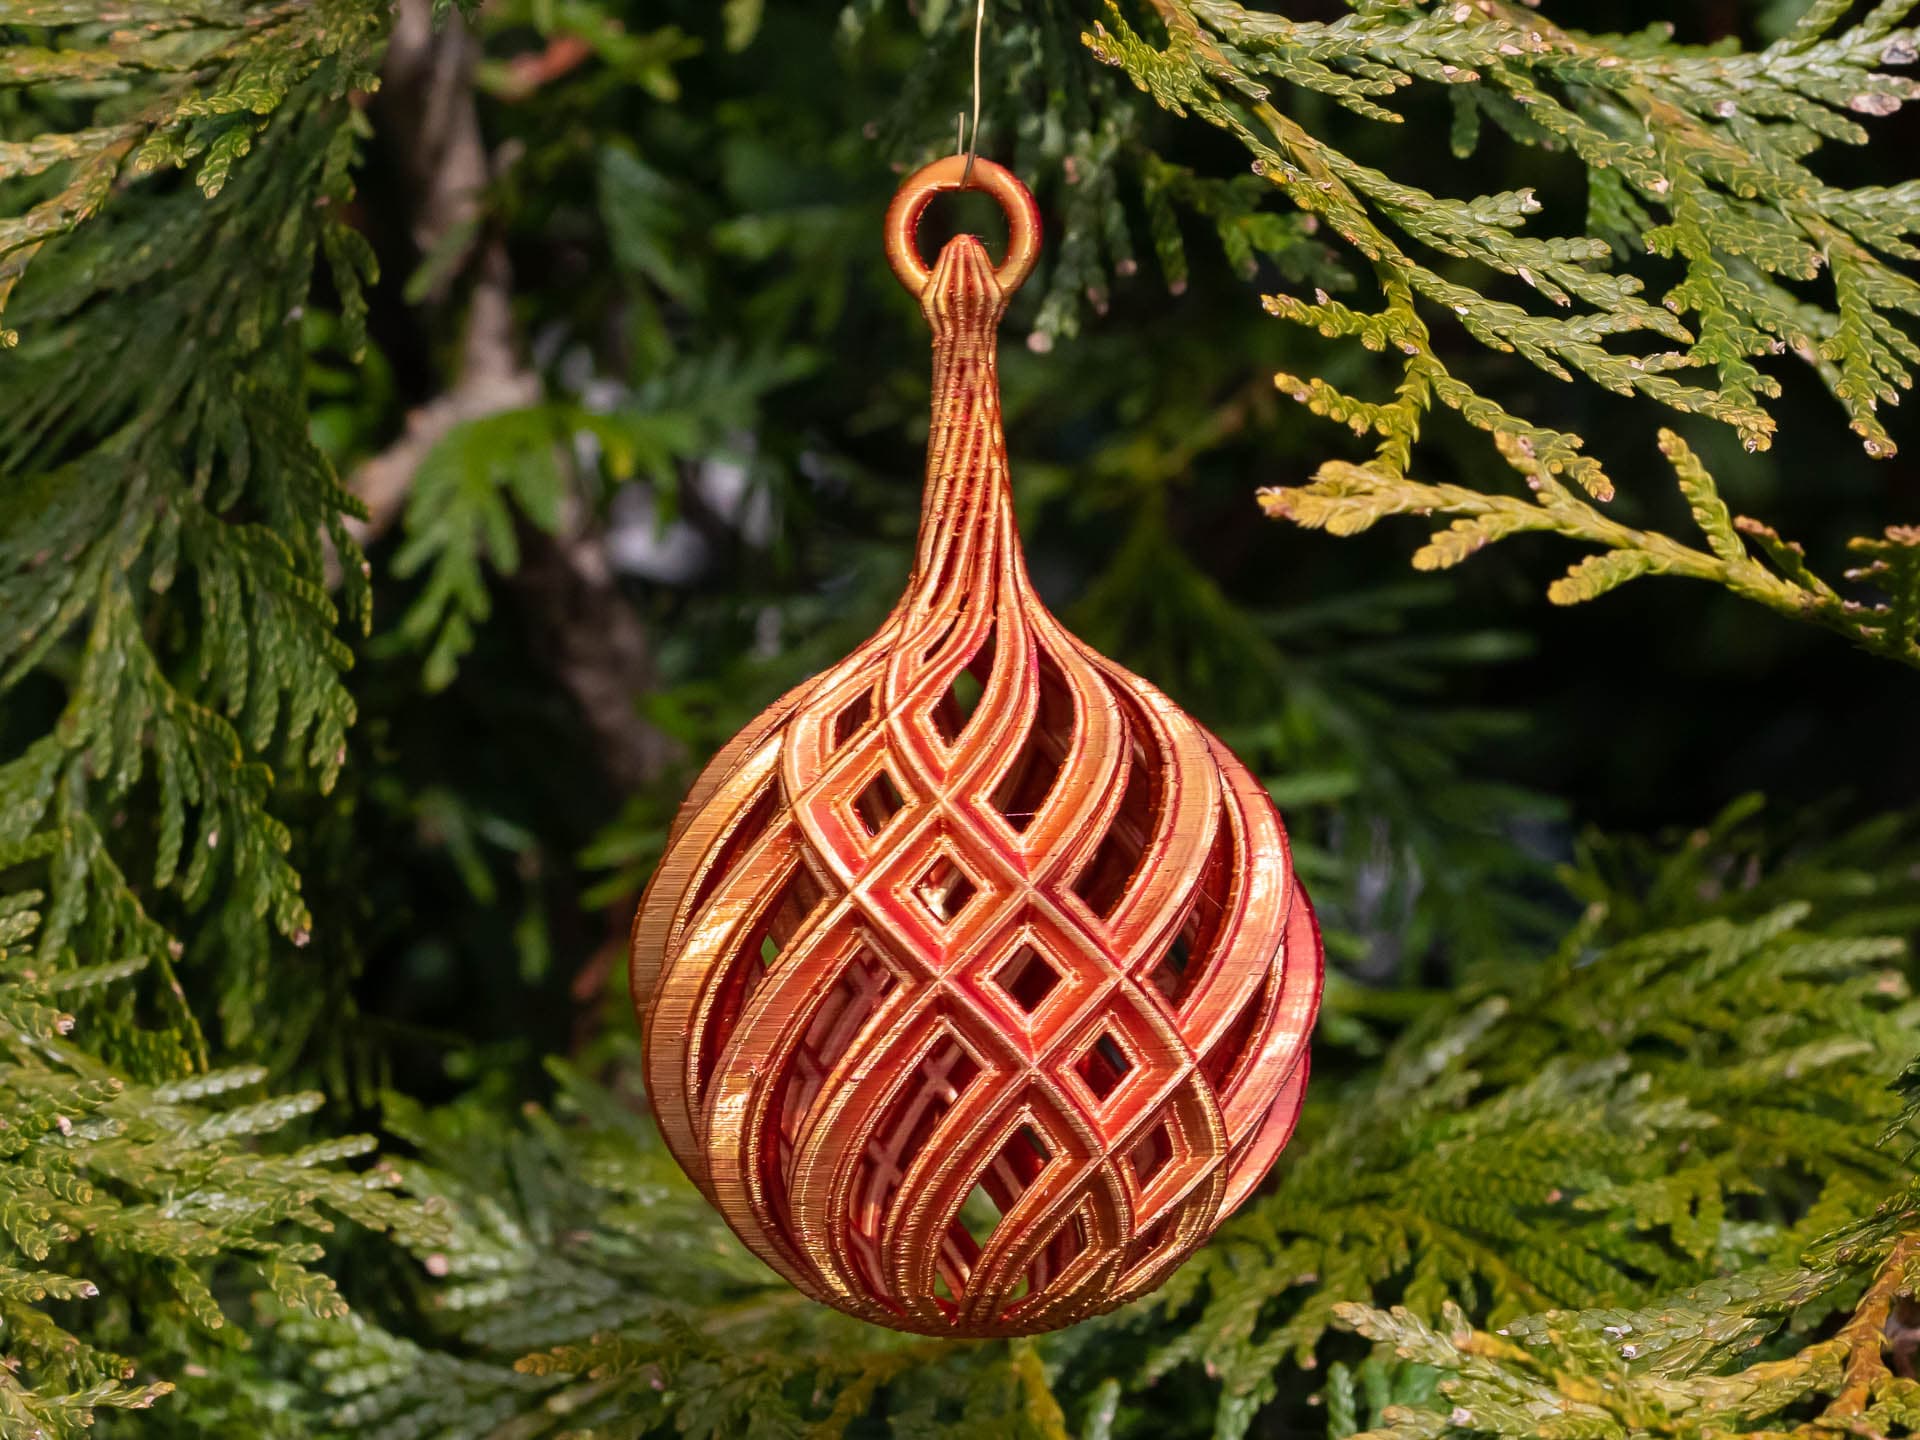
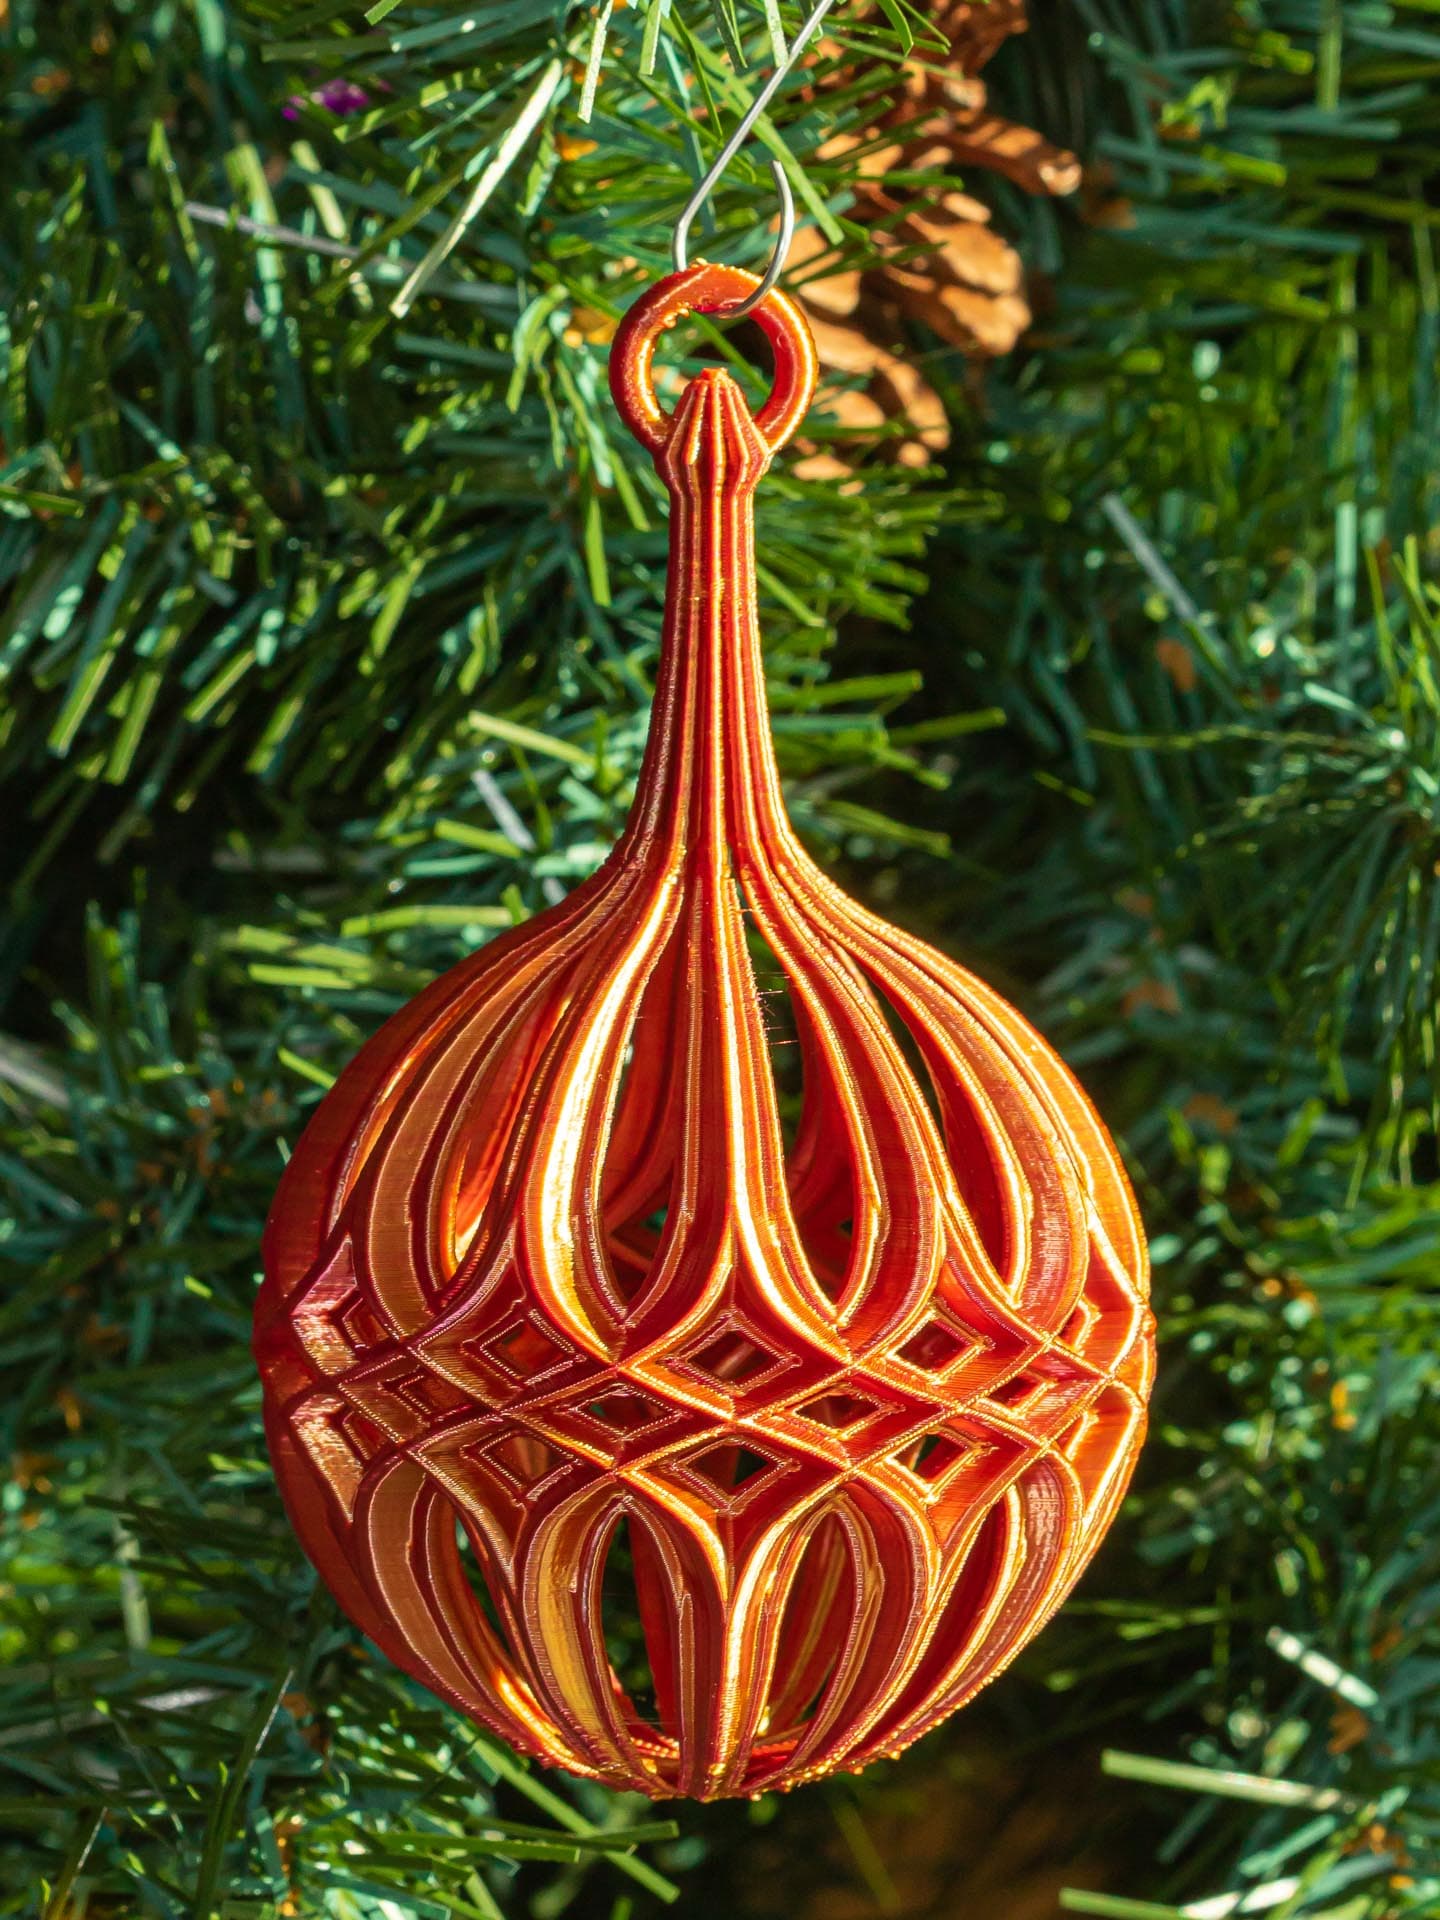
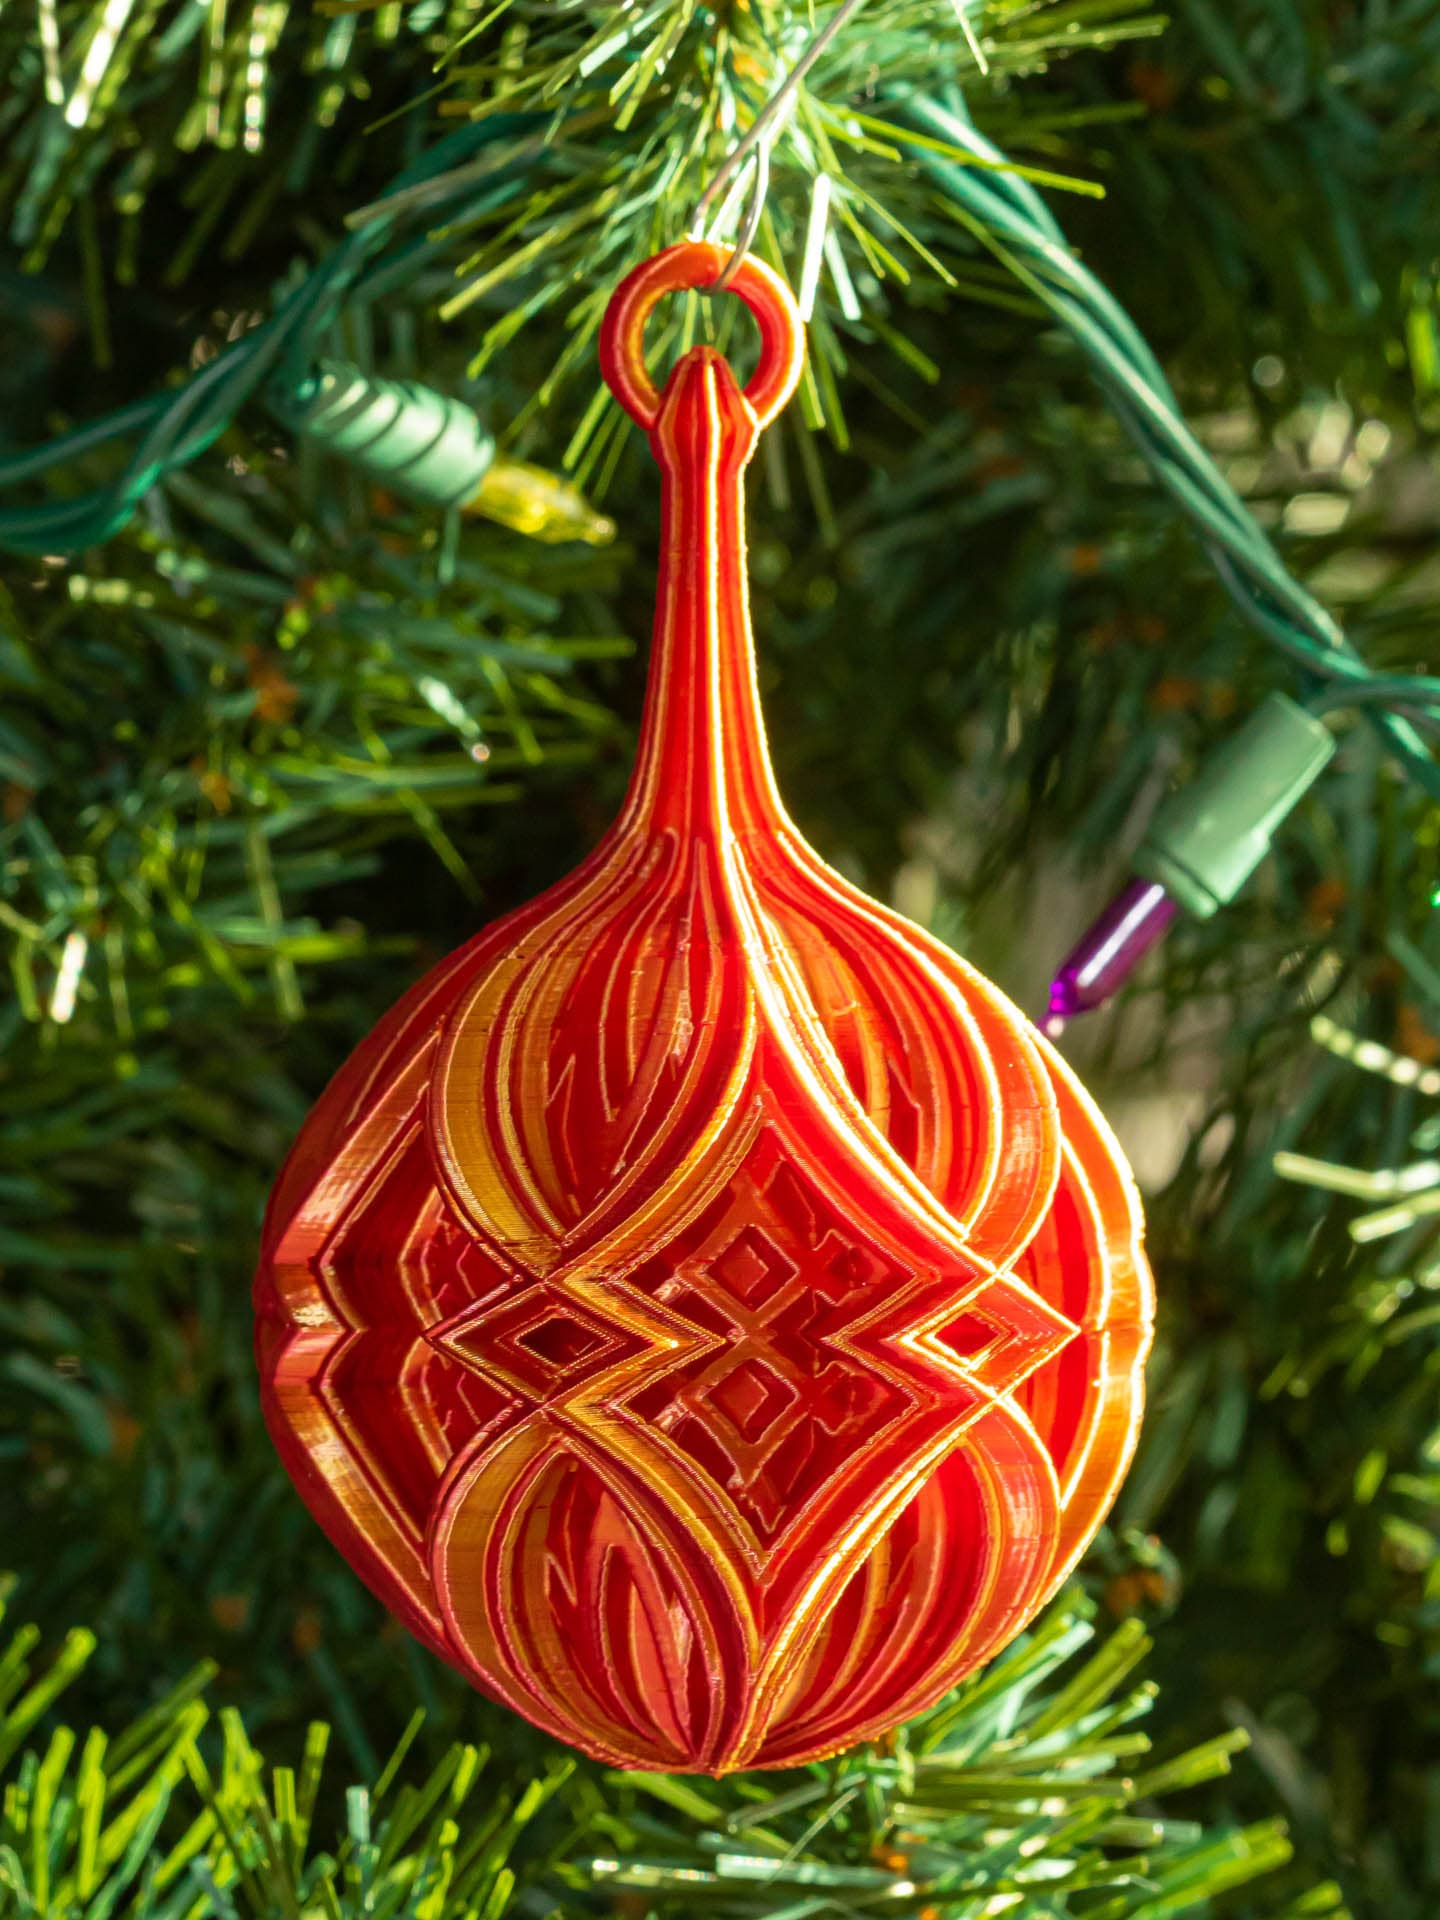
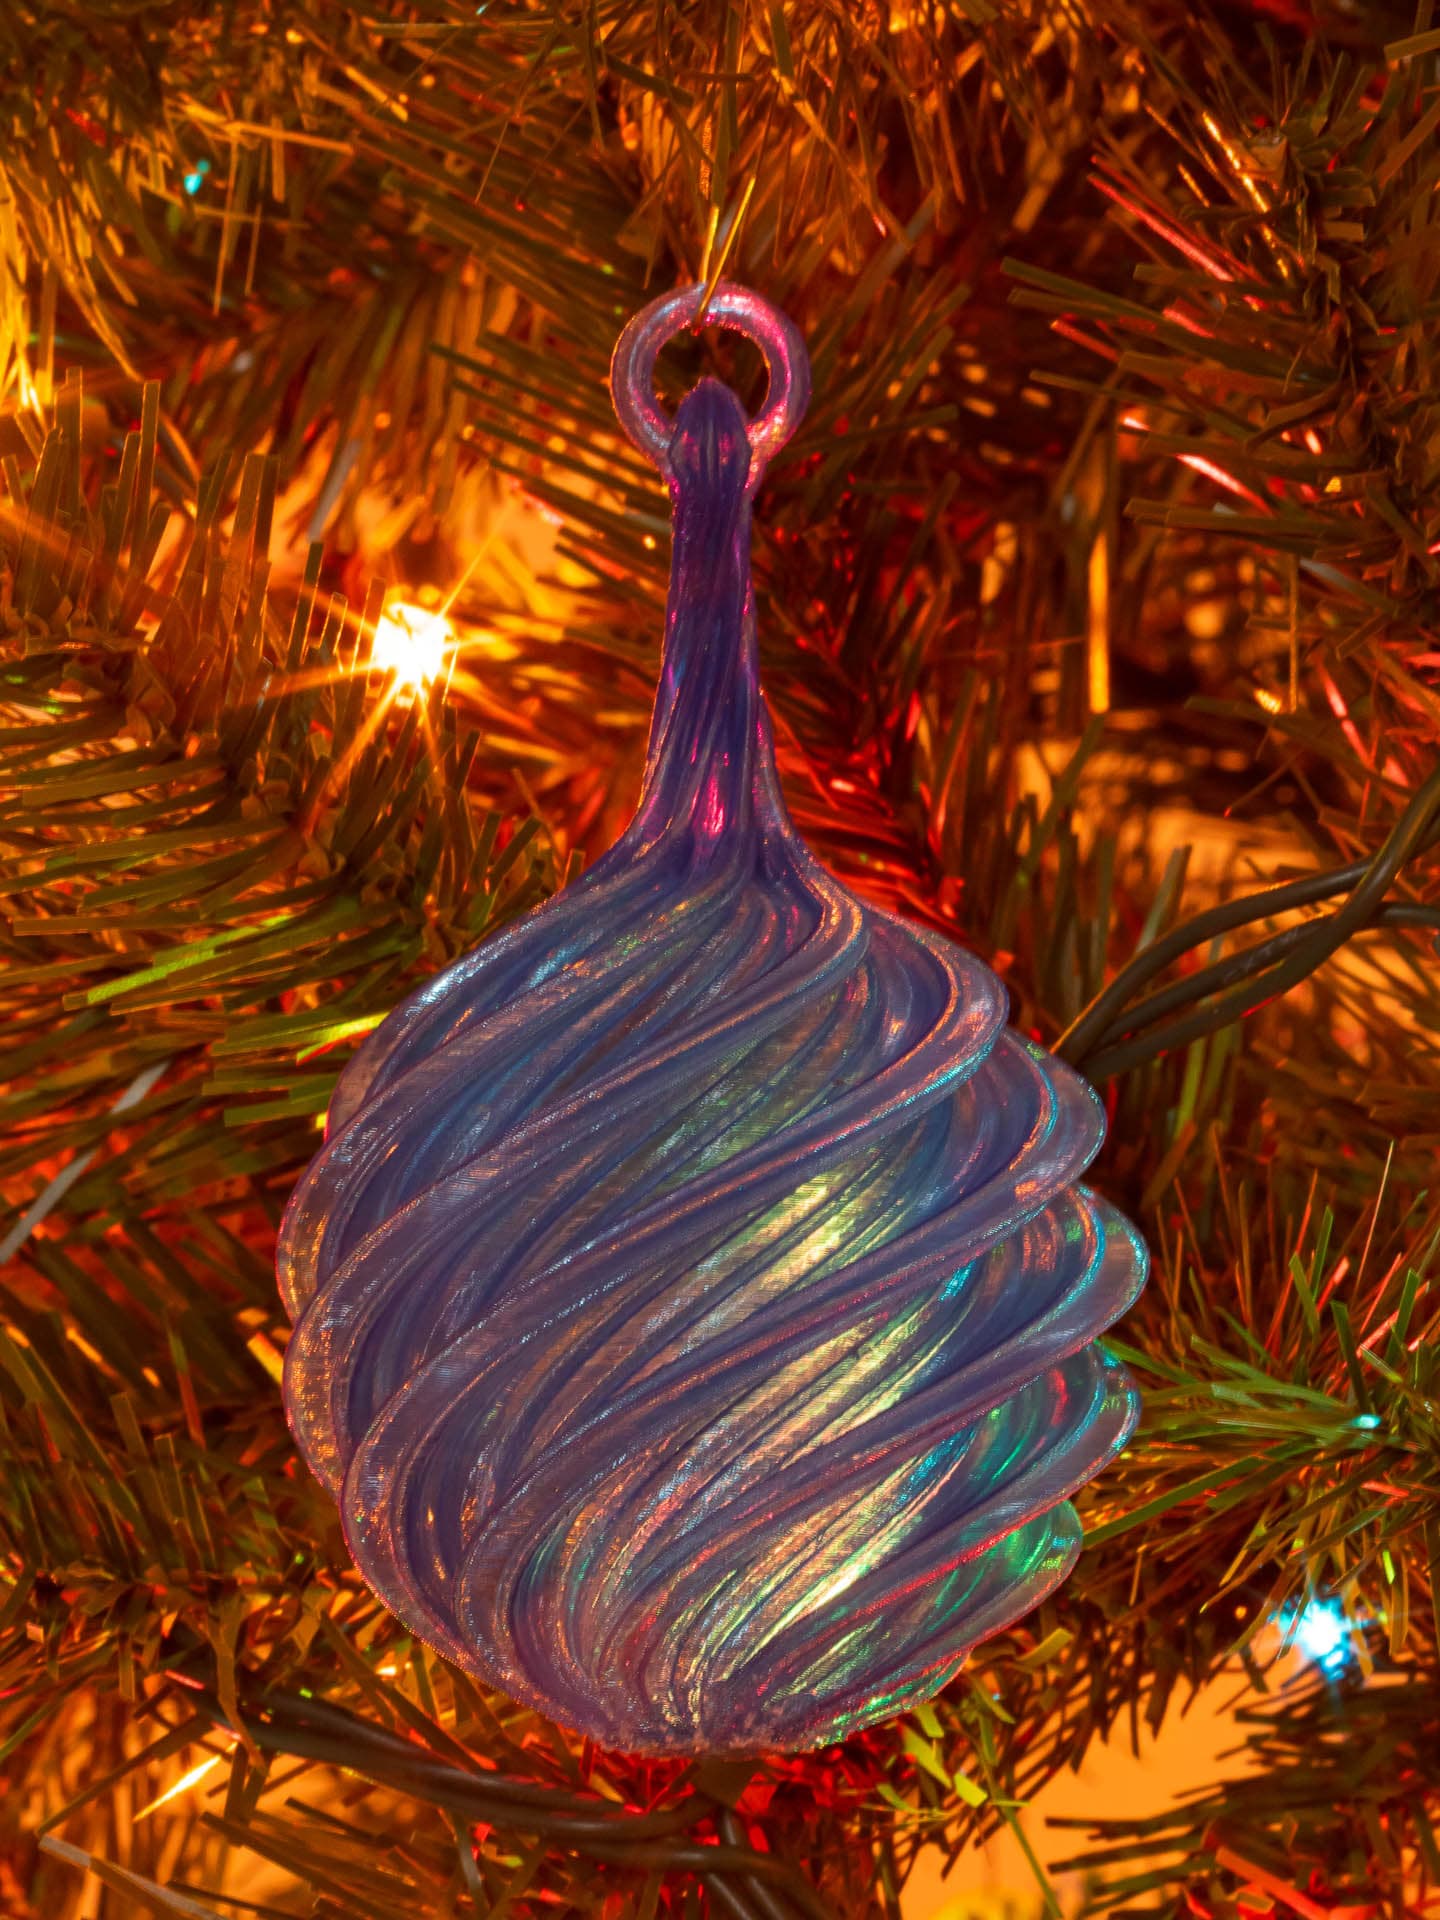
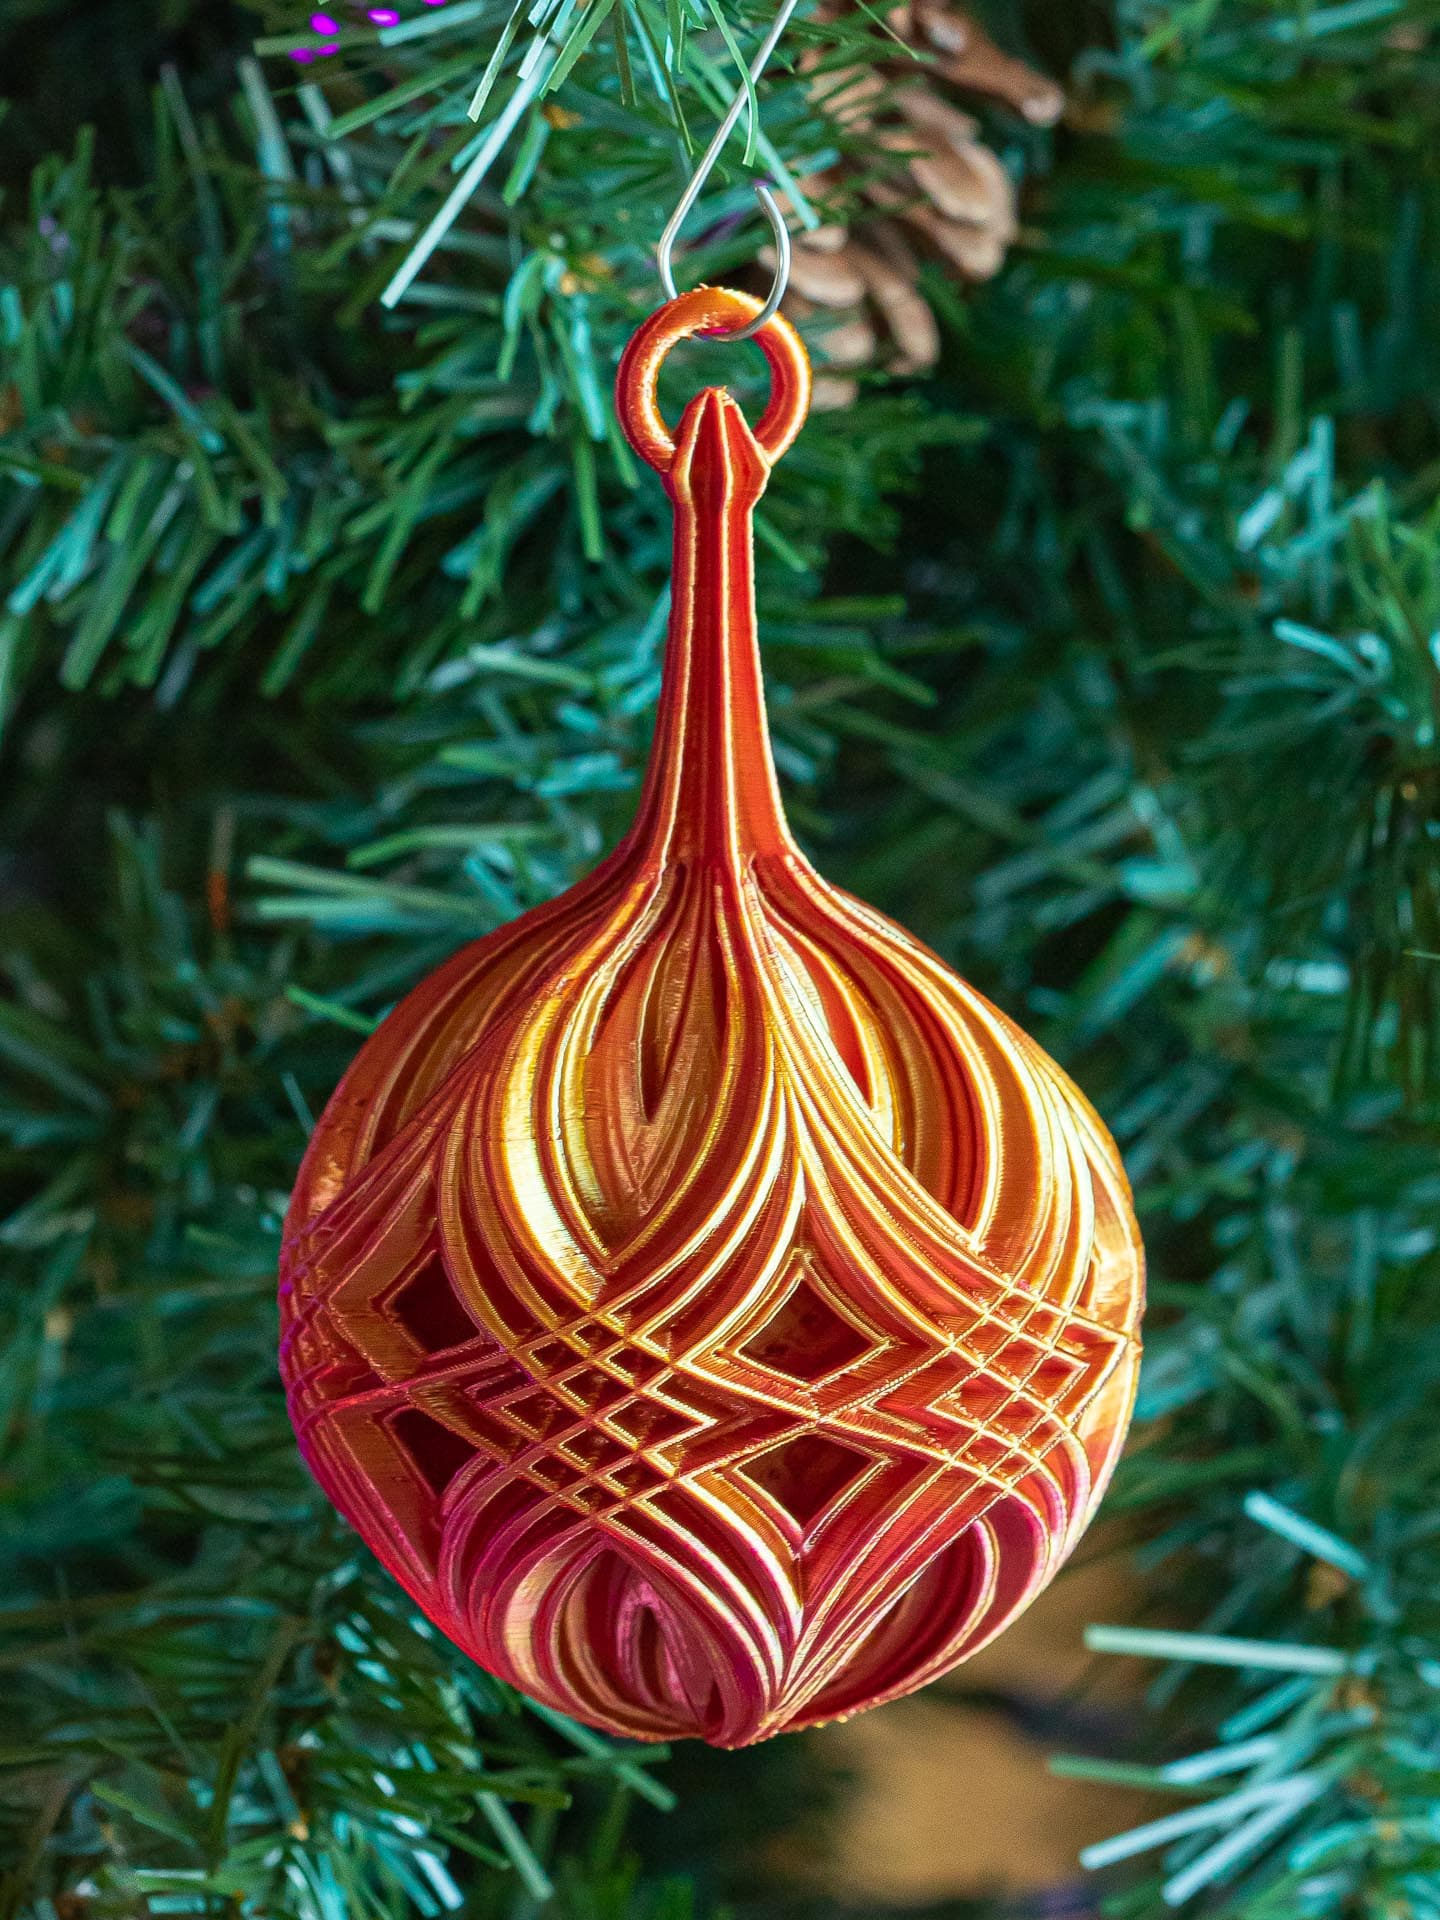
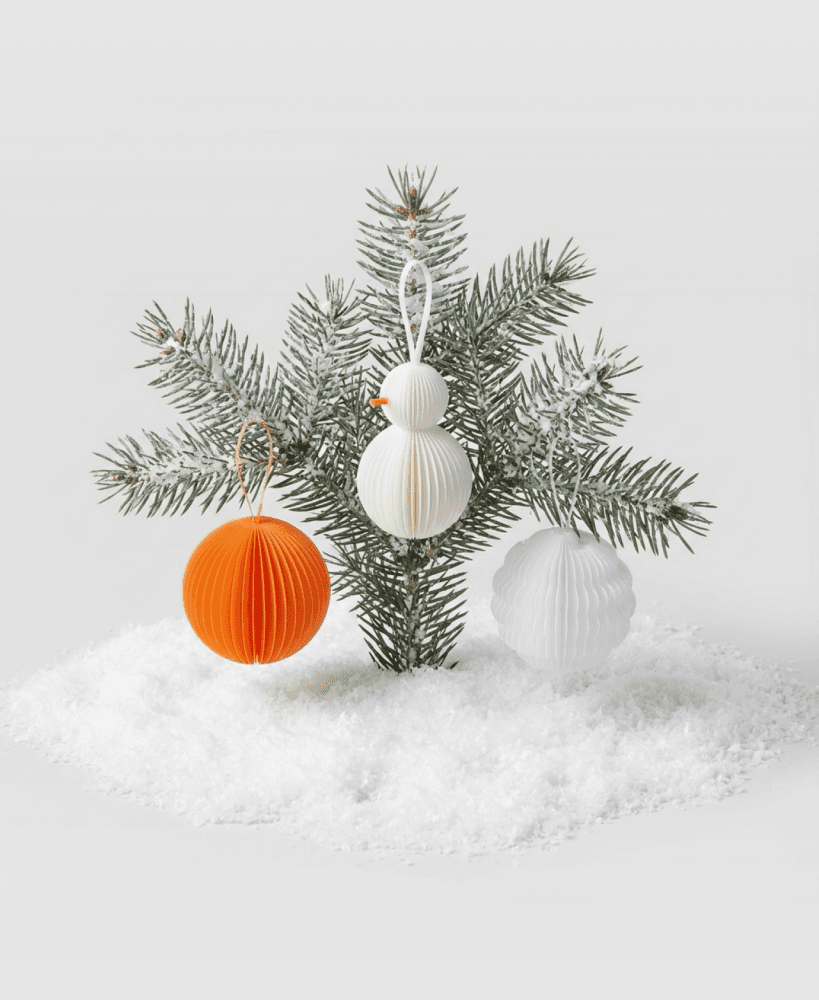
Christmas Balls with Integrated Stems
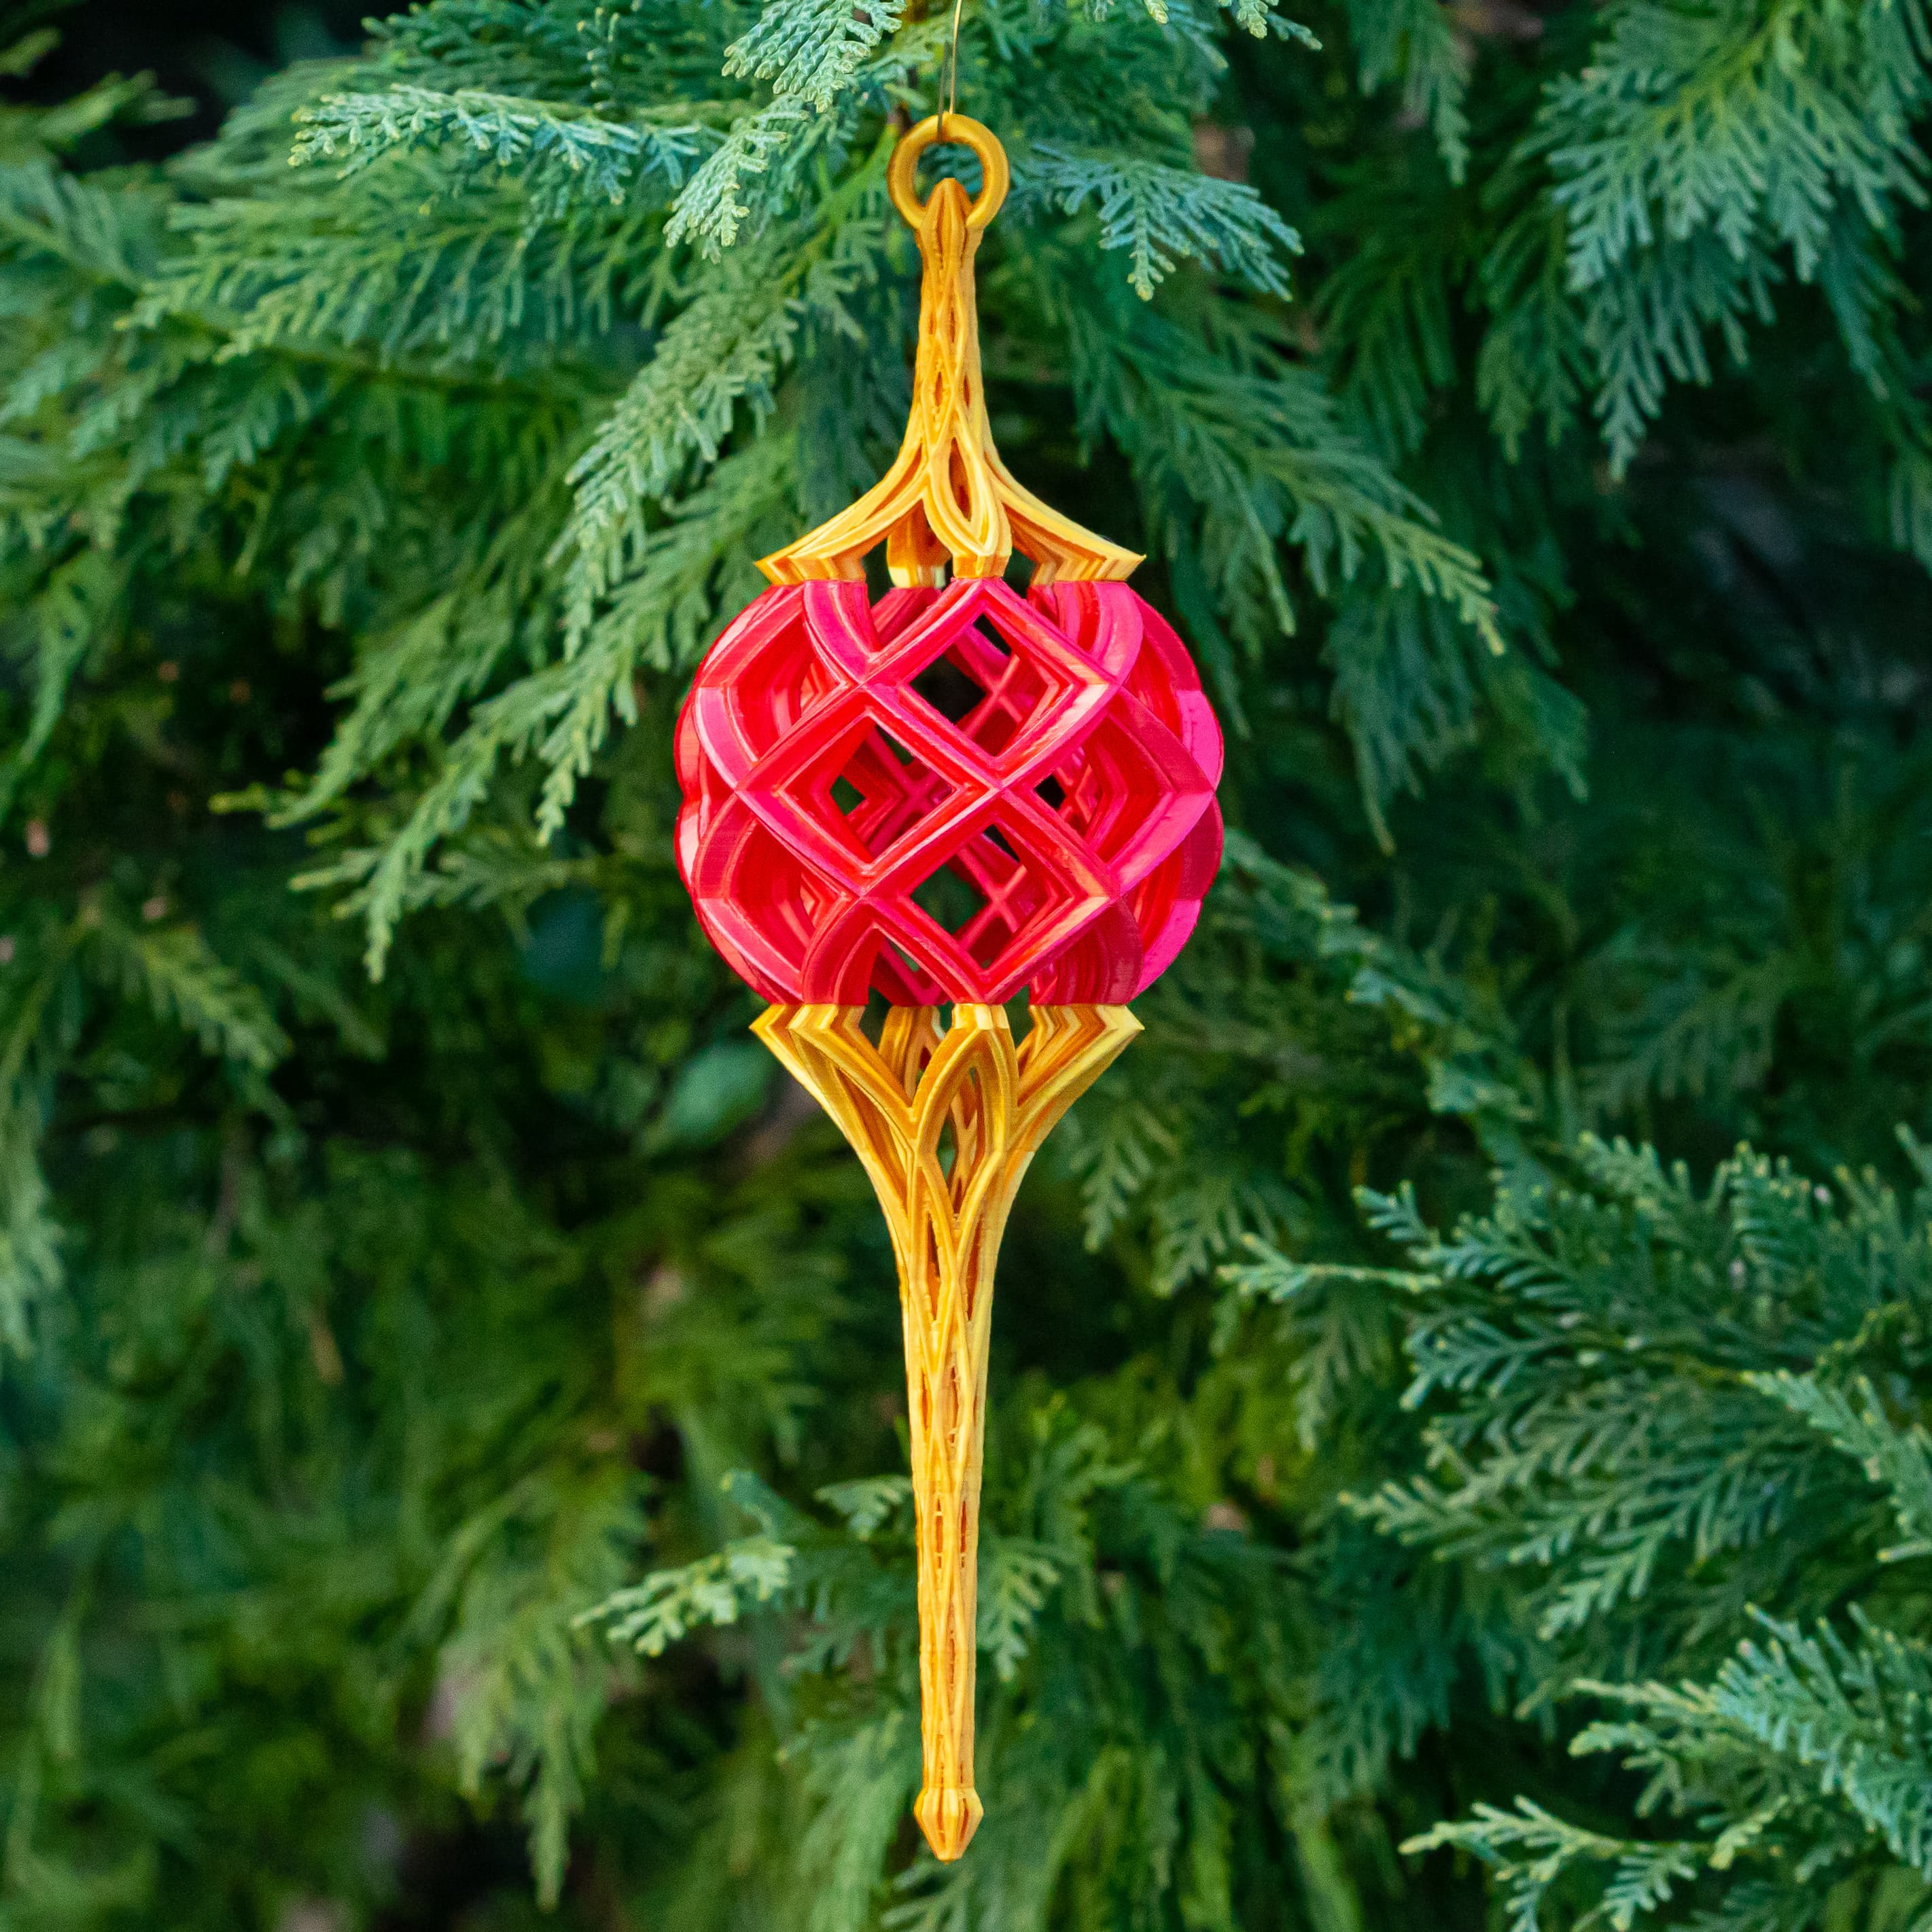
After creating my initial Christmas Balls with Stems, which were modular and rather tall, I decided to create similar balls that were 1 piece and only had a stem at the top. These are the result. I thought that in addition to the usual open and closed lattice designs, I'd create one that was open, but had a closed lattice insert in just the middle row of diamonds. It took A LOT of work. Days. But I like the result. I hope you do, too.
Not for commercial use. Please see license agreement.
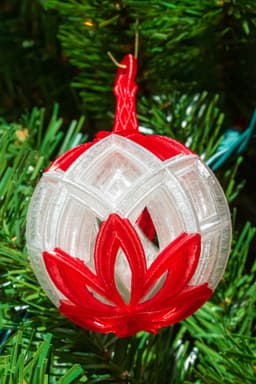
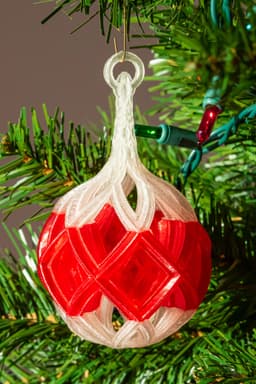
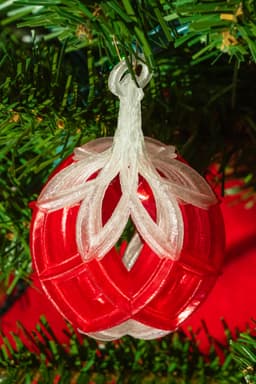
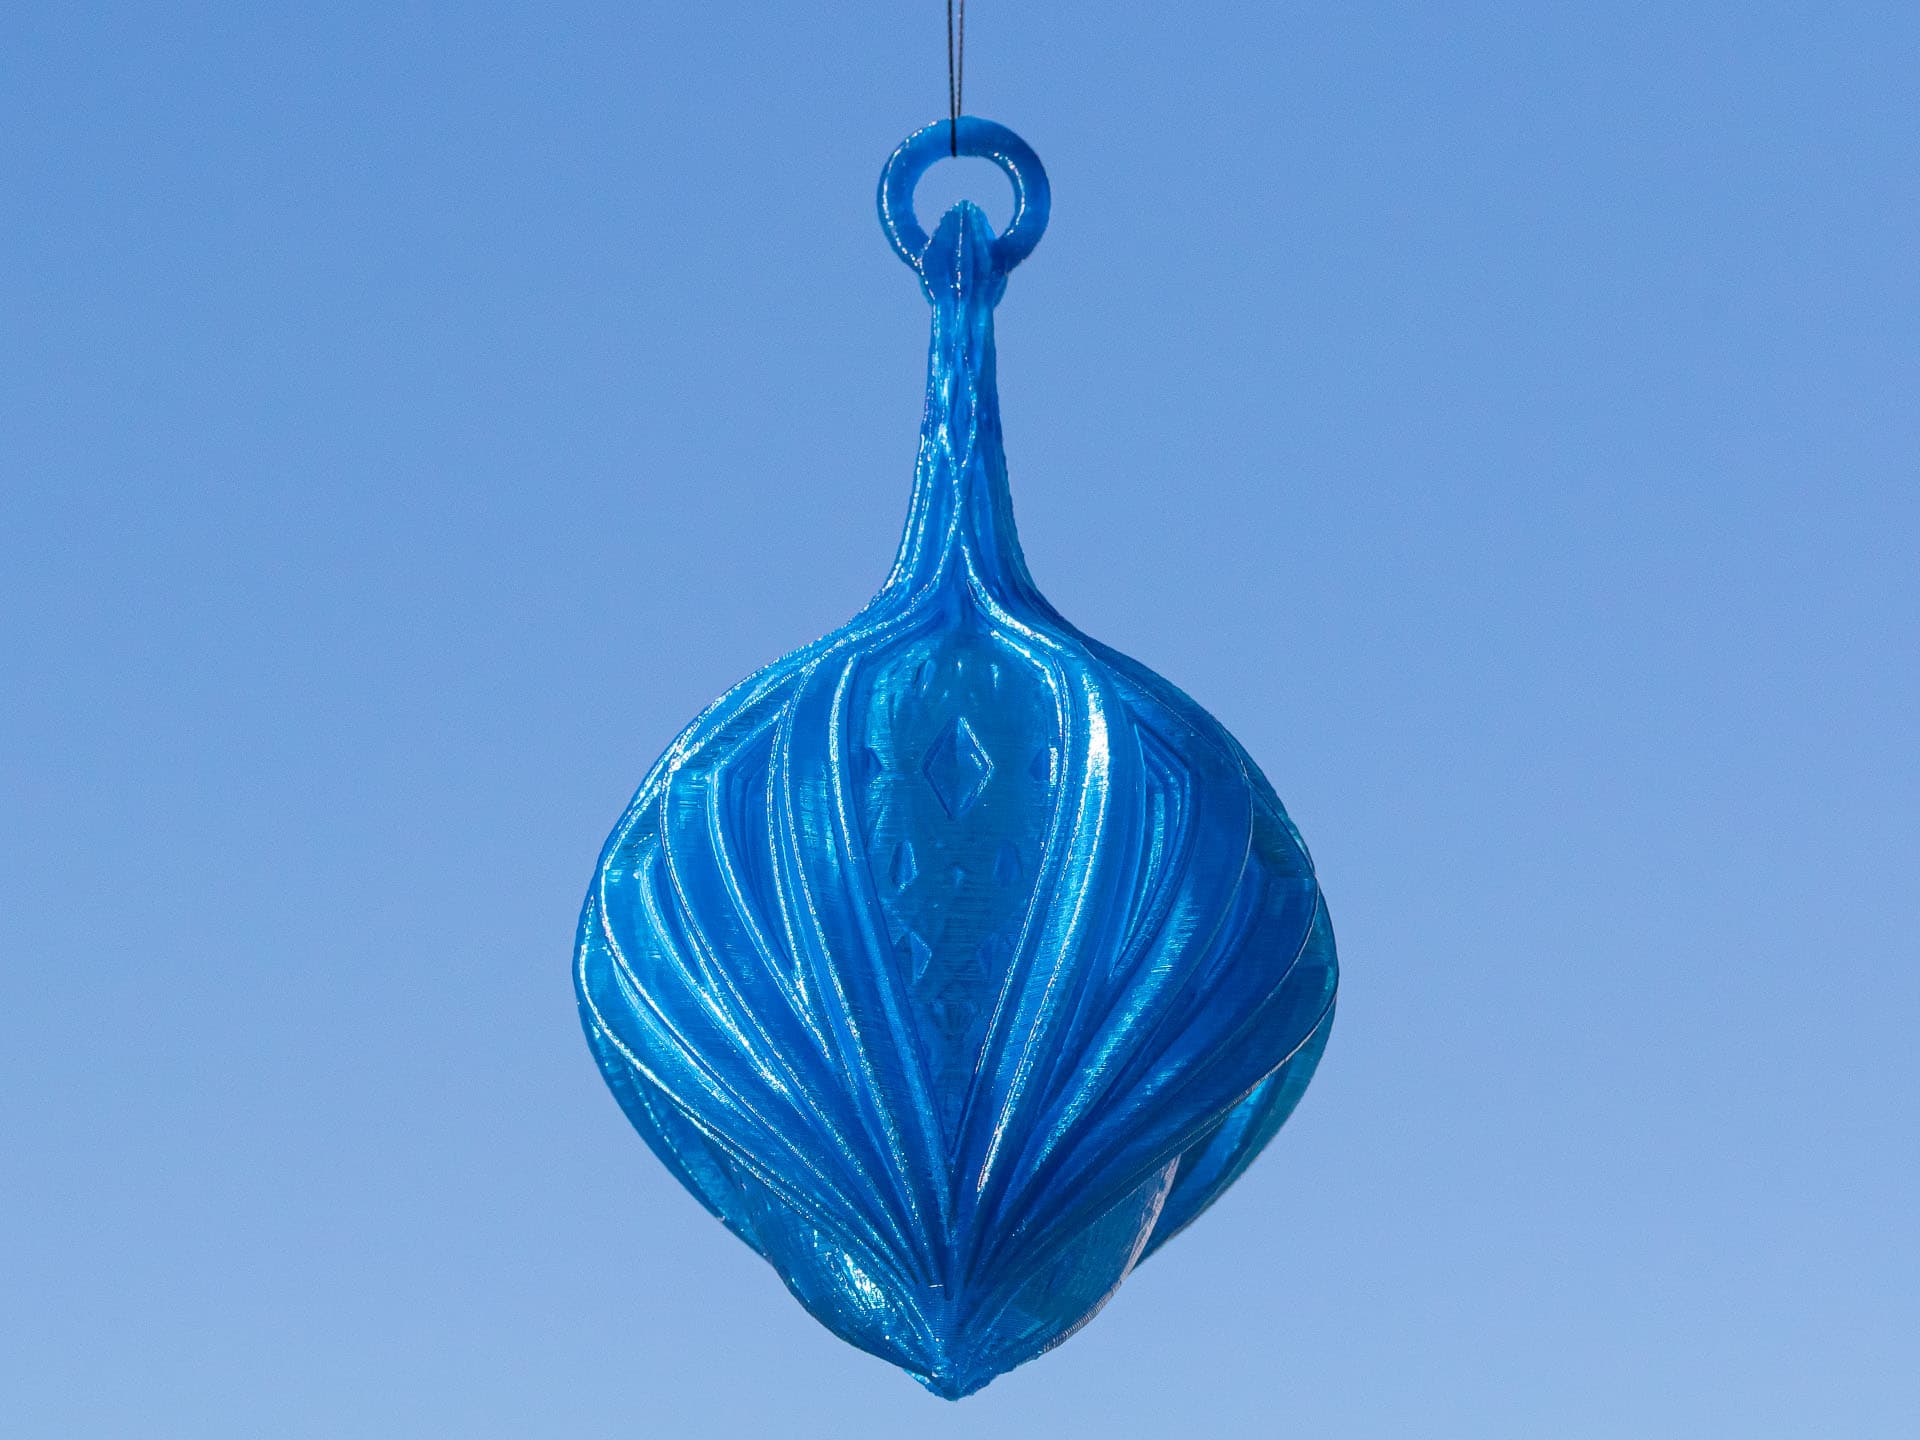
I wanted to print the semi-open ball in multiple colors - clear for the bottom and top and translucent red for the diamonds in the center. When I tried swapping colors mid-print, the print failed. So, I decided to make it easier. I split the model into 3 pieces that can be printed separately and glued together when done using a few drops of CA. It worked! I just finished gluing them together. Looks great. So, I've added the files so you can do the same. I'll upload a pic or two tomorrow when I have light to photograph by.
FYI, I only used supports for the center of the bottom piece. The other two printed well without supports, but there's a lot of overhang in both top and bottom. So, you might want to add supports or use a raft to keep the arms from breaking free before they meet.
RESIZING These should scale up well, but I'm not sure how much smaller you could print them using a consumer FDM printer. Using a resin printer, you could probably print them much smaller.
PRINT TIME About 4 hours each.
PRINT SETTINGS The trickiest parts to print are the tops of the stems. Using FDM, if you don't temp, speed, flow, and cooling right, the thin parts of the stem will melt as you print. Thinner walls help. If that's not enough, try increasing the layer height.
Thickness
- Layer thickness: .15 mm
- Wall thickness: 0.4 – 0.8 mm
Infill These do not need any infill. JUST DON'T DO IT.
Speed These printed pretty well for me at 50 mm/sec. If I were to reprint them, I'd try 40 mm/sec.
Build Plate Adhesion I used a brim. With the supports, you shouldn't need a raft.
Supports You will probably need supports for both bed adhesion and the overhang on the first few layers. You shouldn't need supports for the loop at the top. Adding them would just increase the chances the supports broke and caused the print to fail.
- Support Structure: Tree
- Support Placement: Touching Buildplate
- Support Overhang Angle: 57 Degrees
Christmas Balls with Integrated Stems
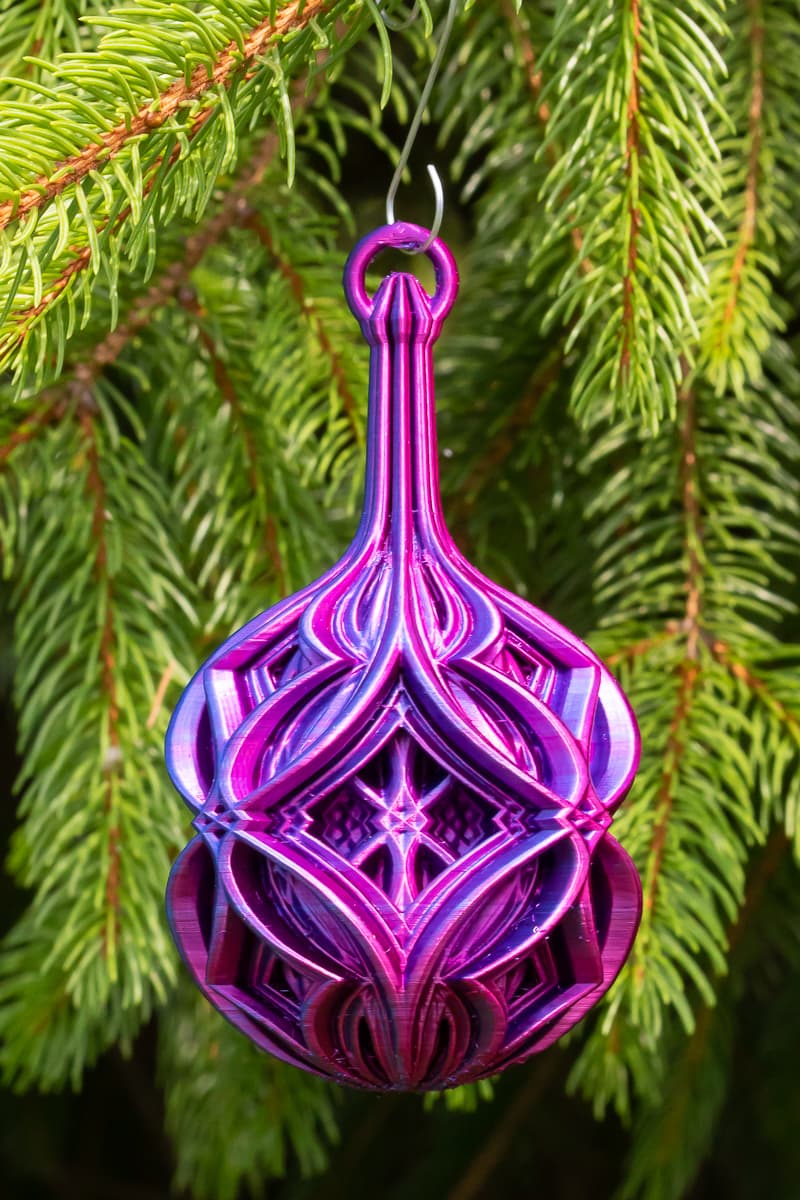
Kaleidoscope Christmas Balls with Stems
Spiral and Fine Lattice Balls with Stems
Diamond Christmas Ball Design 2
Winged Kaleidoscope Christmas Ball
Double Diamond Christmas Ball

Yeah, Another christmas Ball
Closed Spiral Christmas Ornament
Starburst Christmas Ornament
Christmas Balls with Stems

MELTING CHRISTMAS BALL / UNIQUE CHRISTMAS DECOR / HOMEDECOR / DESIGNER
Christmas Accessories Vol.1 – 3D Printed Christmas Ball Ornament
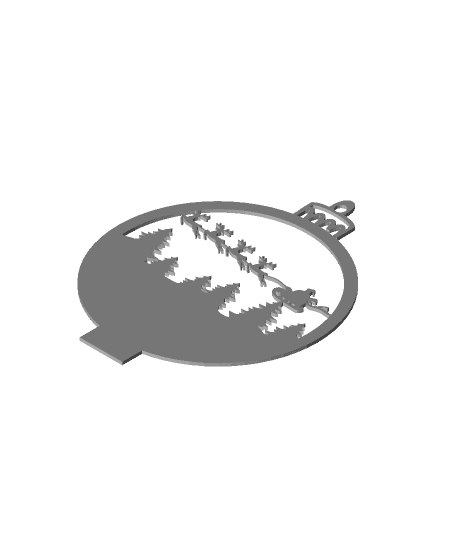
Remix of Christmas scene in Christmas Ball
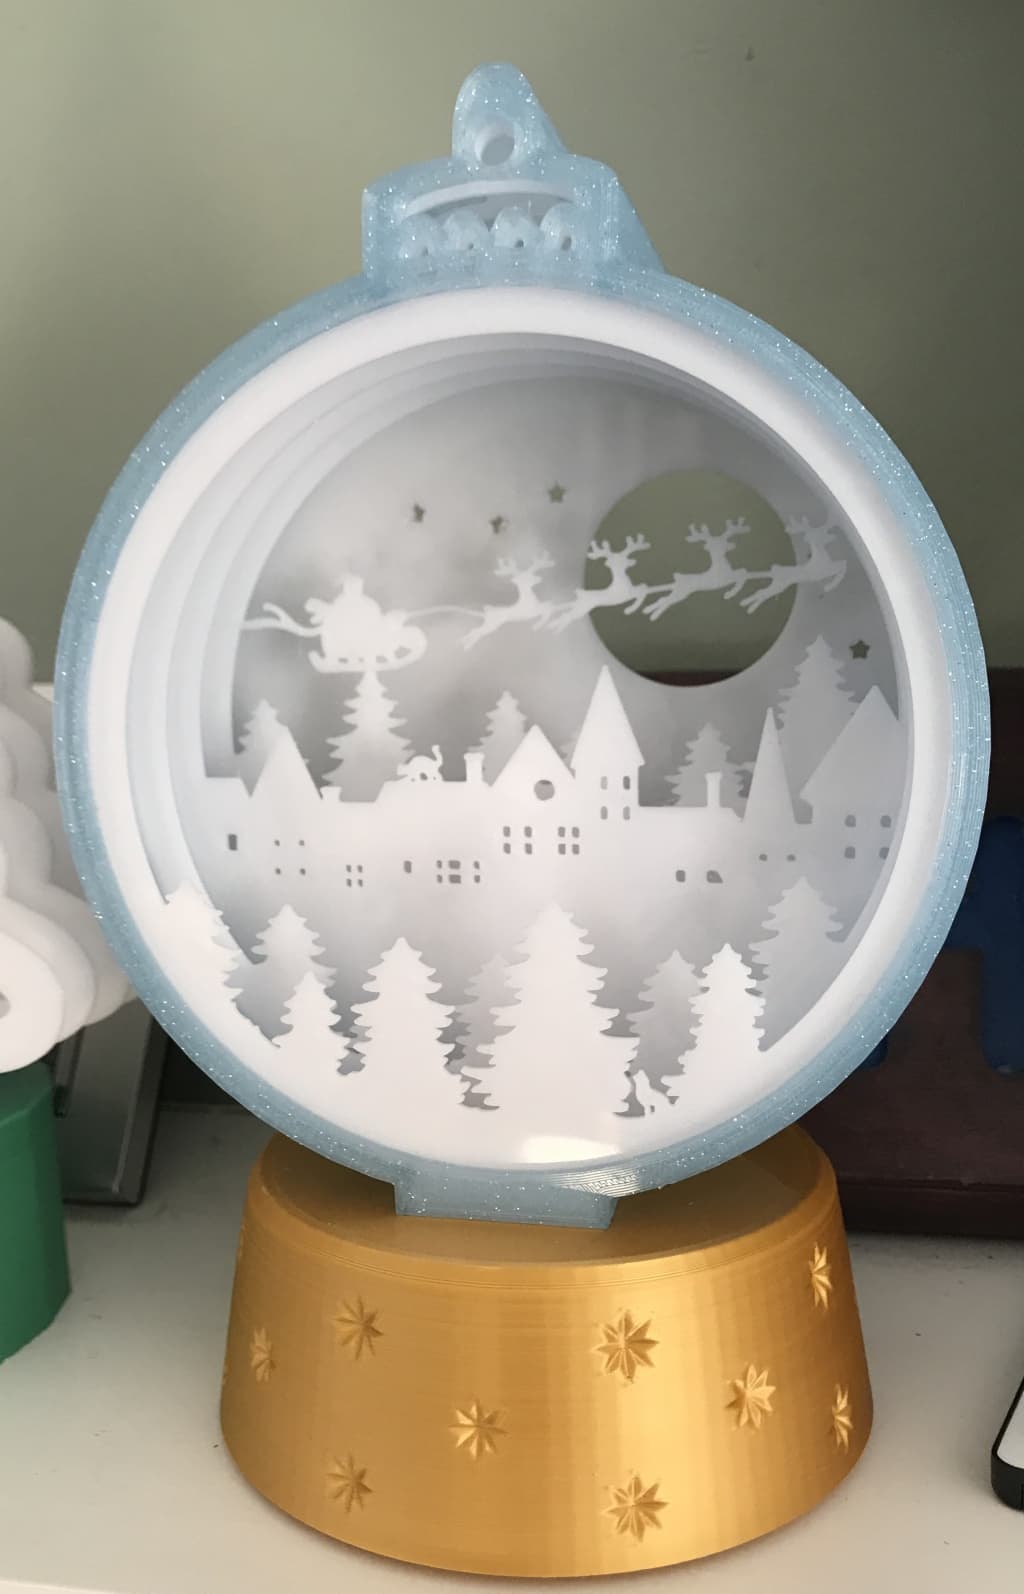
Christmas scene in Christmas Ball

Gift balls, Christmas tree ornaments.

Christmas Ball Ornaments

VANOCE | String Art Ball, Christmas Tree

VANOCE | String Art Flat Ball, Christmas Tree
Christmas Ball - Alternating Diamonds

Customizable deer Christmas ball