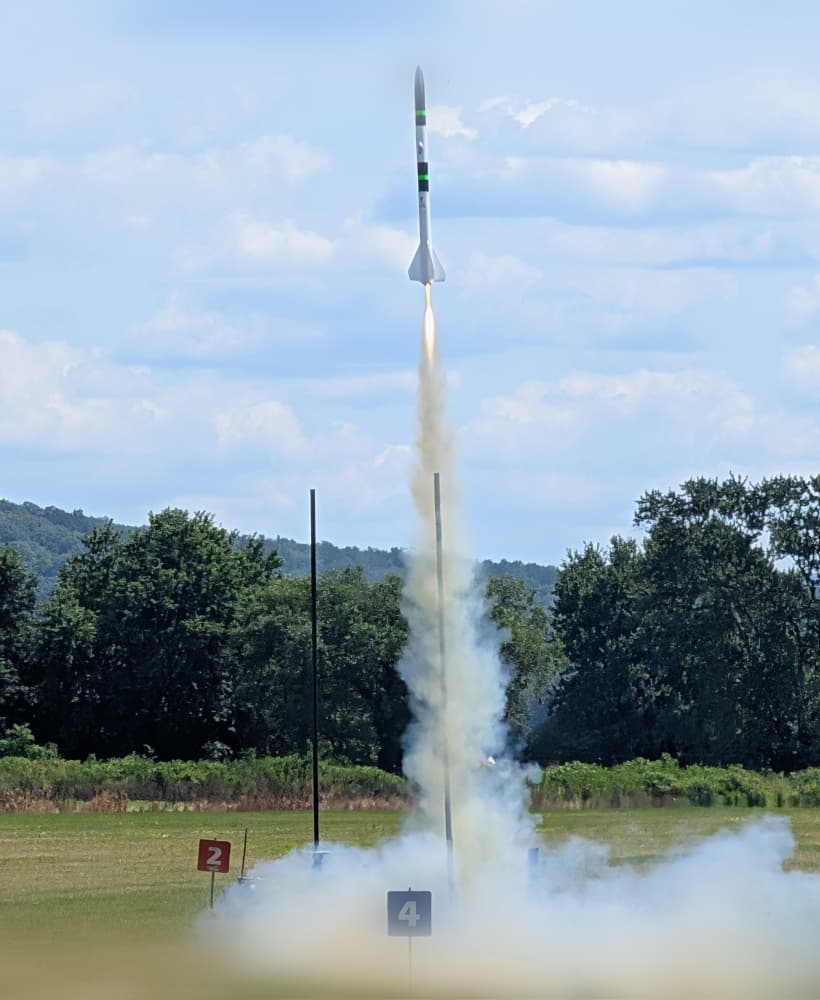
Flyable Rocket with 18mm Motor Mount
A two or three part printable rocket for use with Estes or Quest hobby rocket motors. It works best on C6-7 motors and should also work on B motors. It is designed to fly off an Estes launch pad with a launch rod. This rocket goes very, very high for such a small rocket, it can pretty much disappear from view. It sims to 1600 feet in OpenRocket, so make sure you have a big flying field! Have fun :) We have flown these rockets a fair bit with the Canterbury University Aerospace Club. When they land they are still quite warm and the PLA is quite soft. Let it cool before handling it too much, as the PLA will deform quite a bit. The long ribs make the rocket much stronger. They also provide the forward stops for the motor. Not that it really matters, but they shouldn't add much to the drag as they fit within the forward profile of the fin roots.
Instructions
Printing
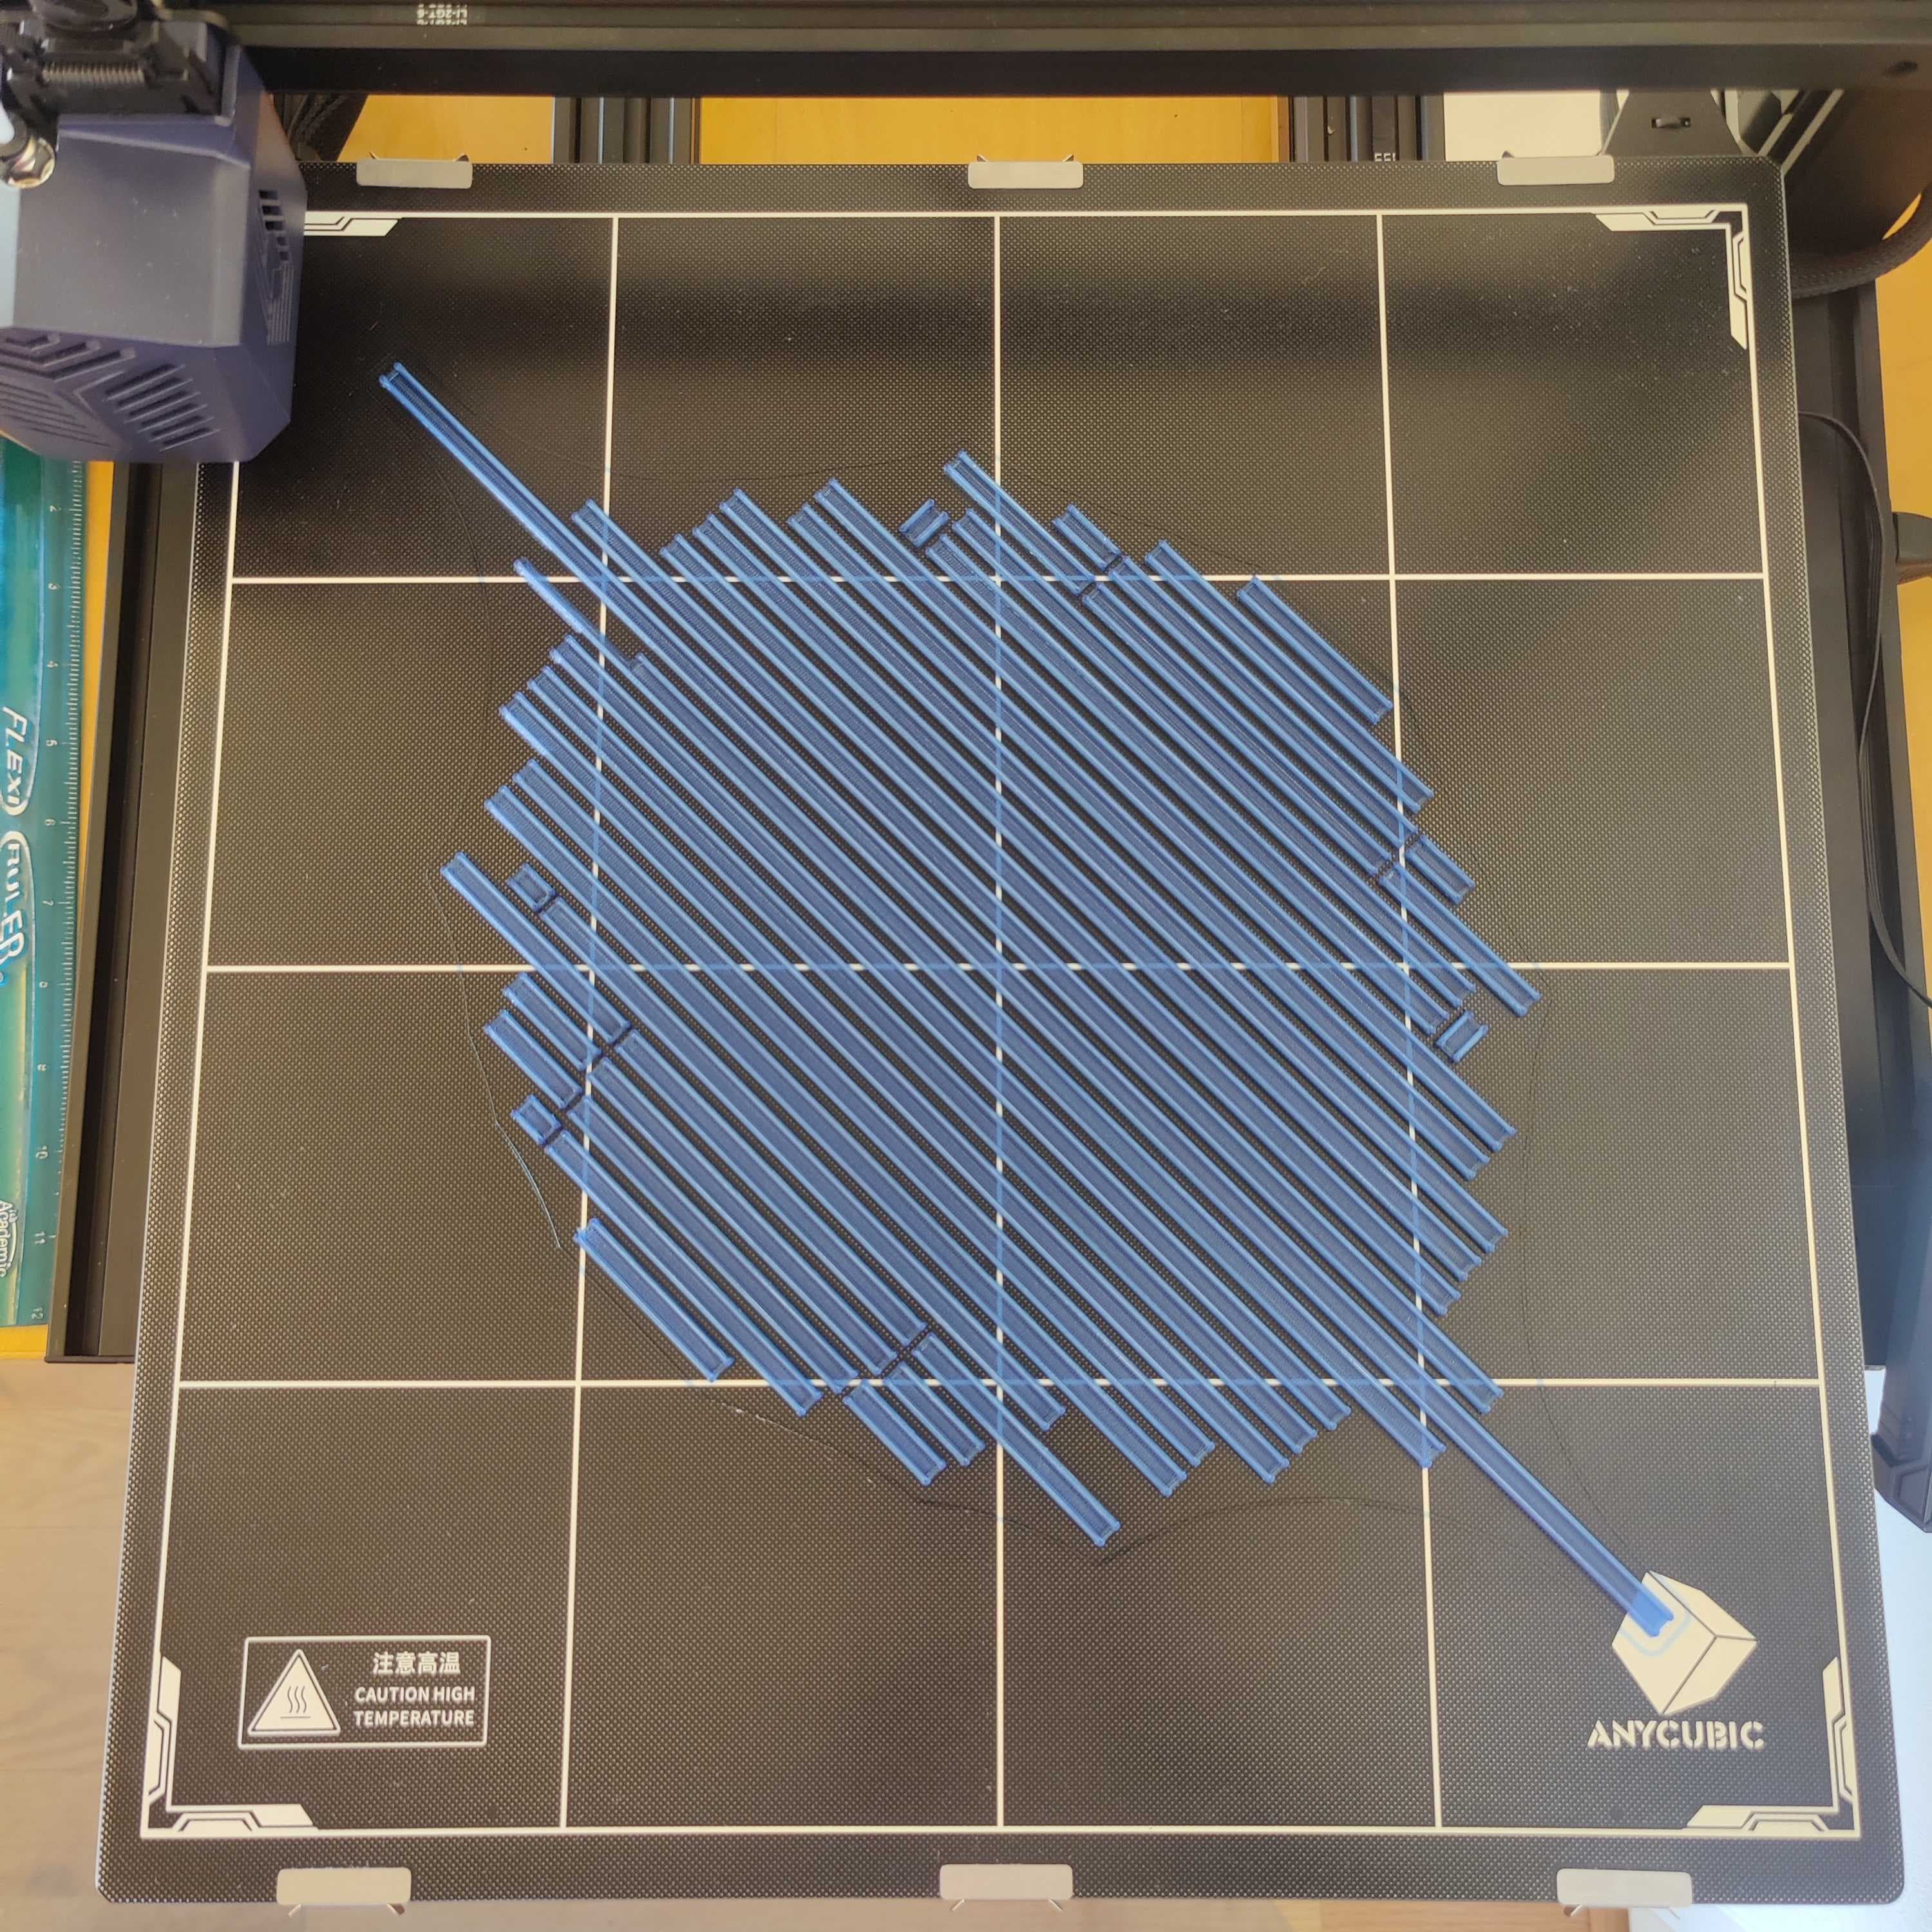
You need a reasonably tall build envelope to print the body section. 150mm build envelope will just fit it. You will probably need a good bit of fan to print the nose cone, as it goes to a sharp point. Too little cooling will result in sag.
Materials
I have only printed these out of PLA, it works ok*. If you can get ABS not to warp and pull apart when printing the fins, it'll probably work better. Polycarbonate would be better again :)
One part or two part nose cone
This is a tricky one, if it flies with a single part nose cone, then do that :) If not, use the two part nose cone and put some clay inside. Make sure that the fit between the nose cone sections is tight, otherwise it might fall out at apogee and hurt someone. If the fit is loose, put some paper tape around the shoulder of the nose cone tip.
Flying Pre-Flight
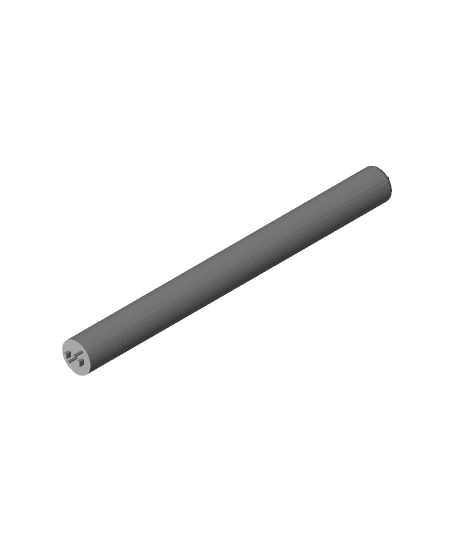
Make sure that the launch rod fits smoothly inside the launch lug (the small tube in the fin root) If it doesn't slide freely, you might need to use a tiny file or a small drill bit to enlarge it slightly. Make sure you have some kevlar thread tying the nose cone to the body section. There is a tube built into the nose cone to pass thread through and two holes in the side of the rocket to tie the kevlar to. A good rule of thumb is to use 3-4 times the length of the rocket in recovery cord. If flying on a grass field, you can get away without a parachute and use tumble recovery. If you are flying at a club, this might or might not be allowed. Check first. Otherwise just use a small streamer or parachute tied to the kevlar cord between the nose cone and body. You can easily make one or buy one cheap online somewhere.
Check Stability
Check the stability before flying. Load up the motor, wadding, parachute and recovery cord into the rocket. The parachute and recovery cord often shift right to the back of the rocket on launch due to the high acceleration (it sims to almost 30 g!) so it might make sense to pack those as far down the rocket as you can for the purposes of checking the stability. Make sure you repack these less tightly before launch! Otherwise the rocket ejection charge may not be strong enough to separate the rocket, this can be quite scary as the rocket will fall very fast if it is still aerodynamically stable after apogee. The center of pressure on this rocket is about 18.6 cm from the nose. This is a bit forward of where the fins blend into the body. Make sure the center of mass is about 1-2 calibers forward of the center of pressure (2-4 cm)
Flying
Make sure you fly from a launch platform with a launch rod. The standard small estes launch platform works great. Make sure you follow the NAR - Model Rocket Safety Code. Use fire proof wadding between the parachute and the motor. If you're not using a parachute, putting wadding in anyway to help protect the kevlar cord holding it all together.
Flyable Rocket with 18mm Motor Mount
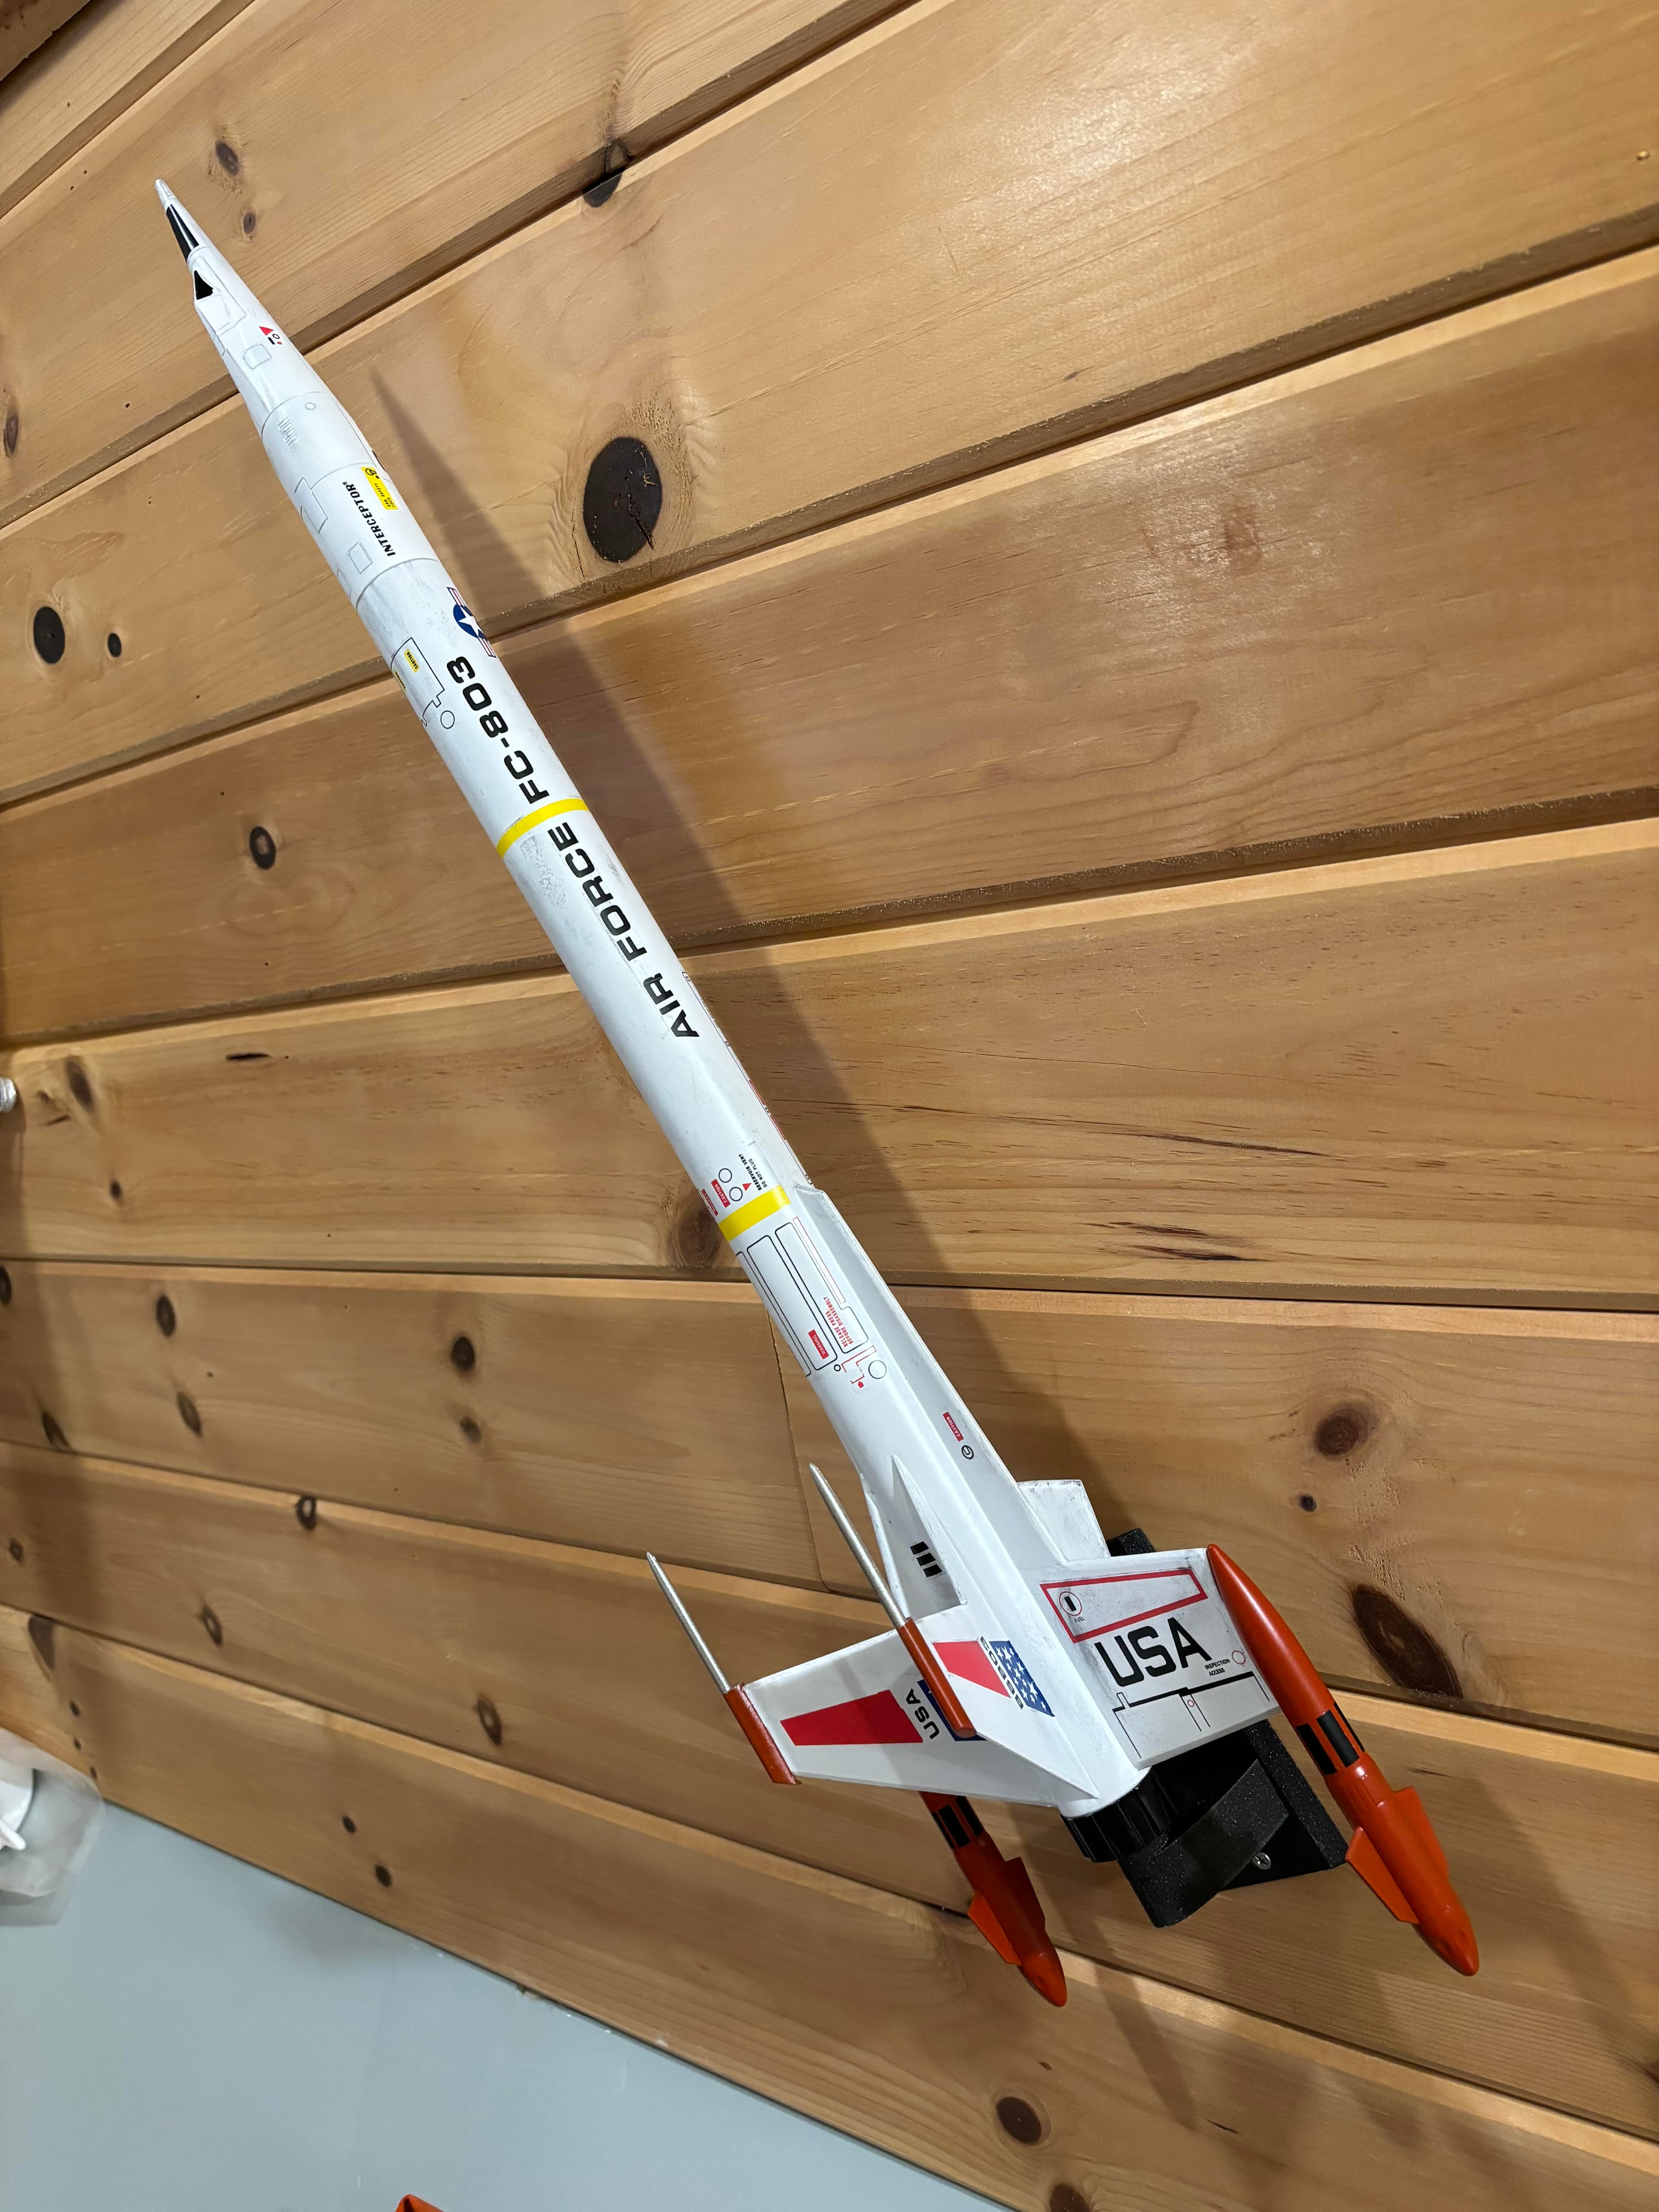
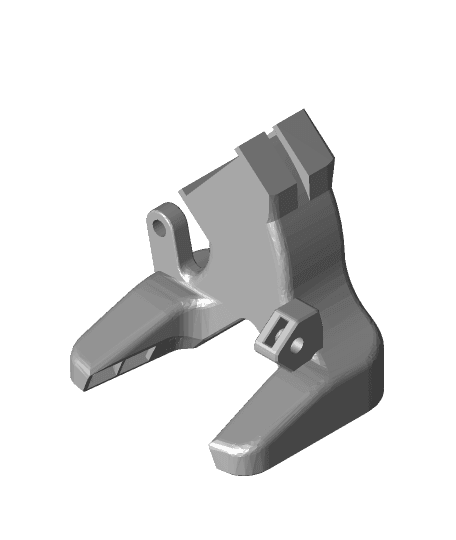
18mm Rocket Wall Mounting Plate.stl
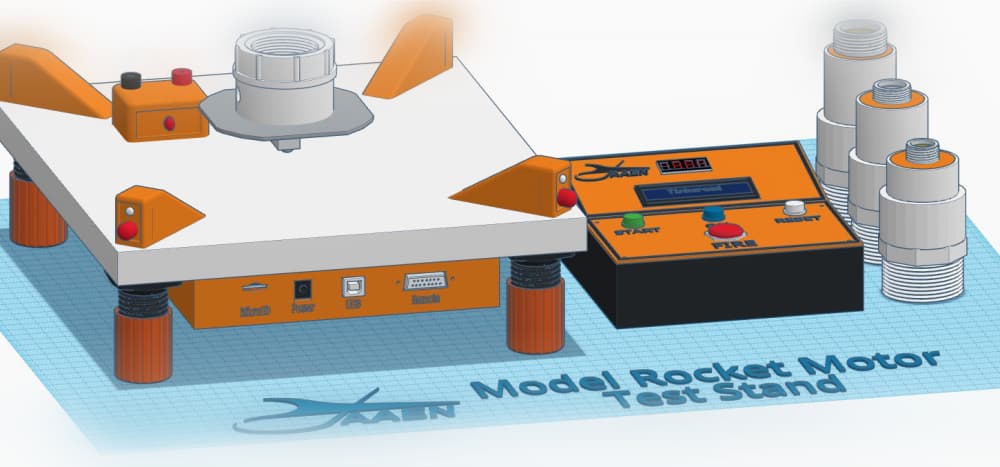
Model Rocket Motor Test Stand
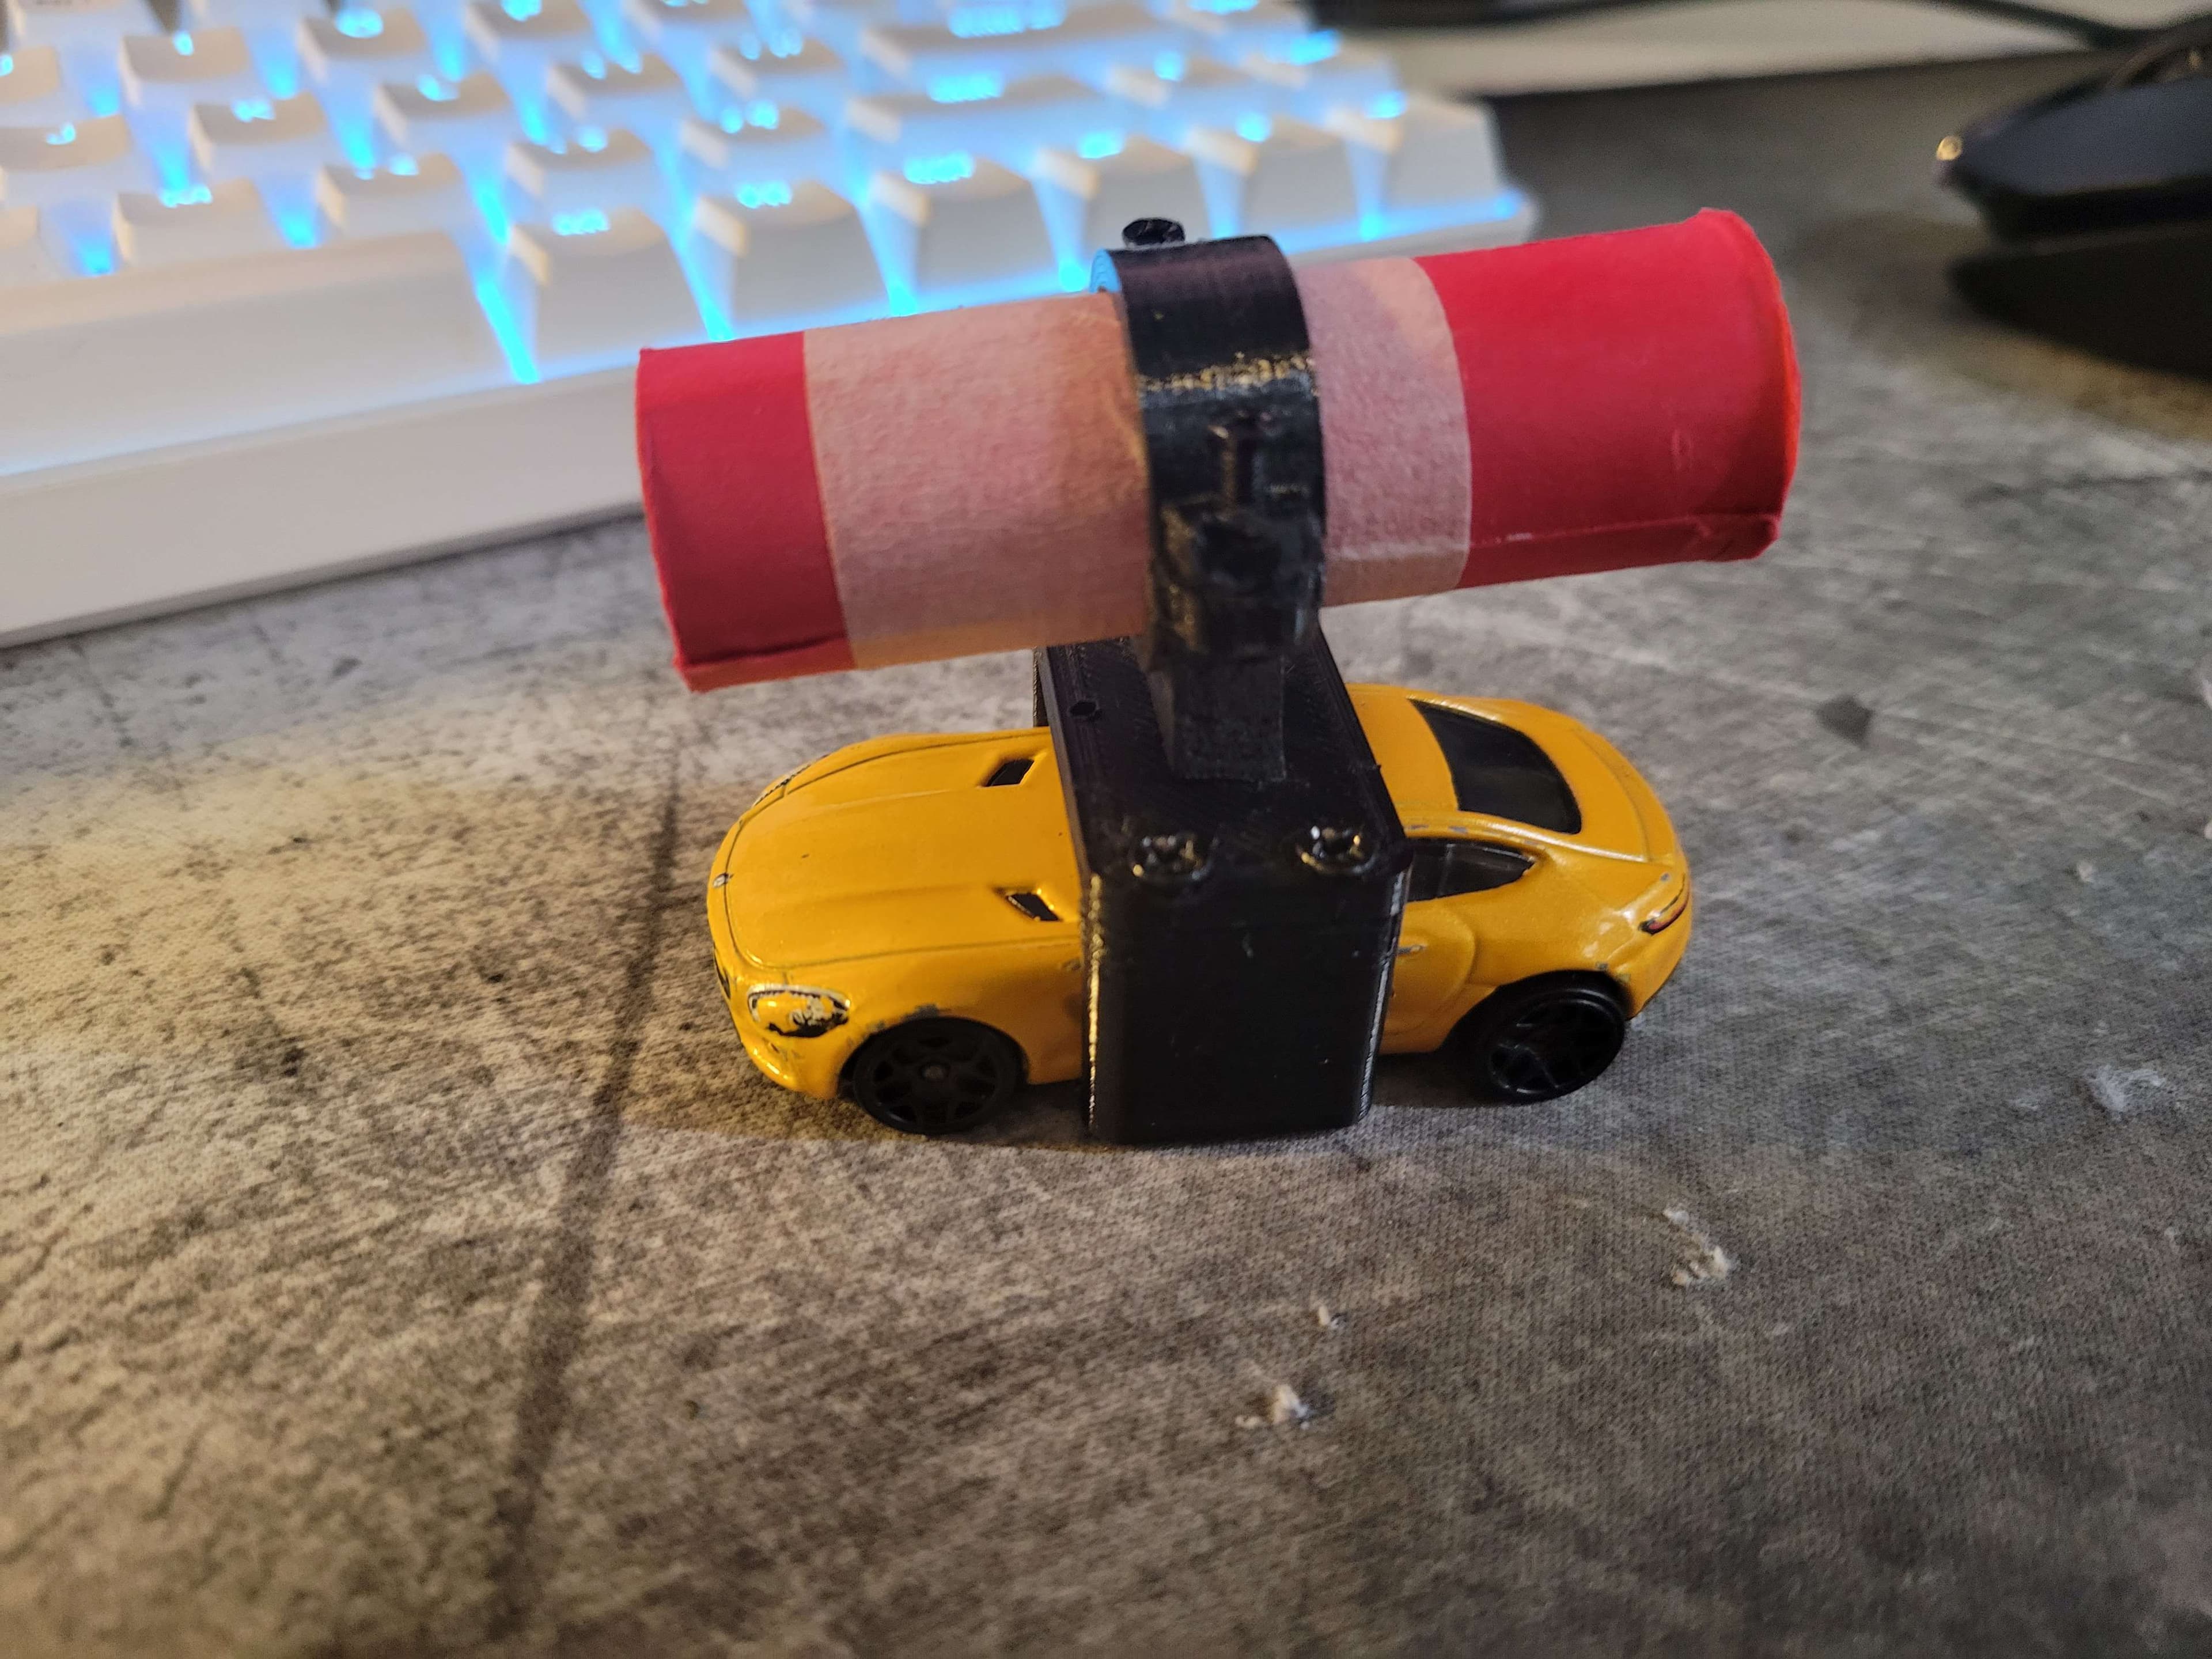
Hot Wheels Rocket Motor Clamp
.png&w=3840&q=75)
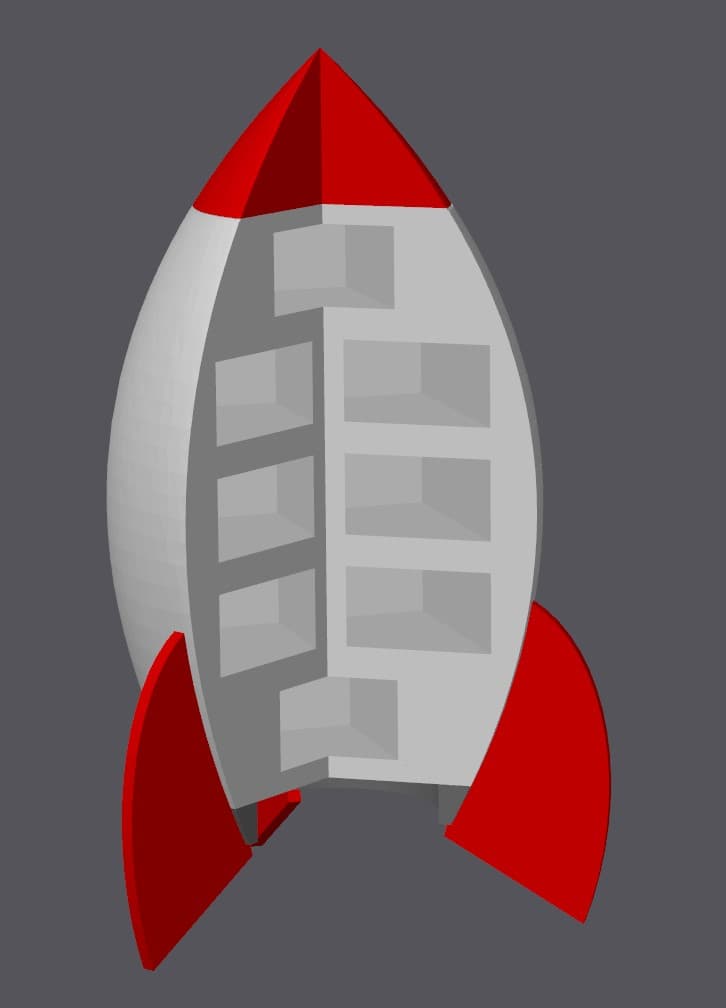
Triplecore rocket for 18mm engiens
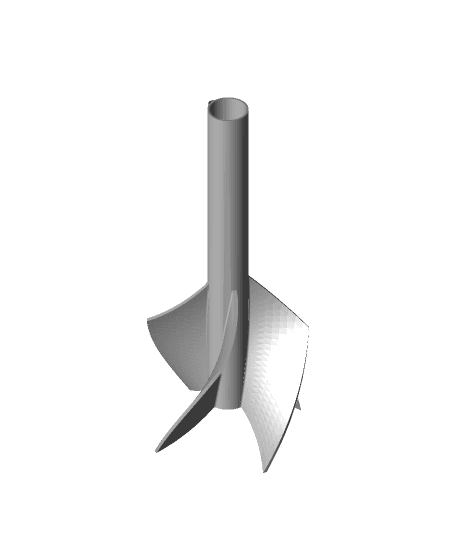
Vortex Rocket.. Flying Model Rocket (it spins)
X-20 DynaSoar
9V Battery Holder Rocket
Katyusha V2.1 "RC Rocket Pod"
Planetary Roller Robot Actuator 44:1
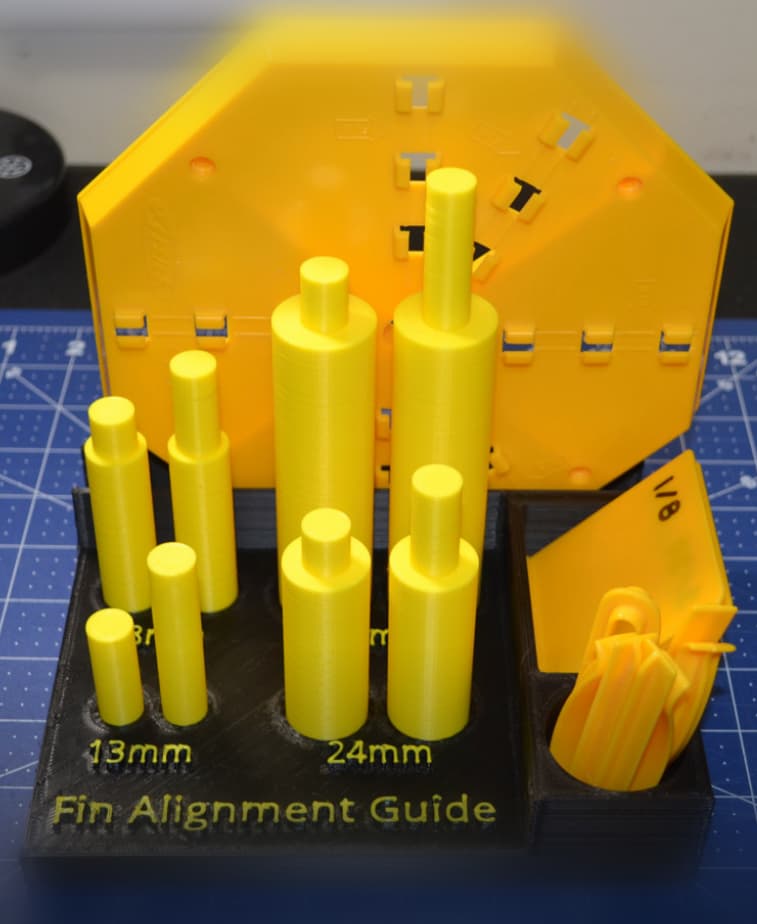
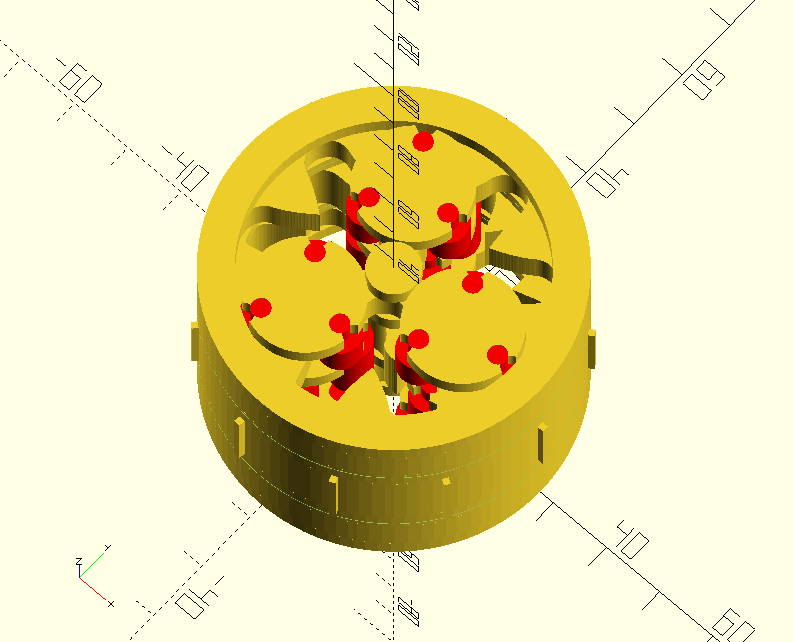
Holder for Estes Fin Alignment Guide
Planetary Roller Robot Actuator 44:1 and Hardware

Ariane 1 Rocket Model

Arianespace ASI ESA Vega Rocket Printable Miniature
BRRDS (Best Rocketry Research Determination System)
Betelgeuse - High Power Rocket
Saucer Flying Model Rocket
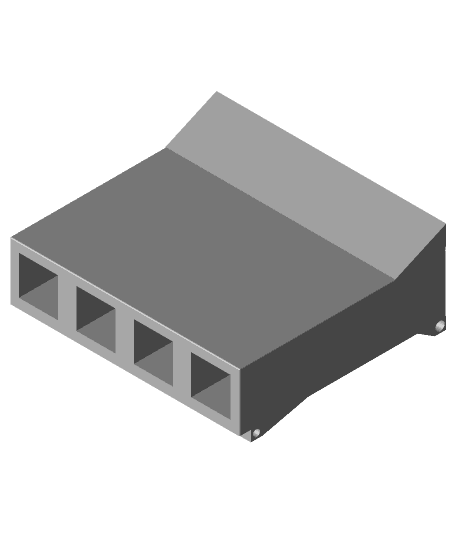
Anycubic Kobra Max Extrusion Channel Covers
"Reliant" frame - modern lightweight Y6 frame for long range and fun (v2!)

Model Rocket Display Stands Collection