

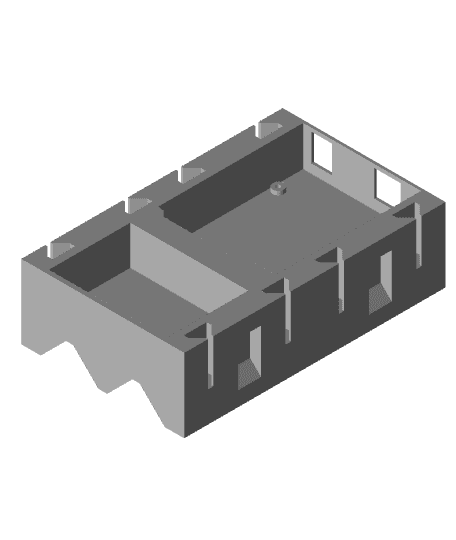
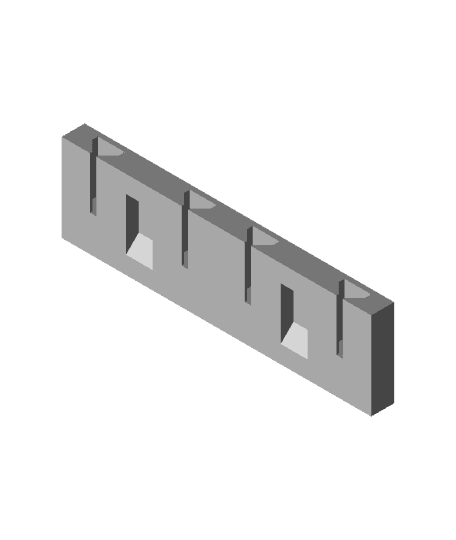
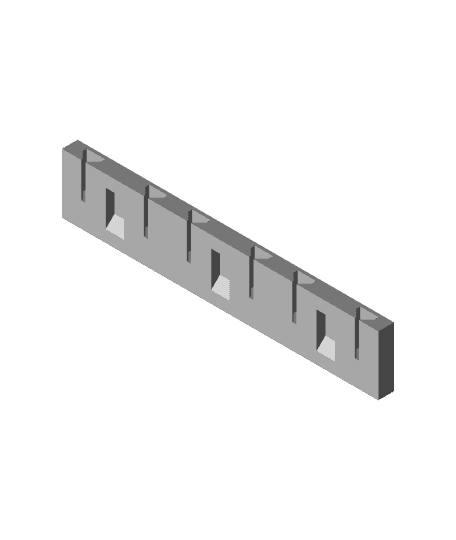
Arduino Module Mega.stl
Arduino Mega:
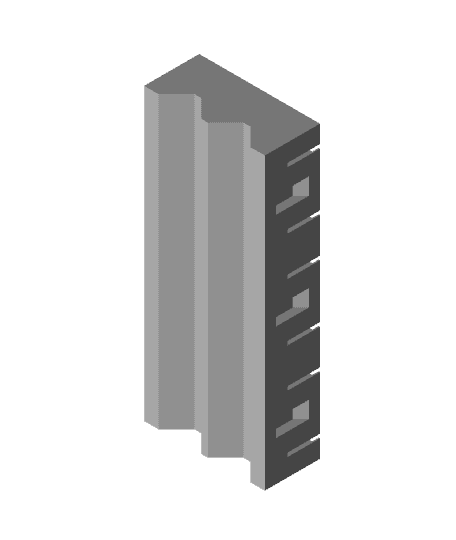
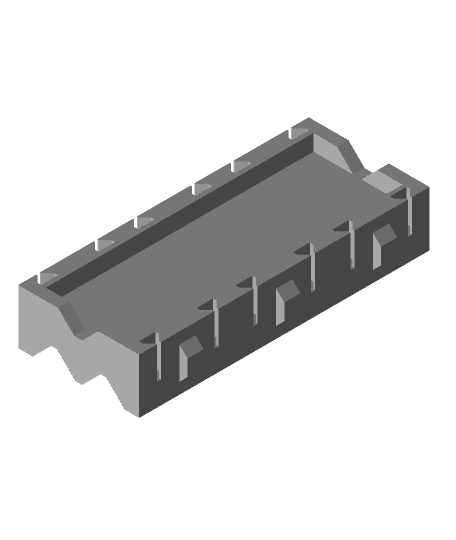
This Module is used for the Arduino Mega microprocessor.
Hardware needed: 2 x 2 mm screws with 4 mm of length Arduino Mega
Instructions for Printing: Raft = no Brim = optional but not needed Wall Loops/Top and Bottom shells = 2 - 4 (personally i like 4 for extra stability) Layer Height = 0.2 mm Speed = Default Temperature = Default for your material of choice
During testing I used the Bambu Labs x1 Carbon with PolyLight PLA and left most settings in the Bambu Studio as default with any changes listed above so your print times may vary.
Material = roughly 87 grams Time = 2 hours 32 minutes Material and time includes the Bambu X1 Carbon prep time and flow lines.
Instructions for use:
Use the screws to thread the holes inside the module by screwing them in and then removing them. Insert the Arduino Mega into the hole with the ports sticking out of the holes in the side at an angle and then sliding it down until it is flat. By doing this the holes in the arduino should slide into place over the little pegs sticking up. Insert the 2x screws into the holes with no pegs and screw into place until tight. (Warning: do not over tighten or you risk harming your Arduino)
Arduino Module Mega.stl
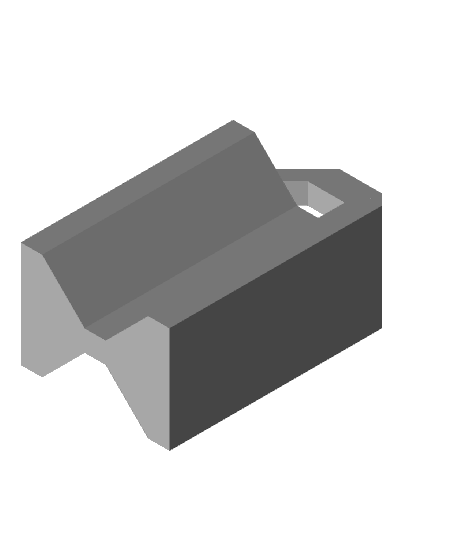
Hole Conector 4.stl
Arduino Module Peg.stl
Arduino Module Uno.stl
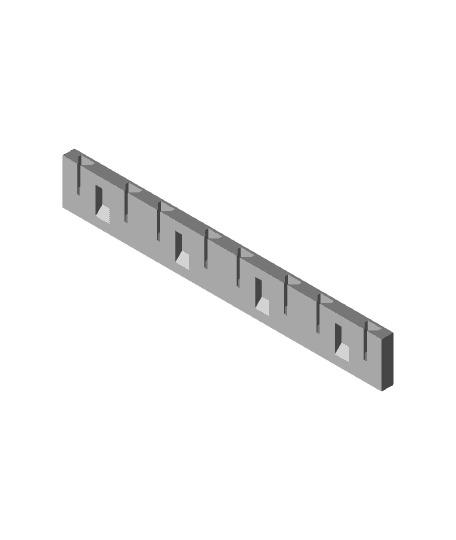
Arduino Module Tray x 4.stl

Arduino Module Tray x 1.stl

Arduino Module Tray x 2.stl
Arduino Module Tray x 3.stl
Arduino Module Bread Board.stl

Arduino Module Mini Bread Board.stl
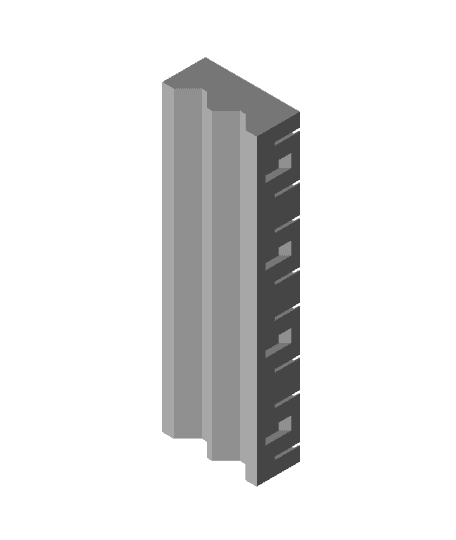
Key Conector 4.stl

Key Conector 3.stl
Key Conector 2.stl
Hole Conector 2.stl
Hole Conector 3.stl
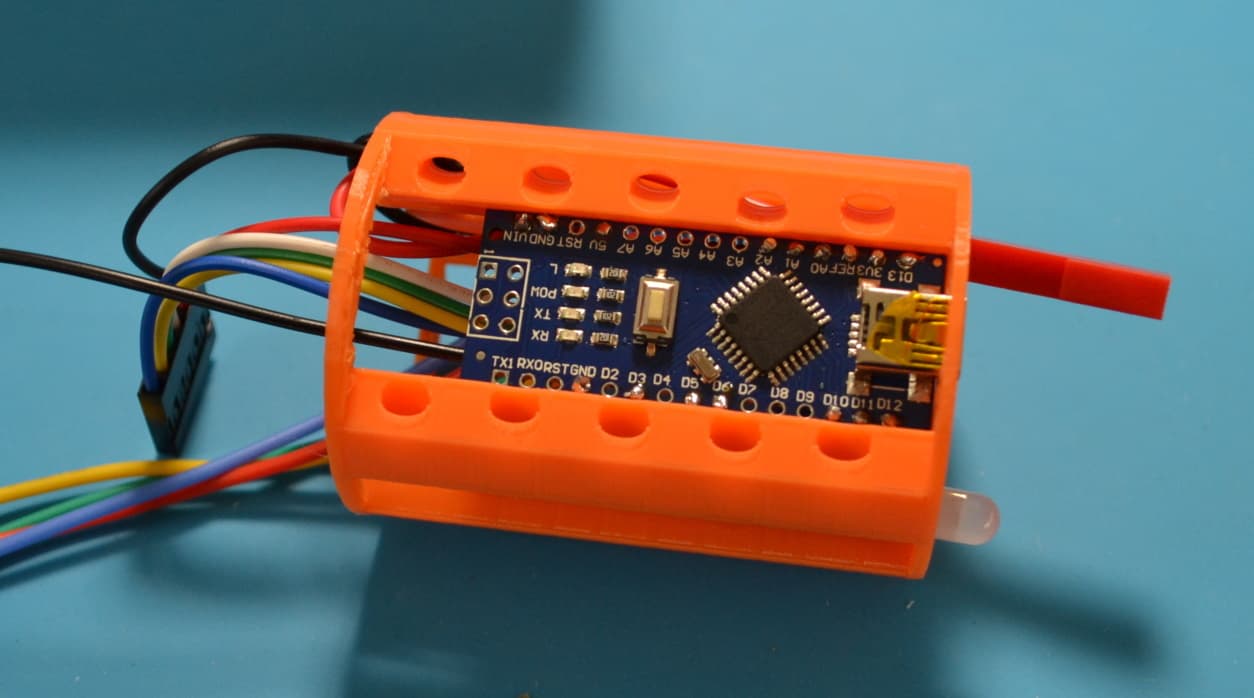
Arduino Primary Avionics Module (A-PAM)
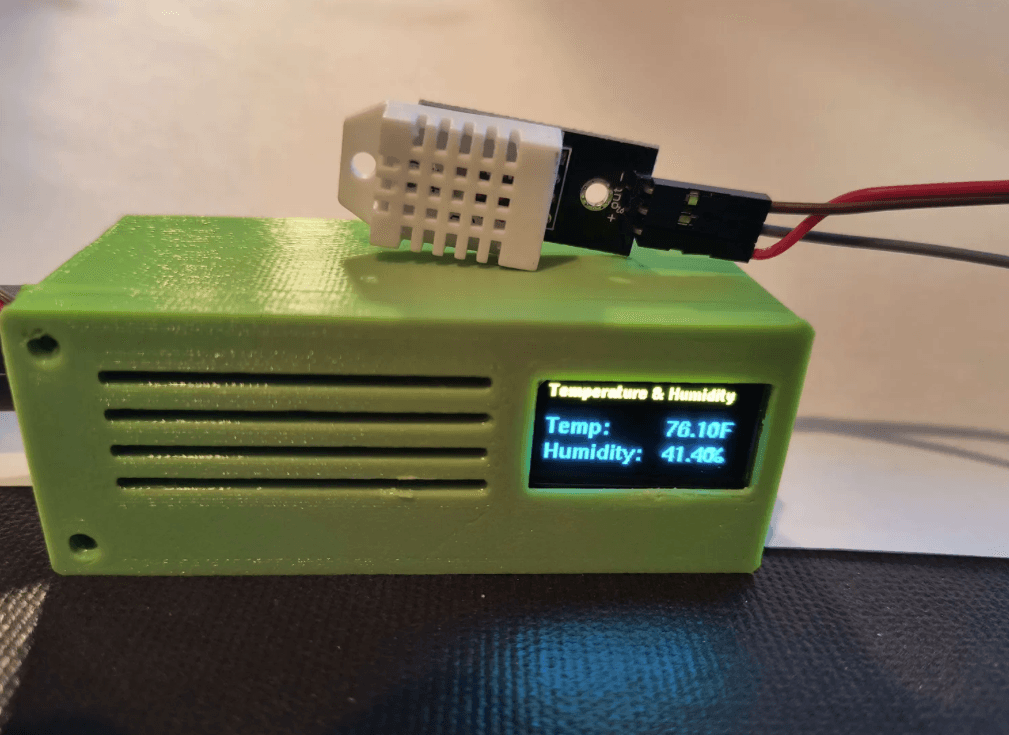
Arduino Nano + OLED Display Module Box
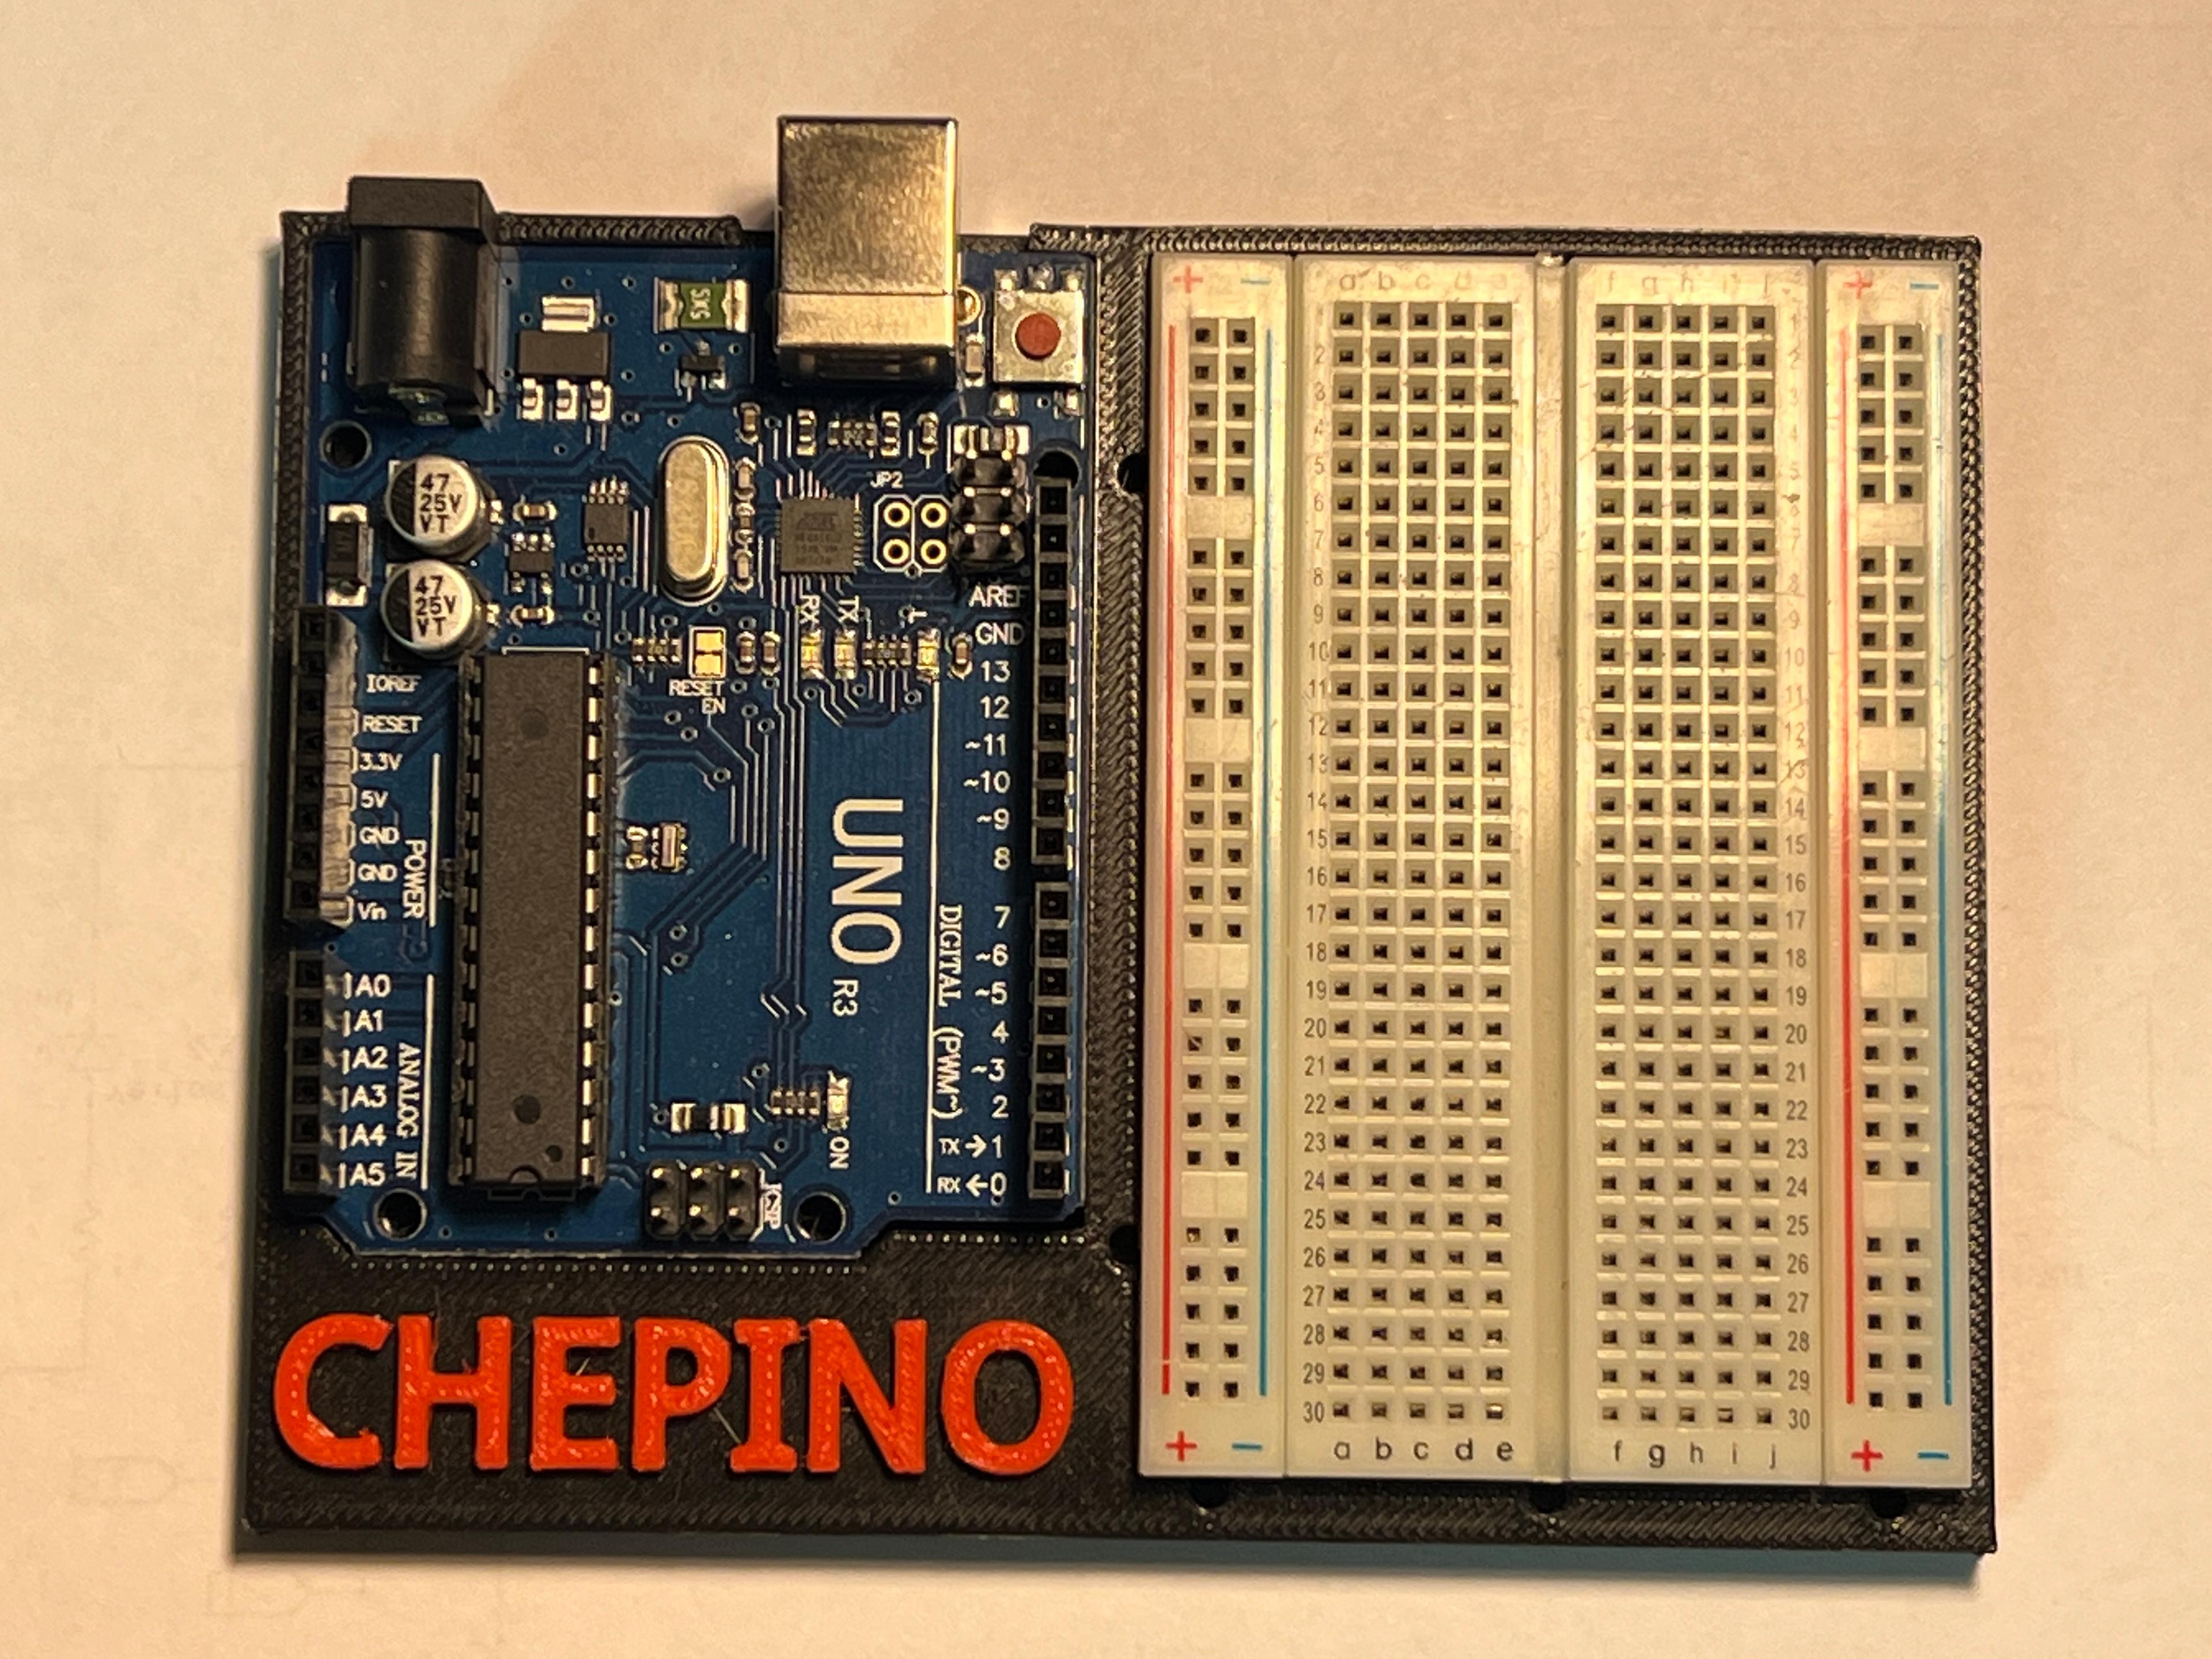
CHEPINO-Arduino Base
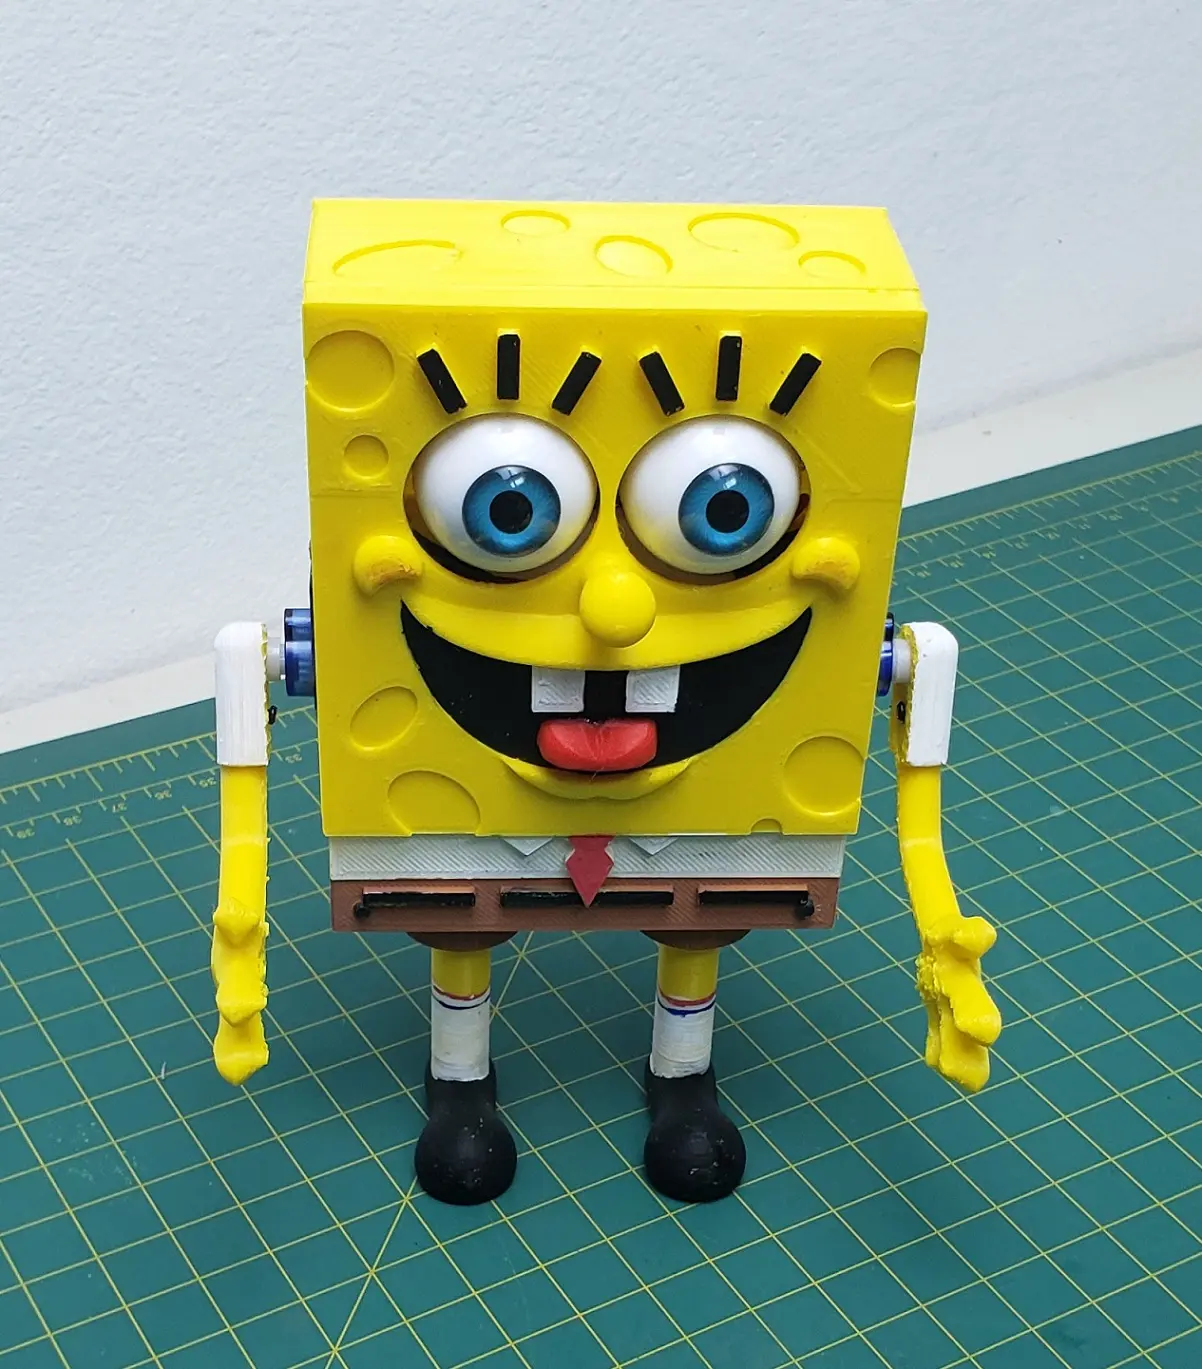
Animatronic SpongeBob

Automated Air Filtration System for Cat Litter Boxes - Universal Fit - Customizable
