
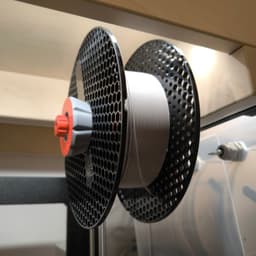


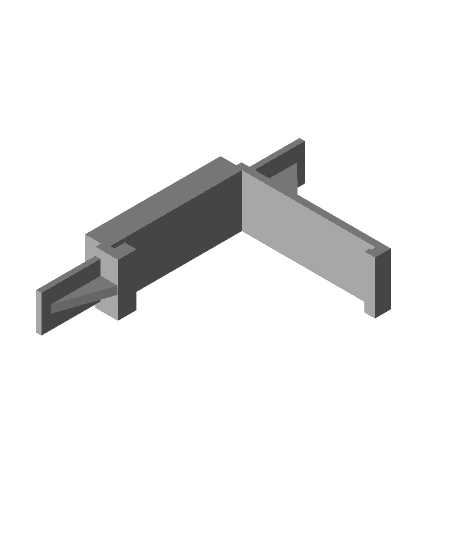
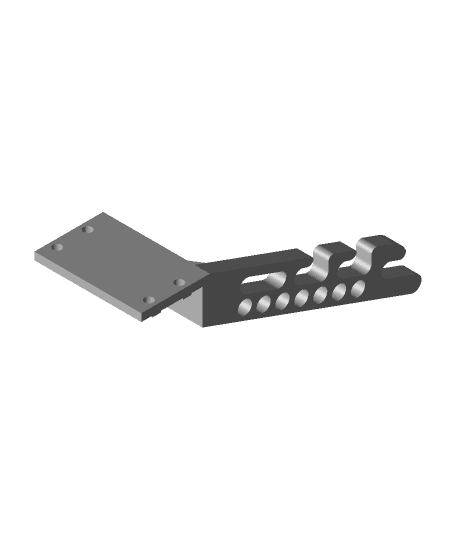
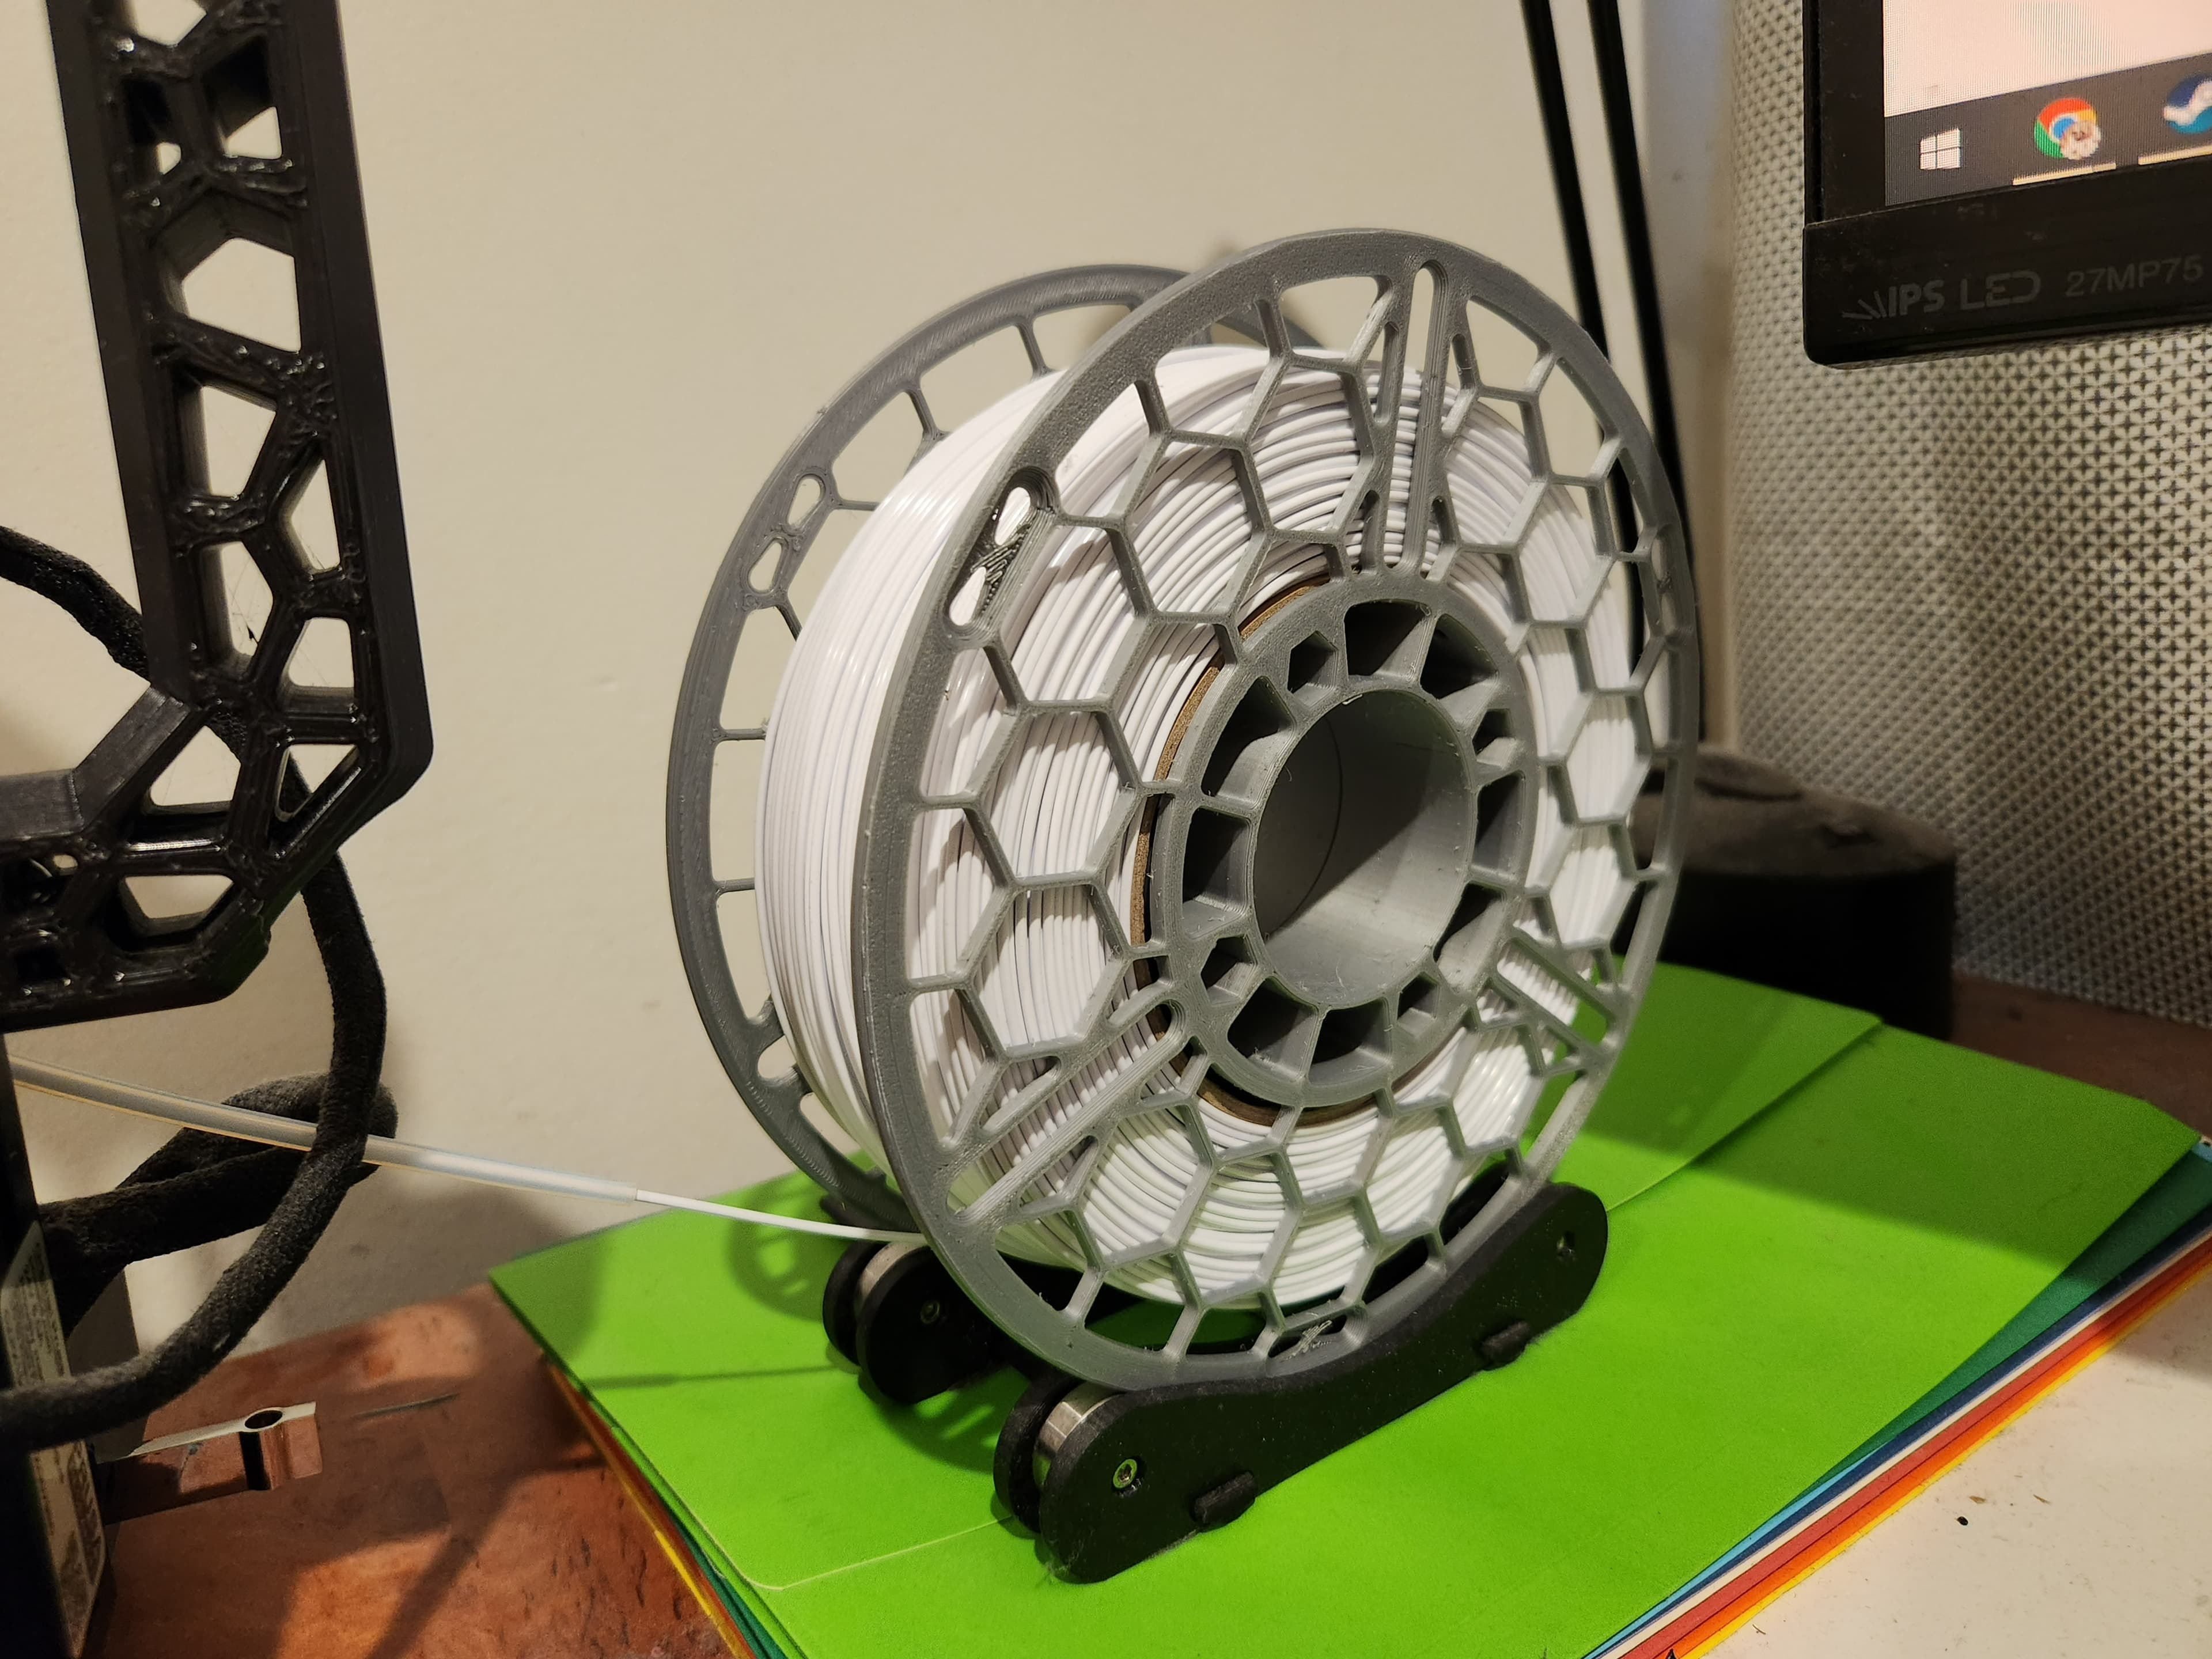
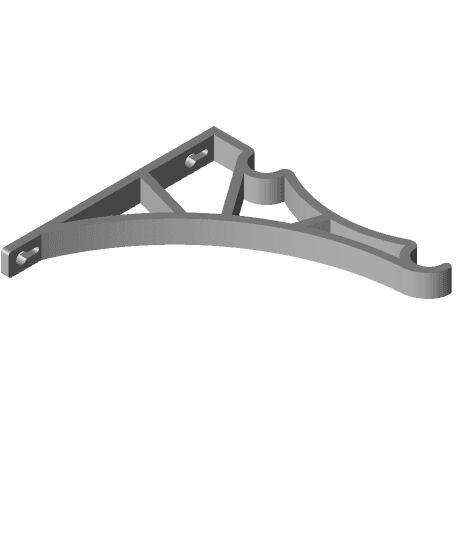
Just Another Universal Spool Holder (wall-mount bracket addon)
JUST ANOTHER SPOOL HOLDER @ Improved By Design
This is my first upload ever (initially on Printables) and I think it deserves to be here on Thangs!
I was looking to create a Spool Holder that fit my needs in a tiny closet where I keep my printers, and so I realized that it may have some cool features that are worth sharing.
The aim of this design was:
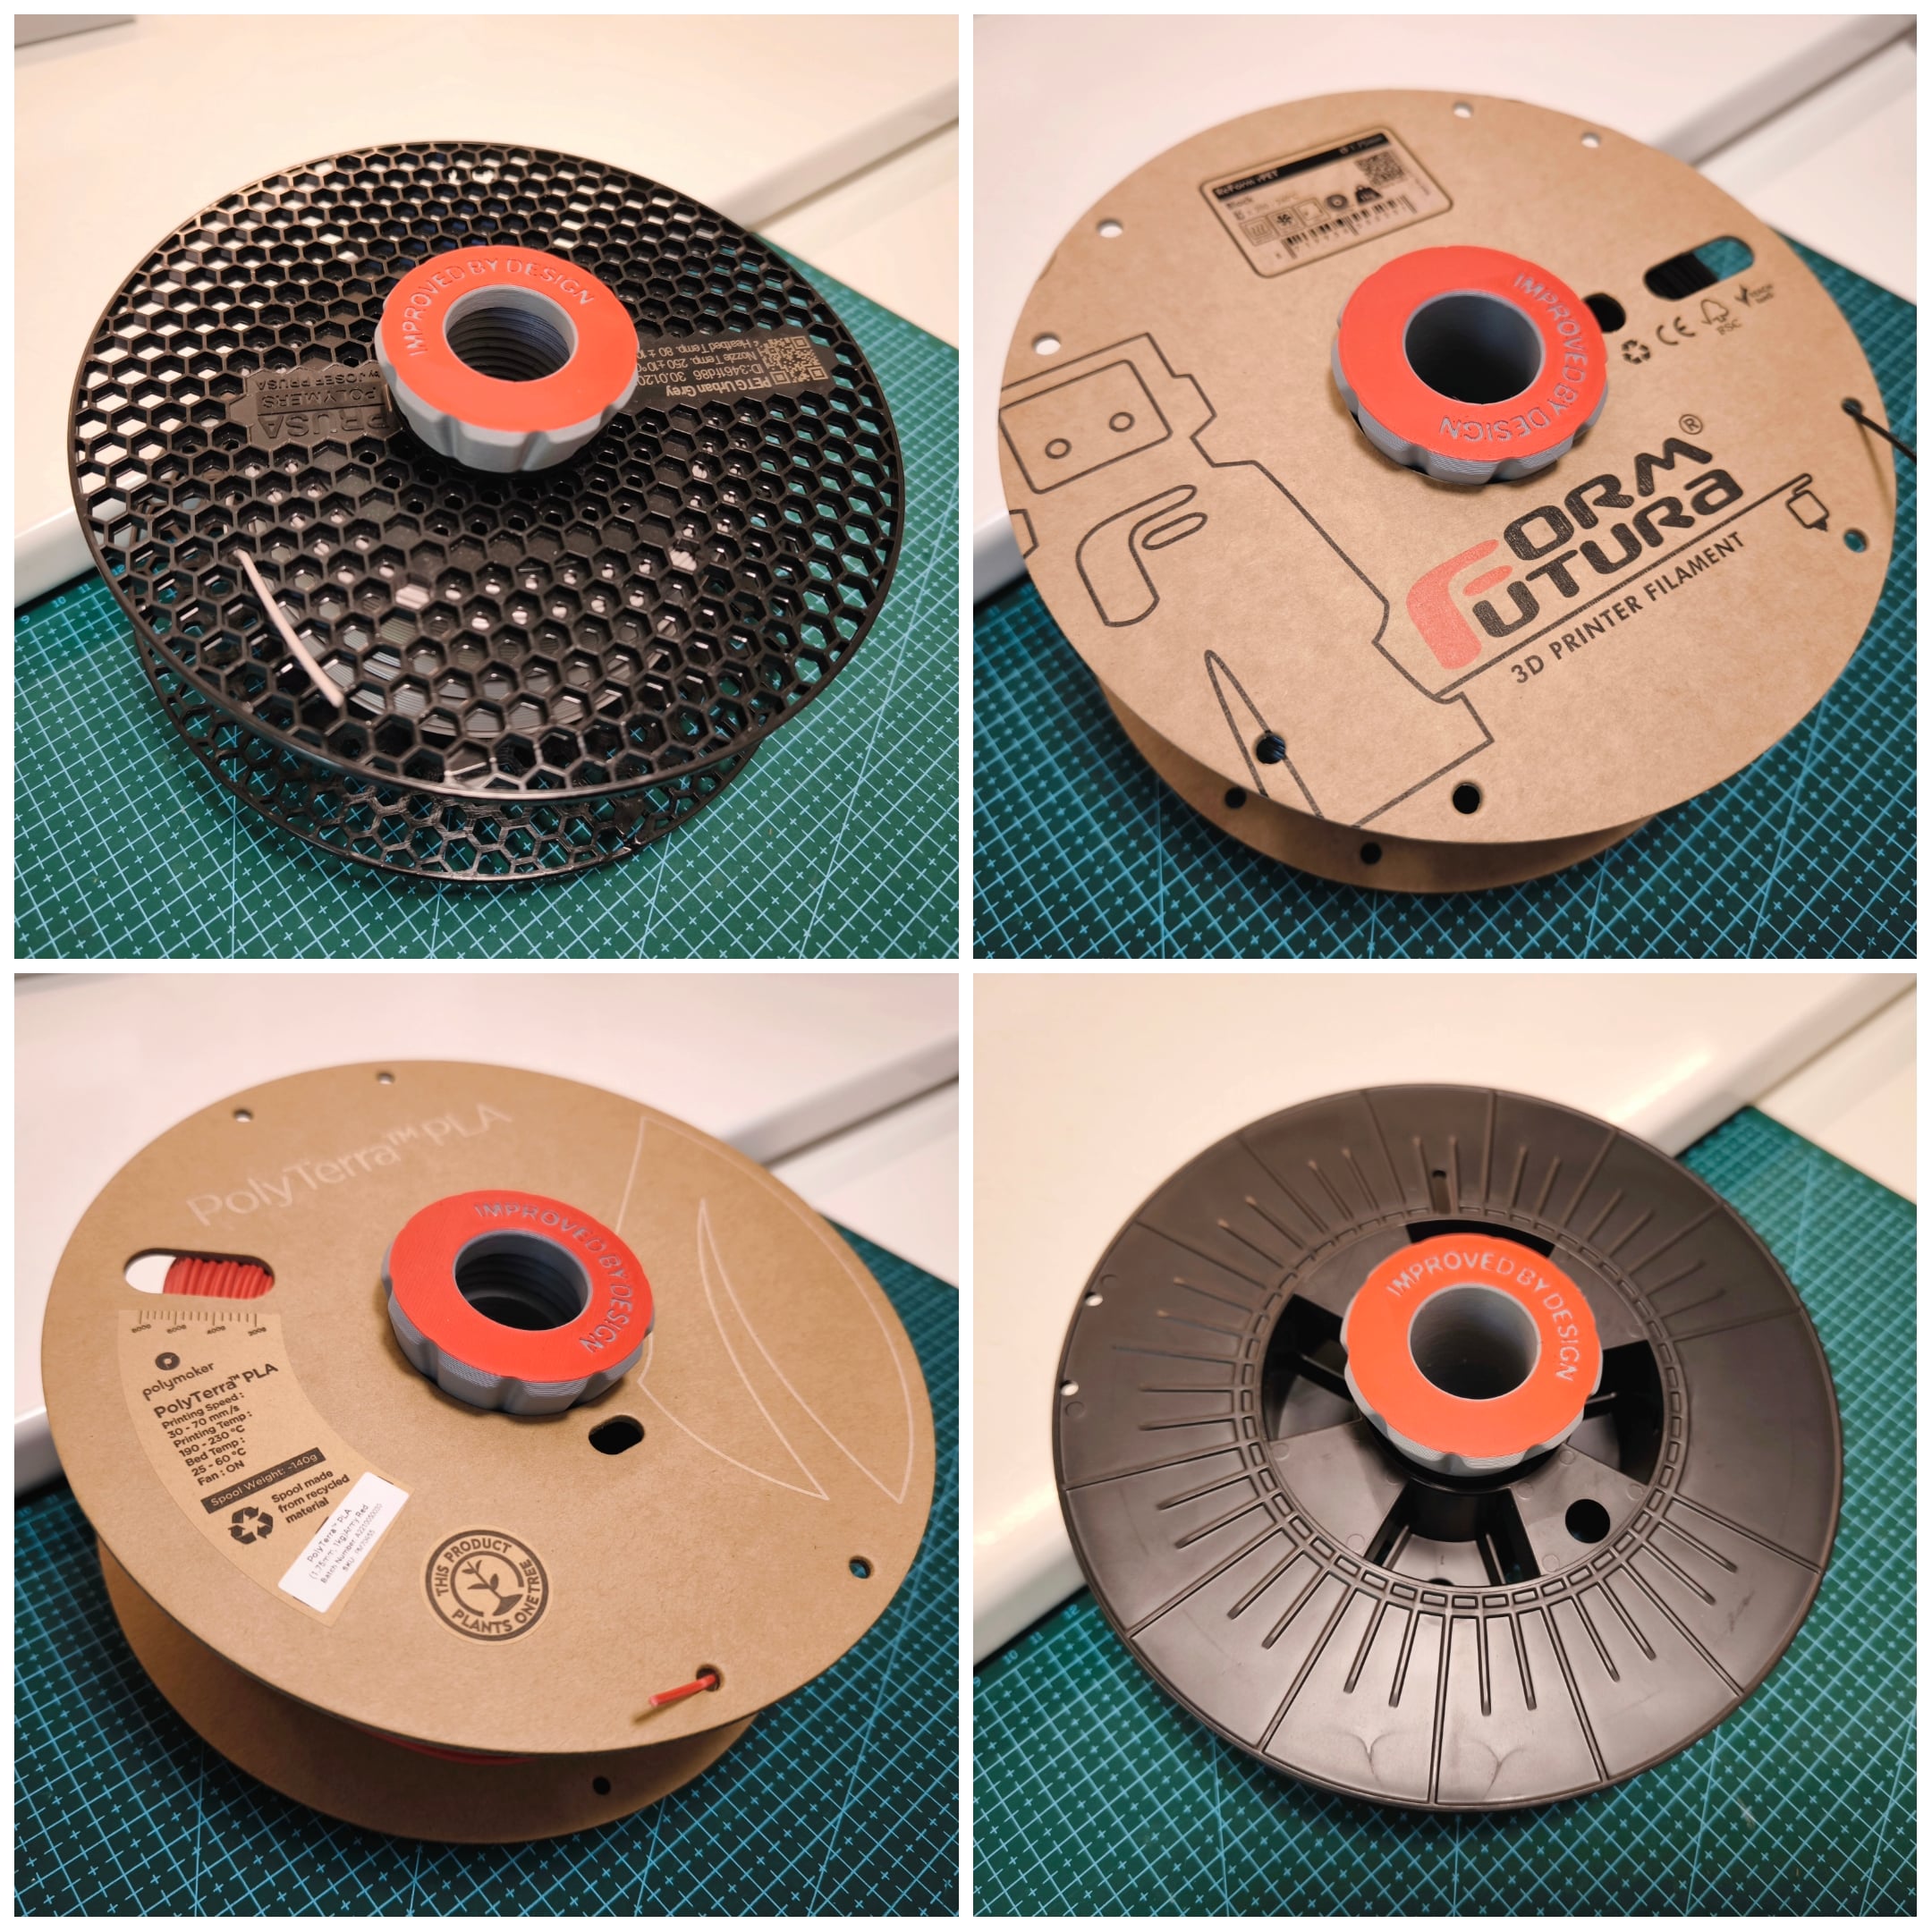
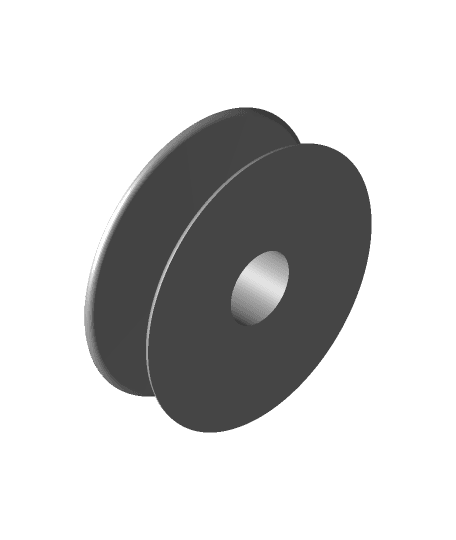
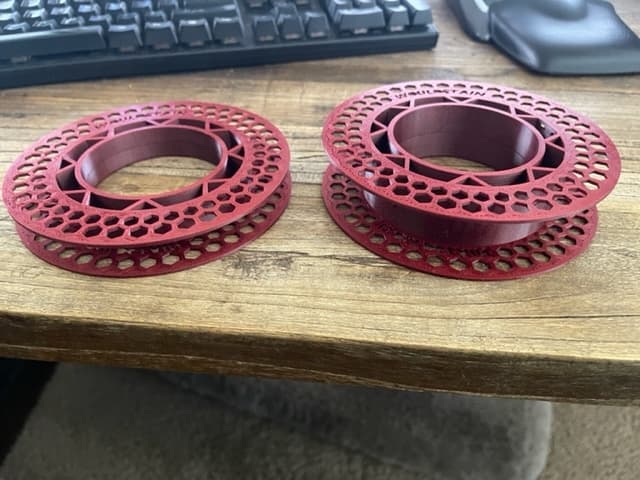
- to have a tapered holder that self-centers and fits any spool (different width, hole size, material)
- to be able to quickly swap between spools without the need to unscrew the tapered - section (print two tapered sections for faster spool change)
- to be able to use it even without the tapered self-centering section (for odd spools)
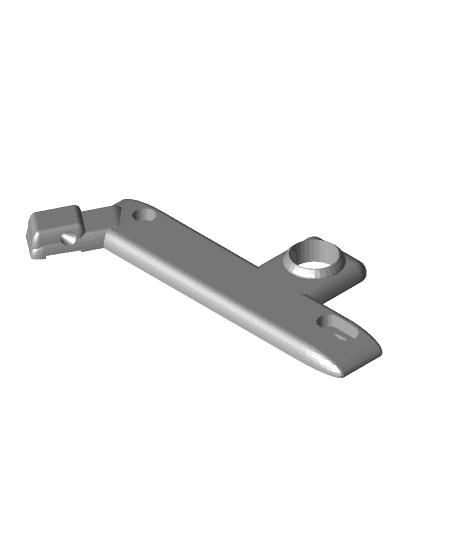
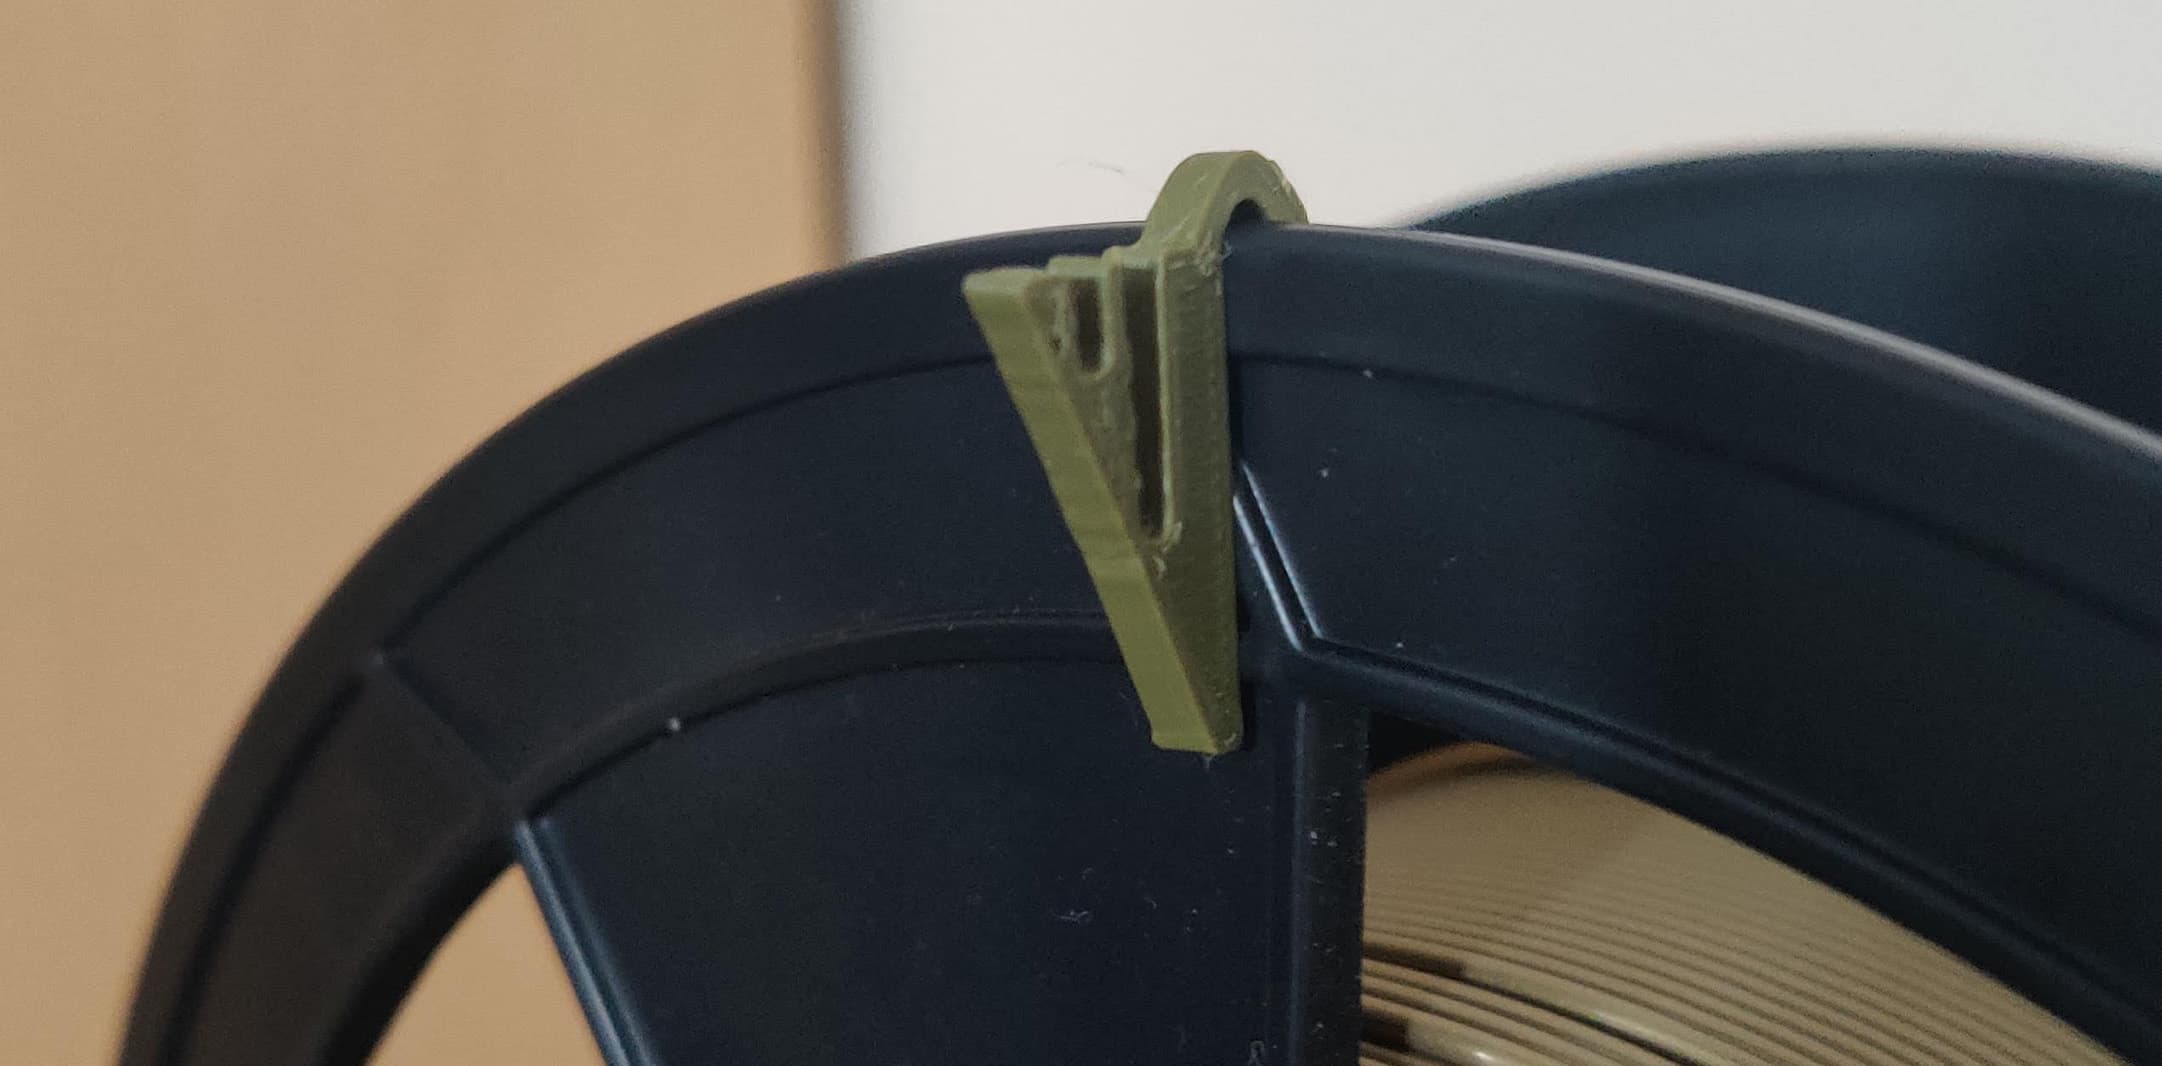
- to be able to take it down completely when not in use (dove-tail joint on the wall-mount)
- to use the dove-tail joint to add future mounts (on the printer, on any desk, etc)
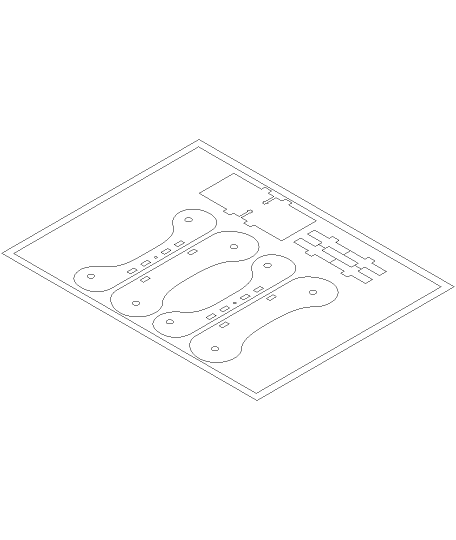
HARDWARE 1 x M8 Nyloc nut 2 x M8 nuts (for the threaded rod installation) 1 x M8 Threaded rod (~130mm length needed) 4-6 Rubber O-rings (R-16, ID 18mm, section 3.5mm) 2 x 608 Bearings
TIPS When installing the threaded rod, use two normal nuts to lock one end. Use a wrench on the outer nut to thread the rod inside the mobile bracket. Notice that the mobile bracket has 3d printed threads! This was the design intent to make a stronger connection with the bracket. However, this means that is trickier to align and grab the inserted lock nut. You basically need to have thread continuity between 3d printed thread and the locking nut thread. Alternatively, you can just enlarge the hole in the bracket to 8mm. For the bearings, please just use cheap Chinese ones! No need to go crazy here. From my experience, the ones with rubber seal have a bit more friction than the all metal ones. However, I have discovered that by tightening the M8 Thumb nut you can customize your preferred friction level, so I guess that is also a feature of this design?! The bearing housing is made with two identical parts. There is no need for glue since you can friction fit the connector to complete the build. If you prefer you can add a bit o glue here. The Rubber O-rings are important to be in spec here, since all tolerances between the tapered section and the bearing housing depend on how the O-rings sit in between them. If you get larger ones, it will be too difficult to swap between spools. If you get smaller ones, there will be too much play between the parts. For me the sweet spot was with the R-16 ones. Alternatively, you can 3d print some out of TPU, if that is easier for you.
**PRINT SETTINGS ** Nothing fancy here, I used DRAFT 0.3mm settings in PrusaSlicer. Printed on Prusa MK3 with Polyterra PLA.
Just Another Universal Spool Holder (wall-mount bracket addon)
D3P riser for Bambu Lab P2S
.png&w=3840&q=75)
D3P riser for Bambu Lab P1S
.png&w=3840&q=75)
D3P riser for Bambu Lab X1C

Ender 3 Rail-Mounted Spool Bracket
Top_Rail_Spool_Bracket .stl
Yet another spool holder
Bolt On Front Spool Bracket Original Hardware
Yet Another Spool Holder Laser Cut
AnyCubic Kobra 2 Plus Spool addon
2020 Extended Bracket (Spool Holder)

Top-Mount Spool Upright Bracket for AnyCubic Kobra Plus
Wanhao i3 Plus spool holder bracket
AM8 Spool Holder Bracket
Yet Another Replaceable Spool
Filament Spool Shelf Bracket
YASS! (Yet Another Sample Spool!)
250g Spool Holder Addon For Ender 3 pro

250g Spool Holder Addon For Ender 3 pro
Another Filament Spool Clip
