
.png&w=256&q=75)
.png&w=256&q=75)
.png&w=256&q=75)
.png&w=256&q=75)


Auto Locking Guitar Holder
Instructions Hardware Filaments
Auto Locking Guitar Holder - Intermediate
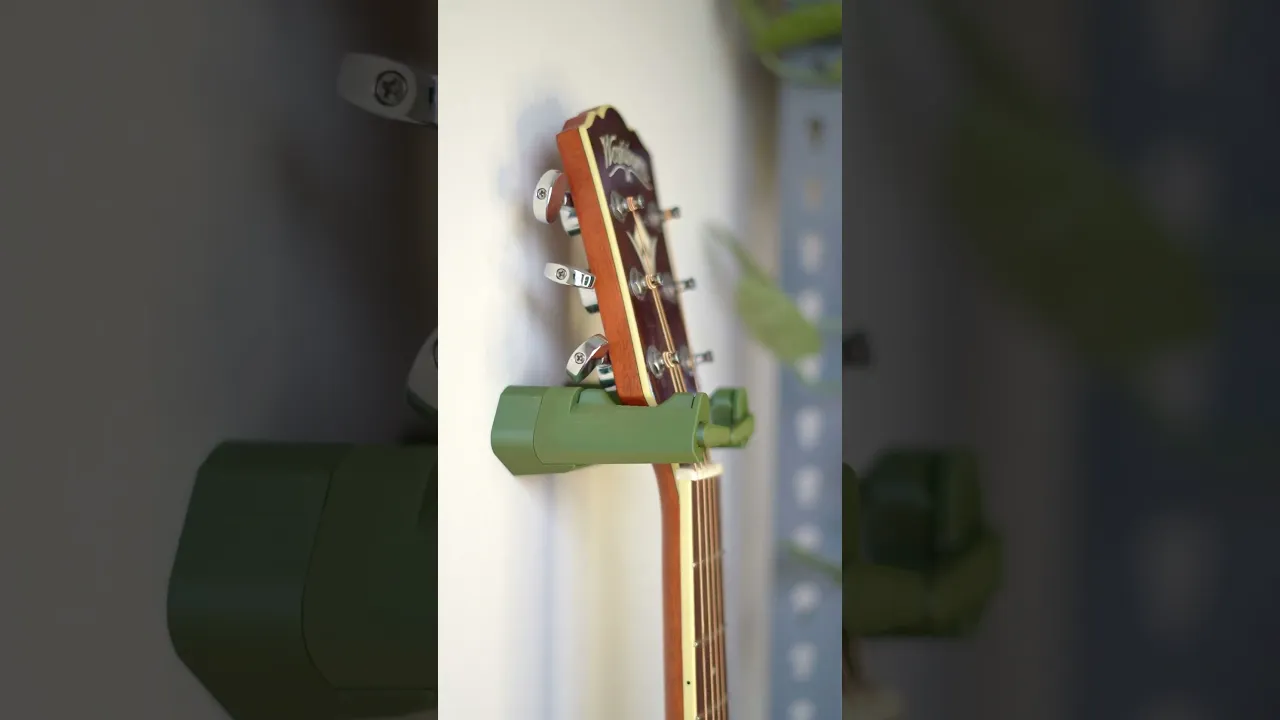
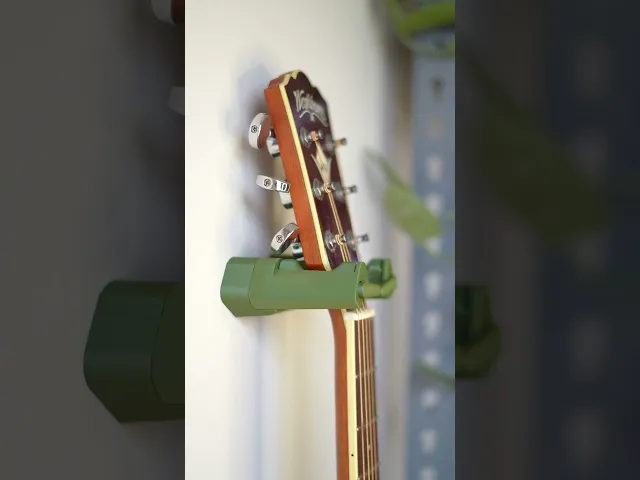
This guitar holder automatically opens and closes top keep your guitar from falling off the wall. It works great to display your guitar, but the best part is that its satisfying to use.
Its works via a linear gear system and a rubberband that resets the guards when the guitar is off the wall. You will need a single standard rubber band to make this. A little bit of vaseline or lubricant makes it function even smoother.
Assembly Watch This video!
-
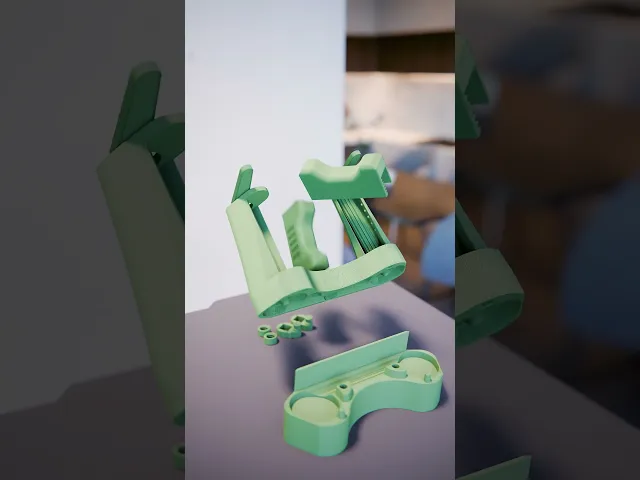
Slot Levers into base
-
Insert left and right hooks onto levers. The levers should be oriented straight up when placing the hooks on.
-
Lock the hooks into place by screwing on the locking caps onto the threaded part of the levers
-
Orient Levers up, and insert a bumper into each side. Make sure the teeth on the bumper face inward, and the grooves are facing outward. You will need to press hard to get them inserted.
-
Tie a knot in the middle of a rubber band. Wrap one loop of the rubber band on each of the hooks. The mechanism should now work
-
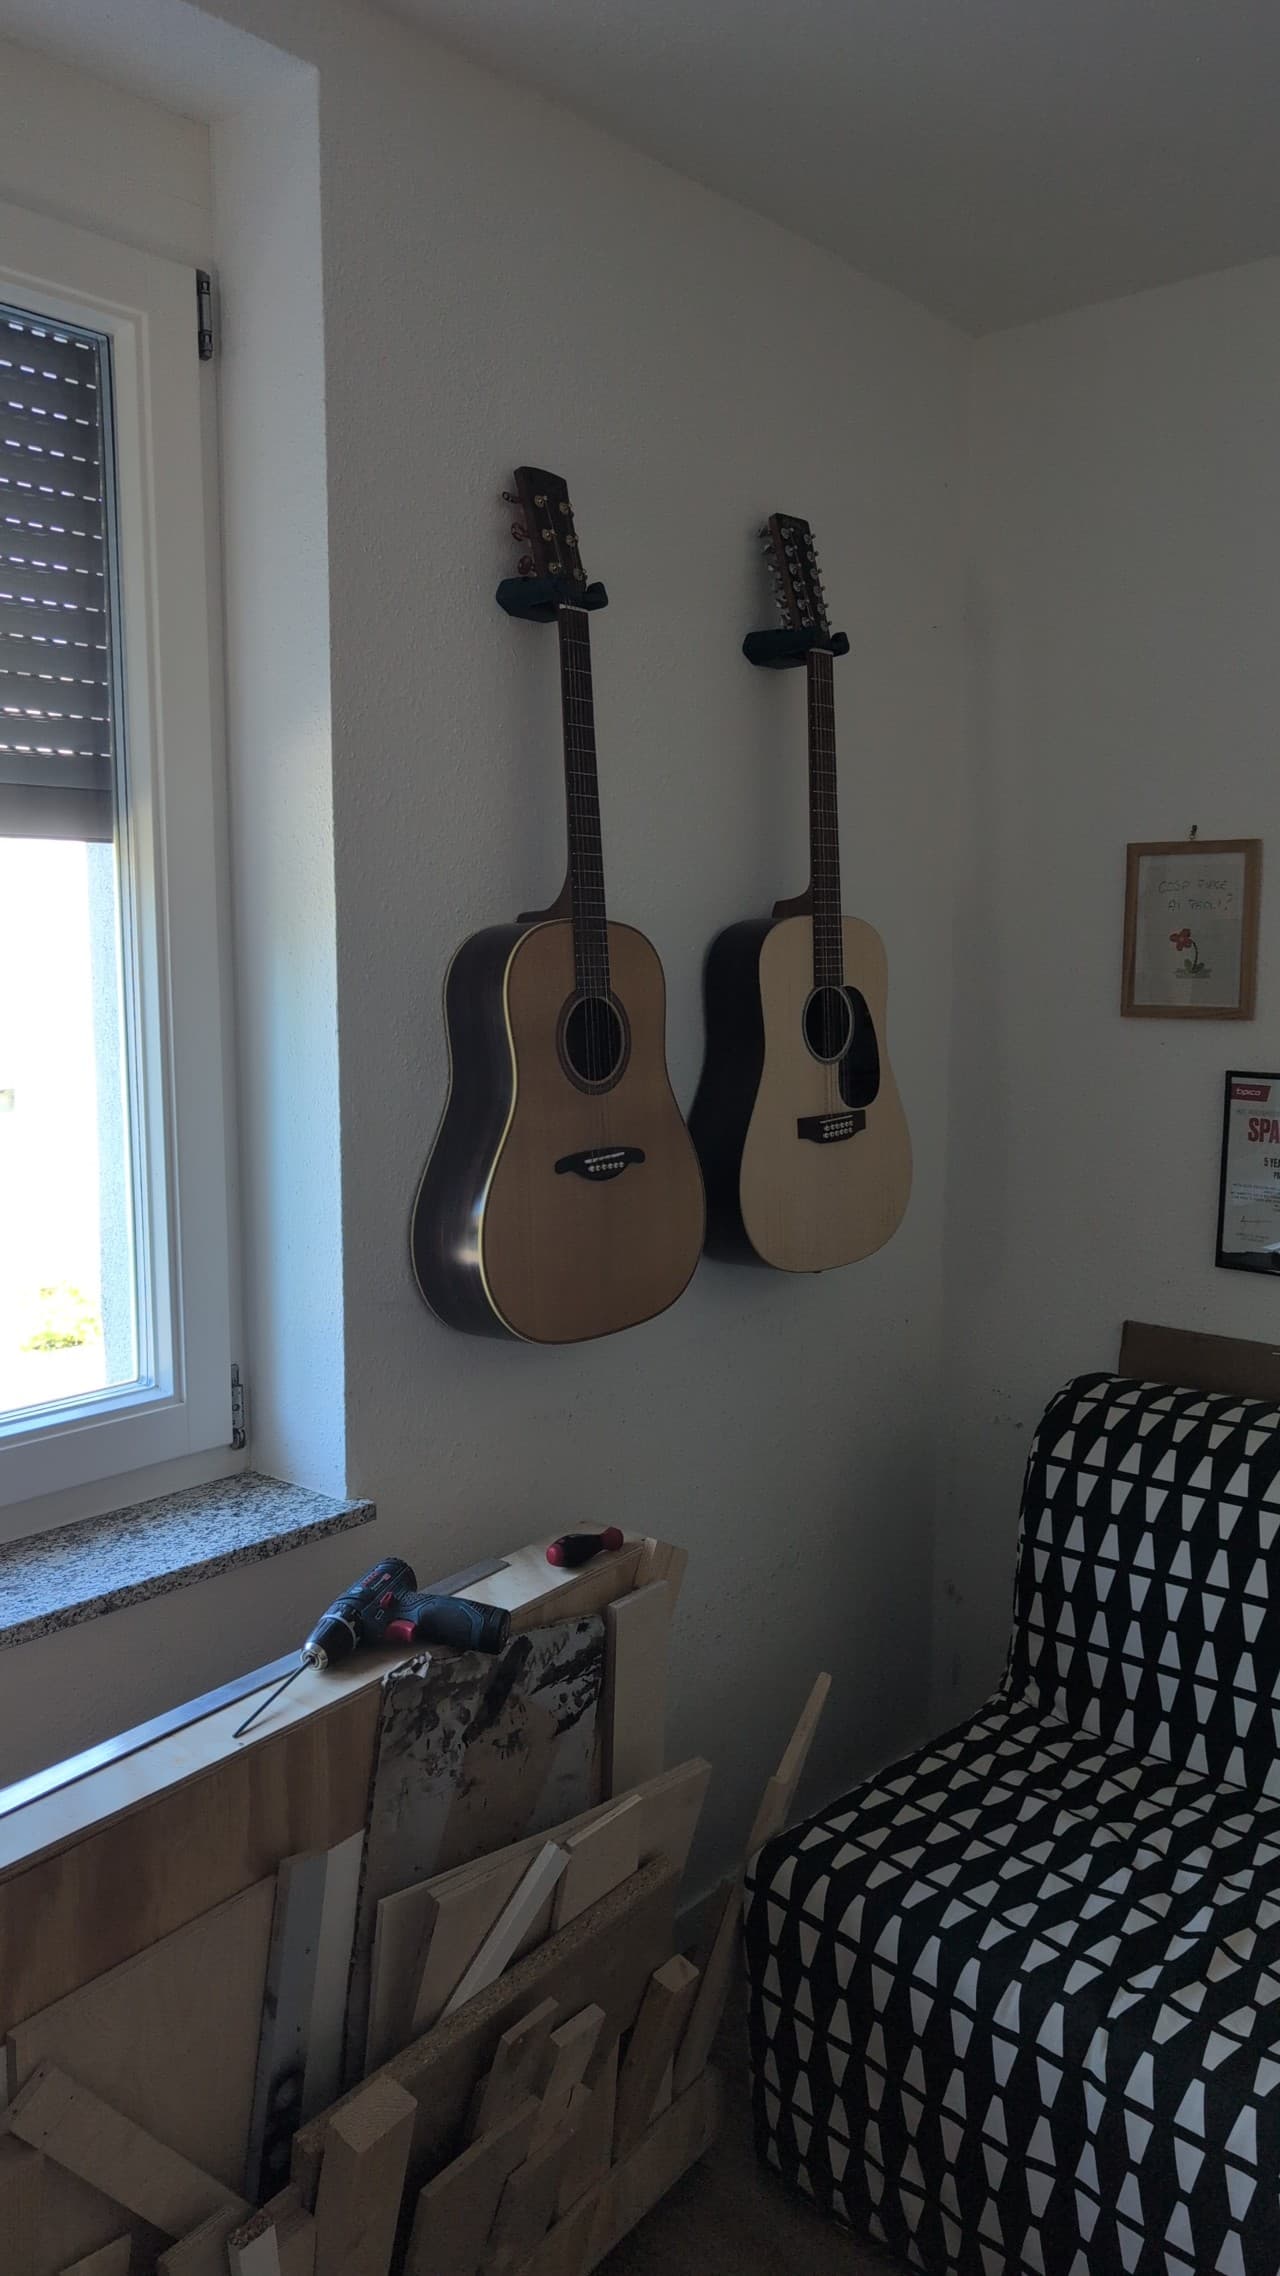
Install onto wall by placing the base into the wall bracket and screwing into the wall.


PlayBook'd - Go

Telephones Booth

Spinny Succulents - Pack III

Desktop Golf Gen 2

PlayBook'd - Playing Cards

Desktop Dumpster

PlayBook'd Cribbage

PlayBook'd Crosswords

Snack Attack - Gen 2

PlayBook'd Snakes and Ladders
.png&w=3840&q=75)
Date Night Daisy

PlayBook'd Settlers' Storage
Scoopy Stacks

Butterfly Fridge Magnets - Pack II

Playbook'd - Checkers

PlayBook'd - Shut the Box

PlayBook'd - Hook and Ring.3mf
Paint Can Drying Rack

Mossy Mounds

How much did you scale it down to fit your ukulele?
It really didn't shrink too much for the uke. Turns out the head was about the same size as the guitar, the neck was skinnier though. Maybe 10 mm difference.
W here are the assembly directions?
You can find them Here
Something is not alright with the pushing mechanism. It’s stuck and not releasing properly. I saw a lot of comments with the same problem . Print is fine, assembly pretty easy and I don’t think that’s the issue. Any help of how to fix this ?
Have you inspected the parts that are sticking to see if there are any signs of overextrusion or warping? We've seen that even a slight bump or warp in the part can cause the sticking. You can also try adding vaseline to the print to get it to unlock itself easier.
Love the looks of it but can't seem to get it to work. Printed on P1S using Bambu matte green with a .4 nozzle. I put in vaseline and it's still hard to get it to close. When I push down on the parts where the guitar goes it needs force. One side slips down over the gear and gets stuck down. When I push them inwards and then push down it works good but that doesn't happen when the guitar gets put on. Any help would be great! Thanks.
Hi, It sounds like you may have it either assembled slightly off, or you could have some print quality issue that is making the tolerences in the grears too small. I would Double check assembly and rewatch my assembly video to ensure everything is lined up right. Next I would double check that your nozzle is clean and not worn down causing overextrusion.
Hello, just bought a subscription to print this model! I printed in Pla - .2 layer height. Everything fits together nicely but I experience some crunching and locking up. I gave all the moving parts (that I could reach) I good sand and now the locking has stopped but gears do not feel very smooth and require some force to move. New to 3D printing so could be a user error. Would you recommend printing somewhere closer to .15? Will go buy some Vaseline to try tomorrow. Thank you
Vaseline!! Makes it move very smoothly
Hello, Simplify3D fails to parse the 3mf file!?
If you want to use that slicer, please open the STL files. But i highly recommended switching to a slicer like Bambu Lab that will open the 3mf perfectly!