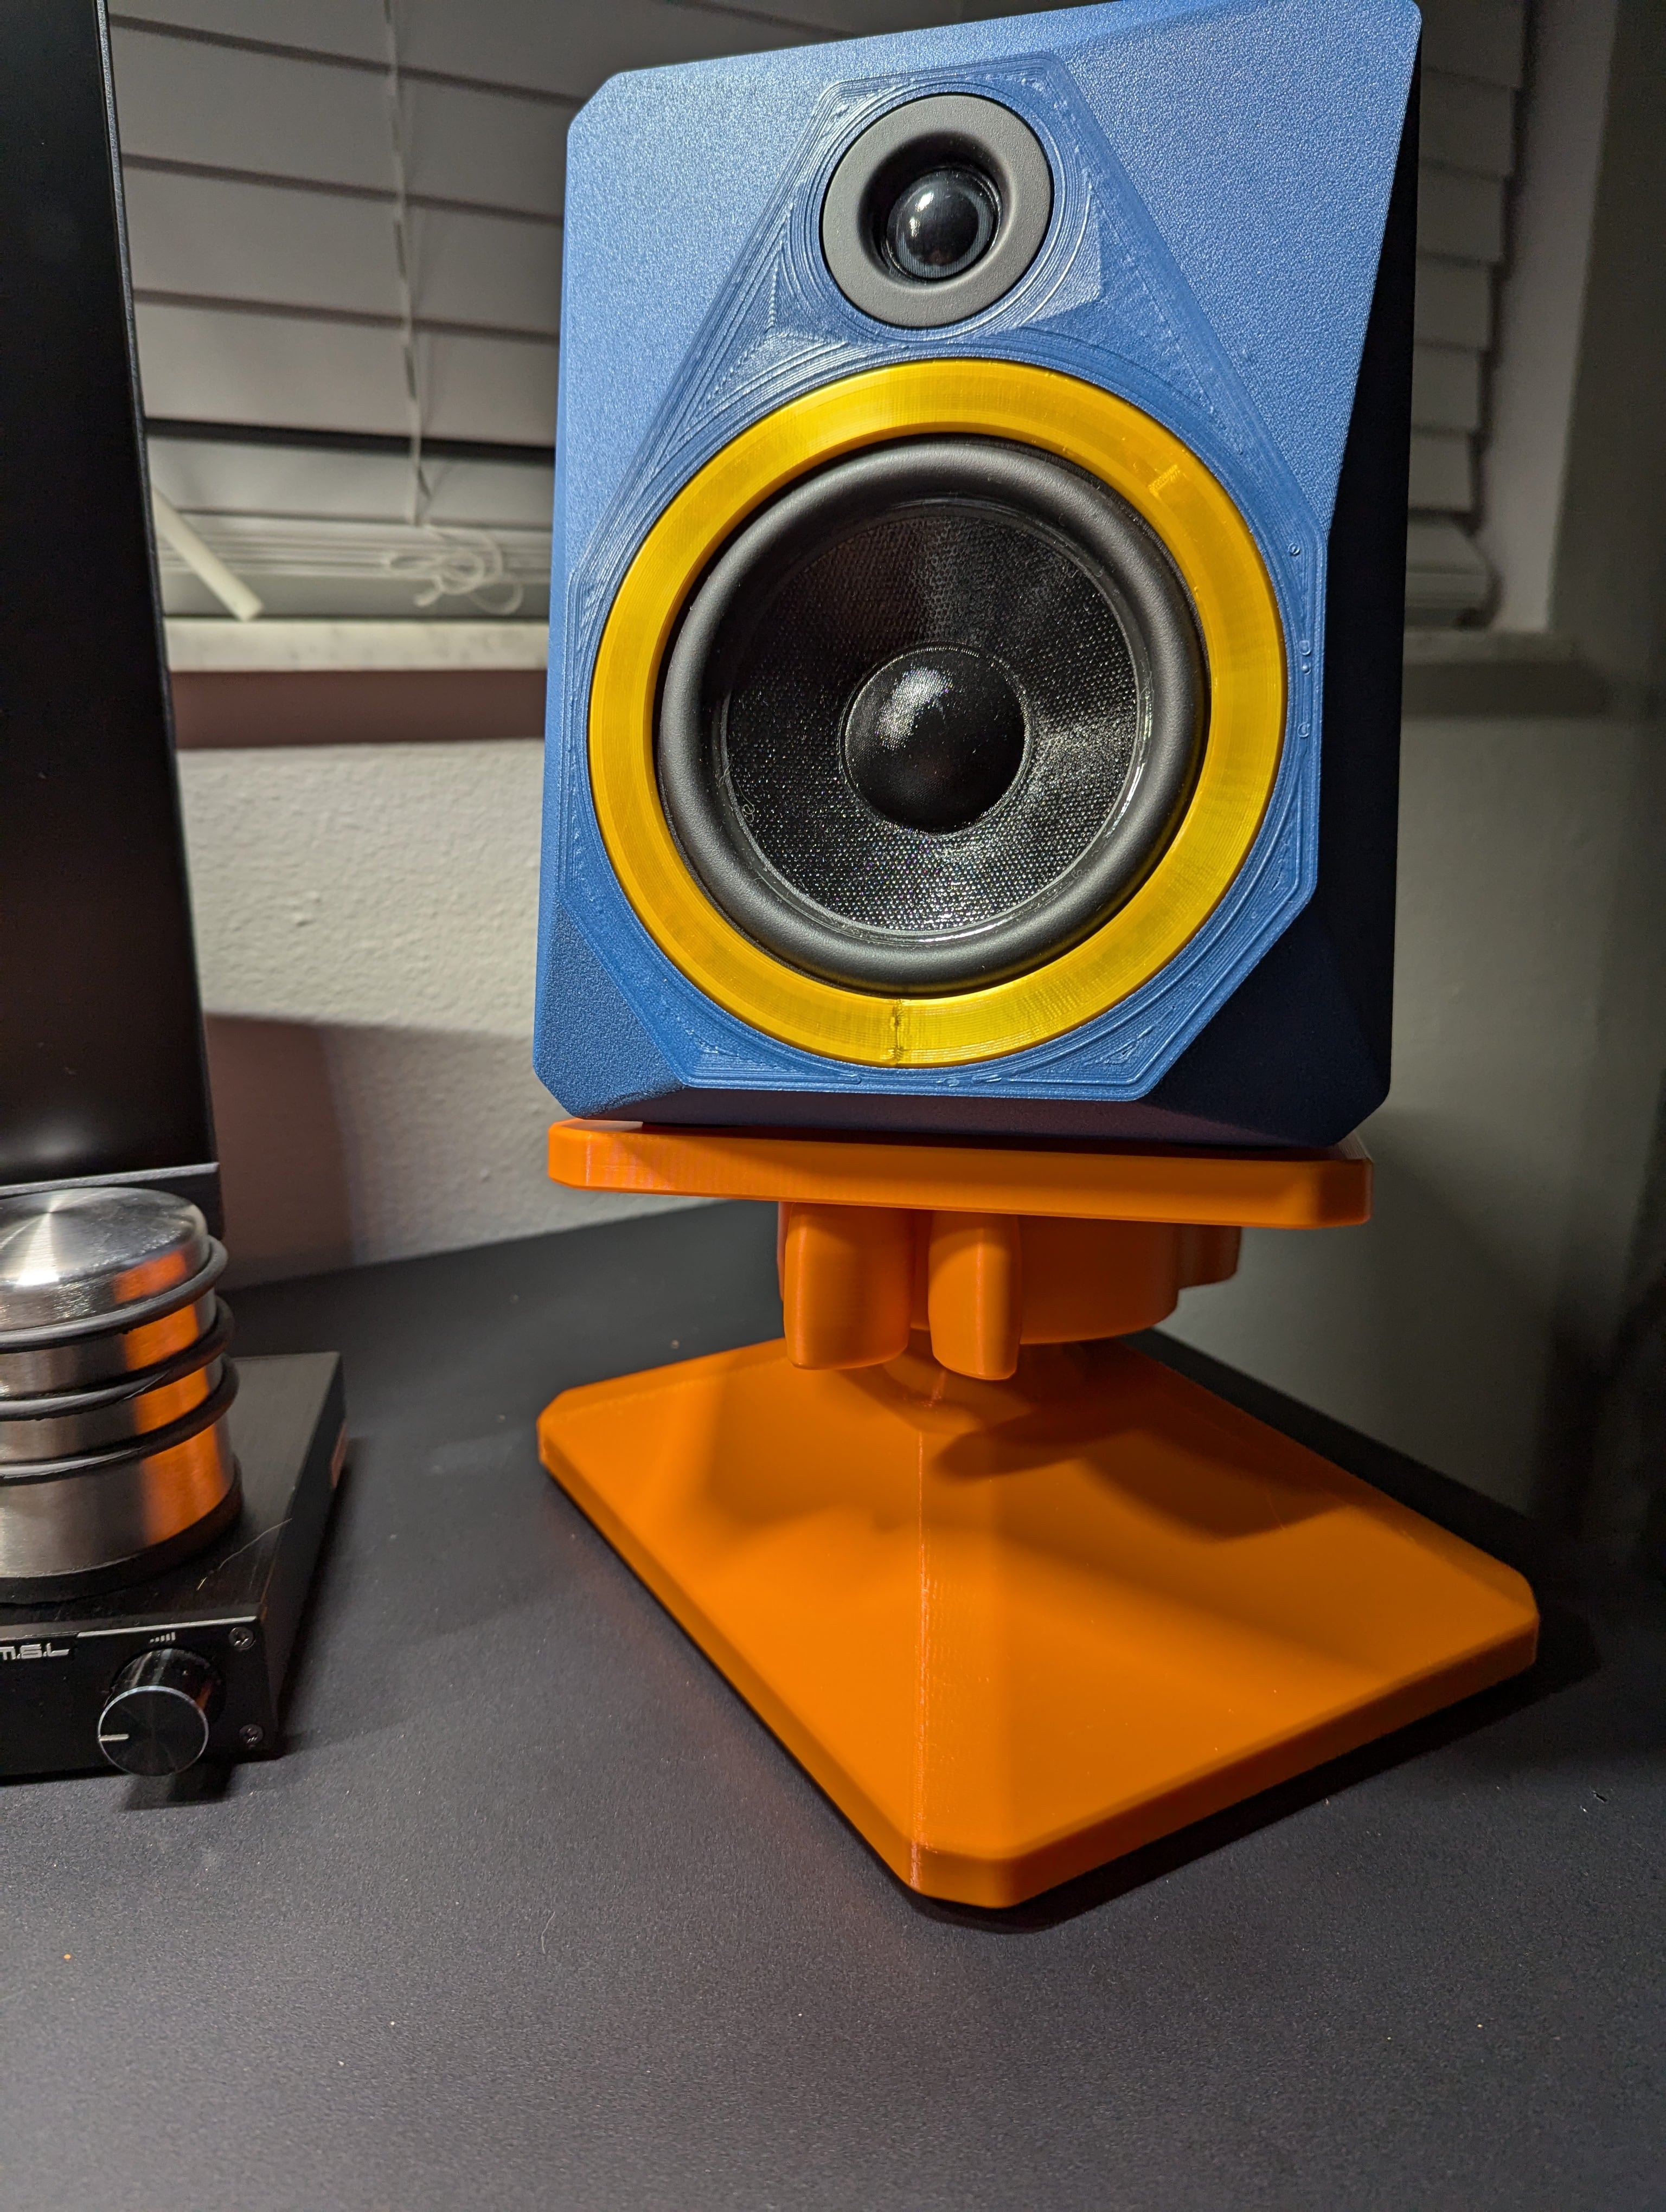


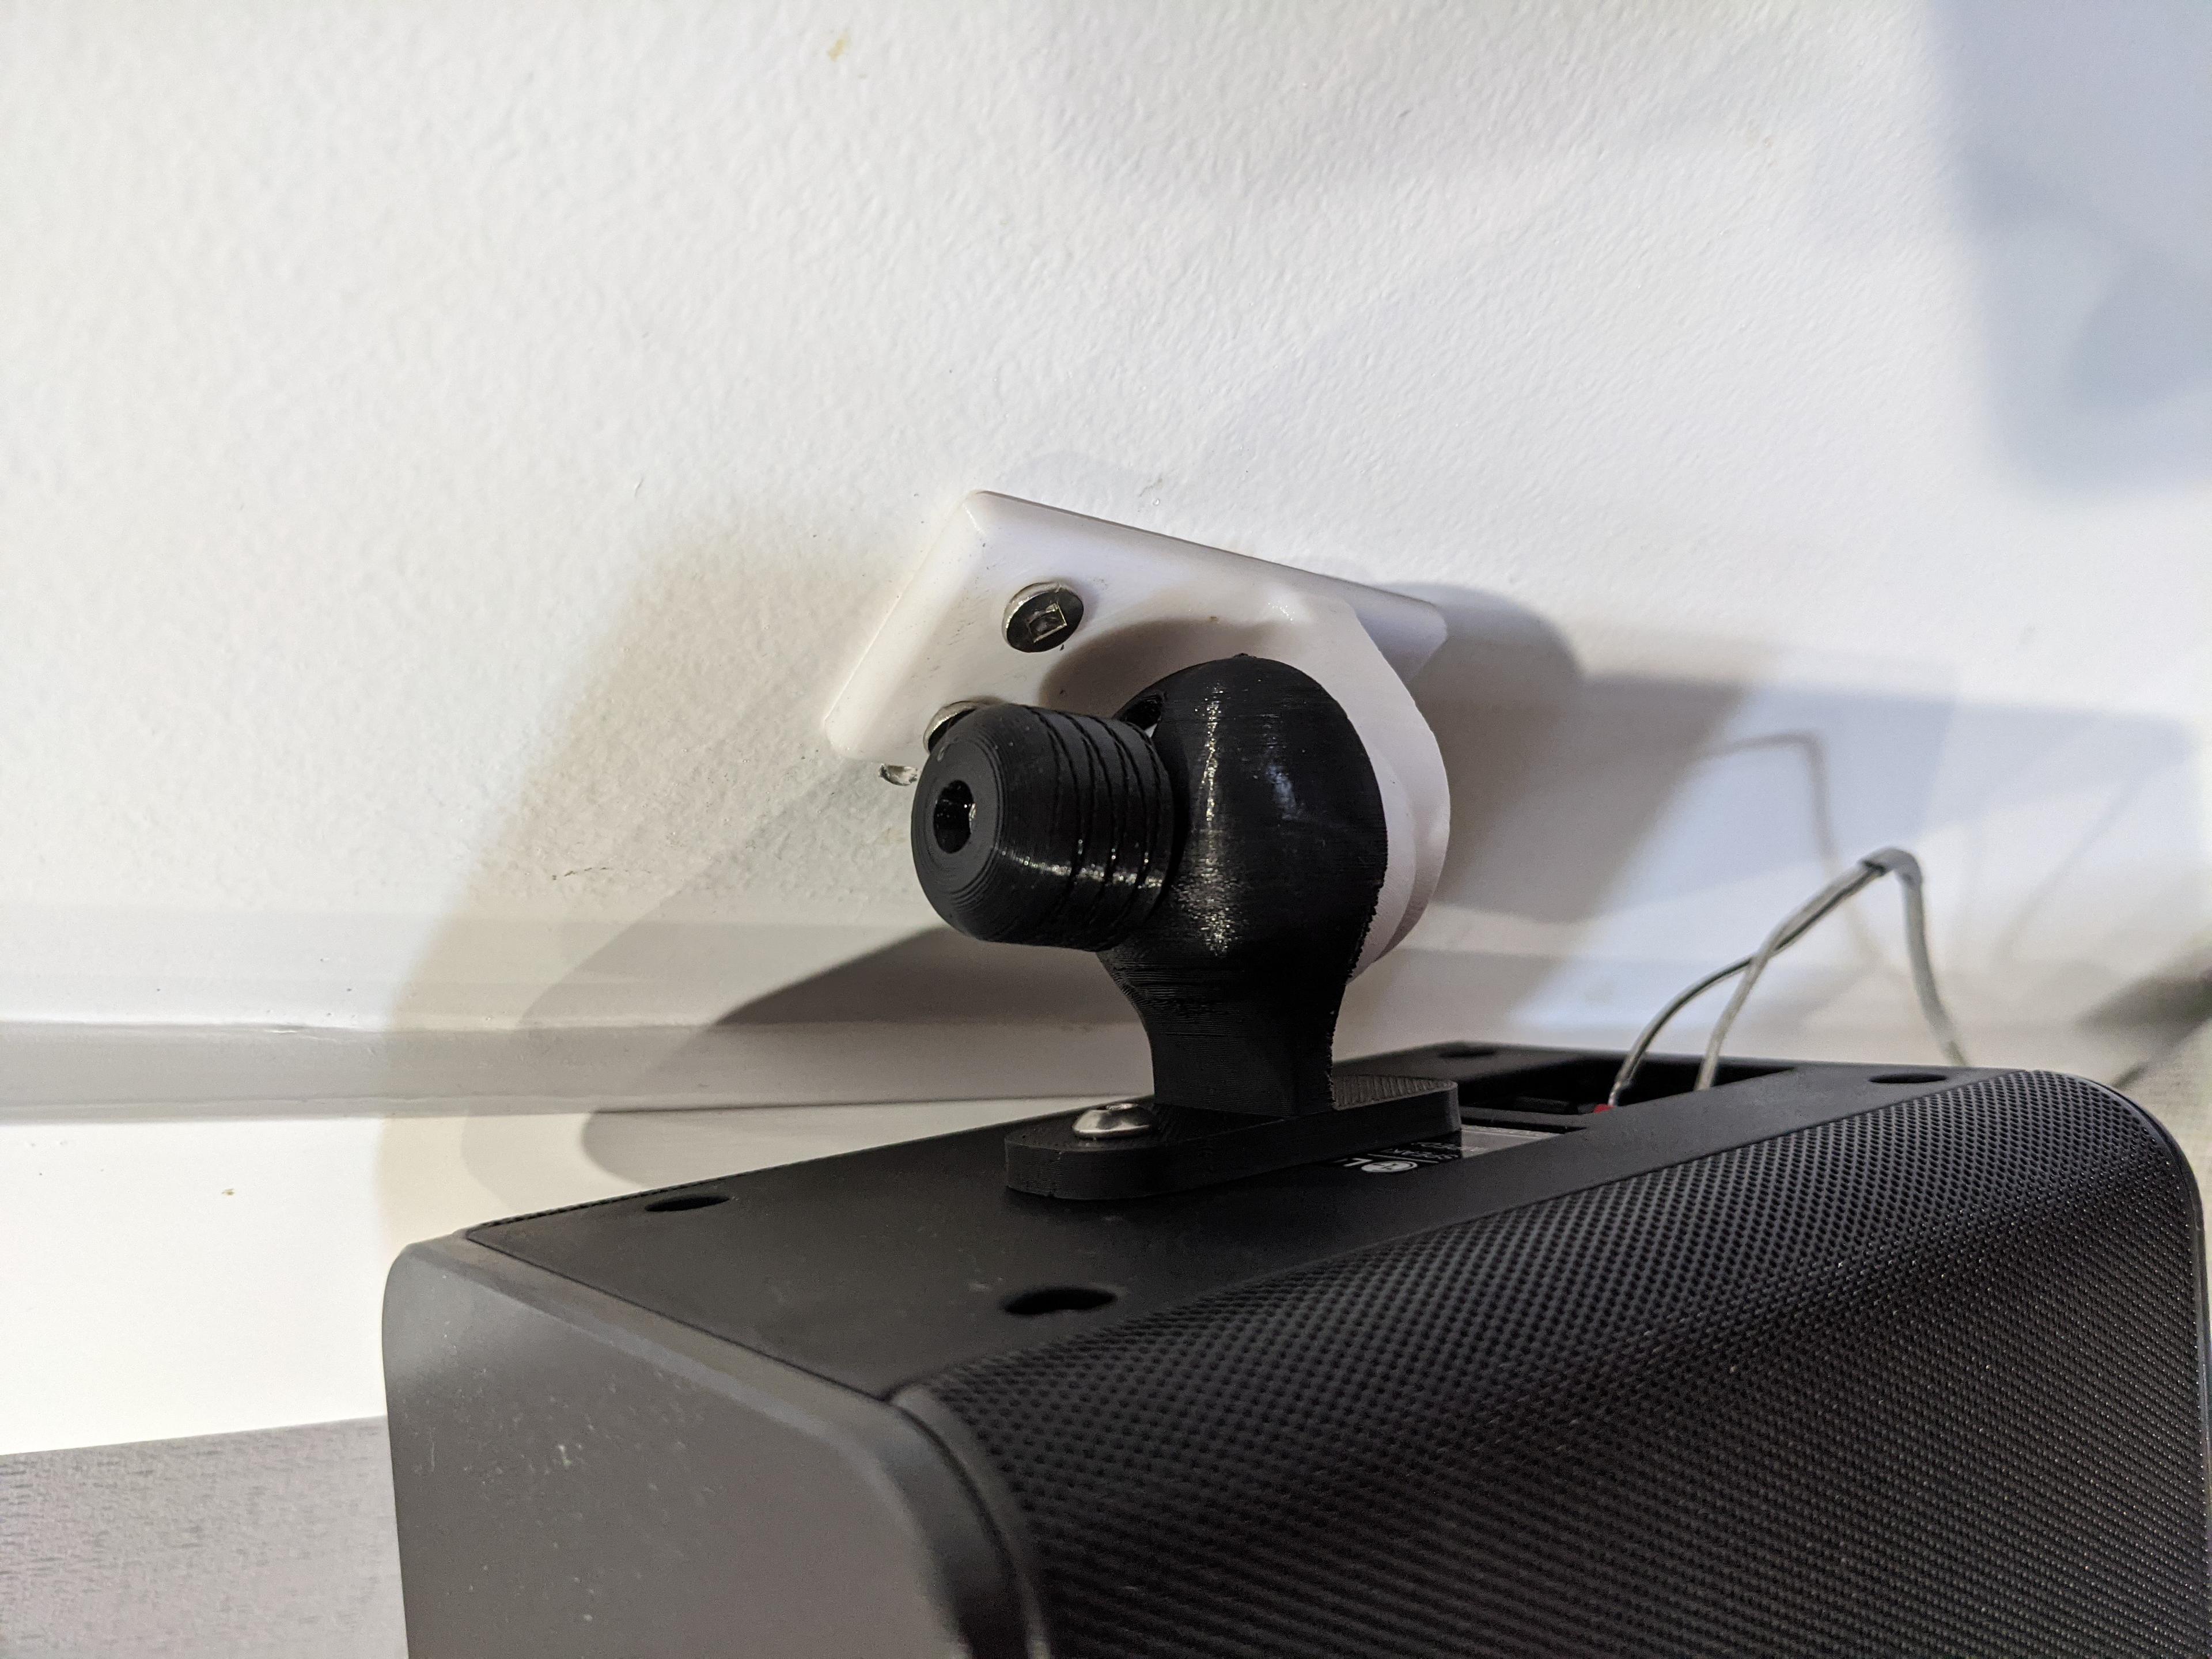
Swiveling Desktop Speaker Stand by Deposition Sound
Swivel your desktop speaker to any angle you wish, lock it into position, and ROCK OUT!
Maximum speaker weight: 8.3 lb (3.8 kg)
Print Settings: 4 walls (minimum) for .6mm nozzle 6 walls (minimum) for a .4mm nozzle 15-20% gyroid infill
Basic Assembly Instructions:
- With the upper plate flat side down, drop left and right levers over center of castellated tabs on pivot points. Note the mirror images attached. Also, the opening on one side of the lever is slightly larger than the other. This is a taper to allow for easy fit over the tabs. Insert through the large opening :)
- Flip over upper plate and 2-lever assembly. With the levers in the open position and the base flat-side down on a hard surface (the floor or sturdy table), straddle the ball of the base pedestal with the opening of the upper plate socket. Give the upper plate a nice hard smack downward so that the ball pops into the socket.
- Rotate the levers a few times to smoothen the cam-to-flat contacting surfaces. It should quite a bit of resistance to rotate them into the close position. You can add a little grease/lube between the cams of the levers and the flat contacting surface. DO NOT add lubrication to the swiveling ball joint! You want this joint as dry as possible. Wipe it with some IPA before install if you handle it too much.
- Place the stand in the desire listening position. Then place the speaker on top of the upper plate. With levers in the open or half-open position now. Adjust the orientation of the speaker, rotate the levers forward to lock it into place.
General Notes: We recommend using PETG. But PLA, ABS, and ASA are perfectly fine too. Keep in mind that the surfaces making contact between the pedestal ball and the upper plate socket are subject to wear. After all, it's just plastic. The levers are there to add a little extra clamp force and increase the static friction force. Try to make all adjustments with the levers open. You can adjust the orientation of the speaker with the levers in the closed position. But, do so sparingly as this will reduce the holding power of your swivel joint in the future.
Pro-Tip: Get some foam rubber pads with adhesive on one side to stick to the bottom of the base!
Thanks!
Swiveling Desktop Speaker Stand by Deposition Sound

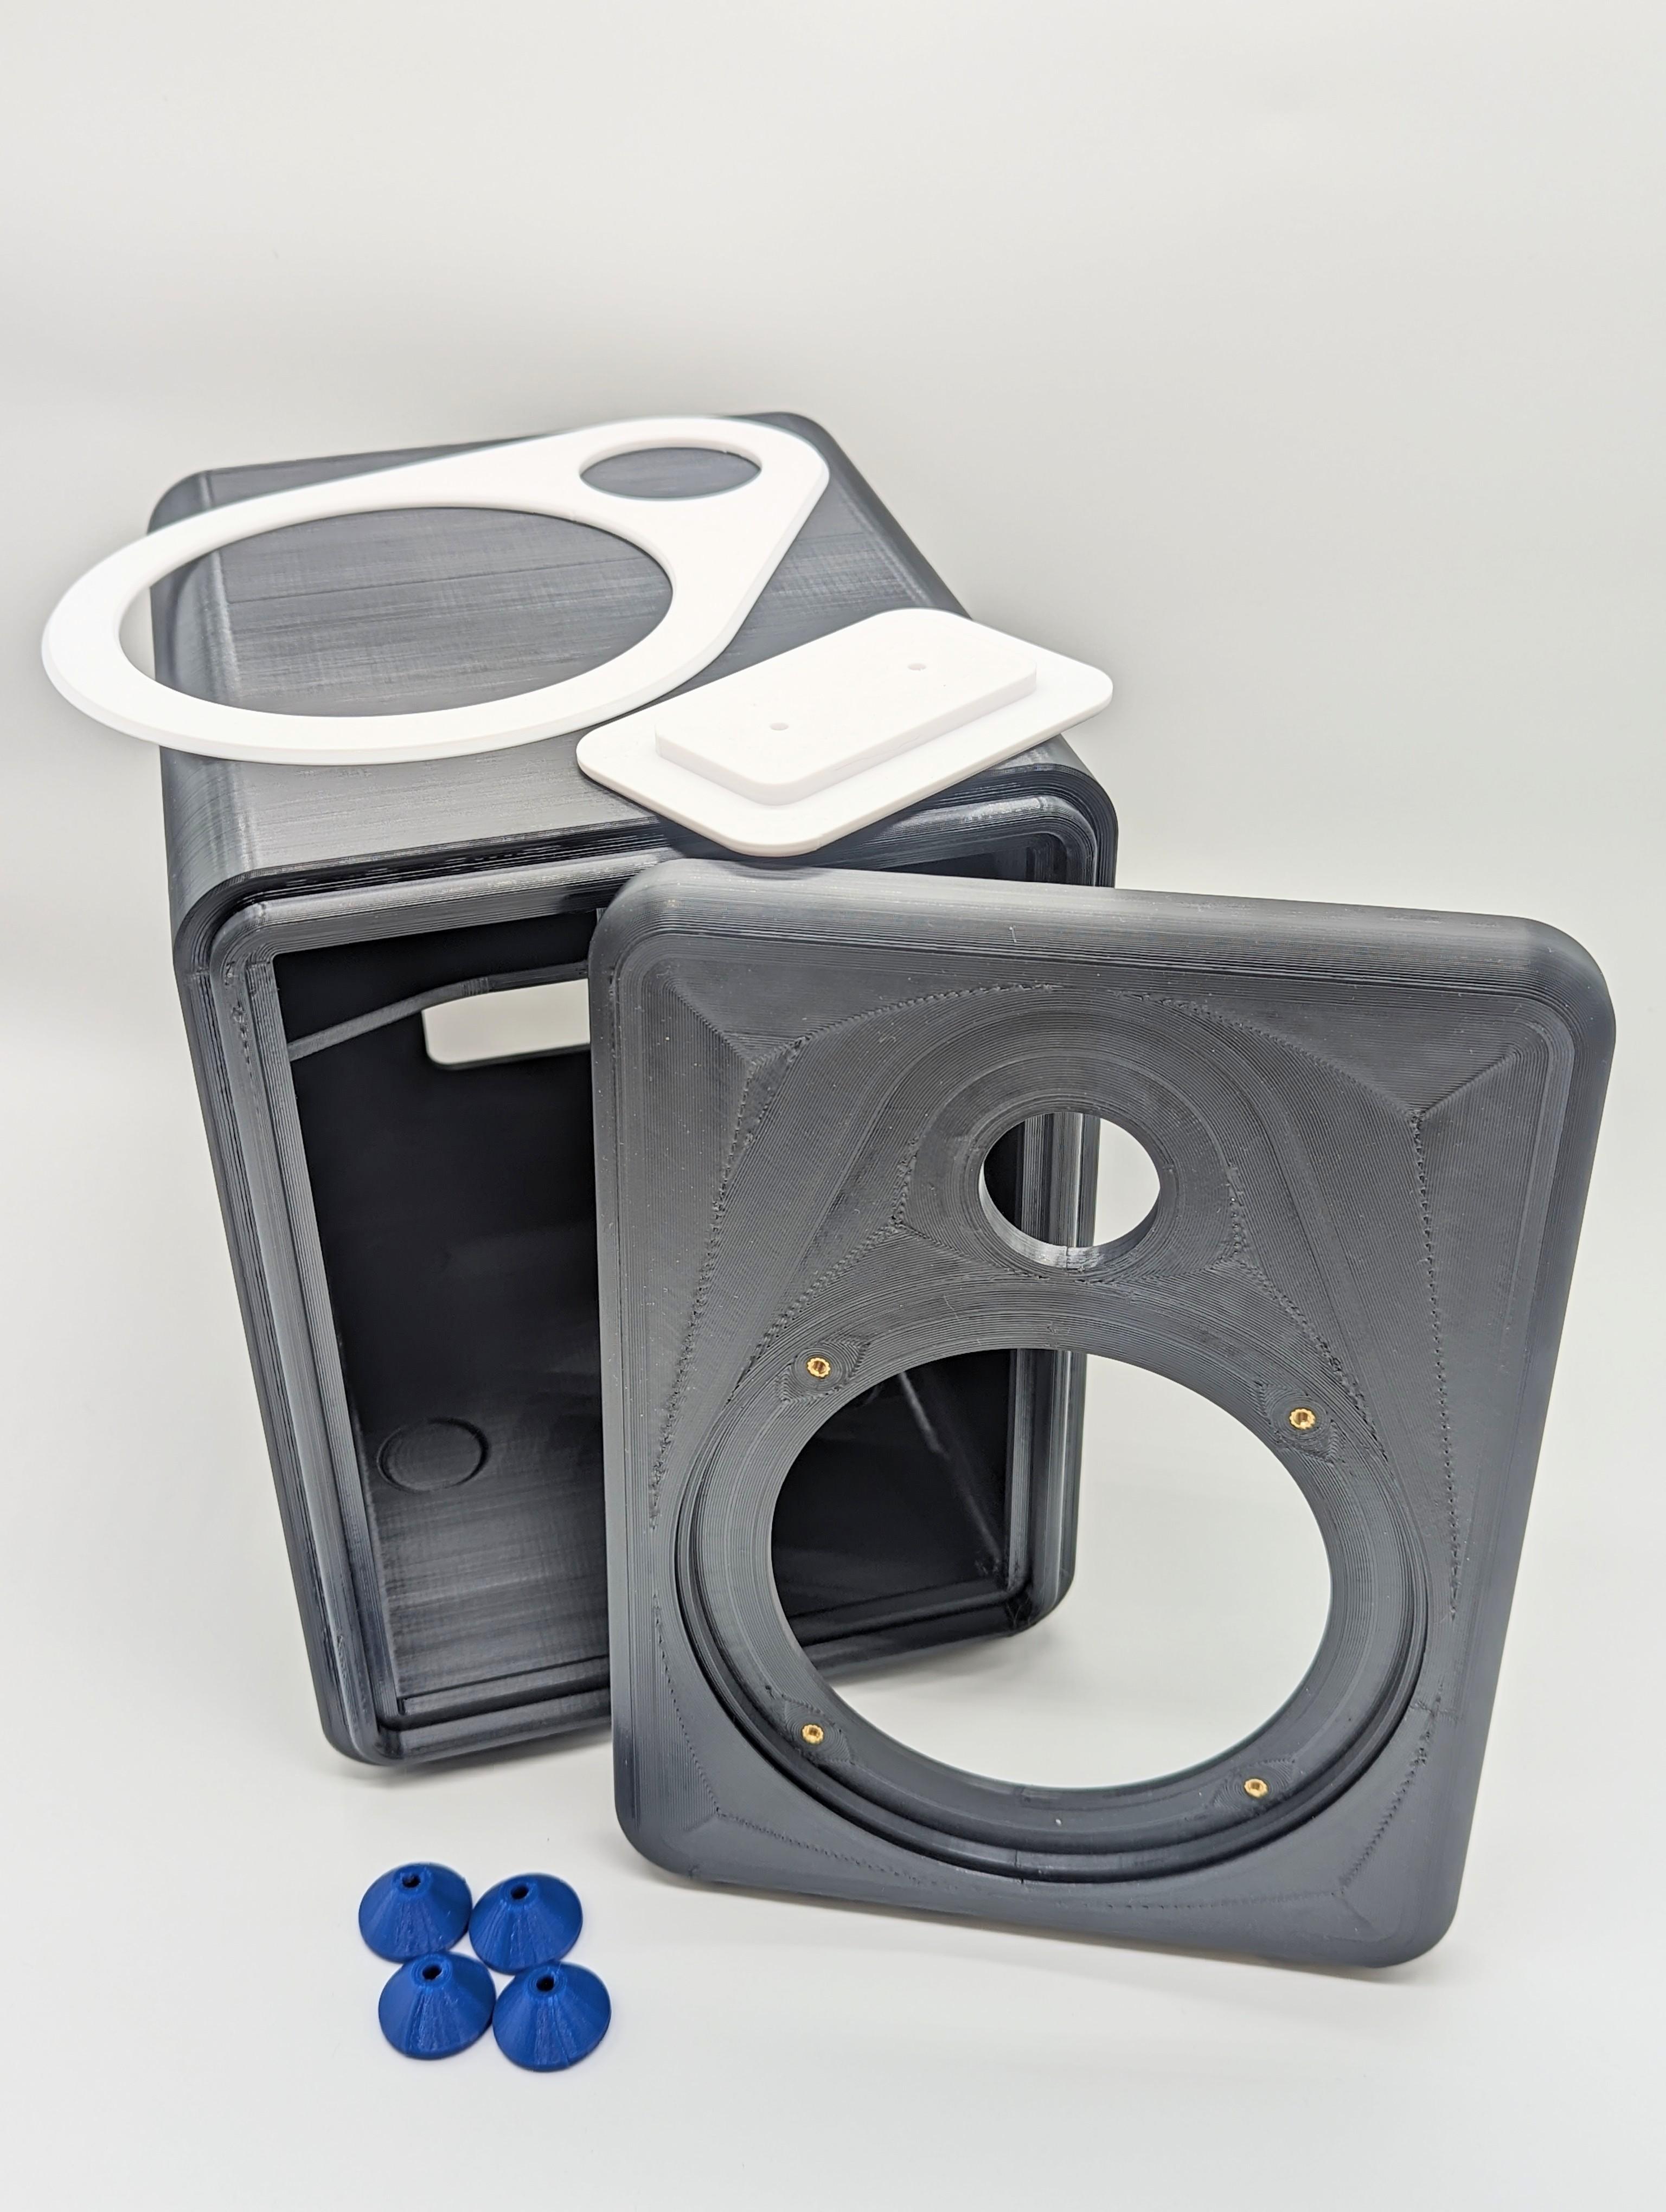
FDMS8 Powered Subwoofer by Deposition Sound LLC

Clamping & Swiveling Desktop Speaker Stand by Deposition Sound
FDM4 Loudspeakers by Deposition Sound
FDMGeo Loudspeakers by Deposition Sound
FDM5 Loudspeakers by Deposition Sound

TCL 40" TV Speaker Sound Deflector
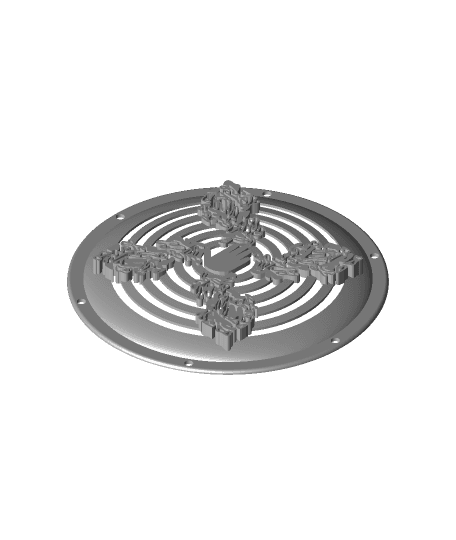
High Five Sound Speaker Cover.stl
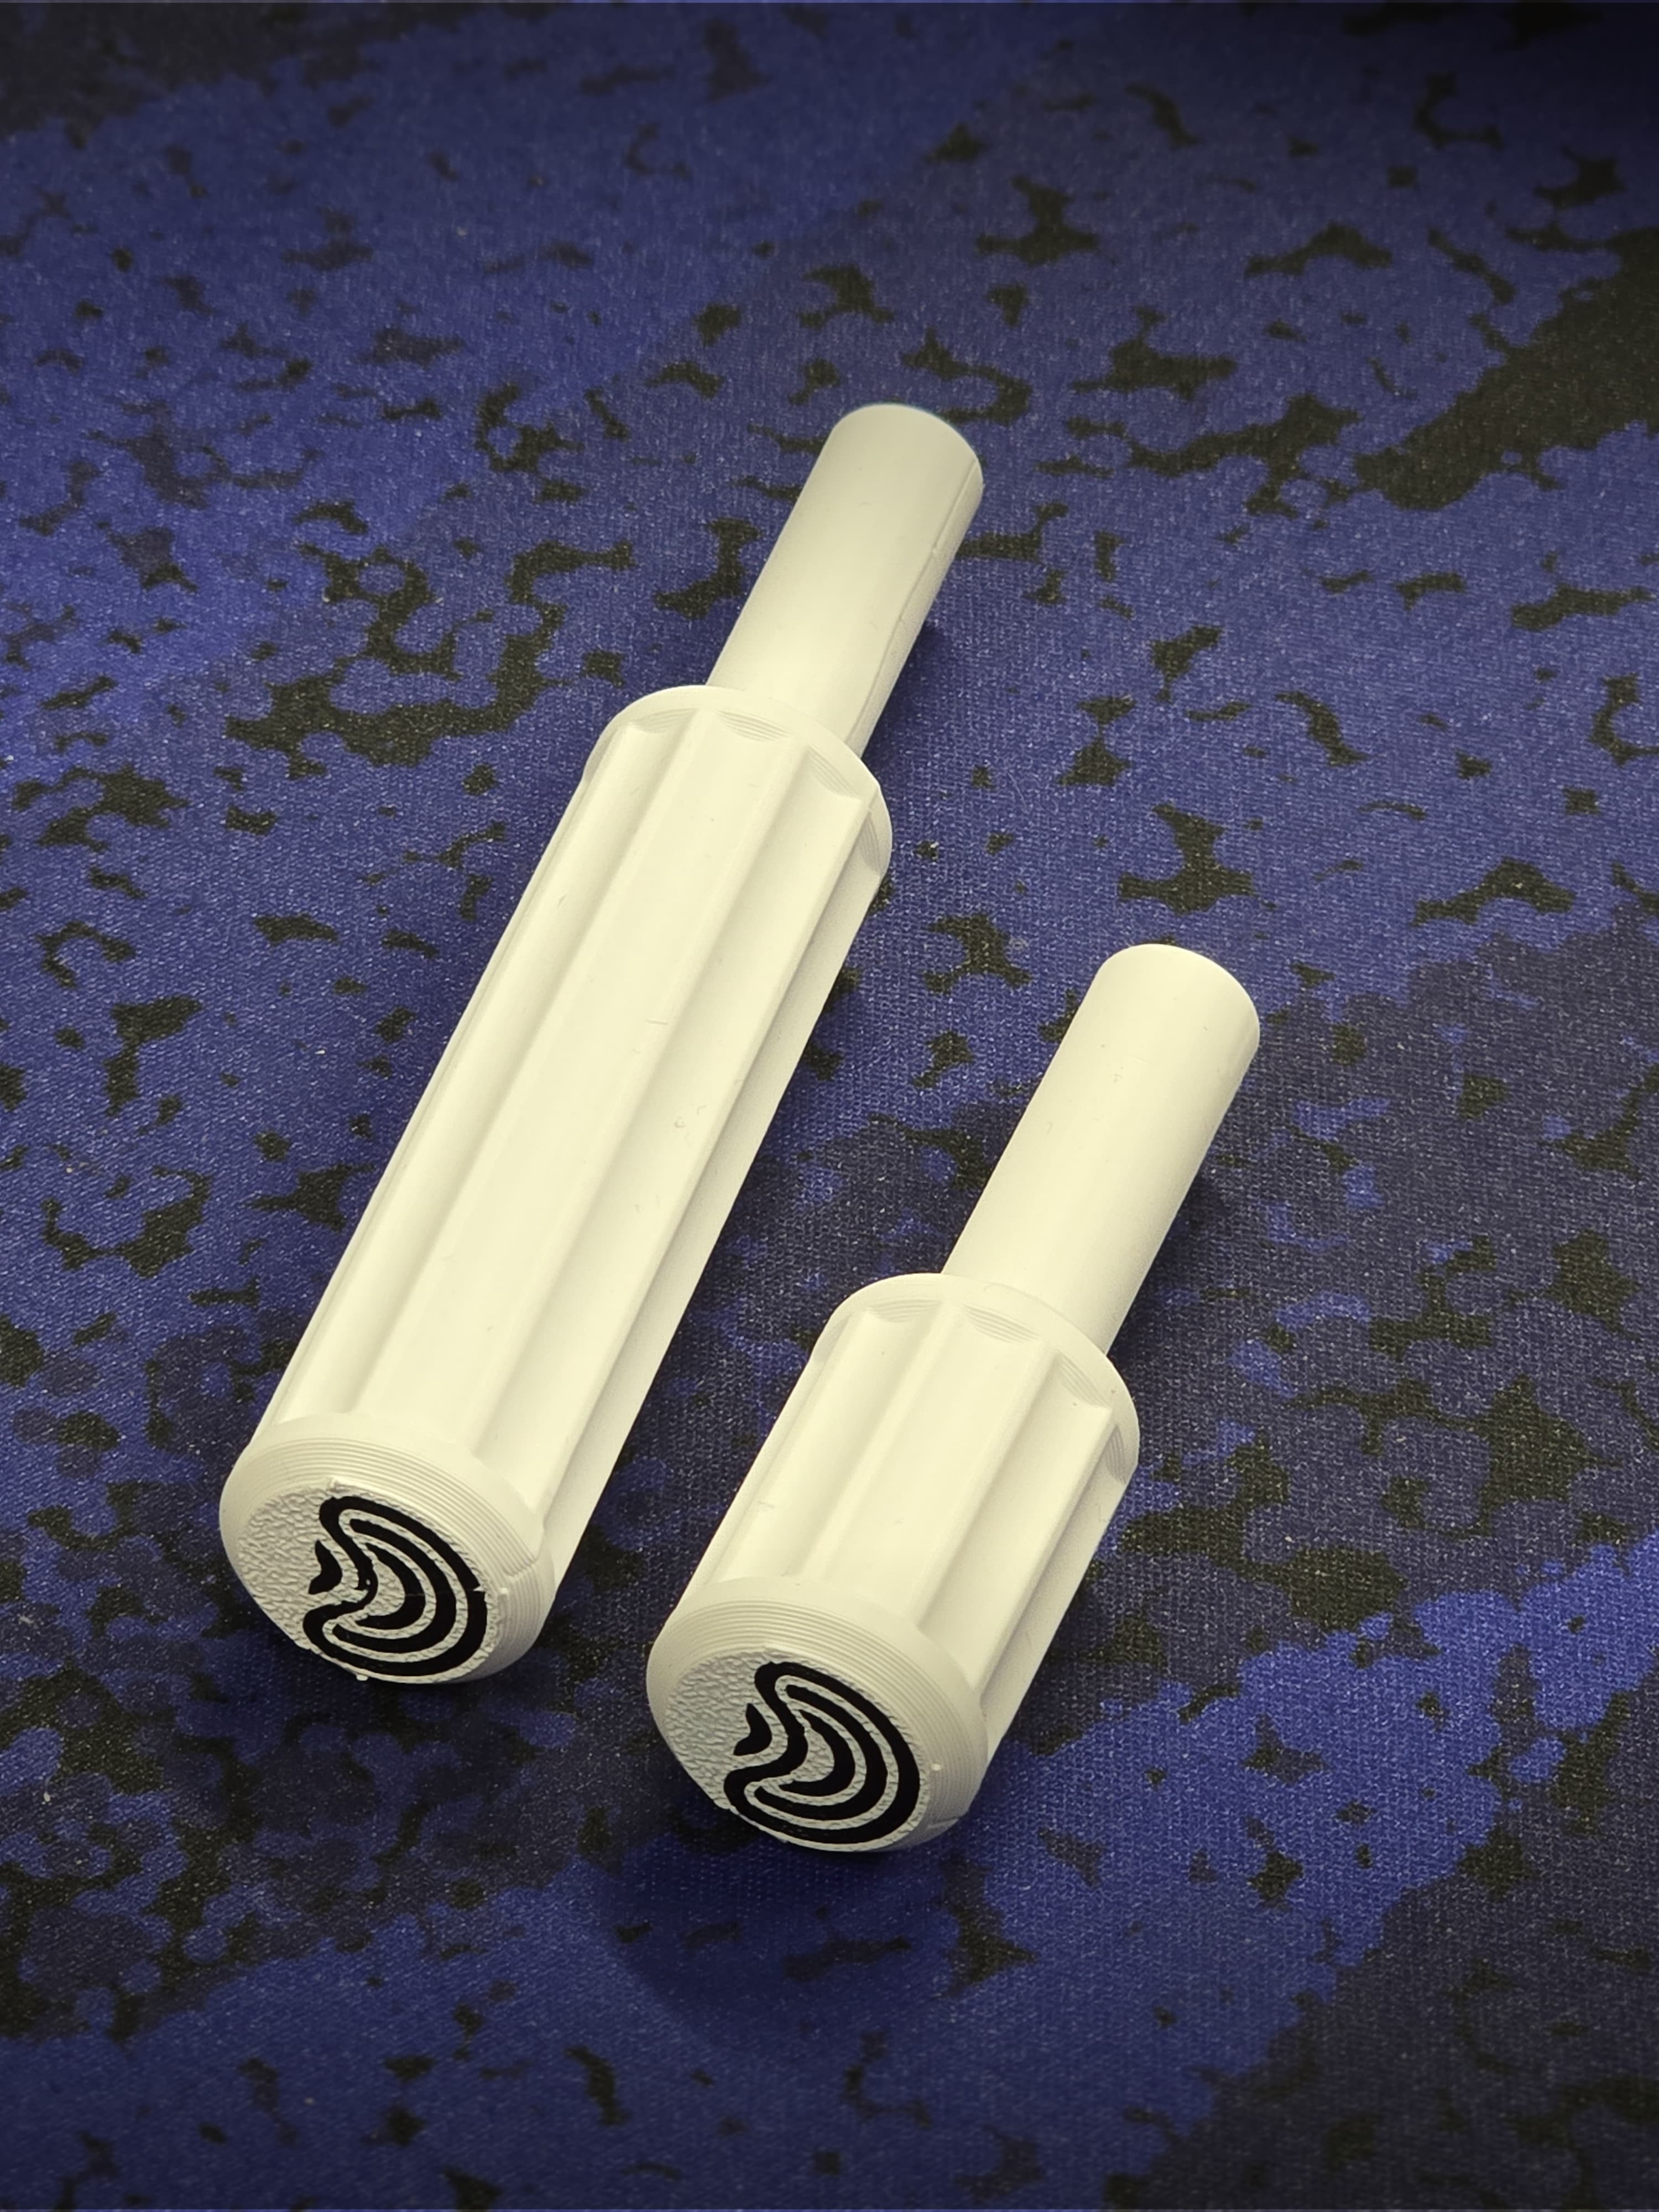
Deposition Sound 7mm Nut Driver

Passive Speaker Insert: improved sound
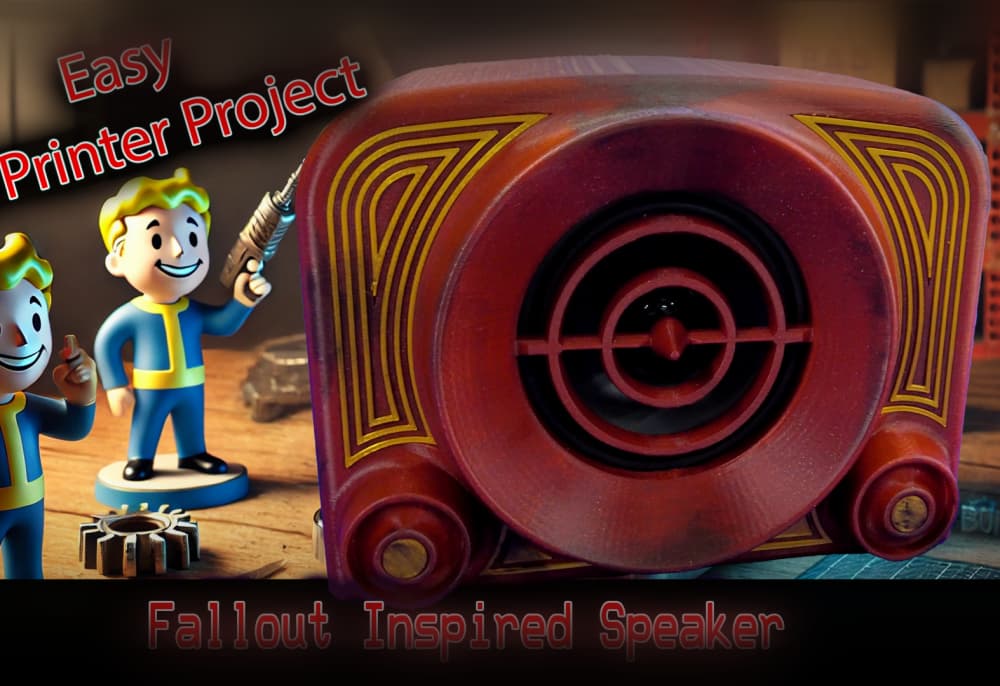
Space Toaster - Fallout Inspired Speaker
Smooth Passive Speaker

Docking station #JuneTunes
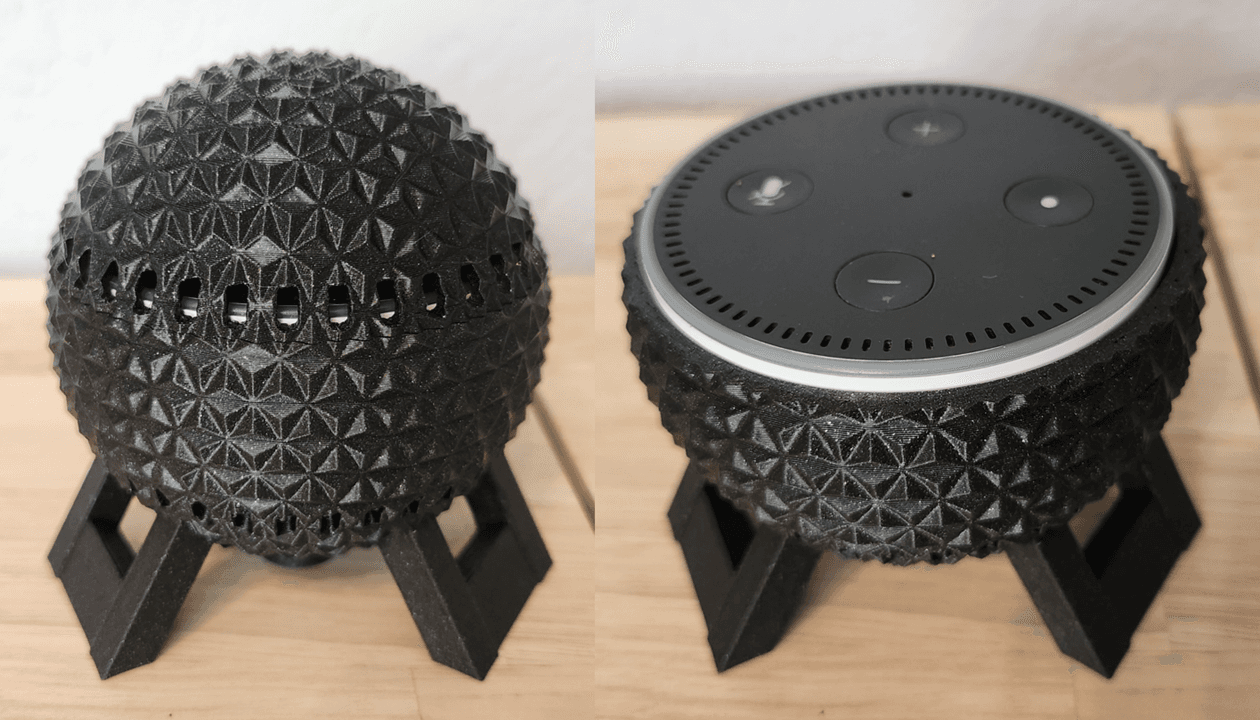
Epcot Spaceship Earth Amazon Echo Dot 2nd Gen Stand with Cover

SoundBridge | Shower Speaker

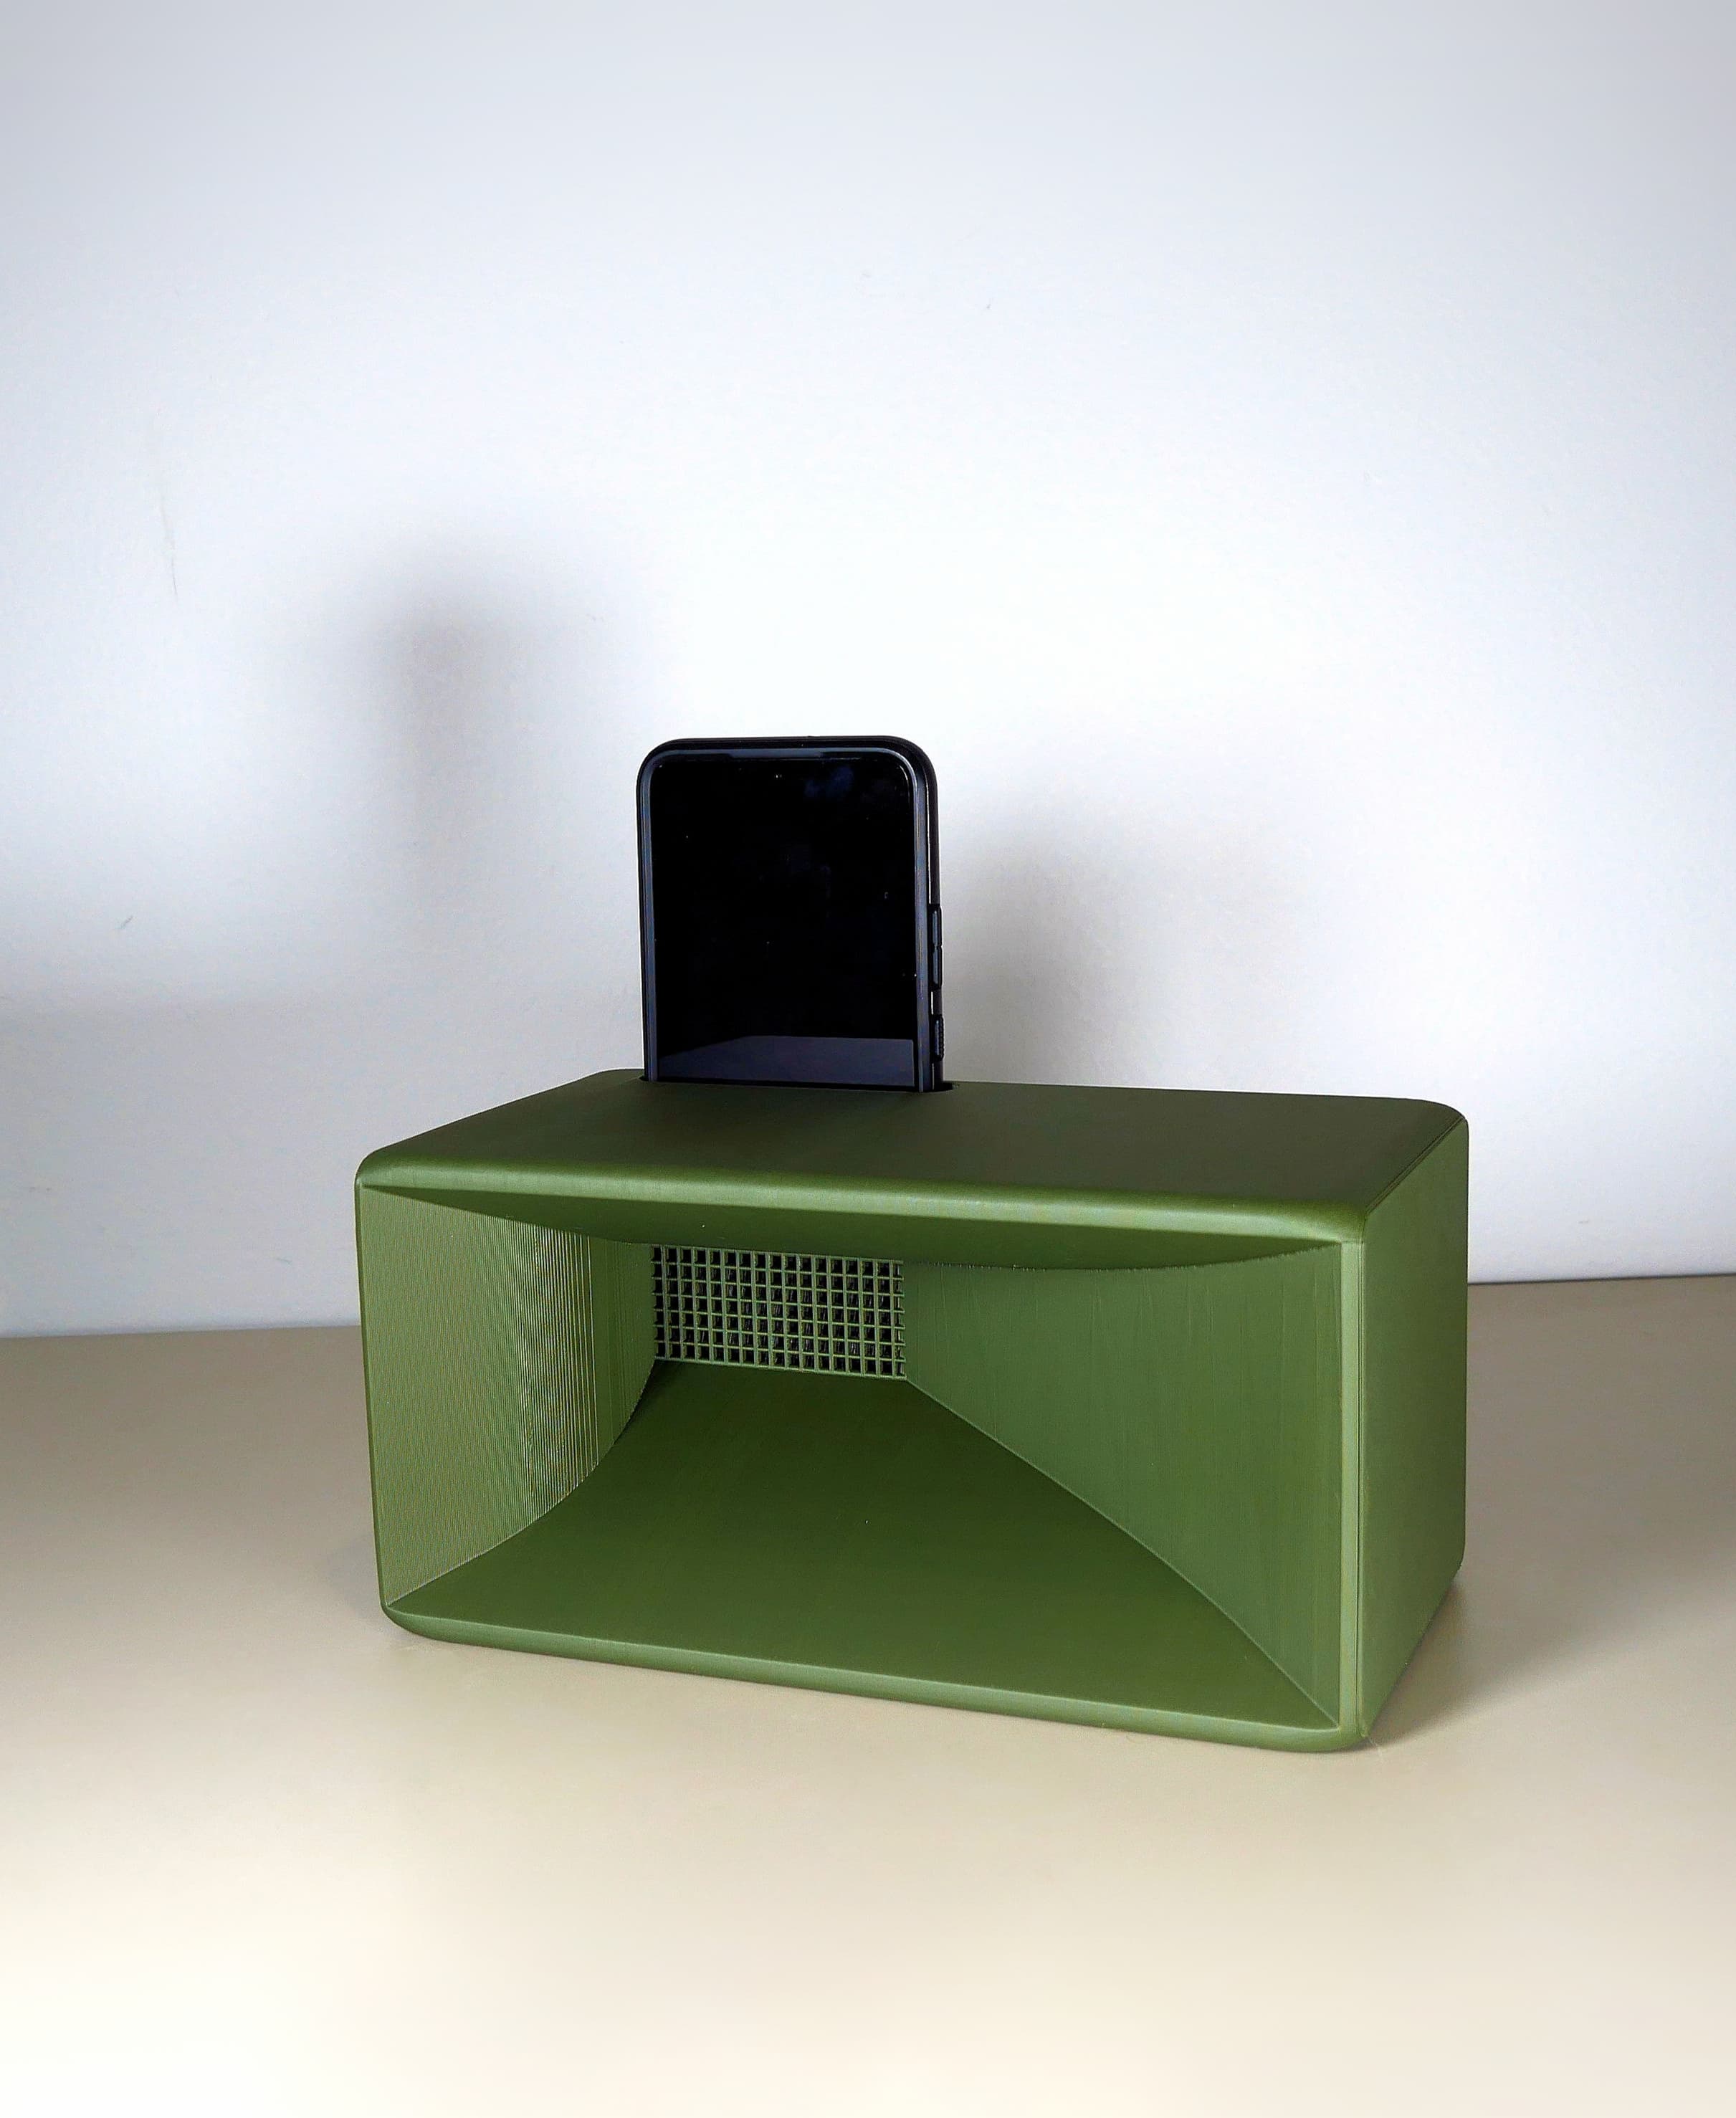
Phone Speaker (Print-in-Place)
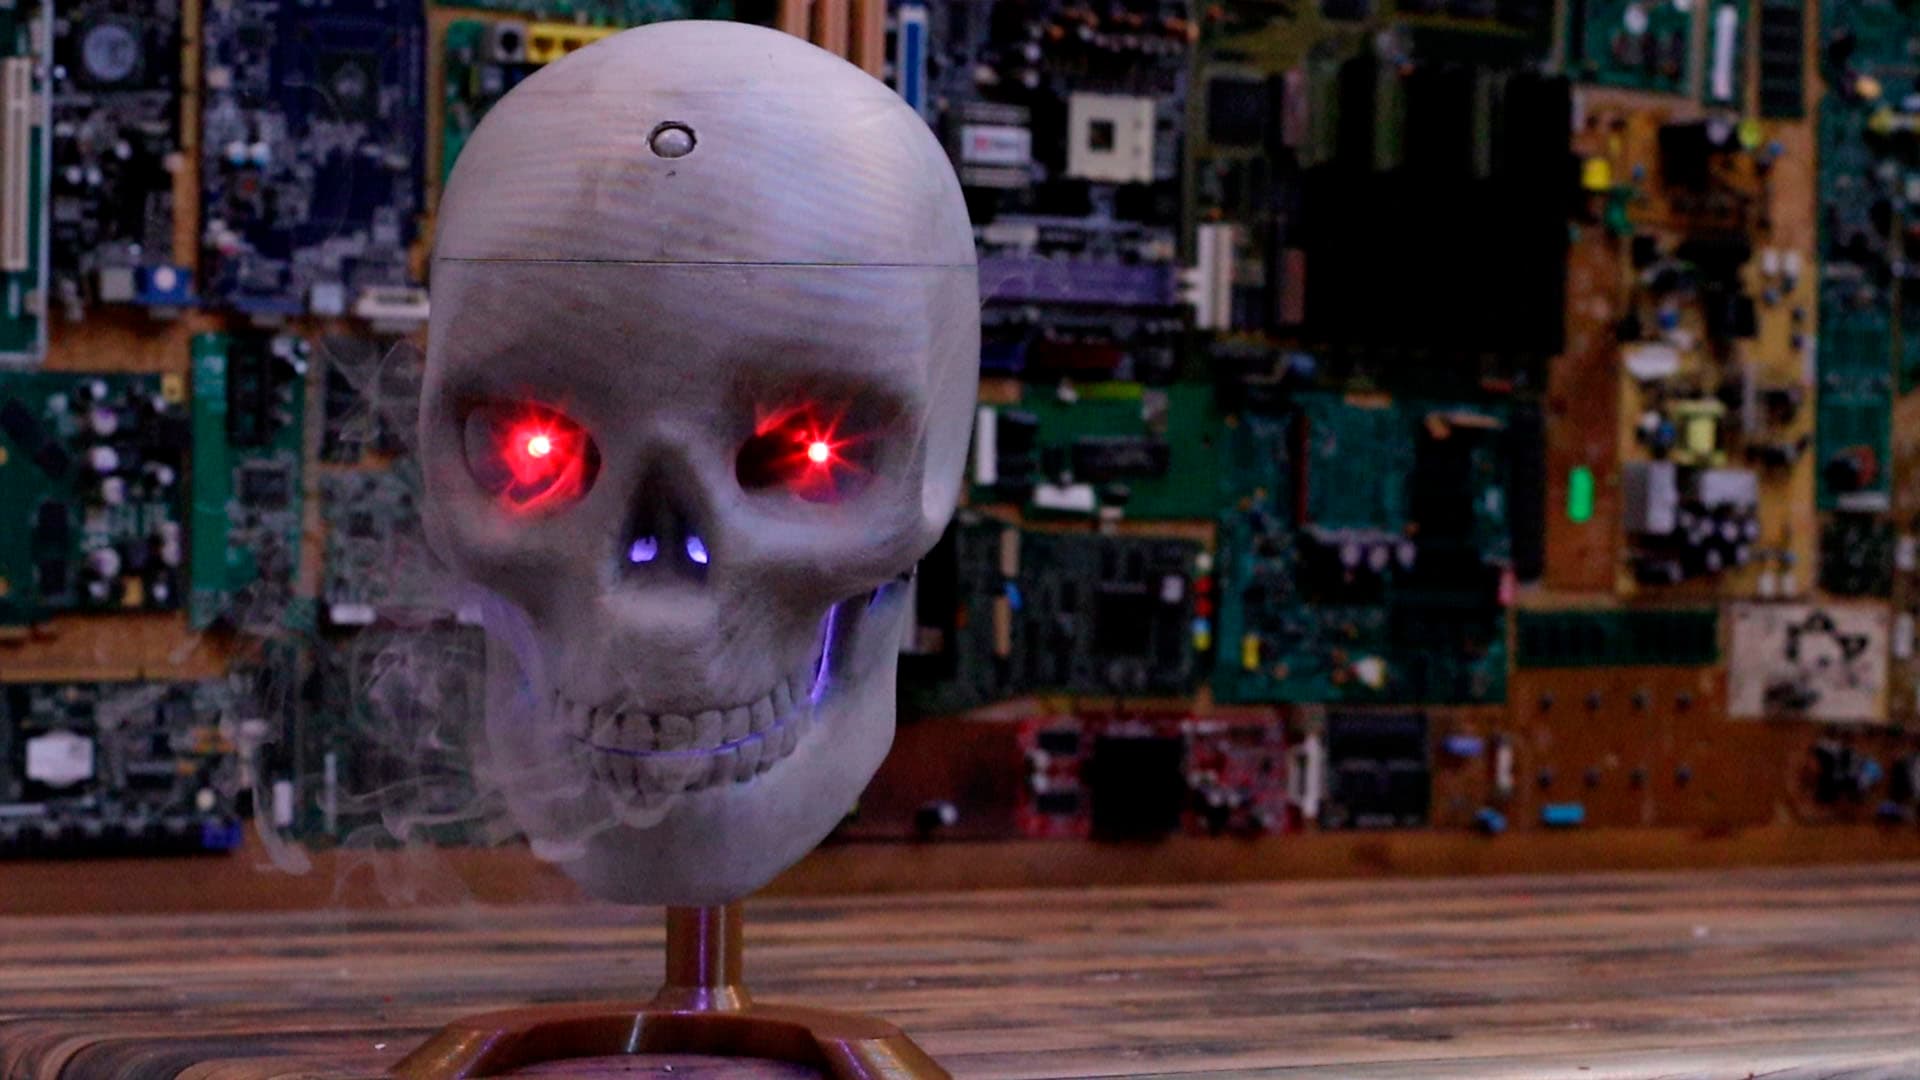
Halloween Skull Robotic
LG SPK8 Rear Speaker Mounts

Ender 3 Speaker Modifier
Spiral Sound Amplifier