Ender 3 CR10S Multi Direct Drive Extruder with Tool Free Adjustment
Model originally uploaded to Thingiverse at https://www.thingiverse.com/thing:4008436.
Ender 3 CR10S Multi Direct Drive Extruder with Tool Free Adjustment
This thing is more about creating a flexible Direct Drive extruder assembly which allows for relatively easy swapping out of extruder head types and hot end maintenance rather than trying to reinvent the wheel regards producing the perfect fan duct. This is primarily a single 4010 or 5015 fan duct. I have only tested the 5015 duct which seems to work well.
This thing is ideal for those who want to tinker or test various extruder types but does not want to have to rebuild the assembly every time. The thing is also much kinder on to the fan, heater wiring with less continuous change.
Quick animation of the set up here: https://youtu.be/UpRedjqkhzA
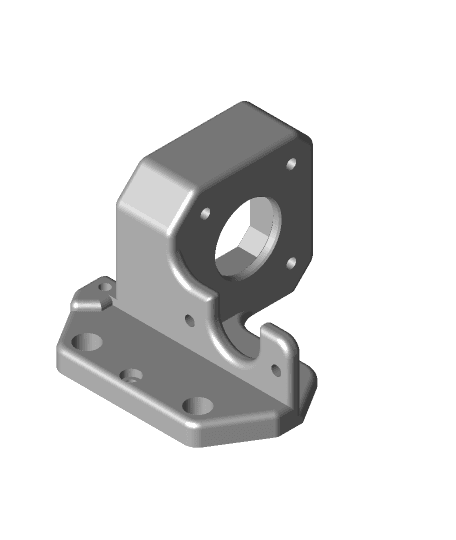
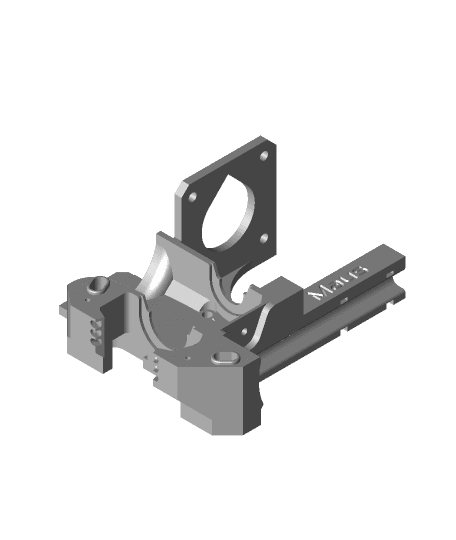
Therefore in this thing I have designed a standard mounting bracket and duct base which accepts a variety of Extruder head types, including a BMG\Clone, Stock Extruder, the Creality dual gear extruder and an optional head for replicating the standard Bowden Tube set up. Each head is located with 4 M3 bolts. The short length of Bowden Tube between the extruder and the hot end may differ slightly depending on the set up.
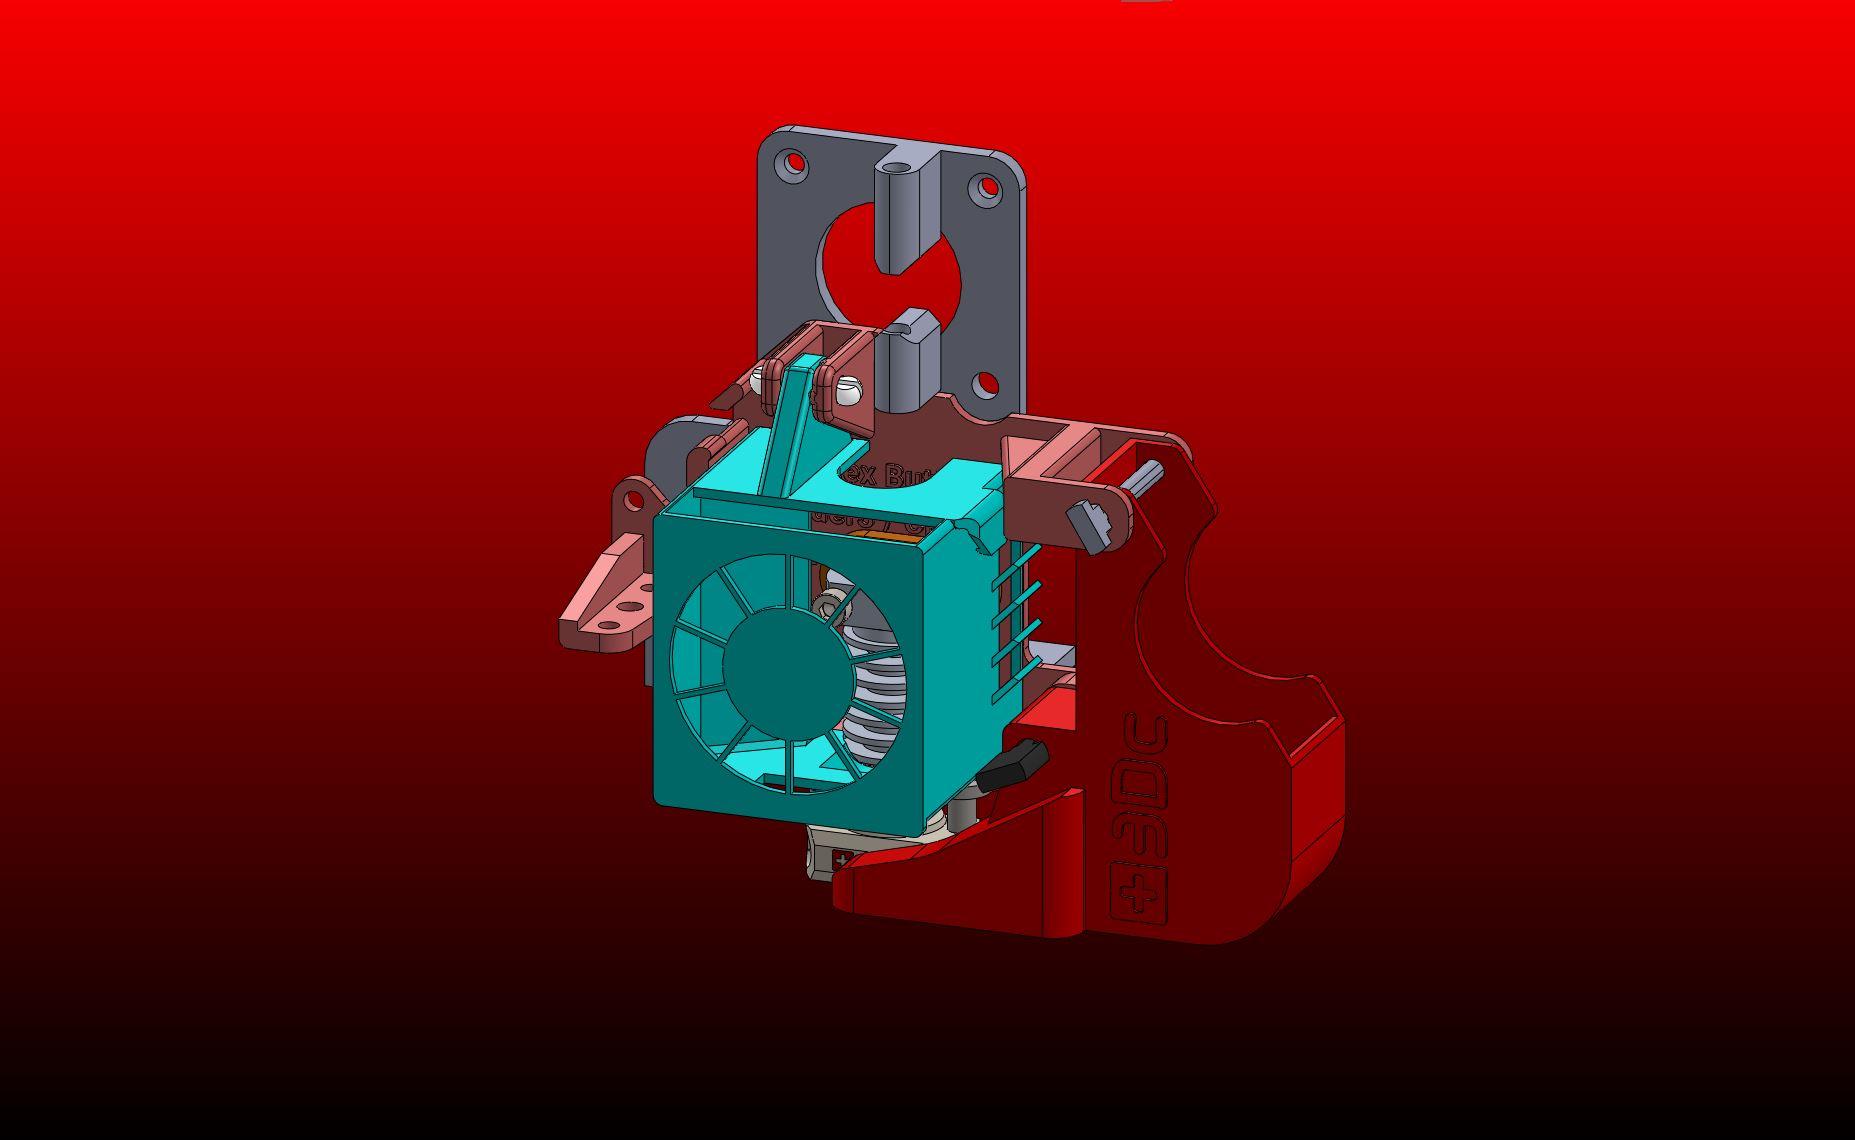
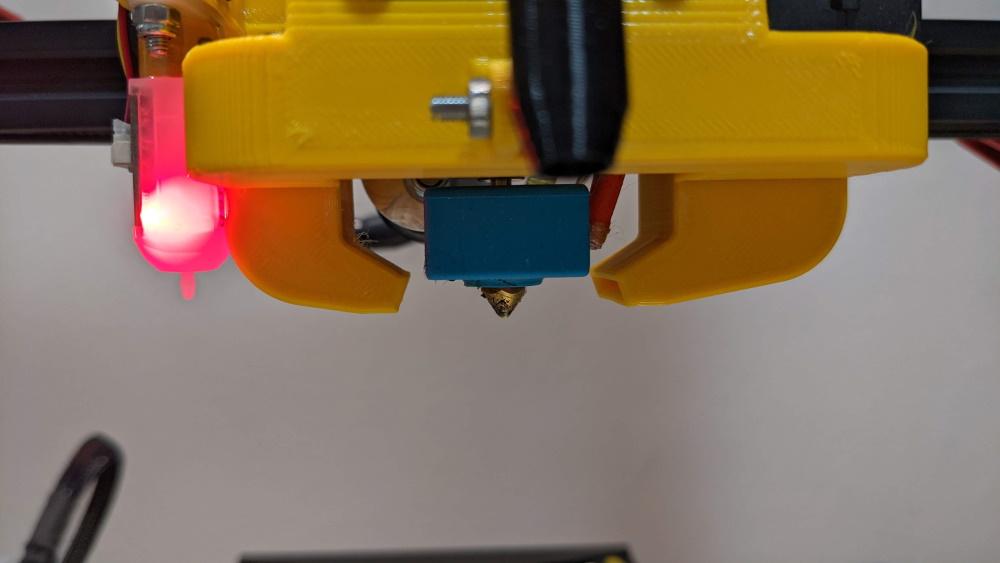
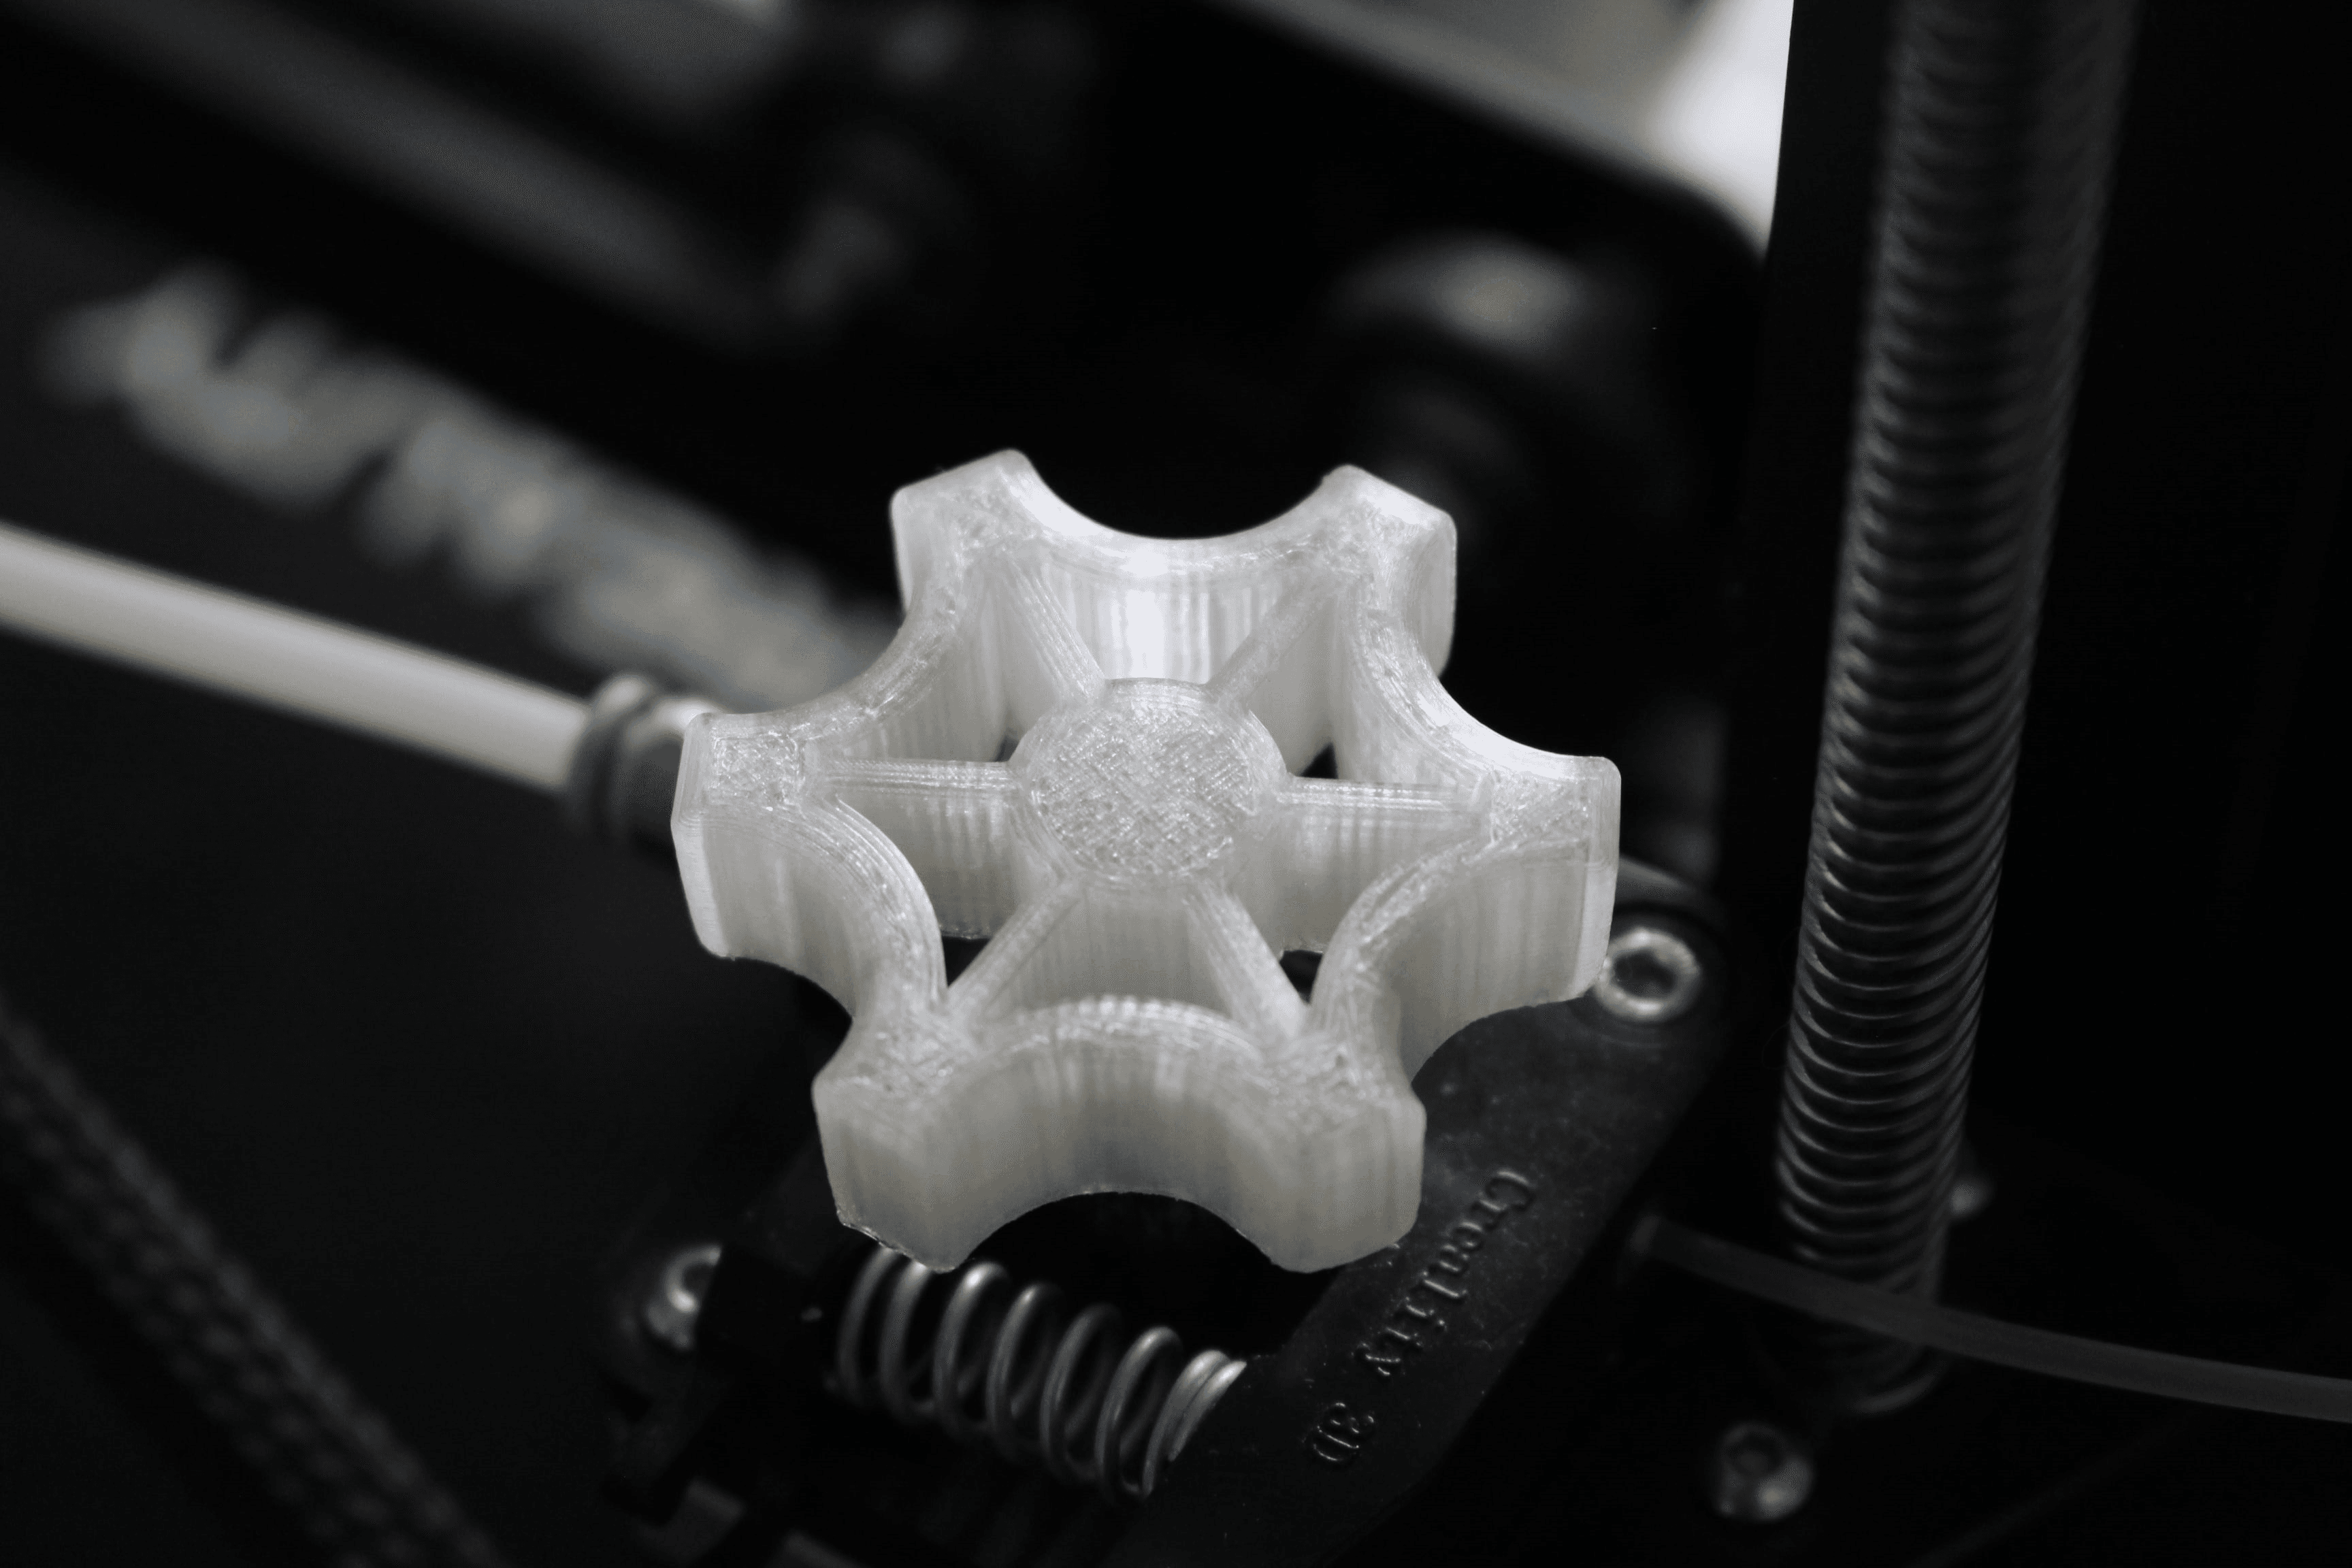
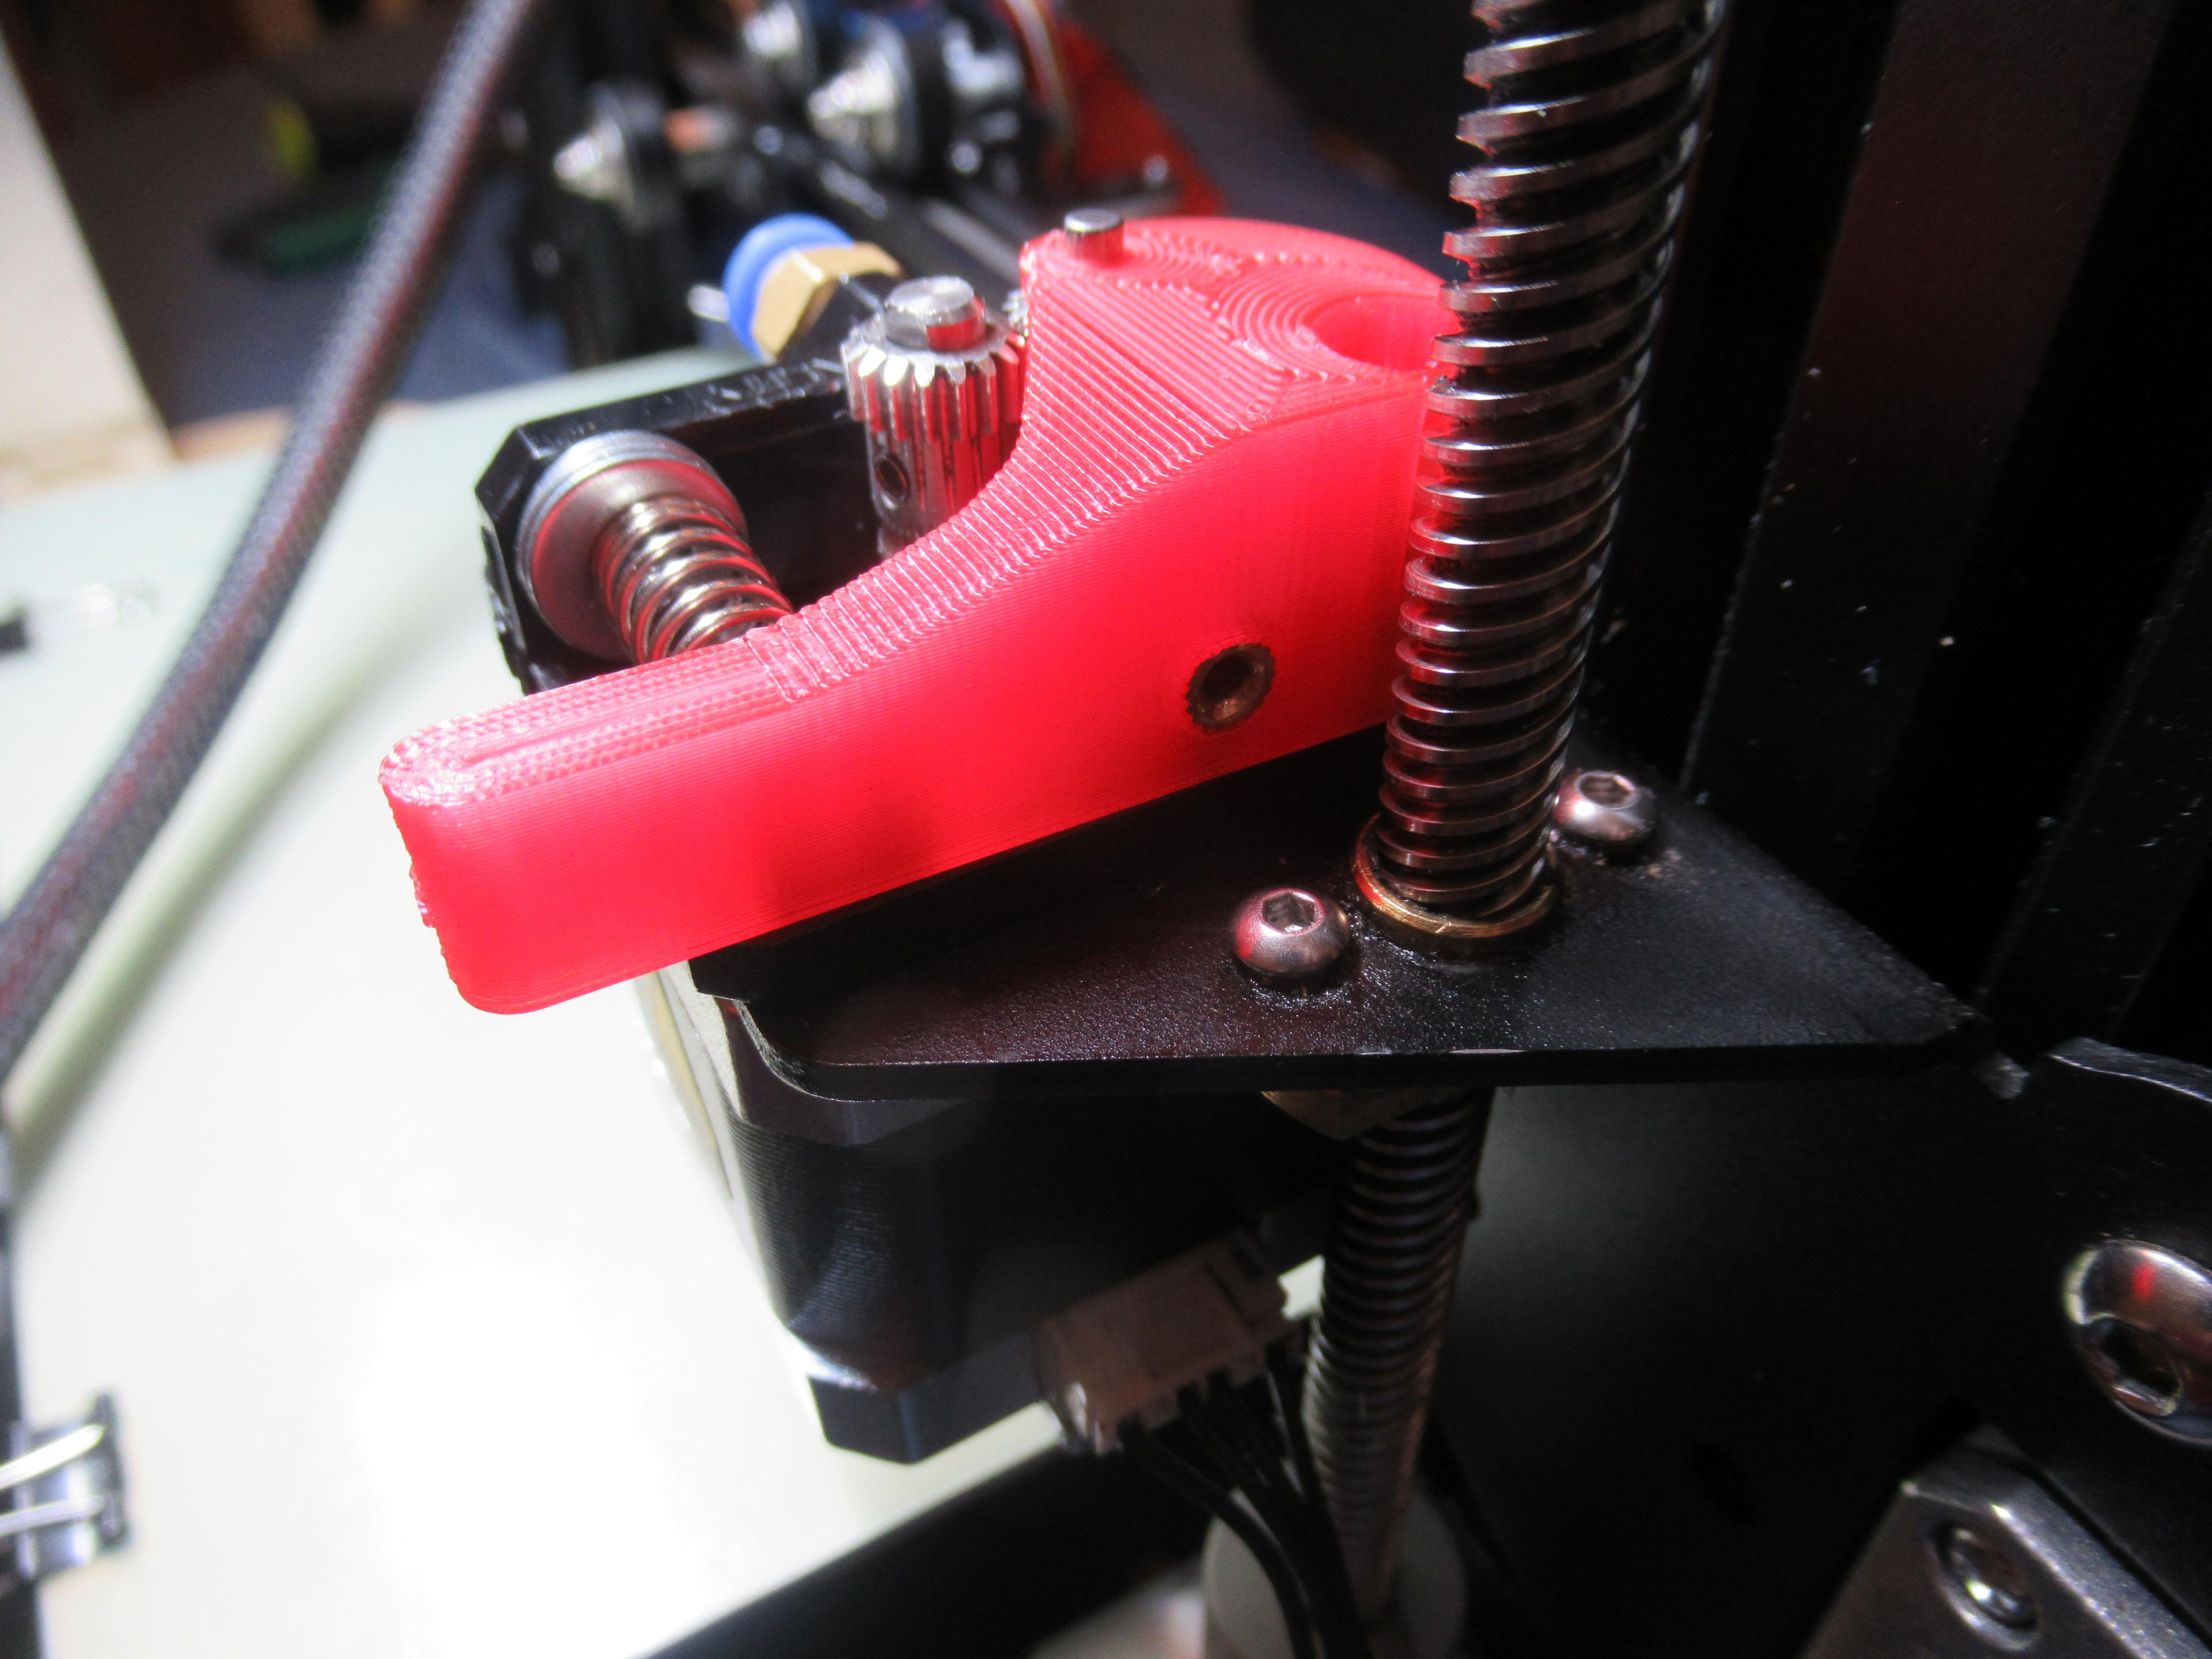
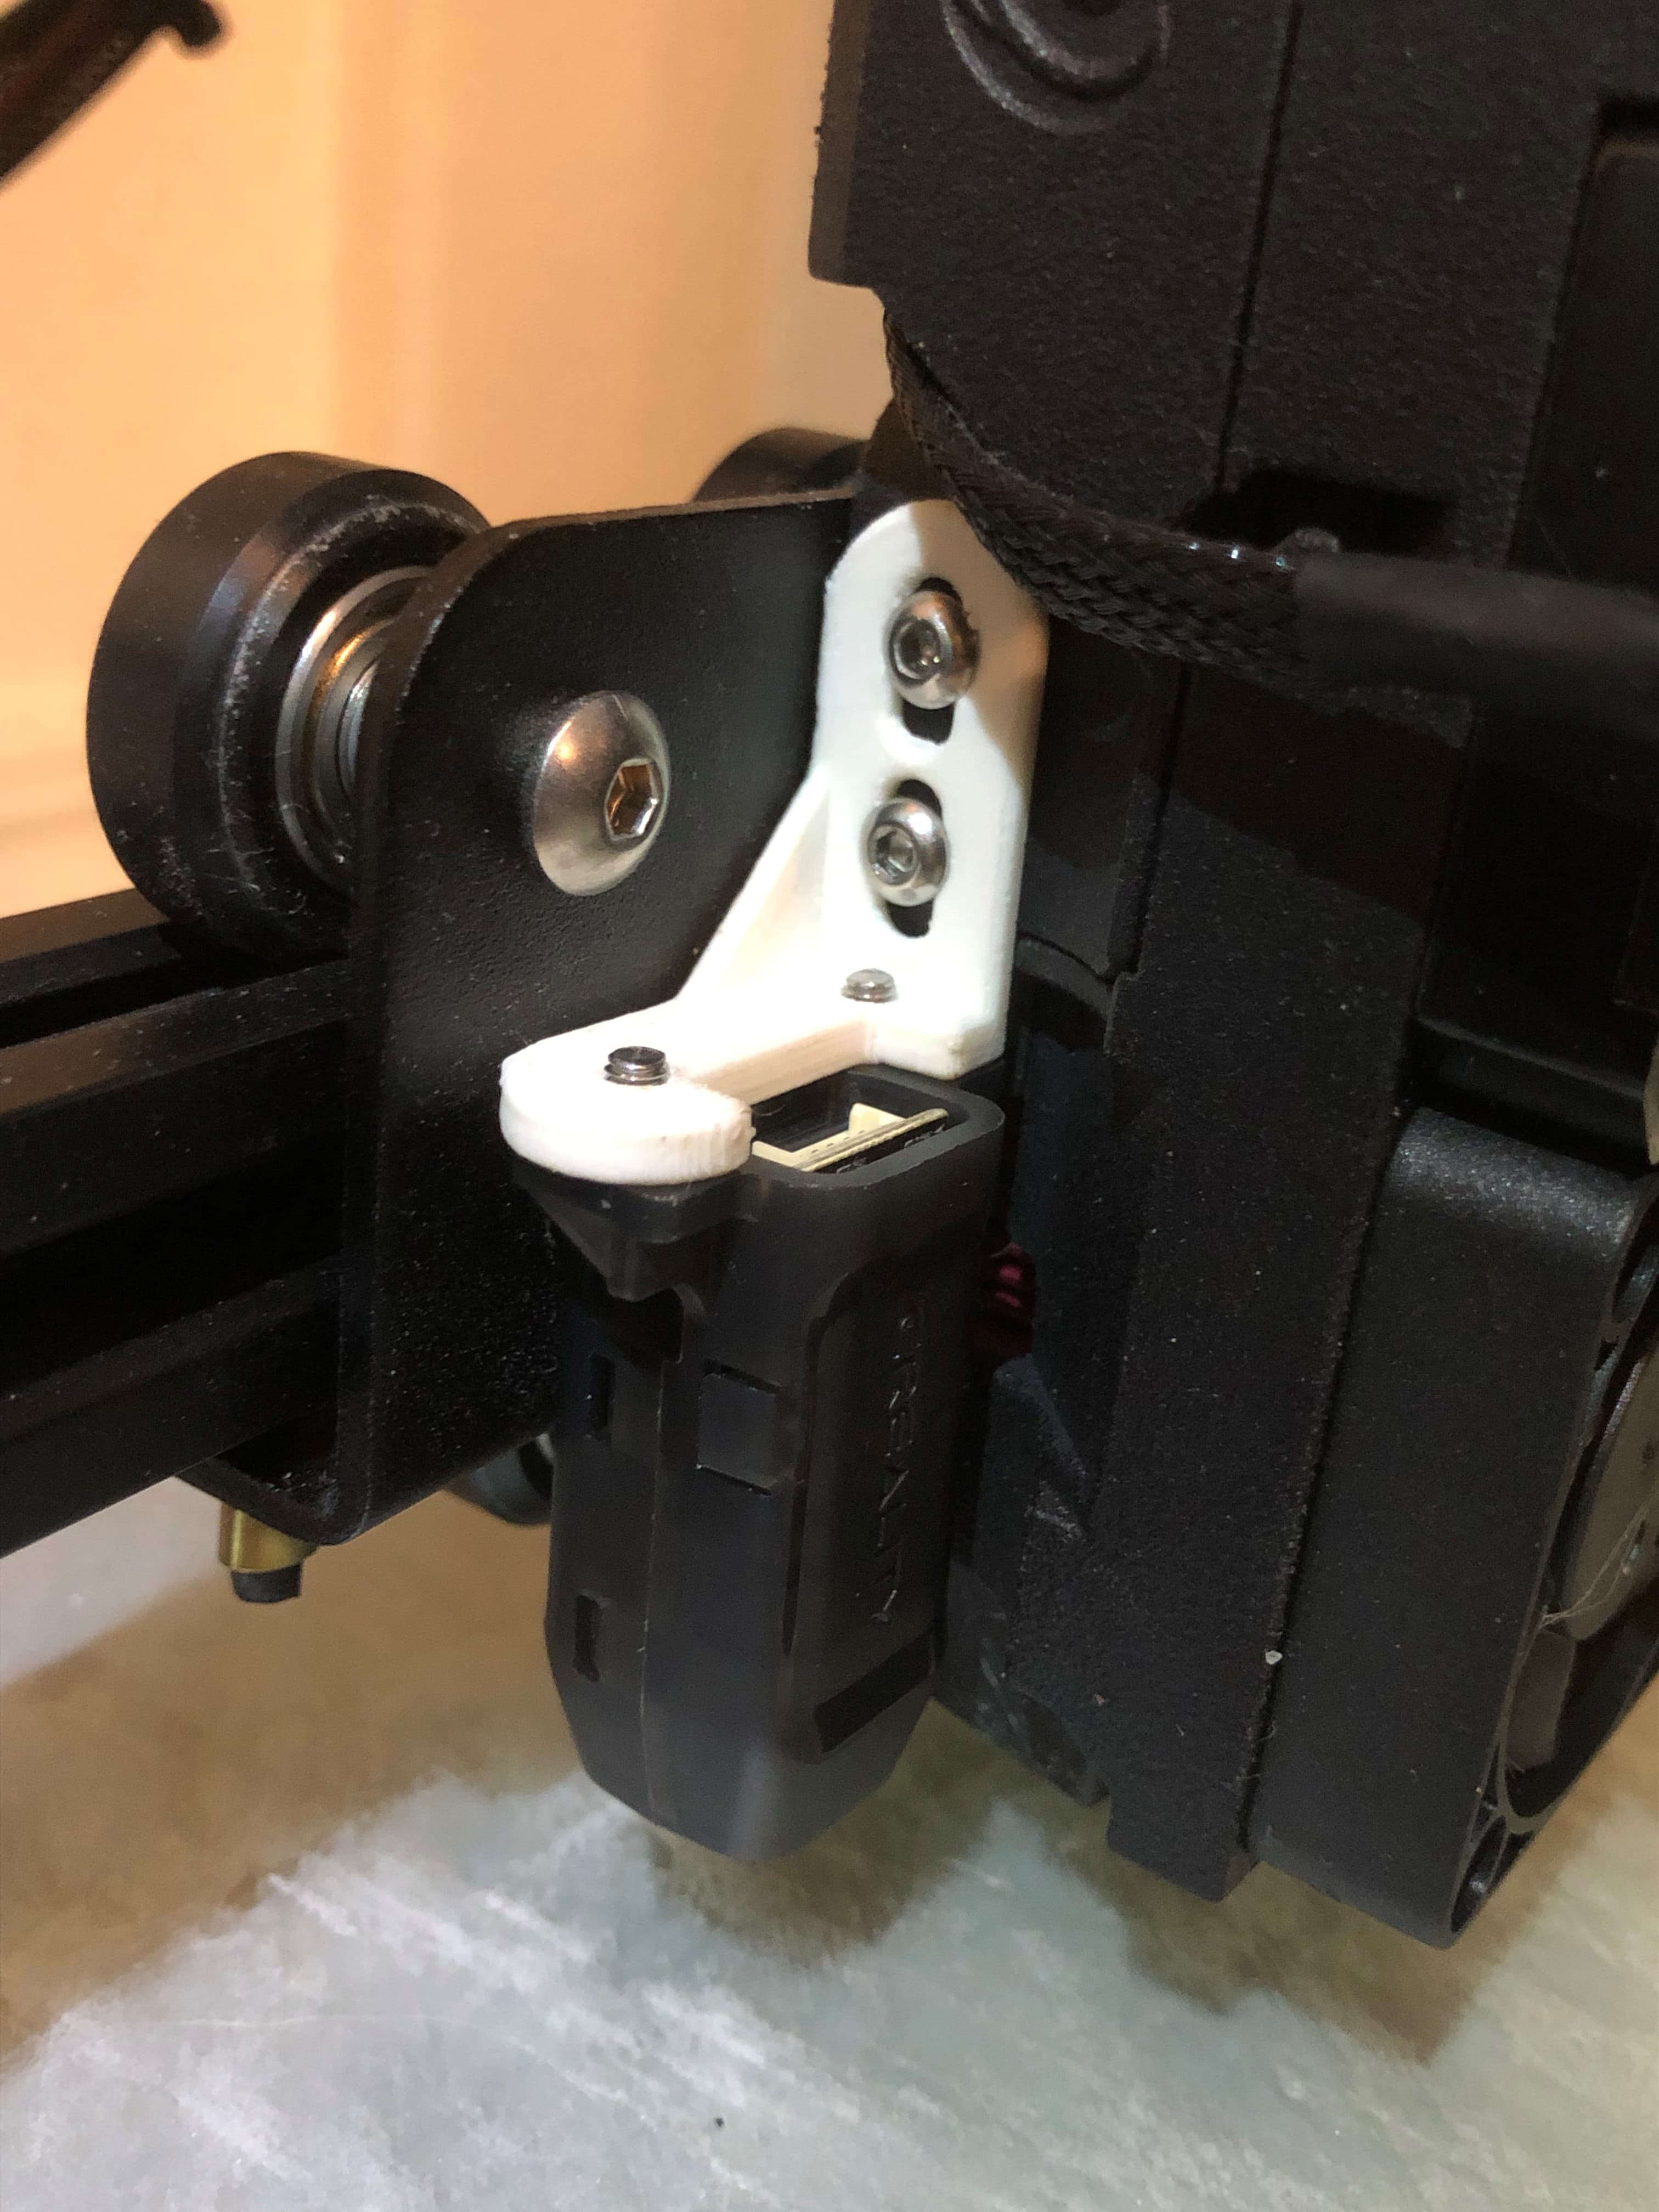
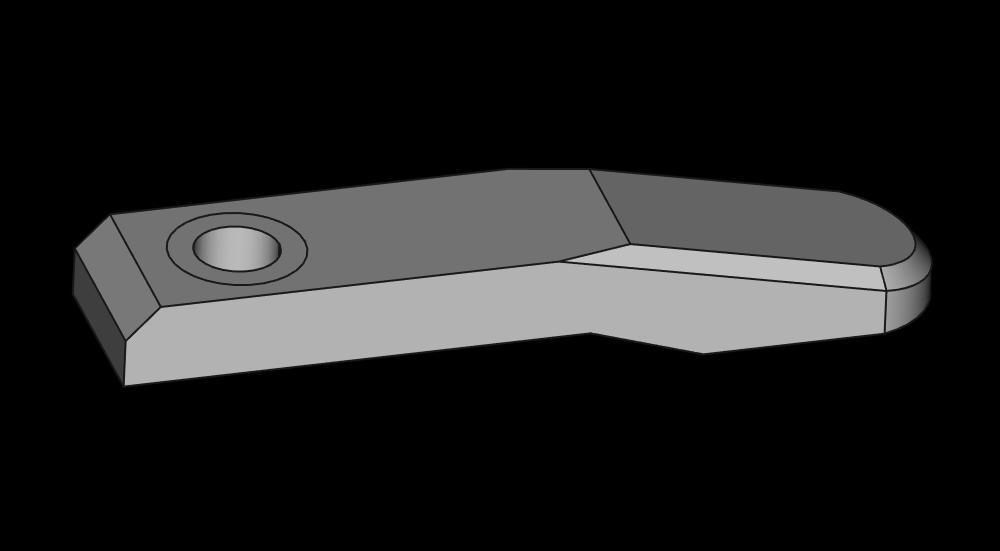
I have also included a tool free retention knob to the side fan to make height adjustment much easier and quicker. The front fan assembly includes a pivoting fan fascia which allows a little more control in terms of directional air flow and provides the oppurtunity for quick print fan cowl customised add ons. The front assembly can also be pivoted to provide much greater access for hot end maitenance. The pivot control is also tool free with an adjustment knob. I have also found it is useful to be able to focus the front fan air flow on the heater block when wanting to cool it down.
A lot of Direct Drive Extruders have the majority of cables exiting the extruder to the left of the Extruder Head. It therefore seems logical to reroute the heater cartridge & thermistor cables in the same direction to provide much neater cable management.
Therefore this design is based on mirroring the hot end heat block so the heater cartridge and thermistor cables exit to the left leaving the right of the assembly visually clear and giving much greater access for maintenance. To achieve this I inverted the heater block. Counter sinking the holes to make sure the retention screw heads did not conflict with a wrench when changing the nozzle. I also included a washer to the thermistor retention screw to aid retention and trimmed the silicone shoe to adjust for the reorientation. There is more detail in the uploaded Installation Guide.
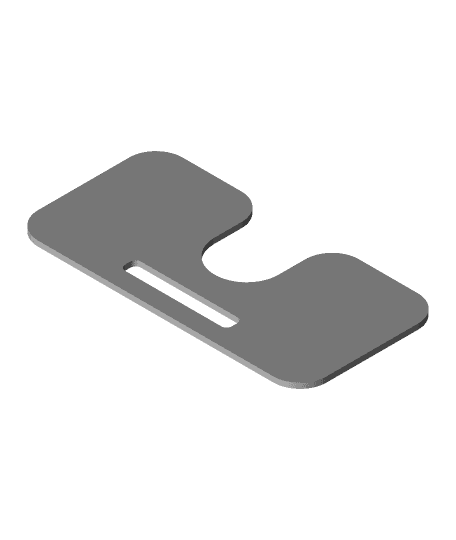
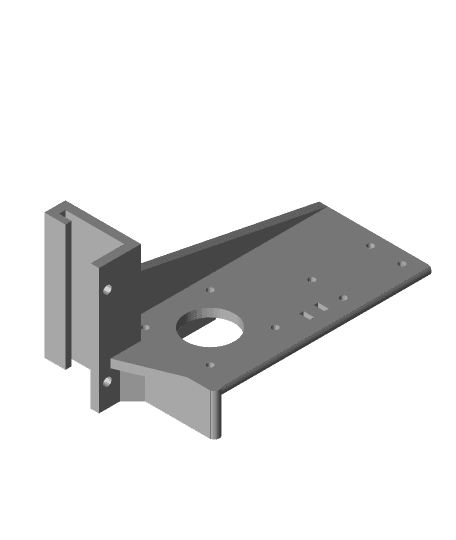
I generally do not use levelling sensors but have included a fixing detail in each duct and a mounting bracket. The design of these are based on previous designs based on community input. Therefore please treat these has WIP until confirmed acceptable.
Installation
Has mentioned in an earlier paragraph I have uploaded a fairly detailed illustrated guide which also includes a base BOM.
Printing
All parts can be printed without supports if printed in the orientation uploaded. I have also included a break away stability foot to the Bowden Bracket Head part rather than have to include a raft.
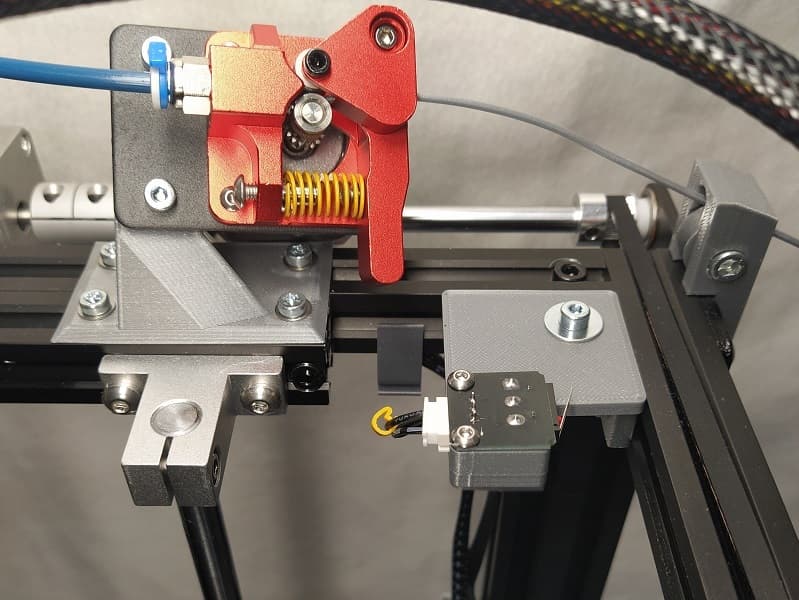
All my prototypes were printed in BQ Red, White & Green PLA but would recommend printing in PETG if available. Printed on 2 x Ender 3 Pros and an Ender 5. Uploaded images have been taken with the thing installed on a CR10S.
Ender 3 CR10S Multi Direct Drive Extruder with Tool Free Adjustment
Flexible Shaft Direct Drive for Ender 3 CR10S

Direct Drive & Hero Me Remix 4 for Ender 3 & CR10S
Ender 3 & CR10 Direct Drive Assembly for BMG Extruder with Hero Me Remix

Ender 3 CR10S Hero Me Remix 3 For Basaraba Direct Drive Upgrade
Micro-Swiss-Enders Swiss3Dc-Starlex-Ender-Direct-Drive-Fan-Shroud-A4010-R4020-B3
MicroSwiss Direct Drive CR10S Pro V2 Fan Shroud - PROPER FIT

Hero Me Documentation - Details.stl

Direct drive Extruder bracket (Ender 3 v2 neo)
Creality Ender 3 / MicroSwiss Direct Drive Extruder Motor Knob

Knob Extender for Ender 3 V2 Direct Drive Extruder
Knob Extender for Ender 3 V2 Direct Drive Extruder
Ender 3 Dual-Drive Extruder Mod
Ender 3 CR10 Direct Drive / Extruder with BMG and E3D v6

Ender 3 (Pro) Direct Drive Dual Gear Extruder Mount
BL CR Touch Mounting Bracket for Bondtech DDX Direct Drive Extruder on CR-10 or Ender 3
Ender 3 Max Direct Drive with Metal Extruder and Filament Runout Sensor
Ender 3 series PTFE-to-Creality Direct Drive Extruder Arm Conversion
![[Ender 3 Pro] [Remix] Ender_3_Extruder_Cable_Chain_Base 3d model](/_next/image?url=https%3A%2F%2Fstorage.googleapis.com%2Fproduction-thangs-public%2Fuploads%2Fattachments%2F61f58b47-db9e-4fda-9aca-e3f3aec270ee%2FEnder_3_Extruder_Plate_Cable_Chain_Base_robo_modded_fixed_for_ender_3_pro.png&w=3840&q=75)
[Ender 3 Pro] [Remix] Ender_3_Extruder_Cable_Chain_Base
Direct Drive Extruder Mount with BL Touch (for Dual Gear Extruder)