


CANDY GAT - THE 3D PRINTABLE CANDY SHOOTER
THIS IS A CANDY DISPENSER AND NOT A WEAPON. THE ONLY BODILY HARM IT COULD DO IS IF YOU CHOKE ON THE CANDY OR PRINT IT IN BLACK AND POINT IT AT SOMEONE. PLEASE DONT..
Inspired by the original which is long discontinued - A challenge to myself to make a 3D printable version of the candy shooter.
After many months and a few spools of material I was able to create a version which does work reliably with almost no tuning needed. Print, assemble, and have (safe) fun.
Depending on your printer settings, you may need to spend some extra time ensuring the parts are deburred and free of any defects.
DO NOT PRINT IN BLACK, GRAY, OR ANYOTHER COLOR WHICH MAY CAUSE THIS TO APPEAR TO BE A REAL FIREARM. DO NOT USE IN PUBLIC. ADULT USE ONLY. DO NOT GIVE TO CHILDREN. DO NOT DISPLAY IN PUBLIC. Please don't get me put on the news for the wrong reasons. This is a toy but intended to be used responsibly by adults.
ADDITIONAL PARTS: There are additional parts which will be required for this to be functional:
- pez dispenser
- compression spring [I used a 3/8" (9.5mm) diameter x 51/64" (20.2mm) length]
- extension spring [13/64" (5.2mm) diameter x 37/64 (14.7mm) length]
- (3) M3 x 20mm hex socket screws
- (3) M3 nuts
I bought the springs from Home Depot https://www.homedepot.com/p/Everbilt-Spring-Assortment-Kit-84-Pack-13554/203133714
The screws can be bought at home depot too https://www.homedepot.com/p/Everbilt-M3-0-5-x-20-mm-Zinc-Plated-Steel-Socket-Cap-Recessed-Hex-Screw-3-per-Bag-803208/204281930
MODIFIACTION TO THE CANDY DISPENSER: Video -> https://youtube.com/shorts/INC2RlQcEgQ To make the candy "mag" you have to remove the top of the dispenser and cut the plastic "spring" off - level with the web of plastic the candies push against. It should end up about 9/32" (7mm) above the outer shell. You then need to cut a slot in that web about 3/16" (5mm) wide so the "sender" can pass through (which is 1/8" (3mm) wide)
TROUBLESHOOTING: "The trigger is not moving back and forth smoothly"
- Make sure the hammer and sender are moving freely when pulled back manually
- Make sure the printed parts are free of any extra material. Deburr the edges if needed.
- Look for any signs of something rubbing and address. I have noticed that sometimes the trigger block can dig into the track it travels in. If that happens, add a small chamfer on the trigger where it is rubbing. It may be helpful to use a small amount of food safe lubricant to the top of the trigger block.
- Make sure the front of the TrigMech_Left and TrigMech_Right are going all the way together (no gap in the front bar)
"The trigger is moving all the way back but it is not firing at the end of the travel"
- Make sure there is no extra material on the "ears" of the hammer.
- Make sure the corners of those features are smooth and have nice edges. Over or under extrusion may ruin the timing of the trigger release
"Everything is moving as it should but why is the trigger pull so hard?"
- Well it is a bit of a balancing act to make sure it's not too hard to pull the trigger and yet make the candies fling out with some force. I think the spring I chose is a good balance after much testing but you are welcome to use a weaker spring. You could even cut a couple coils out of the existing spring to reduce the force needed but try to stretch it out a bit so it doesn't fall out of place
"Something else is wrong"
- Please contact me with any issues. I'm happy to help you get it working properly. If necessary, I'll make changes to the 3D model in a timely fashion and update them on this page
3D PRINTING SETTINGS I printed out of PLA at .2mm layer height and 75% infill.
Supports are required for the shell and hammer
Private use only please. See license for more details. If interested in selling prints of this, please contact me


CANDY GAT - THE 3D PRINTABLE CANDY SHOOTER

Security Pigeon Multi-Layer Stencil

Photo Flipbook Frame

King Kong Multi-Layer Stencil

Thinking Cat Multi-Layer Stencil

Sad Liberty Multi-Layer Stencil

Godzilla Multi-Layer Stencil

Alan Watts Multi-Layer Stencil

Modular Shelf for Lego Speed Champions

Soap Dish
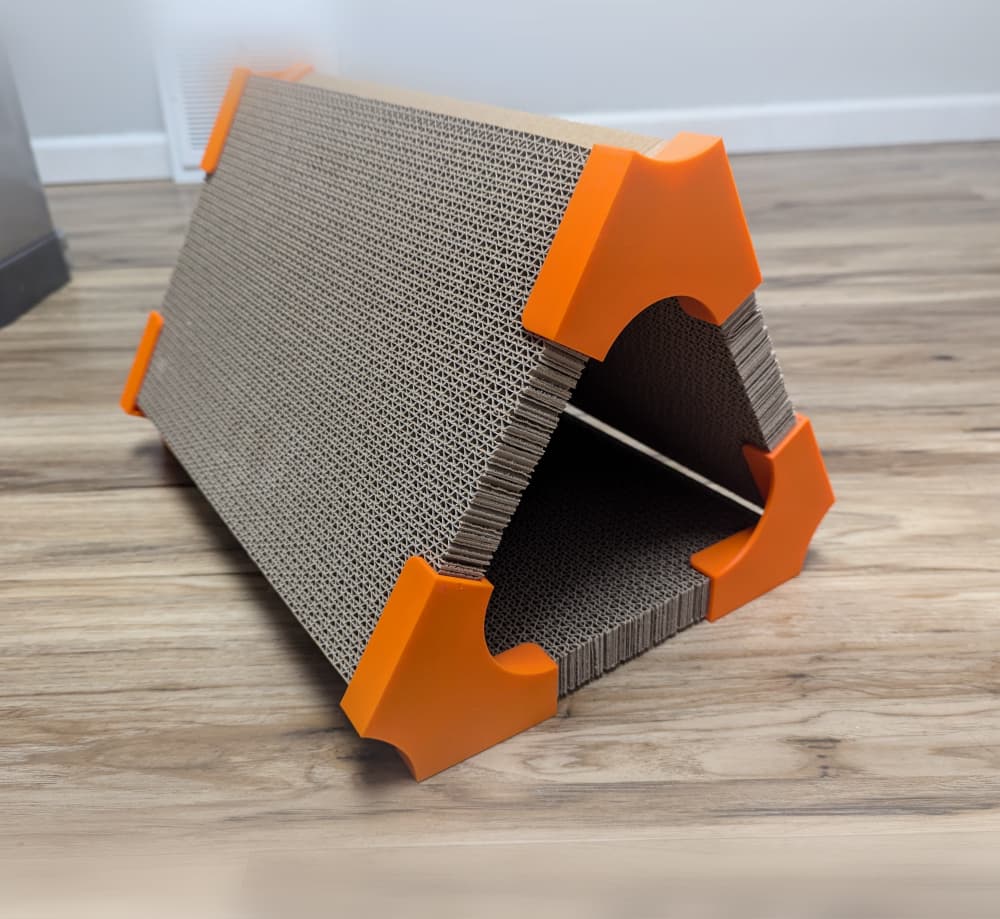
Cat Scratcher Bracket

Alien Tape "Command Hook"
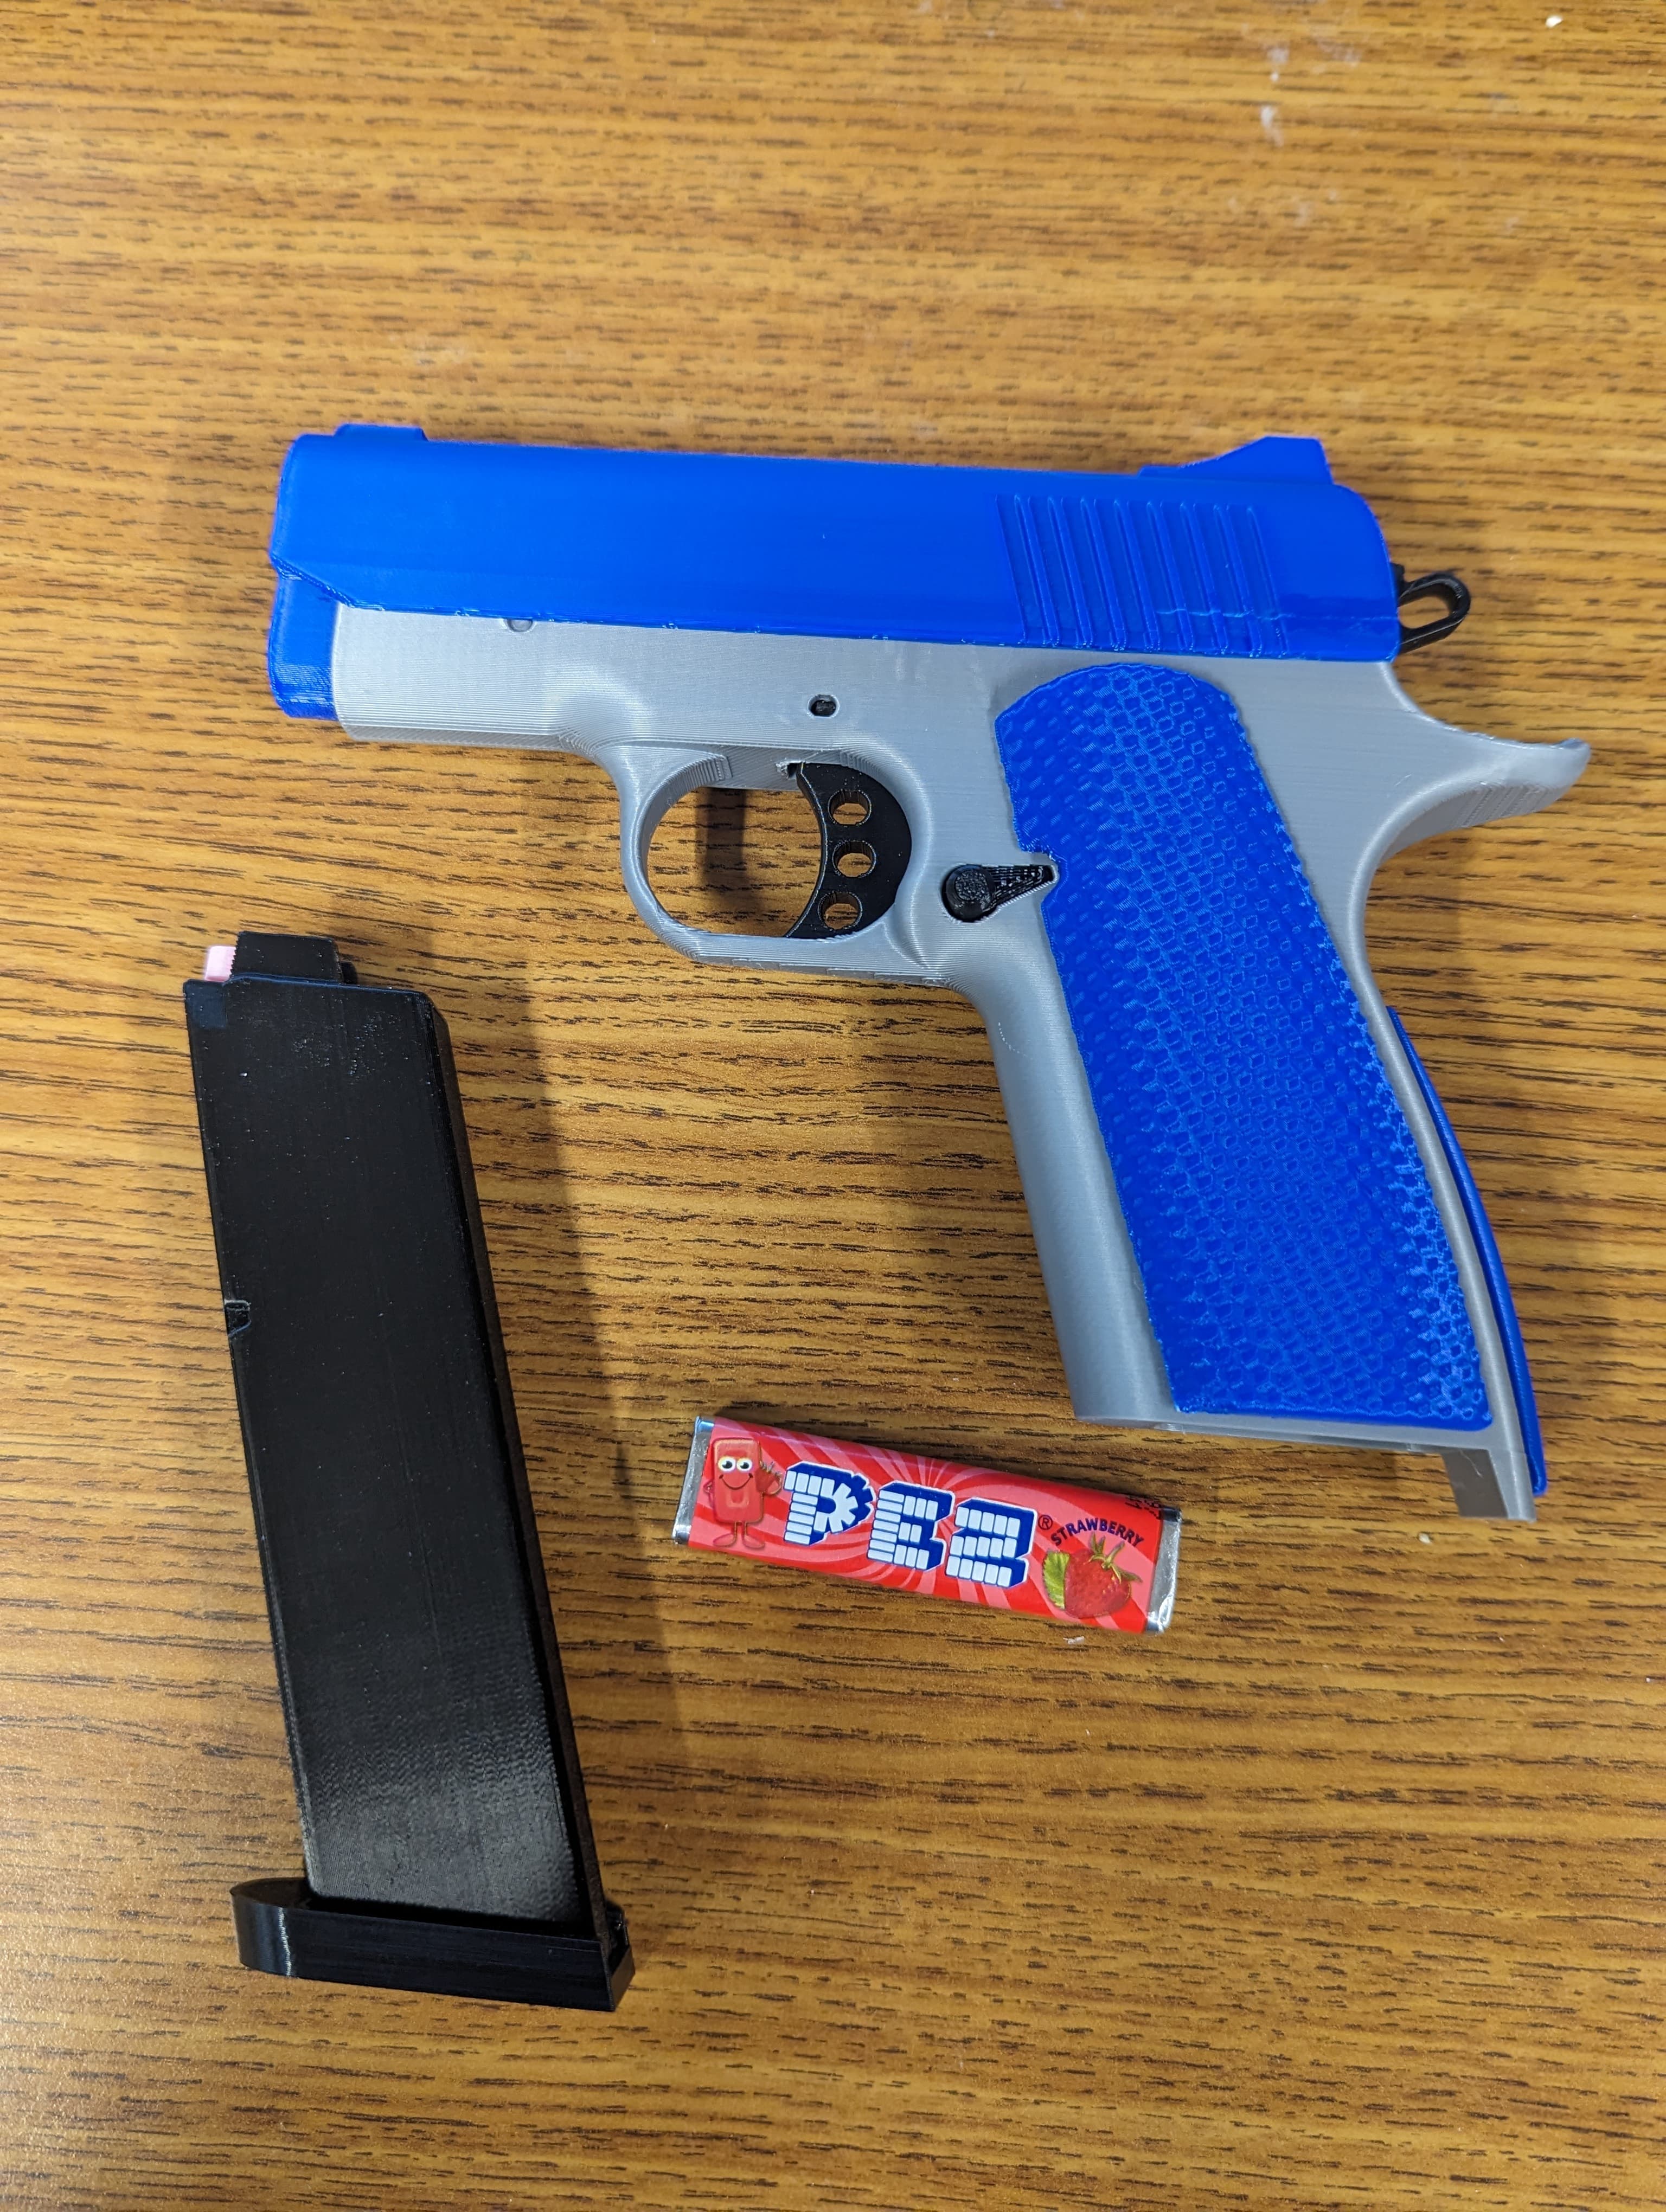
CandyGat PZ11 - PEZ Shooter

Compact & Adorable 2.5" Mini Letter Board

Fish Breeding Cave
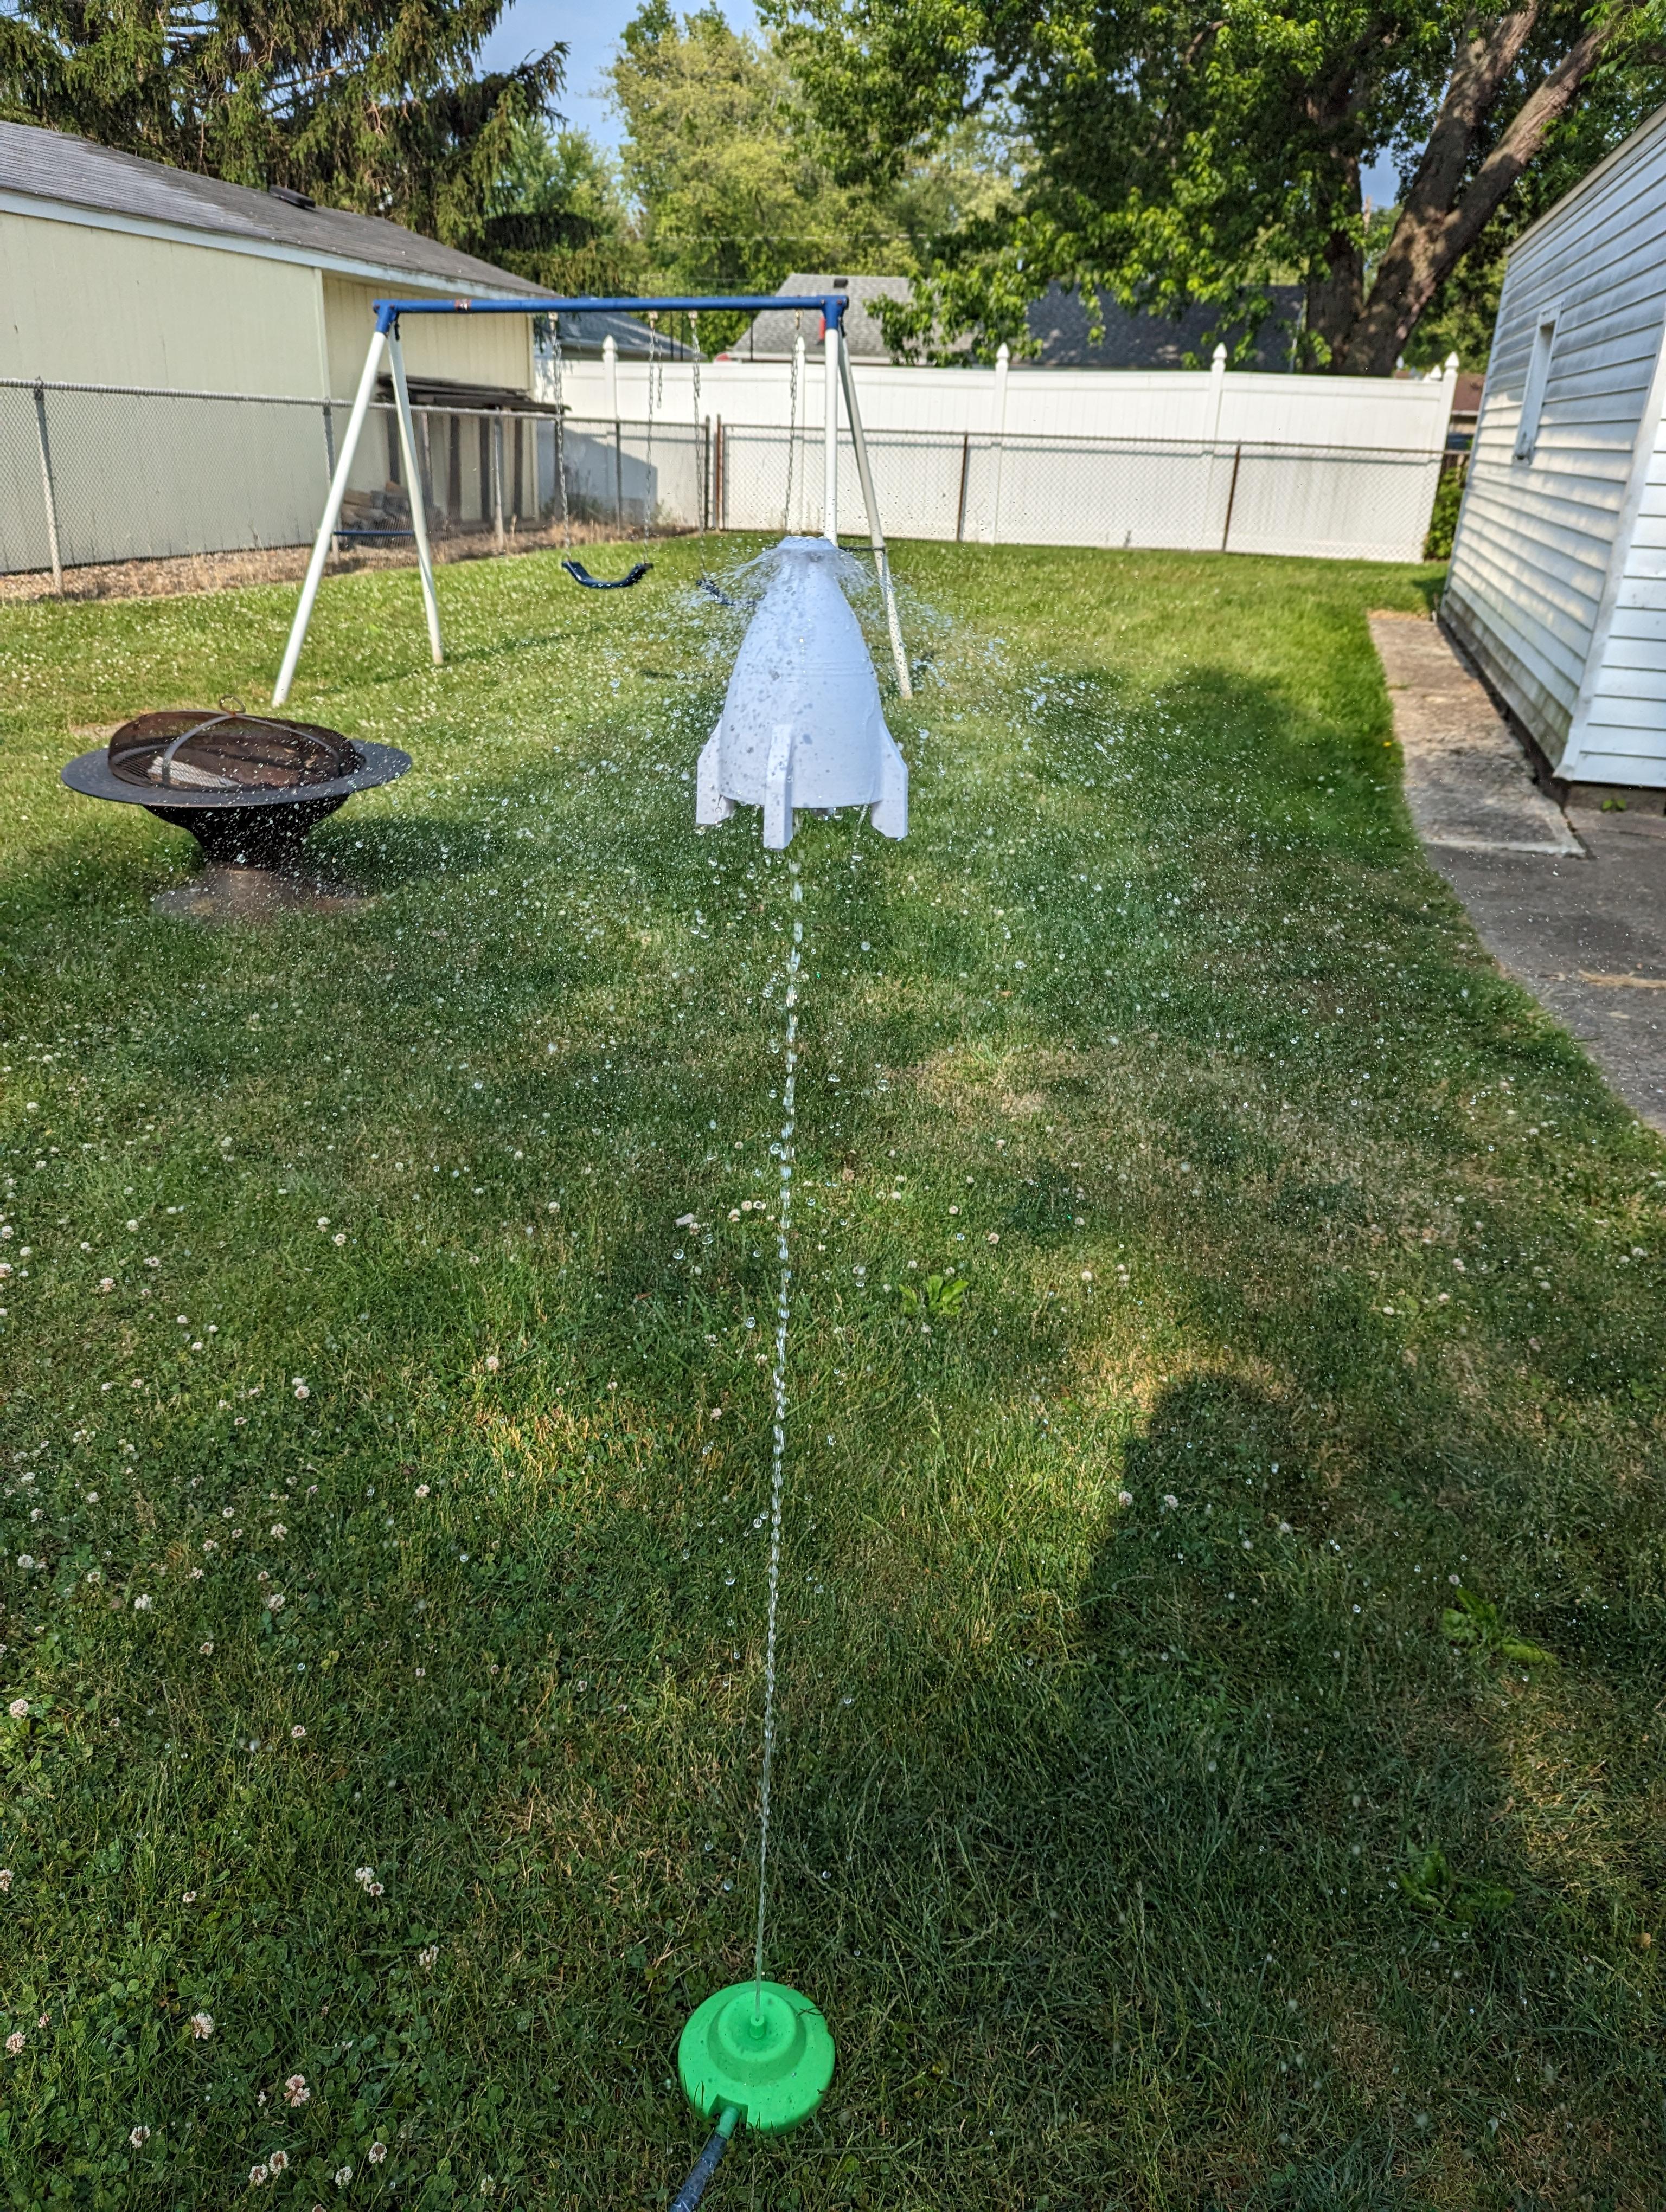
Water Sprinkler Rocket

candy gat rubber band modification
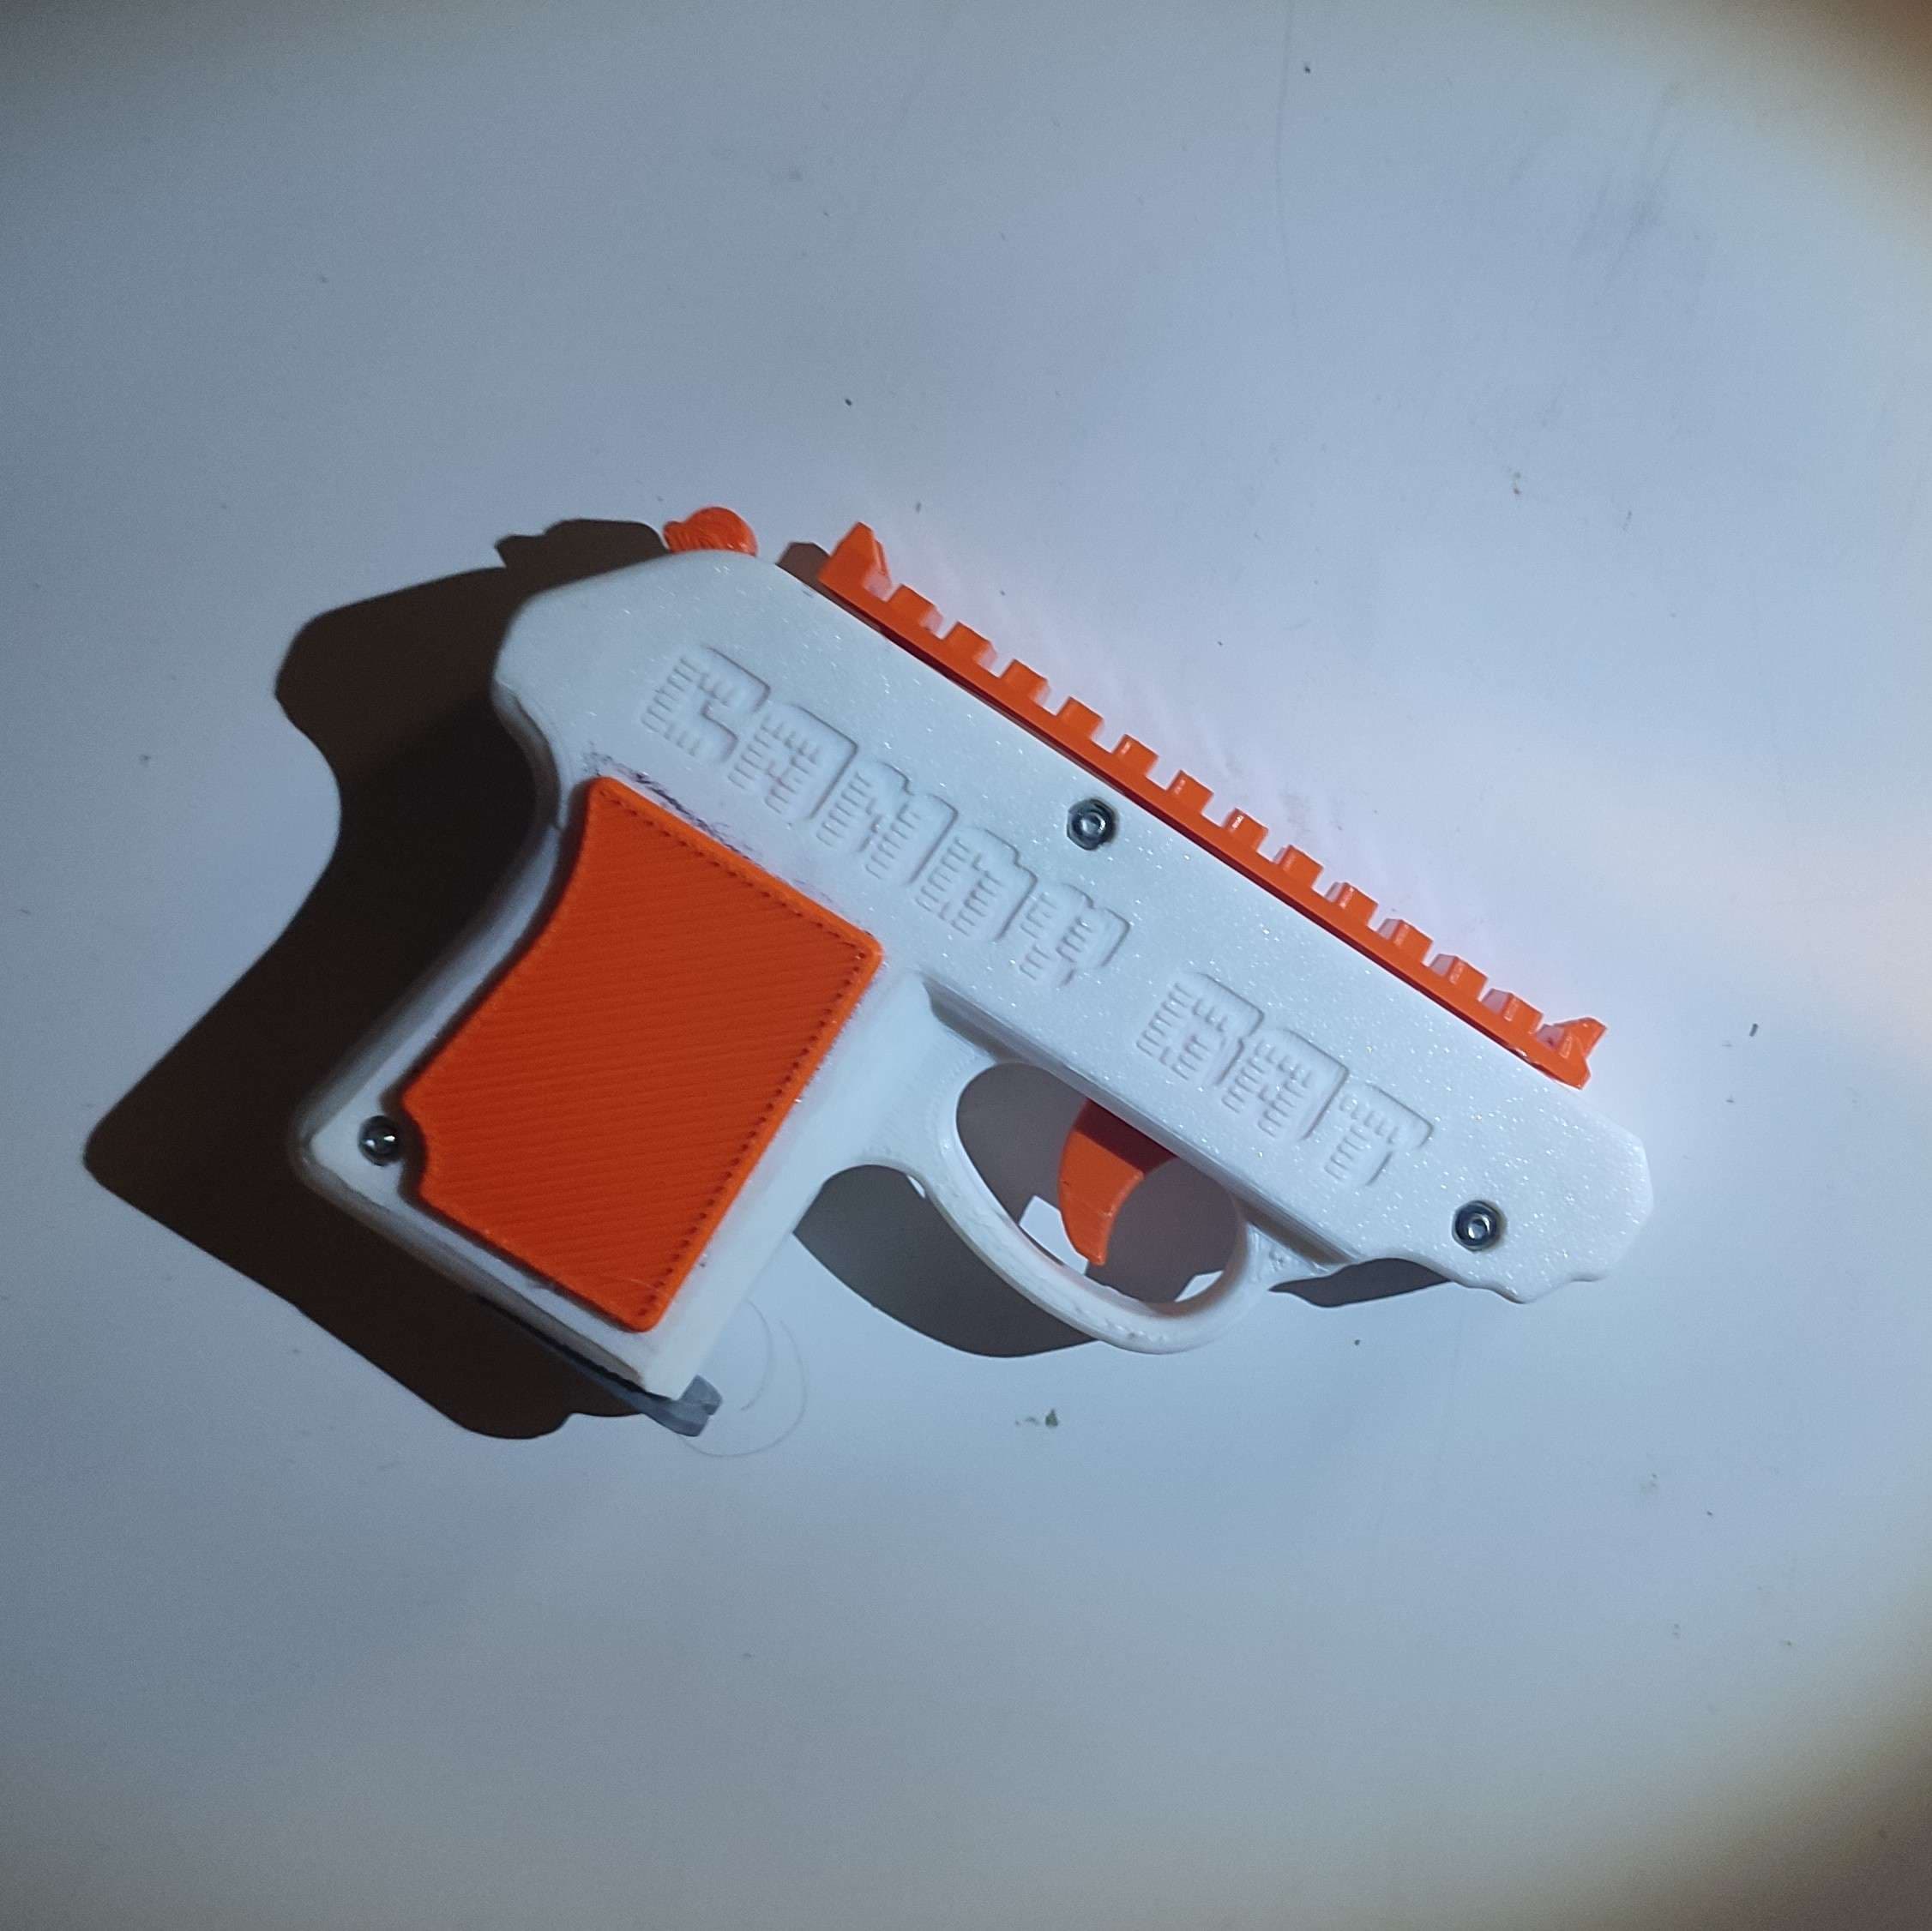
Candy Gat Cosmetic Upgrade Kit

tact-o-mallow.3mf

Jack Skellington Pumpkin 2025 edition - Halloween Lantern Decor - No Supports 3D Print STL/3MF

I got the springs from this kit on amazon.ca
https://www.amazon.ca/gp/product/B0BCVBL8H9/
It would be nice to add spring dimensions in mm as well for the international audience.
Valid point. I'm just used to both so didn't even think about it. I updated the description to include both
I also noticed it fires more consistently when the magazine is more full, could also be the food lube needing worked in though. Overall great print. Gonna dial in my printer better then work on some PZ-11s 😁
Hey man I just made this design today and it is awesome! I did a bit of tinkering and reduced a lot of issues with stuck triggers and firing malfunctions by combining the two TrigMech's into a single piece. I am looking forward to making another for PEZ related hijinks
Hey man I really like this design. So I made this to spice it up a little: https://than.gs/m/996687
Hell yeah! I love it!
I'm having a problem where the trigger gets stuck after I pull it. I've deburred everything the edges are good, im not sure what else to look at to fix it. Other than the times it gets stuck its great and we've been having a great time playing with it
One more thing, if it moves freely but sucks only at the very end, it might be binding when the bars that push the trigger move up, towards the top of the gun. I thought I designed enough tolerance to prevent that but I had that happen on early versions. Let me know what you find out and I'm happy to help you resolve it however I can
Sorry you're having problems! Hm.. let me think.. so I think I remember this happening on occasion when the trigger assembly was too wide for the cavity it slides in. Or vice versa for whatever reason. To diagnose if that is it, I'd loosen the screws a bit. Or hold the hammer back while moving the trigger to see if you can feel where it's hanging up
I reprinted the trigger pieces and sanded them down a little more and everything is working great. Not sure what I messed up the first time but it was clearly just operator error. Thank you!
Oh I'm glad to hear! Enjoy!
Thanks for this amazing model. I'll print it with huge enthusiasm !
Welcome! Hope you enjoy it
The pez candy breaks off a small piece in front when i fire it and the rest stays in the dispenser. Do you know what the problem is?
Maybe the trigger mechanism is releasing too early? What happens if you pull the hammer back manually all the way then let it go?
So i did try your suggestion of trying it with only half shell and it looks like the trigmech is releasing the hammer to early and it catches the middle of the pez candy. I will try to reprint the hammer/trigmech again and see if it fixes it but do you have any ideas? Thanks
That problem is why i dropped the double action trigger in the newer version. It's so hard to tell why it goes wrong when it does but i had it pretty dialed in. I should probably revisit this design someday and make a better mechanism.
Anyhow, you absolutely can get it working but you might have to try adjusting the tip of the arm that pushes the hammer or the "ear" on the hammer to get it to release at the right time.
Curious - what material and printer are you using?
Gotcha. Thanks for the input. I am using esun pla silk for all parts except the trigger and hammer which are bambu basic pla. Printed on a bambu p1s.
oh wow i have the same printer. Printed in pla, i wasnt having any issues right off the printer. I'm hopeful if you print a new set it'll work 🤞
so i was using the wrong compression spring that was 10mm longer this whole time. Popped in a 20mm one and it works perfectly. Thanks for your work!
Hm.. I've never had that happen but it sounds like something is definitely out of alignment. I think I'd start by using only one half of the shell and no springs (or just the extension spring?) to make sure the candy is pushed out of the dispenser and into the barrel without running into anything. Like move the firing mechanism by hand. Sorry it's hard to say but I haven't heard of that issue.
i'm also going to post this on thangs plus the original files so that you may use this as well. i will be adding the link to this post soon
i am very new here so i am having sooo much trouble with uploading the files. i mean i got really close on my first try and i wanted delete a file that i didn't want, but i ended up deleting the whole thing by accident and now i can't get it back and i've tried to get the page that i was using back but i couldn't so i've just kinda just given up. if anyone can help i would really appreciate it.
ok, i'm getting back on track but any advice would still be appreciated.
i did it, i finally uploaded it. and here's the link. https://thangs.com/designer/Needfordopamine/3d-model/candy%20gat%20rubber%20band%20modification-1495292