
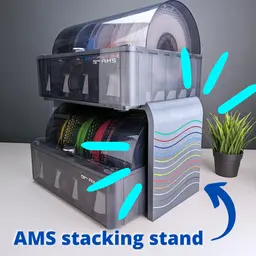


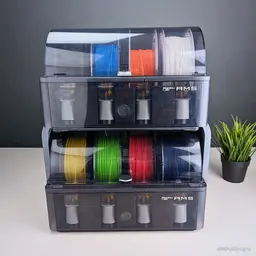
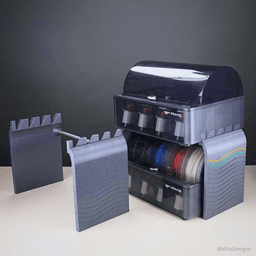

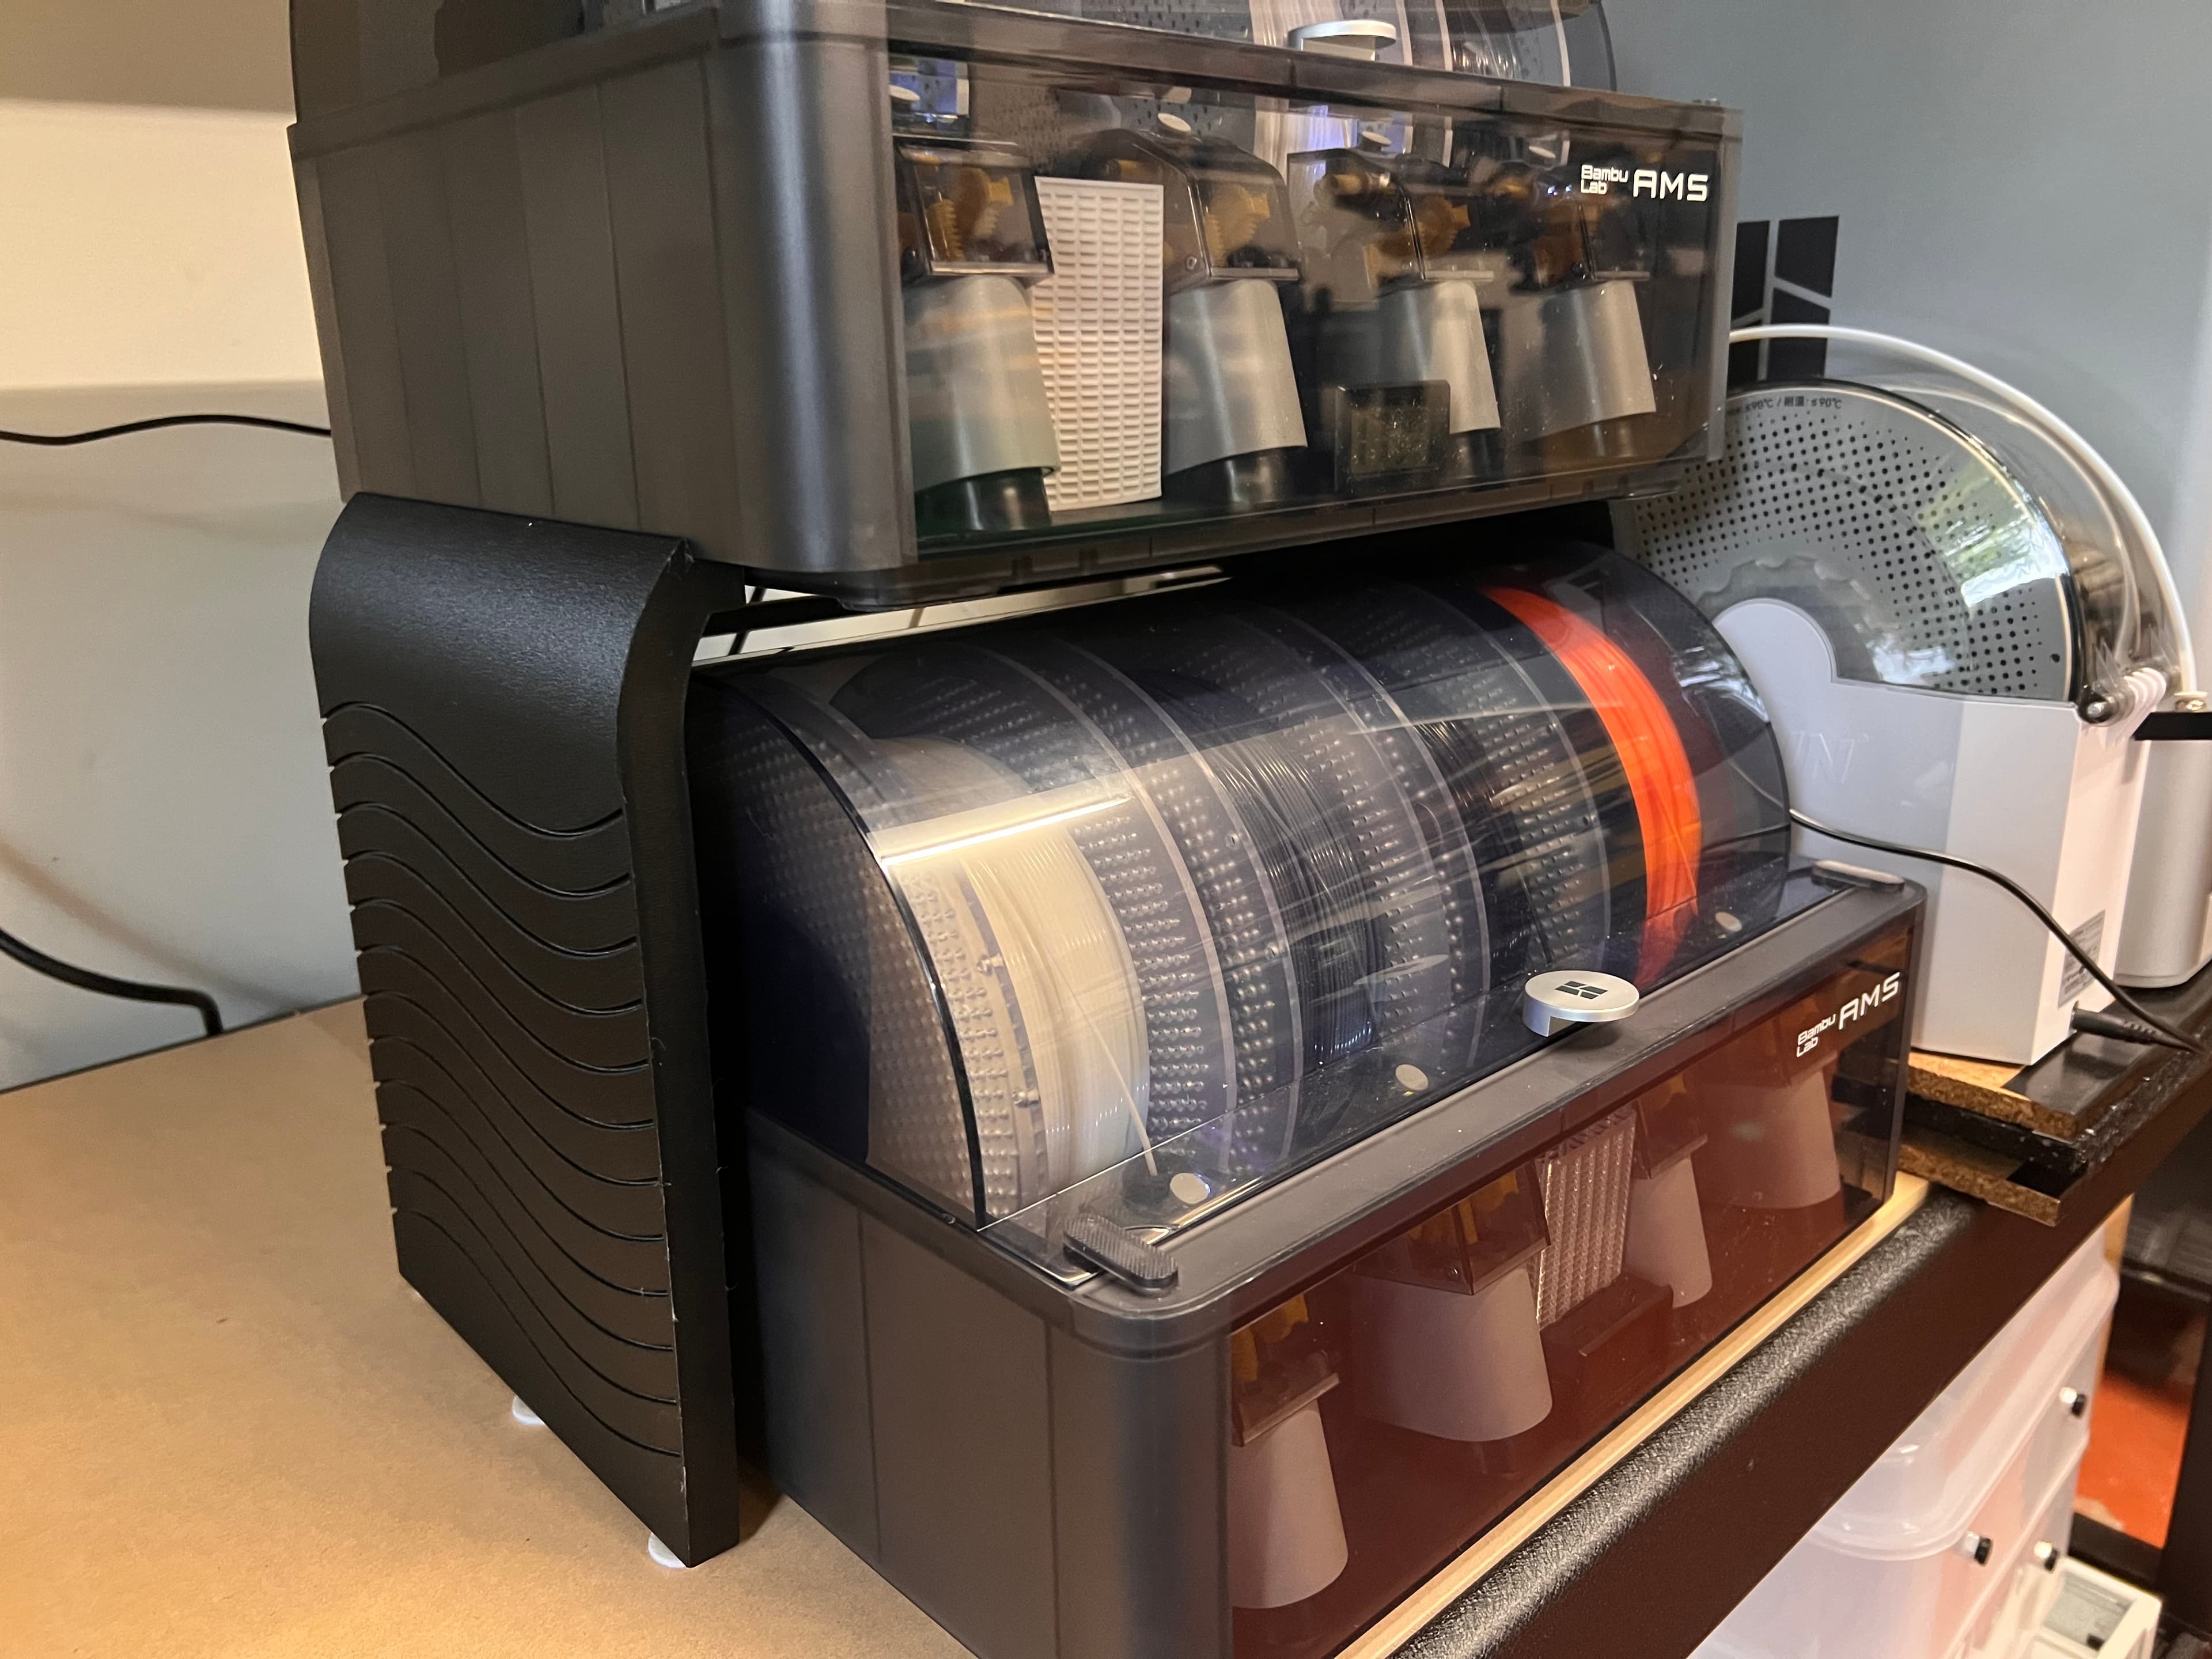
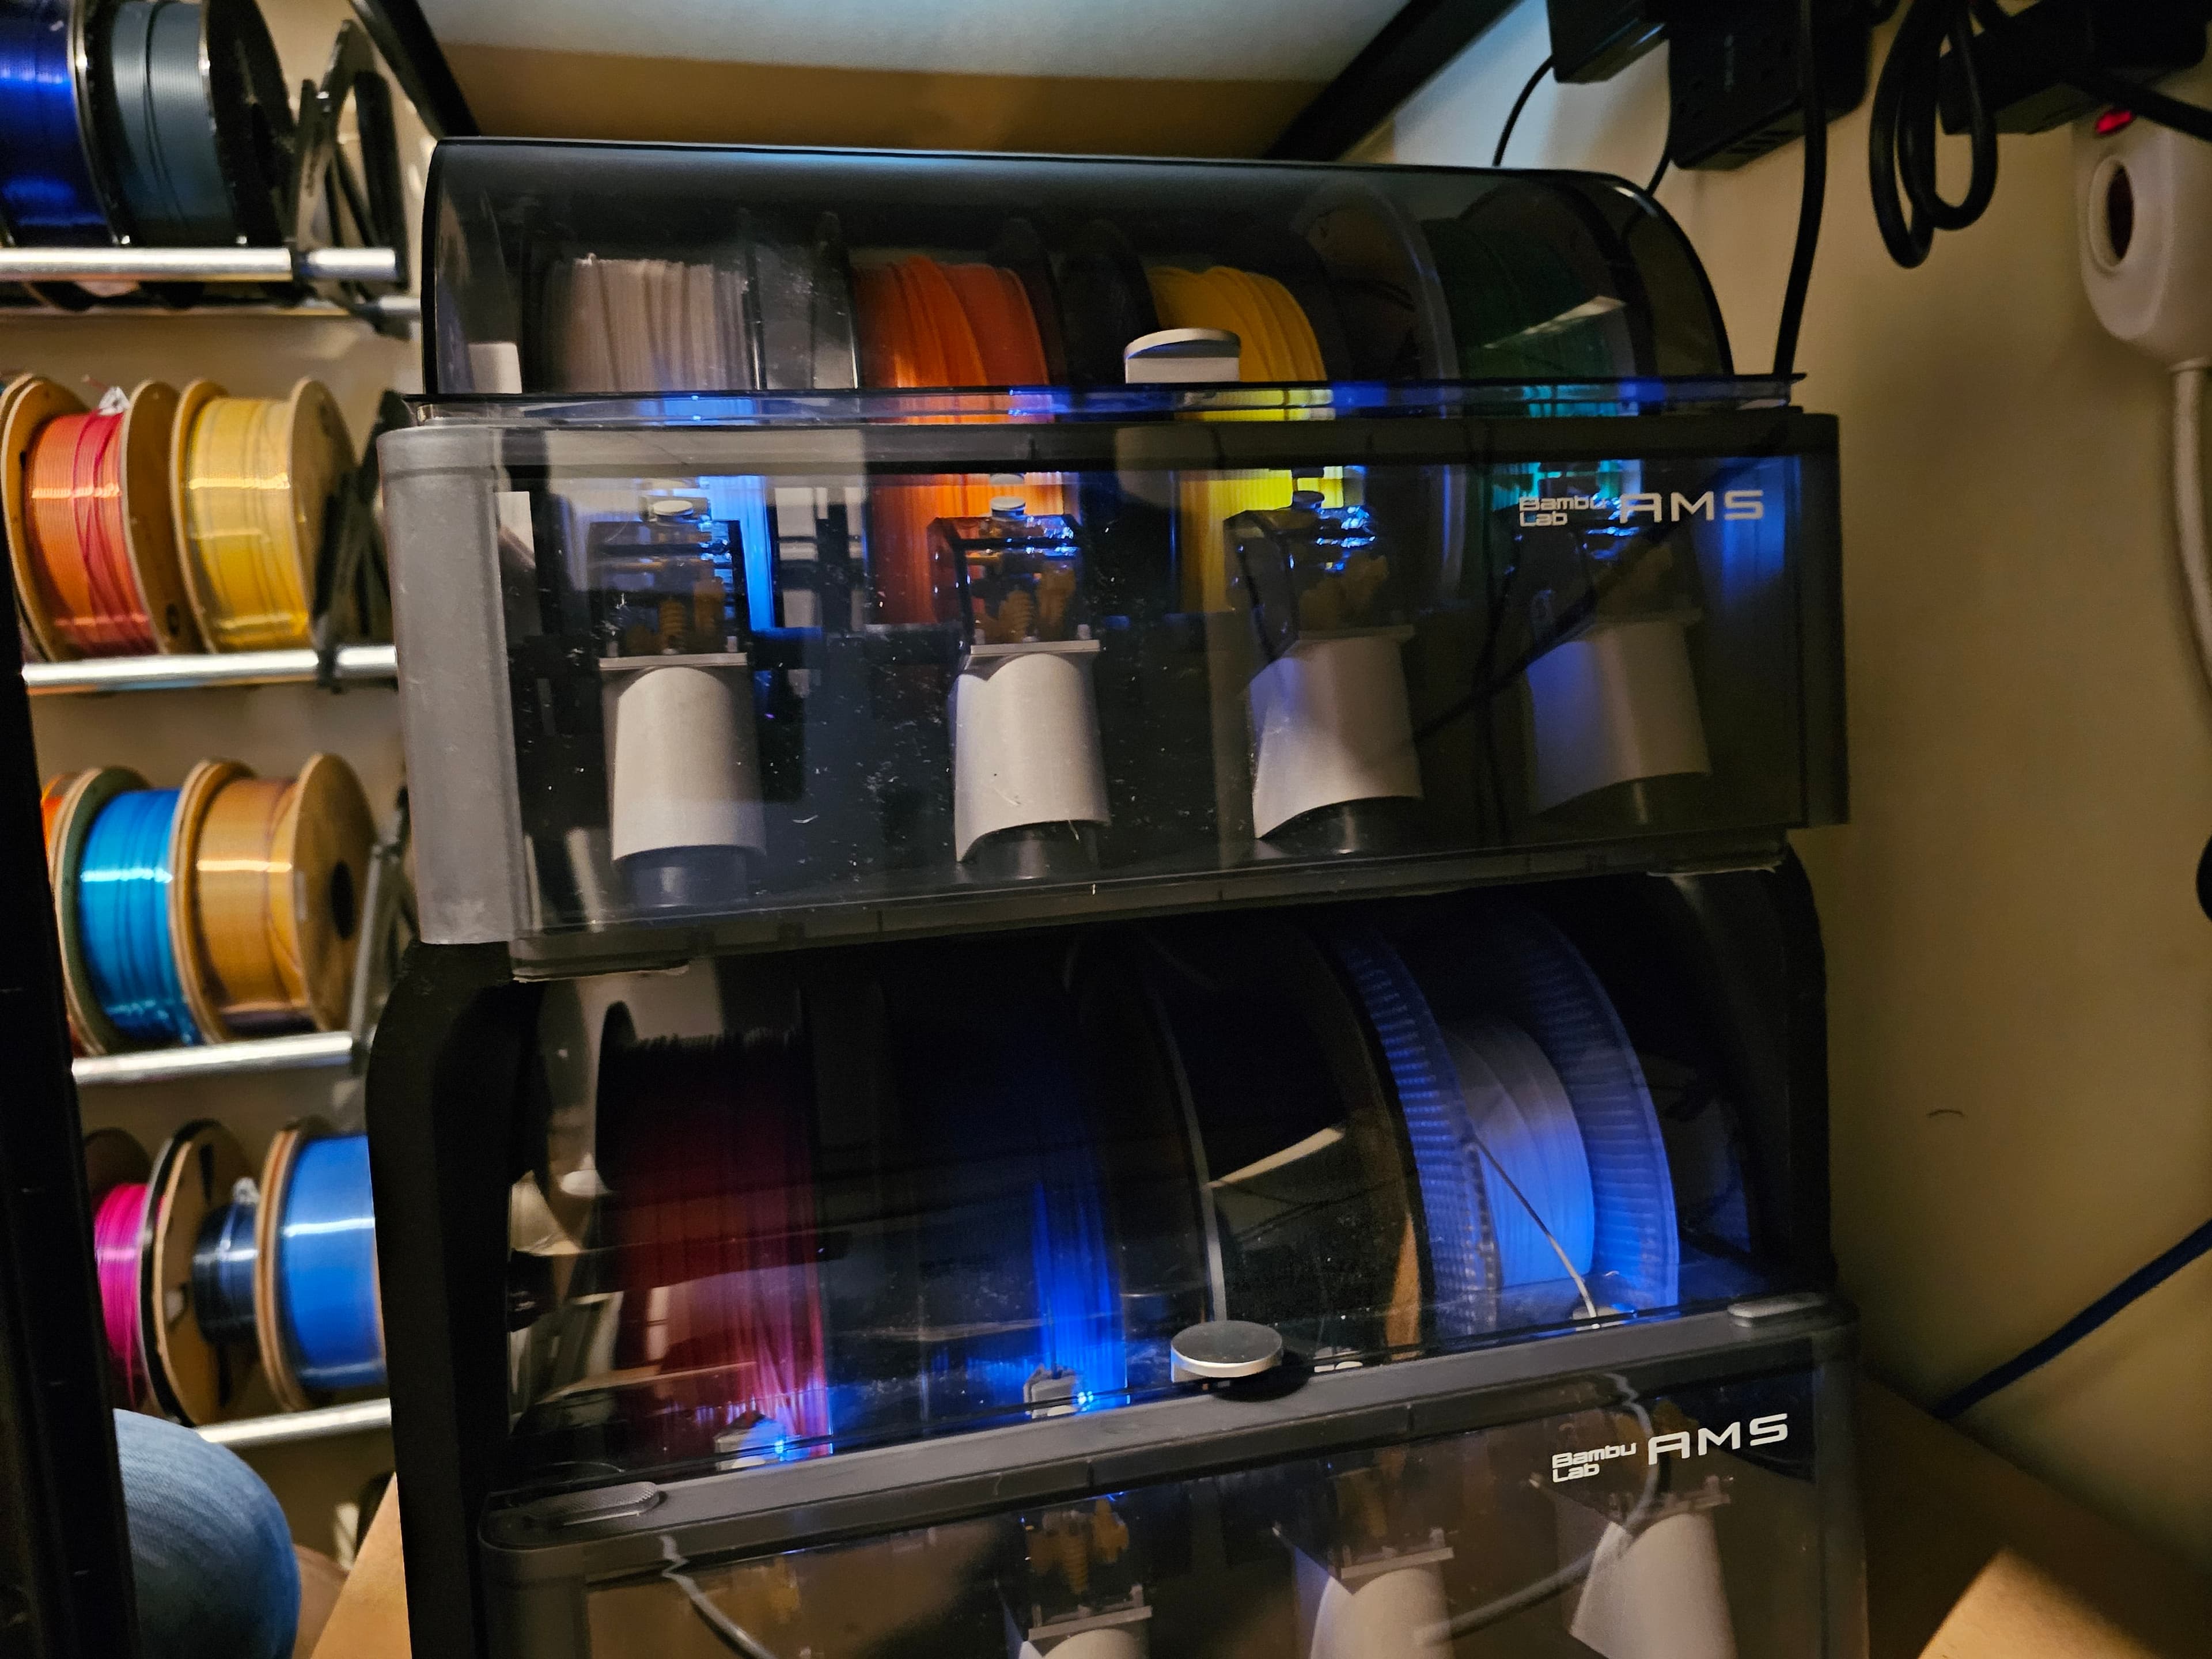
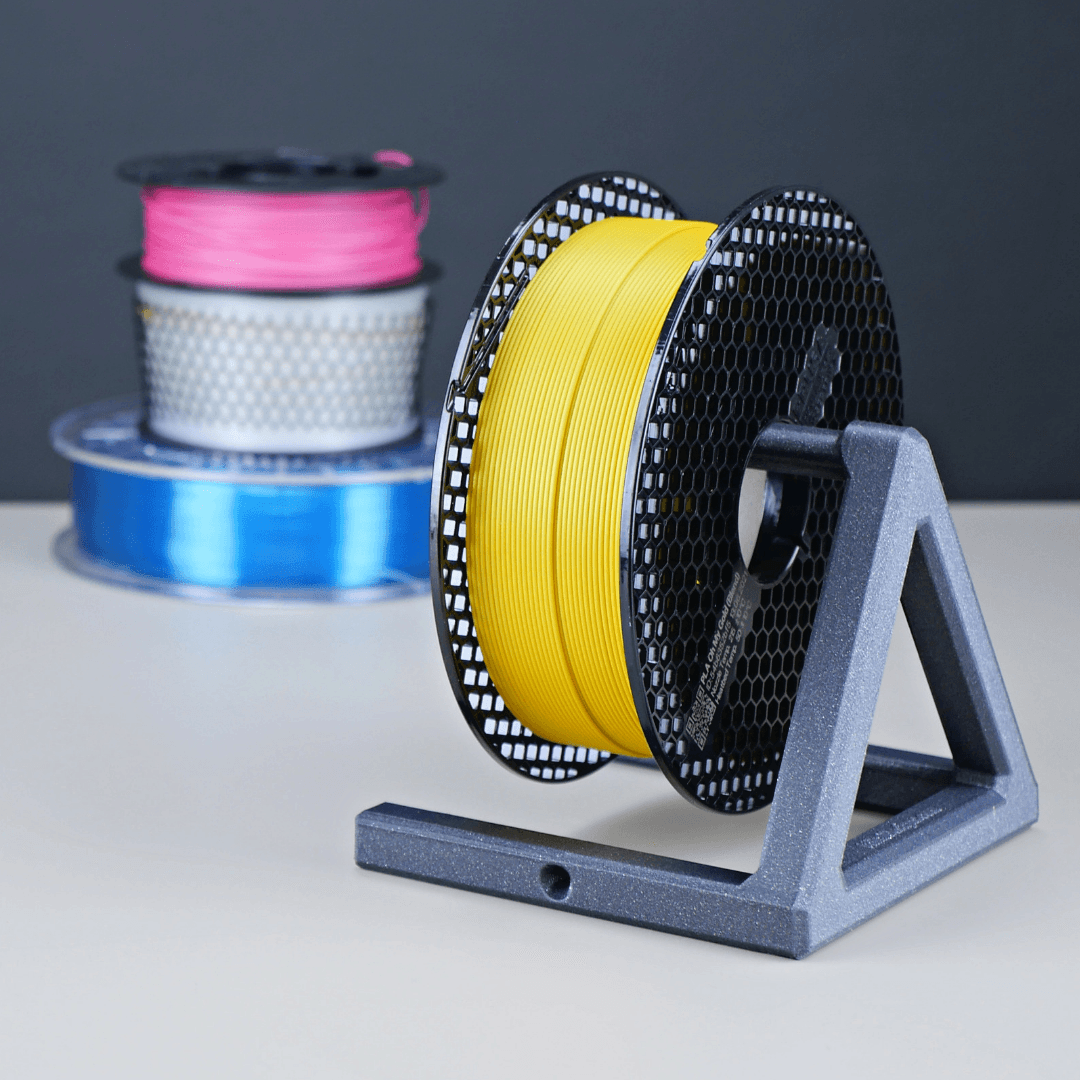
AMS stacking stand for Bambu Lab P1P and X1 #ThangsBambuContest
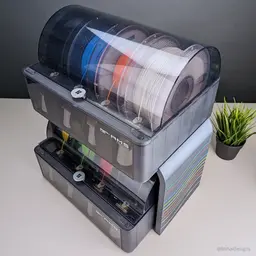
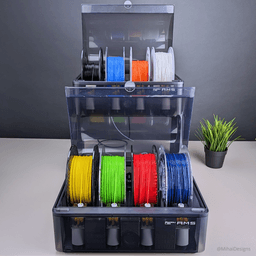
3D printed AMS stacking stand. Fits the Bambu Lab AMS (for P1P and X1 series 3D printers)
Compatibility (updated) Fits the 3 different versions of the AMS units. However, the fit for the older version (3 large gaps on the sides instead of 4) is slightly offset and the bottom box will protrude out a bit.
Materials
- about 500g of filament
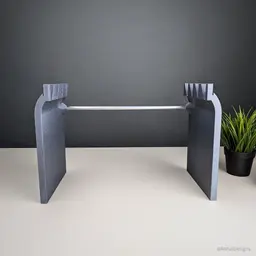
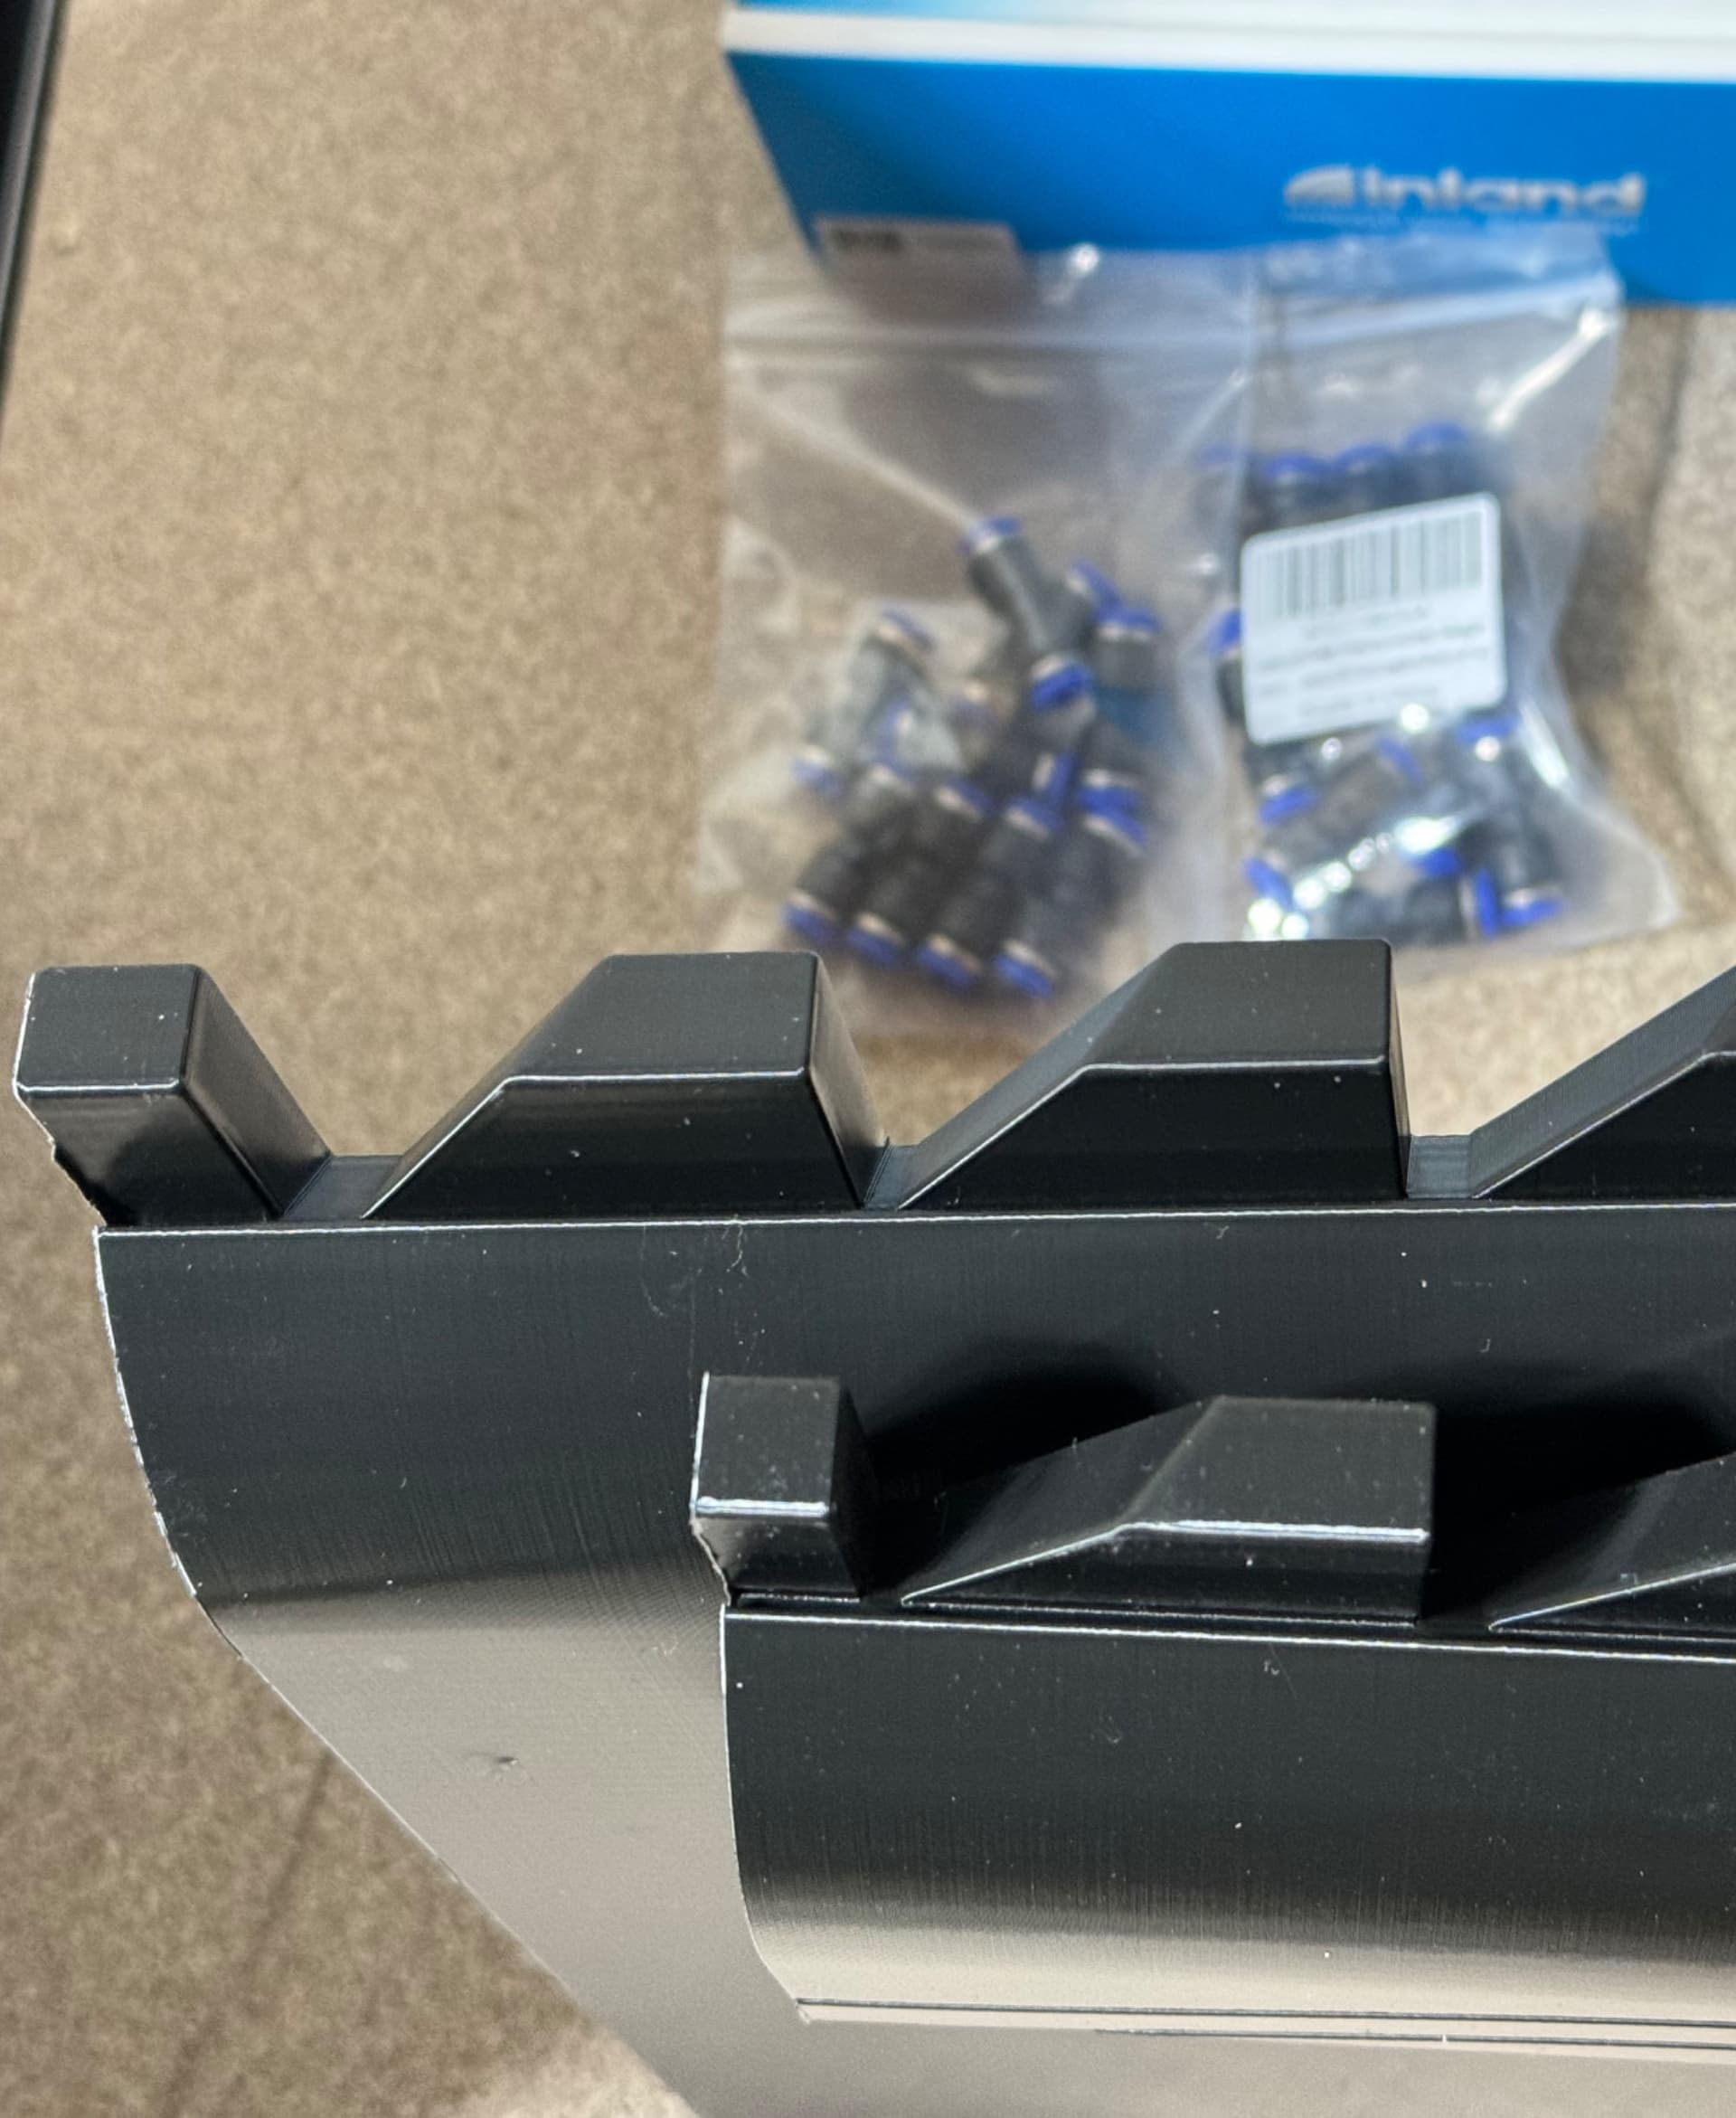
- optional 10x404mm metal rod/pipe (such as an aluminum pipe) cost me about $2 at the hardware store
- optional two M3 grub screws 6-12mm long and compatible Allen (hex) key (you can find them in sets on Amazon for $10-20), OR use long normal M3 screws, like M3x30 or M3x40 and only screw in a quarter of the length
- optional felt pads for the bottom AMS unit for easier sliding
Printing There's an optional small test-fit part that can be printed first for checking potential fitting issues. Let me know so I can add more files with different clearances or different rod diameters. Pick either the decorated version or the plain version. 2 files need to be printed and they are pre-oriented, no supports required. I prefer PETG, 2 perimeters, 12% cubic infill, and a good amount of brim. Takes close to 15 hours to print with the Generic PETG profile.
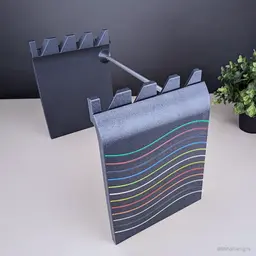
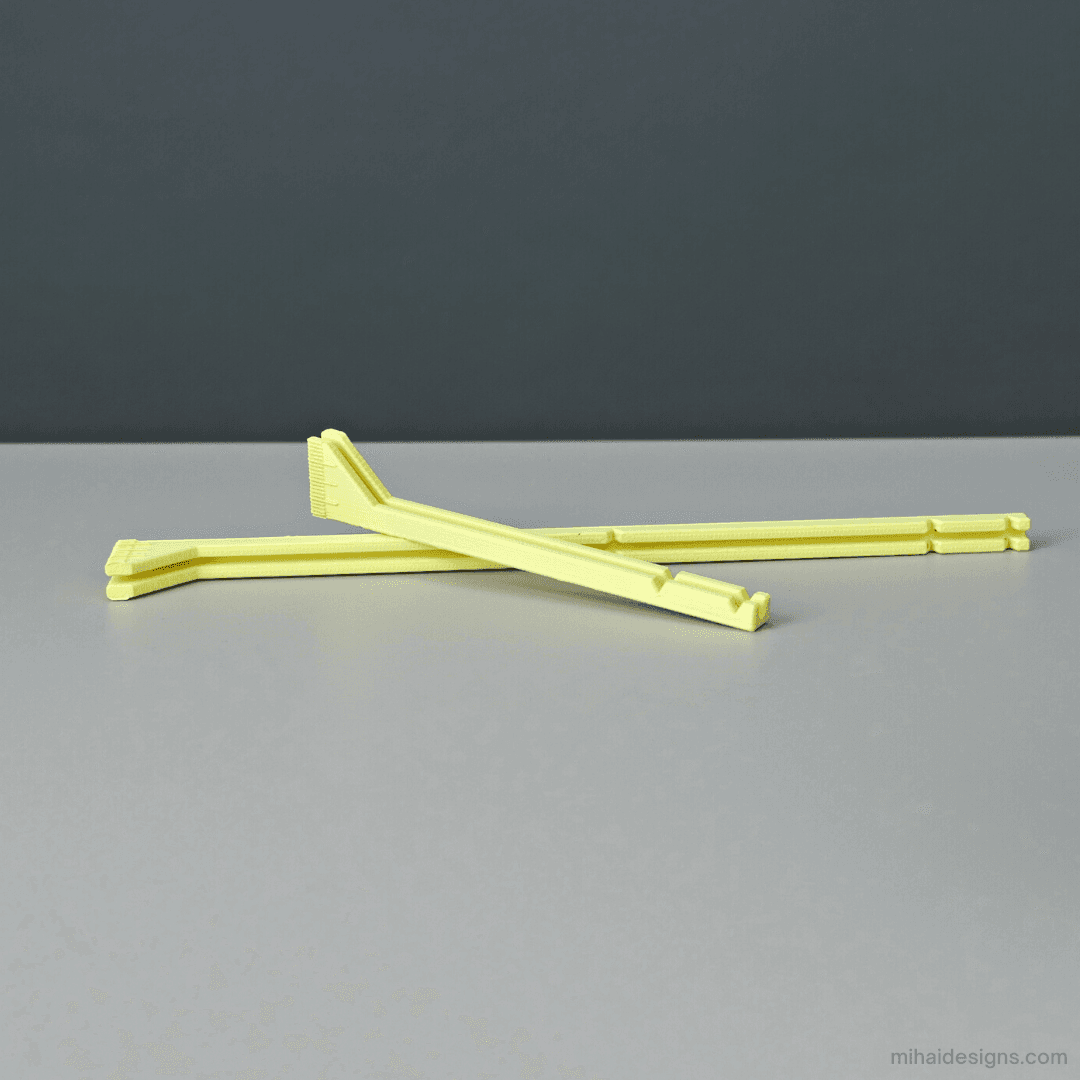
Assembly Cut the metal rod to 404mm long, then insert it in both printed parts. Fit the AMS unit at the top. Screw in the two grub screws at the back alongside the rod to lock it in place.
If you like CAD modeling, I posted a 90-minute video with the entire workflow for creating this model.
Licensed under CC BY-NC-SA 4.0 (in short: you may use, adapt, and share these files non-commercially with attribution and under this same license).


AMS stacking stand for Bambu Lab P1P and X1 #ThangsBambuContest
Cable desk grommet 60mm
Extruder test transition
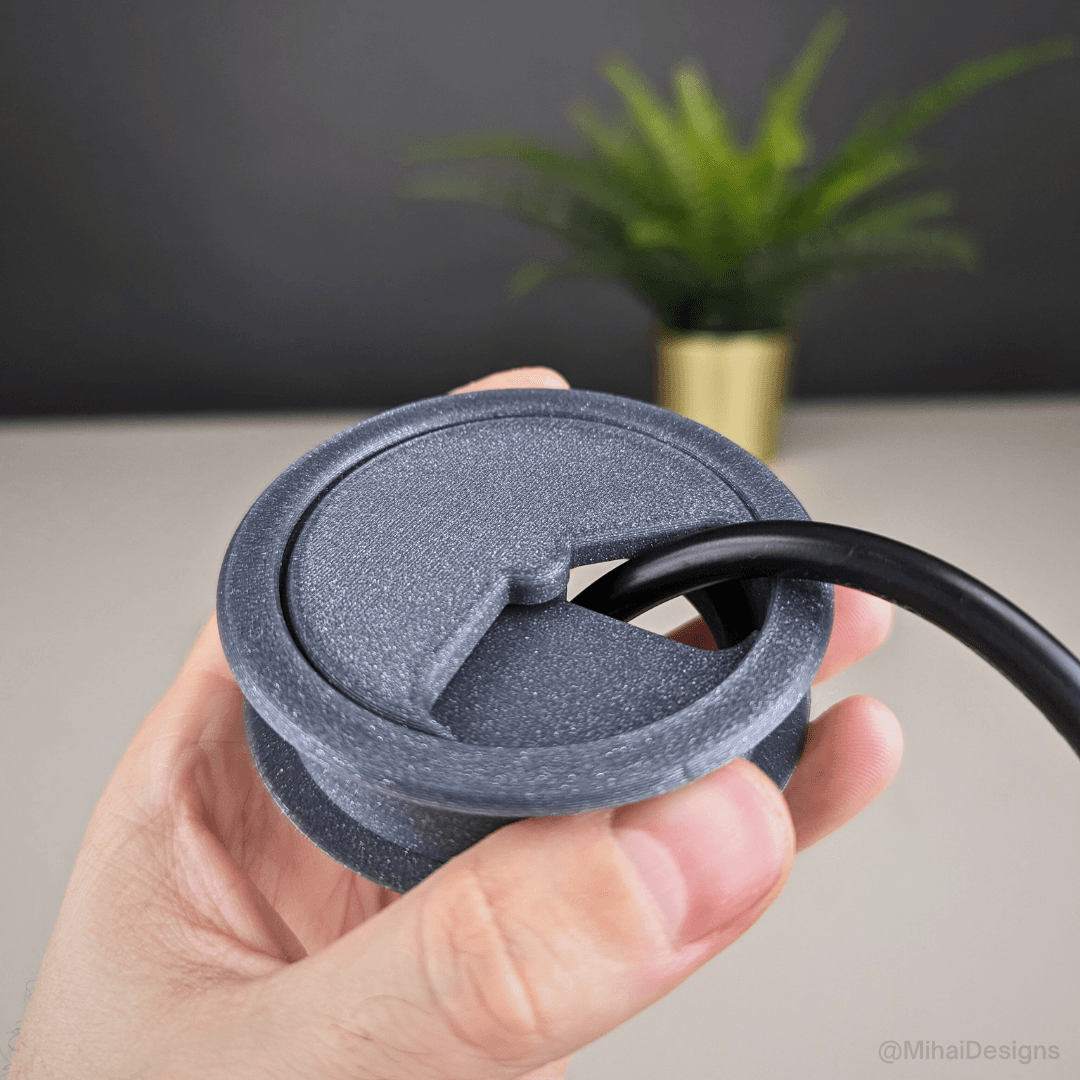
Cable desk grommet 62mm
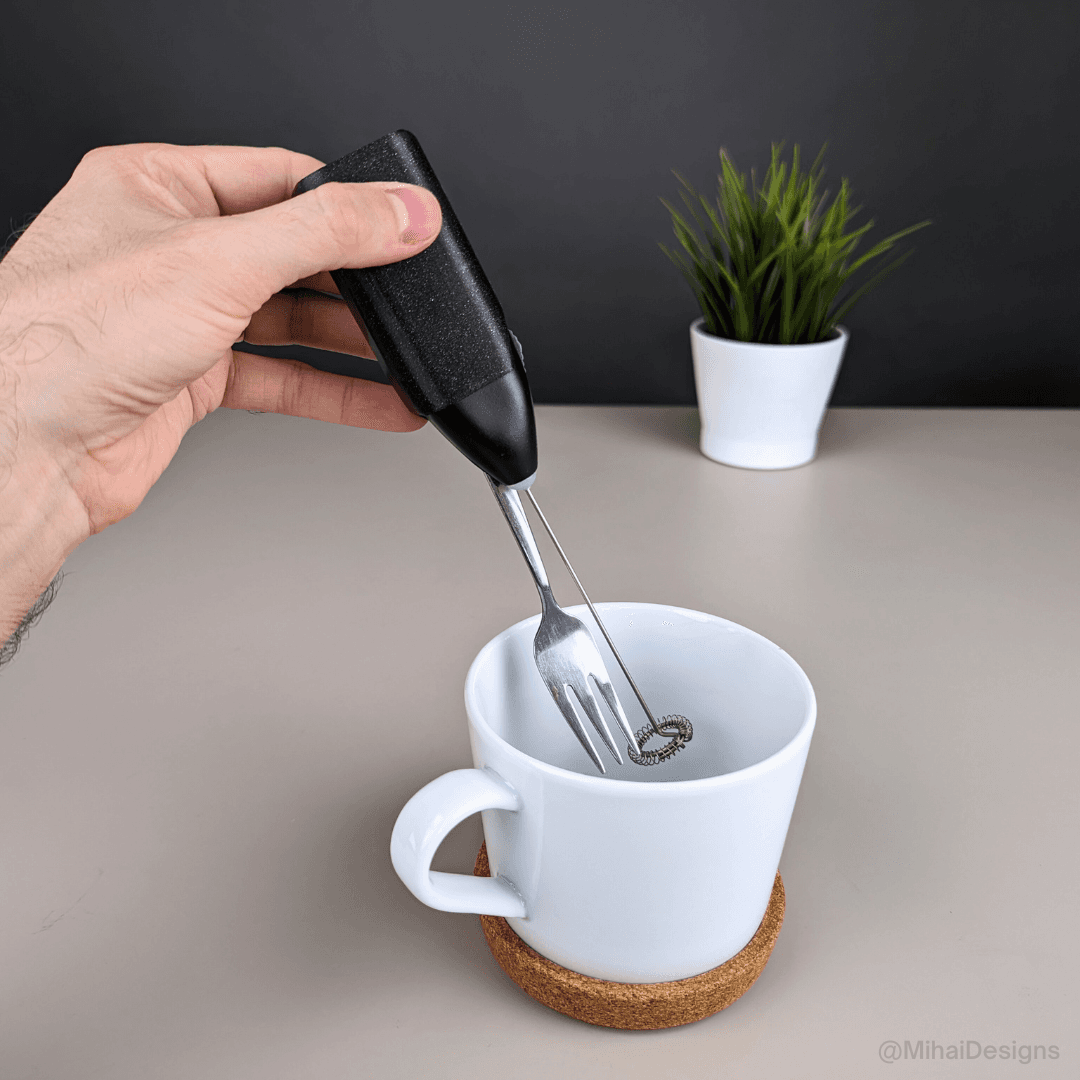
Ikea milk frother adapter

Celestron 80mm binoculars filter adapter
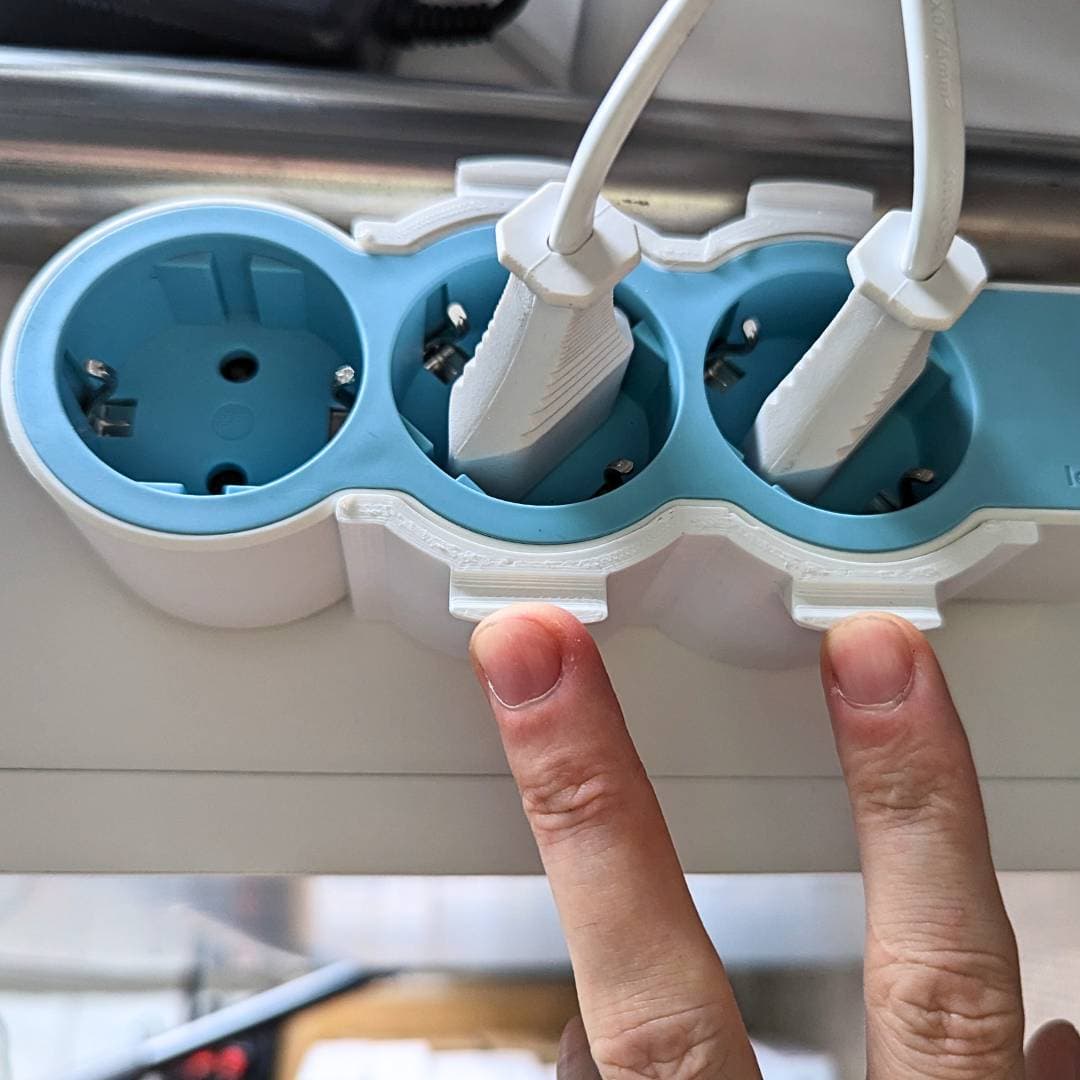
Legrand power strip mount
Heat gun holder

Purge calibration flat stacks for Bambu Lab and other single extruder multi-color 3D printers
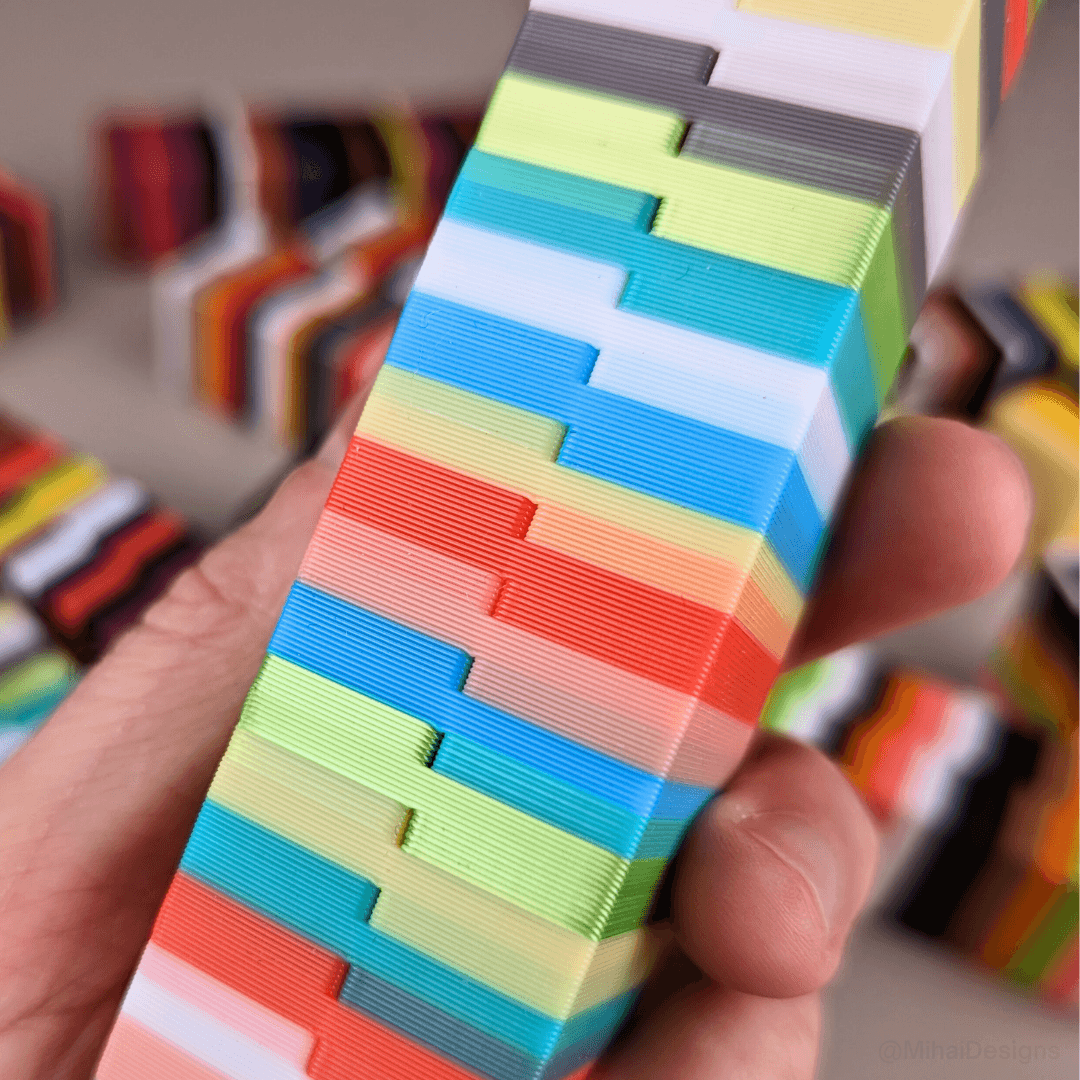
Purge Calibration Z-stacks for Bambu Lab and other single extruder multi-color 3D printers
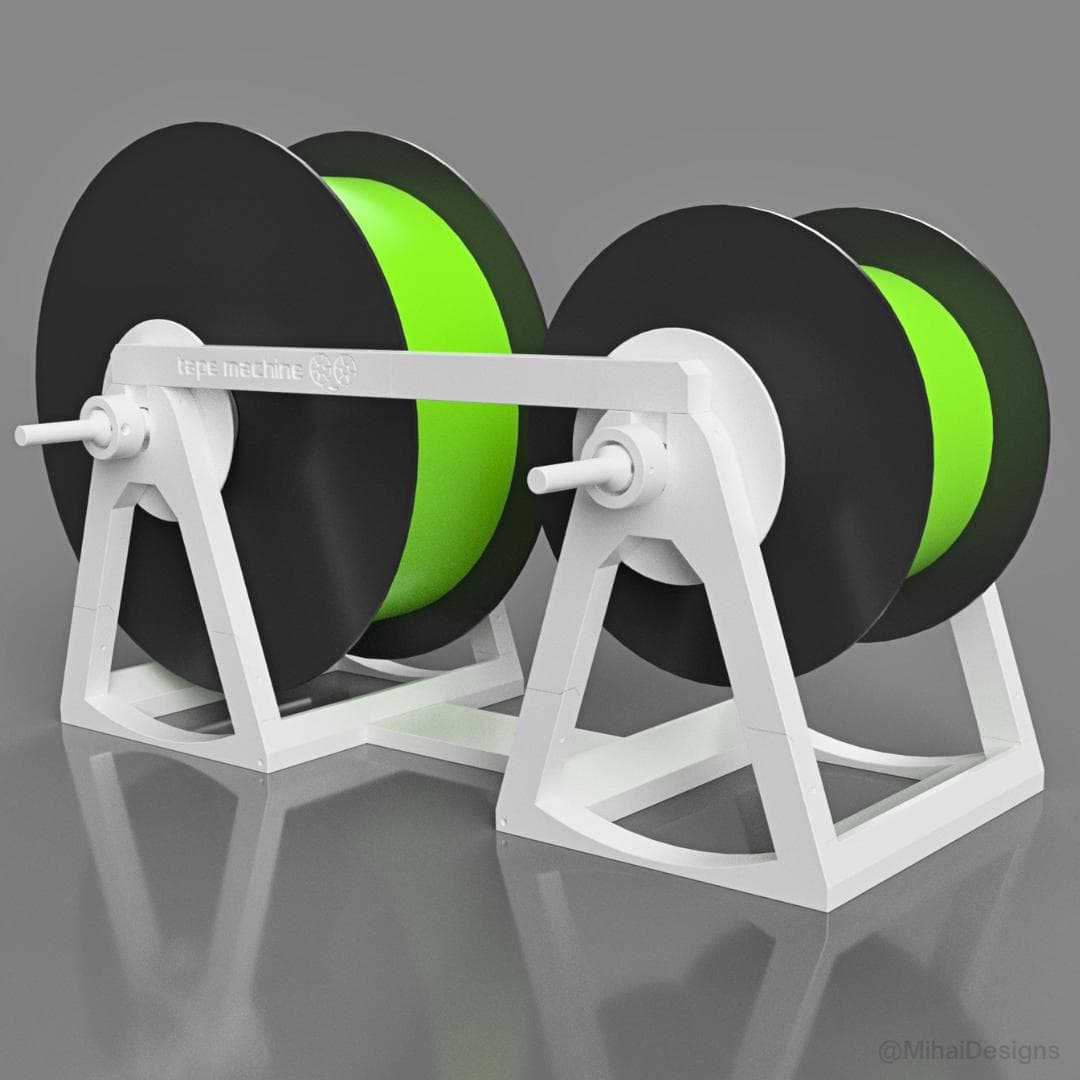
Tape Machine - filament rewind / respooling
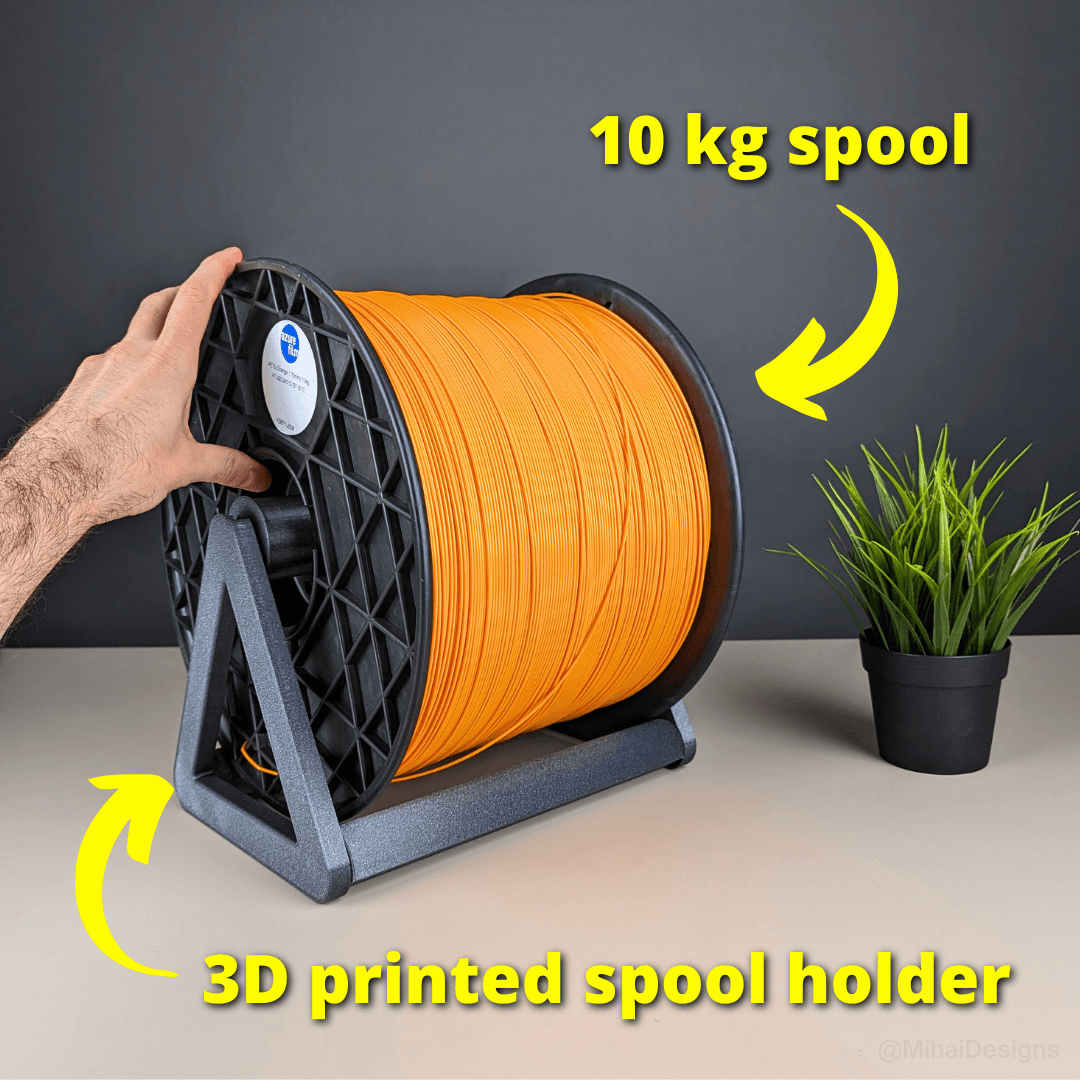
10 kg Spool Holder

Love Bug Railway
Extruder E-steps calibration tool
Magnetic 4 Pin Pogo Connector
Universal PTFE Tube Jig
Universal Spool Holder, Fully 3D Printed
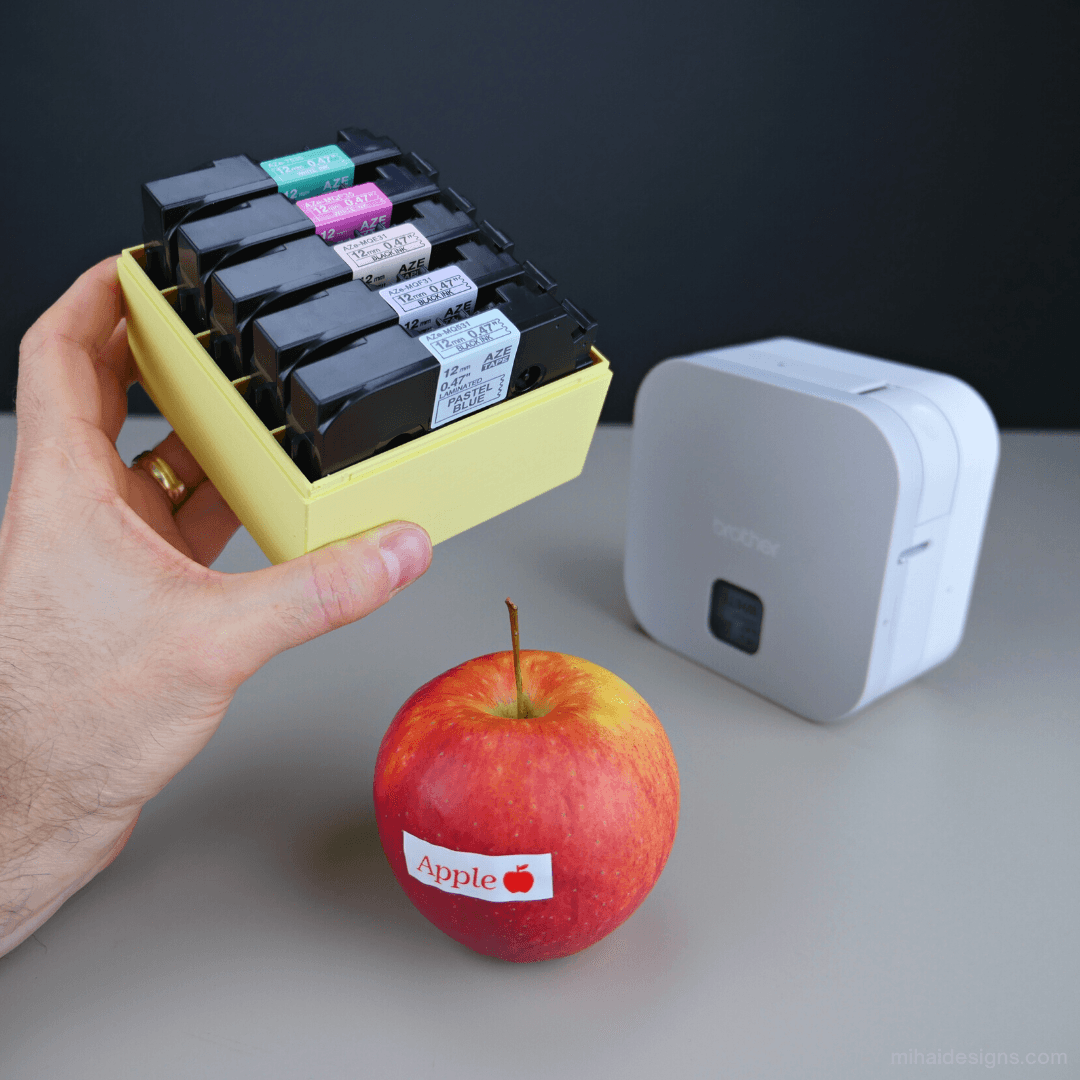
TZe Label Tape Canister
 - 3d model](/_next/image?url=https%3A%2F%2Fstorage.googleapis.com%2Fproduction-thangs-public%2Fuploads%2Fattachments%2F049f7df7-ffac-4ab2-b89a-58f25dedc928%2F1.png&w=3840&q=75)
Ikea table caster wheel adapter
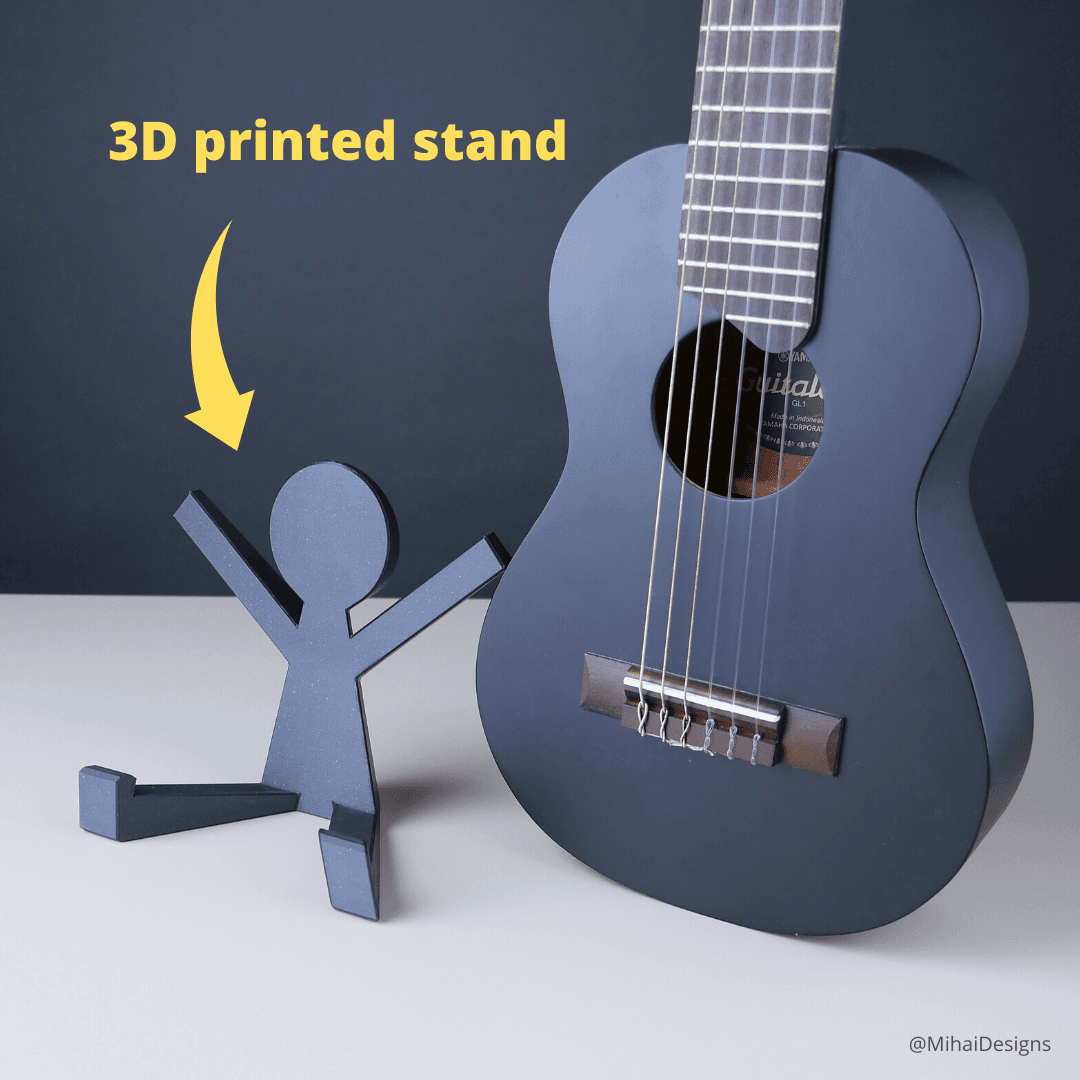
Guitalele Stand
Rods https://www.mcmaster.com/rods/diameter~10mm/length~400mm/ M3 Grub Screws https://www.mcmaster.com/products/grub-screws/metric-18-8-stainless-steel-cup-point-set-screws/
Very cool design. Any thoughts on making this like Lego where four AMS units can be stacked vertical?
3/8ths inch rod works perfectly well, just FYI, in case you think you need to order metric. Works great, thanks!
Can you share real step files. not triangulated?
Hi, I've printed this, it looks like I have the old design AMS (3 large gaps) How does it connect in? I can't seem to get it to fit
I cut the front tab off, and it fit that way. I'm not sure you have the old style, since I just bought my printer and an additional two AMS units. And they're all 3 large gap style.
What machine do you print on. The model is too big for my Prusa 3+ and my Bambu Carbon ? Is it possible to buy the print from somewhere ?
It fit on my Prusa Mk3. It was tight, you just have rotate it a bit and aim for it to be on the diagonal